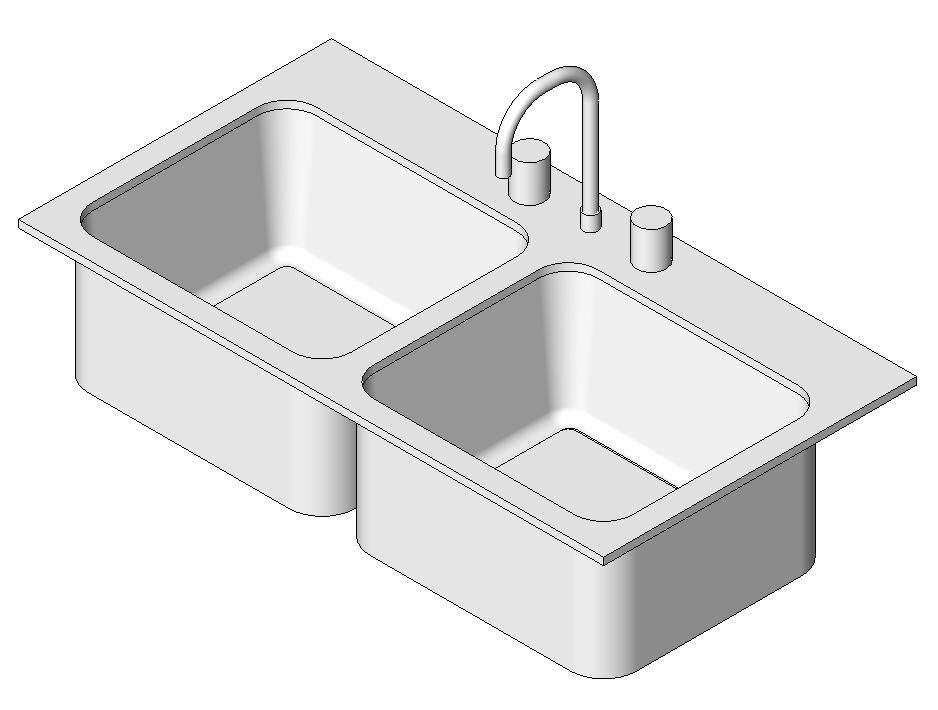
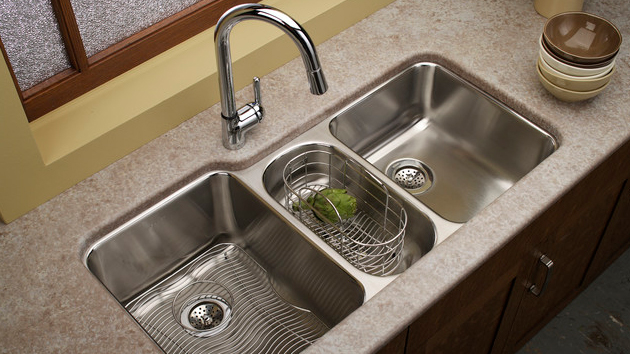
Installing a double sink in your kitchen is a great way to add functionality, style, and convenience to your space. Whether you are renovating your kitchen or simply looking to upgrade your current sink, a double sink is a popular choice for many homeowners. But how exactly do you install a double sink in your kitchen? In this guide, we will walk you through the process step-by-step, so you can successfully complete this DIY project and enjoy the benefits of a double sink in your kitchen.How to Install a Double Sink in Your Kitchen
The first step to installing a double sink in your kitchen is to gather all the necessary tools and materials. You will need a basic plumbing tool kit, including a pipe wrench, channel lock pliers, and Teflon tape. Additionally, you will need a double sink kit, which includes the sink, mounting clips, and a strainer, as well as a sink drain kit, which includes a P-trap and tailpiece. Make sure to carefully read the instructions and have all the necessary tools and materials before starting the installation process.Step 1: Gather Your Tools and Materials
Before installing your double sink, you will need to prepare the space where it will be placed. This includes removing the old sink, if necessary, and making sure the area is clean and free of any debris. You will also need to measure the space to ensure the new sink will fit properly. If your new sink is larger than the old one, you may need to make adjustments to the countertop or cabinet to accommodate the new size.Step 2: Prepare Your Space
Next, you will need to install the drain and faucet on your new sink. This process will vary depending on the type of sink and faucet you have, so be sure to carefully follow the manufacturer's instructions. Typically, this involves attaching the strainer and tailpiece to the sink, as well as connecting the water supply lines to the faucet. Make sure all connections are secure and use Teflon tape to prevent any leaks.Step 3: Install the Drain and Faucet
Once the drain and faucet are installed, it's time to mount the sink. This involves placing the sink into the designated space and securing it with mounting clips. Follow the instructions provided with your sink kit to properly secure the sink in place. Once the sink is secure, you can connect the drain and water supply lines to the existing plumbing.Step 4: Mount the Sink
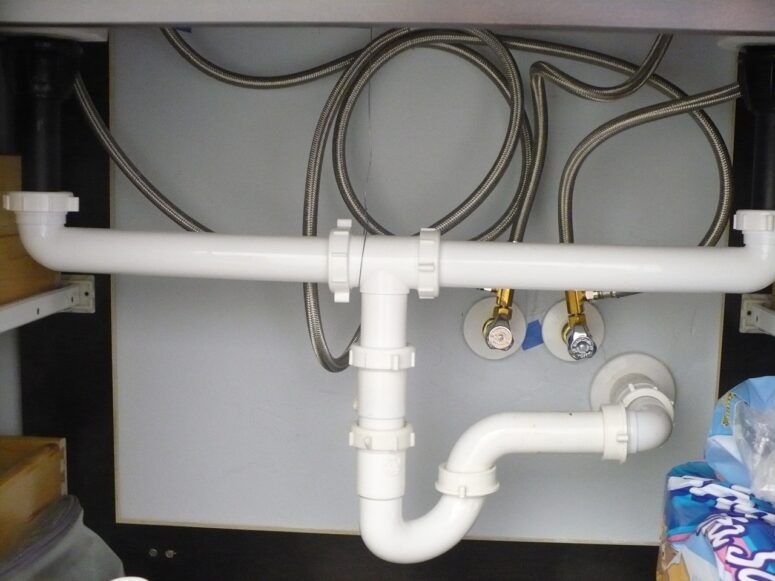
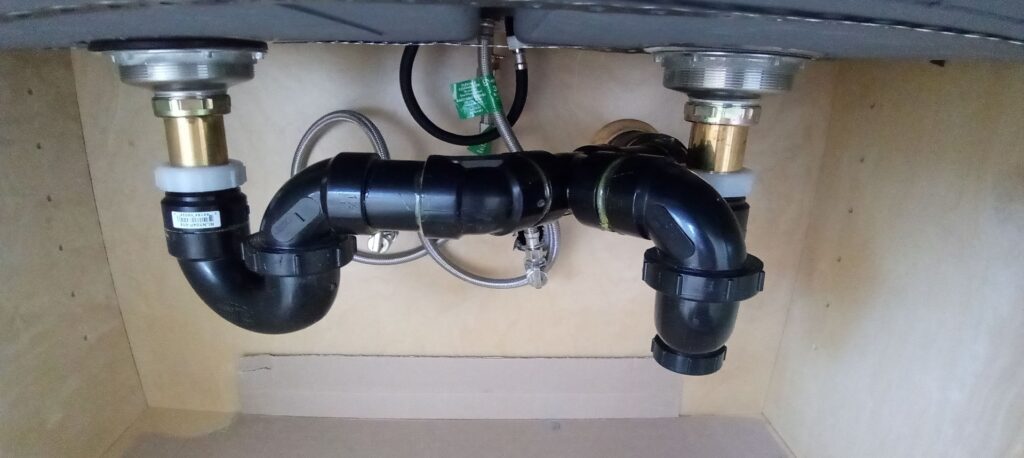
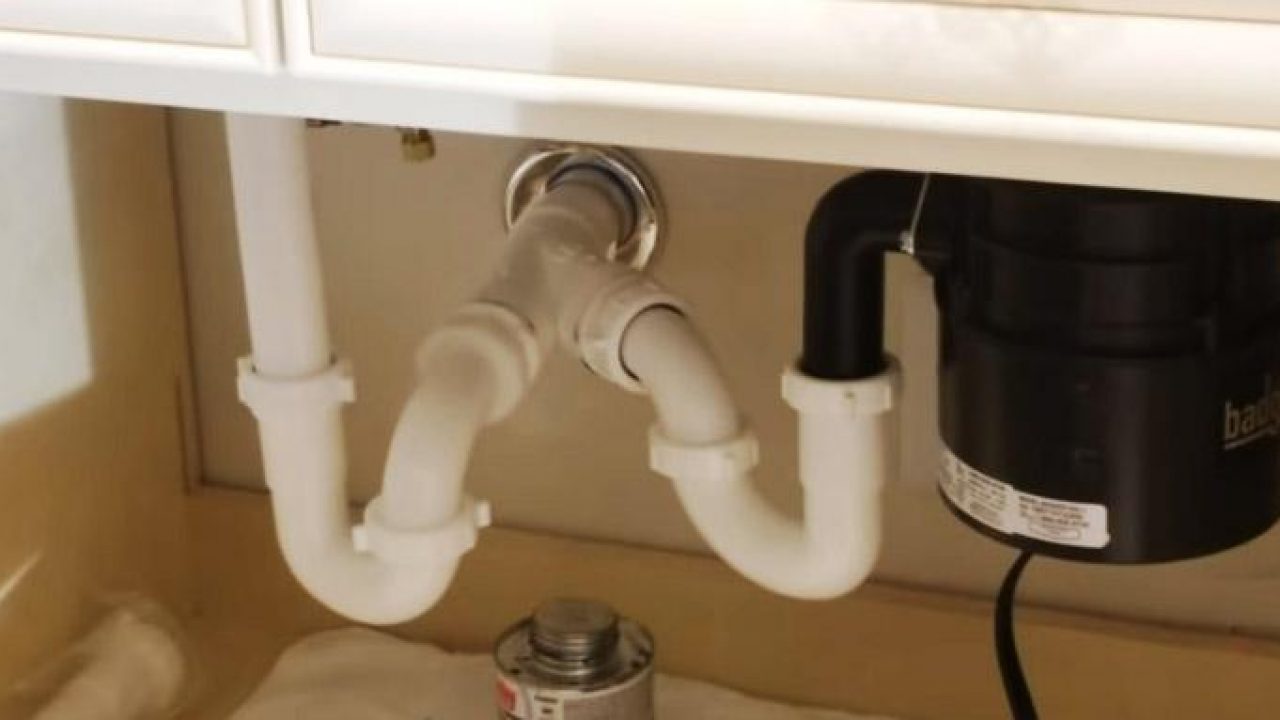
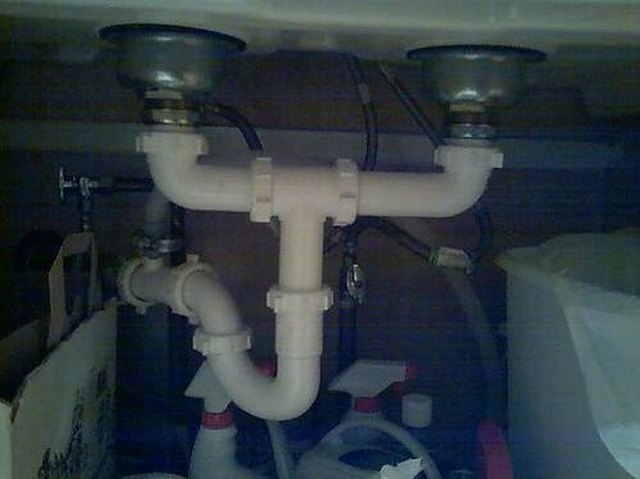
The next step is to connect the drains from both sinks to the P-trap. This is where the double sink differs from a single sink installation. You will need to connect both sink drains to the P-trap using a tee fitting. Again, follow the manufacturer's instructions and make sure all connections are secure to prevent any leaks.Step 5: Connect the Drains
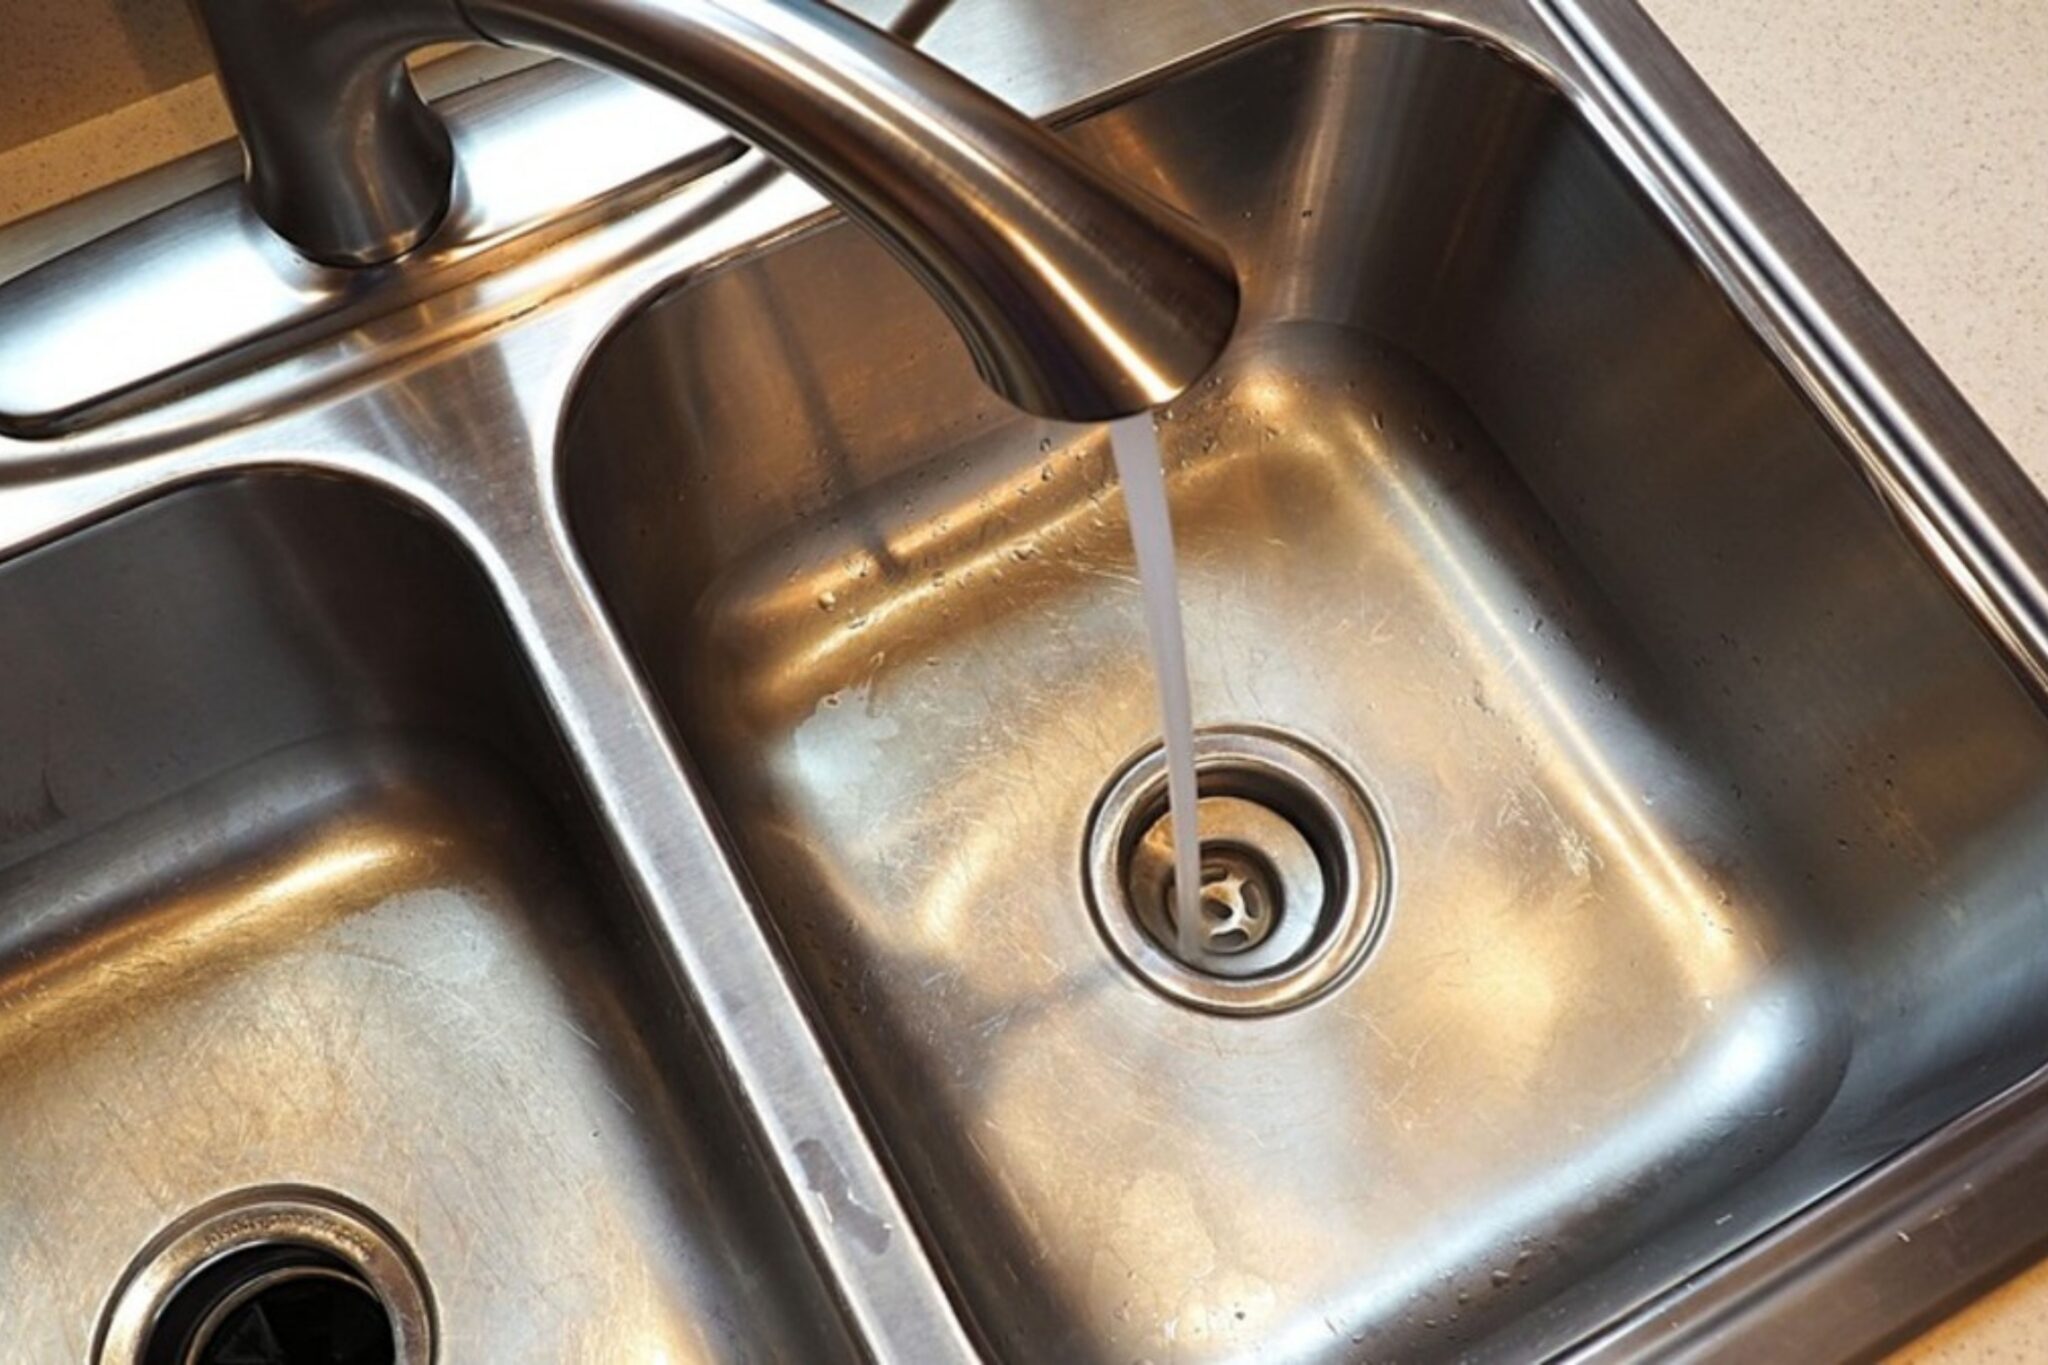
Before using your new double sink, it's important to test for any leaks. Turn on the water and let it run for a few minutes while checking all connections and joints for any signs of leakage. If you notice any leaks, tighten the connections as needed. Once you are confident that there are no leaks, you can move on to the final step.Step 6: Test for Leaks
Congratulations, you have successfully installed a double sink in your kitchen! Now it's time to enjoy all the benefits that come with it. With two separate basins, you can easily multi-task and have one side for washing dishes and the other for food prep. Plus, a double sink adds a touch of style and sophistication to any kitchen space.Step 7: Enjoy Your New Double Sink
Installing a double sink in your kitchen is a DIY project that can greatly enhance the functionality and style of your space. With these simple steps, you can successfully install a double sink and enjoy all the benefits it has to offer. So why settle for a single sink when you can double the convenience and functionality in your kitchen? Upgrade your kitchen with a double sink today!Upgrade Your Kitchen with a Double Sink
Why Installing a Double Sink in Your Kitchen is a Smart Choice
Maximizing Space and Efficiency
 When it comes to designing a functional and efficient kitchen, the sink is often considered the most important element. It's the hub of all kitchen activities, from washing dishes to preparing food. With a single sink, there is limited space and functionality. That's why many homeowners are opting for a double sink in their kitchen. Not only does it provide more room for washing and food prep, but it also maximizes efficiency.
Installing a double sink in your kitchen
allows for a designated area for washing and rinsing dishes, while the other sink can be used for food prep and cleaning fruits and vegetables. This eliminates the need to constantly switch between tasks and reduces the risk of cross-contamination. Plus, with two separate sinks, multiple people can work in the kitchen at the same time without getting in each other's way.
Increased Storage and Organization
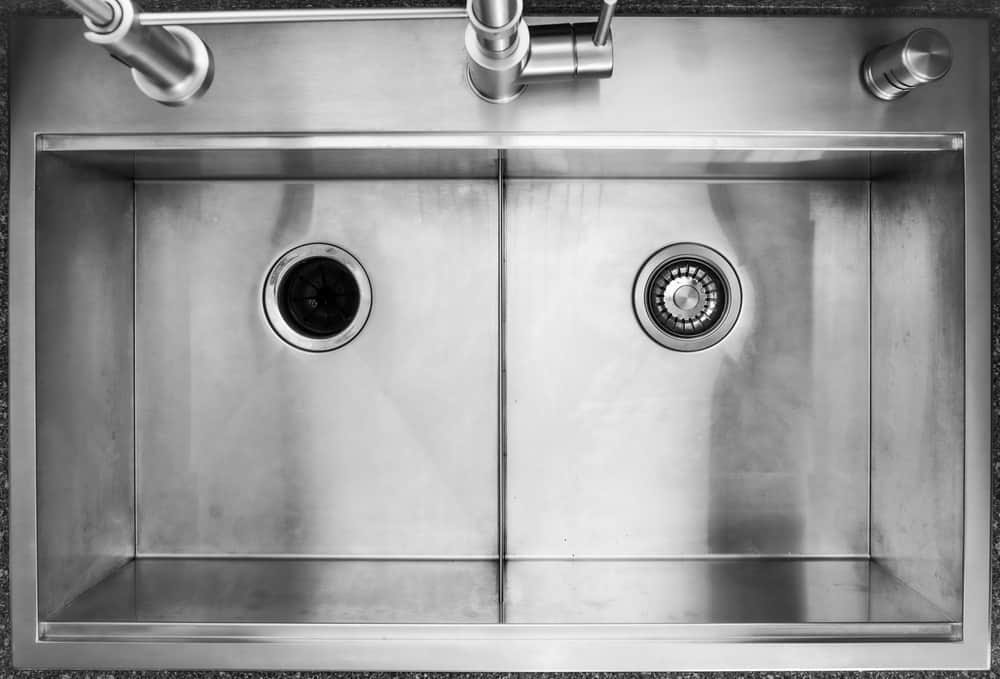
 Another benefit of having a double sink in your kitchen is the extra storage and organization it provides. Most double sinks come with a built-in divider, creating two separate compartments. This allows for better organization of dishes and cleaning supplies. You can use one side for dirty dishes and the other for clean ones, keeping your sink area clutter-free and more efficient.
Installing a double sink
also means having more counter space. With a single sink, the area around it is often used as a drying rack or for holding dirty dishes. But with a double sink, you can have a dedicated spot for drying dishes and still have plenty of counter space for food prep.
Enhanced Aesthetics
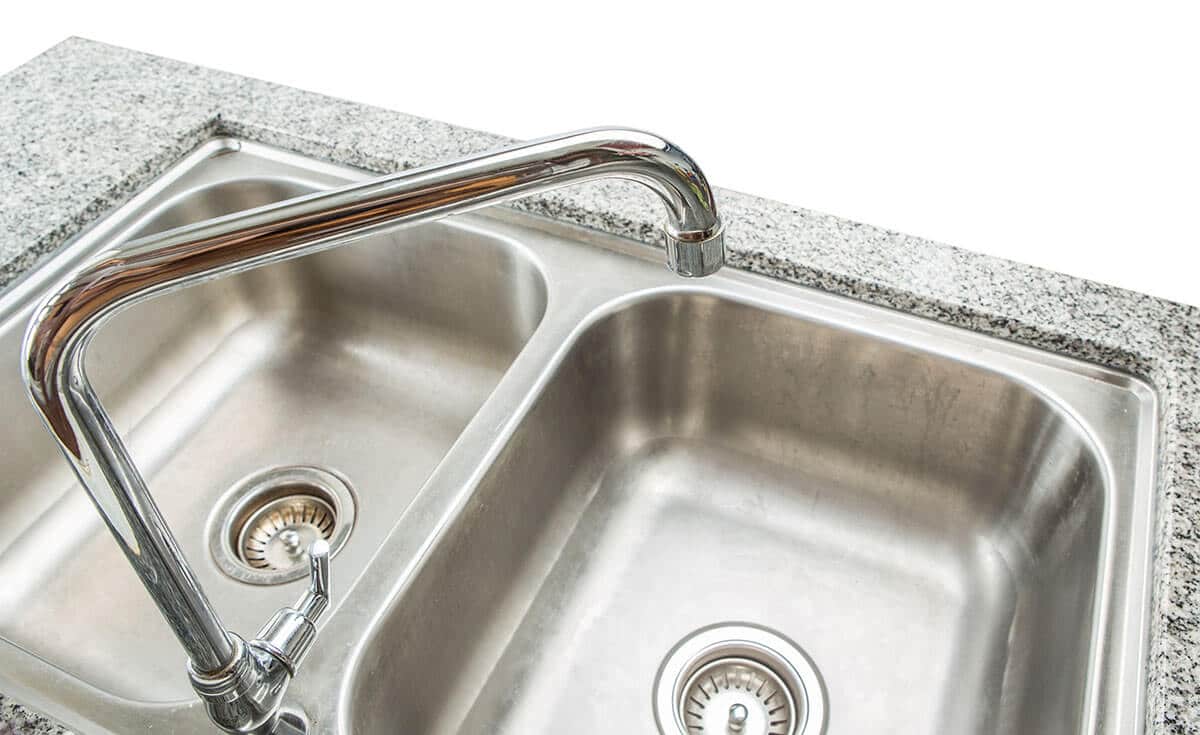 Let's not forget the visual appeal of a double sink in your kitchen. It adds a touch of elegance and sophistication to the overall design. With so many different styles and materials to choose from, you can easily find a double sink that complements your kitchen's aesthetic. From farmhouse to modern, there's a double sink for every design preference.
Installing a double sink in your kitchen
not only provides functional benefits but also adds to the overall look and feel of your kitchen. It's a small change that can make a big impact on the design and functionality of your space.
Final Thoughts
 In conclusion,
installing a double sink in your kitchen
is a smart choice for maximizing space and efficiency, increasing storage and organization, and enhancing the aesthetics of your kitchen. It's a small investment that can greatly improve the functionality and design of your space. So, if you're looking to upgrade your kitchen, consider a double sink for a more efficient and stylish cooking experience.








:no_upscale()/cdn.vox-cdn.com/uploads/chorus_asset/file/19495086/drain_0.jpg)


/how-to-install-a-sink-drain-2718789-hero-24e898006ed94c9593a2a268b57989a3.jpg)






:max_bytes(150000):strip_icc()/double-sink-plumbing-differences-and-how-to-install-5209390-10-414a64cf6fca4d78907065f25e73b0fe.jpg)


