Installing a new dining room light fixture can instantly transform the look and feel of your space. Not only does it provide much-needed light, but it also adds a touch of style and elegance to your dining room. If you're looking to upgrade your dining room lighting, here's a step-by-step guide to help you install your new fixture like a pro.How to Install a Dining Room Light Fixture
Before you begin, make sure you have all the necessary tools and equipment. This includes a ladder, wire cutters, wire nuts, a screwdriver, and a voltage tester. Once you have everything, follow these steps: Step 1: Turn off the power to the existing light fixture at the circuit breaker. Step 2: Remove the old light fixture by unscrewing the mounting screws and disconnecting the wires. Step 3: Measure the distance between the mounting screws on your new light fixture and mark the same distance on your ceiling. Step 4: Drill holes at the marked spots and insert the mounting screws. Step 5: Connect the wires from the ceiling to the wires on the new fixture using wire nuts. Step 6: Secure the fixture to the ceiling by tightening the mounting screws. Step 7: Turn the power back on and test the light to ensure it is working properly.Step-by-Step Guide for Installing a Dining Room Light Fixture
Installing a dining room light fixture can be a DIY project, as long as you have some basic knowledge and the right tools. Not only will you save money by doing it yourself, but you'll also have the satisfaction of completing a home improvement project on your own.DIY: Installing a Dining Room Light Fixture
Having the right tools is key to a successful installation. Here are some essential tools you'll need: Ladder - for reaching the ceiling Wire cutters - for cutting and stripping wires Wire nuts - for connecting wires Screwdriver - for loosening and tightening screws Voltage tester - for ensuring the power is offEssential Tools for Installing a Dining Room Light Fixture
To ensure a smooth and successful installation, here are some tips to keep in mind: Read the instructions - Be sure to read the instructions that come with your new light fixture before starting the installation process. Measure twice, drill once - Double check your measurements before drilling any holes to avoid any mistakes. Use a voltage tester - Always use a voltage tester to make sure the power is off before working on any electrical wiring. Get a helping hand - Installing a light fixture can be a two-person job, so don't hesitate to ask for help if needed.Tips for Installing a Dining Room Light Fixture Like a Pro
Even with careful planning and preparation, mistakes can still happen during an installation. Here are some common mistakes to avoid: Not turning off the power - Always make sure the power is off before working on any electrical wiring to avoid getting shocked. Not using the right tools - Using the wrong tools can not only make the installation more difficult but also pose safety hazards. Not following instructions - Be sure to carefully follow the instructions provided with your new light fixture to avoid any mistakes or potential damage.Common Mistakes to Avoid When Installing a Dining Room Light Fixture
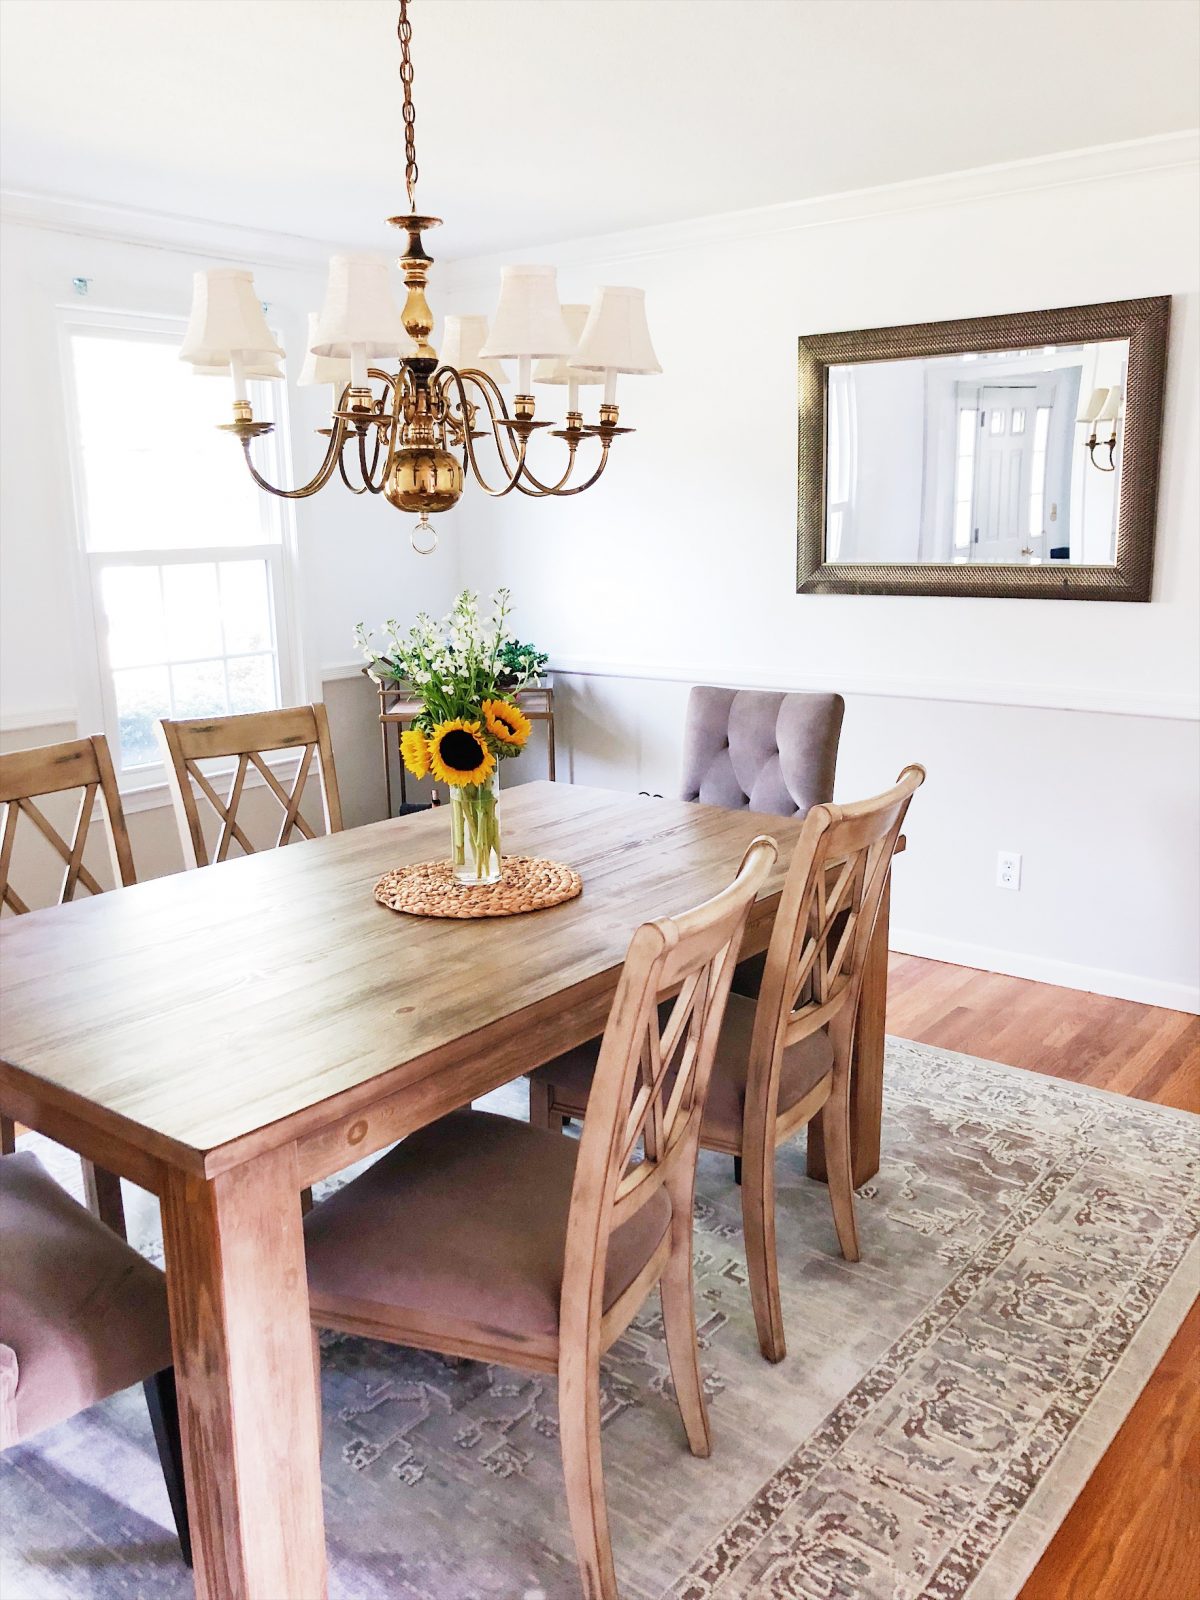
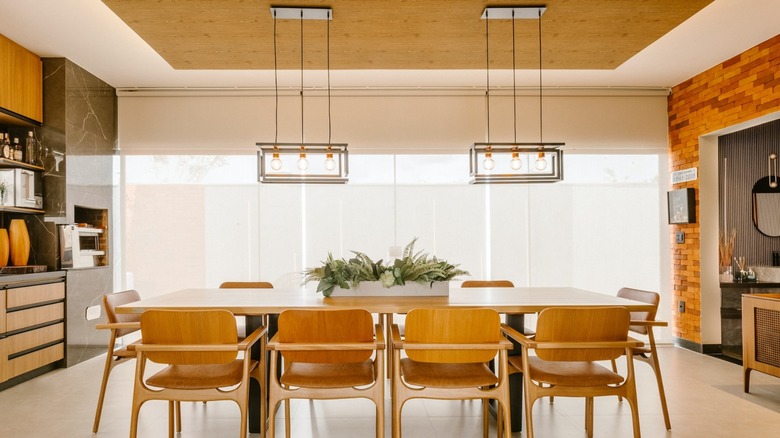
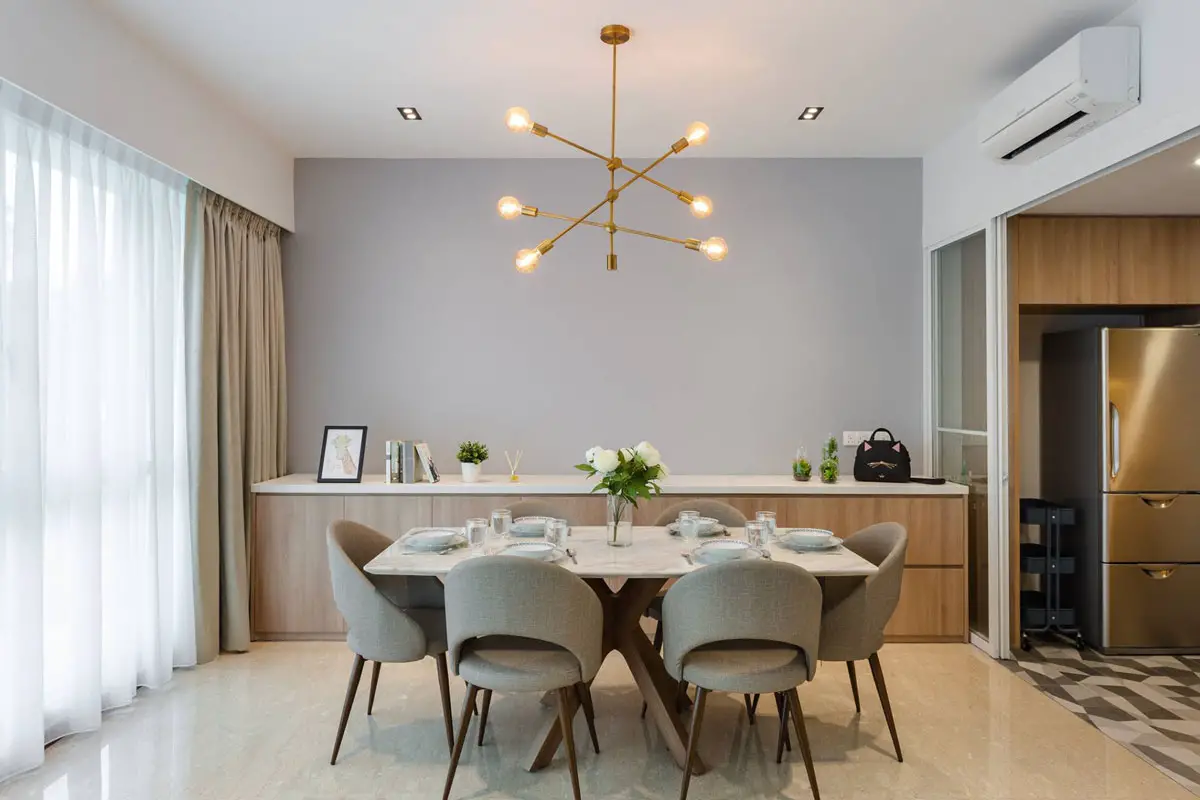
When selecting a new dining room light fixture, consider the size and style of your space. A large chandelier may look out of place in a small dining room, while a small pendant light may not provide enough light in a larger space. Take into account the overall design and décor of your dining room to choose a light fixture that complements the space.Choosing the Right Dining Room Light Fixture for Your Space
If you're looking to replace your existing dining room light fixture, here's how to remove it: Step 1: Turn off the power to the light fixture at the circuit breaker. Step 2: Remove the mounting screws and carefully lower the fixture from the ceiling. Step 3: Disconnect the wires and remove the old fixture.How to Remove an Old Dining Room Light Fixture
When working with electricity, safety should always be a top priority. If you're uncomfortable or unsure about working with wiring and electrical components, it's best to hire a professional. However, if you're confident in your abilities, be sure to follow these safety precautions: Turn off the power - Always turn off the power to the light fixture at the circuit breaker before beginning any work. Use a voltage tester - Double check that the power is off using a voltage tester before touching any wires. Follow wiring diagrams - If you're unsure about how to properly connect the wires, refer to the wiring diagram provided with your new light fixture.Wiring and Electrical Considerations for Installing a Dining Room Light Fixture
Deciding whether to hire a professional or tackle the installation yourself ultimately depends on your level of comfort and experience with electrical work. While hiring a professional may cost more, it can provide peace of mind knowing the job was done safely and correctly. However, if you're confident in your abilities and are comfortable with electrical work, DIY installation can save you money and give you a sense of accomplishment. Now that you know the steps, tips, and precautions for installing a dining room light fixture, you can confidently upgrade your dining room lighting and create a beautiful and functional space for your family and guests to enjoy.Hiring a Professional vs. DIY: Installing a Dining Room Light Fixture
Choosing the Perfect Dining Room Light Fixture for Your Home

Factors to Consider
 When it comes to designing and decorating a home, the lighting plays a crucial role in creating the desired ambiance and atmosphere. This is especially true for the dining room, where the right
dining room light fixture
can enhance the dining experience and add a touch of elegance to the space. However, with so many options available in the market, it can be overwhelming to choose the perfect
light fixture
for your home. Here are some factors to consider before making your purchase.
Size and Scale
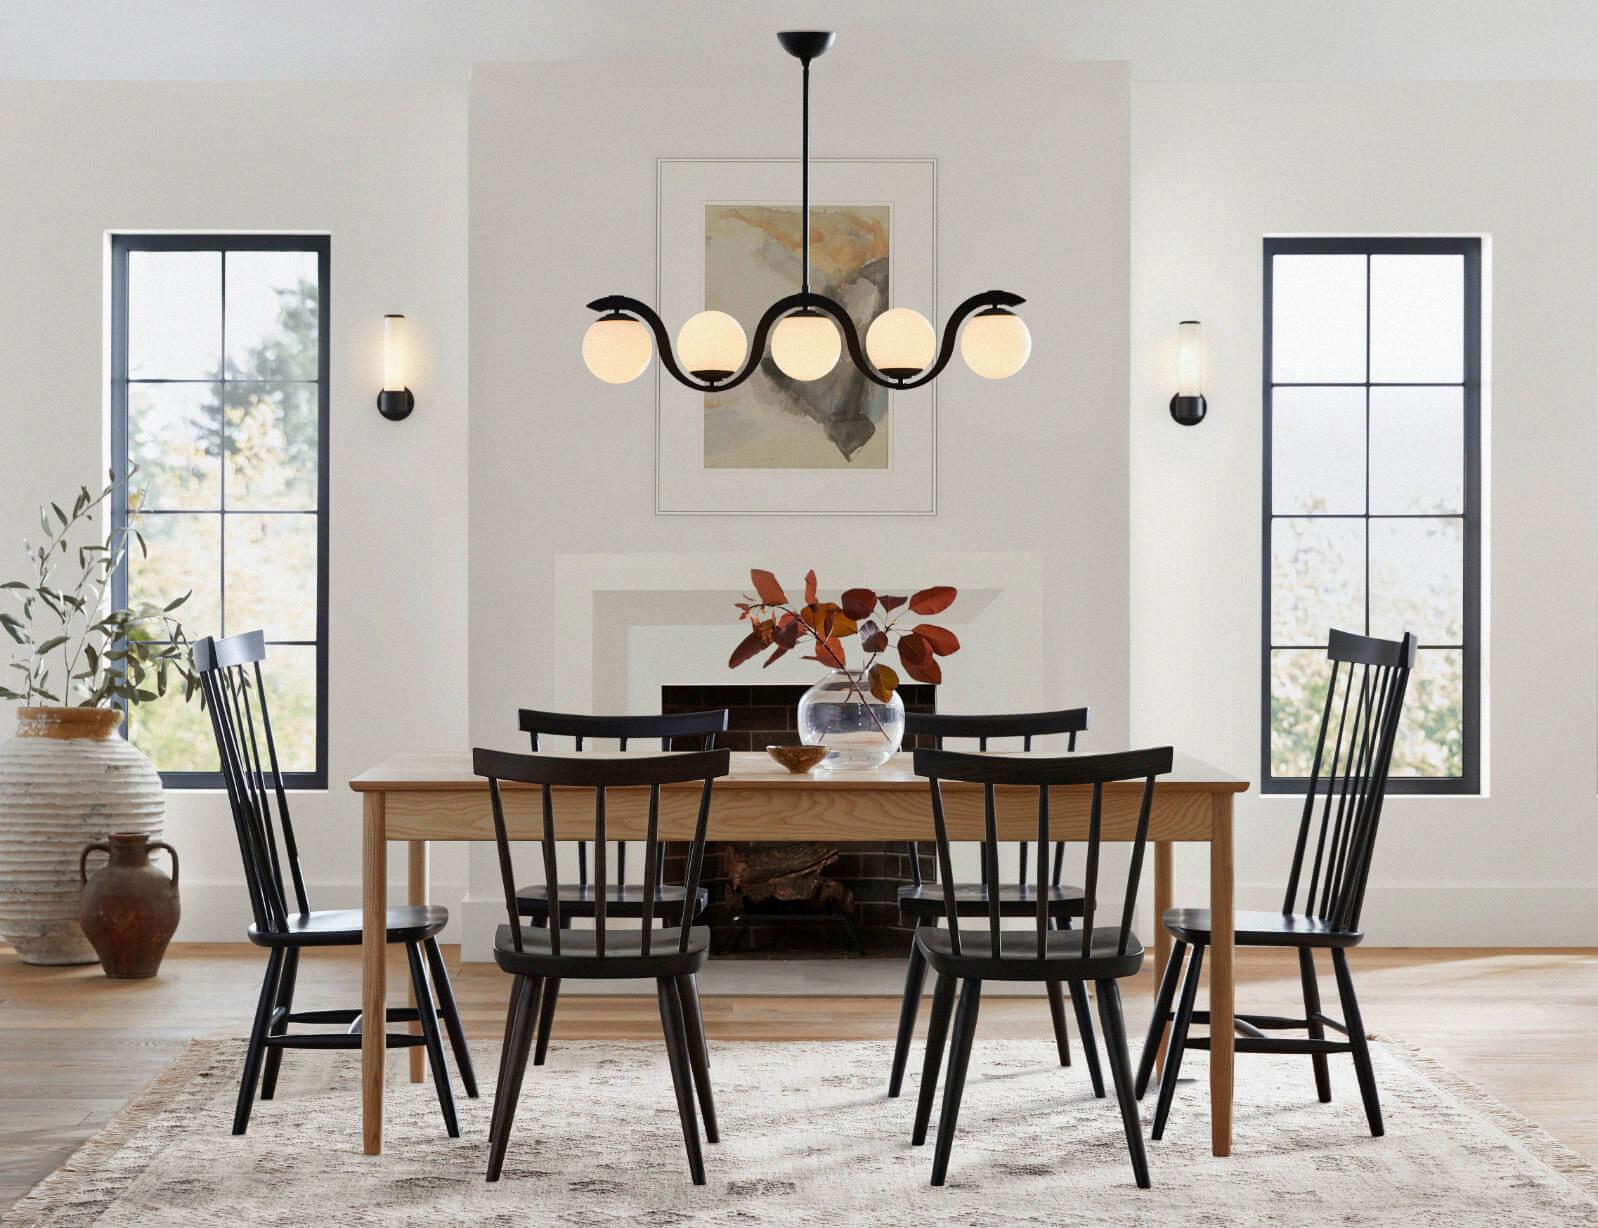 One of the main factors to consider when choosing a
dining room light fixture
is the size and scale of your dining room. A
light fixture
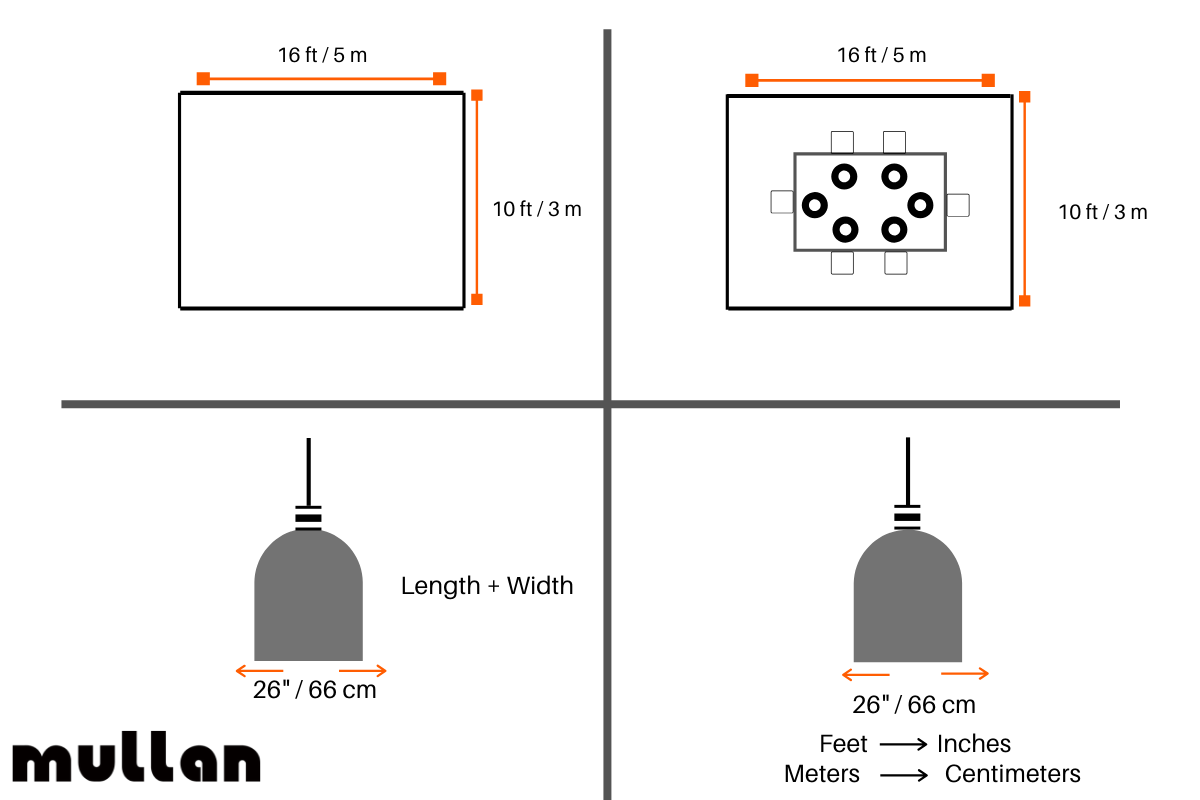
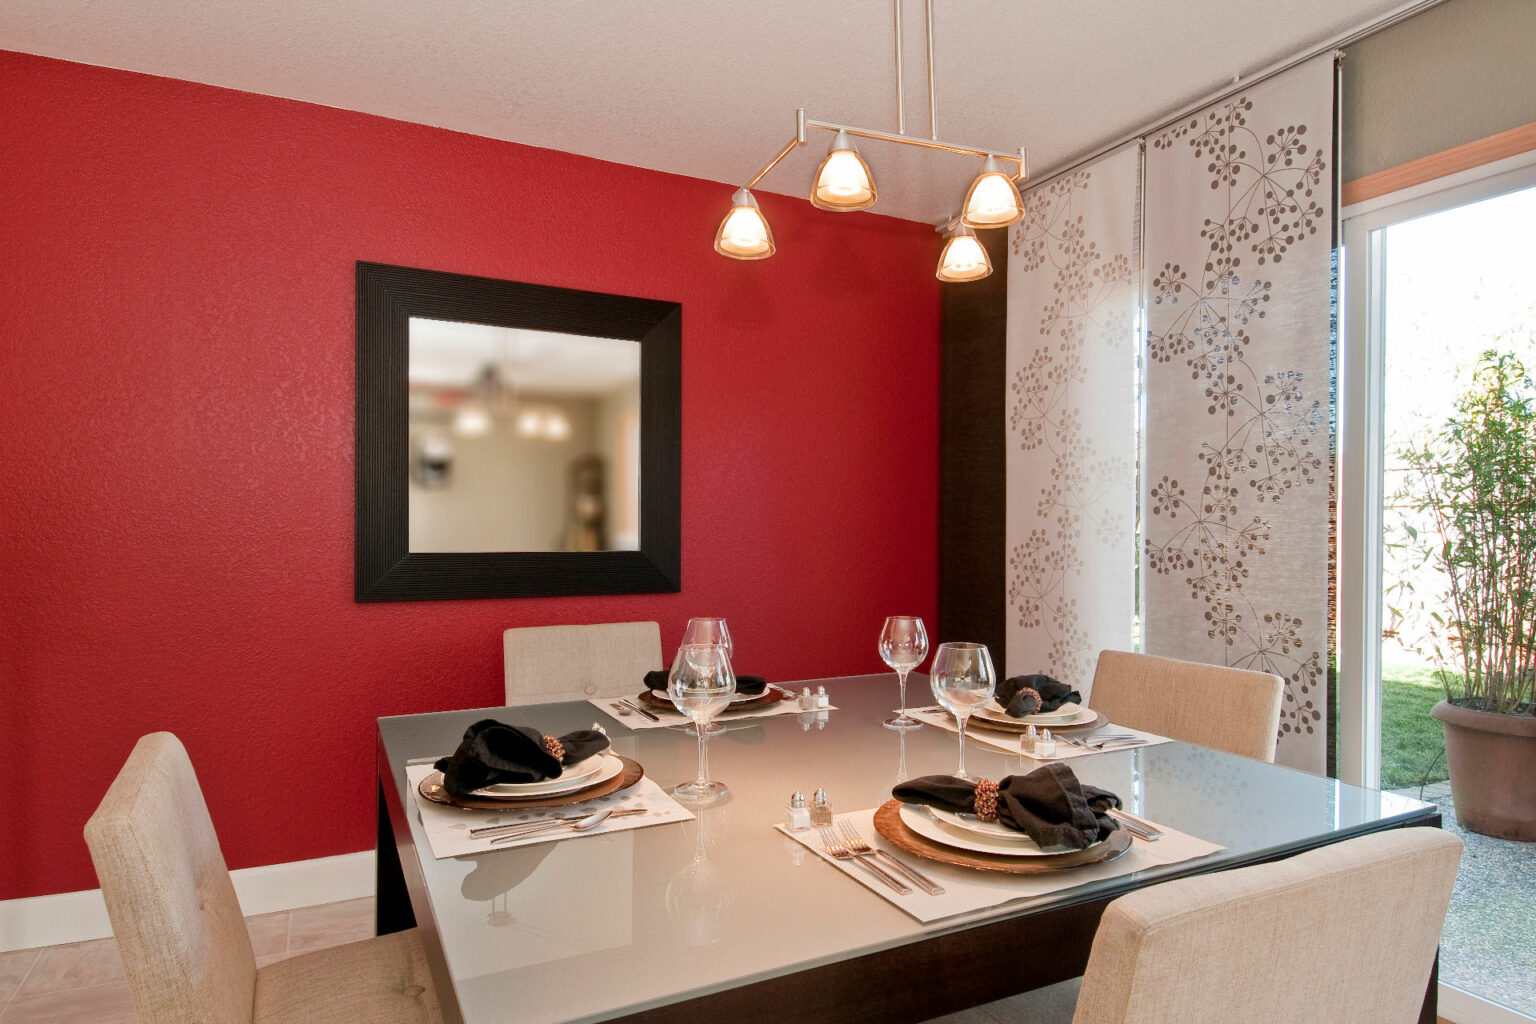
that is too small will look out of place and insignificant, while one that is too large can overpower the room and disrupt the balance of the space. Measure your dining room and consider the size of your dining table when choosing the size of your
light fixture
.
Style and Design
 The
light fixture
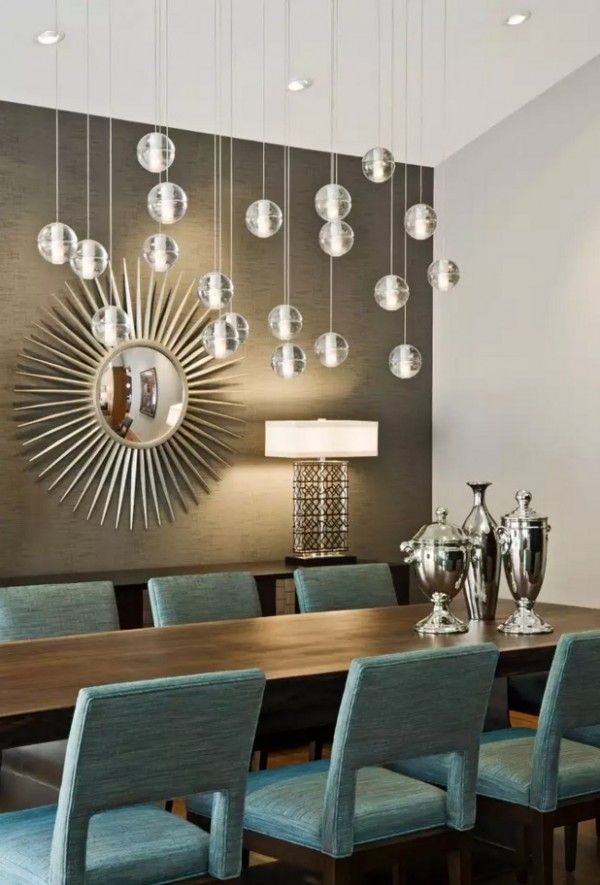
you choose for your dining room should complement the overall style and design of your home. If you have a modern and minimalistic home, a sleek and simple
light fixture
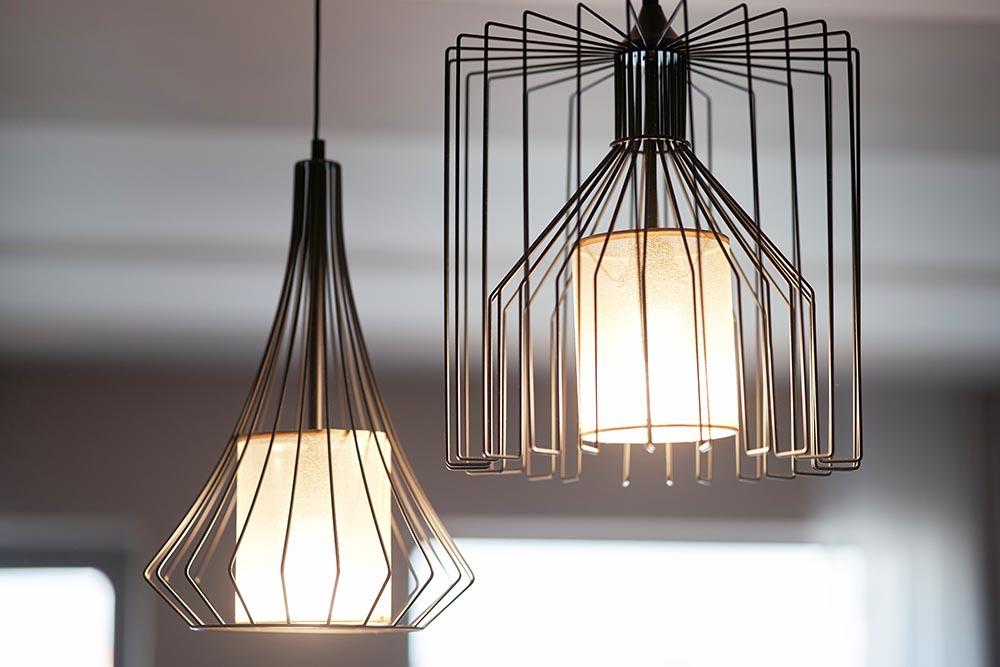
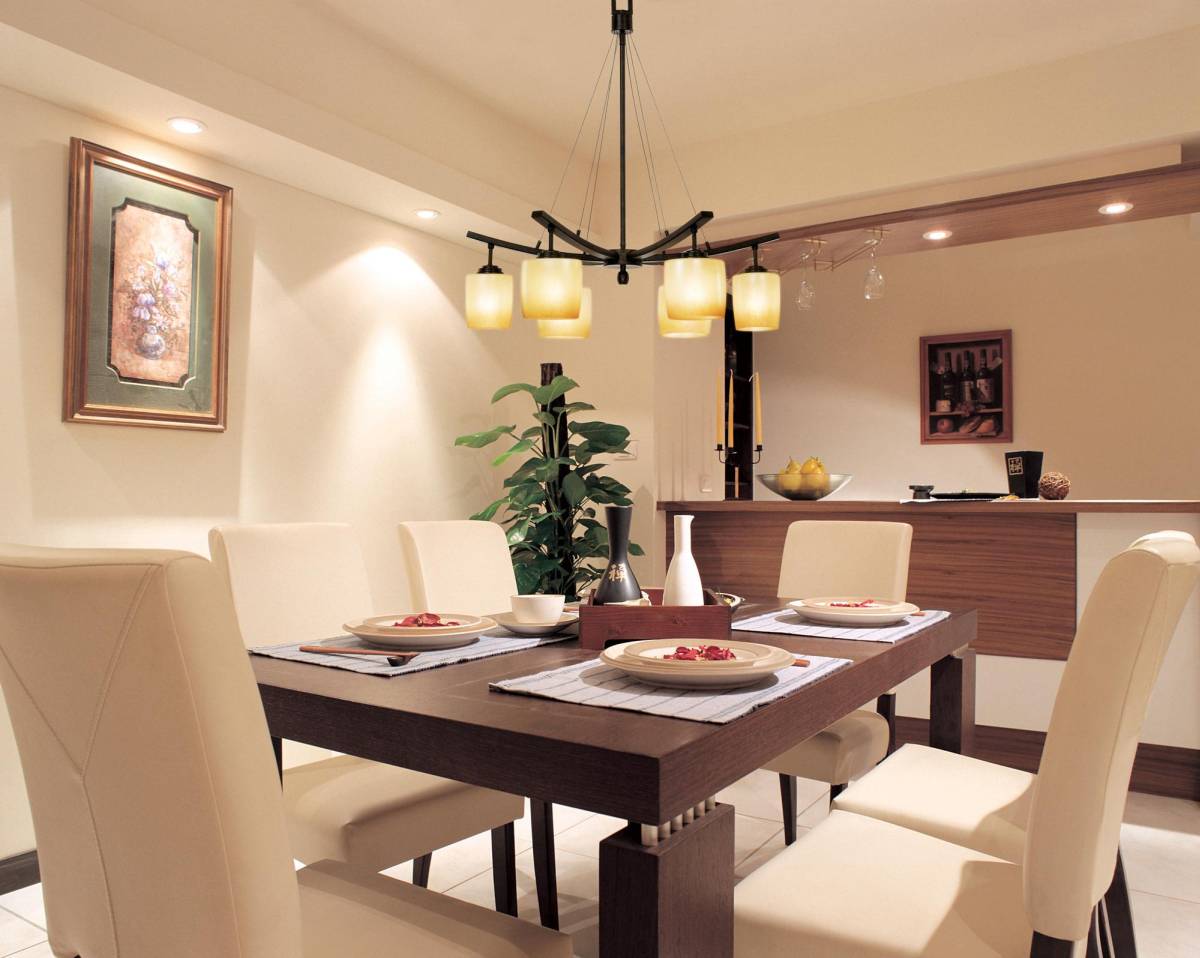
would be a good fit. For a more traditional home, a chandelier or pendant light with intricate designs and details would add a touch of elegance. Consider the colors and materials used in your dining room and choose a
light fixture
that will tie in with the rest of the decor.
Functionality and Lighting Needs
:max_bytes(150000):strip_icc()/dining-room-light-fixture-ideas-4-sarah-fultz-2-cc98d4ff43b14484b5b7caec932a2e6d.jpeg) Apart from aesthetics, it is important to consider the functionality and lighting needs of your dining room. If you often host dinner parties or have a large family, a brighter
light fixture
with multiple bulbs or adjustable lighting options would be ideal. If you prefer a more intimate and cozy dining experience, a dimmable
light fixture
would be a better choice. Consider the purpose of your dining room and choose a
light fixture
that will meet your lighting needs.
Apart from aesthetics, it is important to consider the functionality and lighting needs of your dining room. If you often host dinner parties or have a large family, a brighter
light fixture
with multiple bulbs or adjustable lighting options would be ideal. If you prefer a more intimate and cozy dining experience, a dimmable
light fixture
would be a better choice. Consider the purpose of your dining room and choose a
light fixture
that will meet your lighting needs.
Budget
 Last but not least, it is important to consider your budget when choosing a
dining room light fixture
. With so many options available, it is possible to find a
light fixture
that fits your budget without compromising on style and quality. Do your research and compare prices before making a decision.
In conclusion, choosing the perfect
dining room light fixture
for your home requires careful consideration of various factors such as size, style, functionality, and budget. By keeping these factors in mind, you can find a
light fixture
that not only enhances the aesthetics of your dining room but also meets your lighting needs. So go ahead and make your dining room shine with the perfect
light fixture
!








/dining-room-light-fixture-ideas-23-mindy-gayer-windward-55f952166a404e118d22061c51060a95.jpeg)

