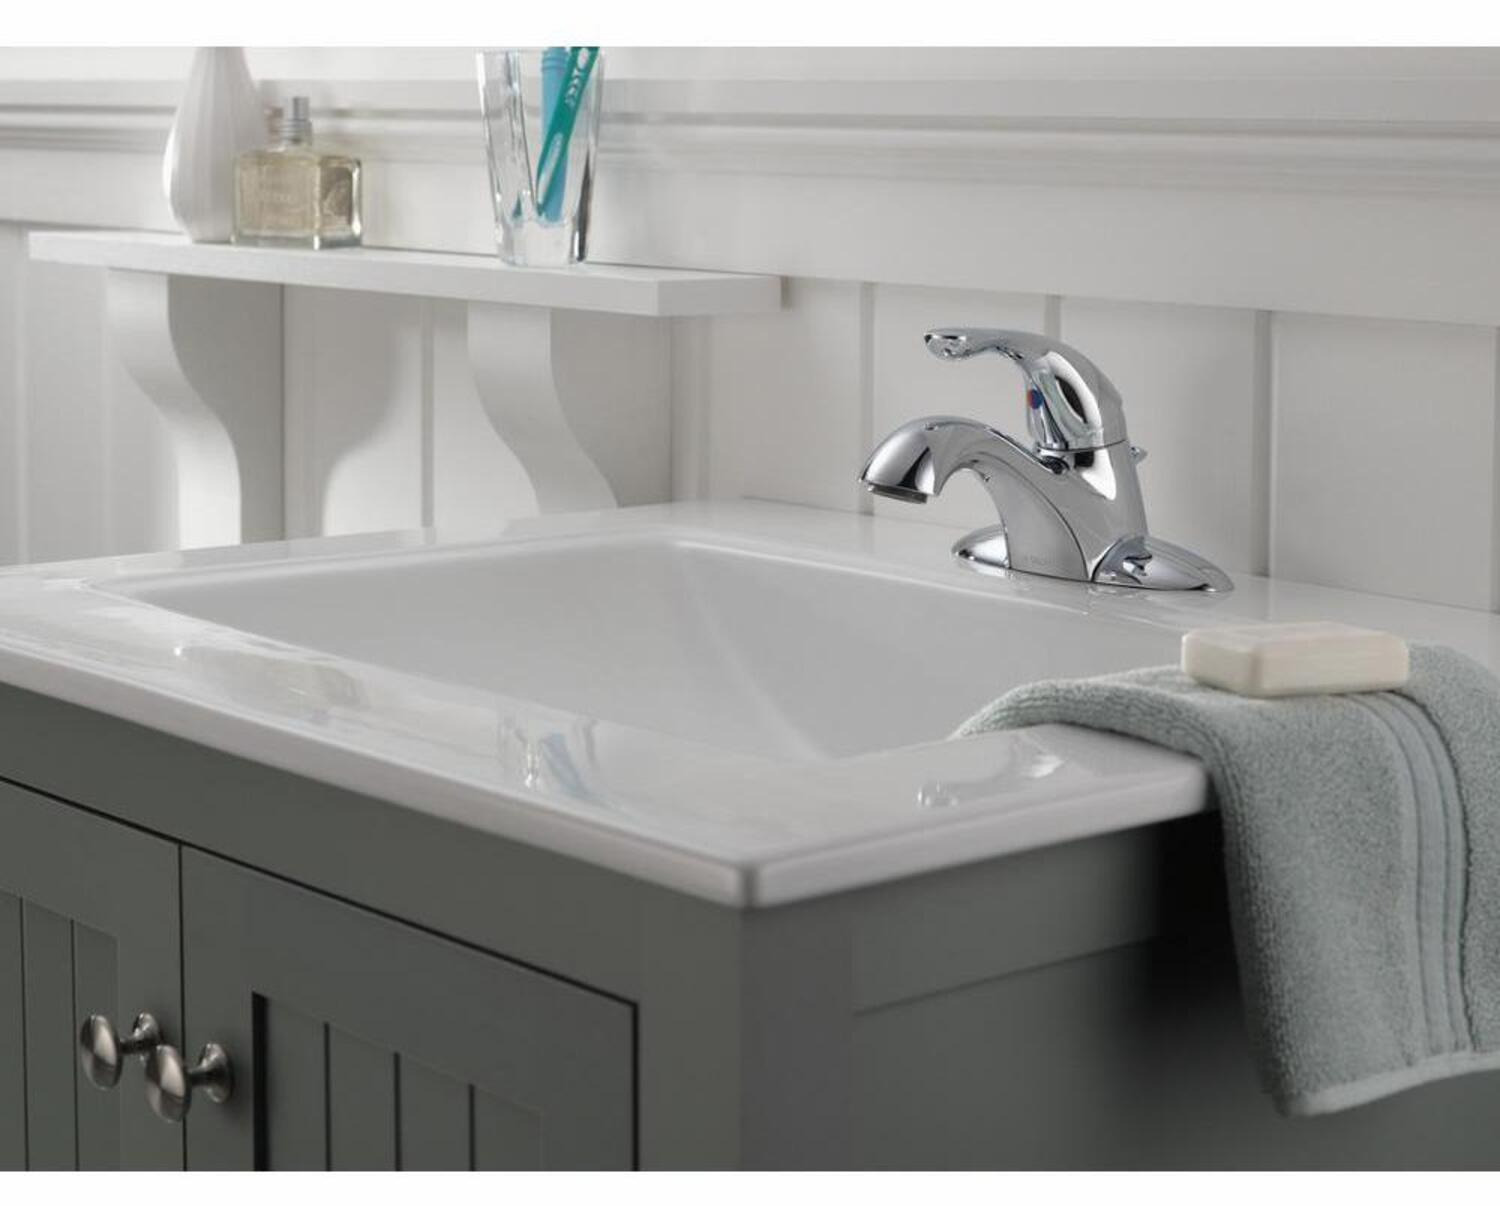
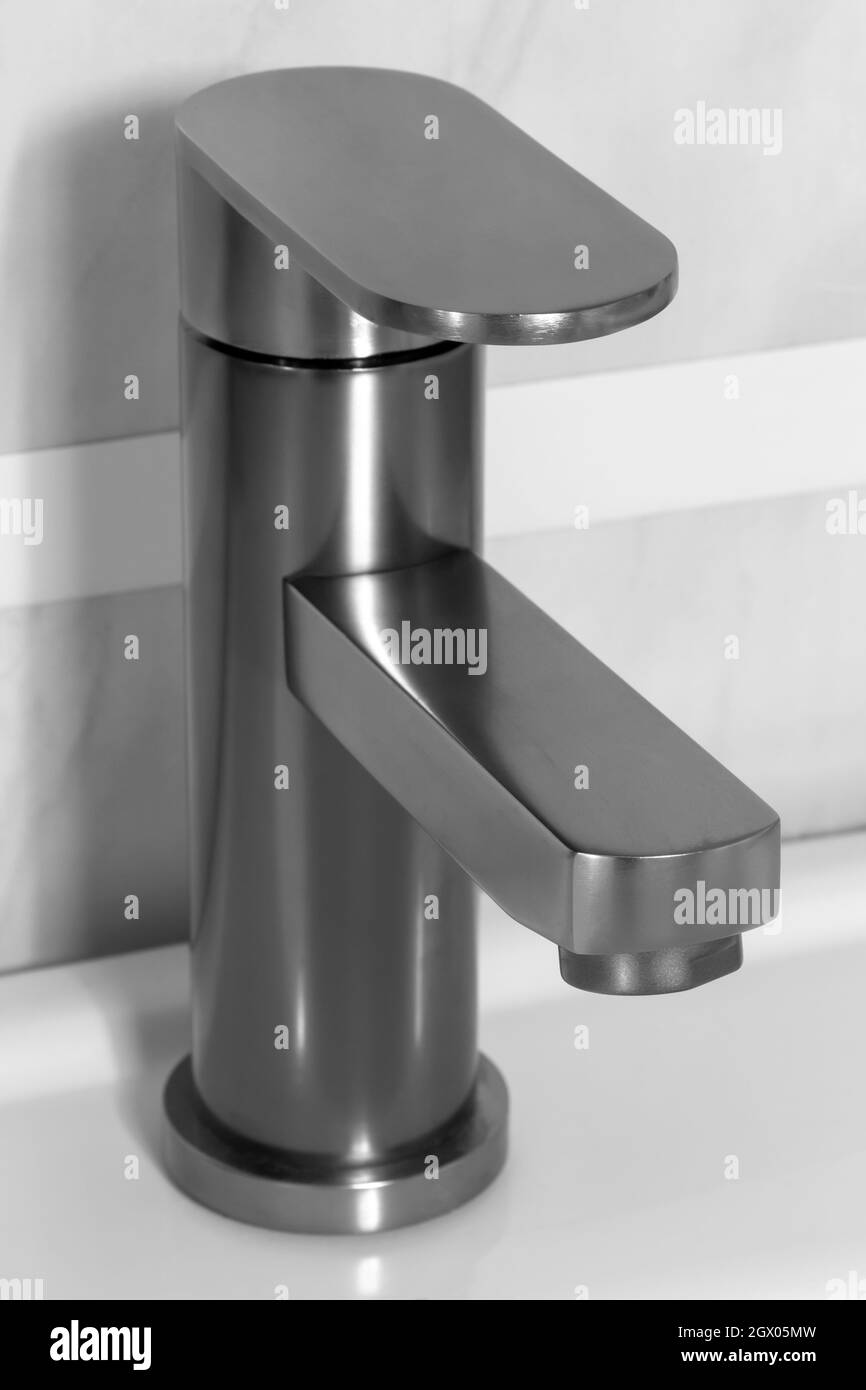
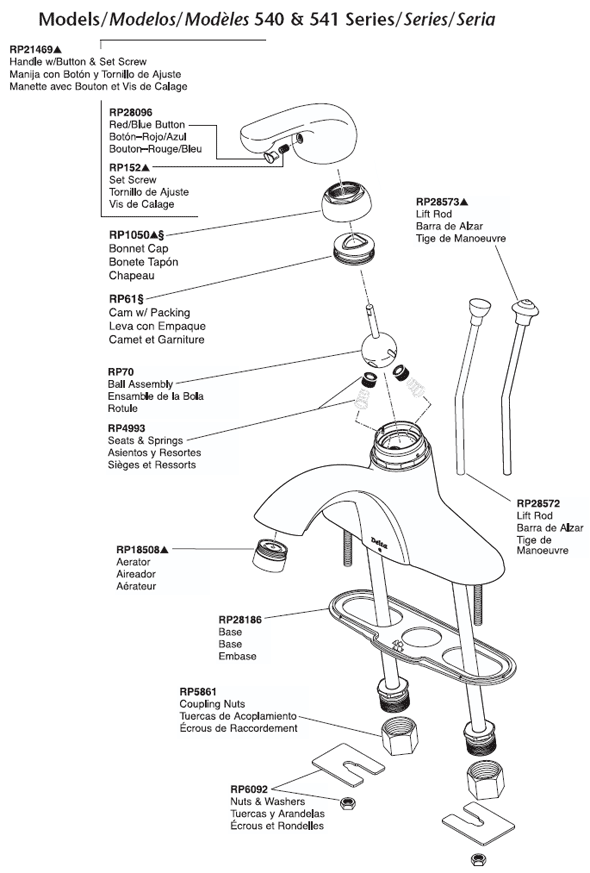
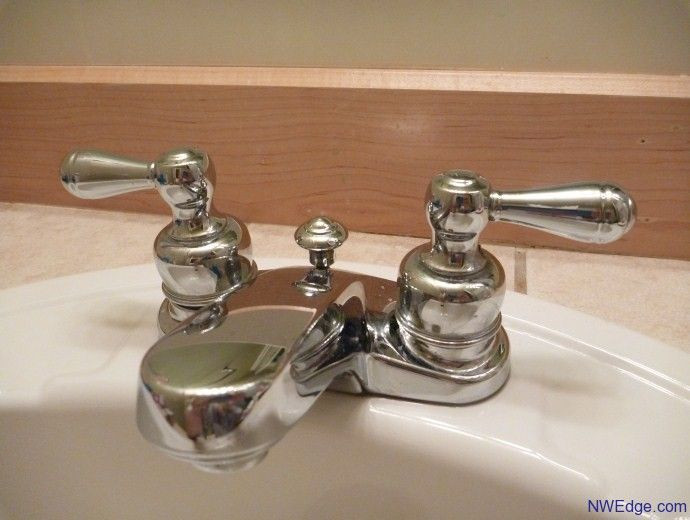
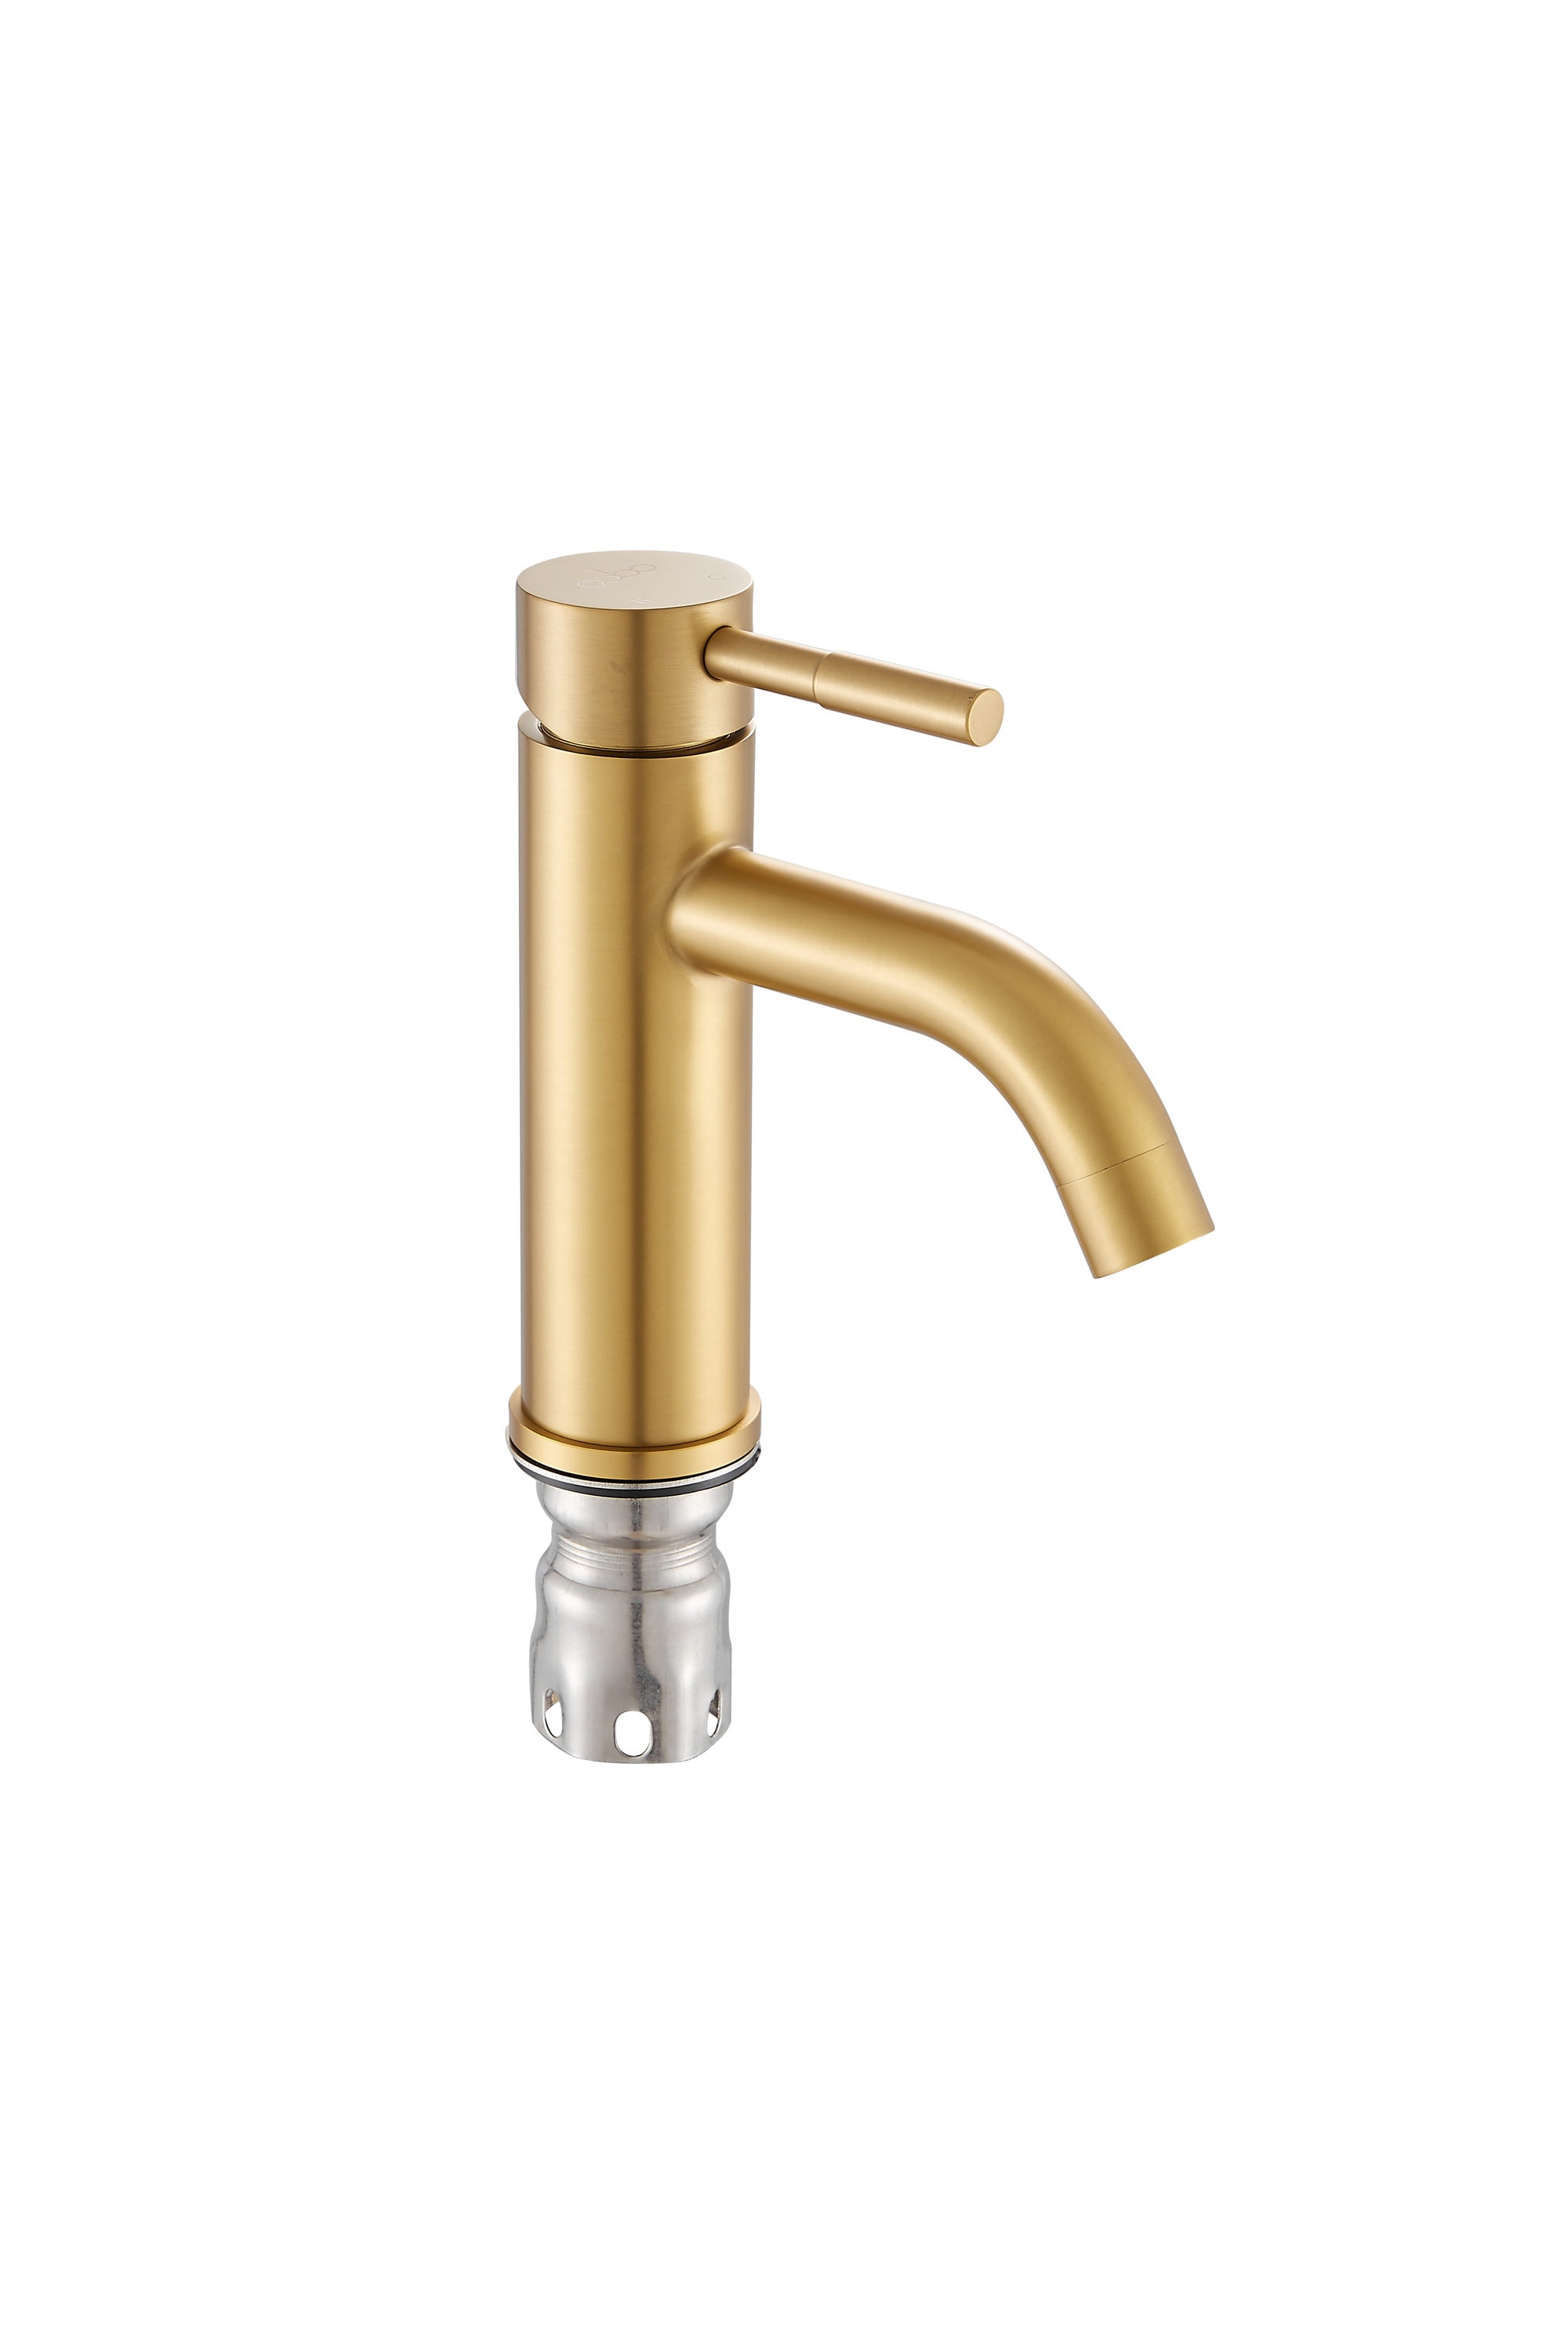
If you're looking to upgrade your bathroom sink, installing a Delta bathroom sink faucet is a great choice. Delta is known for its high-quality and stylish faucets that are designed to last. Plus, with a little know-how and some basic tools, you can easily install a Delta bathroom sink faucet yourself. In this installation guide, we'll walk you through the process step-by-step so you can have your new faucet up and running in no time. Delta Bathroom Sink Faucet Installation Guide
Before you begin, make sure you have all the necessary tools and materials on hand. This includes the new Delta bathroom sink faucet, adjustable wrench, pliers, Teflon tape, and a bucket or container to catch any excess water. Now, let's get started! How to Install a Delta Bathroom Sink Faucet
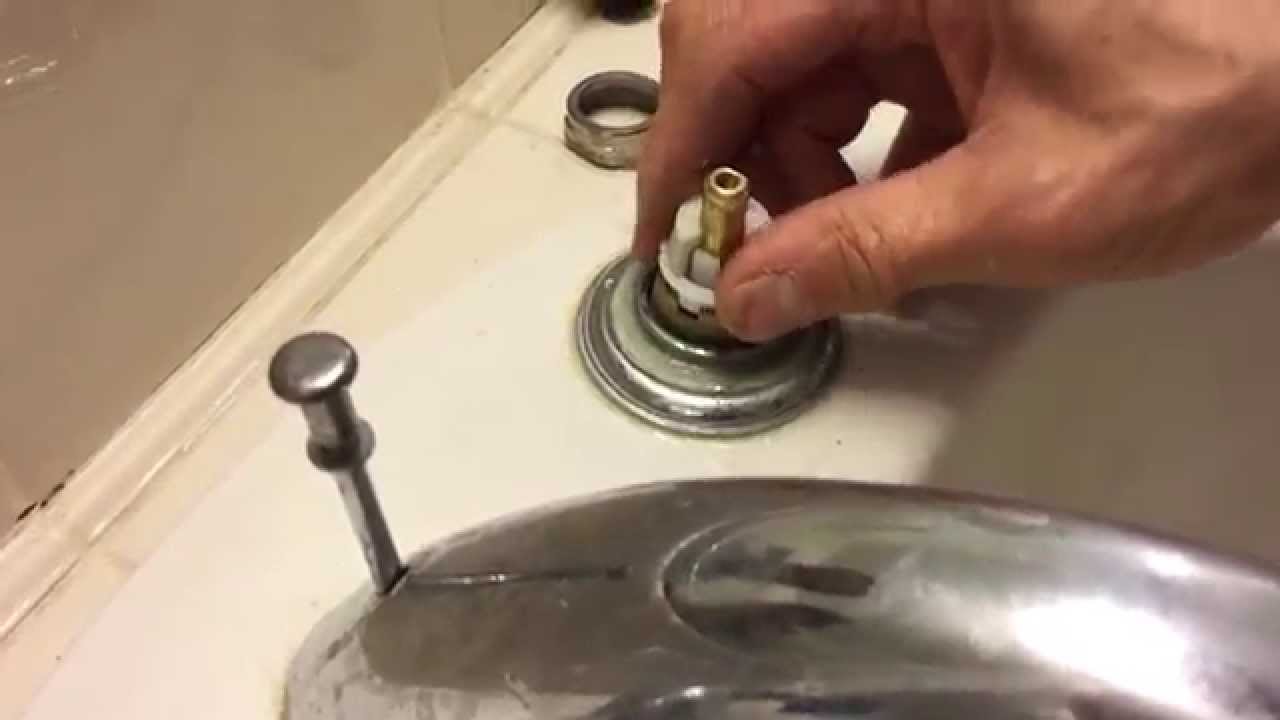
Step 1: Start by turning off the water supply to your sink. This can usually be done by turning off the shut-off valves located under the sink. If you can't find these valves, you may need to turn off the main water supply to your house. Step 2: Once the water supply is turned off, turn on the faucet to release any remaining water in the pipes. Then, use a wrench to disconnect the water supply lines from the old faucet. Step 3: Next, use pliers to loosen and remove the nuts that hold the old faucet in place. Once the nuts are removed, you should be able to lift the old faucet off the sink. Step 4: Now it's time to install the new Delta bathroom sink faucet. Start by placing the rubber gasket onto the base of the faucet, then insert the faucet into the mounting hole on the sink. Step 5: From under the sink, secure the faucet in place using the mounting nuts provided with the faucet. Use pliers to tighten the nuts, making sure not to over-tighten them. Step 6: Next, attach the hot and cold water supply lines to the corresponding sides of the faucet. Use Teflon tape on the threads of the supply lines to ensure a tight seal. Step 7: Once everything is securely in place, turn the water supply back on and test the faucet for any leaks. If you notice any leaks, tighten the connections with a wrench. Step 8: Finally, turn the faucet on and off a few times to make sure it's functioning properly. Congratulations, you've successfully installed your new Delta bathroom sink faucet! Step-by-Step Guide for Installing a Delta Bathroom Sink Faucet
Installing a new faucet in your bathroom can seem like a daunting task, but with a little DIY spirit, you can easily tackle this project yourself. By following the simple steps outlined in this guide, you can save money on installation costs and have the satisfaction of completing the job on your own. Plus, with a stylish Delta bathroom sink faucet, your bathroom will look like it's had a professional makeover. DIY: Installing a Delta Bathroom Sink Faucet
With the right tools and a little bit of patience, installing a Delta bathroom sink faucet is actually quite easy. The key is to make sure you have all the necessary materials and to follow the steps carefully. By doing so, you can have your new faucet installed and ready to use in under an hour. Easy Installation of a Delta Bathroom Sink Faucet
To make the installation process even smoother, here are a few tips to keep in mind: - Before you start, read the installation instructions provided with your Delta bathroom sink faucet. - If possible, have a friend or family member assist you with the installation. It can be helpful to have an extra set of hands. - Always turn off the water supply before starting the installation. - Make sure to use Teflon tape on all threaded connections to prevent leaks. Tips for Installing a Delta Bathroom Sink Faucet
While installing a Delta bathroom sink faucet is a relatively straightforward process, there are a few things you should know before getting started. First, make sure you have the correct faucet for your sink. Delta offers a variety of faucet styles and sizes, so choose one that will fit your sink and match your bathroom's decor. Additionally, it's important to turn off the water supply and release any remaining water in the pipes before starting the installation. And finally, don't be afraid to ask for help if you need it. Installing a faucet can be a two-person job, so don't hesitate to recruit a friend or family member for assistance. Delta Bathroom Sink Faucet Installation: What You Need to Know
We hope this guide has given you all the information you need to successfully install a Delta bathroom sink faucet. By following these steps and tips, you can easily upgrade your bathroom with a stylish and functional faucet. Remember, if you run into any issues during the installation process, don't hesitate to reach out to Delta's customer service for assistance. Happy faucet installing! Installing a Delta Bathroom Sink Faucet: A Comprehensive Guide
If you currently have a Delta bathroom sink faucet that needs to be replaced, the installation process will be very similar to installing a new faucet. Simply follow the steps outlined in this guide, making sure to properly disconnect and remove the old faucet before installing the new one. By replacing your old faucet with a new Delta one, you can give your bathroom a fresh and updated look. How to Replace and Install a Delta Bathroom Sink Faucet
While installing a Delta bathroom sink faucet is a fairly straightforward process, there are a few common issues that may arise. These include leaking connections, difficulty removing the old faucet, and compatibility issues. If you encounter any of these issues, refer to the installation instructions or contact Delta's customer service for assistance. With a little troubleshooting, you'll have your new faucet up and running in no time. Troubleshooting Common Issues When Installing a Delta Bathroom Sink Faucet
Why Choose a Delta Bathroom Sink Faucet for Your Home

Efficiency and Durability
 When it comes to choosing the perfect bathroom sink faucet for your home,
Delta
is a brand that stands out from the rest. With over 50 years of experience in the industry, Delta has established itself as a trusted and reliable brand for household plumbing fixtures. One of the main reasons why Delta bathroom sink faucets are a popular choice among homeowners is because of their
efficiency and durability
.
Innovative Designs and Technology
 Not only are Delta bathroom sink faucets built to last, but they also come in a variety of
innovative designs
that can enhance the overall look of your bathroom. From sleek and modern to classic and traditional, there is a Delta faucet style that will complement any bathroom design. Additionally, Delta is known for incorporating
cutting-edge technology
into their faucets, making them not only aesthetically pleasing but also highly functional.
Easy Installation Process
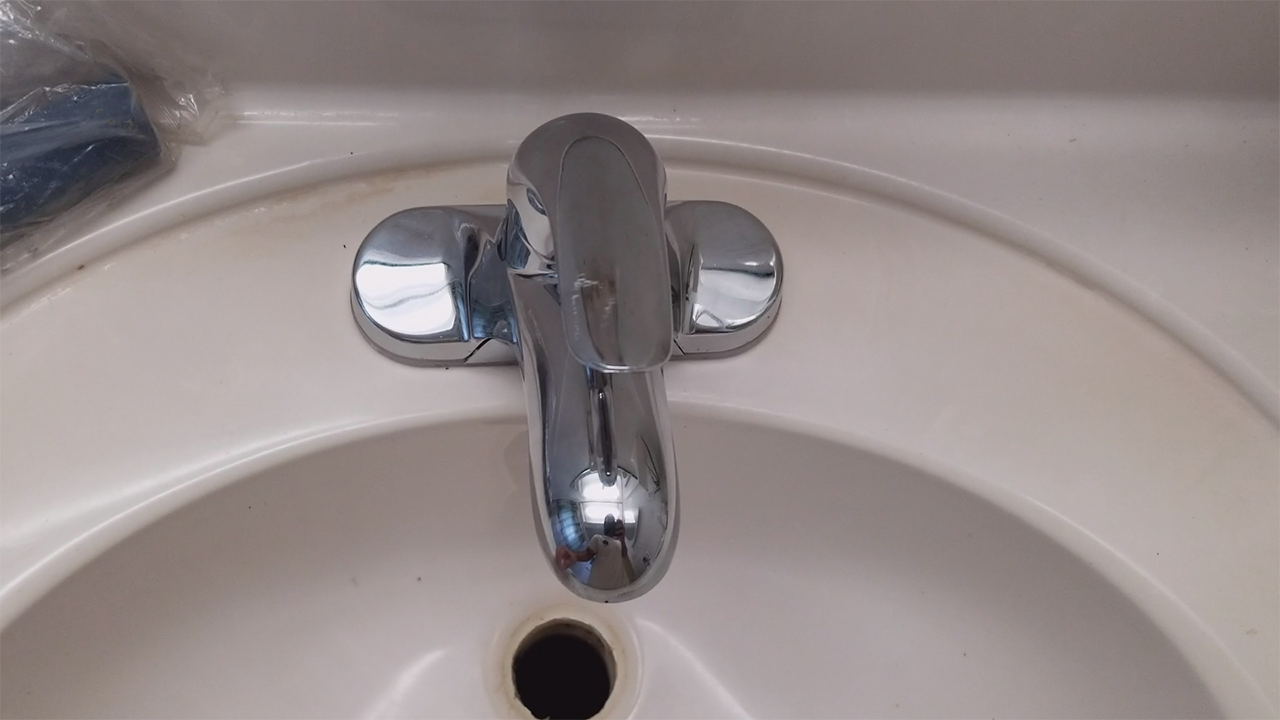 Aside from their efficiency and design, another reason why Delta bathroom sink faucets are a popular choice for homeowners is because of their
easy installation process
. Installing a Delta faucet requires minimal tools and can typically be done in a matter of minutes. With simple step-by-step instructions and online resources available, even those with little to no plumbing experience can successfully install a Delta faucet.
Water-Saving Features
 In today's world, where conservation and sustainability are becoming increasingly important, Delta bathroom sink faucets stand out with their
water-saving features
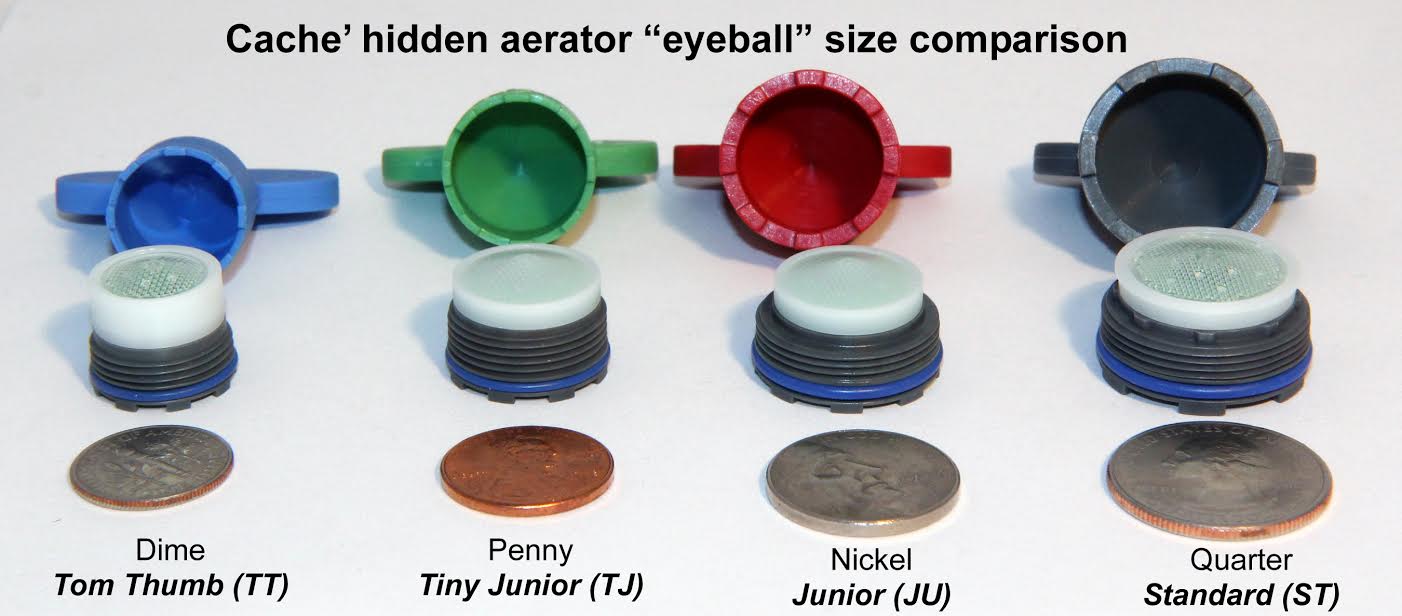
. Many of their faucets are equipped with aerators that limit the flow of water without sacrificing pressure, ultimately helping to reduce water consumption and save on utility bills. Some models also come with touchless technology, allowing for a hands-free and more hygienic experience while also conserving water.
In conclusion, if you're in the market for a new bathroom sink faucet, consider choosing a Delta faucet for its
efficiency, durability, innovative designs, easy installation process, and water-saving features
. With their reputation for quality and reliability, you can trust that a Delta faucet will not only elevate the look of your bathroom but also provide long-lasting functionality. So why settle for anything less than the best? Upgrade to a Delta bathroom sink faucet today and experience the difference for yourself.


