Installing a bathroom sink strainer may seem like a daunting task, but with the right tools and some basic knowledge, it can be a simple DIY project. Whether you're looking to replace an old strainer or install a new one for the first time, this guide will take you through the process step by step.1. Installing a Bathroom Sink Strainer: A Step-by-Step Guide
Before you begin, make sure you have all the necessary tools and materials. You will need a sink strainer, plumber's putty, a wrench, and a screwdriver. If you're replacing an old strainer, you may also need a hacksaw to remove it.2. Gather Your Tools and Materials
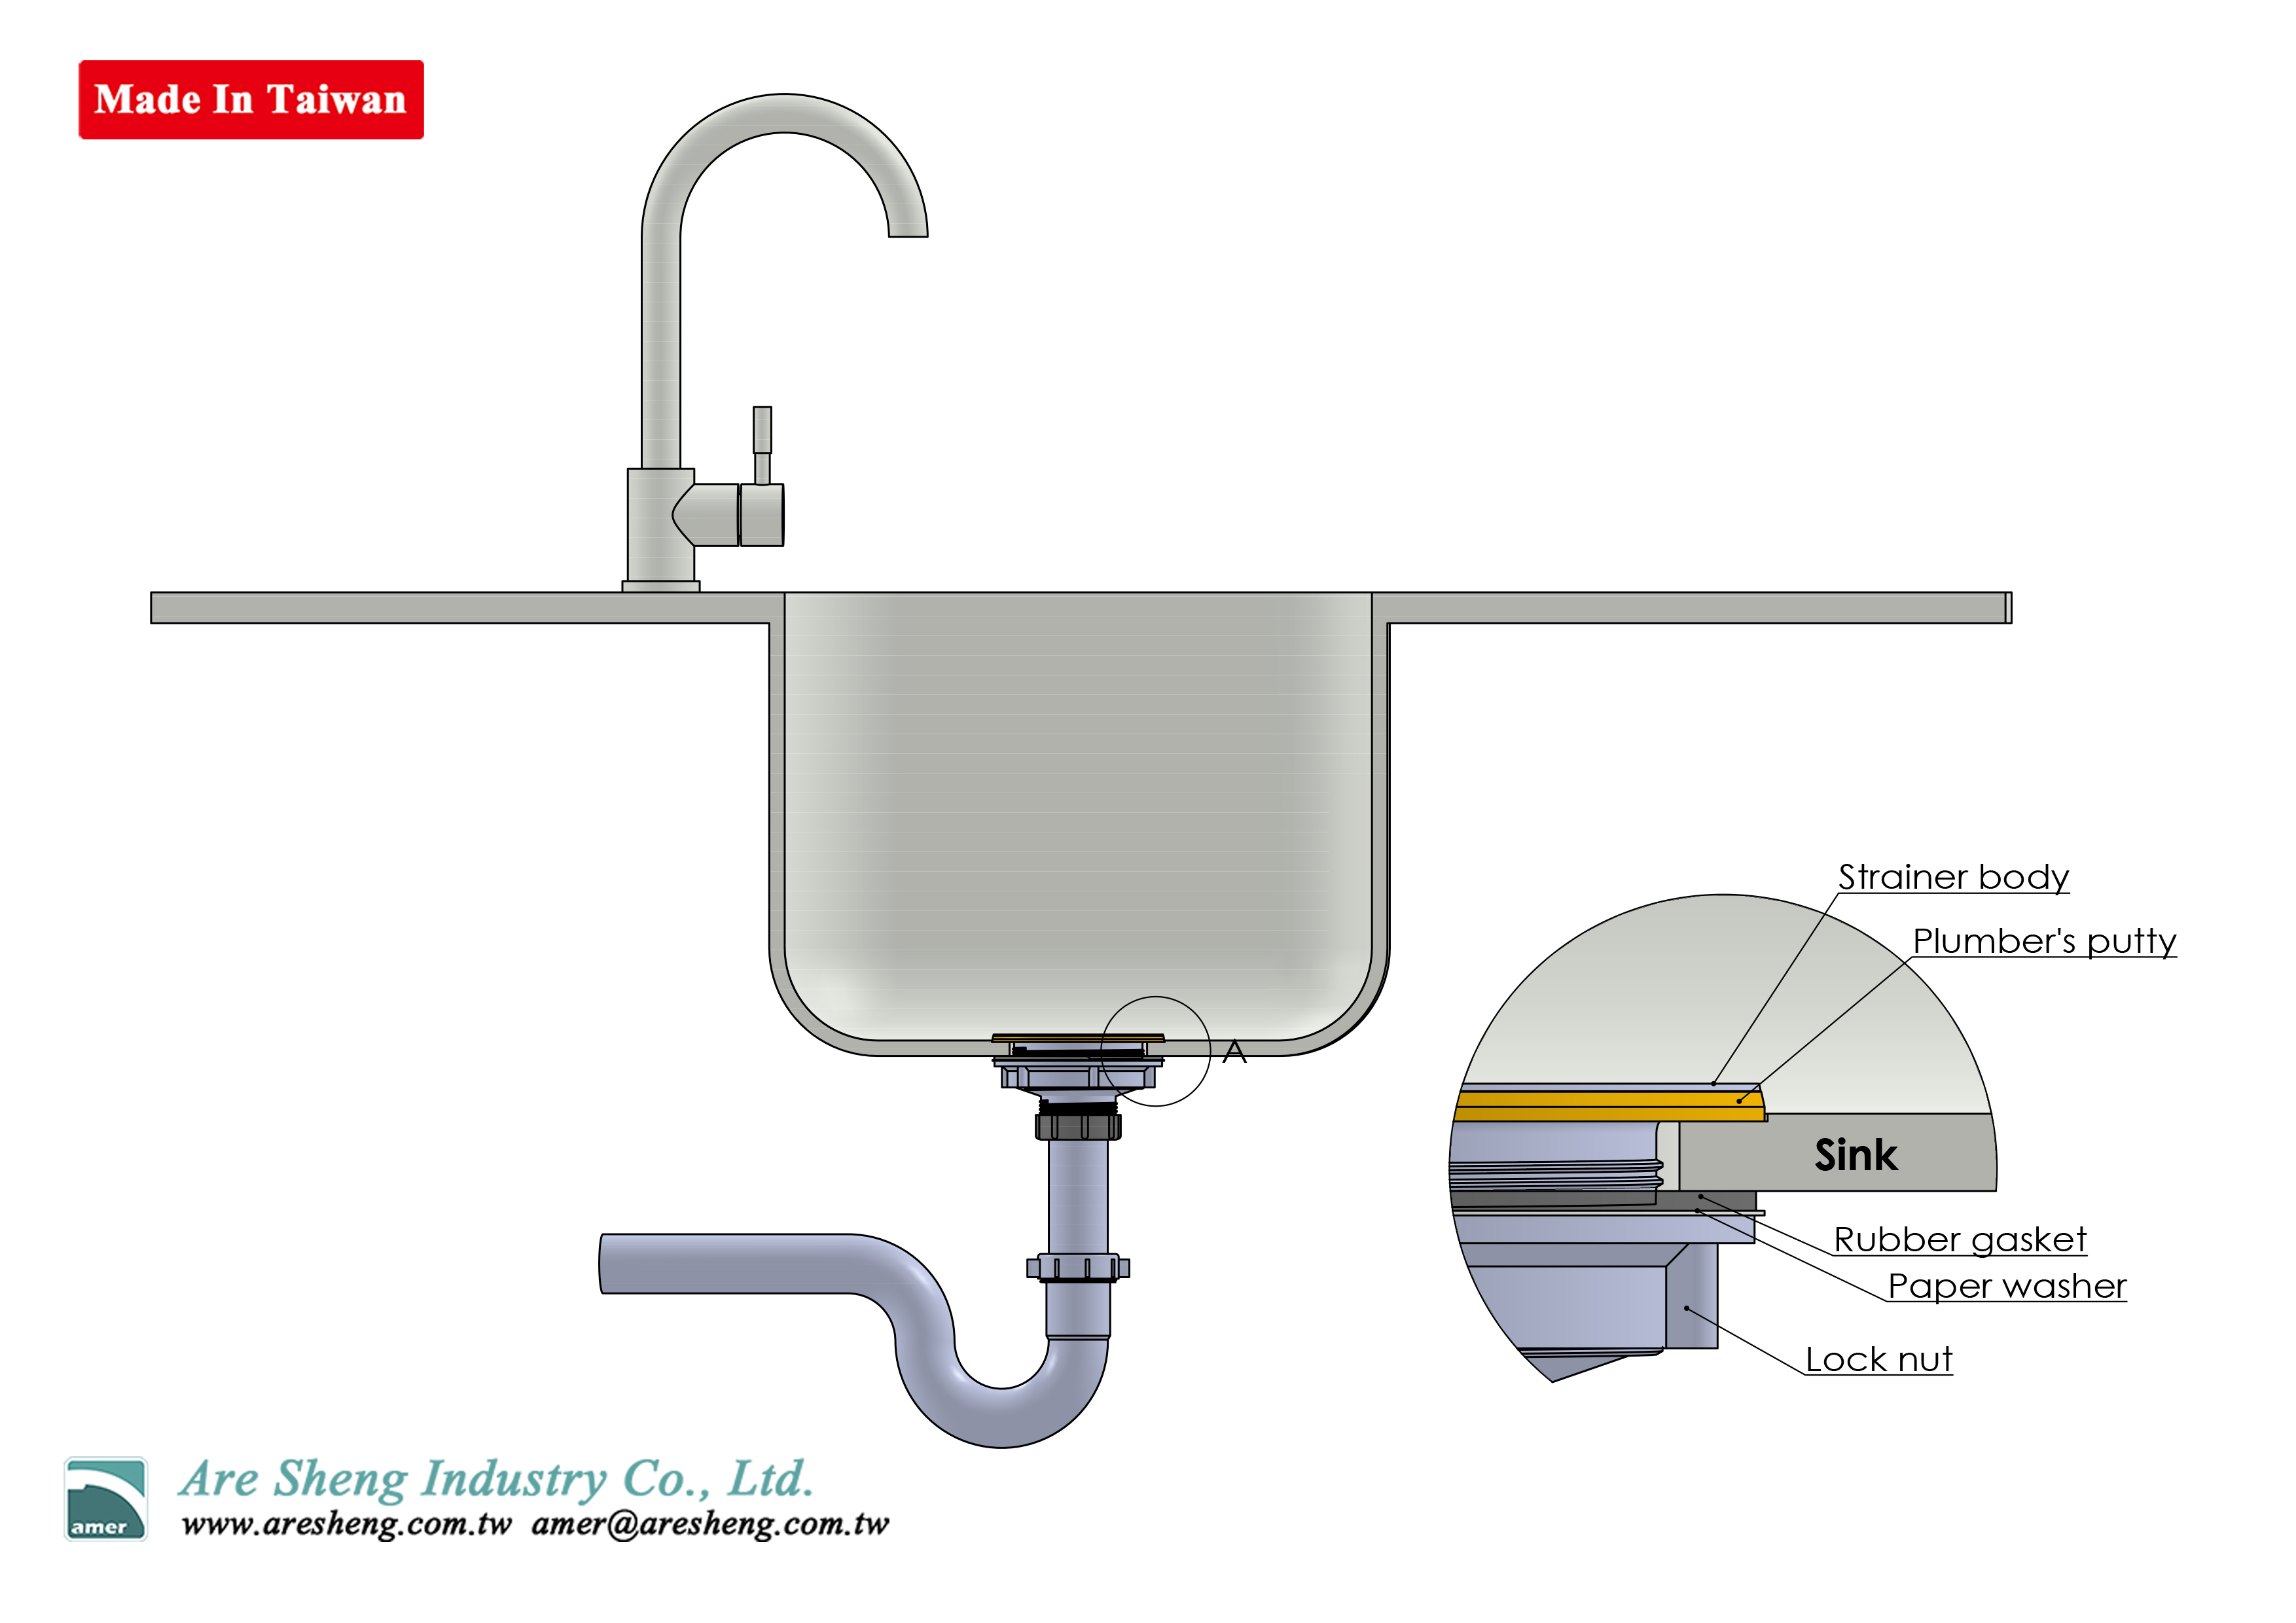
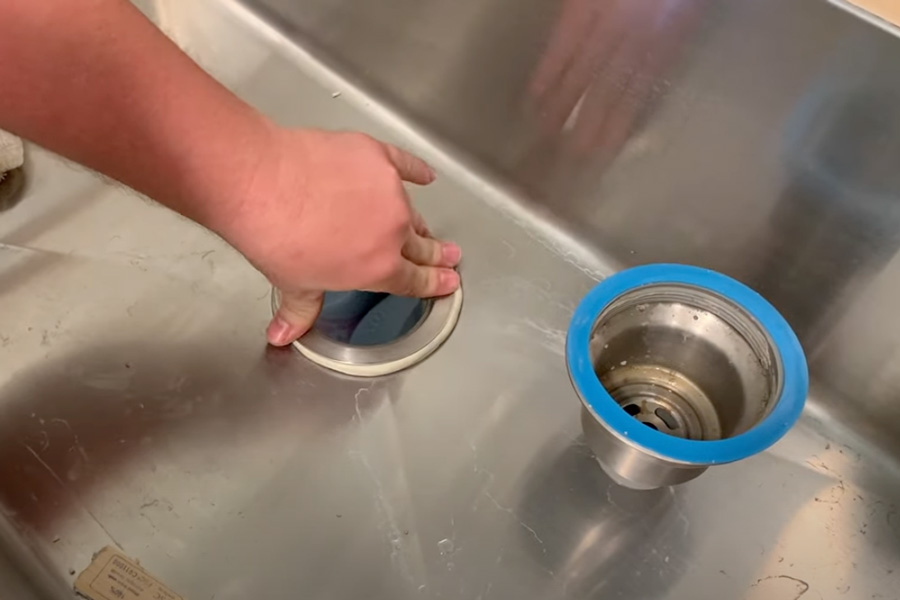
How to install a bathroom sink strainer may vary slightly depending on the type of sink you have, but the basic steps are the same. Step 1: Remove the old strainer (if applicable). Use a wrench to unscrew the locknut underneath the sink and remove the old strainer. If it's stuck, you may need to use a hacksaw to cut through the metal. Step 2: Clean the sink surface. Use a putty knife to scrape away any old putty or debris from the sink surface. Wipe it clean with a damp cloth. Step 3: Prepare the new strainer. Roll a small amount of plumber's putty into a thin snake-like shape and wrap it around the underside of the strainer lip. Step 4: Install the strainer. Place the strainer into the sink opening and press down firmly to create a tight seal. Step 5: Secure the strainer. From underneath the sink, place the rubber gasket and cardboard friction ring onto the strainer and screw on the locknut. Use a wrench to tighten it, being careful not to over-tighten and crack the sink. Step 6: Clean up. Use a damp cloth to wipe away any excess putty around the strainer.3. How to Install a Bathroom Sink Strainer
Here are a few tips to keep in mind when installing a bathroom sink strainer: - Make sure the strainer is centered in the sink opening for a proper seal. - Use a high-quality plumber's putty for a strong and long-lasting seal. - If your sink has a garbage disposal, make sure to remove the knockout before installing the strainer.4. Tips for Bathroom Sink Strainer Installation
Wondering if it's time to replace your bathroom sink strainer? Here are a few signs that it may be due for a replacement: - The strainer is cracked or damaged. - The strainer is rusted or corroded. - The strainer is no longer sealing properly, causing leaks. If you notice any of these issues, it's best to replace the strainer to avoid further damage to your sink and plumbing.5. Bathroom Sink Strainer Replacement: When to Do It
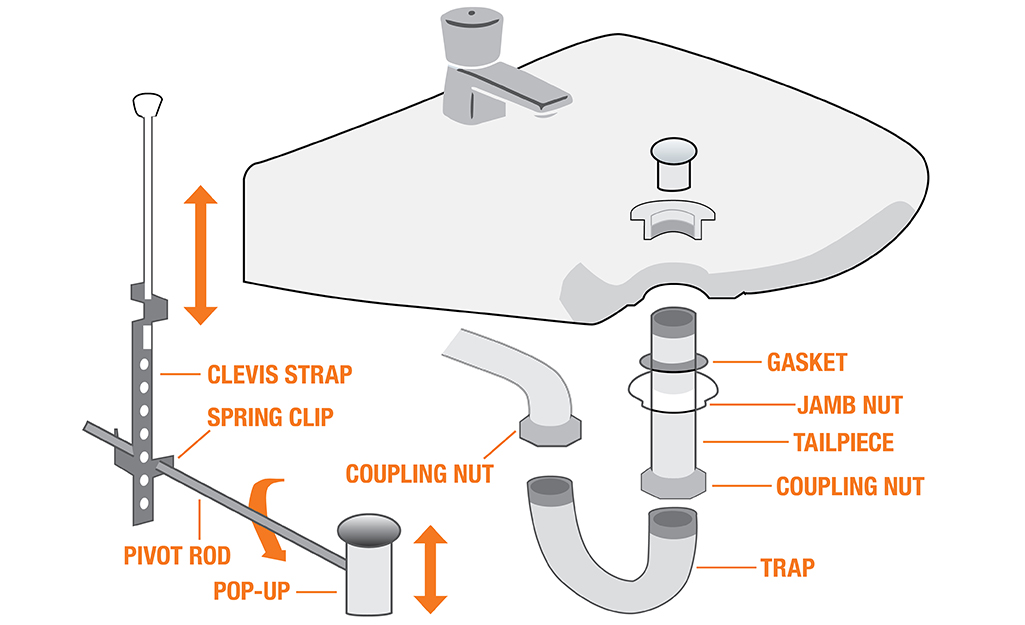
How to replace a bathroom sink strainer is similar to installing a new one, but with a few extra steps. Step 1: Remove the old strainer. Follow the same steps as mentioned above for removing an old strainer. Step 2: Clean the sink surface. Use a putty knife to scrape away any old putty or debris from the sink surface. Wipe it clean with a damp cloth. Step 3: Install the new strainer. Follow the installation steps mentioned earlier in this guide. Step 4: Connect the drain pipe. Use a wrench to connect the drain pipe to the strainer. If necessary, you can also attach a tailpiece and P-trap to the drain pipe for proper drainage. Step 5: Turn on the water supply. Once everything is securely connected, turn on the water supply and check for any leaks.6. How to Replace a Bathroom Sink Strainer
Depending on your level of experience and comfort with plumbing, you may be wondering if sink strainer replacement is a DIY project or if you should hire a professional. If you have basic plumbing knowledge and the necessary tools, it can be a simple DIY project. However, if you're unsure or uncomfortable with the process, it's always best to hire a professional for a safe and proper installation.7. Sink Strainer Replacement: DIY or Hire a Professional?
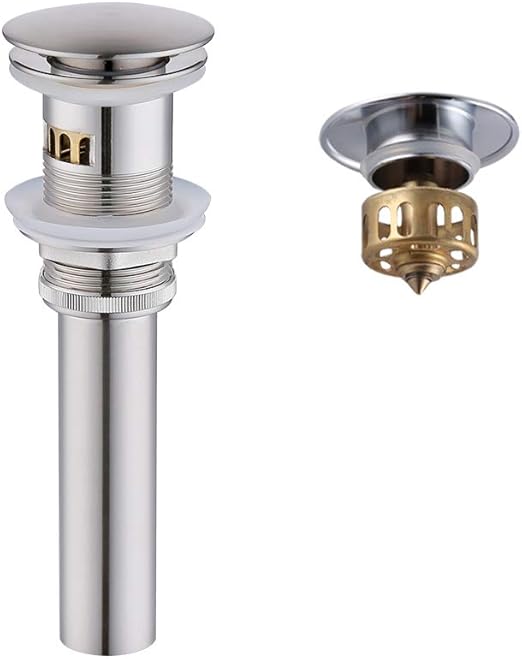
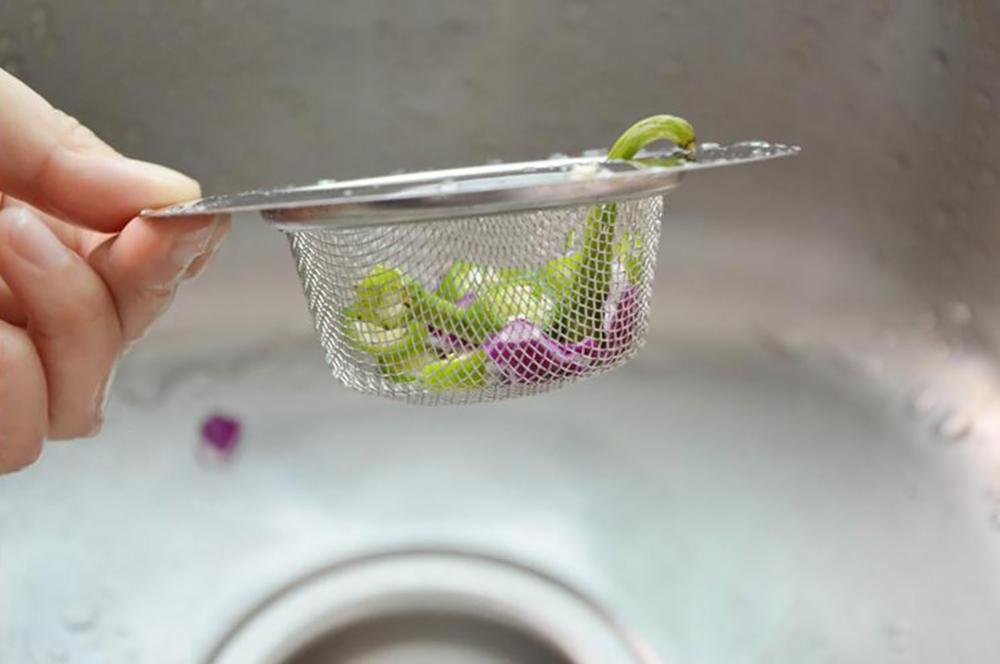
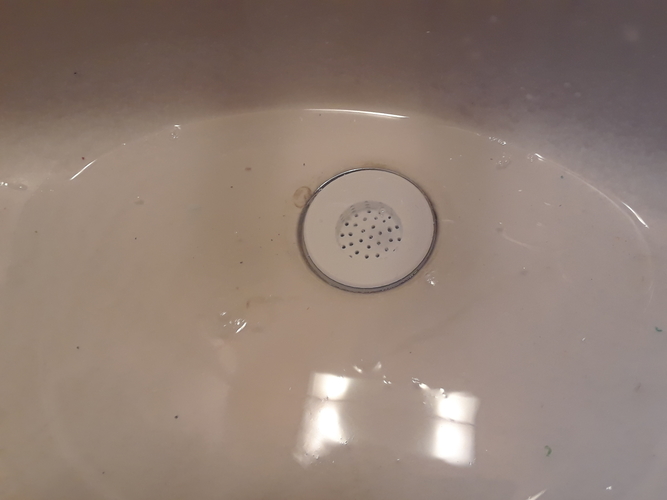
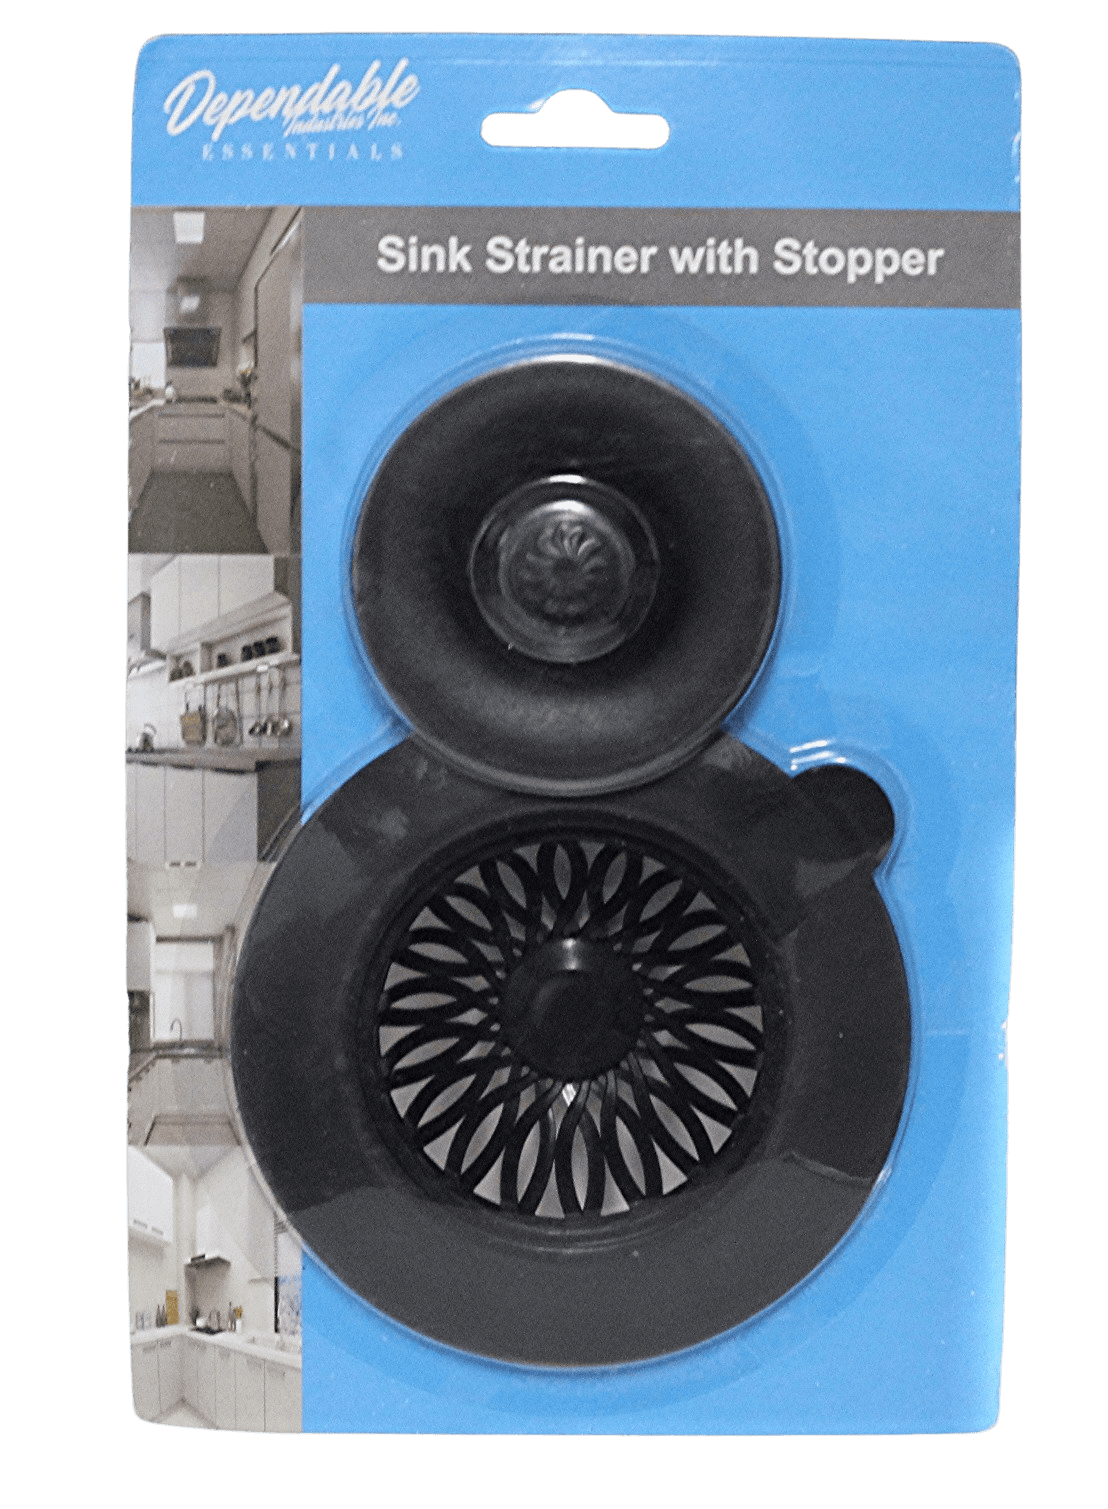
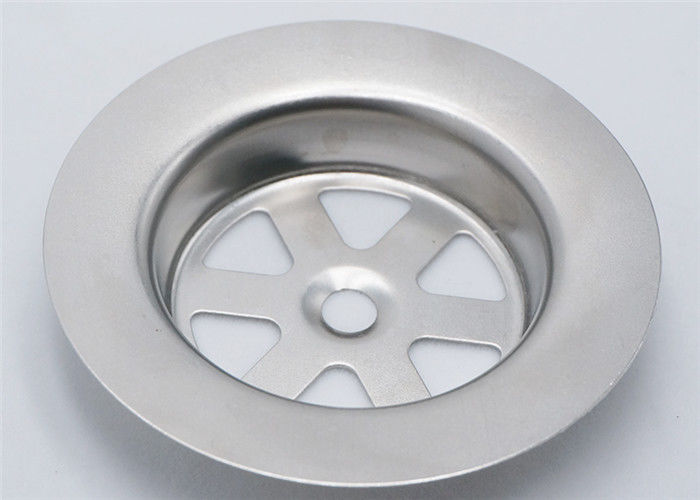
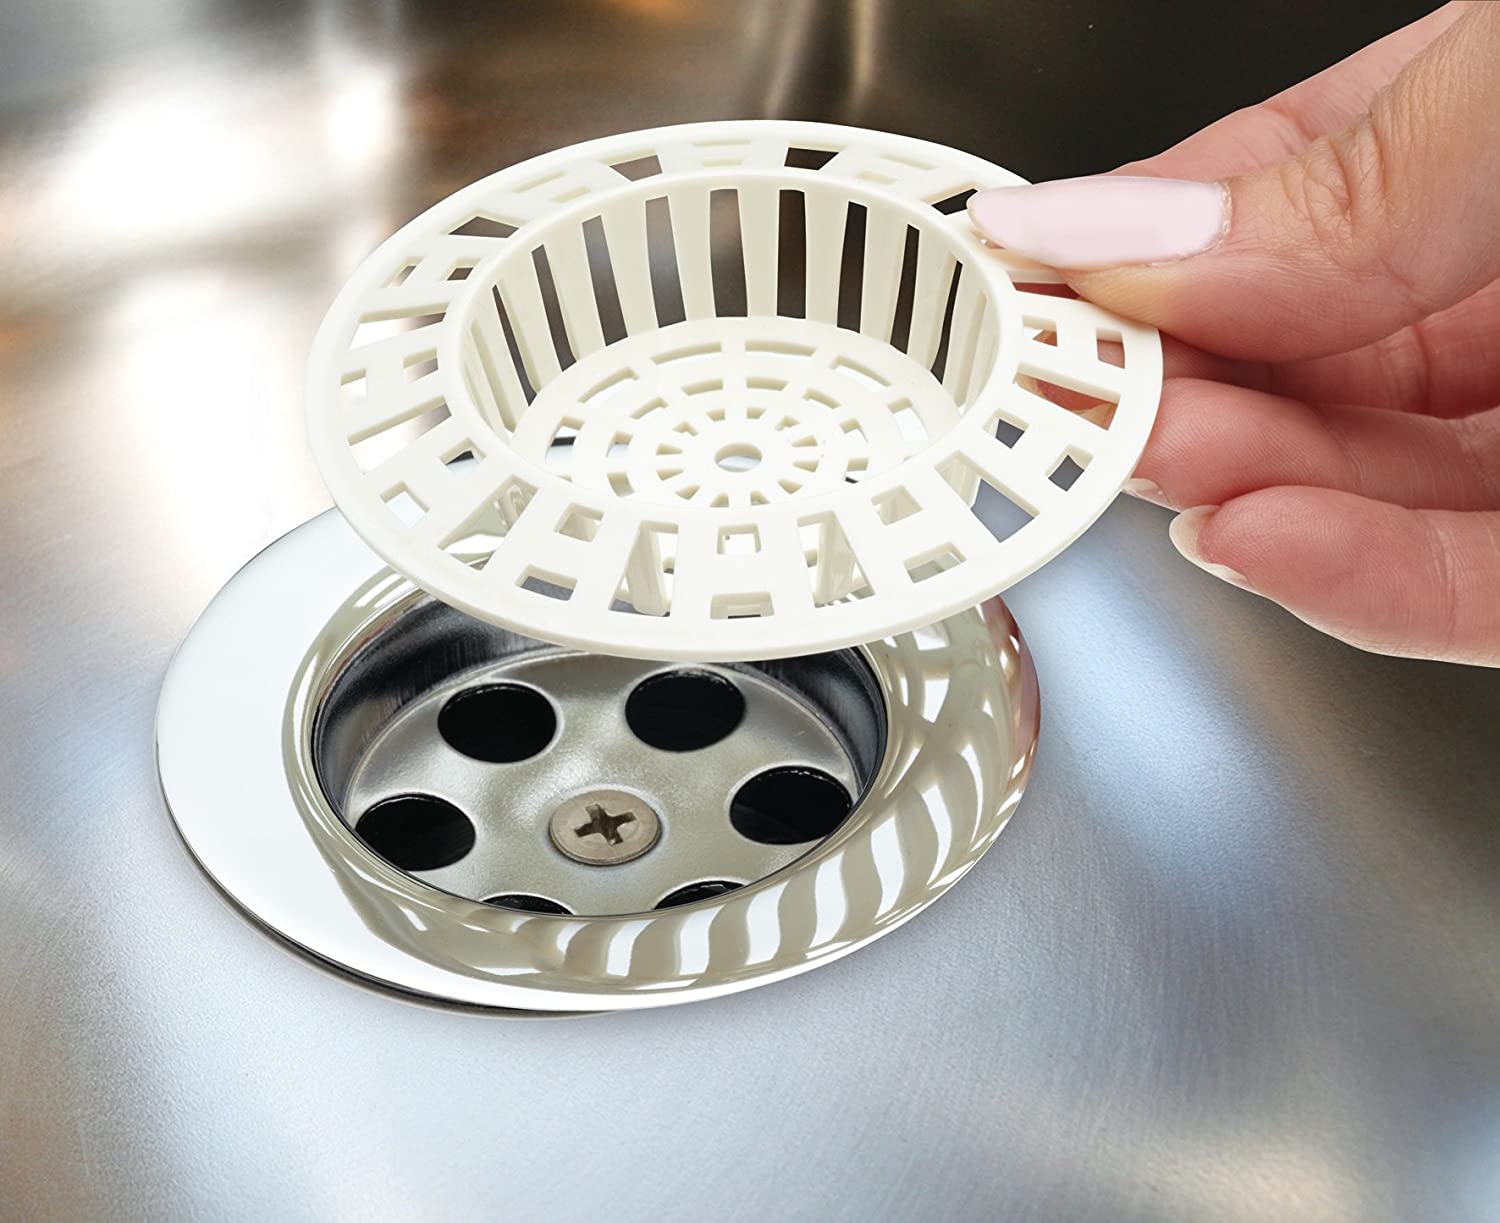
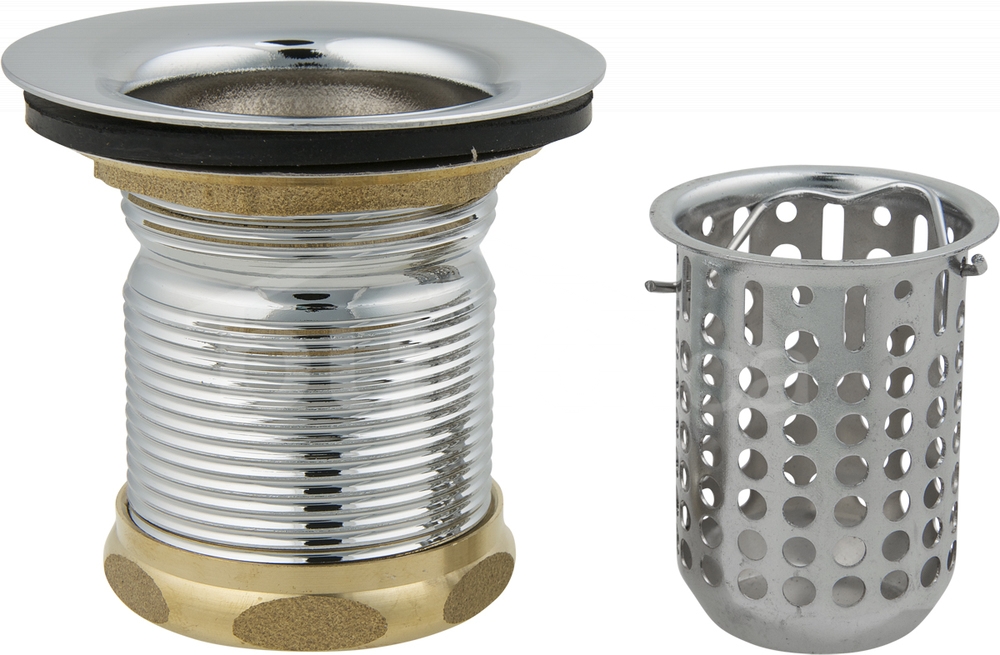
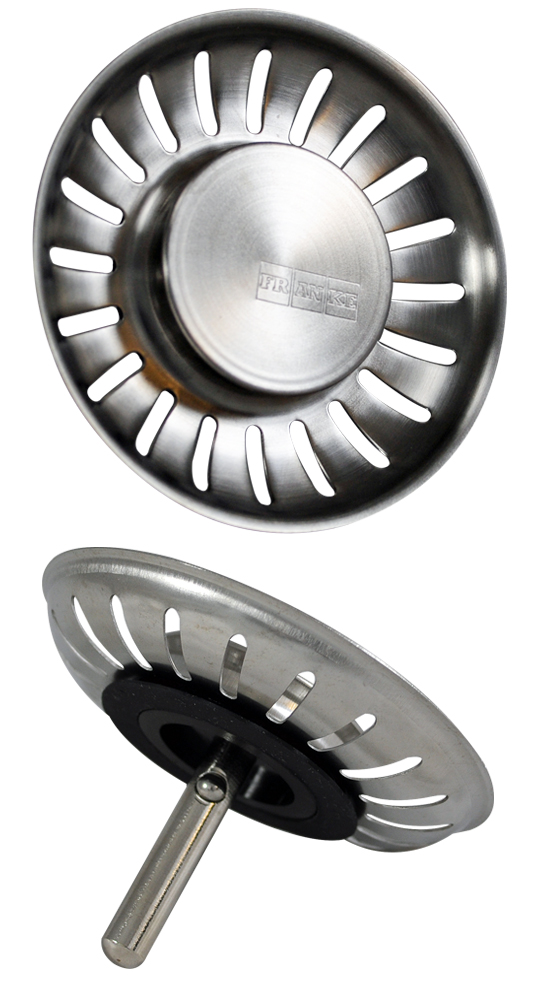
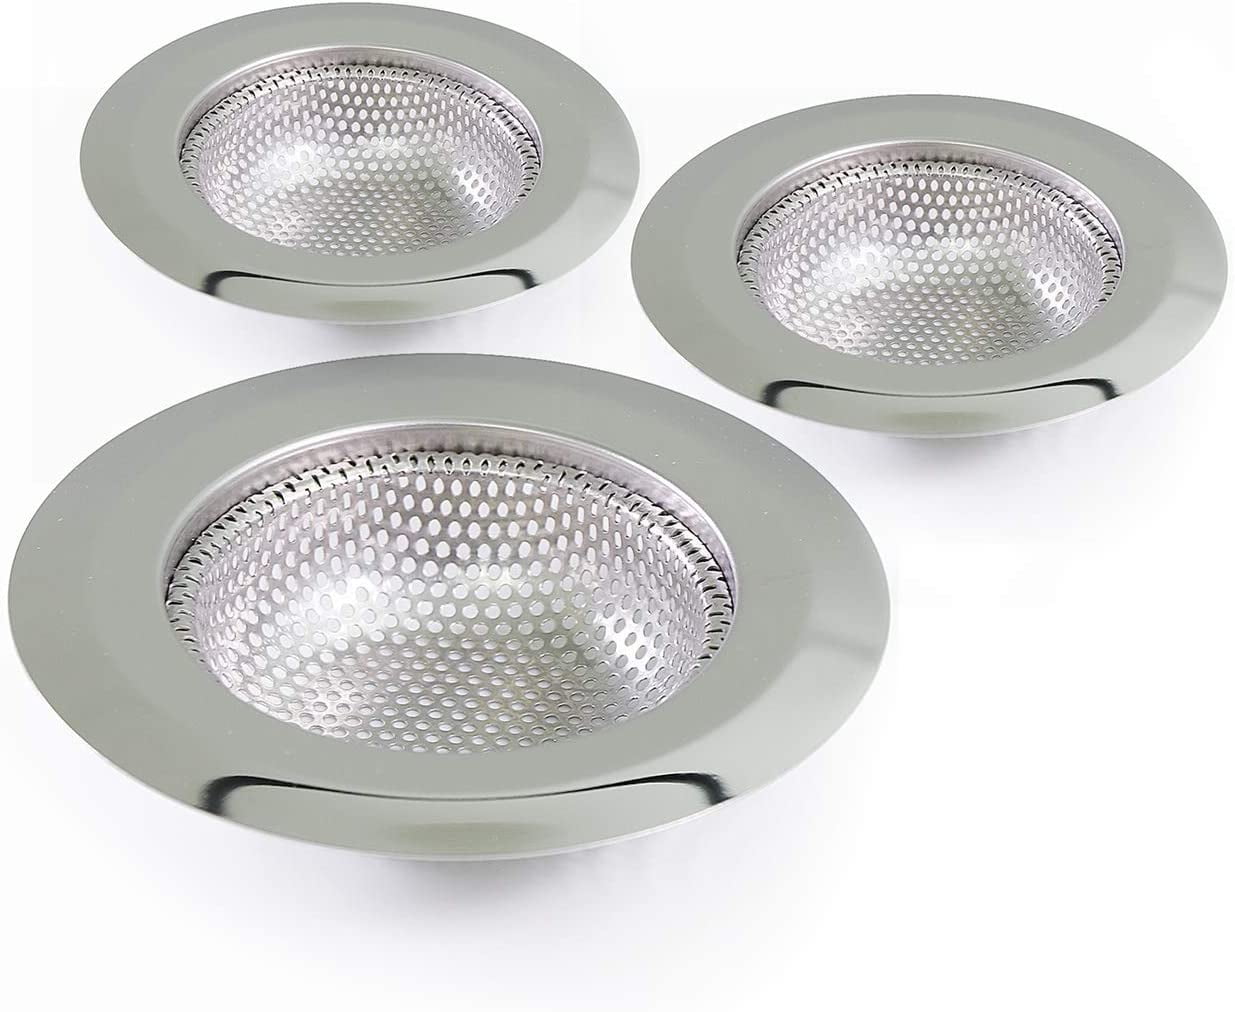
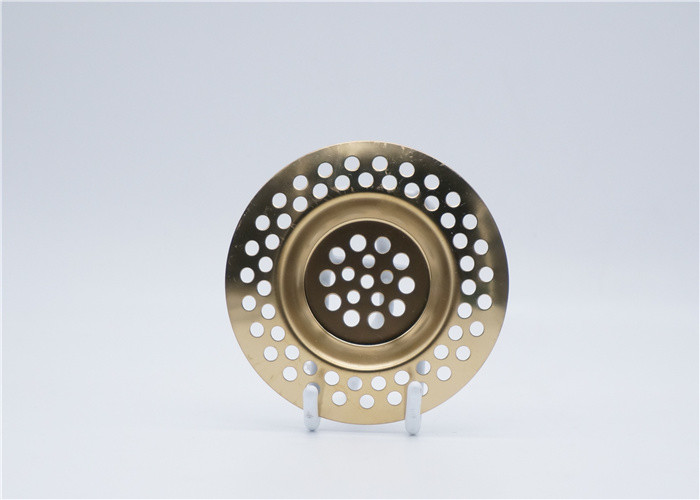
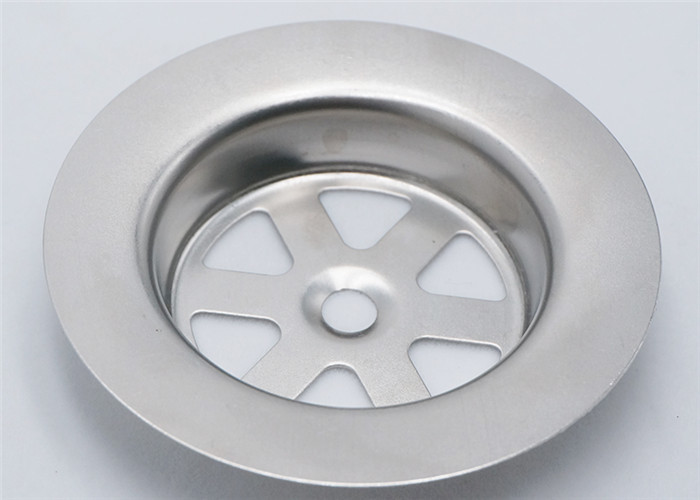
There are several types of bathroom sink strainers available, including: - Basket strainers: These are the most common type and have a removable basket for easy cleaning. - Pop-up strainers: These have a lever that allows you to open and close the drain. - Push-in strainers: These simply push into the drain opening and have no moving parts. - Grid strainers: These have a flat surface with holes for drainage.8. Types of Bathroom Sink Strainers
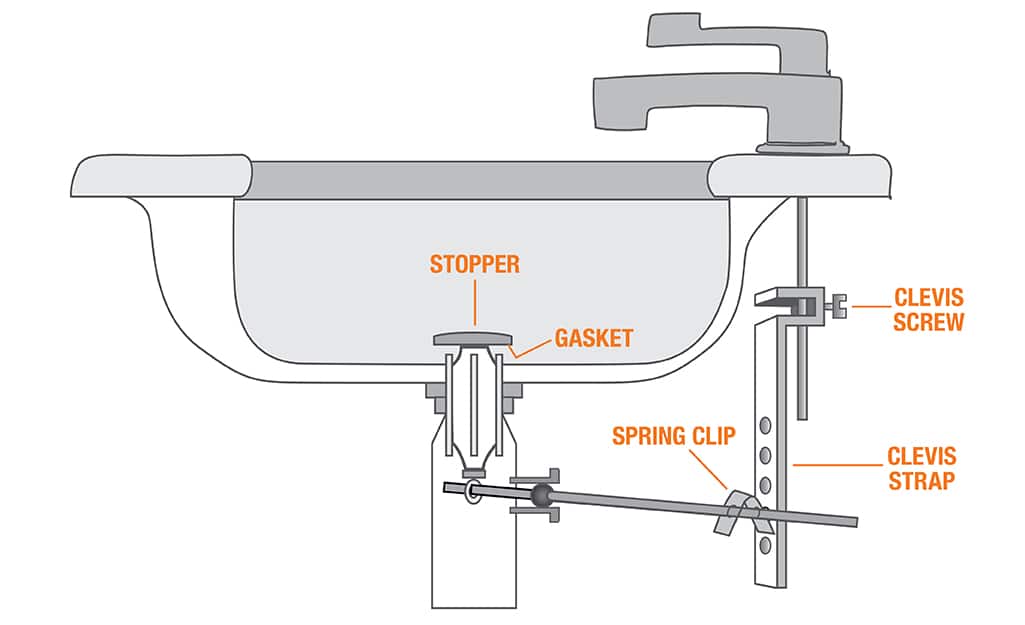
When installing a bathroom sink strainer, it's important to know the different parts and their functions: - Strainer body: This is the main part of the strainer that sits in the sink opening. - Locknut: This secures the strainer to the sink. - Rubber gasket: This creates a watertight seal between the strainer and the sink. - Cardboard friction ring: This helps to prevent the strainer from moving or shifting. - Drain pipe: This connects the strainer to the P-trap and allows water to drain.9. Bathroom Sink Strainer Parts: What You Need to Know
Now that you know the basics of bathroom sink strainer installation, you can confidently tackle this project on your own. Remember to gather all the necessary tools and materials, follow the steps carefully, and don't hesitate to call a professional if needed. With a new strainer in place, your bathroom sink will be functioning properly and looking great in no time.10. Conclusion
Why Choose a Bathroom Sink Strainer for Your Home

Maximizing Functionality and Aesthetics
 Bathroom sinks are an essential part of any house design. They not only serve a functional purpose, but they also contribute to the overall aesthetics of the space. When it comes to choosing the right bathroom sink,
installing a sink strainer
is a wise choice that can greatly enhance both functionality and aesthetics.
Preventing Clogs and Blockages
 One of the main benefits of
installing a bathroom sink strainer
is that it helps prevent clogs and blockages in your plumbing system. The strainer acts as a barrier, catching any hair, soap scum, or other debris that may otherwise go down the drain and cause issues in your pipes. This not only saves you from the hassle of dealing with clogs, but it also saves you money on potential plumbing repairs.
Easy to Clean and Maintain
 Another advantage of
using a sink strainer
is that it is easy to clean and maintain. The strainer can be easily removed from the sink and cleaned, making it a hygienic option for your bathroom. Regularly cleaning the strainer can also prevent bacteria and mold from growing, ensuring a clean and healthy bathroom.
Affordable and Versatile
 Installing a bathroom sink strainer is an affordable and versatile option for any house design. With a variety of materials and designs to choose from, you can easily find a strainer that complements your bathroom decor. Additionally,
using a sink strainer
is not limited to just the bathroom sink. It can also be used in kitchen sinks or utility sinks, providing a versatile solution for any space.
Conclusion
 In conclusion,
installing a bathroom sink strainer
is a smart choice for any house design. It offers numerous benefits such as preventing clogs, easy maintenance, and versatility. With its functional and aesthetic advantages, a sink strainer is a must-have for any well-designed bathroom. So why wait? Upgrade your bathroom sink with a strainer and enjoy a hassle-free and stylish experience.


