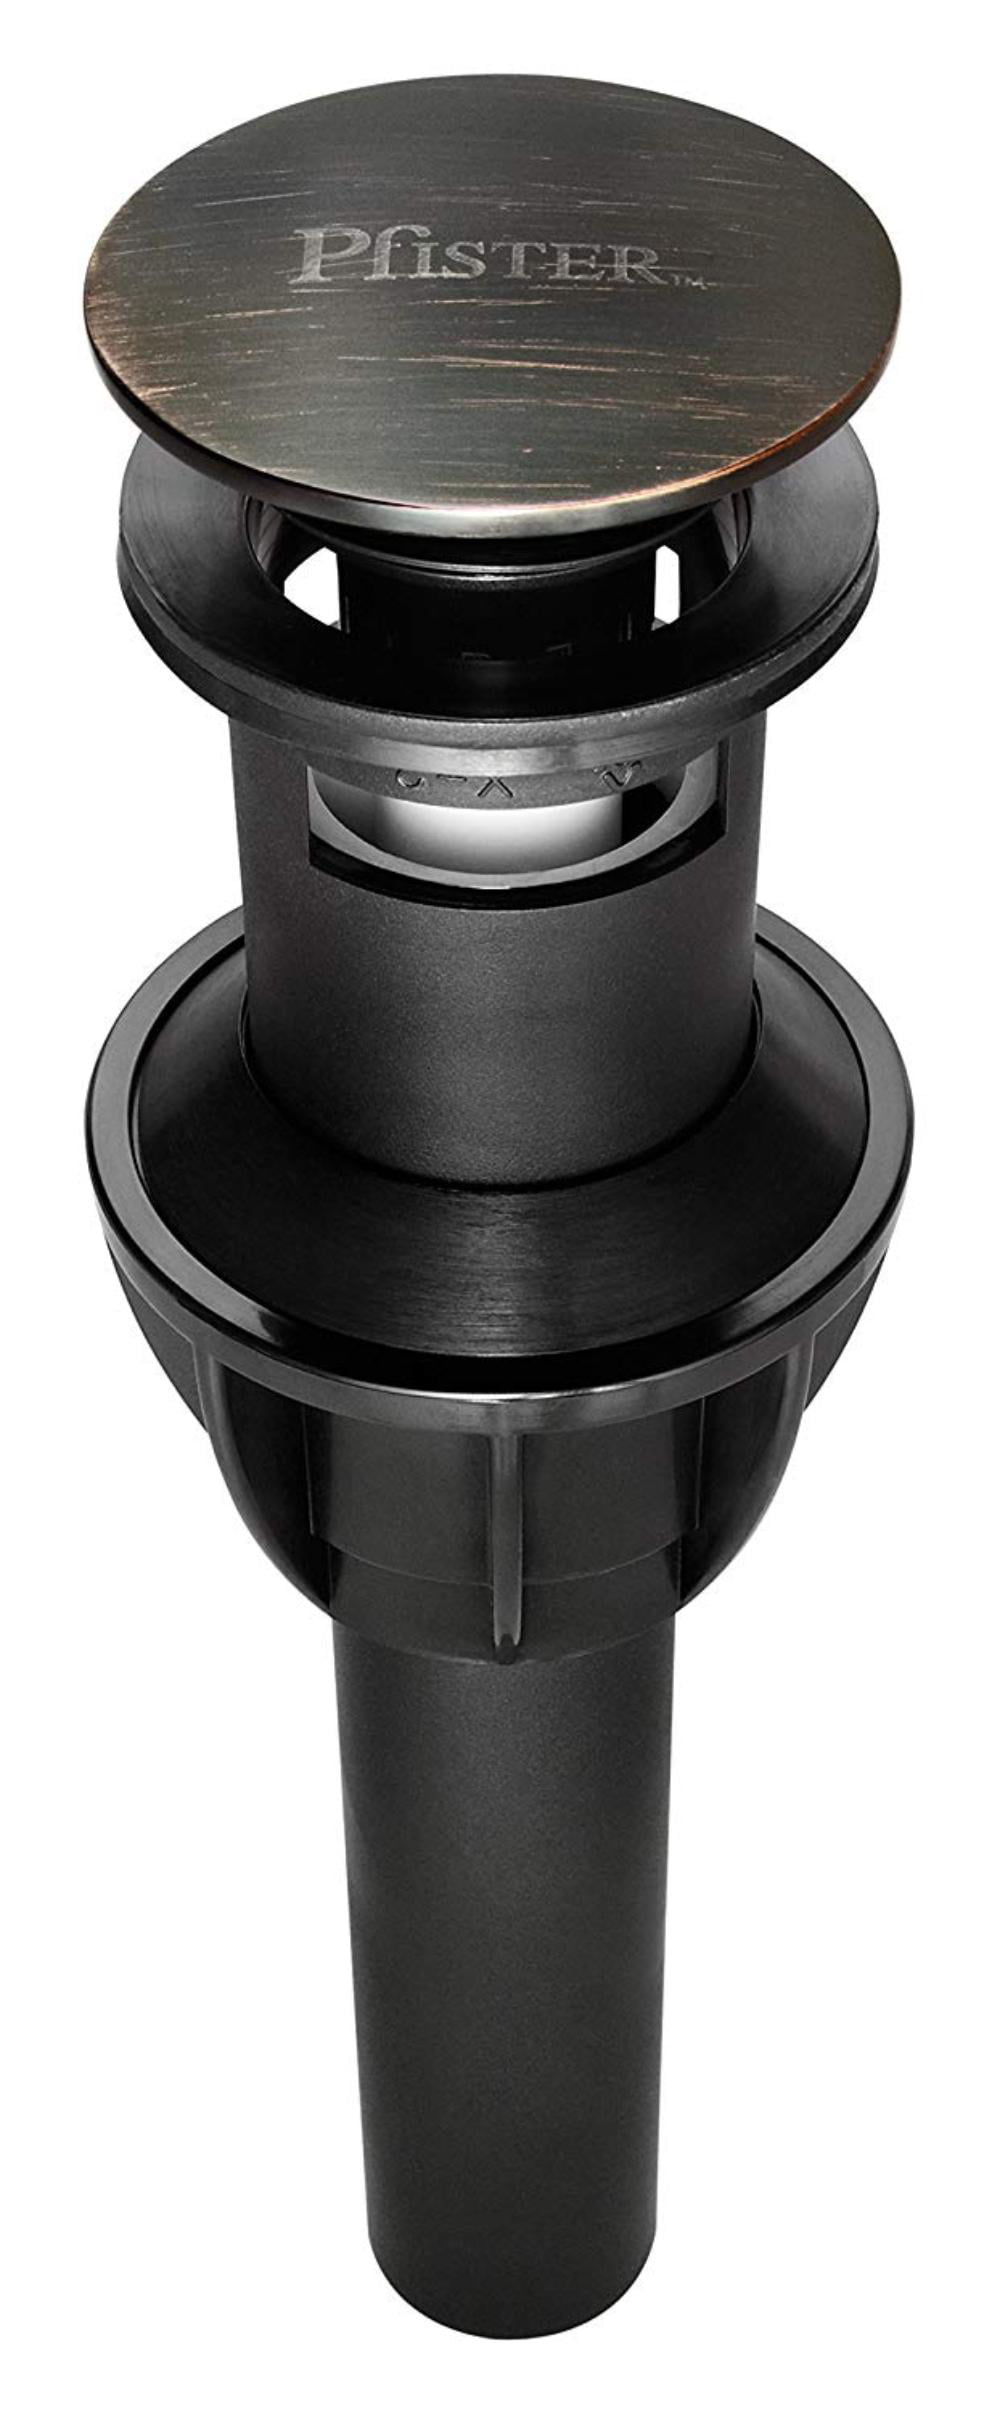
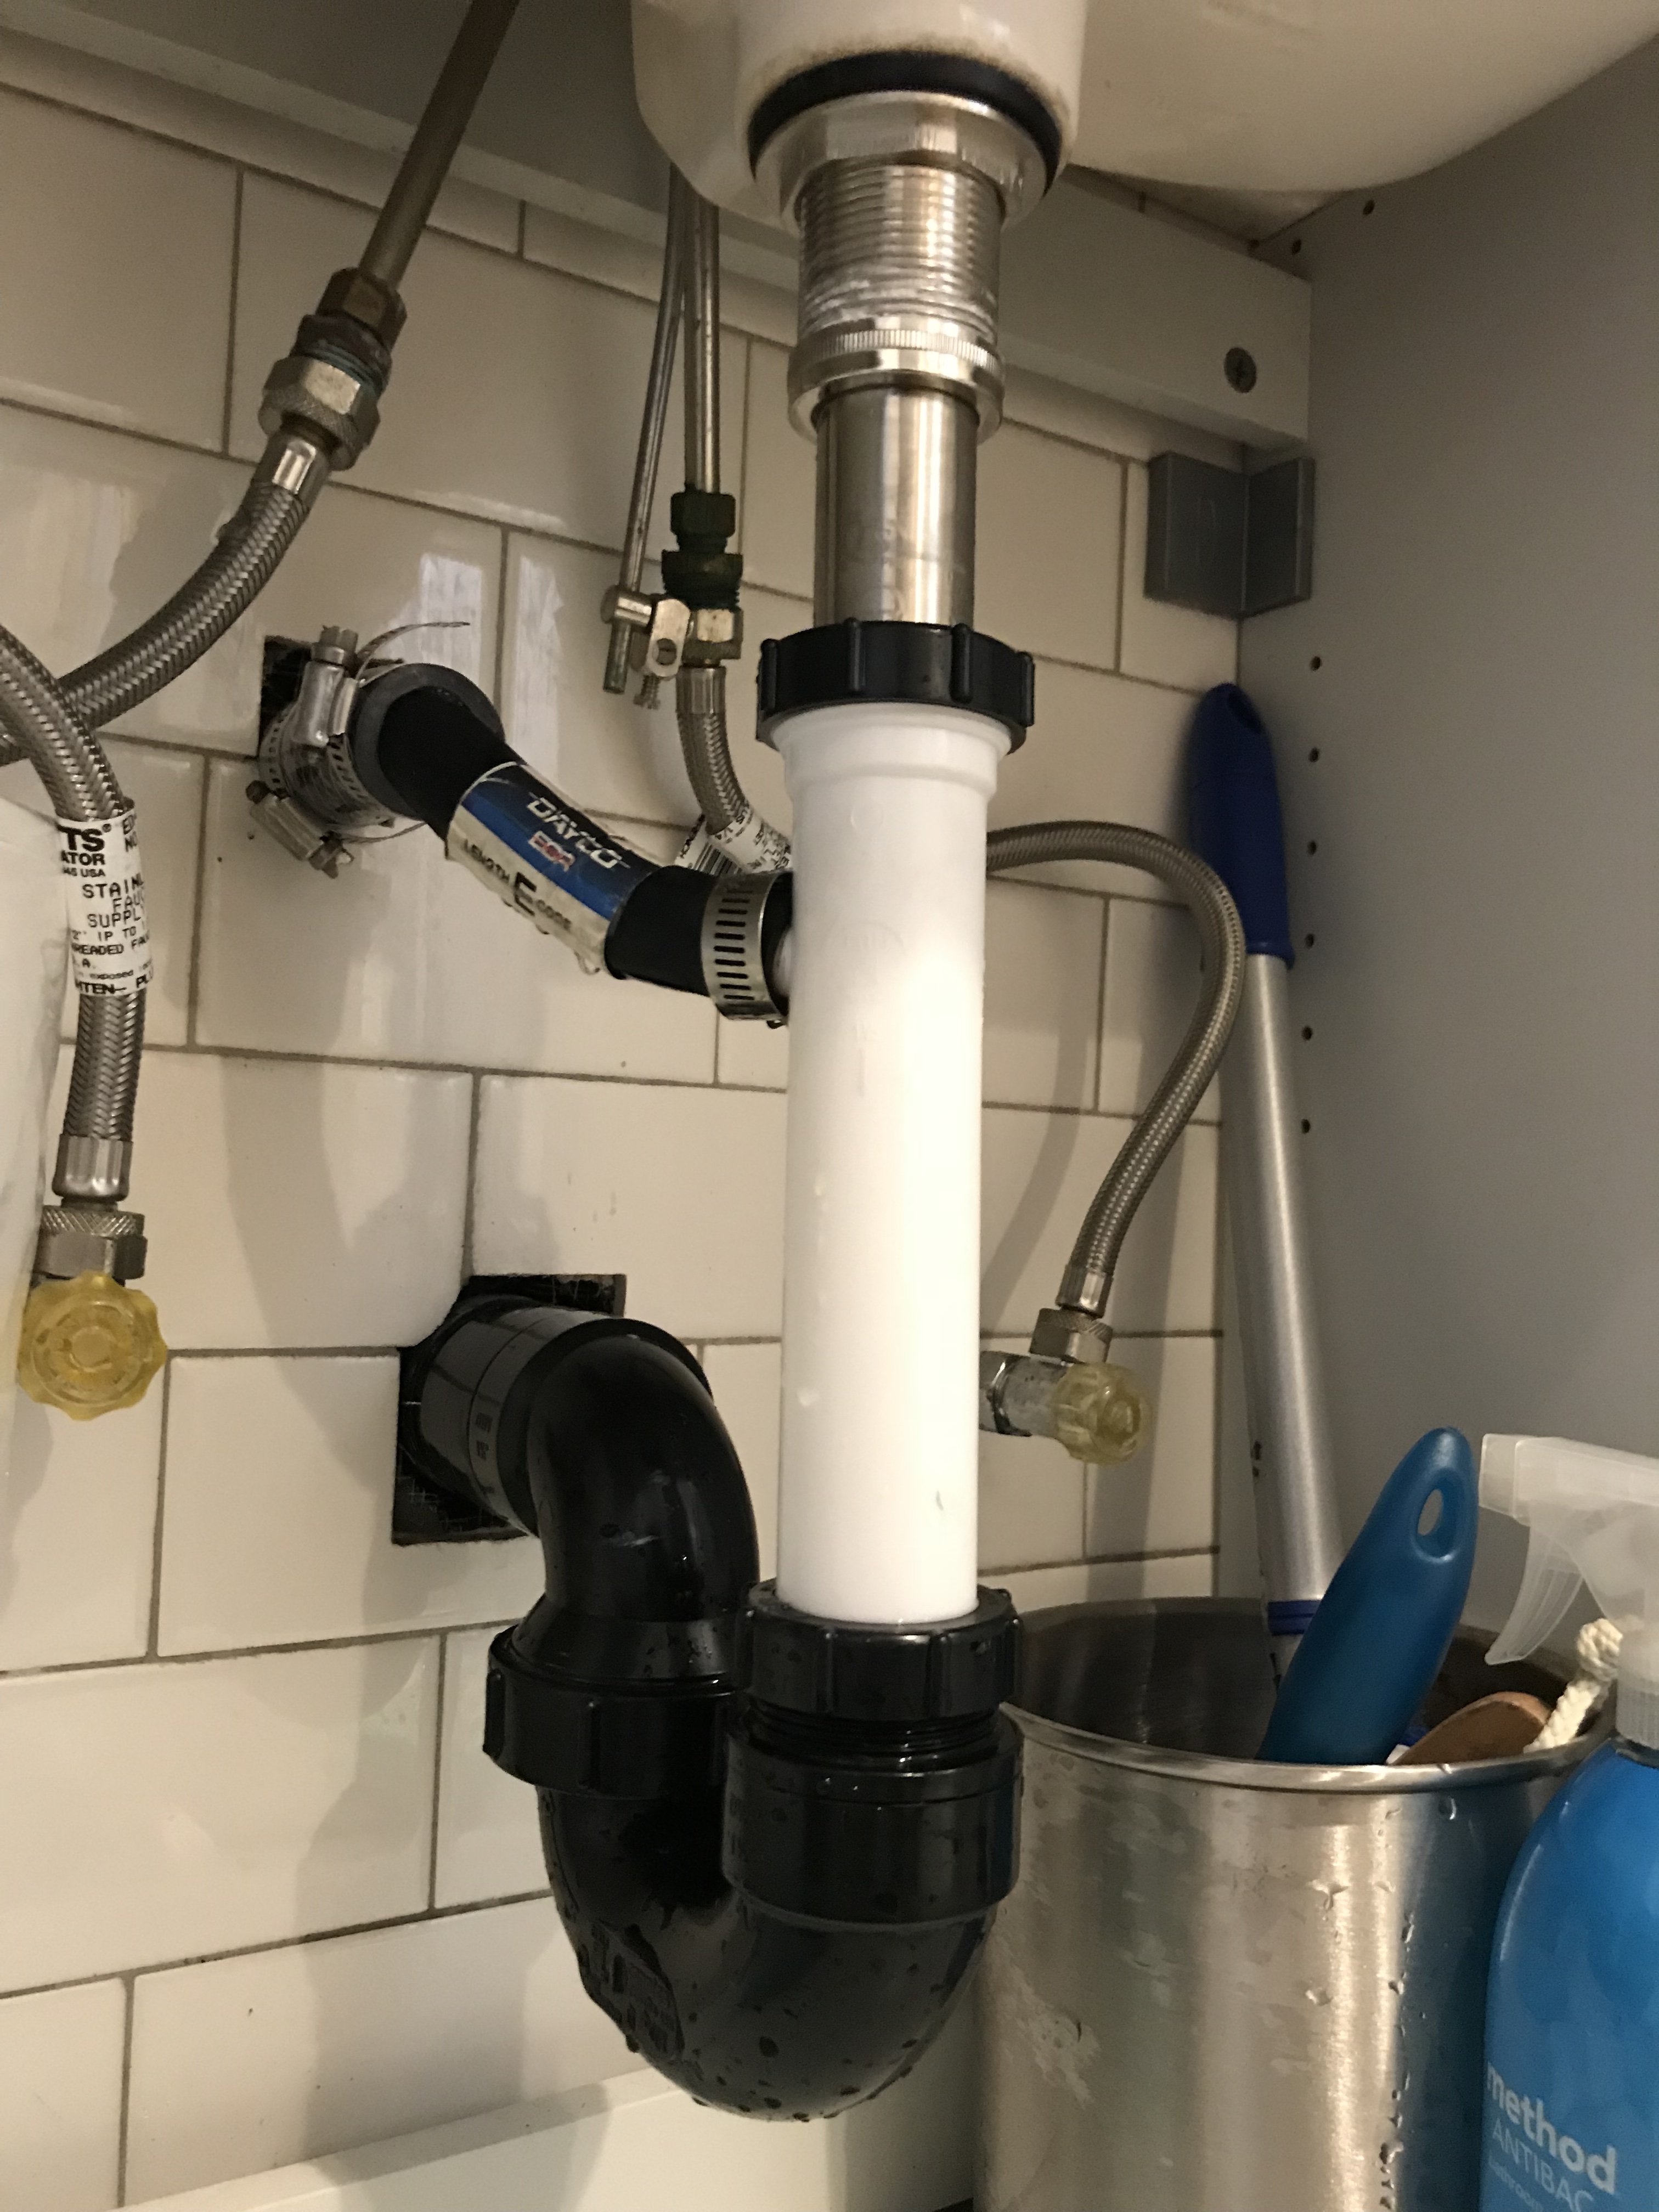
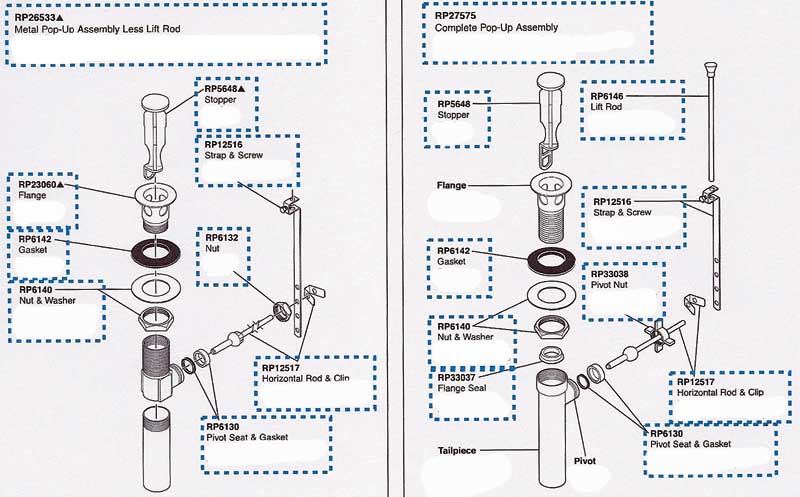
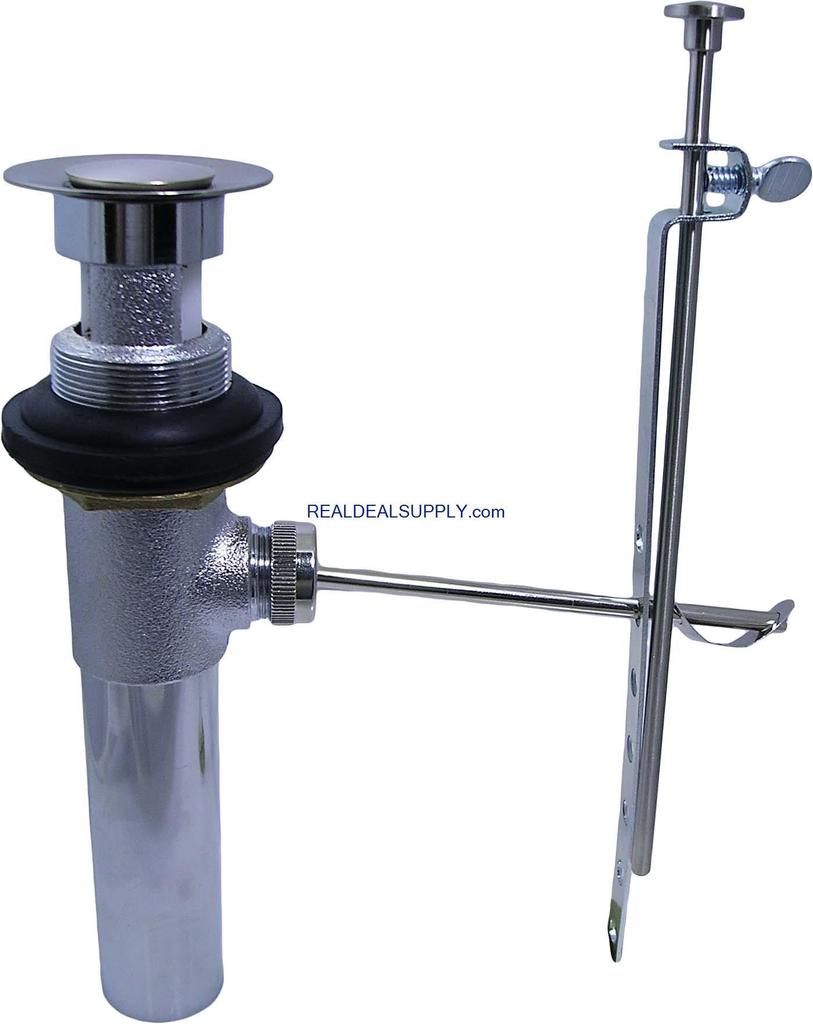
Installing a new bathroom sink popup assembly can seem like a daunting task, but with the right tools and instructions, it can be a simple and straightforward process. In this guide, we'll walk you through the steps to successfully install a bathroom sink popup assembly, from start to finish.1. Installing a Bathroom Sink Popup Assembly: A Step-by-Step Guide
Before beginning the installation process, it's important to make sure you have all the necessary tools and materials. You will need a pair of pliers, an adjustable wrench, plumber's putty, and a new popup assembly kit. Make sure to purchase a kit that is compatible with your specific sink model.2. Gathering the Necessary Tools and Materials
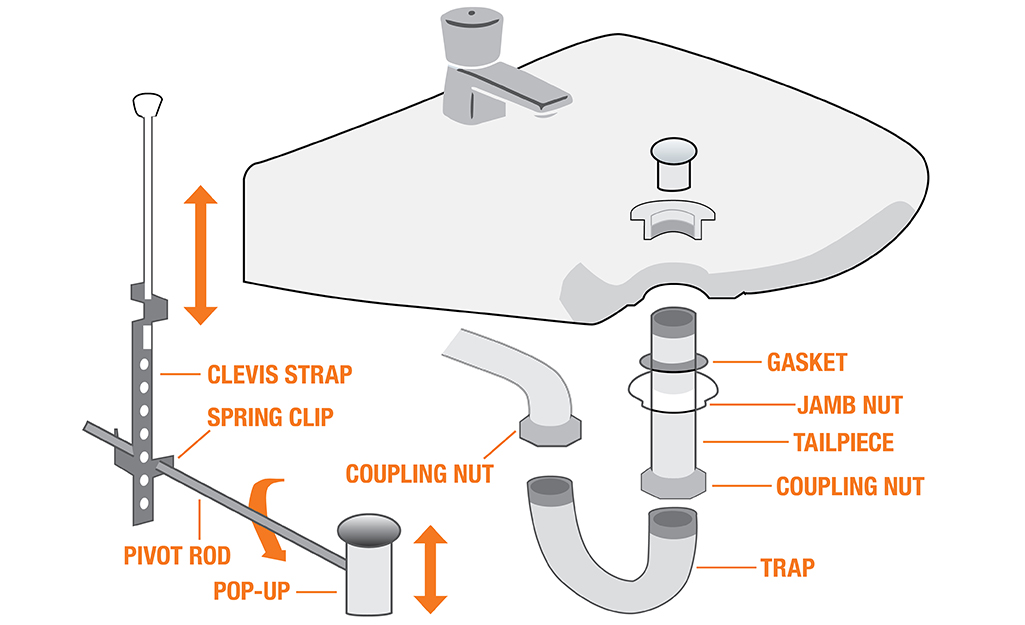
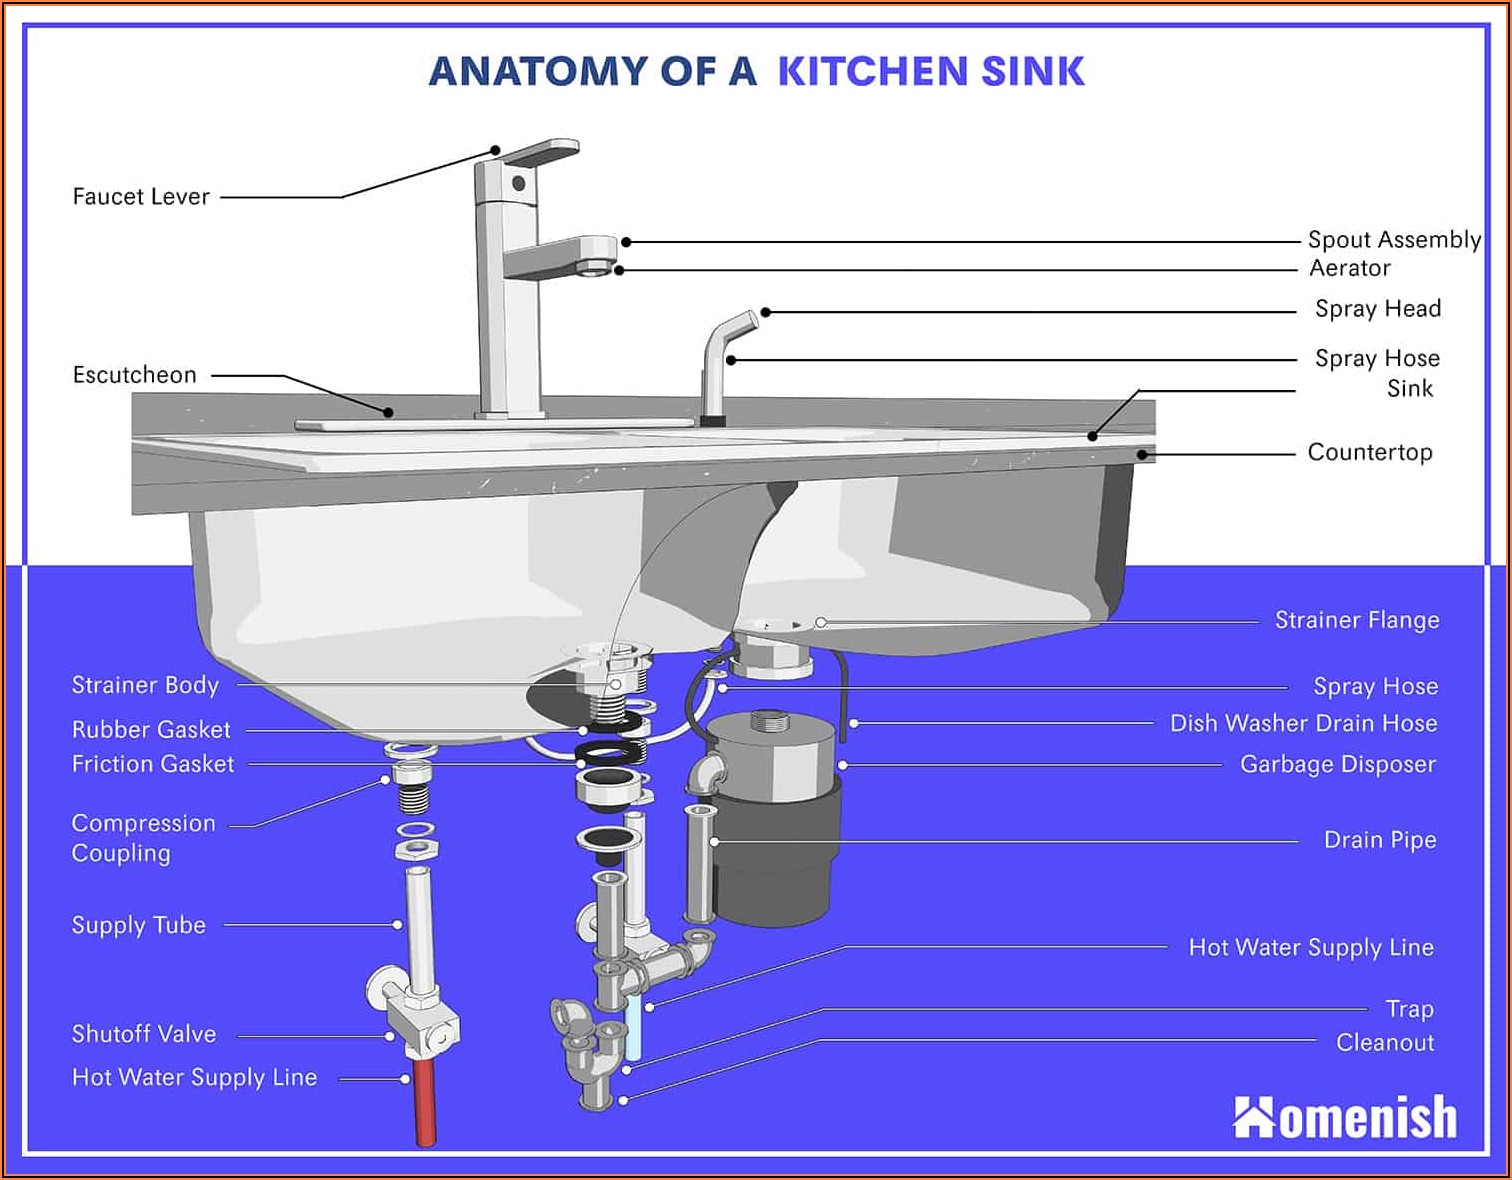
The first step in installing a new popup assembly is to remove the old one. Start by loosening the locknut on the bottom of the sink using your pliers or adjustable wrench. Then, unscrew the pivot rod that connects the popup assembly to the sink's drain. Gently pull out the old assembly and set it aside.3. Removing the Old Popup Assembly
Once the old assembly has been removed, you will need to clean the area around the sink's drain thoroughly. Use a putty knife to remove any old plumber's putty or debris. Then, roll a small amount of plumber's putty into a long, thin rope and wrap it around the flange of the new popup assembly.4. Preparing the Sink for the New Assembly
With the plumber's putty in place, carefully insert the new popup assembly into the sink's drain. Make sure it is centered and press down firmly to ensure a tight seal. Then, from underneath the sink, screw on the locknut and tighten it using your pliers or adjustable wrench.5. Placing the New Assembly in the Sink
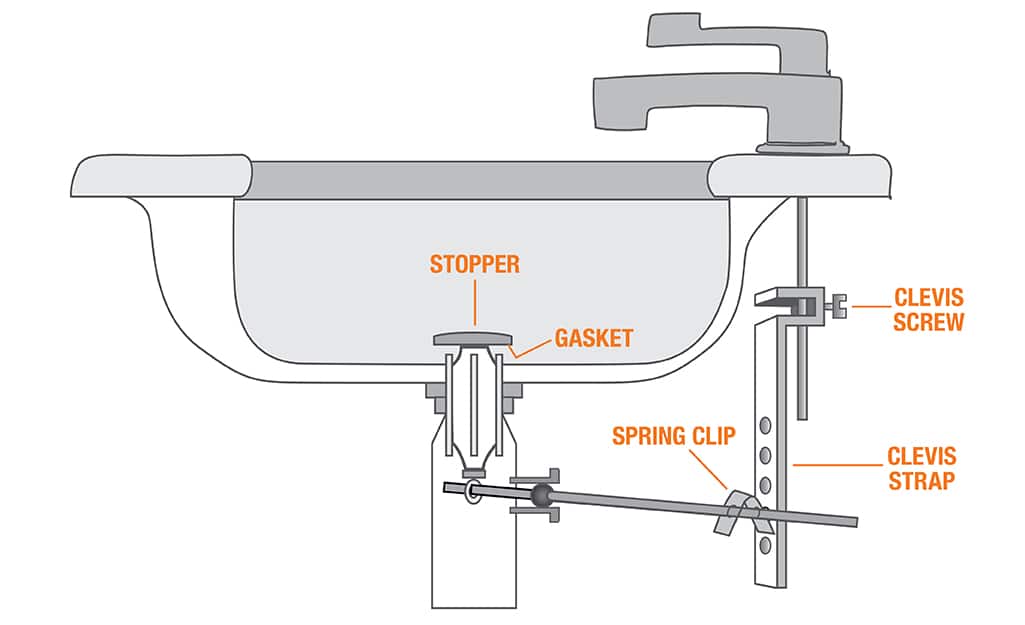
The next step is to connect the pivot rod to the popup assembly. First, insert the pivot rod into the hole at the back of the drain pipe. Then, attach the pivot rod to the popup assembly by screwing it into the hole on the bottom of the popup. Make sure to tighten the connection using your pliers or adjustable wrench.6. Connecting the Pivot Rod
Once the pivot rod is connected, you may need to make some adjustments to ensure the popup assembly is working properly. Test the popup by pulling up on the lift rod on your sink's faucet. If the popup doesn't move, loosen the locknut and adjust the pivot rod as needed. Once the popup is functioning correctly, tighten the locknut again.7. Adjusting the Popup Assembly
Before using your sink, it's important to check for any leaks. Run water through the sink and watch closely for any signs of water leaking from the popup assembly. If there are any leaks, adjust the connections and tighten them as needed. Once there are no leaks, you're ready to use your new bathroom sink popup assembly.8. Checking for Leaks
To keep your new popup assembly in good working condition, it's important to regularly clean and maintain it. Make sure to wipe it down after each use to prevent buildup of soap scum or debris. If the popup becomes difficult to move, try using a lubricant such as WD-40 to loosen it up.9. Maintaining Your Popup Assembly
If you encounter any problems during the installation process or while using your new popup assembly, don't panic. Some common issues include leaks, a popup that won't move, or a drain that is slow to empty. Refer to the instructions that came with your popup assembly kit for troubleshooting tips, or consult a professional plumber if needed. By following these simple steps and properly maintaining your new bathroom sink popup assembly, you can ensure it will continue to function properly for years to come. So go ahead and upgrade your bathroom with a new popup assembly and enjoy a more functional and aesthetically pleasing sink.10. Troubleshooting Common Issues
Why a Pop-Up Assembly is the Perfect Addition to Your Bathroom Sink

Enhance Functionality and Aesthetics
 When it comes to designing your dream bathroom, every detail matters. Whether you're going for a modern, sleek look or a more traditional feel, the
bathroom sink
is one of the most important elements to consider. That's why choosing the right
popup assembly
is crucial. Not only does it play a crucial role in the
functionality
of your sink, but it also adds to the overall aesthetic of your bathroom.
Effortless Installation Process
 You may be thinking, "Installing a
bathroom sink popup assembly
sounds like a daunting task." However, it's actually quite simple and can be done in just a few steps. First, you'll need to remove the old assembly by unscrewing it from the sink drain. Then, clean the area and apply plumber's putty around the opening. Next, insert the new
popup assembly
and tighten it with the provided nut. Finally, connect the rod and lift mechanism to the assembly and you're done! With just a little bit of time and effort, you can have a fully functioning
popup assembly
in your bathroom sink.
Prevent Clogs and Save Water
 One of the main benefits of a
bathroom sink popup assembly
is that it helps prevent clogs in your drain. The
popup
feature allows you to easily
catch
and remove any debris or hair that may cause a blockage in your pipes. Additionally, some
popup assemblies
have a built-in
water-saving
feature, allowing you to control the amount of water that flows out of your sink. This not only helps the environment, but it can also save you money on your water bill.
Customize to Your Style
 With a wide variety of styles and finishes available, you can easily find a
bathroom sink popup assembly
that fits your personal taste and bathroom design. From
chrome
to
brushed nickel
to
oil-rubbed bronze
, there's an option for every style. You can even choose between a
traditional
pull-up
popup
or a more modern
push-button
popup
. Whichever you choose, a
bathroom sink popup assembly
is sure to add a touch of elegance to your bathroom.
In conclusion, a
bathroom sink popup assembly
is not only a functional necessity, but it also adds to the overall design and aesthetic of your bathroom. With an easy installation process, prevention of clogs, water-saving capabilities, and customizable options, it's the perfect addition to any bathroom sink. So why wait? Upgrade your bathroom today with a
popup assembly
and enjoy a functional and stylish sink for years to come.


