If you're planning a bathroom renovation, one of the most important decisions you'll have to make is which cabinet to install. A popular and trusted brand in the market is Kraftmaid, known for their high-quality and durable cabinets. In this article, we'll guide you through the process of installing a Kraftmaid cabinet for your bathroom. From choosing the right size to mounting it securely, we've got you covered.1. Installing a Kraftmaid Cabinet for Your Bathroom Renovation
The key to a successful cabinet installation is accurate measurements. Before purchasing your Kraftmaid cabinet, make sure to measure the space where you plan to install it. Take note of the width, depth, and height of the area. Keep in mind that Kraftmaid offers a wide range of sizes and styles, so you'll have plenty of options to choose from.2. Measuring and Preparing for Your Kraftmaid Cabinet Installation
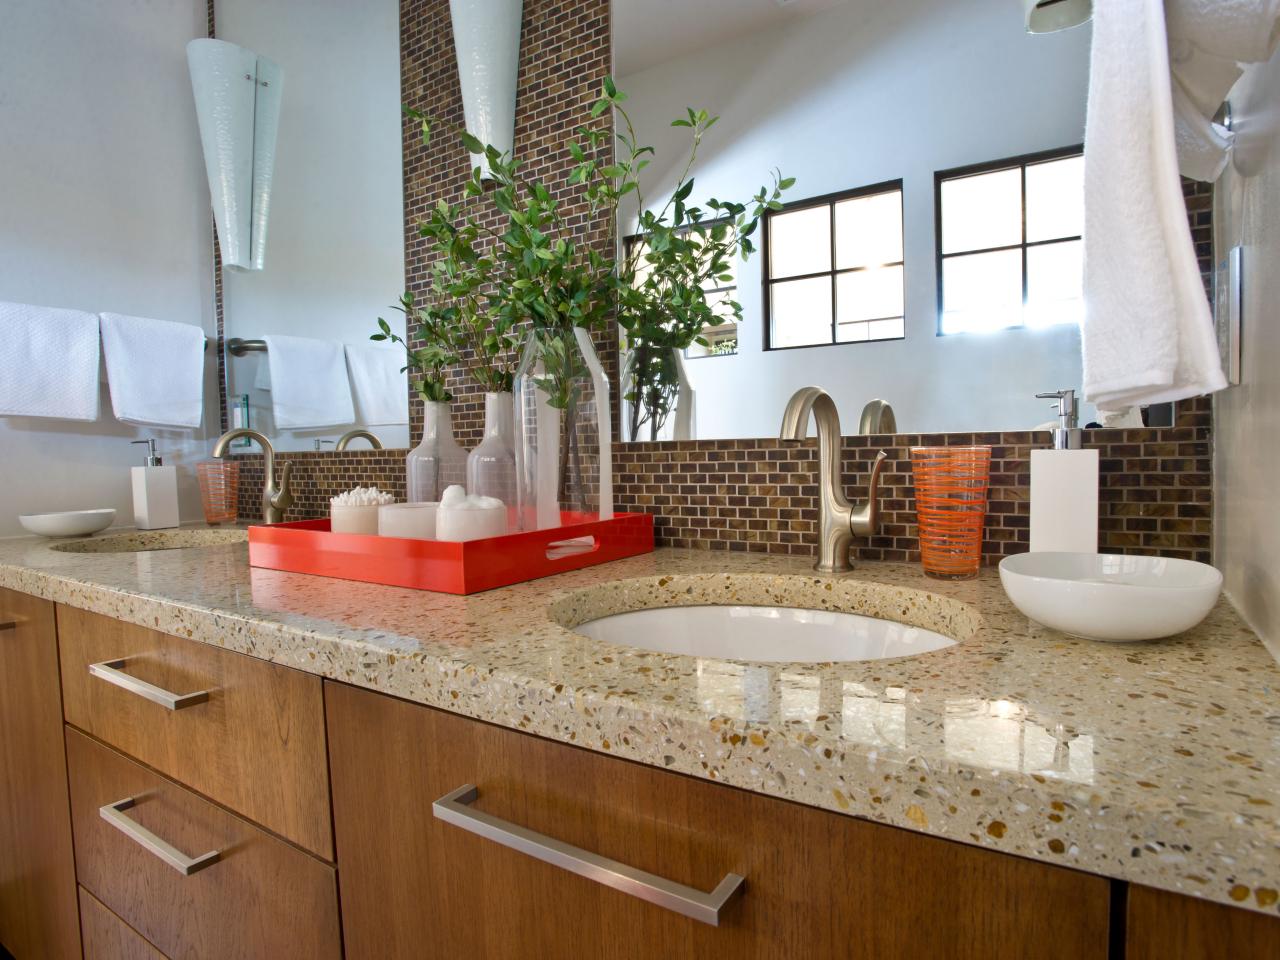
Your bathroom counter is not only a functional piece but also a design element that can elevate the overall look of your space. When choosing a counter for your Kraftmaid cabinet, consider the style and color palette of your bathroom. You can opt for a classic granite or marble countertop, or go for a more modern and sleek look with quartz or solid surface materials.3. Choosing the Perfect Bathroom Counter for Your Kraftmaid Cabinet
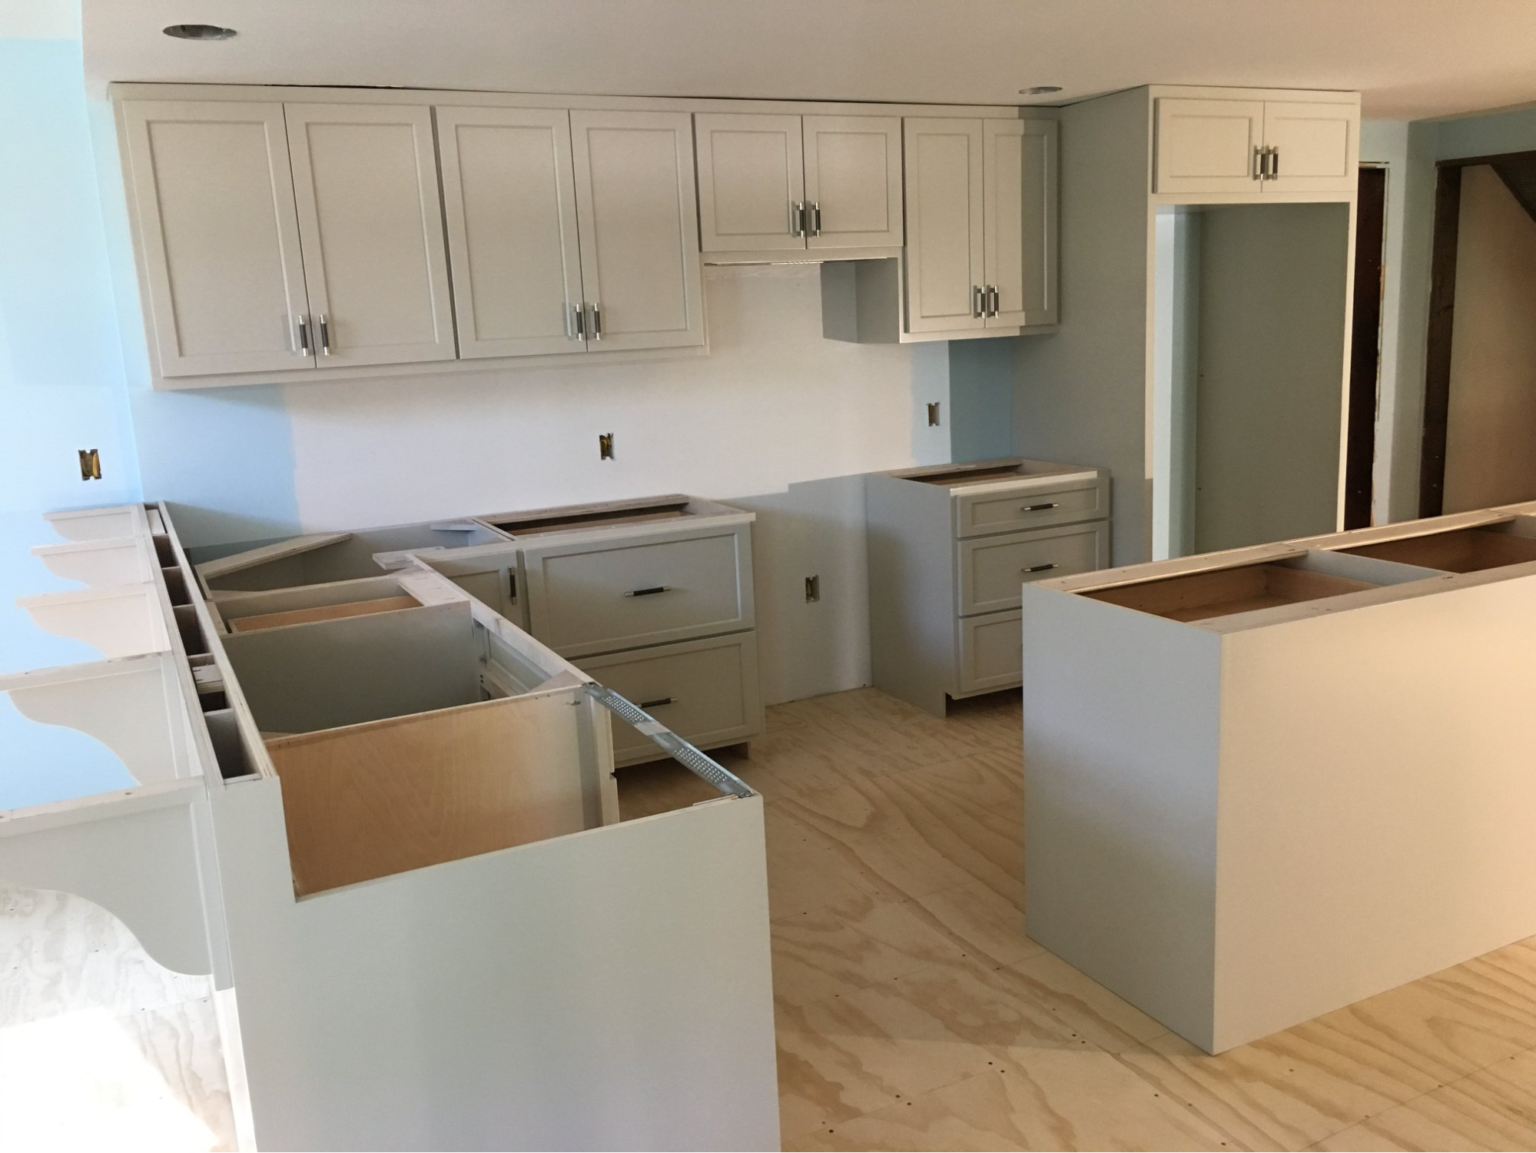
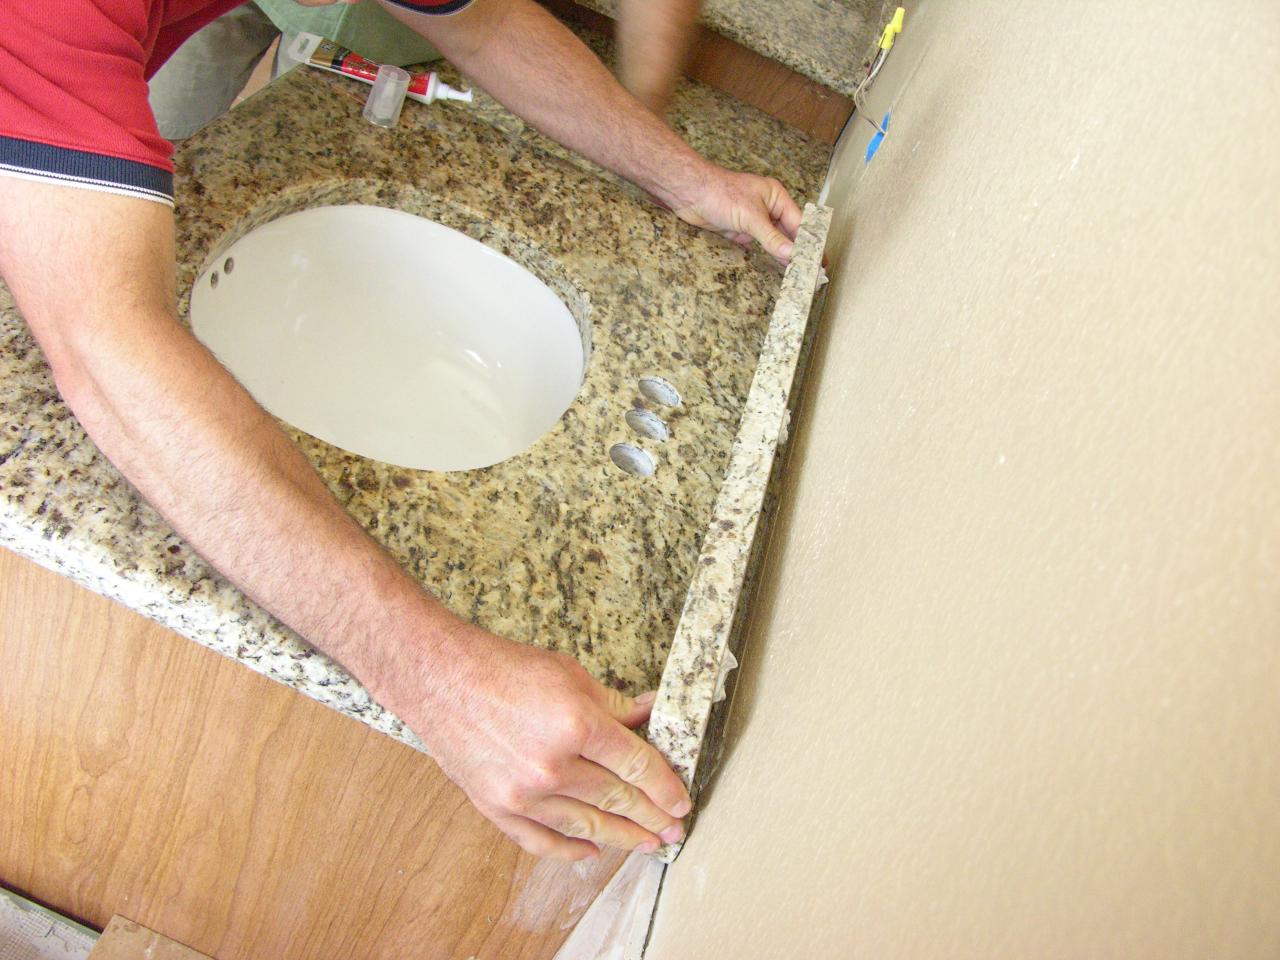
Before installing your Kraftmaid cabinet, make sure to remove all packaging materials and inspect for any damages. If you're planning to install a sink on your counter, measure and mark the location where it will be placed. Next, secure the counter on top of the cabinet using screws or adhesive, depending on the type of counter you've chosen.4. Preparing the Cabinet and Counter for Installation
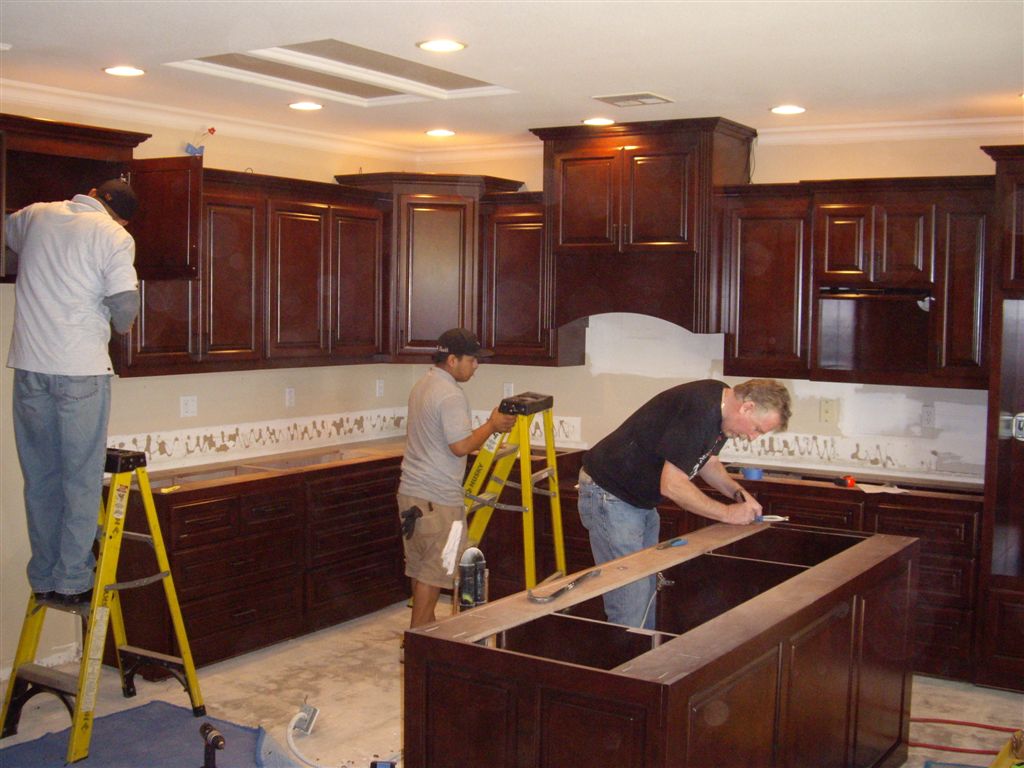
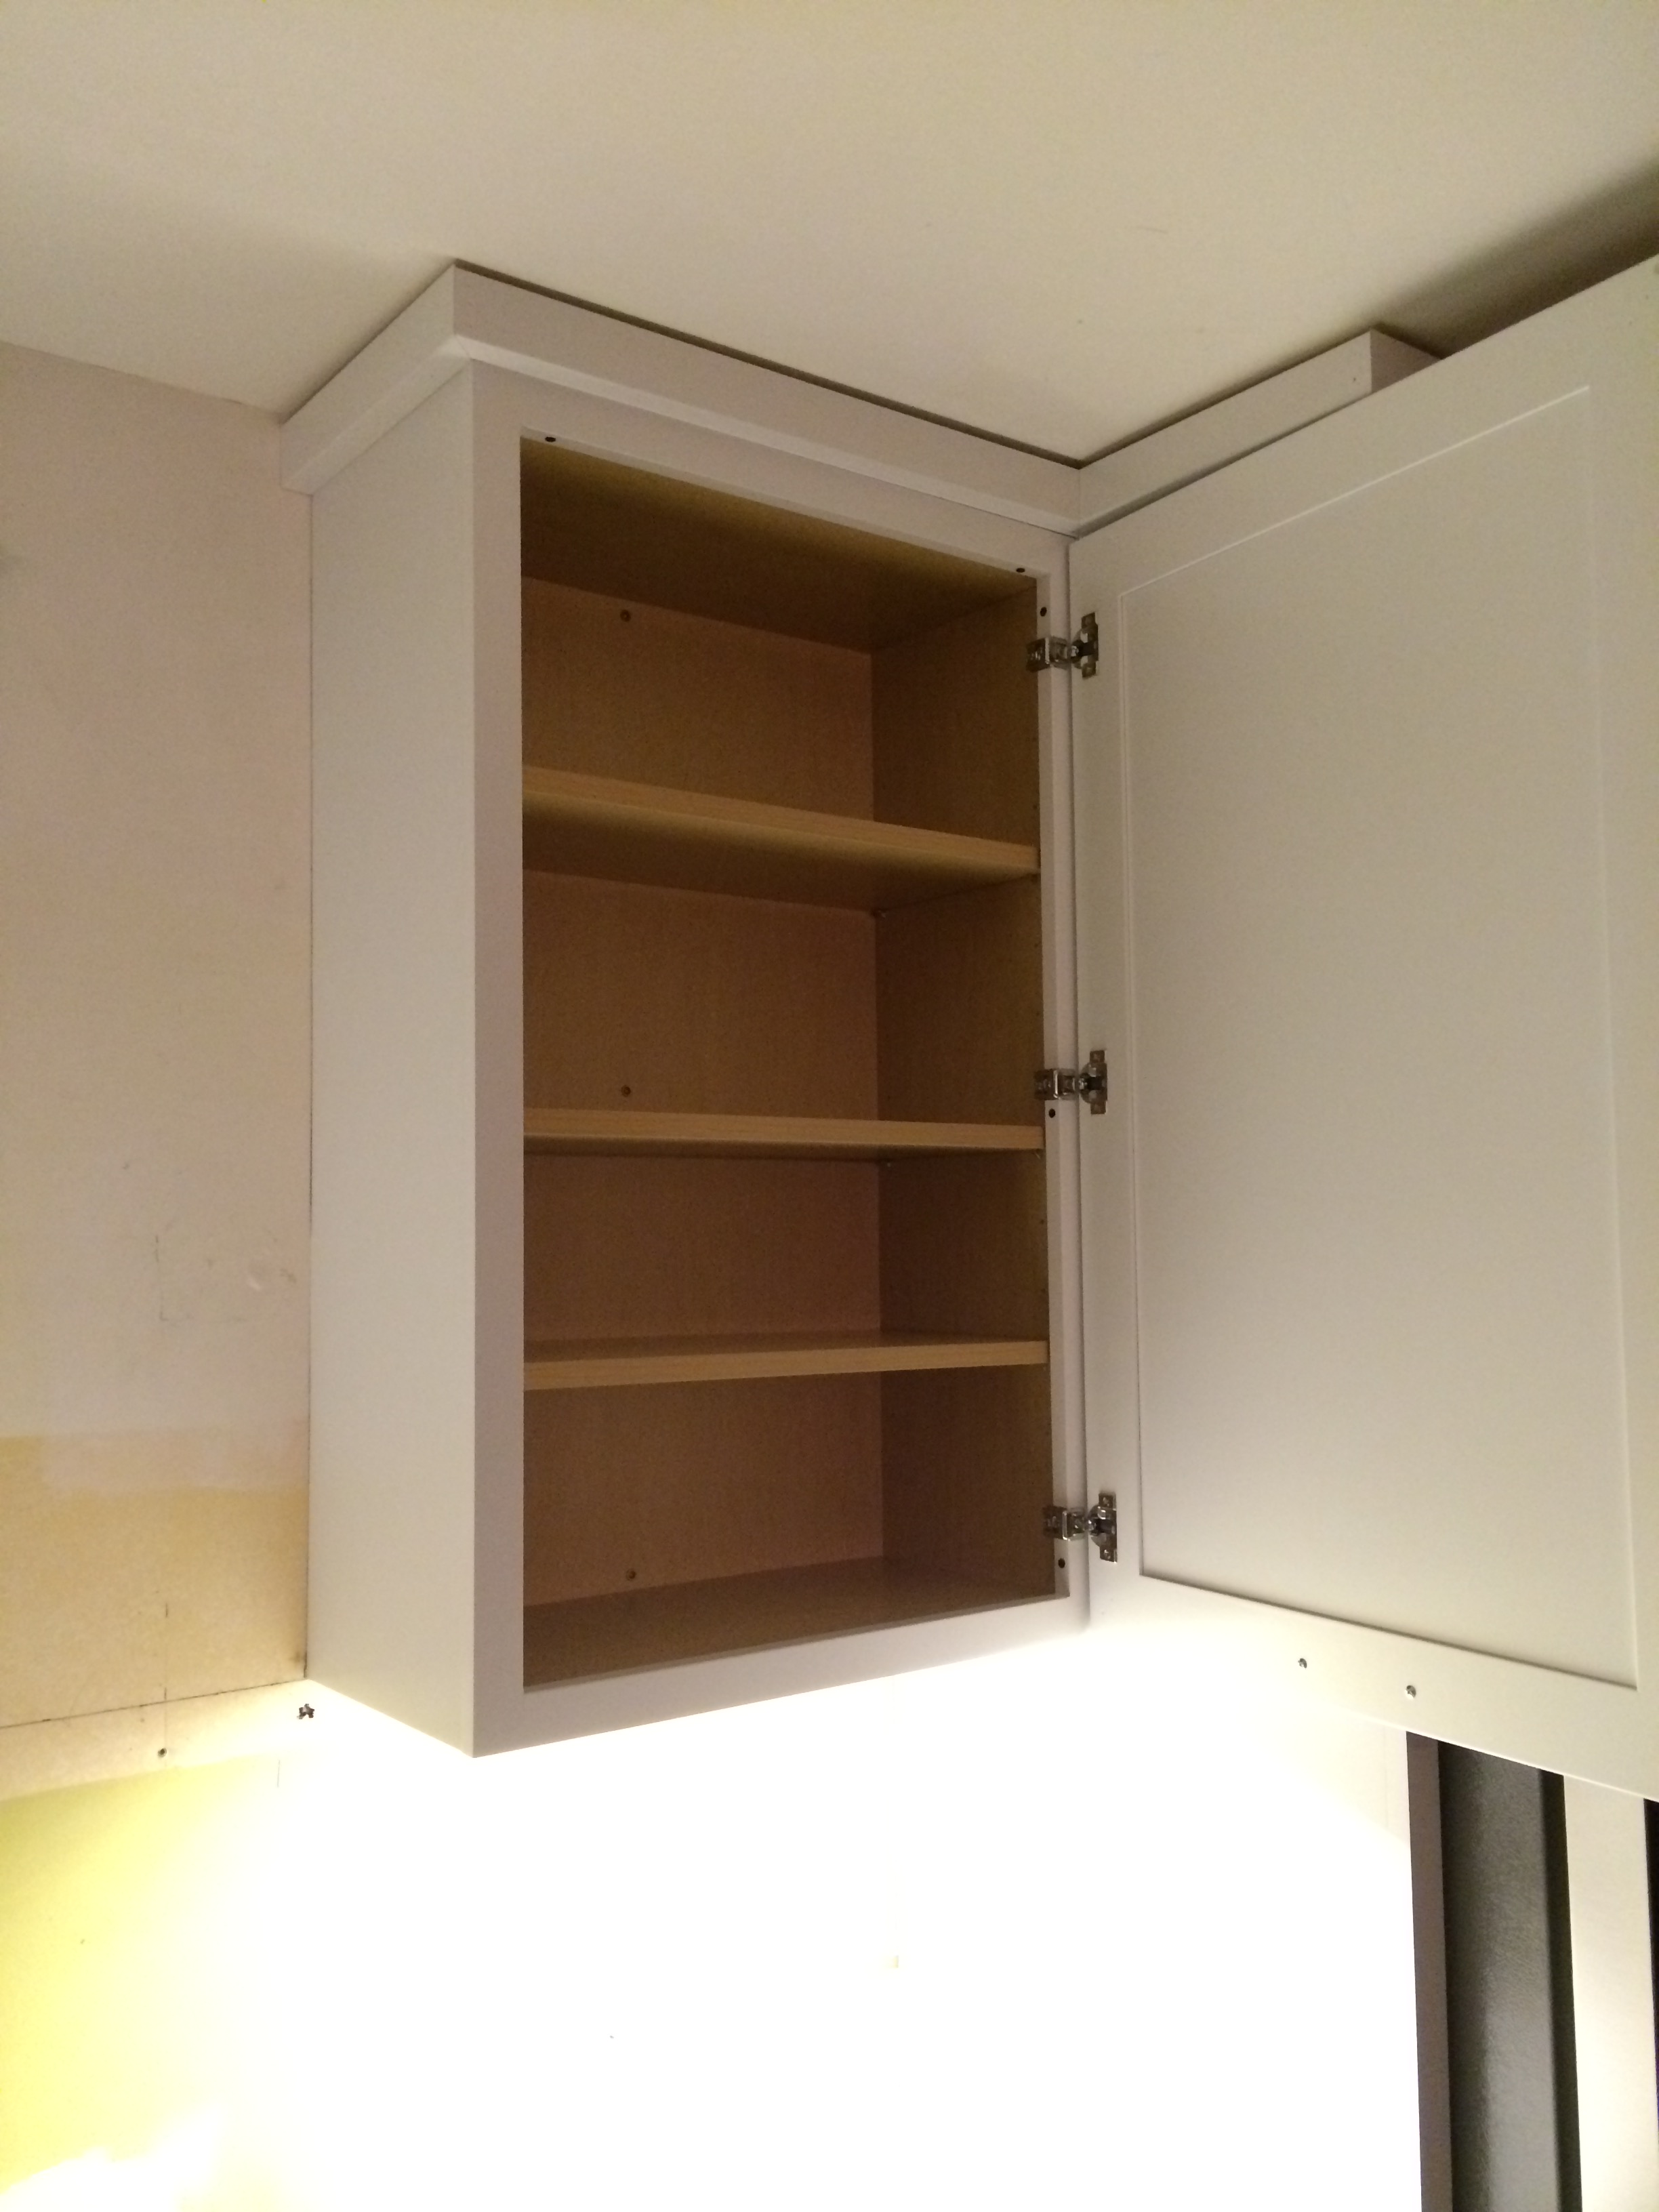
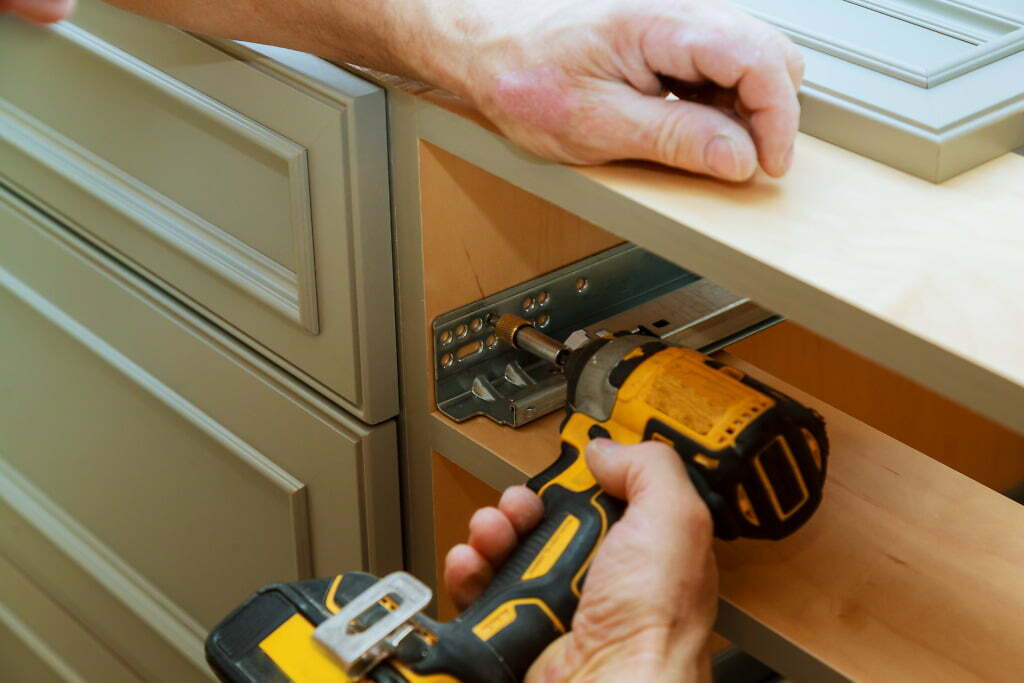
For added stability and to save space, it's recommended to mount your Kraftmaid cabinet on the wall. Start by locating the studs on the wall and marking their location. Use a level to ensure that the cabinet will be installed straight. Then, drill holes in the back of the cabinet and secure it to the wall using screws.5. Mounting Your Kraftmaid Cabinet on the Wall
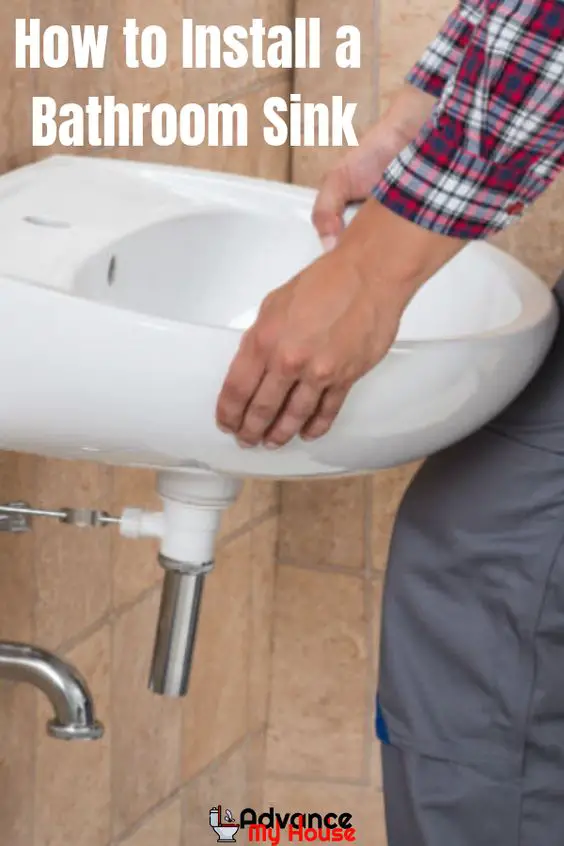
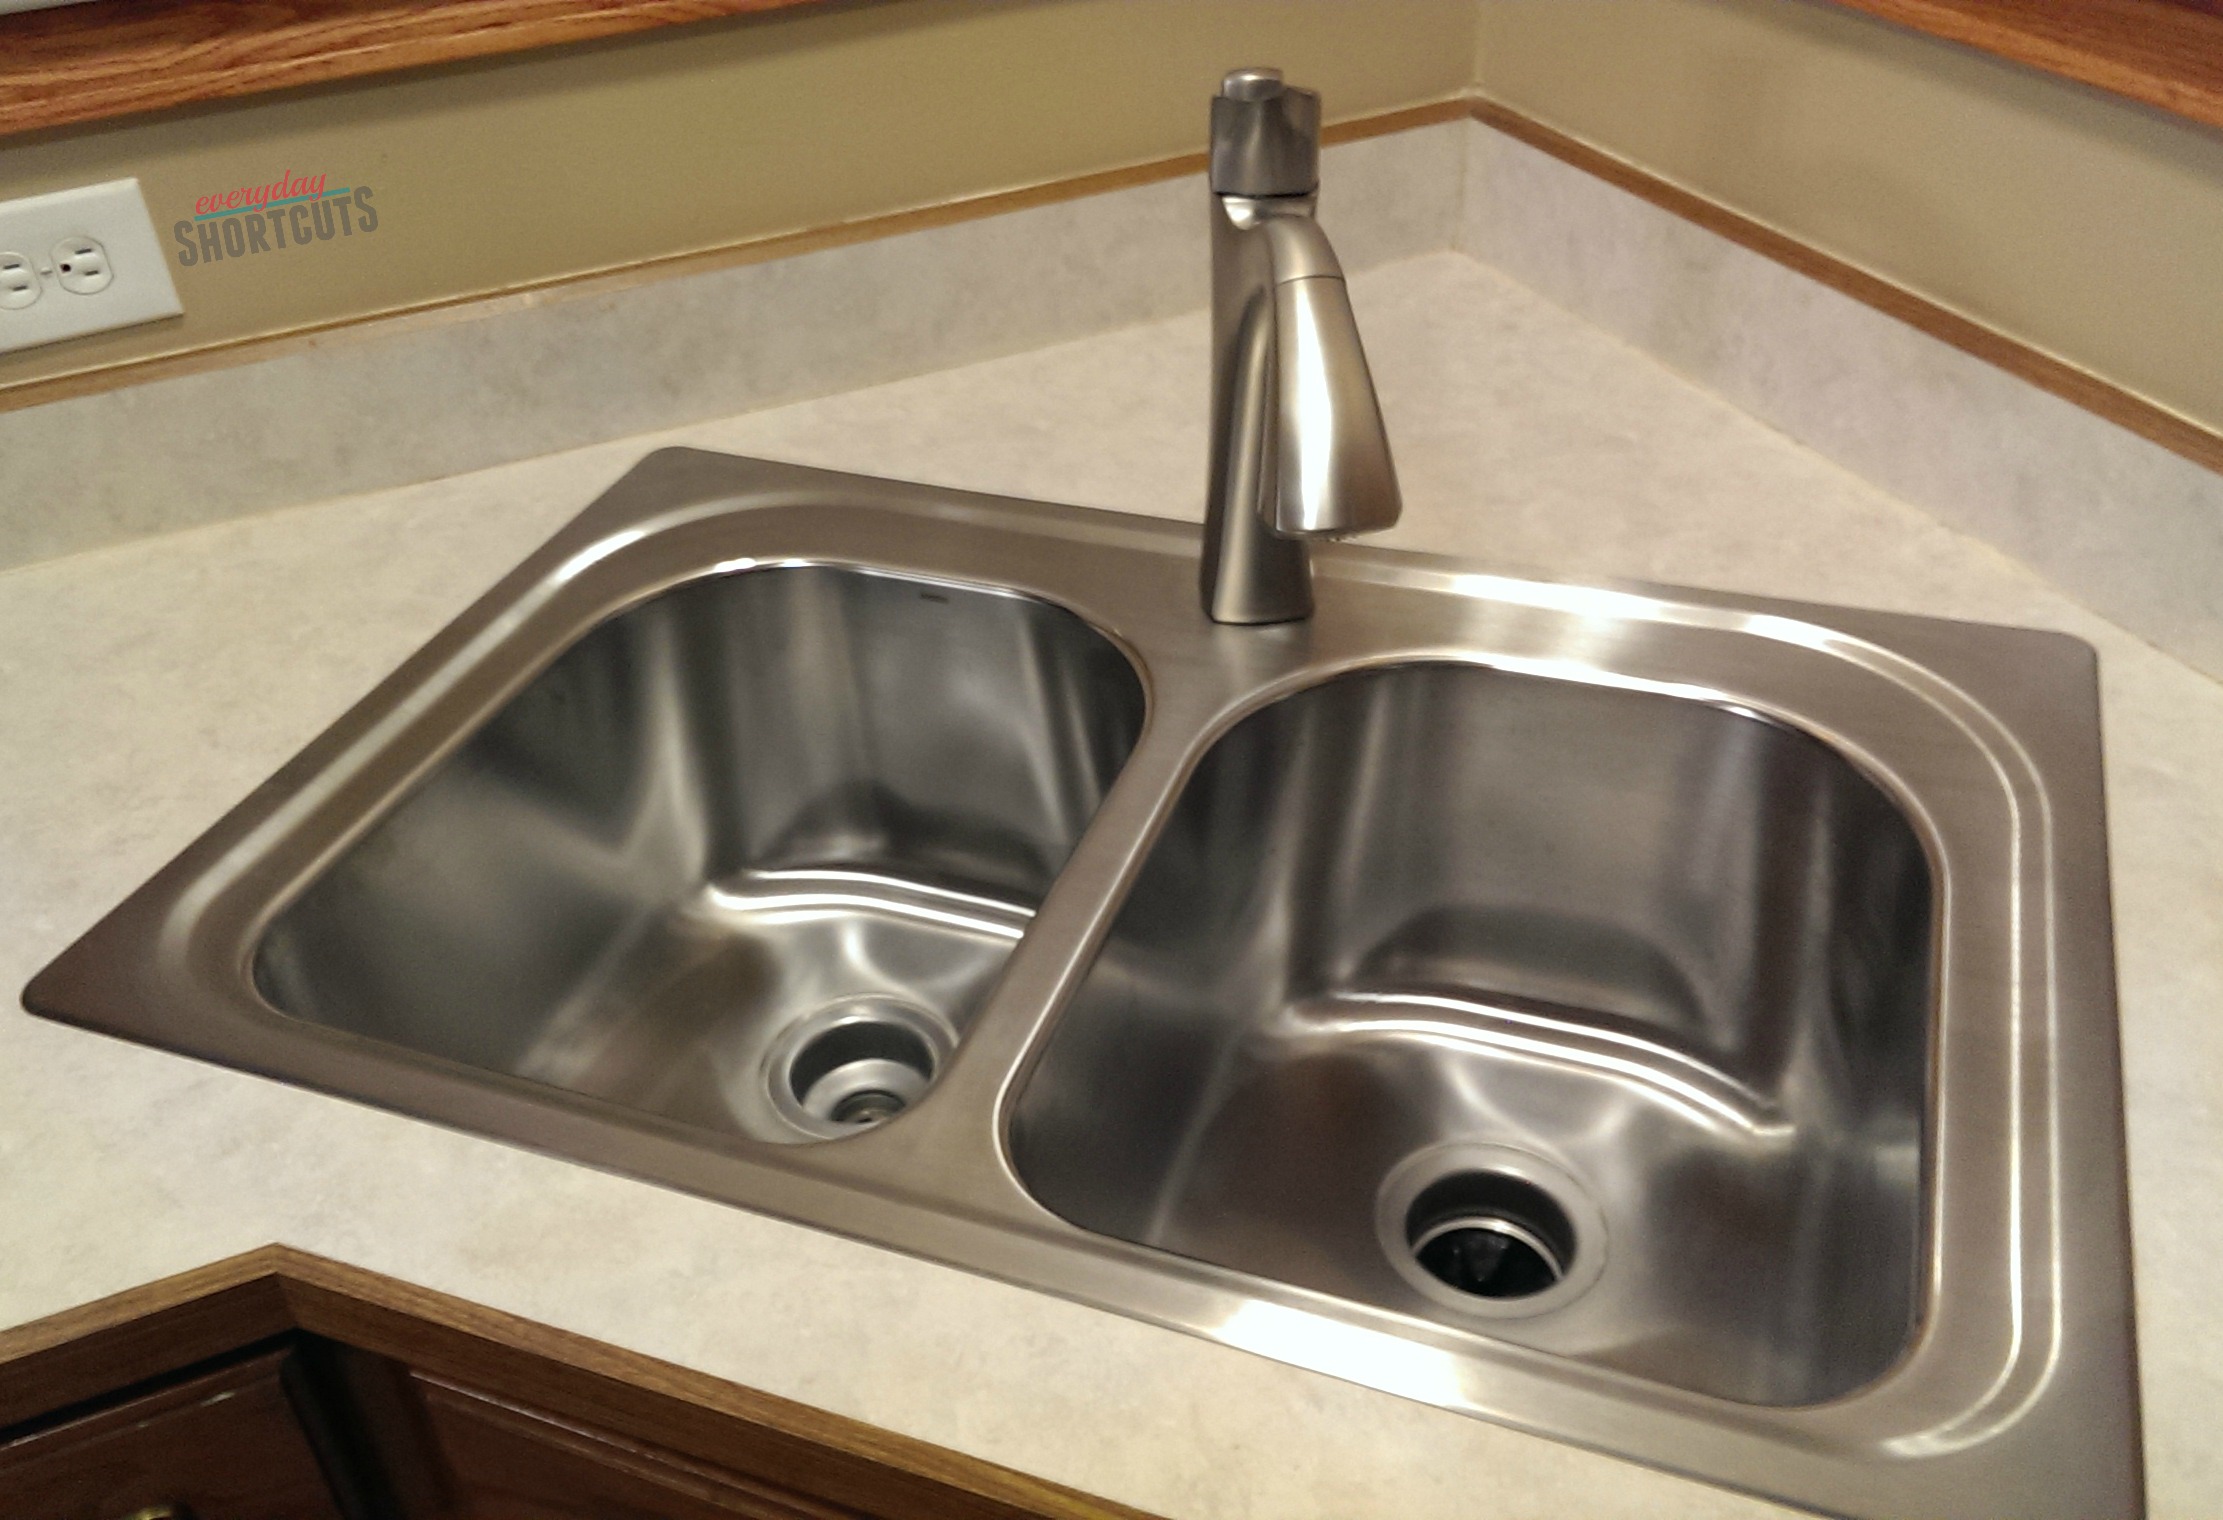
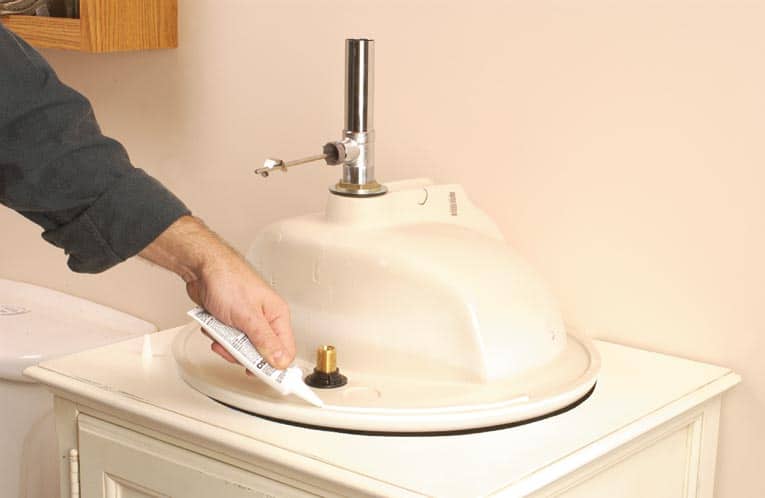
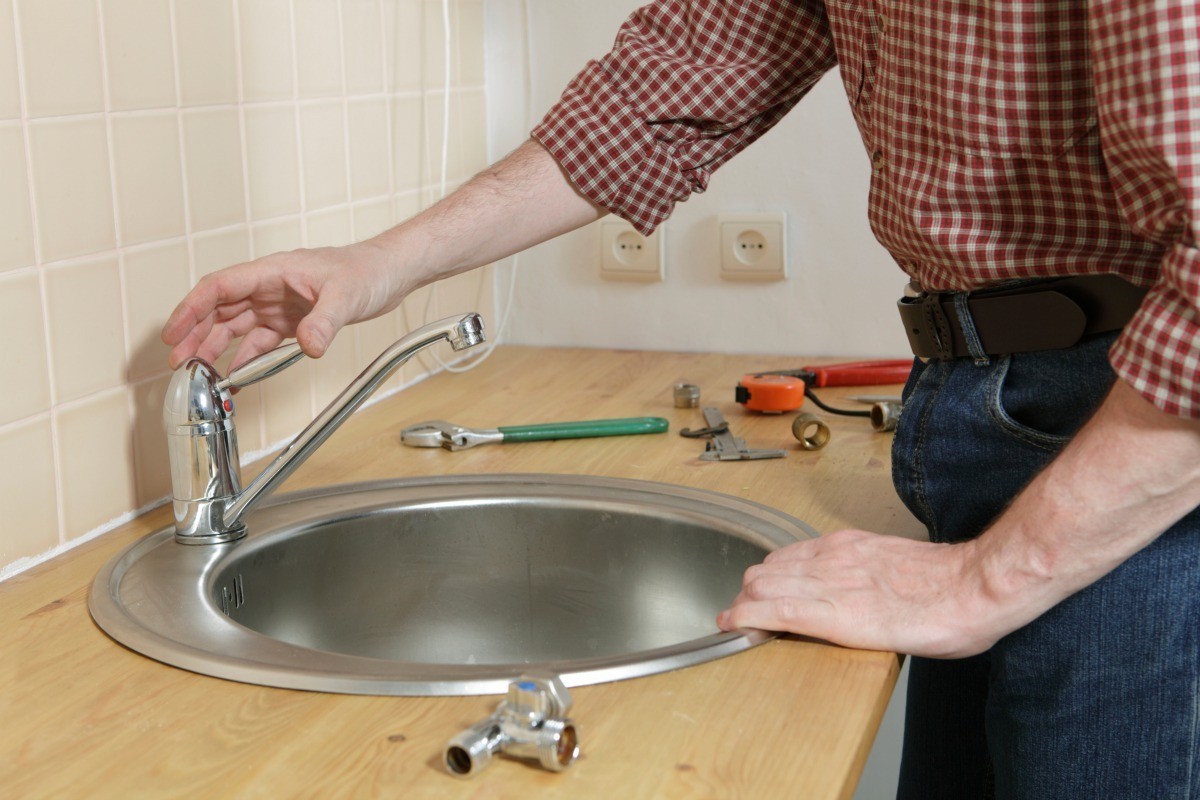
If you're installing a sink on your bathroom counter, now is the time to do it. Place the sink in the pre-marked location and secure it using the provided hardware. Apply a bead of silicone caulk around the edges of the sink to prevent any water from seeping in between the sink and counter.6. Installing the Sink on Your Kraftmaid Cabinet
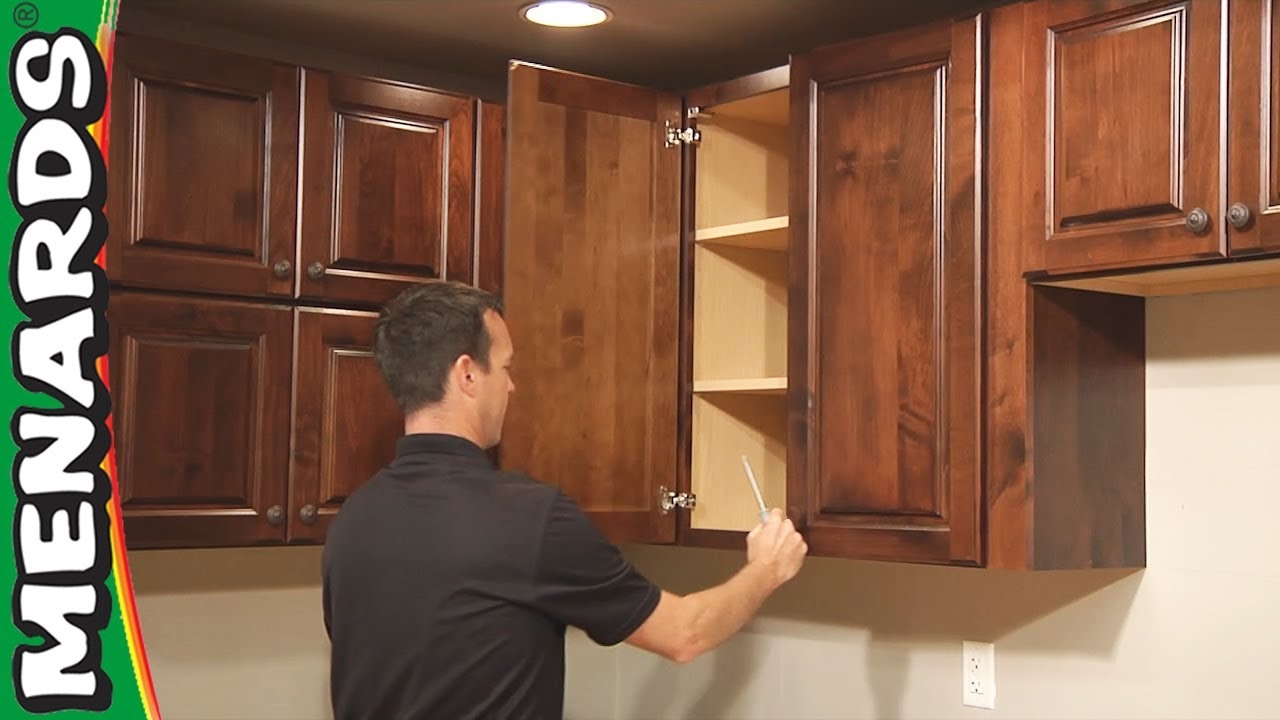
Once your cabinet, counter, and sink are securely installed, it's time to add some finishing touches. Install the cabinet doors and drawers, making sure they are aligned and functioning properly. You can also add hardware such as knobs or handles to give your cabinet a personal touch.7. Adding Finishing Touches to Your Kraftmaid Cabinet
To keep your Kraftmaid cabinet looking and functioning its best, it's important to properly maintain it. Avoid using harsh chemicals and abrasive materials when cleaning your cabinet. Instead, use a mild soap and water solution to wipe down the surfaces. Also, regularly check and tighten any screws or hardware to prevent them from loosening over time.8. Maintaining Your Kraftmaid Cabinet for Longevity
Investing in a Kraftmaid cabinet for your bathroom renovation comes with numerous benefits. Aside from its durability and high-quality, Kraftmaid cabinets also offer a wide range of styles and customization options, allowing you to create a unique and functional space. Plus, with proper maintenance, a Kraftmaid cabinet can last for years, making it a worthwhile investment for your home.9. Benefits of Installing a Kraftmaid Cabinet in Your Bathroom
Installing a Kraftmaid cabinet and sink in your bathroom is a great way to elevate its functionality and aesthetics. With proper measurements, preparation, and installation, you can achieve a beautiful and functional space that will last for years to come. So why settle for a generic and flimsy cabinet when you can have a high-quality and customizable Kraftmaid cabinet for your bathroom renovation.10. Conclusion: A Beautiful Bathroom with Kraftmaid Cabinet and Sink Installation
Choosing the Right Bathroom Counter and Sink for Your Kraftmaid Cabinet

The Importance of Choosing the Right Bathroom Counter and Sink
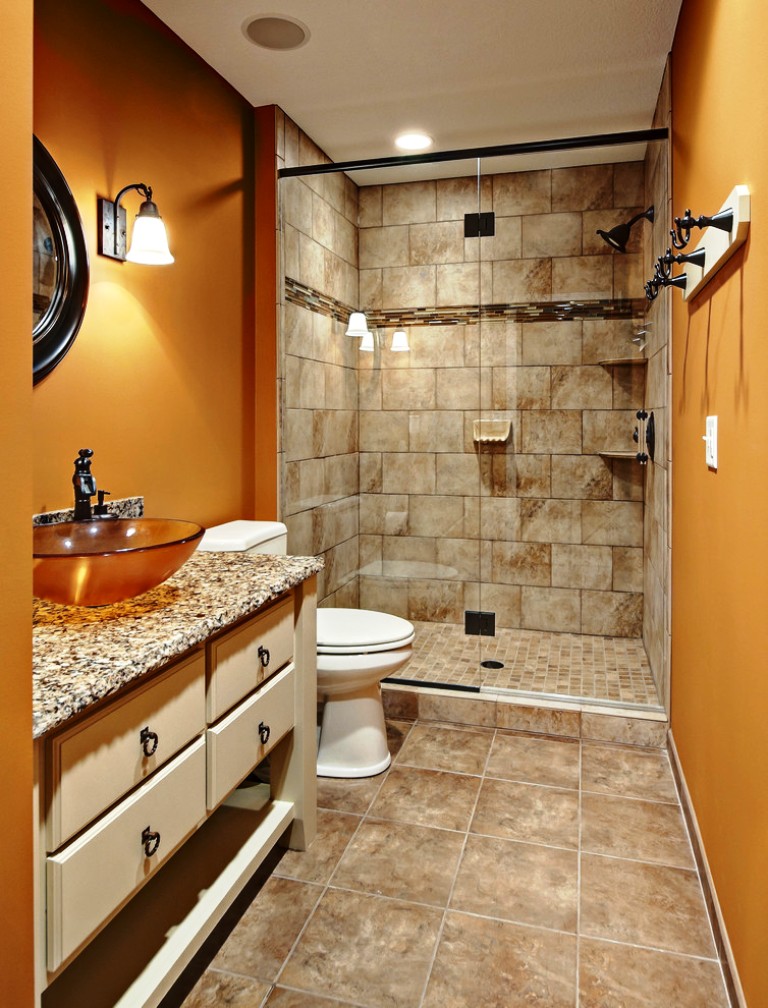
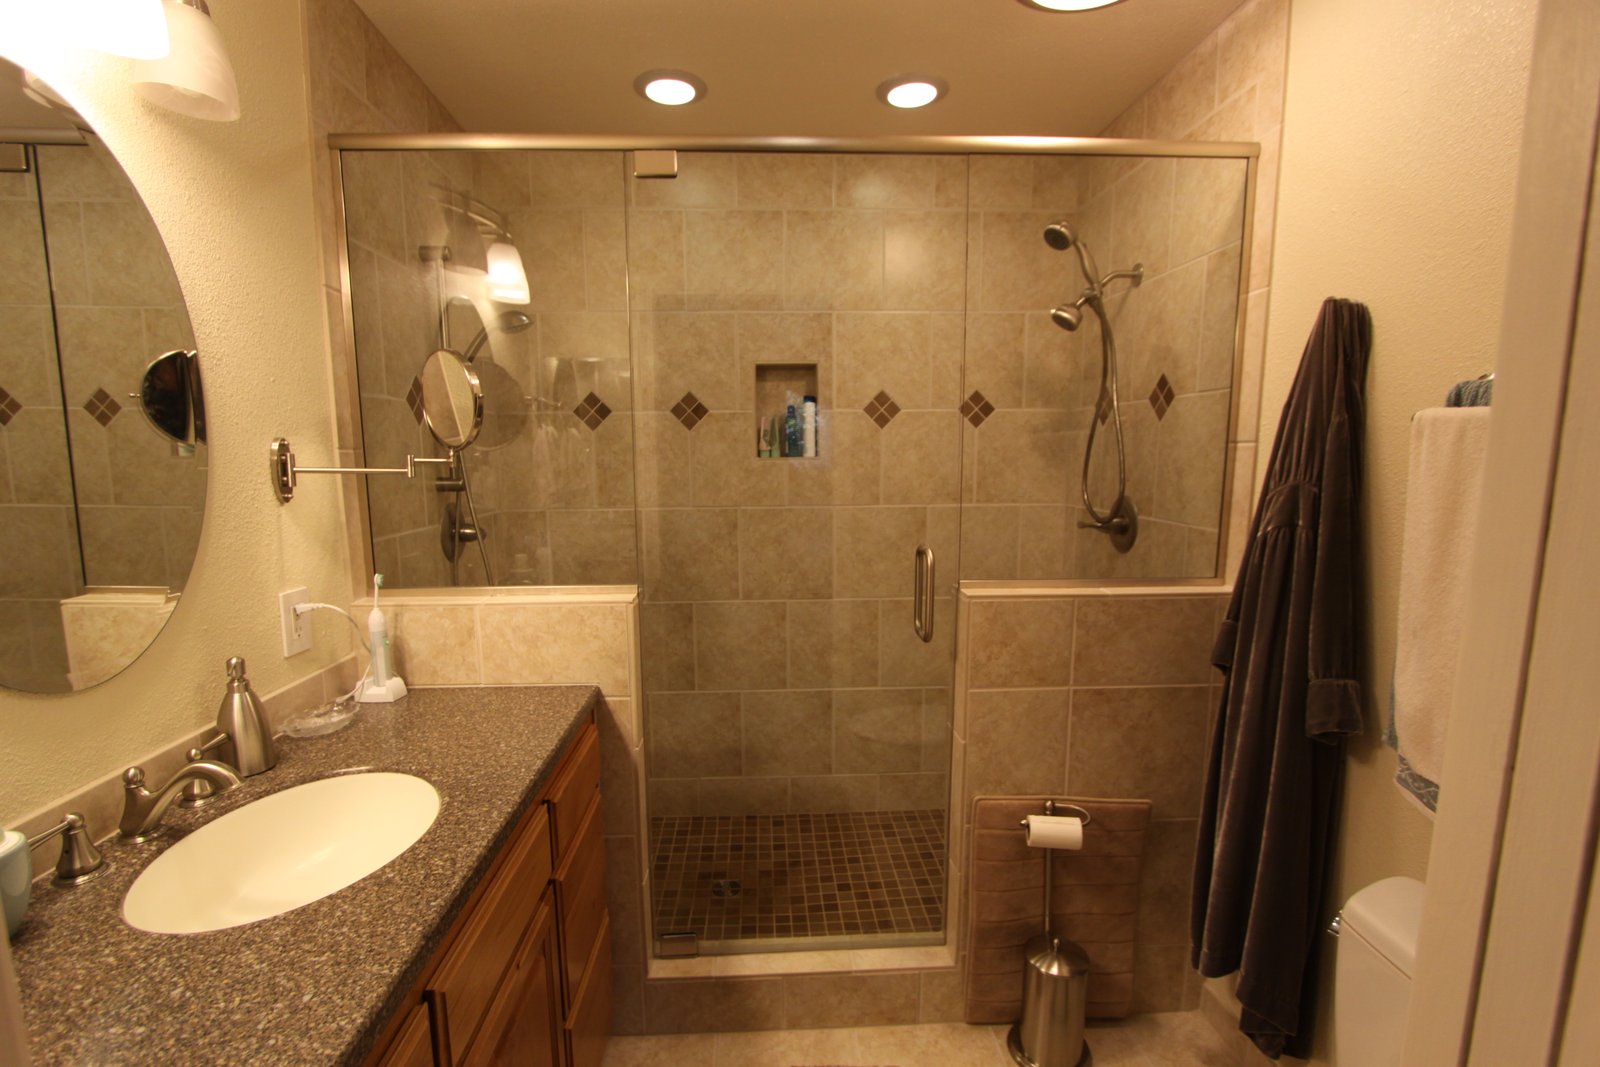
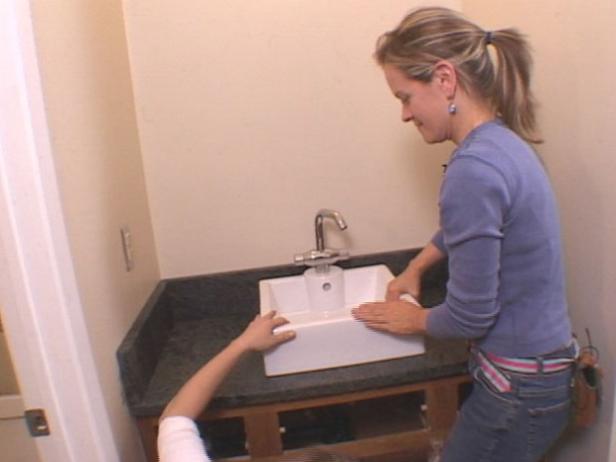 When it comes to designing your bathroom, the counter and sink are two of the most important elements. Not only do they serve a functional purpose, but they also play a significant role in the overall aesthetic of the room. With a vast array of options available on the market, it can be overwhelming to choose the right one for your Kraftmaid cabinet. However, by considering factors such as style, material, and size, you can ensure that your bathroom counter and sink are the perfect fit for your cabinet and your overall design.
Style and Material
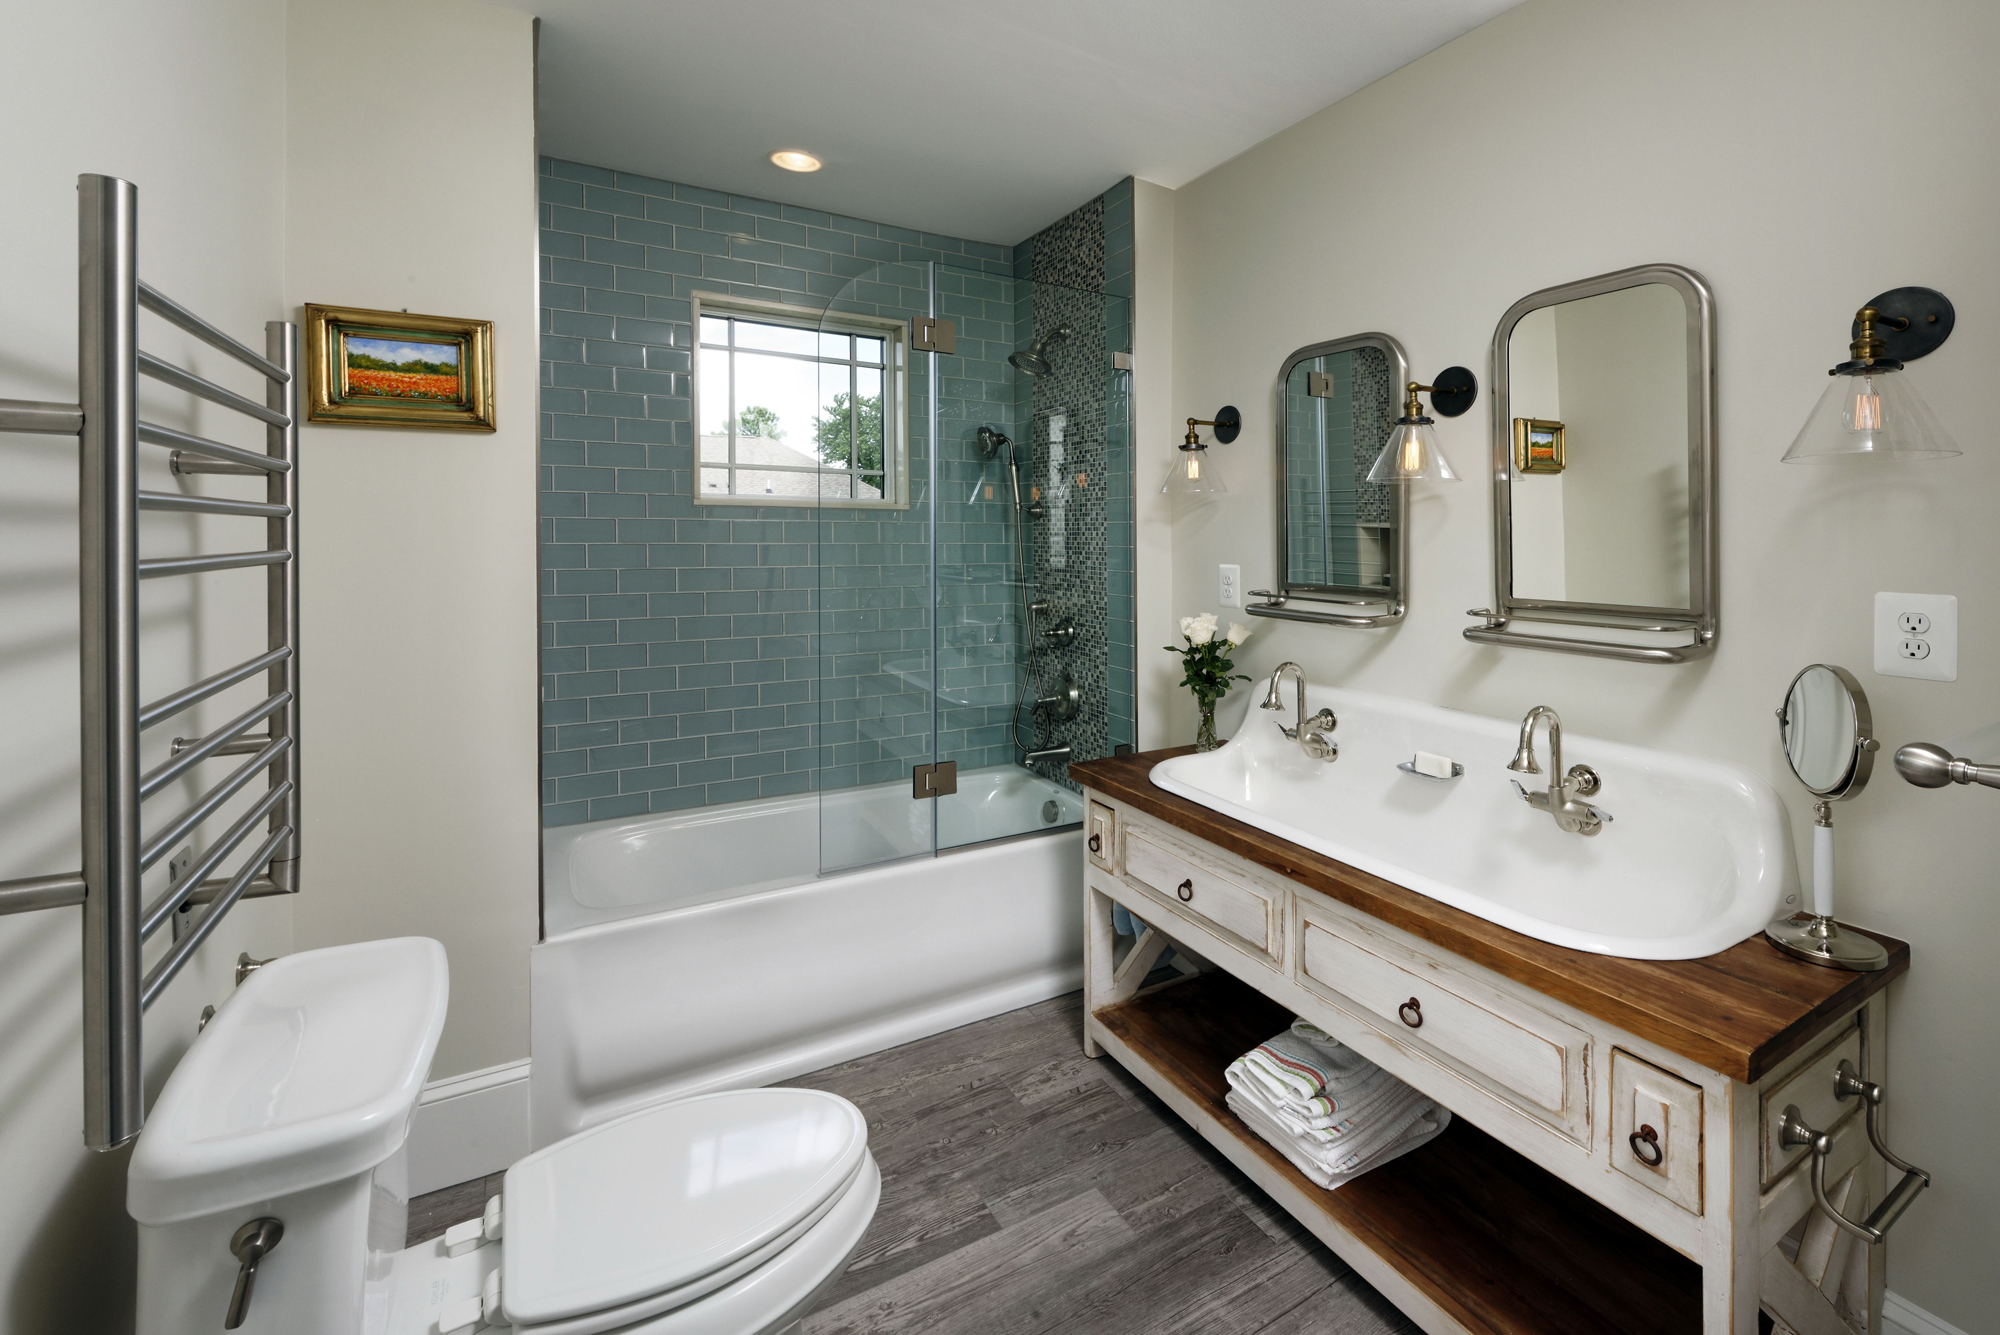
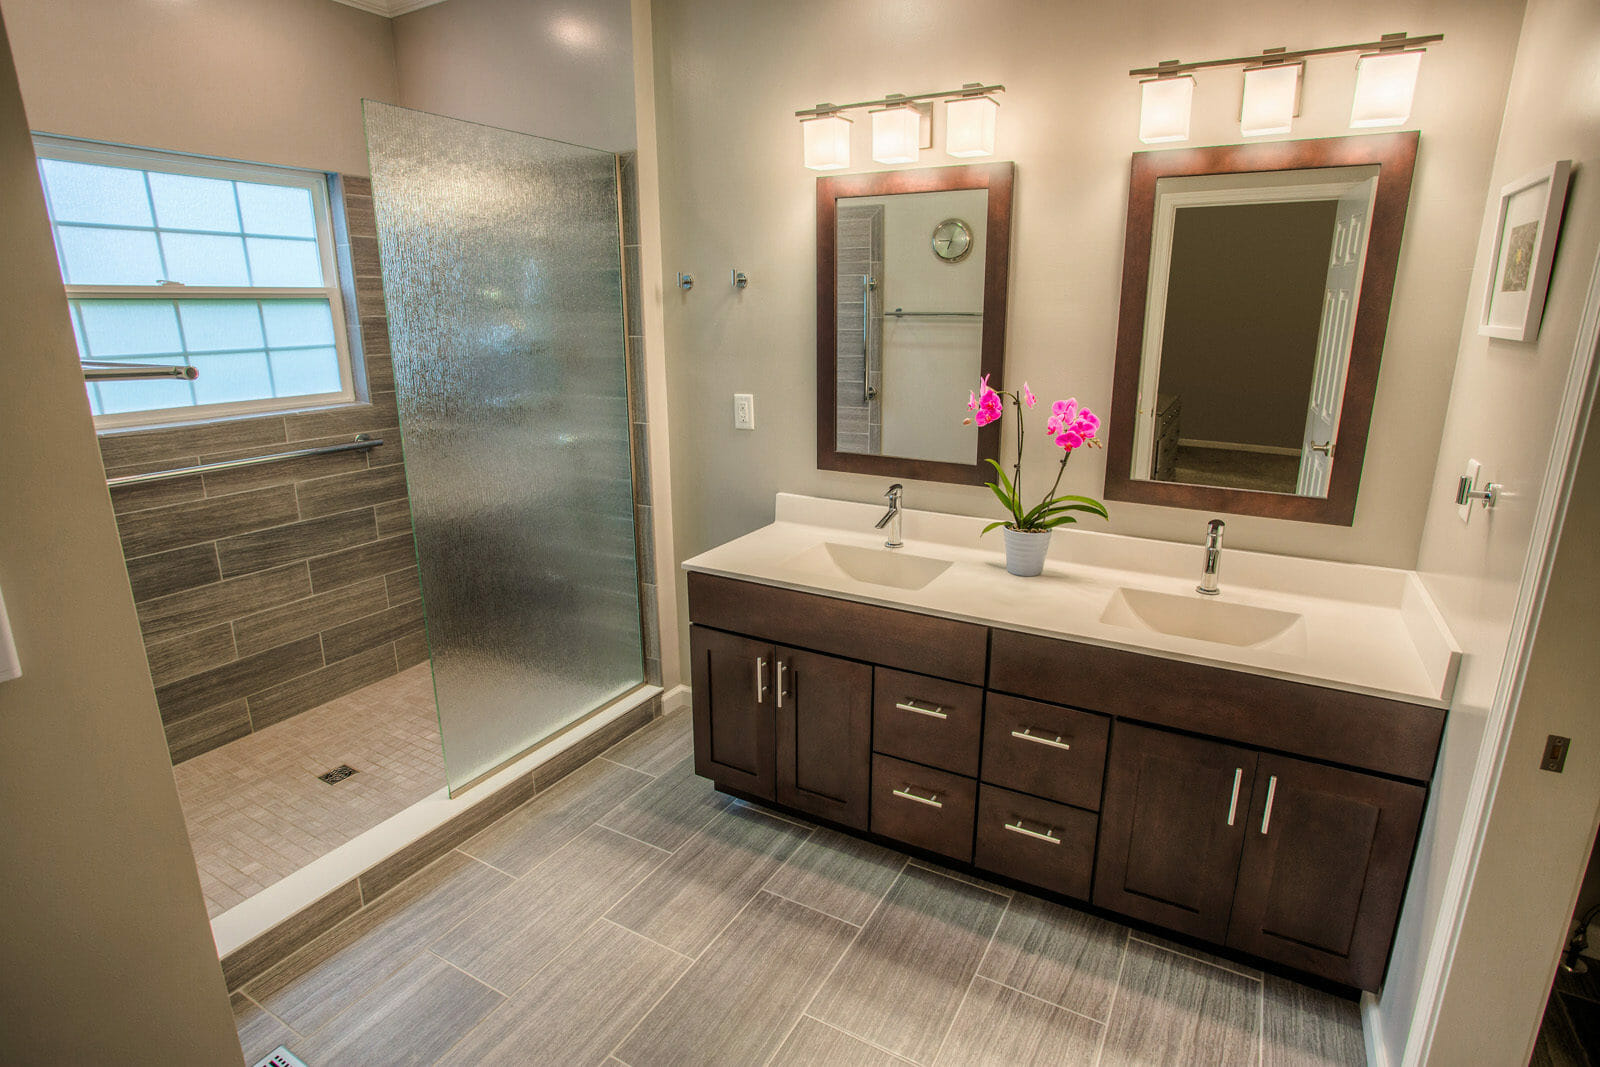
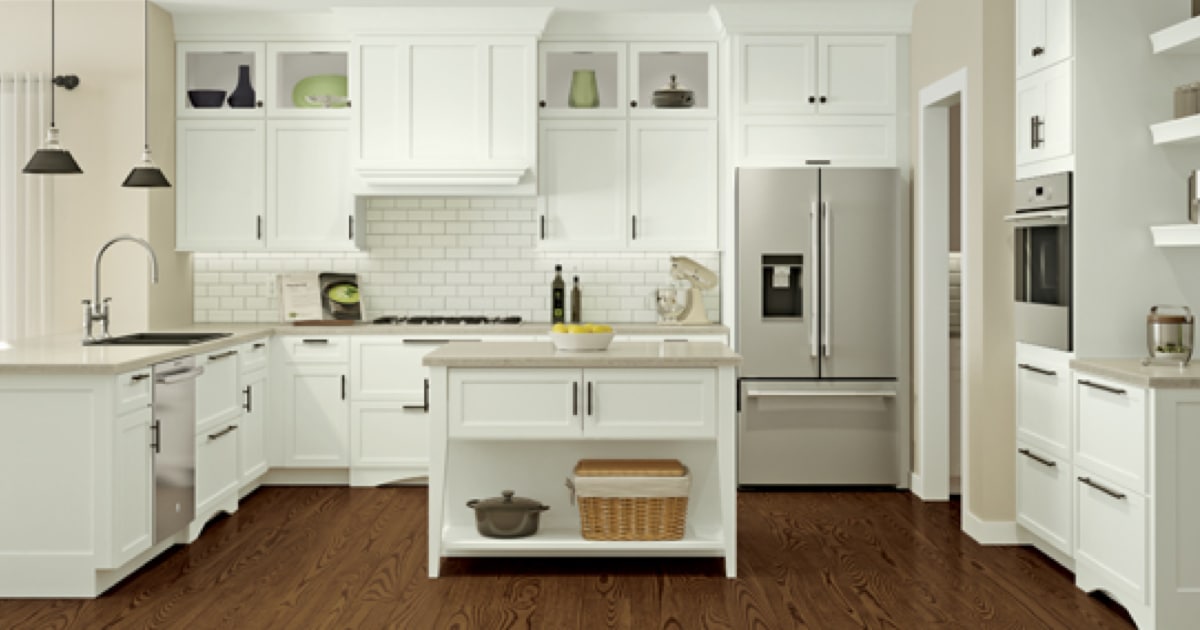 When selecting a bathroom counter and sink for your Kraftmaid cabinet, it's essential to consider the style and material of both pieces. Your cabinet's style and finish should guide your choice of counter and sink, ensuring a cohesive look. For example, if you have a modern-style cabinet with a sleek, glossy finish, a quartz or marble counter with a rectangular sink would complement it beautifully. On the other hand, a more traditional cabinet with a wood finish would pair well with a granite or ceramic counter and a round sink.
Size Matters
 Another crucial factor to consider when choosing a bathroom counter and sink for your Kraftmaid cabinet is size. You want to ensure that both pieces fit comfortably on top of your cabinet without any overhang or gaps. Take accurate measurements of your cabinet and consider the dimensions of the counter and sink before making your purchase. You also want to make sure that the sink is the appropriate size for your needs. If you have a small bathroom, a smaller sink may be a better fit, whereas a larger sink may be more practical for a master bathroom.
Conclusion
 The bathroom counter and sink are vital components of any bathroom design and can significantly impact the overall look and functionality of the space. By considering the style, material, and size of both pieces, you can ensure that they are the perfect fit for your Kraftmaid cabinet and your personal design taste. With the right counter and sink, your bathroom will not only look beautiful, but it will also function efficiently for years to come.
























/173239777-copy-56a49c725f9b58b7d0d7d17a.jpg)


