Bathroom sink ball valves are an essential component of any plumbing system. They allow you to control the flow of water in your sink, making it easier to repair or replace fixtures and preventing water waste. If you are a DIY enthusiast, installing a ball valve on your bathroom sink can be a straightforward and cost-effective project. In this article, we will provide you with a step-by-step guide on how to install a ball valve on a bathroom sink.Installing a Ball Valve on a Bathroom Sink

Installing a Ball Valve on a Bathroom Sink


The process of installing a ball valve on a bathroom sink may seem daunting, but with the right tools and materials, it can be a relatively easy task. Before you begin, make sure to turn off the water supply to your sink. Here are the steps to follow:How to Install a Ball Valve on a Bathroom Sink


How to Install a Ball Valve on a Bathroom Sink


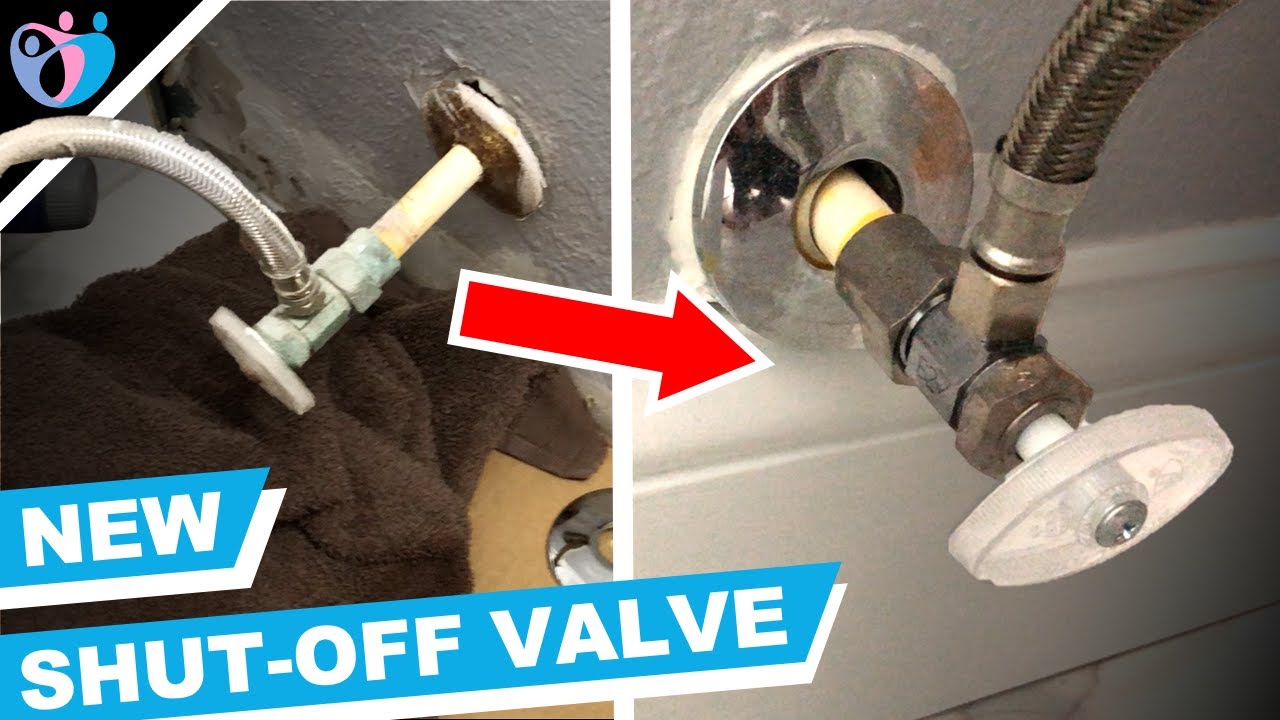


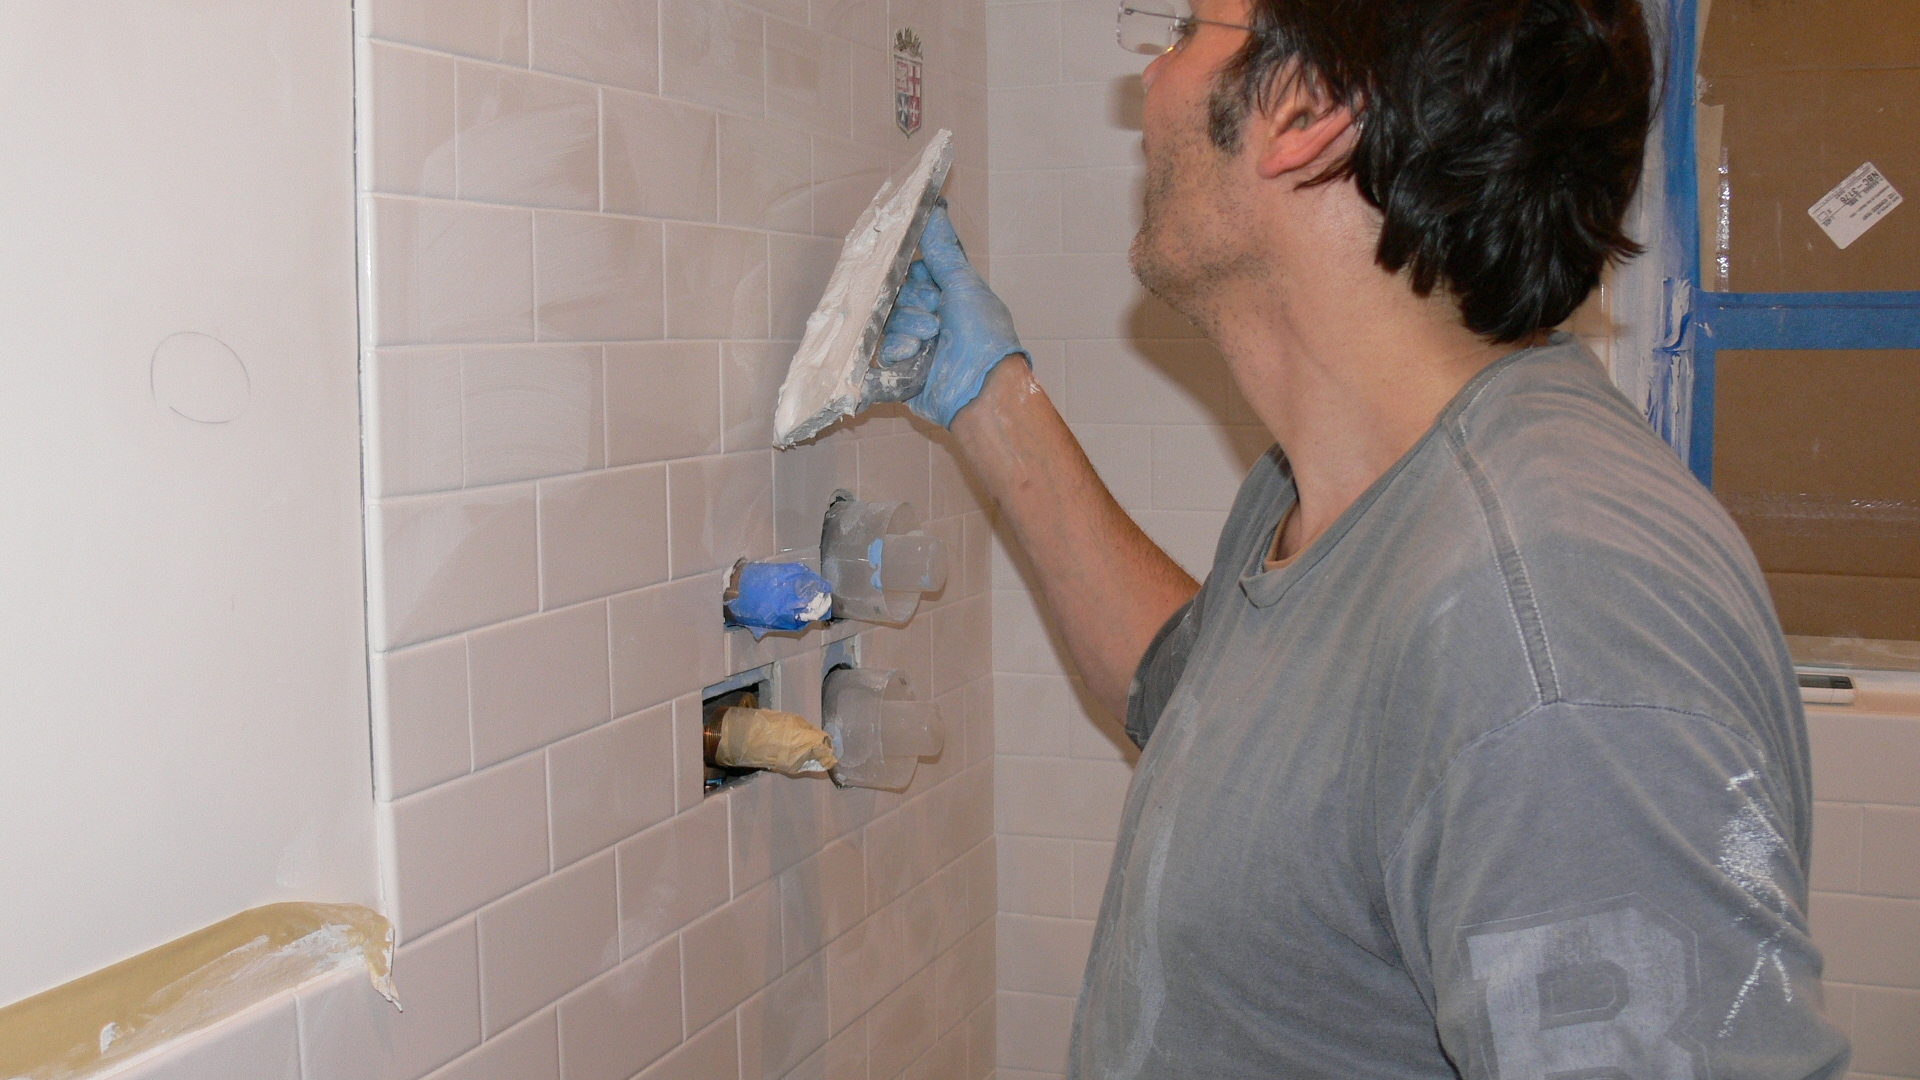
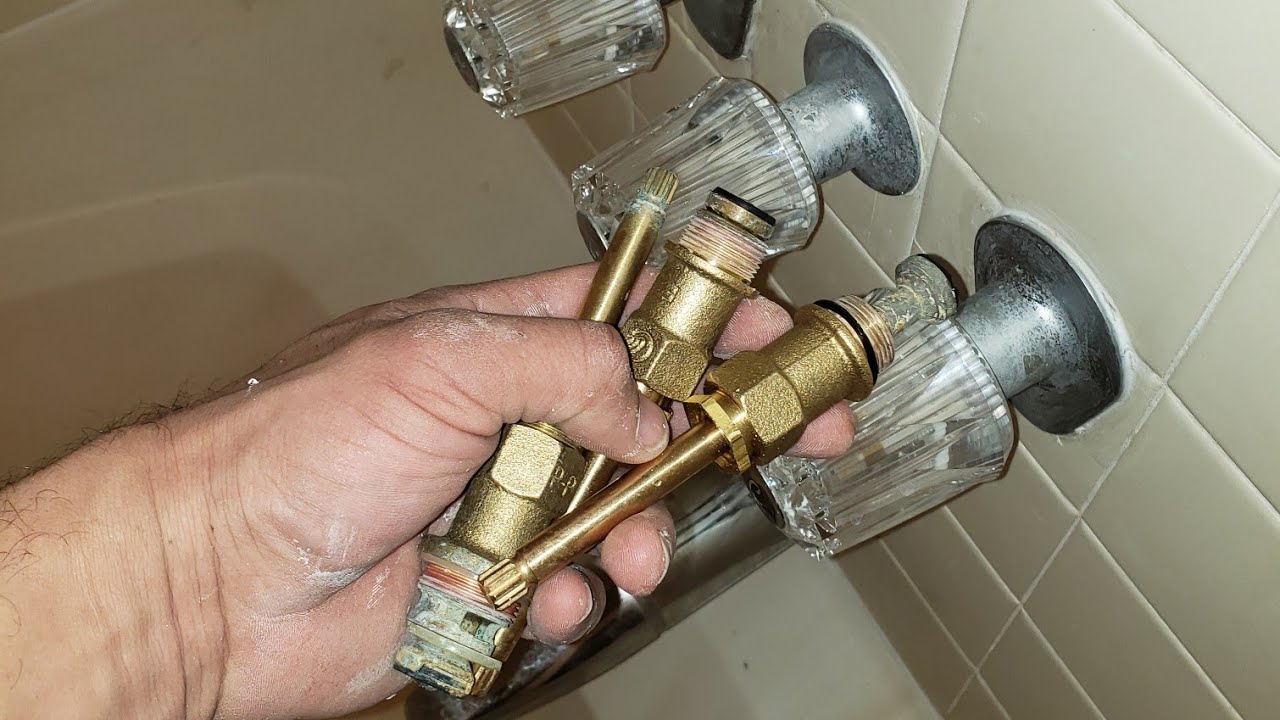
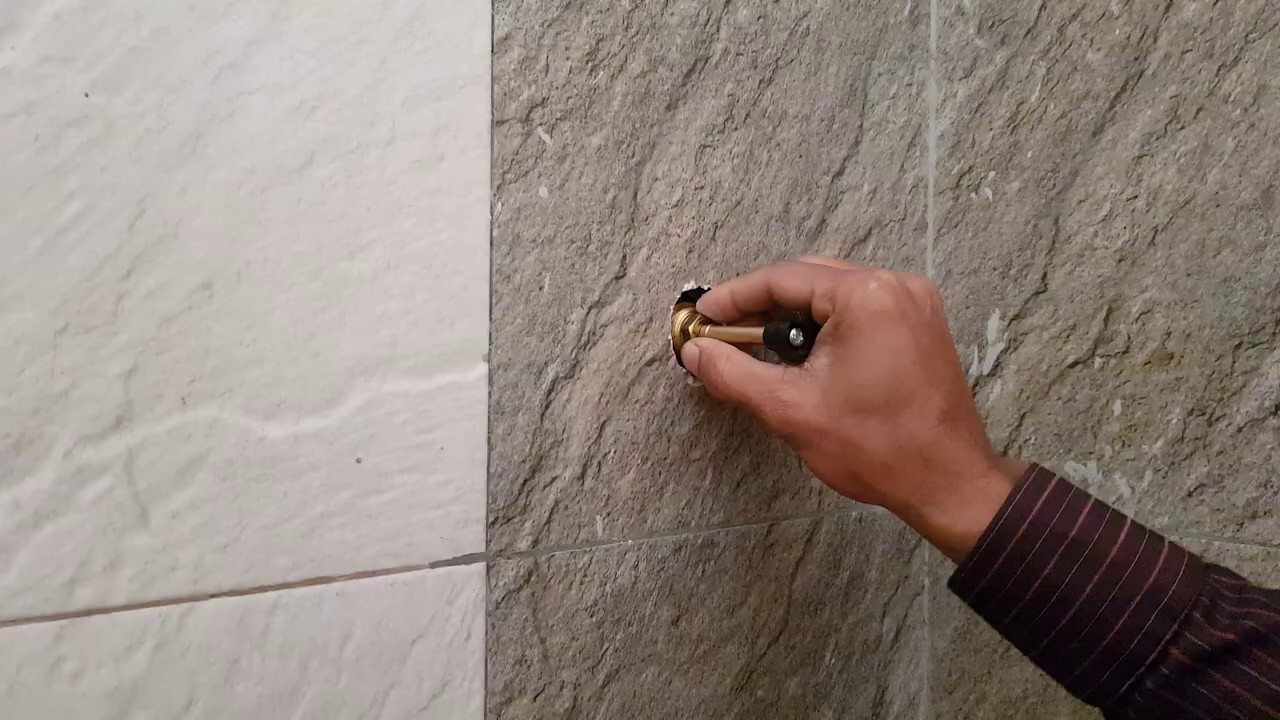
The first step is to remove the old valve. Use a wrench to loosen the nuts and bolts connecting the valve to the water supply and the sink. Once the valve is detached, clean the threads on the pipes using a wire brush.Step 1: Remove the Old Valve


Step-by-Step Guide for Installing a Ball Valve on a Bathroom Sink


Next, you need to measure the distance between the two pipes and cut a section of copper pipe to fit. Use a pipe cutter to make a clean, straight cut. It is essential to measure accurately to ensure a tight fit.Step 2: Measure and Cut the Pipes


DIY: Installing a Ball Valve on a Bathroom Sink


Before attaching the new valve, you need to prepare the pipes. Sand the ends of the pipe and clean them with a pipe cleaner to remove any debris or residue. This will help the pipes to bond securely with the valve.Step 3: Prepare the Pipes

Tools and Materials Needed for Installing a Ball Valve on a Bathroom Sink


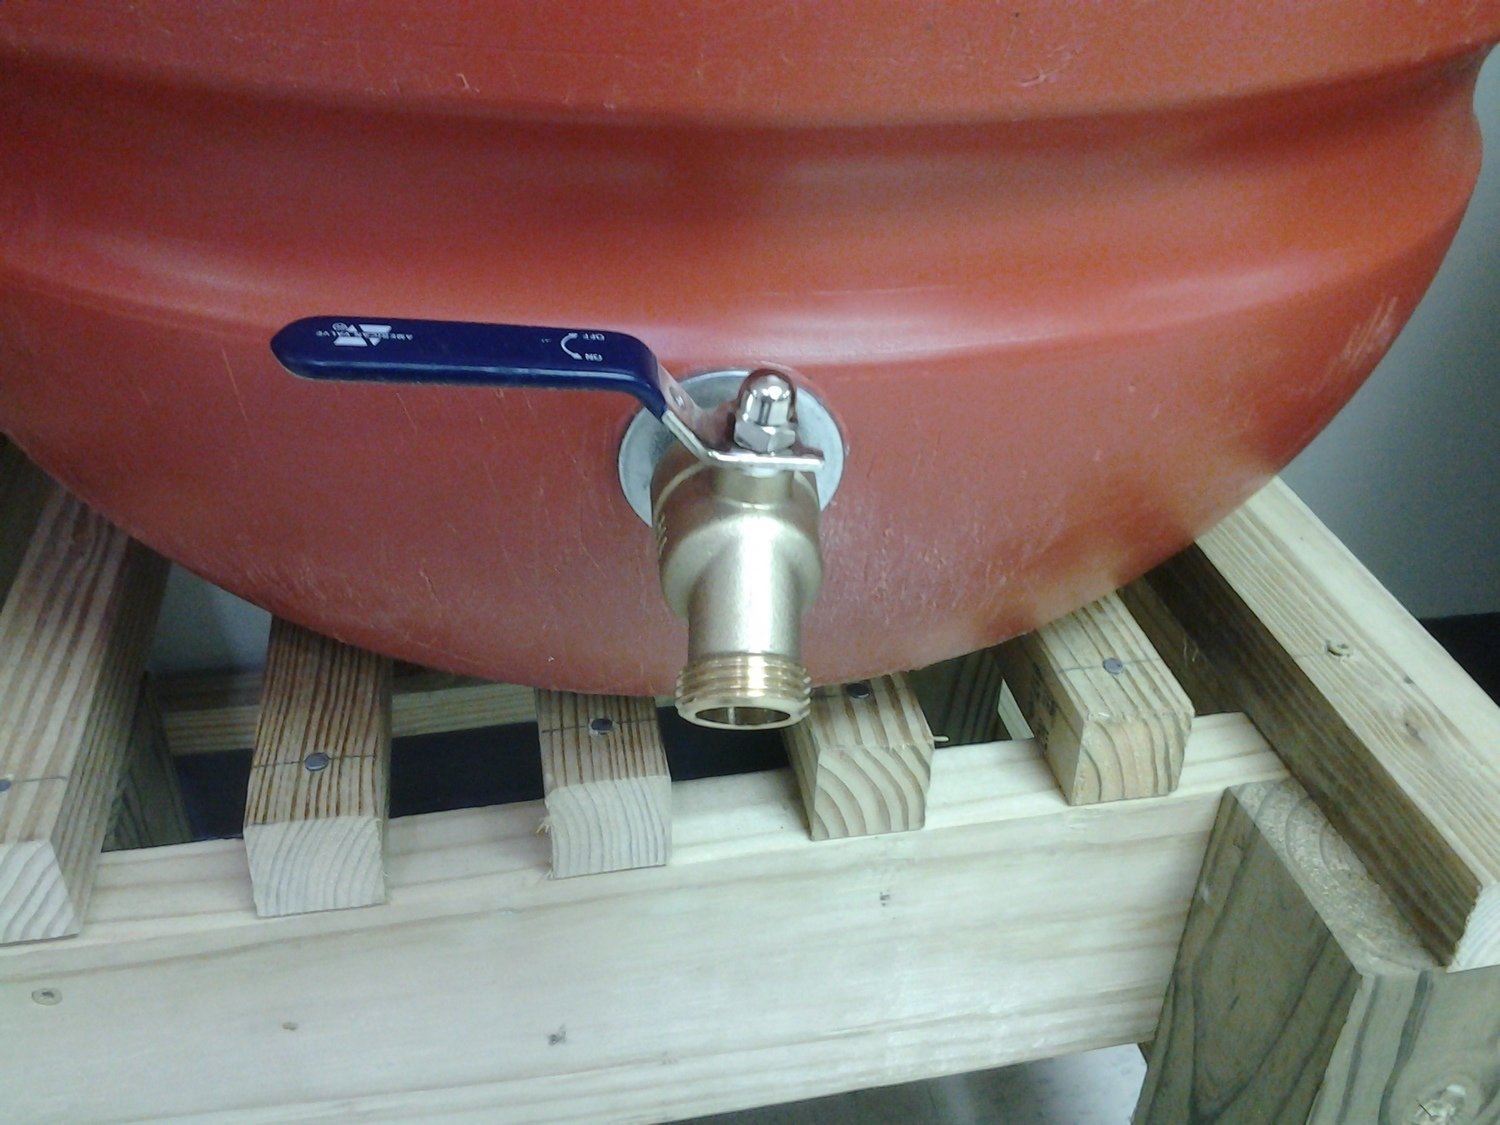
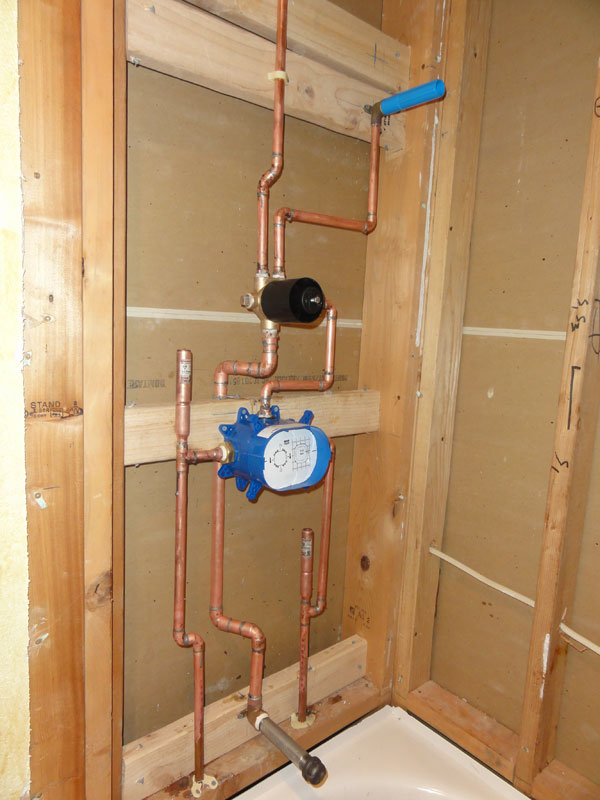
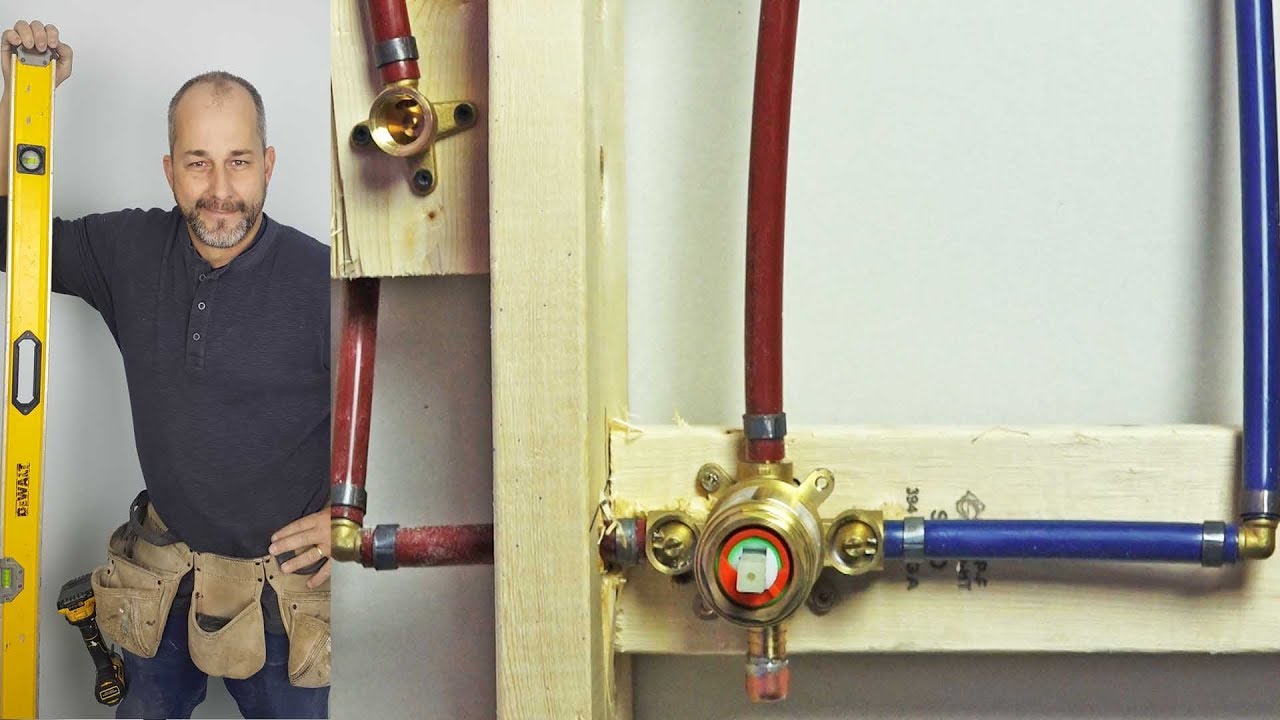
Now, it is time to assemble the valve. Place the compression nuts and ferrules onto the pipes, followed by the valve. Ensure that the valve is in the closed position before tightening the nuts with a wrench. Make sure not to over-tighten as it can damage the fittings.Step 4: Assemble the Valve


Tips and Tricks for Installing a Ball Valve on a Bathroom Sink


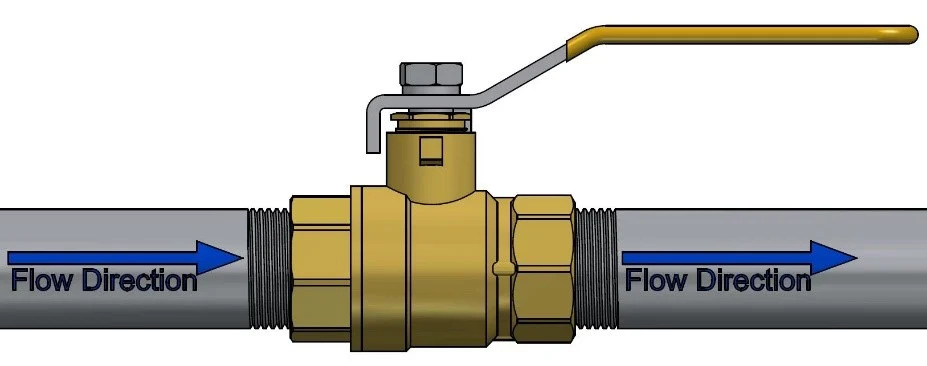
Connect the other end of the valve to the water supply pipe using the same method as in step 4. Again, make sure not to over-tighten the nuts.Step 5: Connect the Pipes


Common Mistakes to Avoid When Installing a Ball Valve on a Bathroom Sink


Once everything is connected, turn the water supply back on and test the valve. If there are no leaks, you have successfully installed a ball valve on your bathroom sink.Step 6: Test the Valve


Video Tutorial: Installing a Ball Valve on a Bathroom Sink

Installing a ball valve on a bathroom sink is a relatively easy project that can be done by anyone with basic DIY skills. By doing it yourself, you can save money on hiring a plumber and have the satisfaction of completing a home improvement task on your own.DIY: Installing a Ball Valve on a Bathroom Sink


Professional Plumbing Services for Installing a Ball Valve on a Bathroom Sink


To install a ball valve on your bathroom sink, you will need the following tools and materials:Tools and Materials Needed for Installing a Ball Valve on a Bathroom Sink

Benefits of Installing a Ball Valve on a Bathroom Sink
Why You Should Consider Installing a Ball Valve on Your Bathroom Sink

Enhance Functionality and Convenience
 When it comes to designing your dream bathroom, every detail matters. From the color scheme to the fixtures, every element should not only look aesthetically pleasing but also serve a practical purpose. One often overlooked but crucial aspect in bathroom design is the type of
valve
installed on the sink. Many homeowners opt for traditional compression valves, but
ball valves
offer a more efficient and convenient option for controlling water flow.
When it comes to designing your dream bathroom, every detail matters. From the color scheme to the fixtures, every element should not only look aesthetically pleasing but also serve a practical purpose. One often overlooked but crucial aspect in bathroom design is the type of
valve
installed on the sink. Many homeowners opt for traditional compression valves, but
ball valves
offer a more efficient and convenient option for controlling water flow.
Efficient Water Flow
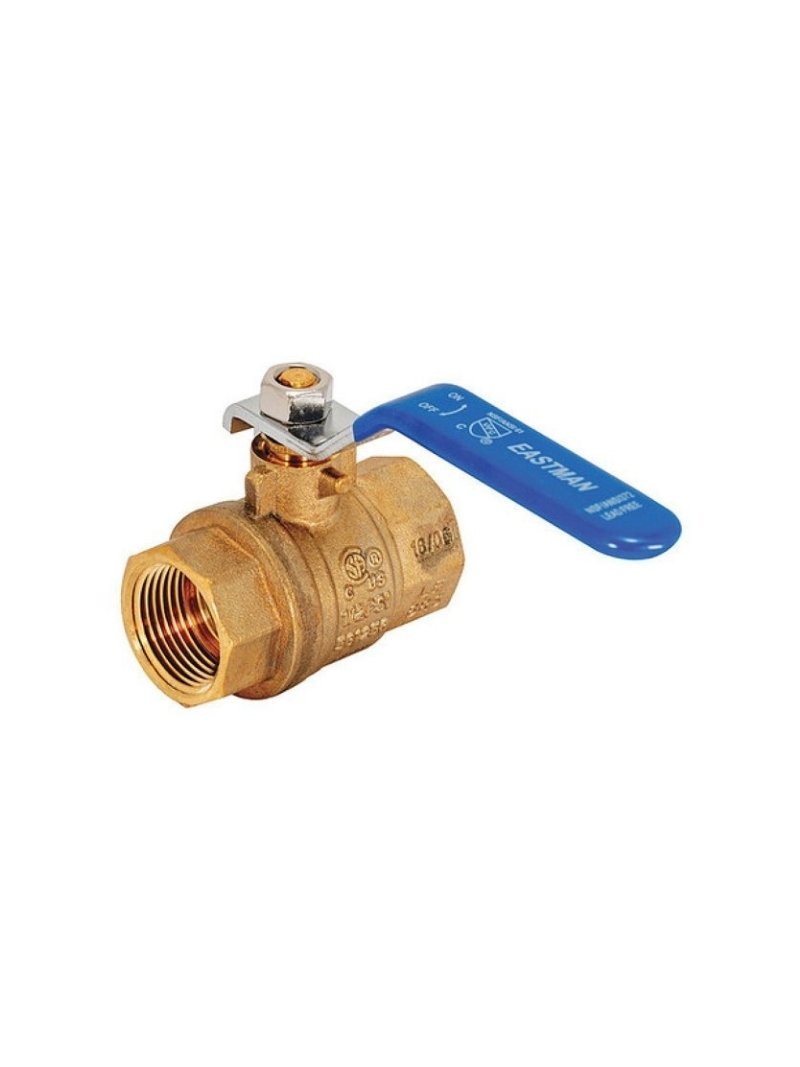
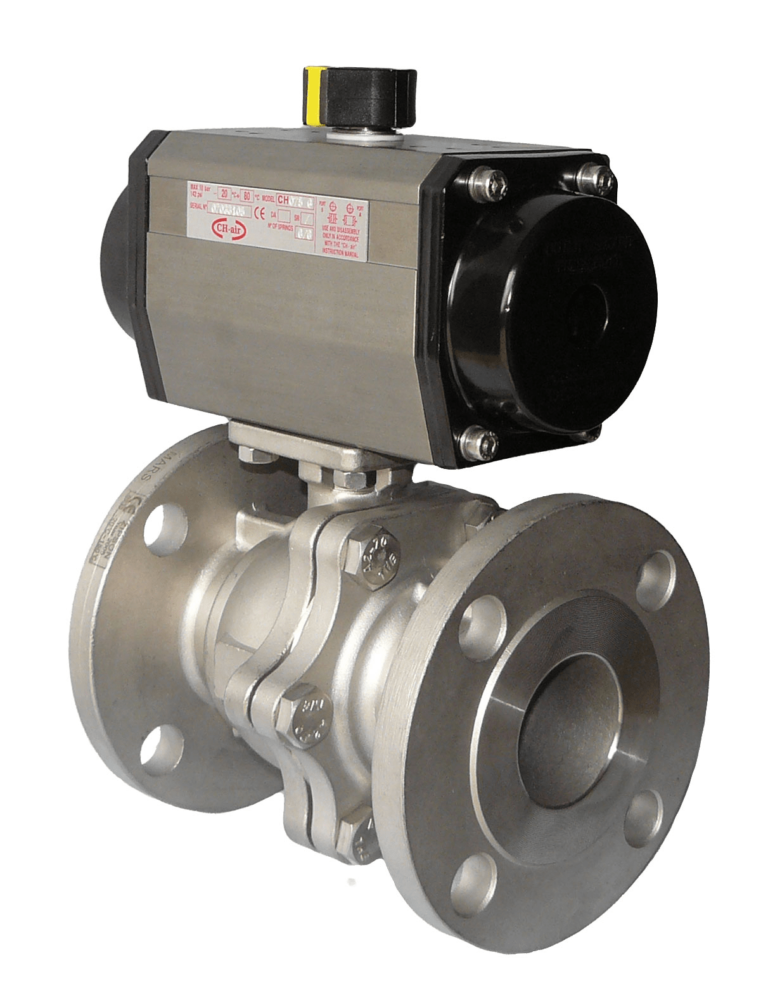
 One of the main advantages of installing a ball valve on your bathroom sink is its efficient water flow. Unlike compression valves that use a rubber or plastic mechanism to control the water flow,
ball valves
use a hollowed-out ball with a hole in the center. This allows for a smoother and more direct flow of water, reducing the chances of leaks and blockages. Additionally, ball valves require less turning force to open and close, making them ideal for people with limited hand strength, such as children or seniors.
One of the main advantages of installing a ball valve on your bathroom sink is its efficient water flow. Unlike compression valves that use a rubber or plastic mechanism to control the water flow,
ball valves
use a hollowed-out ball with a hole in the center. This allows for a smoother and more direct flow of water, reducing the chances of leaks and blockages. Additionally, ball valves require less turning force to open and close, making them ideal for people with limited hand strength, such as children or seniors.
Durability and Longevity
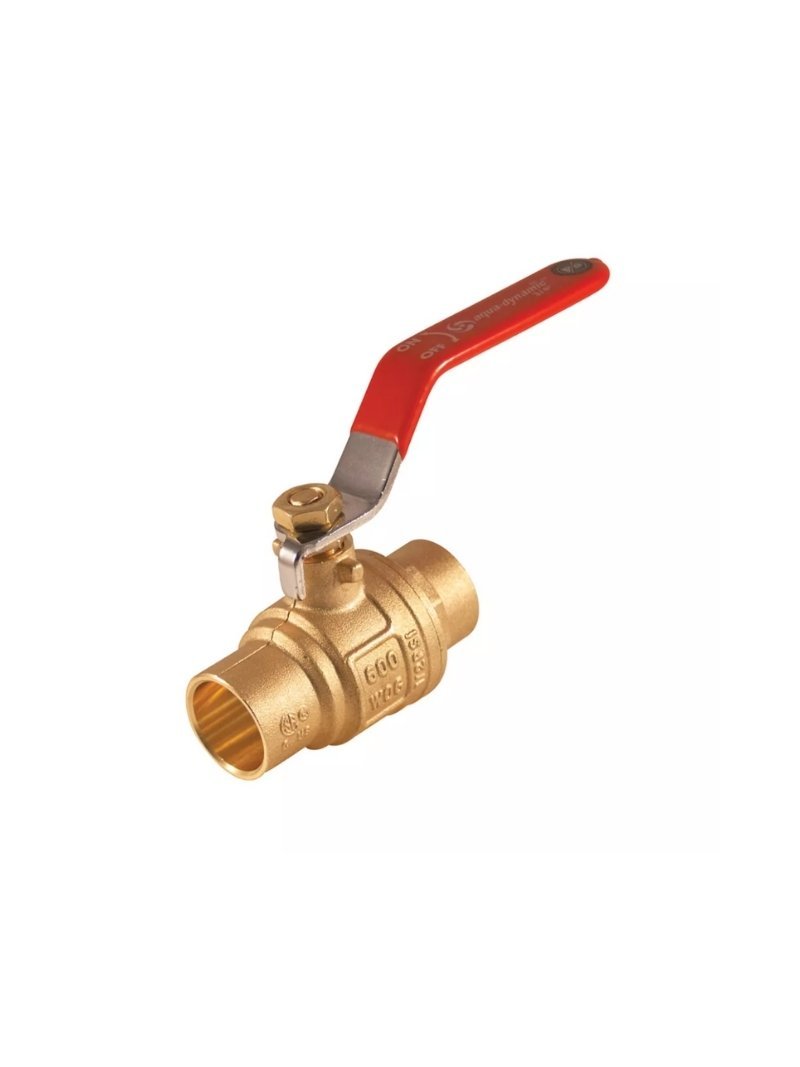
 Another significant benefit of using a ball valve on your bathroom sink is its durability and longevity. Compression valves are prone to wear and tear due to the constant friction between the rubber or plastic components. On the other hand,
ball valves
have fewer moving parts, making them less susceptible to damage and longer-lasting. This means you won't have to worry about replacing your valve frequently, saving you time and money in the long run.
Another significant benefit of using a ball valve on your bathroom sink is its durability and longevity. Compression valves are prone to wear and tear due to the constant friction between the rubber or plastic components. On the other hand,
ball valves
have fewer moving parts, making them less susceptible to damage and longer-lasting. This means you won't have to worry about replacing your valve frequently, saving you time and money in the long run.
Easy to Install and Maintain
 Installing a ball valve on your bathroom sink is a straightforward process that can be done by a professional plumber or even a DIY enthusiast. The valve's simple design and fewer components make it easy to install, minimizing the chances of installation errors. Additionally,
ball valves
require minimal maintenance, as they do not have any internal seals that can wear out over time. This means you can enjoy hassle-free water flow control without having to constantly check and replace parts.
Installing a ball valve on your bathroom sink is a straightforward process that can be done by a professional plumber or even a DIY enthusiast. The valve's simple design and fewer components make it easy to install, minimizing the chances of installation errors. Additionally,
ball valves
require minimal maintenance, as they do not have any internal seals that can wear out over time. This means you can enjoy hassle-free water flow control without having to constantly check and replace parts.
Final Thoughts
 In conclusion, if you want to enhance the functionality and convenience of your bathroom sink, consider installing a ball valve. With its efficient water flow, durability, and easy installation and maintenance, it is a practical and reliable choice for any modern bathroom design. So why settle for a traditional compression valve when you can upgrade to a more efficient and convenient option? Make the switch to a
ball valve
and enjoy a hassle-free and stylish bathroom experience.
In conclusion, if you want to enhance the functionality and convenience of your bathroom sink, consider installing a ball valve. With its efficient water flow, durability, and easy installation and maintenance, it is a practical and reliable choice for any modern bathroom design. So why settle for a traditional compression valve when you can upgrade to a more efficient and convenient option? Make the switch to a
ball valve
and enjoy a hassle-free and stylish bathroom experience.


:no_upscale()/cdn.vox-cdn.com/uploads/chorus_image/image/62570452/Hell_s_Kitchen___MAIN_PHOTO.0.0.jpg)
