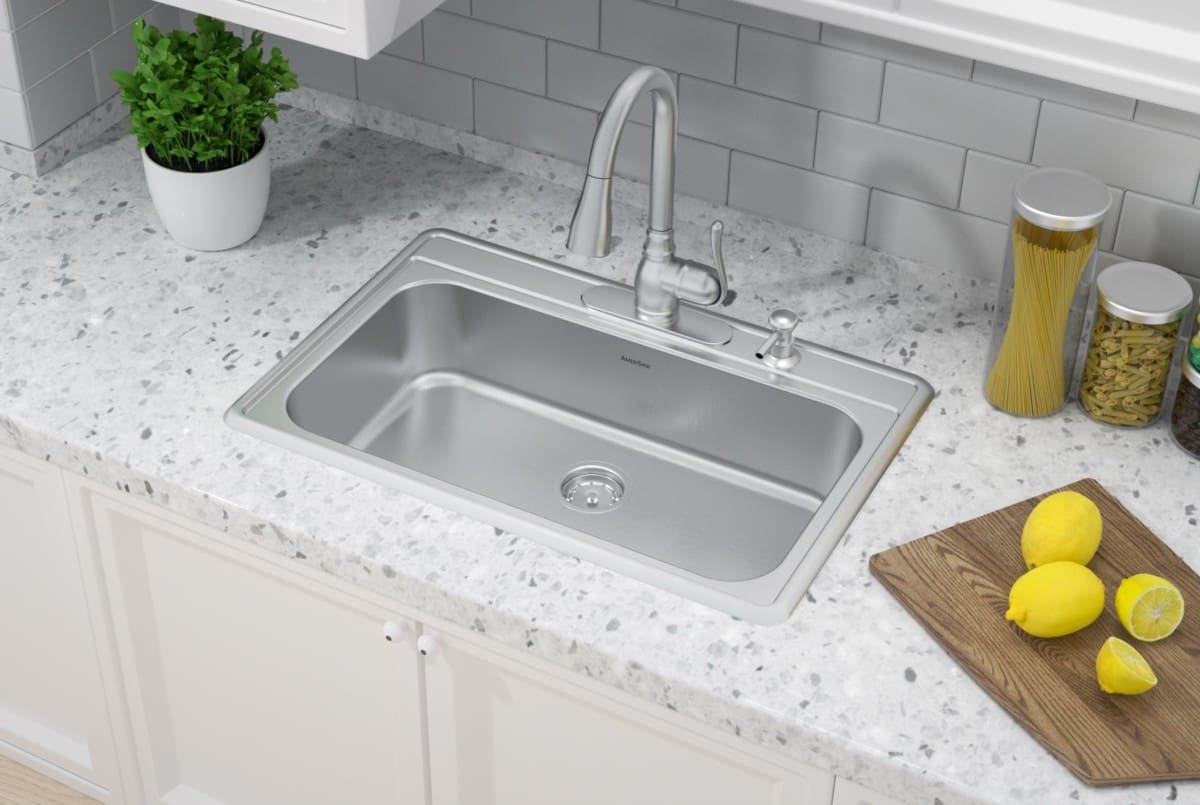
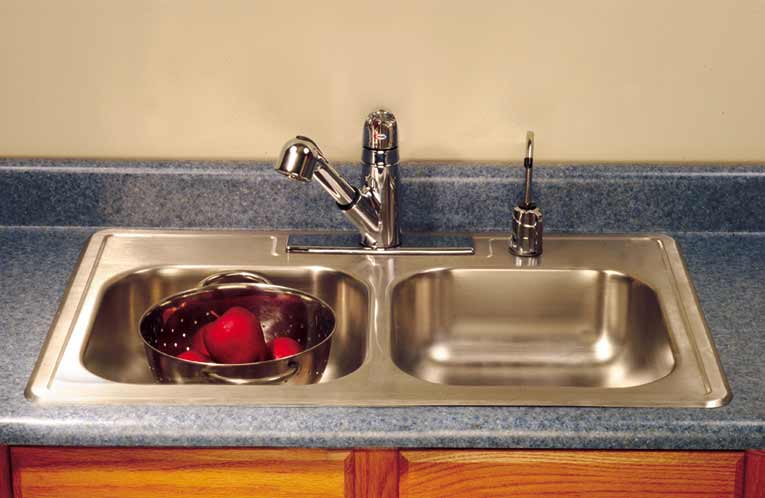
Are you tired of your old, outdated kitchen sink? It may be time for an upgrade. A top mount kitchen sink is a popular choice for many homeowners due to its versatility, durability, and easy installation process. Whether you're a seasoned DIY-er or a first-time home renovator, installing a top mount kitchen sink is a project that you can easily tackle on your own. In this guide, we'll take you through the step-by-step process of installing a top mount kitchen sink, as well as provide tips and tricks to ensure a smooth and successful installation.How to Install a Top Mount Kitchen Sink


How to Install a Top Mount Kitchen Sink

:no_upscale()/cdn.vox-cdn.com/uploads/chorus_asset/file/19495086/drain_0.jpg)


Before you begin the installation process, it's important to gather all the necessary tools and materials. These may include a drill, plumber's putty, silicone sealant, and a wrench. It's also important to measure the dimensions of your sink and countertop to ensure a proper fit. Once you have everything you need, follow these steps for a seamless installation process.Top Mount Kitchen Sink Installation Guide

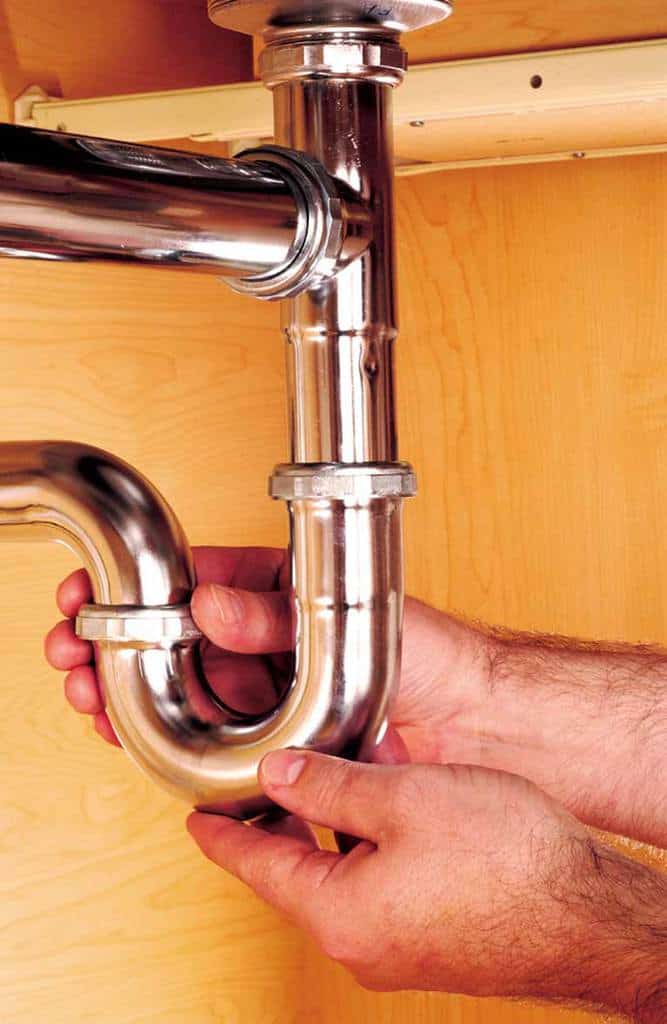

Top Mount Kitchen Sink Installation Guide


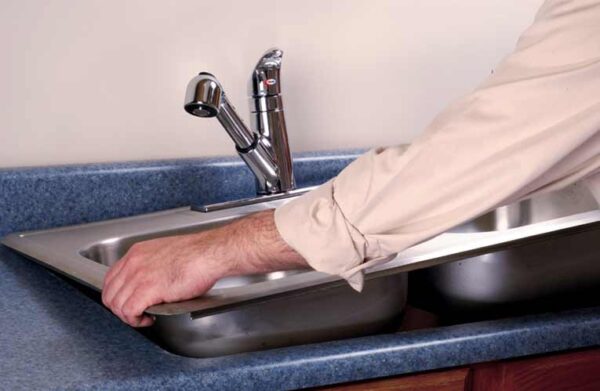
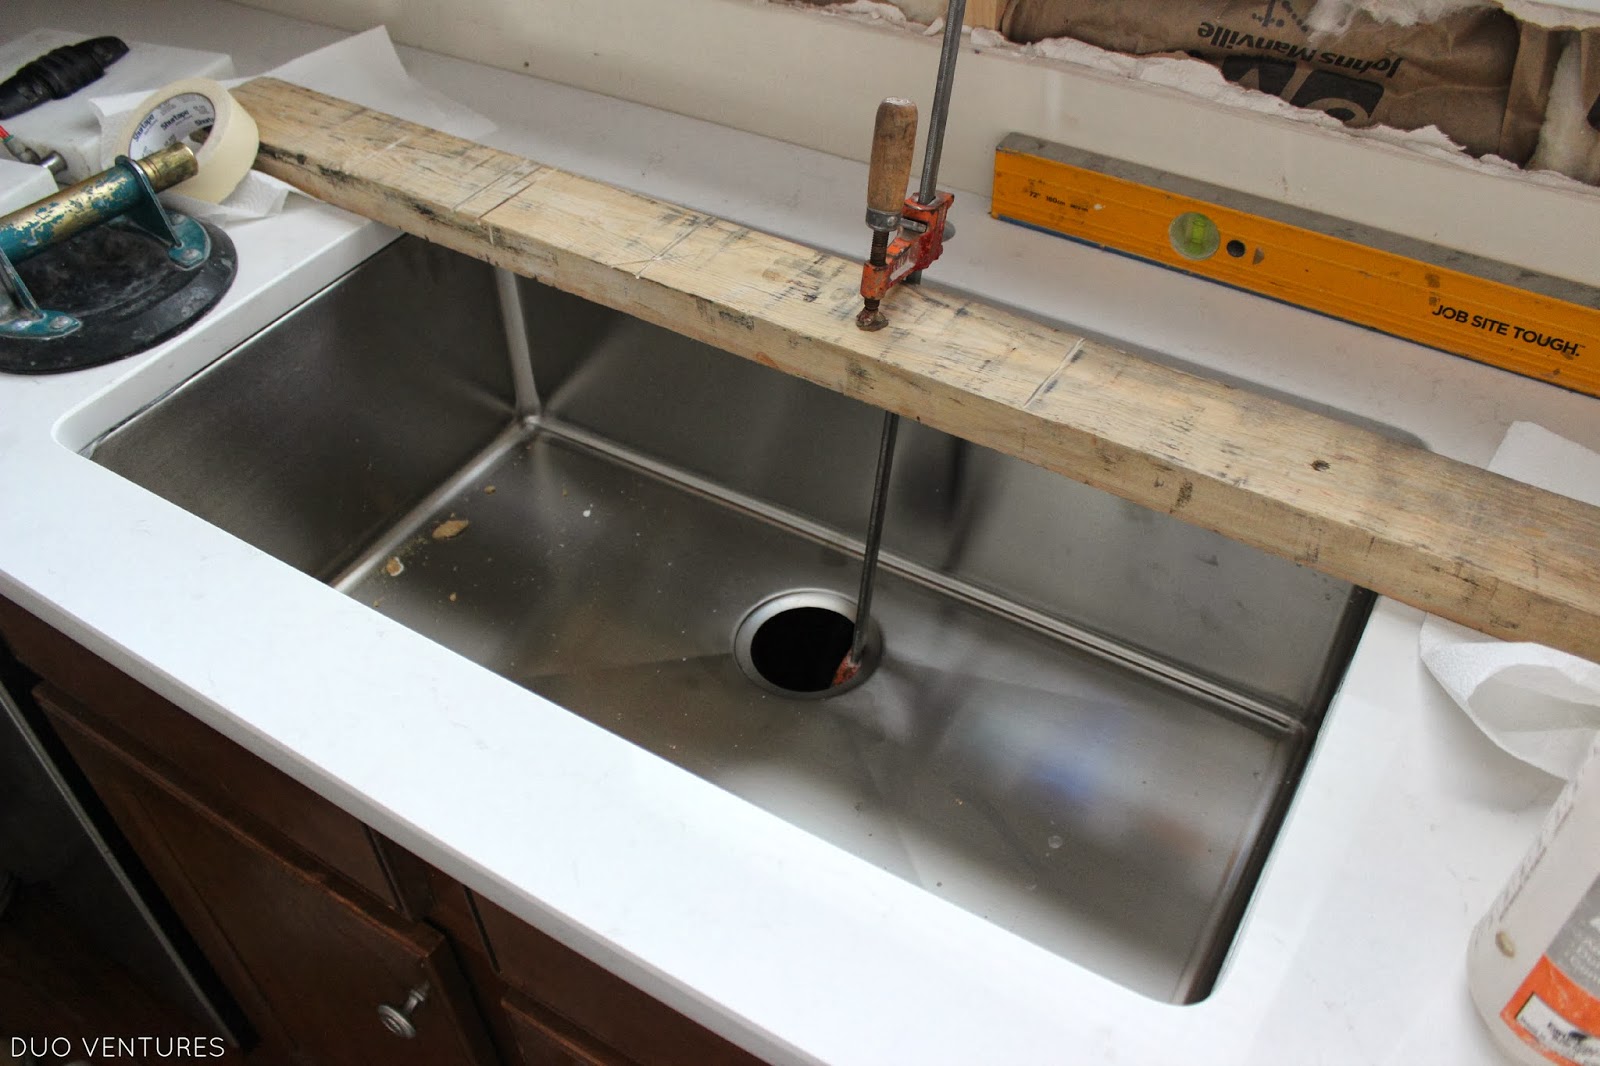
Step 1: Turn off the water supply to your sink and disconnect any plumbing connections. Remove the old sink and clean the area thoroughly. Step 2: Place the top mount sink upside down on a flat surface and apply a bead of plumber's putty along the edge of the sink. This will create a seal between the sink and the countertop. Step 3: Carefully lift the sink and place it into the cutout on the countertop. Press down firmly to ensure a tight seal with the putty. Step 4: Install the mounting clips provided with your sink. These will secure the sink to the countertop and prevent it from shifting. Step 5: Reconnect the plumbing, including the faucet and drain, to the sink. Step 6: Apply a bead of silicone sealant around the edge of the sink to create a waterproof seal. Step 7: Turn the water supply back on and test for any leaks. Make any necessary adjustments. Step 8: Clean up any excess putty or sealant and enjoy your newly installed top mount kitchen sink!Step-by-Step Guide for Installing a Top Mount Kitchen Sink


Step-by-Step Guide for Installing a Top Mount Kitchen Sink


Installing a top mount kitchen sink is a project that can easily be completed by any DIY enthusiast. With the right tools and materials, you can save money by doing it yourself instead of hiring a professional. Plus, the satisfaction of completing a project on your own is unbeatable.DIY Top Mount Kitchen Sink Installation


DIY Top Mount Kitchen Sink Installation


Tip #1: Make sure to measure the dimensions of your sink and countertop accurately to ensure a proper fit. Tip #2: Use a level to make sure your sink is installed evenly and avoid any water pooling. Tip #3: Apply sealant to all edges of the sink to prevent leaks and water damage. Tip #4: Tighten all plumbing connections to prevent leaks. Tip #5: Follow the manufacturer's instructions for your specific sink model for the best results.Top Mount Kitchen Sink Installation Tips and Tricks


Top Mount Kitchen Sink Installation Tips and Tricks
/how-to-install-a-sink-drain-2718789-hero-24e898006ed94c9593a2a268b57989a3.jpg)

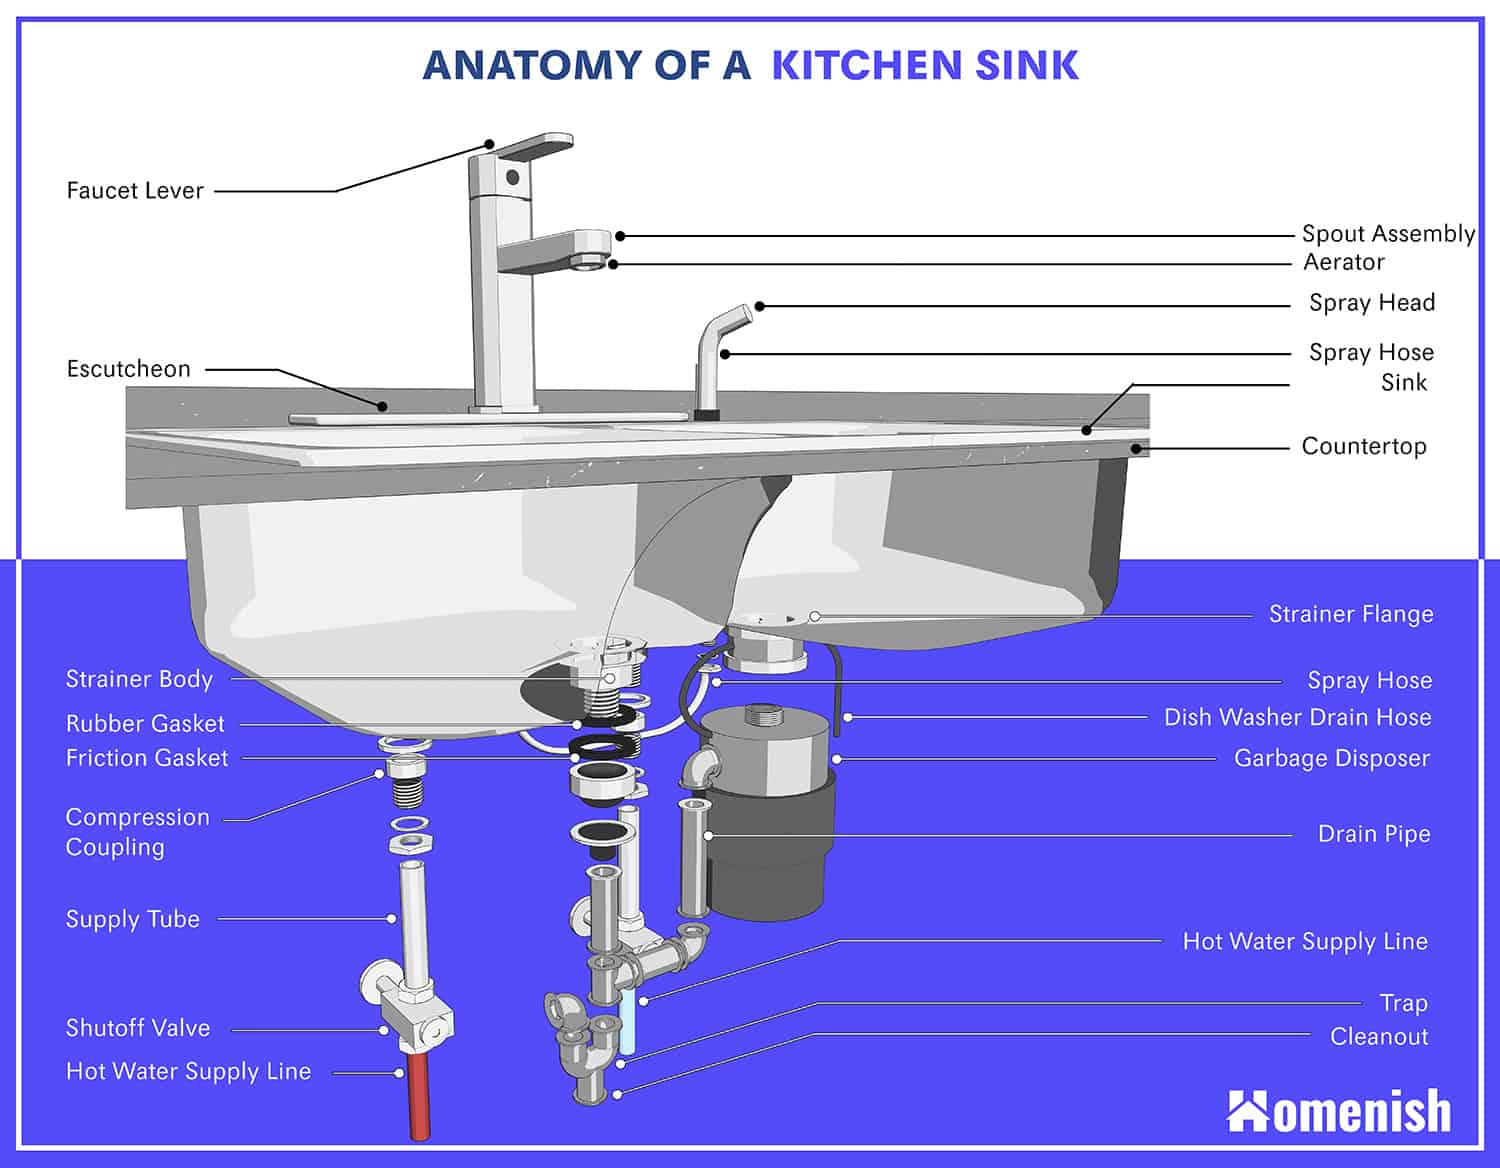
Tool #1: Drill - for creating holes for plumbing connections. Tool #2: Plumber's putty - for creating a seal between the sink and countertop. Tool #3: Silicone sealant - for creating a waterproof seal around the edges of the sink. Tool #4: Wrench - for tightening plumbing connections. Tool #5: Level - for ensuring an even installation.Essential Tools for Installing a Top Mount Kitchen Sink


Essential Tools for Installing a Top Mount Kitchen Sink


Before you begin your top mount kitchen sink installation, it's important to familiarize yourself with the process and any potential challenges. Here are some important things to keep in mind: Challenges: Uneven or poorly supported countertops can make installation difficult, as well as limited space for working underneath the sink. Time: Depending on your skill level and the condition of your countertop, installation can take anywhere from 1-4 hours. Cost: DIY installation of a top mount kitchen sink can save you money compared to hiring a professional, but it's important to factor in the cost of tools and materials.Top Mount Kitchen Sink Installation: What You Need to Know

Top Mount Kitchen Sink Installation: What You Need to Know


While installing a top mount kitchen sink may seem simple, there are a few common mistakes that can lead to costly repairs or replacements. Here are some mistakes to avoid: Mistake #1: Not measuring accurately, leading to a sink that doesn't fit properly. Mistake #2: Forgetting to turn off the water supply, resulting in a flooded kitchen. Mistake #3: Not using enough putty or sealant, resulting in leaks and water damage. Mistake #4: Tightening plumbing connections too much, causing damage to the sink or pipes. Mistake #5: Rushing the installation process and not following instructions, leading to a poor-quality installation.Installing a Top Mount Kitchen Sink: Common Mistakes to Avoid


Installing a Top Mount Kitchen Sink: Common Mistakes to Avoid


If you're new to home renovations and DIY projects, installing a top mount kitchen sink is a great place to start. The process is relatively simple and can give you the confidence to tackle more complex projects in the future. Just remember to take your time, follow instructions, and don't be afraid to ask for help if needed.Top Mount Kitchen Sink Installation: A Beginner's Guide
Top Mount Kitchen Sink Installation: A Beginner's Guide

For those who have experience with home renovations, installing a top mount kitchen sink may seem like a breeze. However, here are some expert tips to ensure a flawless installation: Tip #1: Use a sealant remover if you make a mistake or need to reposition the sink before the sealant dries. Tip #2: Use a putty knife to smooth out any excess putty or sealant for a clean and professional finish. Tip #3: Consider adding a garbage disposal unit during the installation process for added convenience. Now that you have a step-by-step guide, tips and tricks, and expert advice, you're ready to install your own top mount kitchen sink. Remember to take your time and follow instructions carefully for a successful and hassle-free installation. Enjoy your new sink and the upgraded look and functionality it brings to your kitchen.Expert Tips for Installing a Top Mount Kitchen Sink

Expert Tips for Installing a Top Mount Kitchen Sink


Choosing the Right Sink for Your Kitchen

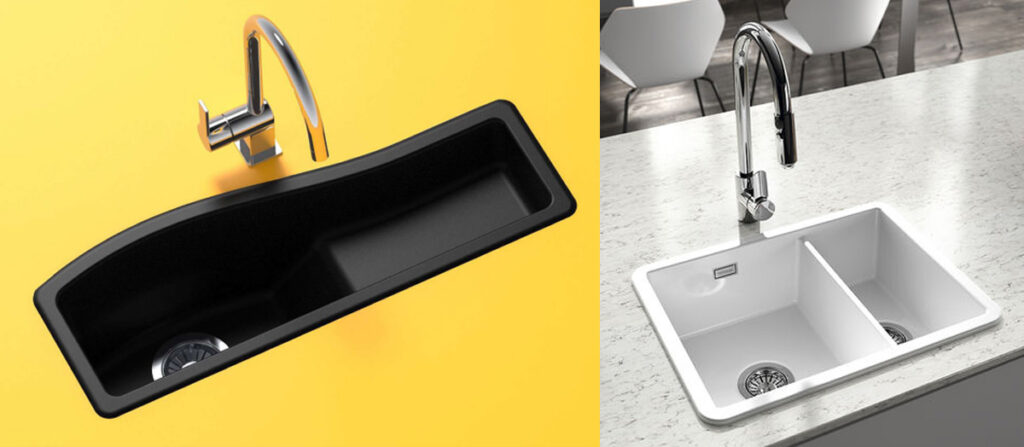
Top Mount vs Undermount Sinks
 When it comes to kitchen sinks, there are several options to choose from. Two of the most popular choices are top mount and undermount sinks. While both are functional and aesthetically pleasing, they have some key differences that may sway your decision.
Top mount sinks, also known as drop-in sinks, are installed by dropping them into a pre-cut hole in the countertop, with the edges of the sink resting on top of the counter.
On the other hand,
undermount sinks are installed from underneath the countertop so that the edges of the sink are hidden and the counter seamlessly extends over the sink.
So, how do you decide which one is right for your kitchen?
When it comes to kitchen sinks, there are several options to choose from. Two of the most popular choices are top mount and undermount sinks. While both are functional and aesthetically pleasing, they have some key differences that may sway your decision.
Top mount sinks, also known as drop-in sinks, are installed by dropping them into a pre-cut hole in the countertop, with the edges of the sink resting on top of the counter.
On the other hand,
undermount sinks are installed from underneath the countertop so that the edges of the sink are hidden and the counter seamlessly extends over the sink.
So, how do you decide which one is right for your kitchen?
Consider Your Kitchen Layout
 The first thing to consider when choosing between a top mount and undermount sink is your kitchen's layout.
Top mount sinks are more versatile and can be easily installed in any type of countertop. This makes them a great option for older homes with existing countertops that may not be compatible with undermount sinks. However, if you are planning a kitchen remodel and have the option to choose a new countertop,
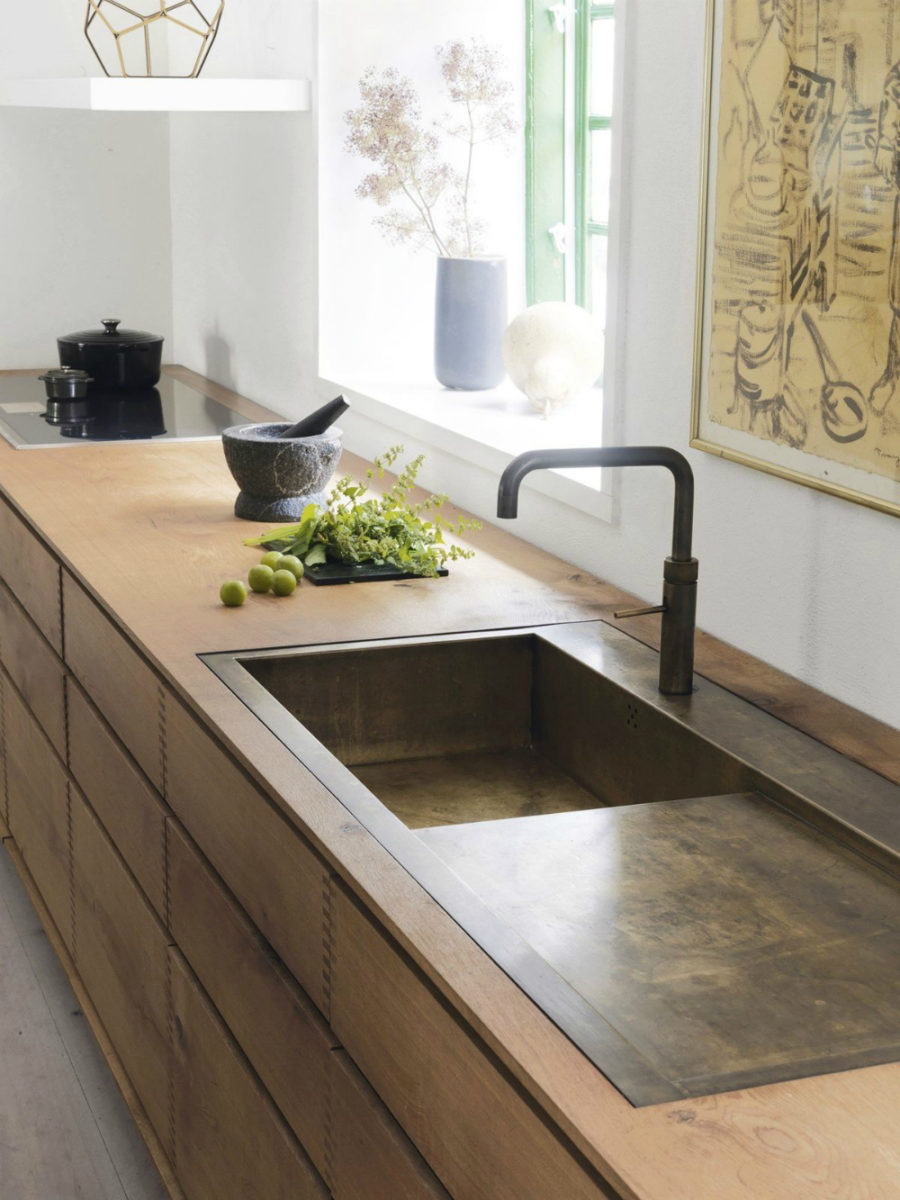
undermount sinks offer a sleek and modern look that can elevate the overall design of your kitchen.
The first thing to consider when choosing between a top mount and undermount sink is your kitchen's layout.
Top mount sinks are more versatile and can be easily installed in any type of countertop. This makes them a great option for older homes with existing countertops that may not be compatible with undermount sinks. However, if you are planning a kitchen remodel and have the option to choose a new countertop,
undermount sinks offer a sleek and modern look that can elevate the overall design of your kitchen.
Think About Functionality
 Another important factor to consider is the functionality of the sink.
Top mount sinks have a lip around the edges, which can make it easier to clean up spills and splashes without them dripping onto the countertop. This can also help contain water in the sink, making it a better option for households with children or busy cooks. On the other hand,
undermount sinks have a seamless transition from the countertop to the sink, making it easier to wipe down and keep clean.
However, without the lip, water and debris can easily slide off the counter and onto the floor.
Another important factor to consider is the functionality of the sink.
Top mount sinks have a lip around the edges, which can make it easier to clean up spills and splashes without them dripping onto the countertop. This can also help contain water in the sink, making it a better option for households with children or busy cooks. On the other hand,
undermount sinks have a seamless transition from the countertop to the sink, making it easier to wipe down and keep clean.
However, without the lip, water and debris can easily slide off the counter and onto the floor.
Keep Maintenance in Mind
 When it comes to maintenance, both top mount and undermount sinks have their pros and cons.
Top mount sinks are easier to install and replace, as they sit on top of the countertop and do not require any special cutting or sealing. However,
the lip can collect dirt and bacteria, making it a bit more challenging to keep clean.
On the other hand, undermount sinks are more difficult to install and may require professional help. They also need to be properly sealed to prevent water damage to the countertop. However,
the lack of a lip makes it easier to clean and maintain in the long run.
When it comes to maintenance, both top mount and undermount sinks have their pros and cons.
Top mount sinks are easier to install and replace, as they sit on top of the countertop and do not require any special cutting or sealing. However,
the lip can collect dirt and bacteria, making it a bit more challenging to keep clean.
On the other hand, undermount sinks are more difficult to install and may require professional help. They also need to be properly sealed to prevent water damage to the countertop. However,
the lack of a lip makes it easier to clean and maintain in the long run.
The Final Decision
 Ultimately, the decision between a top mount and undermount sink will depend on your personal preferences and the layout of your kitchen.
If you are looking for a versatile and easy-to-install option, top mount sinks are the way to go. But if you want a modern and seamless design,
undermount sinks are a great choice that can add a touch of elegance to your kitchen.
Whichever option you choose, make sure to properly measure and plan before installing to ensure a perfect fit and a functional and beautiful kitchen sink.
Ultimately, the decision between a top mount and undermount sink will depend on your personal preferences and the layout of your kitchen.
If you are looking for a versatile and easy-to-install option, top mount sinks are the way to go. But if you want a modern and seamless design,
undermount sinks are a great choice that can add a touch of elegance to your kitchen.
Whichever option you choose, make sure to properly measure and plan before installing to ensure a perfect fit and a functional and beautiful kitchen sink.