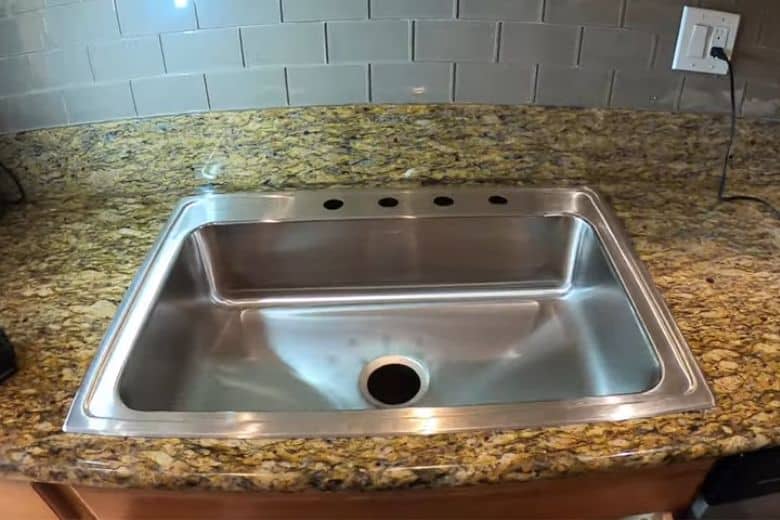
Are you looking to upgrade your kitchen with a new sink? Installing a single bowl kitchen sink is a great way to modernize your space and make it more functional. Not only is it a practical choice for smaller kitchens, but it also offers a sleek and streamlined look. In this guide, we will walk you through the steps of installing a single bowl kitchen sink so you can enjoy your new sink in no time.1. How to Install a Single Bowl Kitchen Sink


1. How to Install a Single Bowl Kitchen Sink


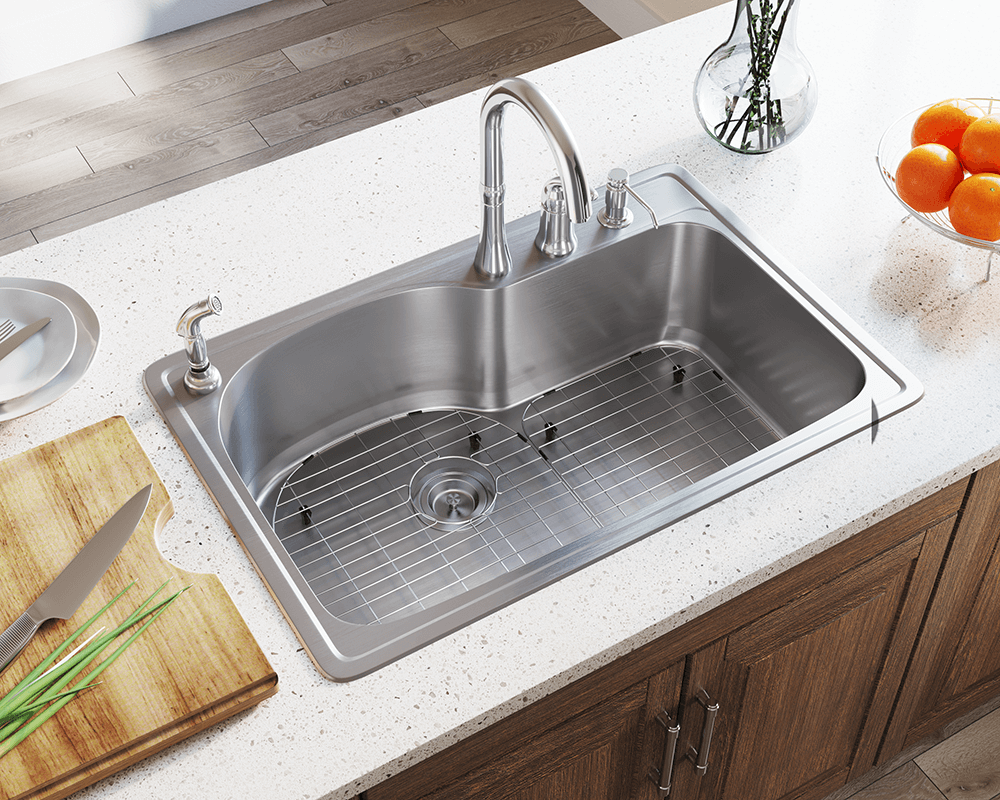
Before you begin, it's important to gather all the necessary tools and materials for the job. This includes a single bowl kitchen sink, faucet, drain and tailpiece assembly, plumber's putty, silicone sealant, and a wrench. Once you have everything you need, follow these steps: Step 1: Turn off the water supply to your kitchen sink and remove any items from the area. Step 2: Disconnect the plumbing from your old sink and remove it from the countertop. Step 3: Measure and mark the center of the sink cabinet and use a jigsaw to cut out the hole for the new sink. Step 4: Place the sink into the hole and secure it with clips or brackets. Step 5: Install the faucet and drain assembly according to the manufacturer's instructions. Step 6: Apply plumber's putty around the edge of the sink and place it into the hole. Step 7: Connect the plumbing and secure it using a wrench. Step 8: Apply silicone sealant around the edges of the sink to prevent any leaks. Step 9: Turn on the water supply and test for any leaks. Step 10: Clean up any excess putty or sealant and enjoy your newly installed single bowl kitchen sink!2. Step-by-Step Guide for Installing a Single Bowl Kitchen Sink


2. Step-by-Step Guide for Installing a Single Bowl Kitchen Sink


If you're the type of person who enjoys tackling home improvement projects, then installing a single bowl kitchen sink can be a fun and rewarding DIY project. By following the steps outlined in this guide, you can save money on installation costs and have the satisfaction of completing the project yourself. Plus, having a new sink that you installed can be a great conversation starter when you have guests over.3. DIY: Installing a Single Bowl Kitchen Sink


3. DIY: Installing a Single Bowl Kitchen Sink


When installing a single bowl kitchen sink, it's important to keep a few tips in mind to ensure a successful installation: Tip 1: Measure twice, cut once. Take your time when cutting the hole for the sink to ensure it is the correct size and in the right location. Tip 2: Use a level to make sure the sink is installed evenly and avoid any potential drainage issues. Tip 3: Don't over-tighten any connections as this can cause damage and lead to leaks. Tip 4: If you're not confident in your plumbing skills, consider hiring a professional to assist with the installation.4. Tips for Installing a Single Bowl Kitchen Sink


4. Tips for Installing a Single Bowl Kitchen Sink
While installing a single bowl kitchen sink may seem like a straightforward task, there are some common mistakes that can easily be avoided: Mistake 1: Not turning off the water supply before starting the installation. Mistake 2: Not properly securing the sink which can lead to it becoming loose over time. Mistake 3: Using too much plumber's putty which can cause it to squeeze out and create a messy appearance. Mistake 4: Not testing for leaks before finishing the installation.5. Common Mistakes to Avoid When Installing a Single Bowl Kitchen Sink


5. Common Mistakes to Avoid When Installing a Single Bowl Kitchen Sink


To make sure you have everything you need for a successful installation, here is a list of recommended tools and materials: Tools: Jigsaw, wrench, level, measuring tape, pliers, and screwdriver. Materials: Single bowl kitchen sink, faucet, drain and tailpiece assembly, plumber's putty, silicone sealant, and clips or brackets for securing the sink.6. Tools and Materials Needed for Installing a Single Bowl Kitchen Sink

6. Tools and Materials Needed for Installing a Single Bowl Kitchen Sink


One of the most crucial steps in installing a single bowl kitchen sink is measuring and cutting the hole for the sink. Here's how to do it: Step 1: Measure the width and depth of the sink and mark the center point on the countertop. Step 2: Use a jigsaw to cut out the hole, starting from the center point and following the marked lines. Step 3: Check the fit of the sink and make any necessary adjustments to the hole size. Step 4: Once the sink fits securely, remove it and clean up any debris from the countertop.7. How to Measure and Cut a Hole for a Single Bowl Kitchen Sink


7. How to Measure and Cut a Hole for a Single Bowl Kitchen Sink


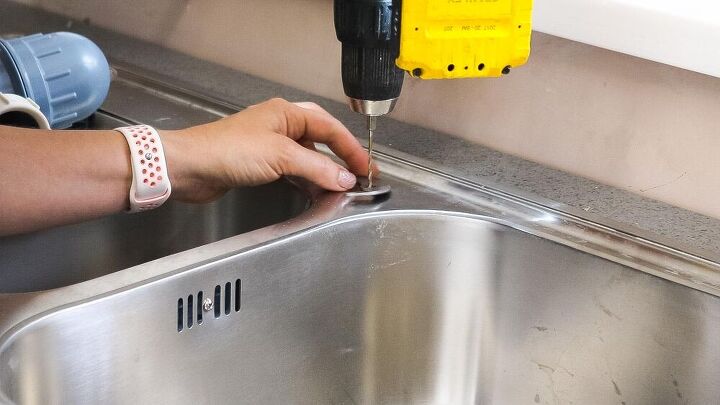
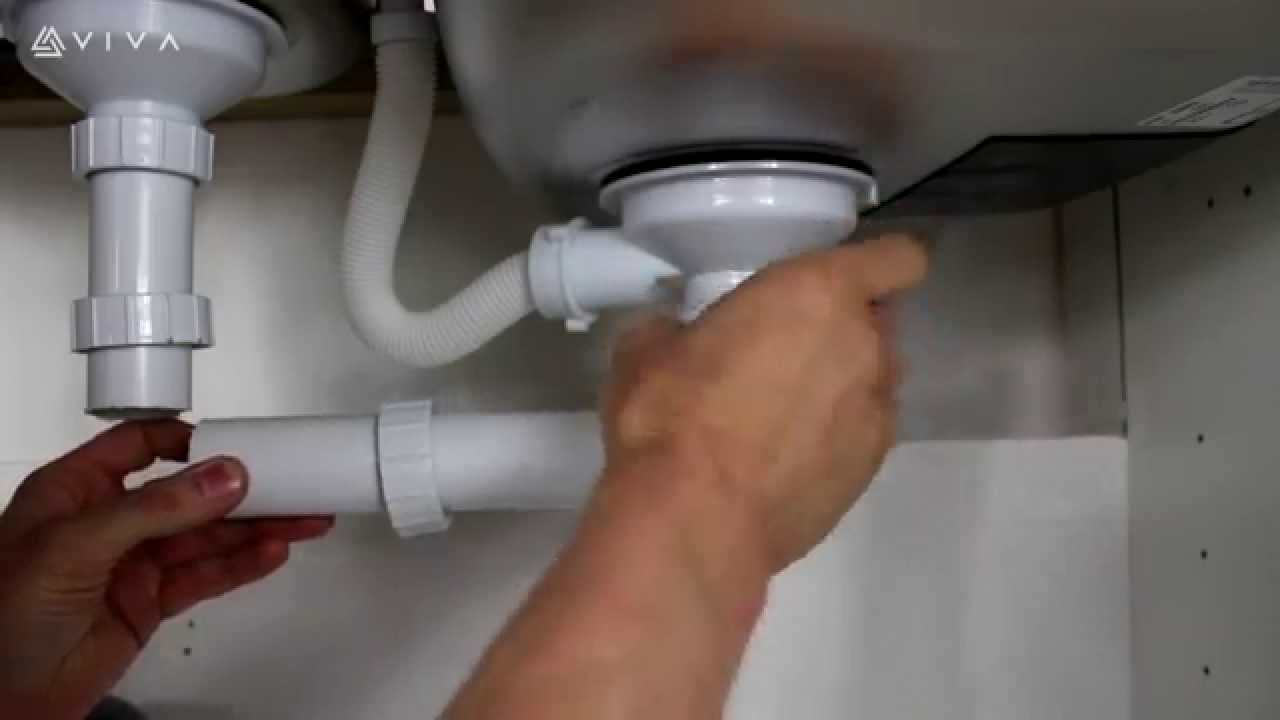
Connecting the plumbing for a single bowl kitchen sink may seem intimidating, but it's actually a fairly simple process. Here's how to do it: Step 1: Connect the drain and tailpiece assembly to the sink and tighten using pliers. Step 2: Connect the water supply lines to the faucet and tighten using a wrench. Step 3: Connect the drains to the plumbing under the sink and tighten using a wrench. Step 4: Turn on the water supply and check for any leaks. If there are any, tighten the connections until they are secure.8. Connecting Plumbing for a Single Bowl Kitchen Sink


8. Connecting Plumbing for a Single Bowl Kitchen Sink

:max_bytes(150000):strip_icc()/garbage-disposal-buying-guide-2718864-hero-205069e72e6a4575b3131db47a6ace26.jpg)


/how-to-install-a-sink-drain-2718789-hero-24e898006ed94c9593a2a268b57989a3.jpg)

Once the sink is in place and the plumbing is connected, it's time to secure and seal the sink to the countertop. Here's how: Step 1: Use clips or brackets to secure the sink to the countertop. Step 2: Apply plumber's putty around the edge of the sink to create a watertight seal. Step 3: Apply silicone sealant around the edges of the sink to prevent any leaks. Step 4: Clean up any excess putty or sealant and let it dry according to the manufacturer's instructions.9. How to Secure and Seal a Single Bowl Kitchen Sink

9. How to Secure and Seal a Single Bowl Kitchen Sink


If you encounter any issues during the installation process, here are some troubleshooting tips: Issue 1: The sink is not sitting evenly on the countertop. Solution: Use a level to adjust the sink and make sure it is evenly balanced. Issue 2: There are leaks in the plumbing connections. Solution: Tighten the connections until they are secure and re-test for leaks. Issue 3: The sink is not sealed properly. Solution: Remove any excess putty or sealant and reapply it according to the manufacturer's instructions. Now that you have a step-by-step guide for installing a single bowl kitchen sink, you can confidently upgrade your kitchen with a new sink. Remember to take your time, follow the tips and troubleshooting advice, and you'll have a functional and stylish sink in no time. Happy installing!10. Troubleshooting Common Issues When Installing a Single Bowl Kitchen Sink


10. Troubleshooting Common Issues When Installing a Single Bowl Kitchen Sink


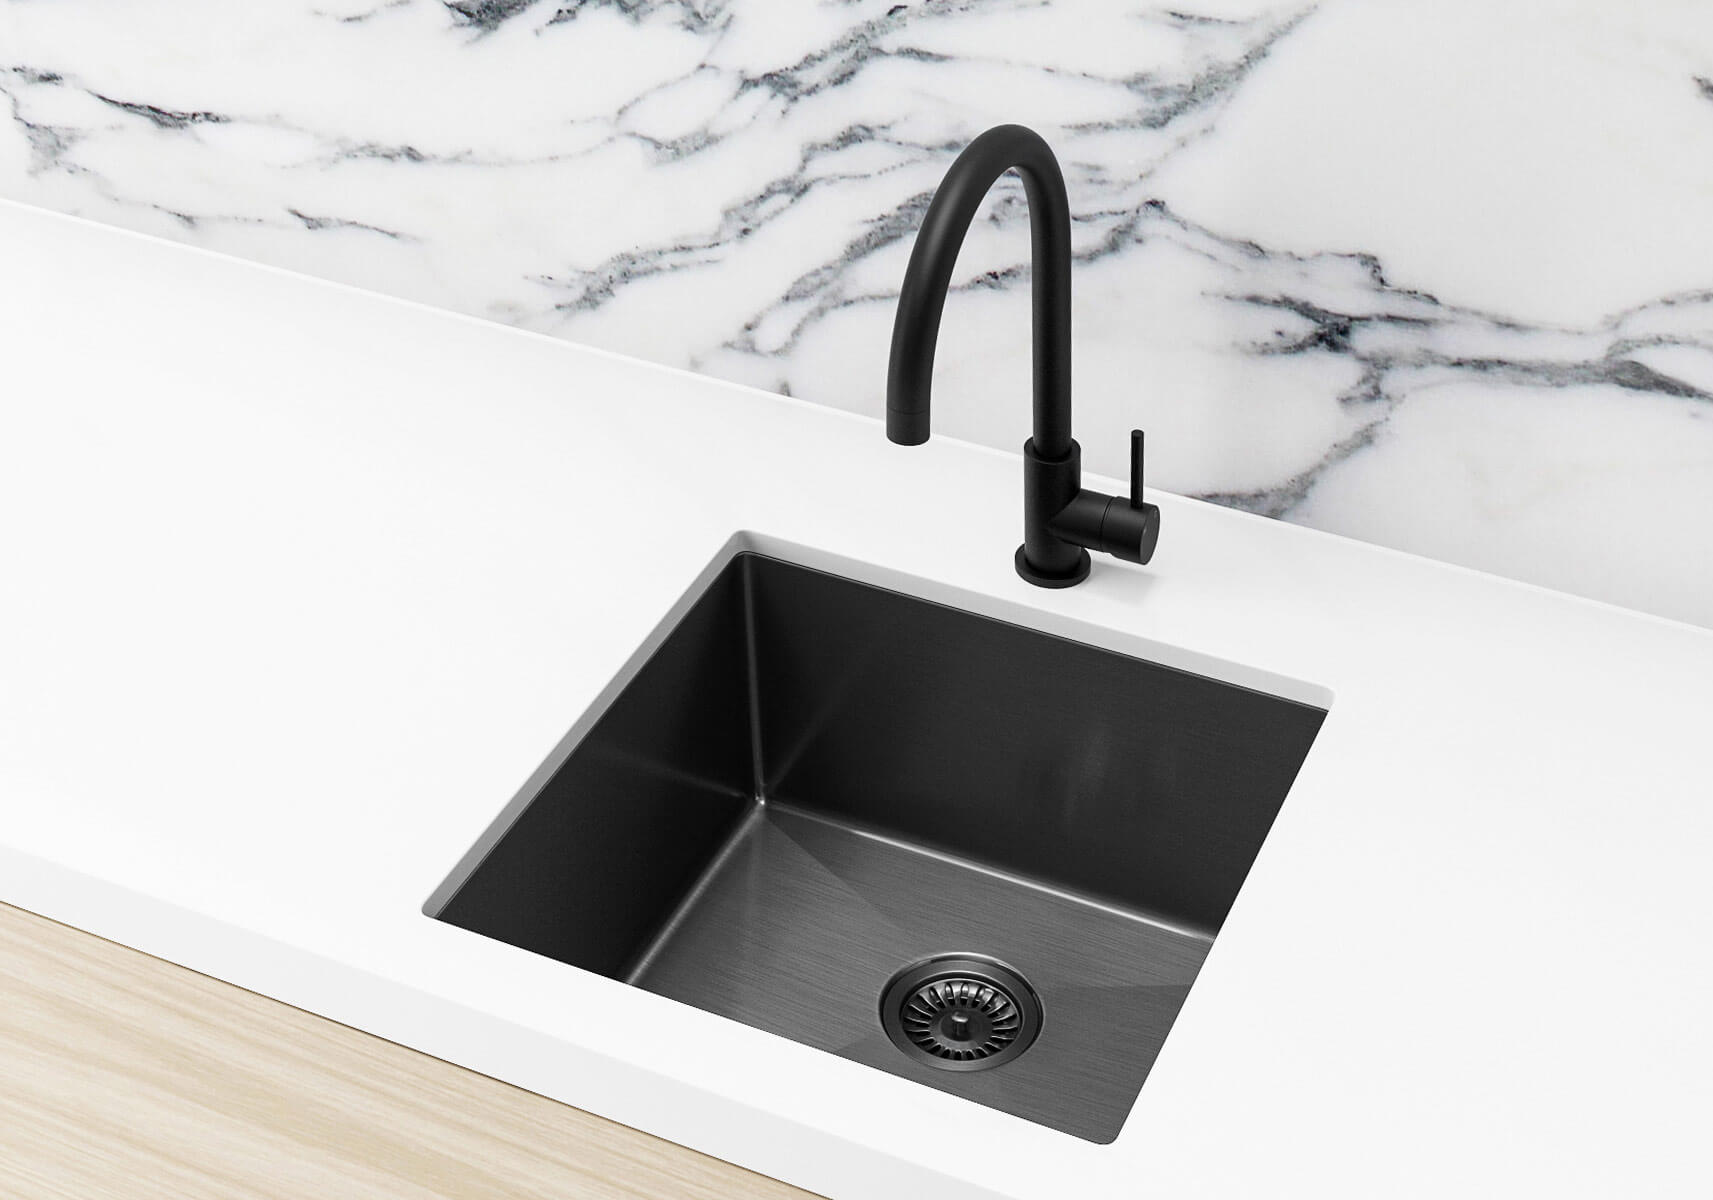
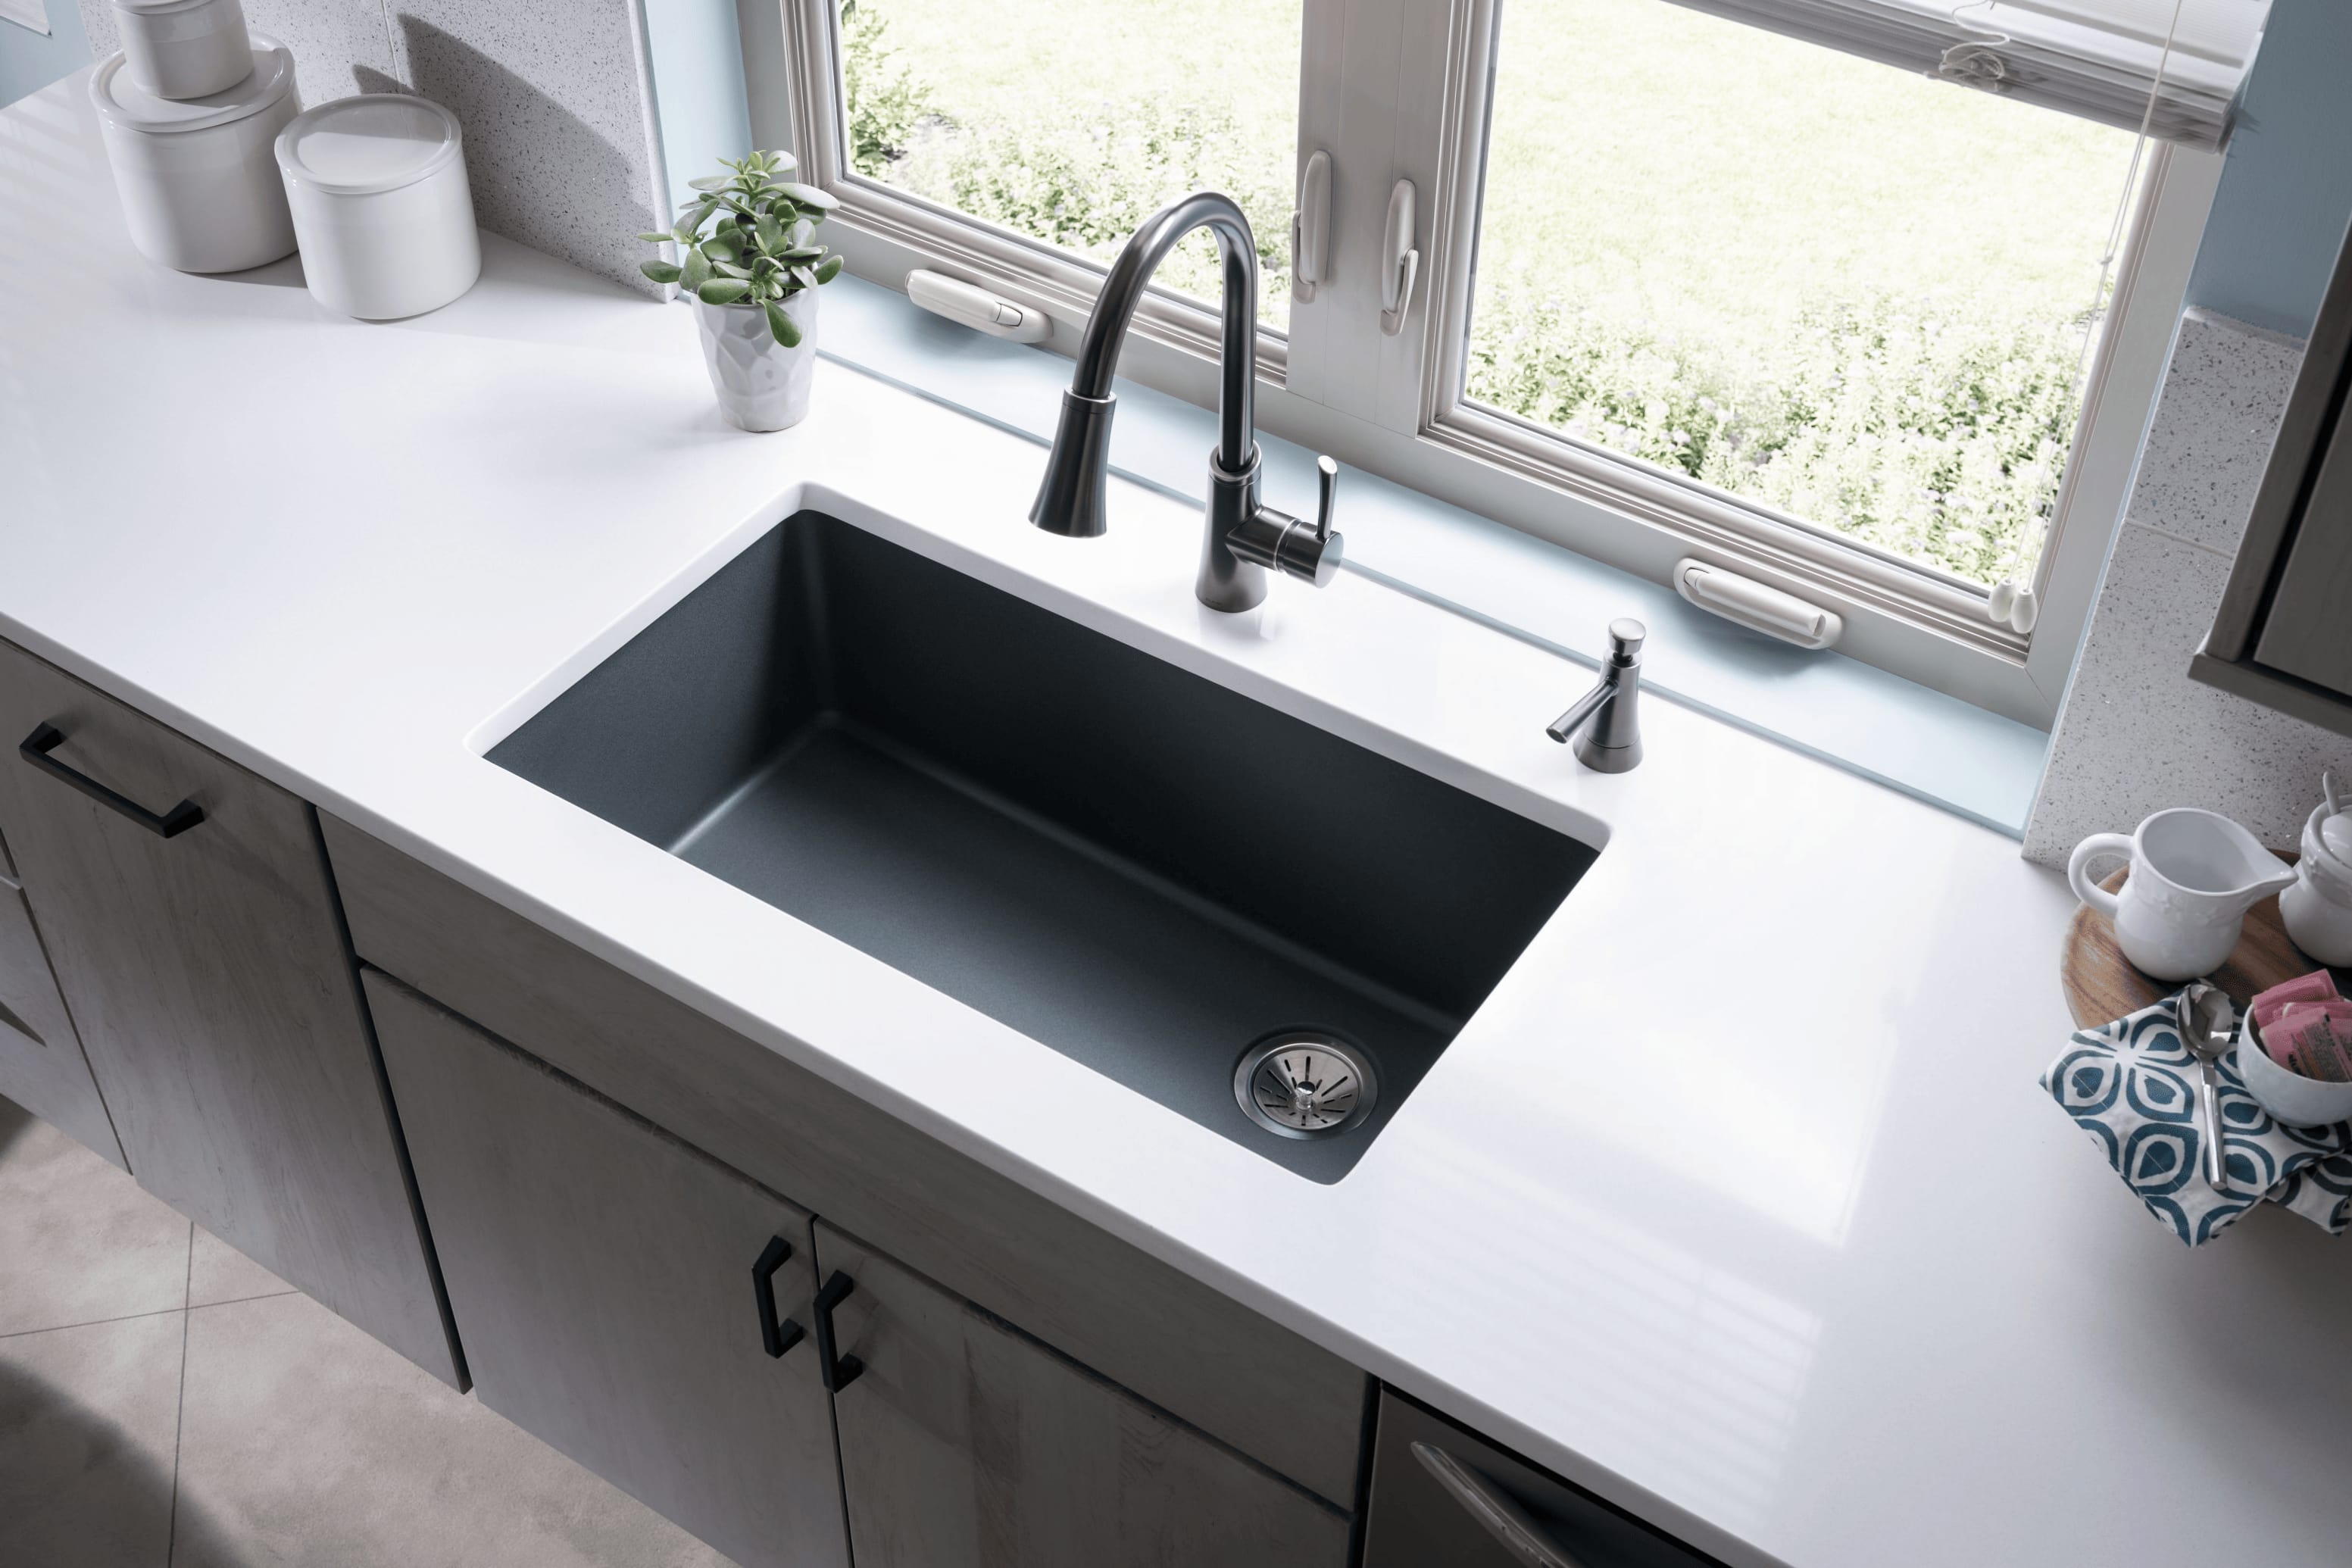
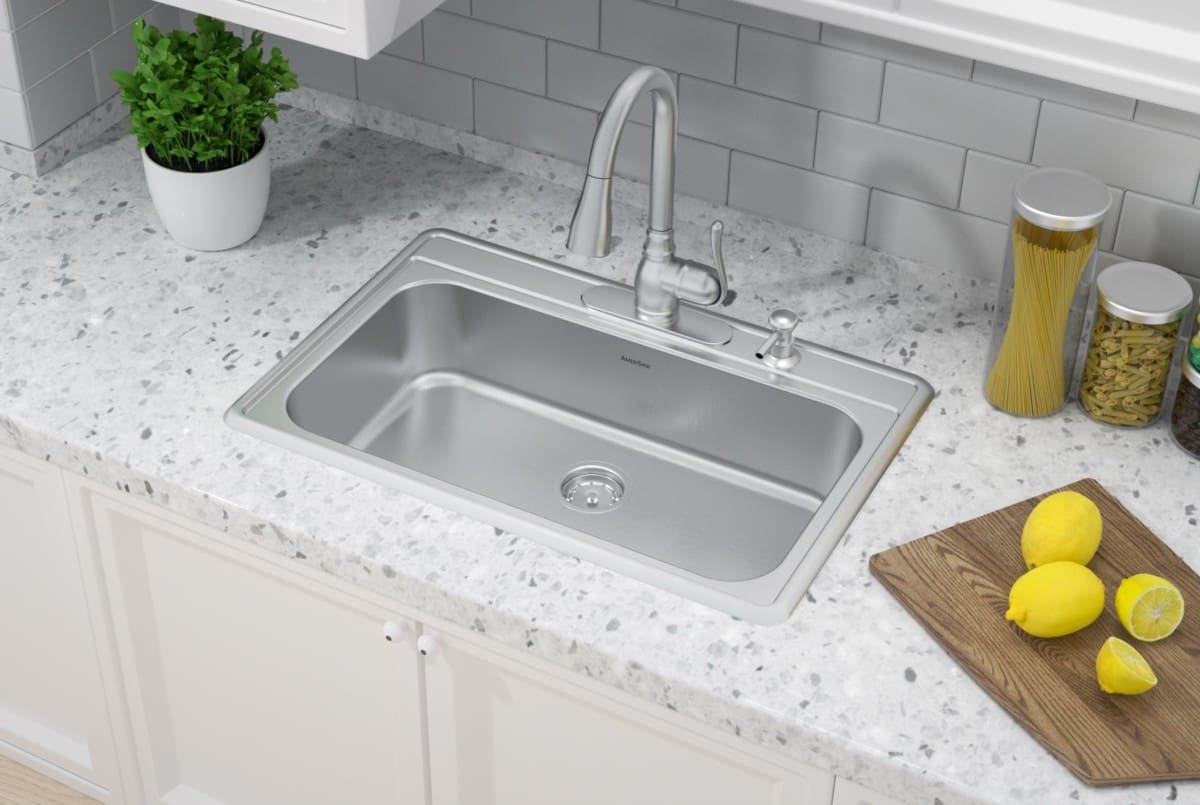
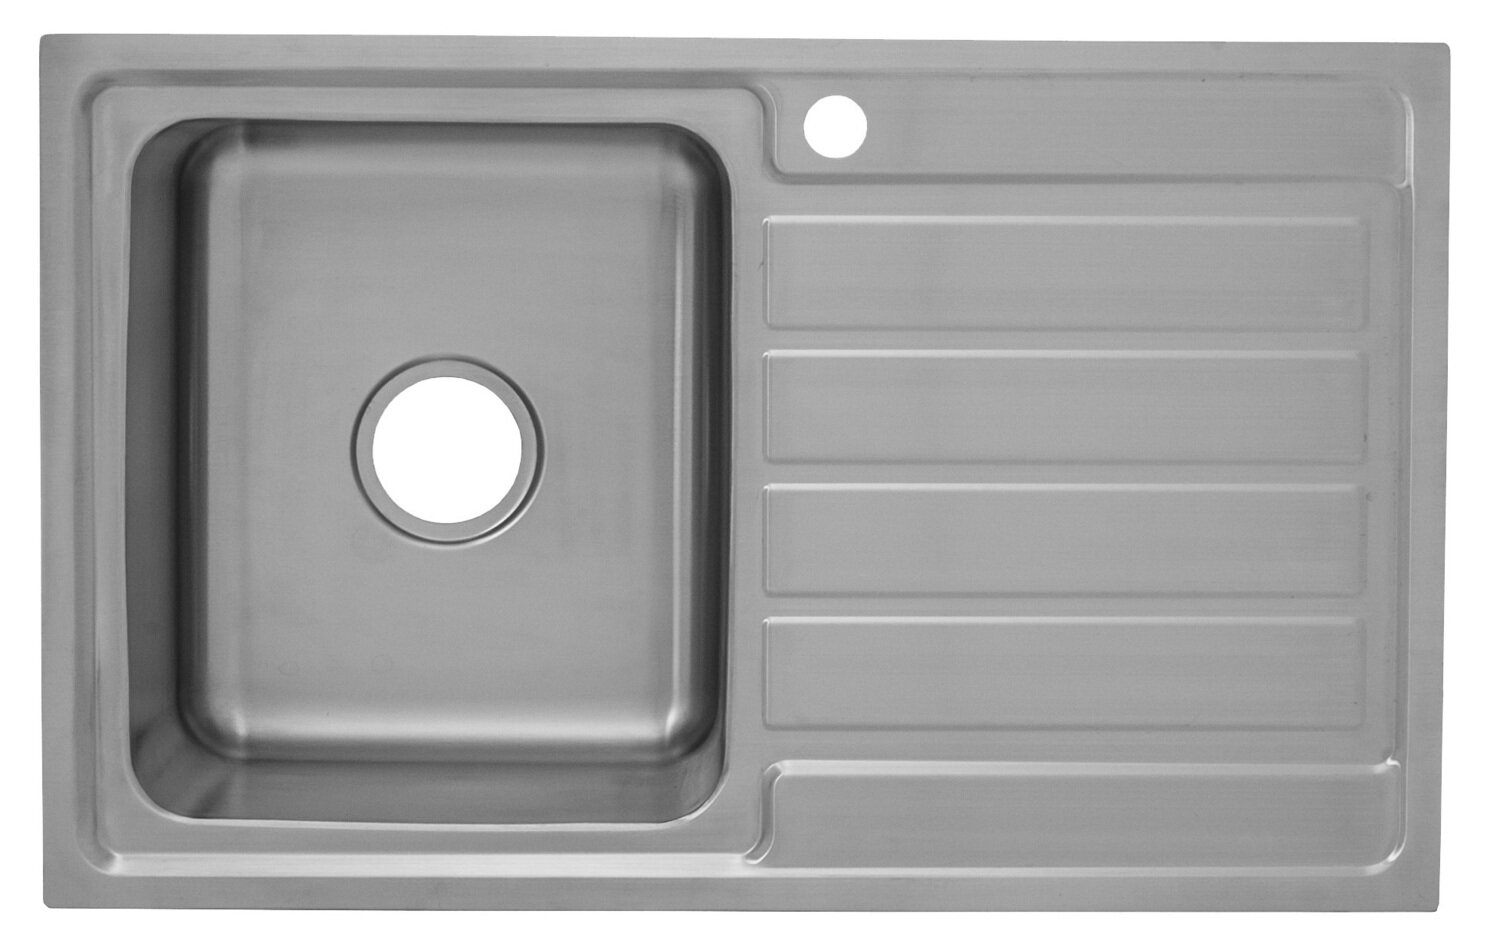
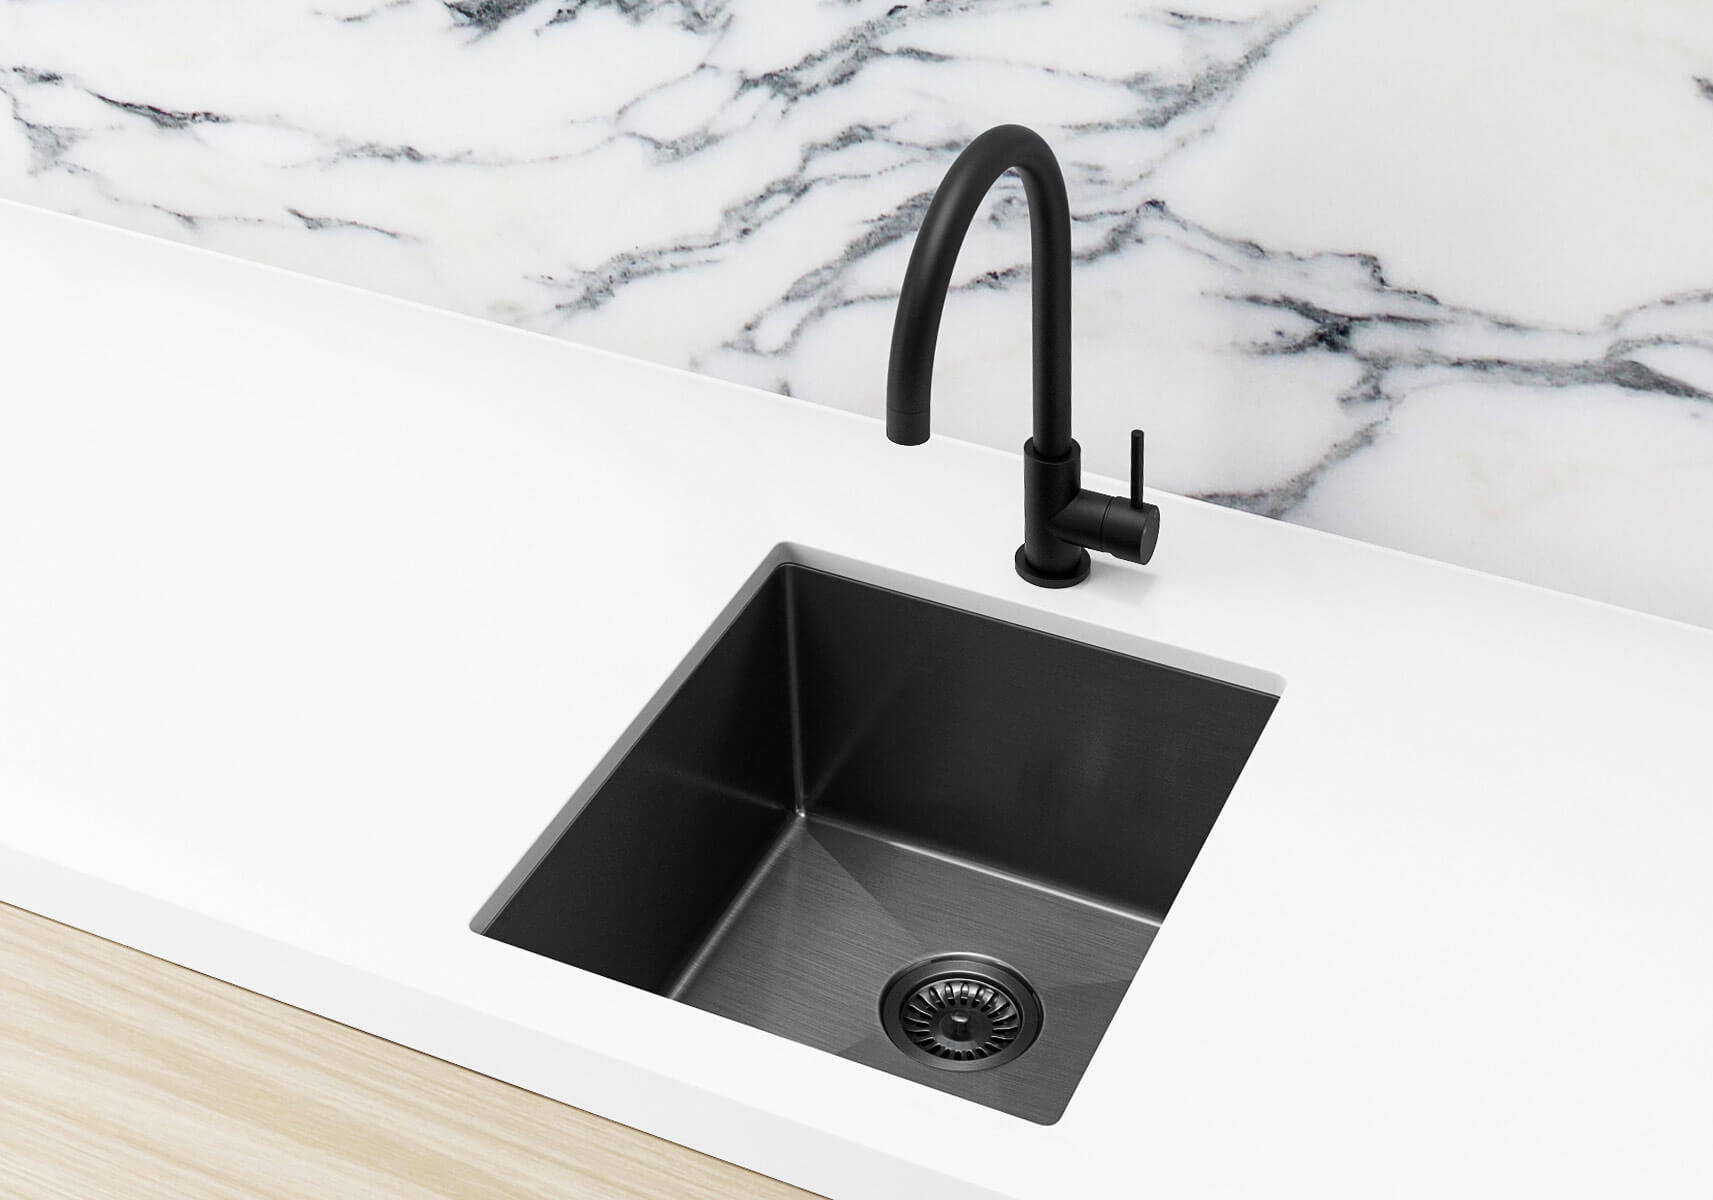
Why Choose a Single Bowl Kitchen Sink?

Functionality and Versatility
 The main keyword in the article is "installing a single bowl kitchen sink," and for good reason. Choosing a single bowl kitchen sink offers a variety of benefits, the first being functionality and versatility. These sinks typically have a larger basin, giving you more space to wash and rinse dishes, and even soak larger pots and pans. They also provide more flexibility in terms of installation, as they can be installed undermount, top mount, or even as a farmhouse sink.
Sleek and Modern Design
 In addition to their practicality, single bowl kitchen sinks also offer a sleek and modern design that can elevate the look of your kitchen. With a single, uninterrupted basin, these sinks provide a clean and minimalist appearance that can complement any kitchen style. They also come in a variety of materials such as stainless steel, granite, and porcelain, allowing you to choose one that best fits your personal style and aesthetic.
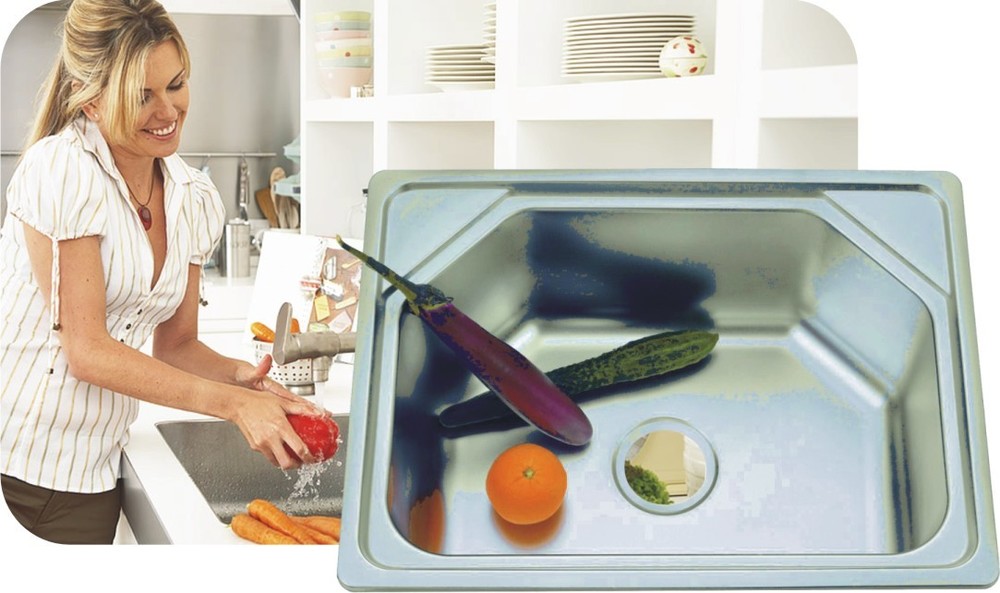
Ease of Maintenance
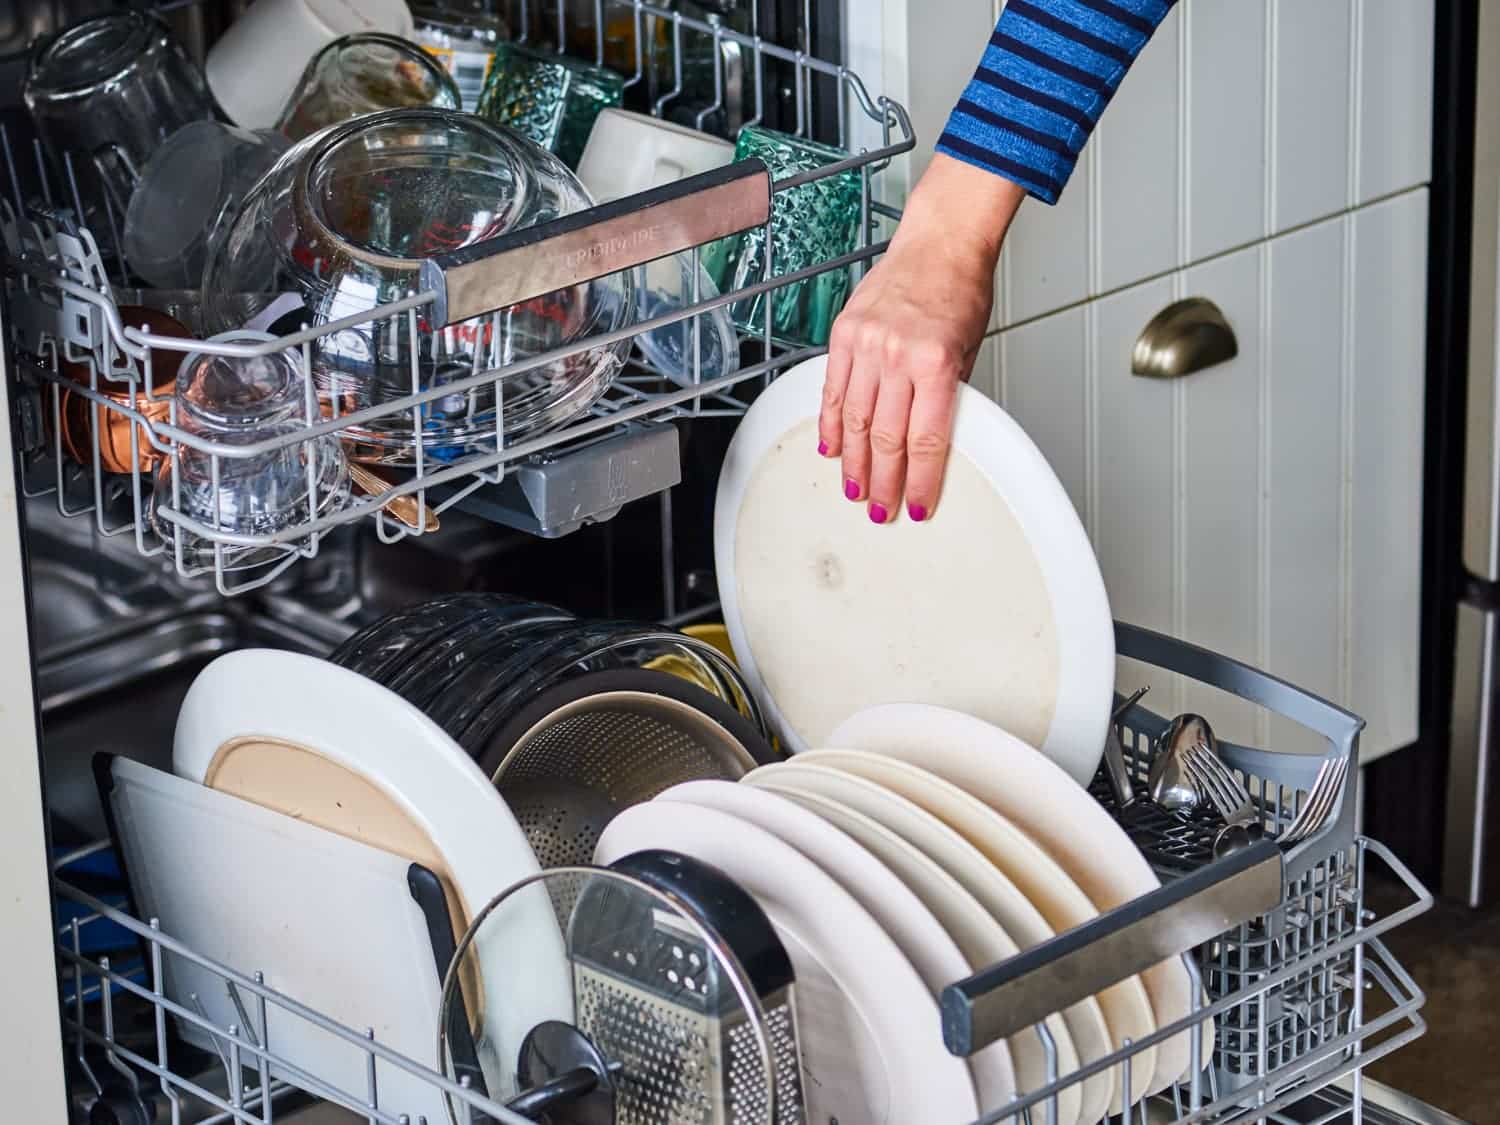
 Another advantage of a single bowl kitchen sink is the ease of maintenance. With only one basin to clean, it is much easier to keep the sink free of debris and grime. This also makes it easier to clean larger items, as you don't have to navigate around a divider or multiple basins. Additionally, single bowl sinks are less prone to clogs, as there is only one drain to worry about.