Before diving into the process of installing a p trap for your bathroom sink, it's important to understand why this plumbing component is necessary. The p trap, also known as a sink trap, is a curved pipe that is designed to prevent foul odors and harmful gases from entering your home through the sink drain. It also helps to trap debris and prevent clogs in your plumbing system. So, if you want to keep your bathroom smelling fresh and your drains running smoothly, installing a p trap is a must.1. Getting Started: Understanding the Importance of a P Trap
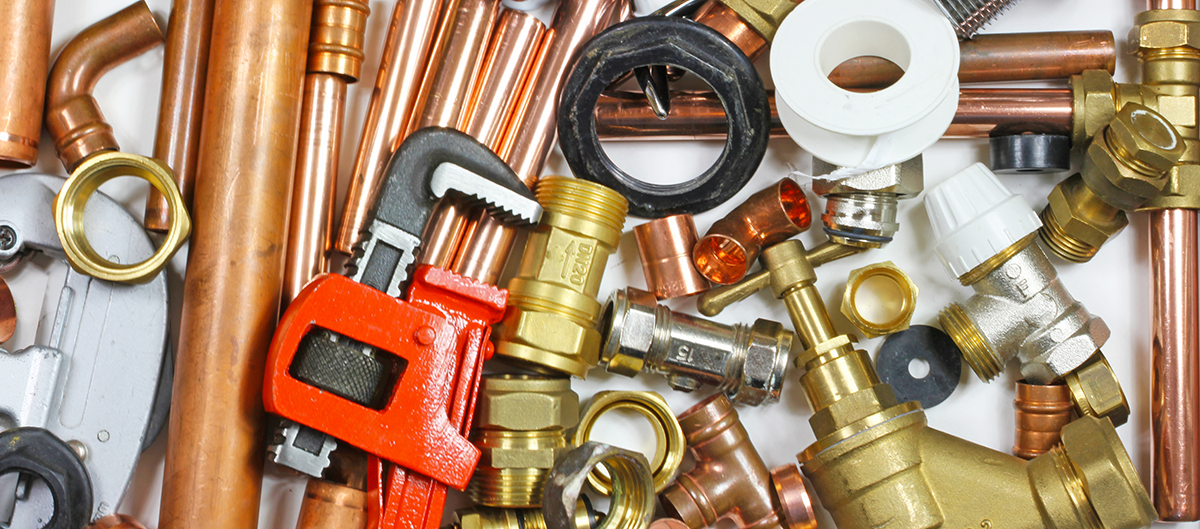
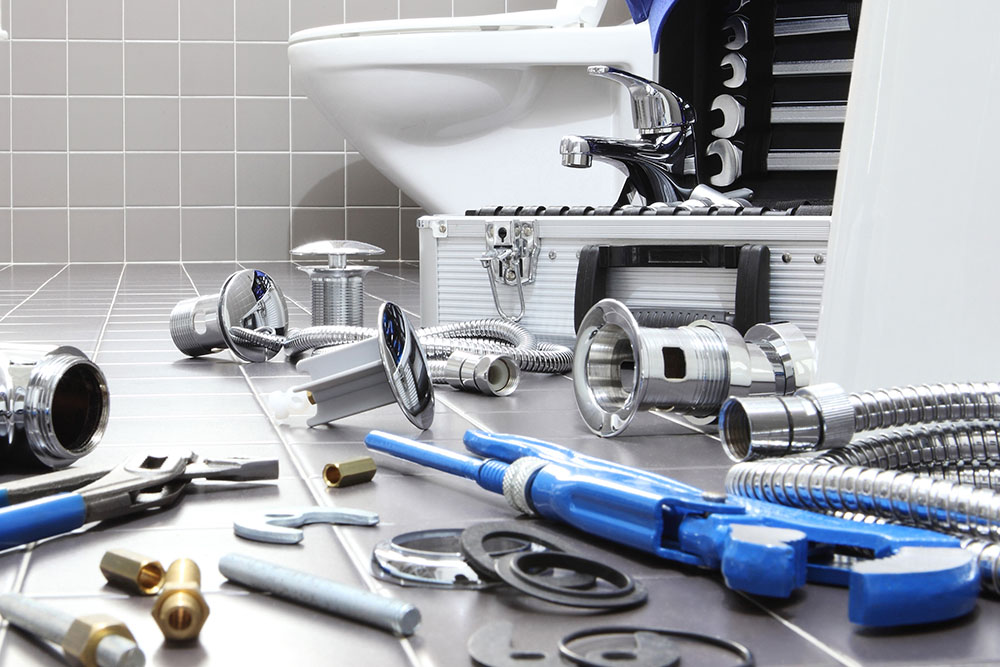
Now that you understand the importance of a p trap, it's time to gather all the necessary materials for the installation. You will need a p trap kit, which typically includes the curved pipe, a tailpiece, and two compression nuts. You may also need a hacksaw, pliers, a wrench, and plumber's tape. Make sure to read the instructions on the p trap kit and have all the necessary tools on hand before beginning the installation.2. Gather Your Materials
Before you start working under the sink, it's important to shut off the water supply. This can usually be done by turning off the shut-off valves located under the sink or by turning off the main water supply valve for your home. This step is crucial to avoid any water damage or accidents during the installation process.3. Shut Off the Water
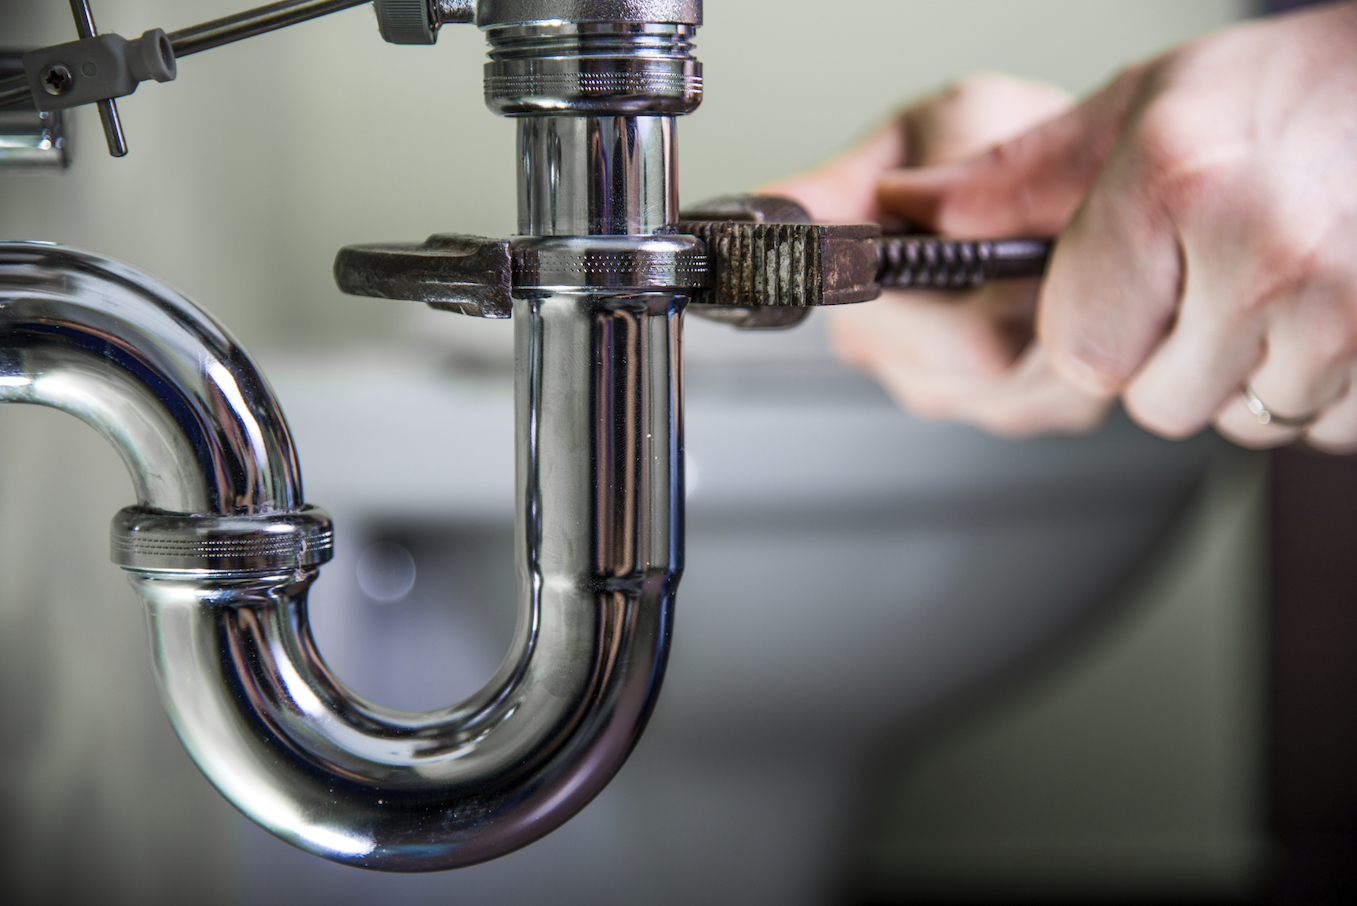
If you are replacing an old p trap, you will need to remove it first. Use a wrench to loosen the compression nuts on the p trap and remove the old plumbing. If there is any remaining water in the pipes, make sure to have a bucket or towel on hand to catch it.4. Remove the Old Plumbing
If you are installing a p trap for the first time, you will need to measure and cut the drain pipe to the appropriate length. The drain pipe is the vertical pipe that connects the sink to the p trap. Measure the distance between the bottom of the sink and the top of the p trap and use a hacksaw to cut the drain pipe to this length.5. Measure and Cut the Drain Pipe
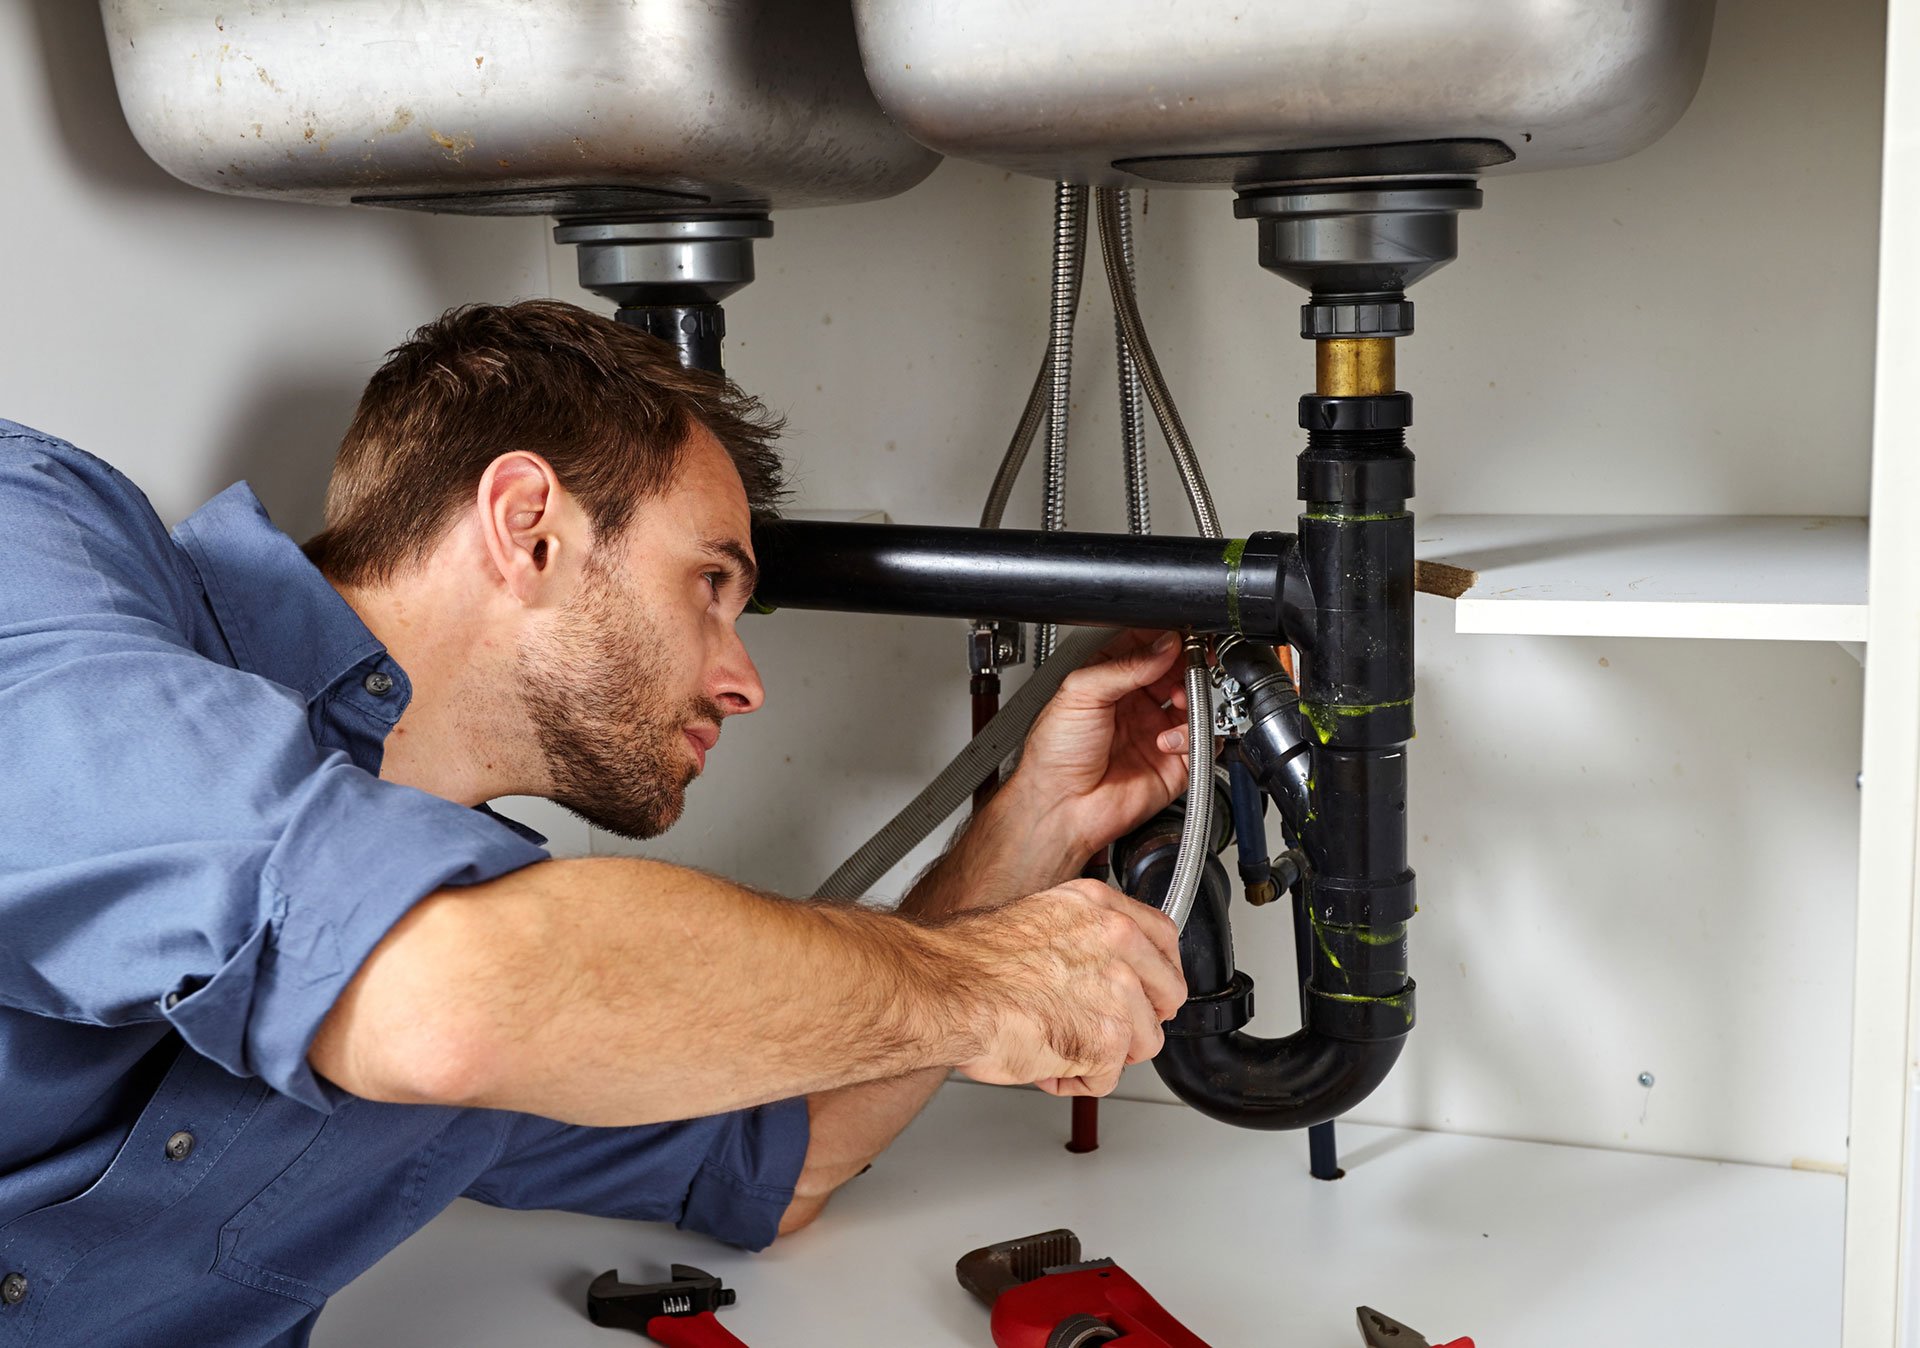
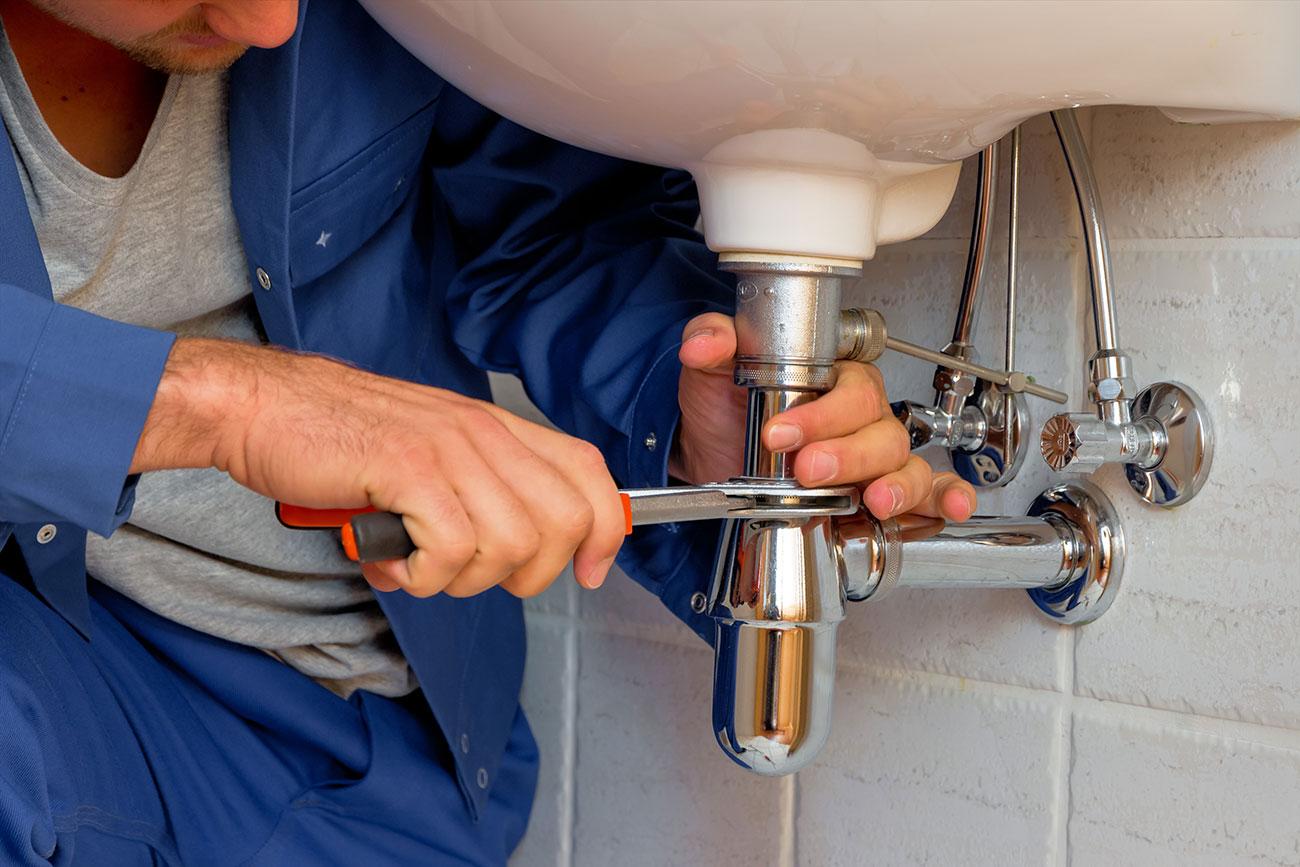
Now it's time to assemble the p trap. Start by attaching the tailpiece to the bottom of the sink drain using a compression nut. Then, attach the curved pipe to the other end of the tailpiece using another compression nut. Make sure to tighten the nuts securely with pliers.6. Assemble the P Trap
With the p trap assembled, it's time to install it under the sink. Place the curved pipe into the wall drain and the tailpiece into the sink drain. Use a wrench to tighten the compression nuts and make sure the p trap is securely connected to both the sink and the wall.7. Install the P Trap
Before turning the water back on, it's important to check for any leaks in the p trap. Run some water through the sink and check all the connections for any signs of water leaking. If you notice any leaks, tighten the connections with a wrench or add some plumber's tape to create a better seal.8. Check for Leaks
If everything looks good, it's time to turn the water back on. Slowly open the shut-off valves or the main water supply valve and let the water run through the sink. Check for any leaks again and make sure the water is draining properly through the p trap.9. Turn the Water Back On
Congratulations, you have successfully installed a p trap for your bathroom sink! Not only have you improved the functionality of your plumbing system, but you have also prevented any foul odors from entering your home. With this step-by-step tutorial and a little bit of DIY knowledge, you can tackle any plumbing project in your home. Enjoy your fresh-smelling bathroom and clog-free drains!10. Enjoy Your New P Trap!
How to Properly Install a P Trap for Your Bathroom Sink

What is a P Trap?
Materials Needed
 To install a P trap for your bathroom sink, you will need the following materials:
- P trap
- Plumbers putty
- Adjustable wrench
- Pipe cutter
- Slip-joint pliers
- Teflon tape
- Bucket
Step 1: Prepare the Sink
 Before installing the P trap, you need to prepare your sink by removing the old drain. Start by unscrewing the drain from the bottom of your sink using an adjustable wrench. Then, remove the old plumber's putty or silicone sealant from around the drain hole.
Step 2: Assemble the P Trap
 Now it's time to assemble the P trap. Take the curved part of the P trap and attach it to the drain coming out of the wall. Use Teflon tape to secure the connection and prevent any leaks. Then, attach the straight part of the P trap to the bottom of your sink's drain. Make sure to tighten the connections using an adjustable wrench.
Step 3: Adjust the P Trap
 The P trap needs to be at the right height to work effectively. Use a pipe cutter to shorten the straight section of the P trap if needed. You can also adjust the curved section by loosening the slip nuts and moving it up or down.
Step 4: Secure the Connections
 Once the P trap is at the correct height, use slip-joint pliers to tighten the slip nuts and secure all the connections. Make sure not to overtighten as this can cause damage to the pipes.
Step 5: Check for Leaks
 After securing all the connections, turn on the water and check for any leaks. If you notice any leaks, adjust the connections and tighten them accordingly.
Step 6: Clean Up
 Now that your P trap is properly installed and there are no leaks, clean up any excess plumber's putty or silicone sealant from around the drain hole.
Why is a Properly Installed P Trap Important?
 A properly installed P trap not only prevents unpleasant odors from entering your home, but it also helps to keep your plumbing system functioning efficiently. Without a P trap, debris and other materials can easily clog your pipes and cause major plumbing issues.
In conclusion,
installing a P trap for your bathroom sink is an important step in maintaining a healthy and functional plumbing system in your home. With the right materials and proper installation, you can ensure that your bathroom sink will continue to function properly for years to come.











/GettyImages-98064882-5a3684ef4e46ba003693c061.jpg)
/Plastic-Plumbing-Pipe-183508152-58a47c925f9b58819c9c8ac6.jpg)











.jpg)
