Before you start installing a faucet in your bathroom sink, it’s important to make sure you have all the necessary tools and materials. This will help ensure a smooth and successful installation process. Some of the essential tools and materials you will need include a wrench, pliers, screwdriver, plumber’s putty, Teflon tape, and a new faucet of your choice. It’s also a good idea to have a bucket or container nearby to catch any excess water.Tools and Materials You Will Need
Installing a faucet in a bathroom sink may seem like a daunting task, but with the right tools and instructions, it can be a simple DIY project. Follow these step-by-step instructions to easily install a new faucet in your bathroom sink.Step-by-Step Instructions for Installing a Faucet in a Bathroom Sink
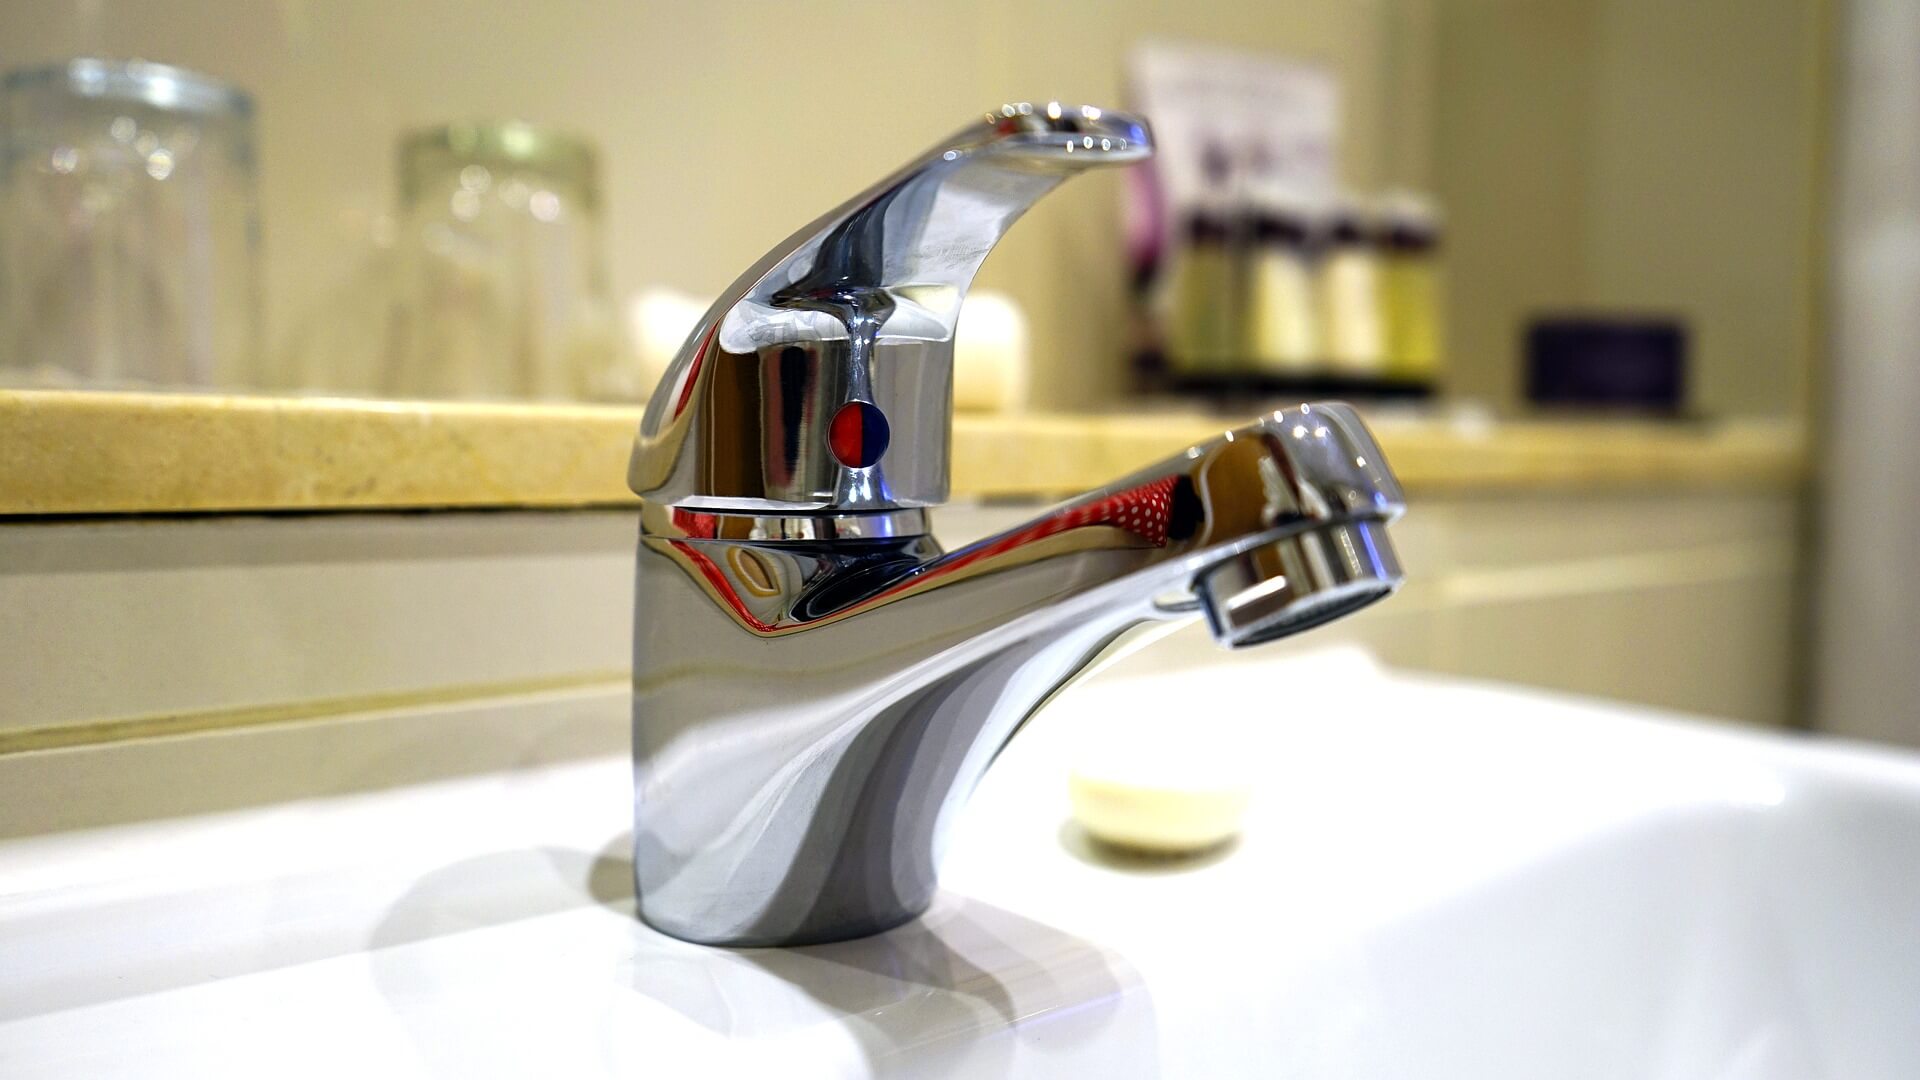
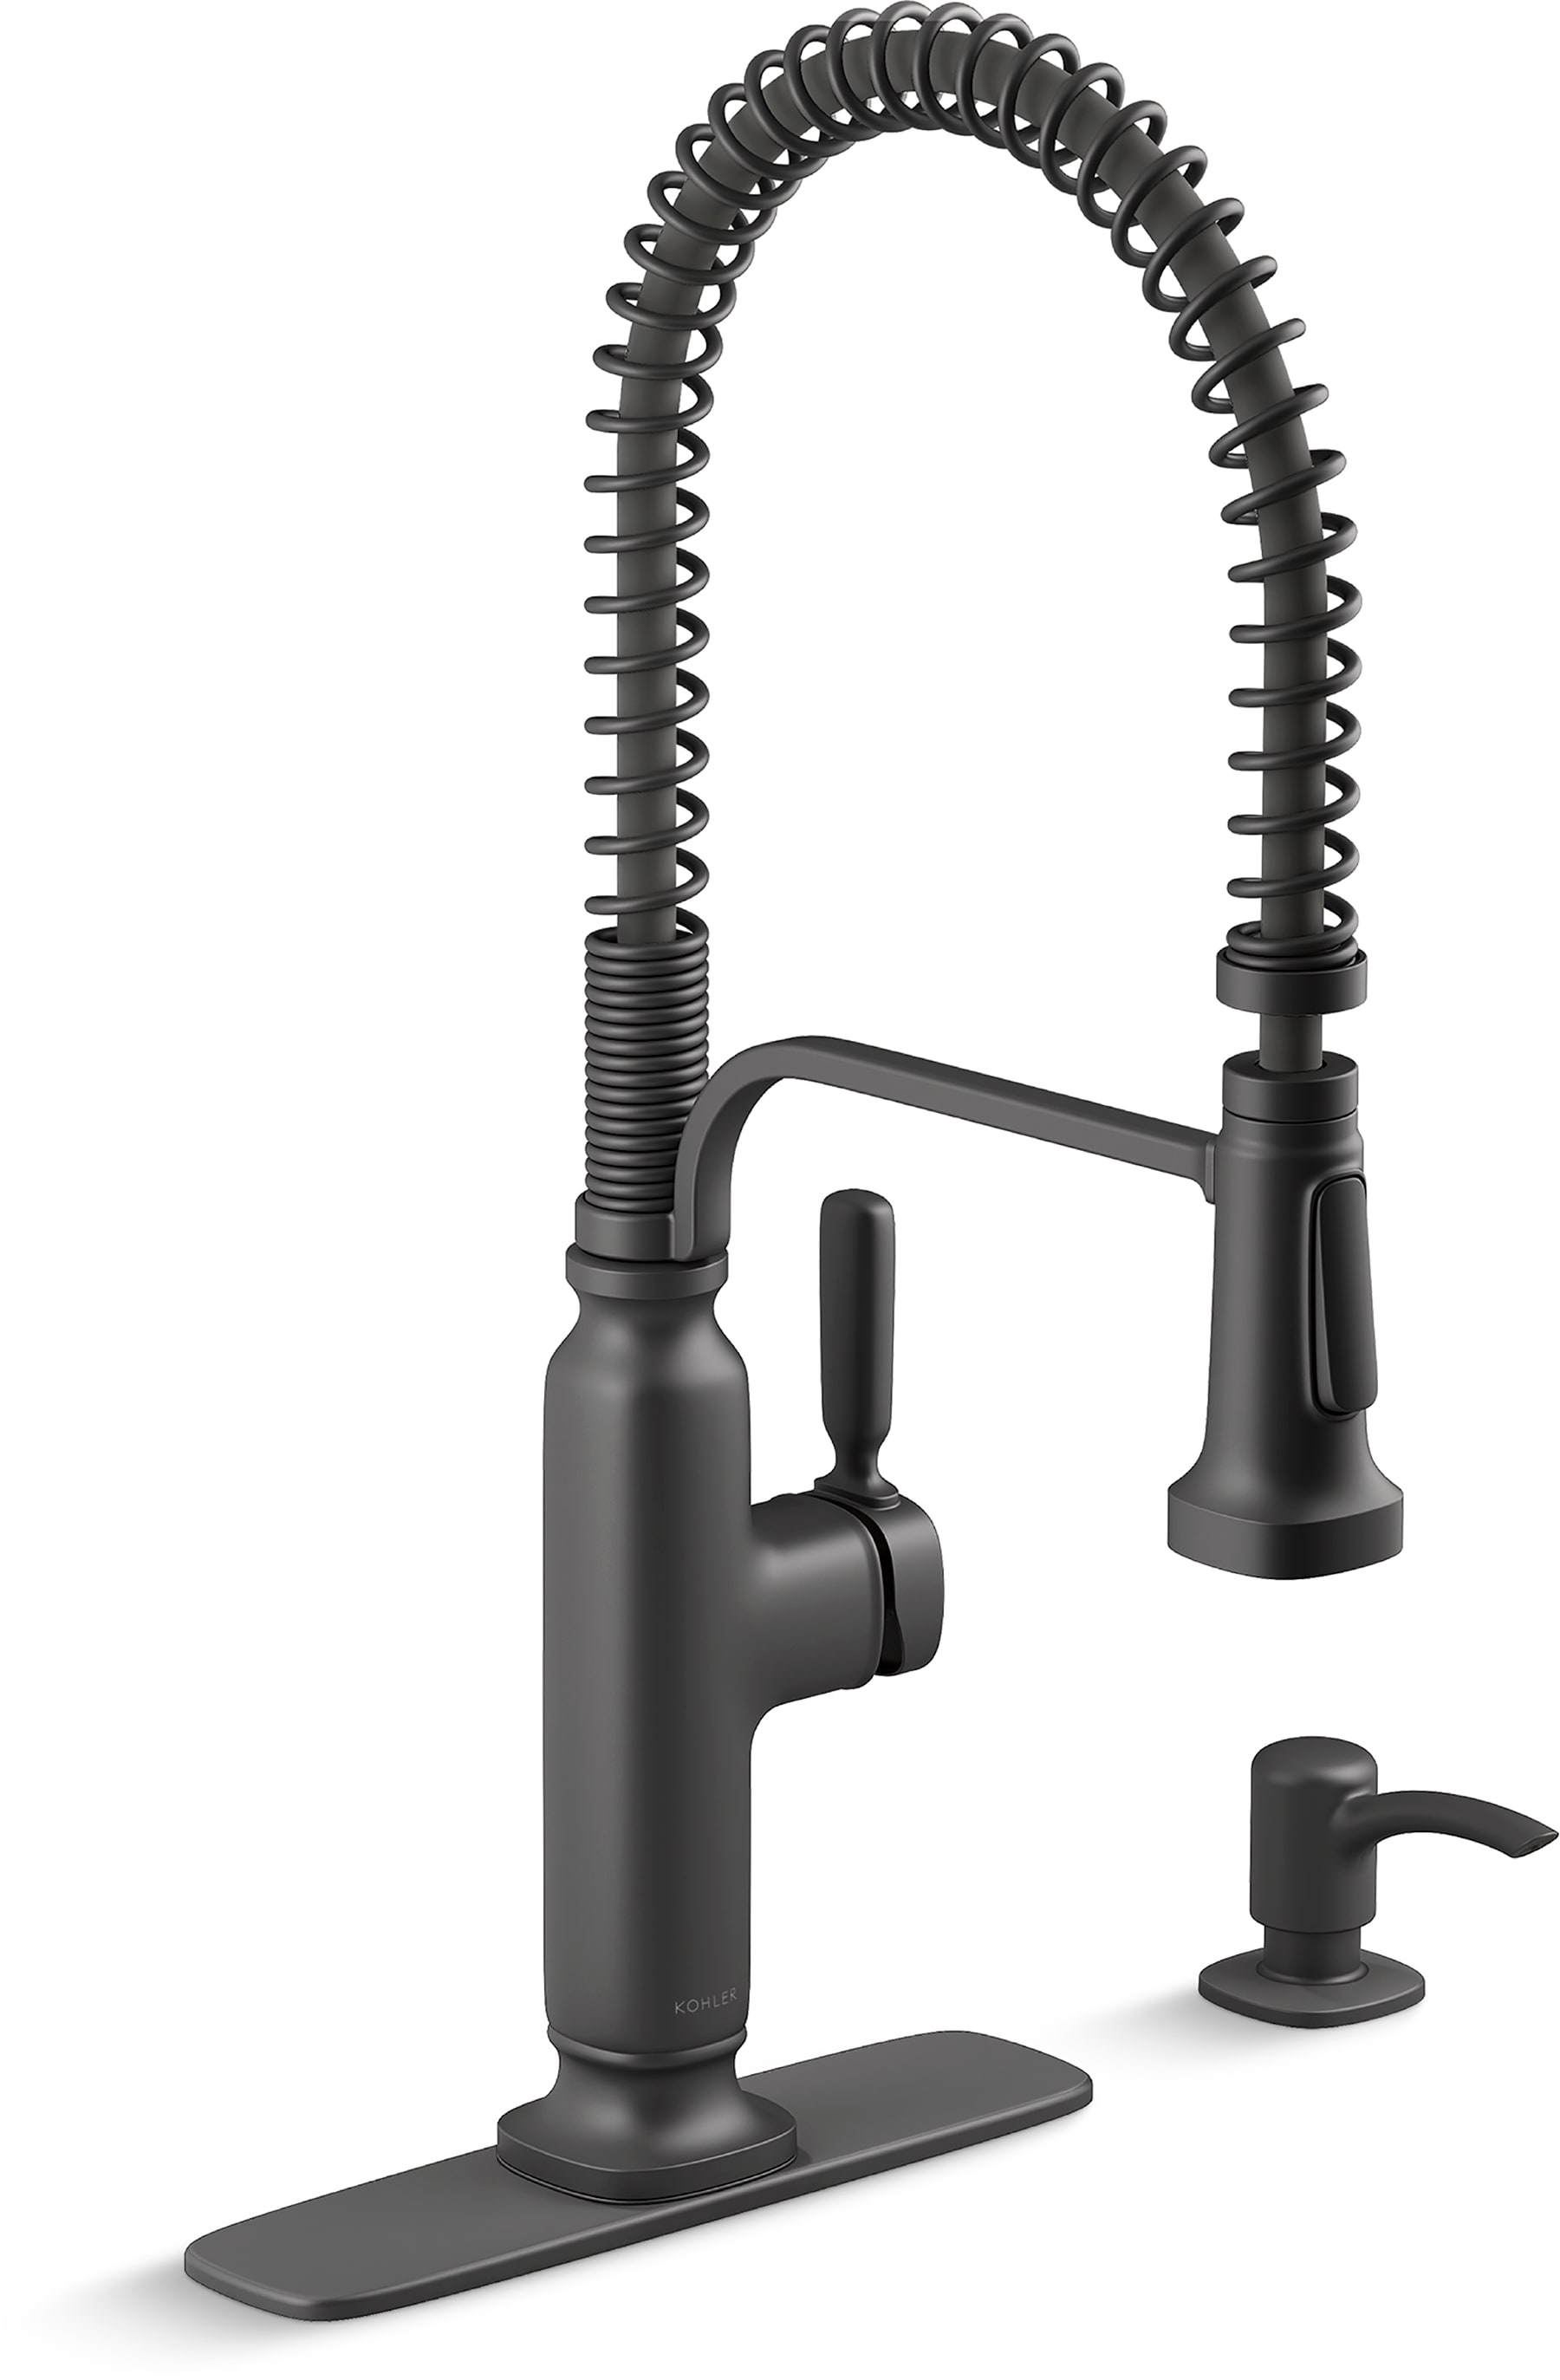
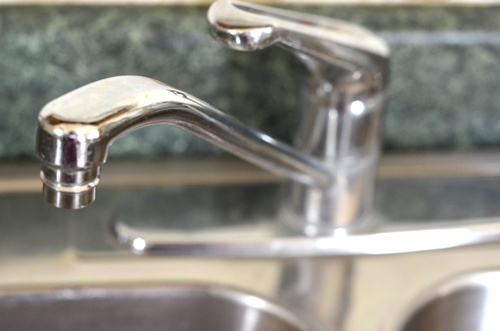
Before you begin the installation process, it’s important to choose the right faucet for your bathroom sink. Consider the style and design of your bathroom, as well as the type of sink you have. There are various types of faucets, such as single handle, center set, and widespread, so make sure to choose one that will fit your sink and meet your aesthetic preferences.Choosing the Right Faucet for Your Bathroom Sink
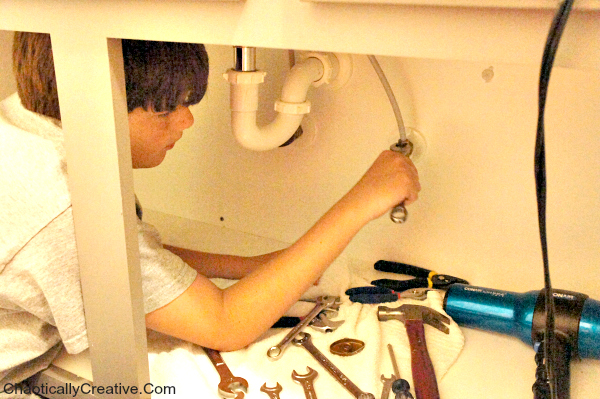
Before starting any plumbing project, it’s important to take necessary precautions and prepare the workspace. This includes turning off the water supply to the sink and removing any items from the countertop. It’s also a good idea to wear protective gloves and eyewear to avoid any potential accidents.Preparation and Safety Measures Before Installing a Faucet
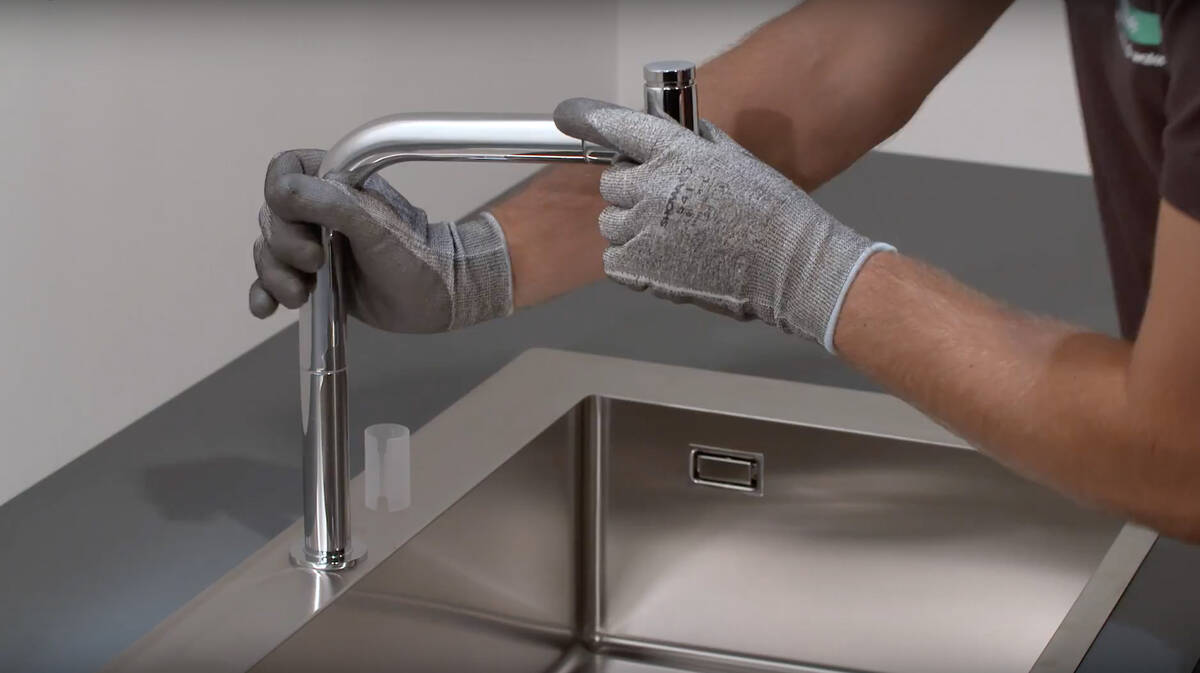
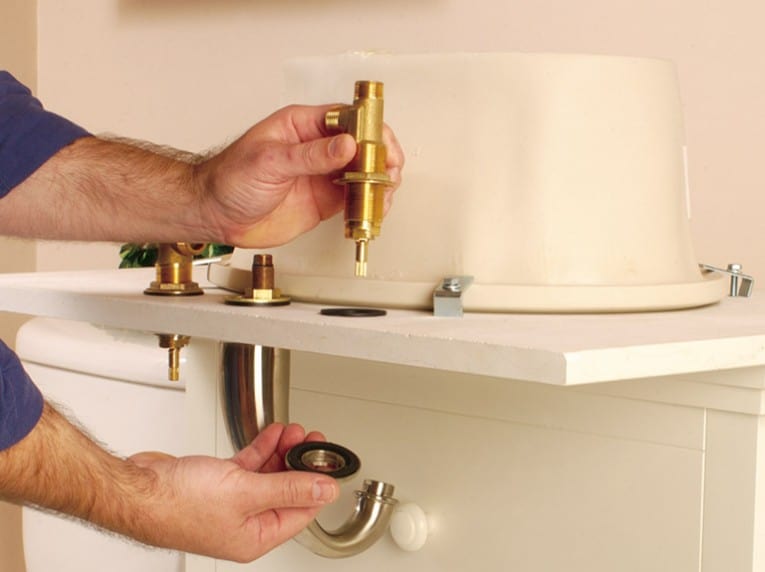
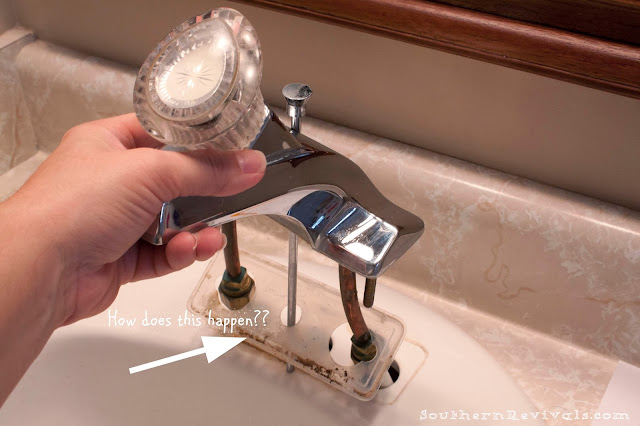
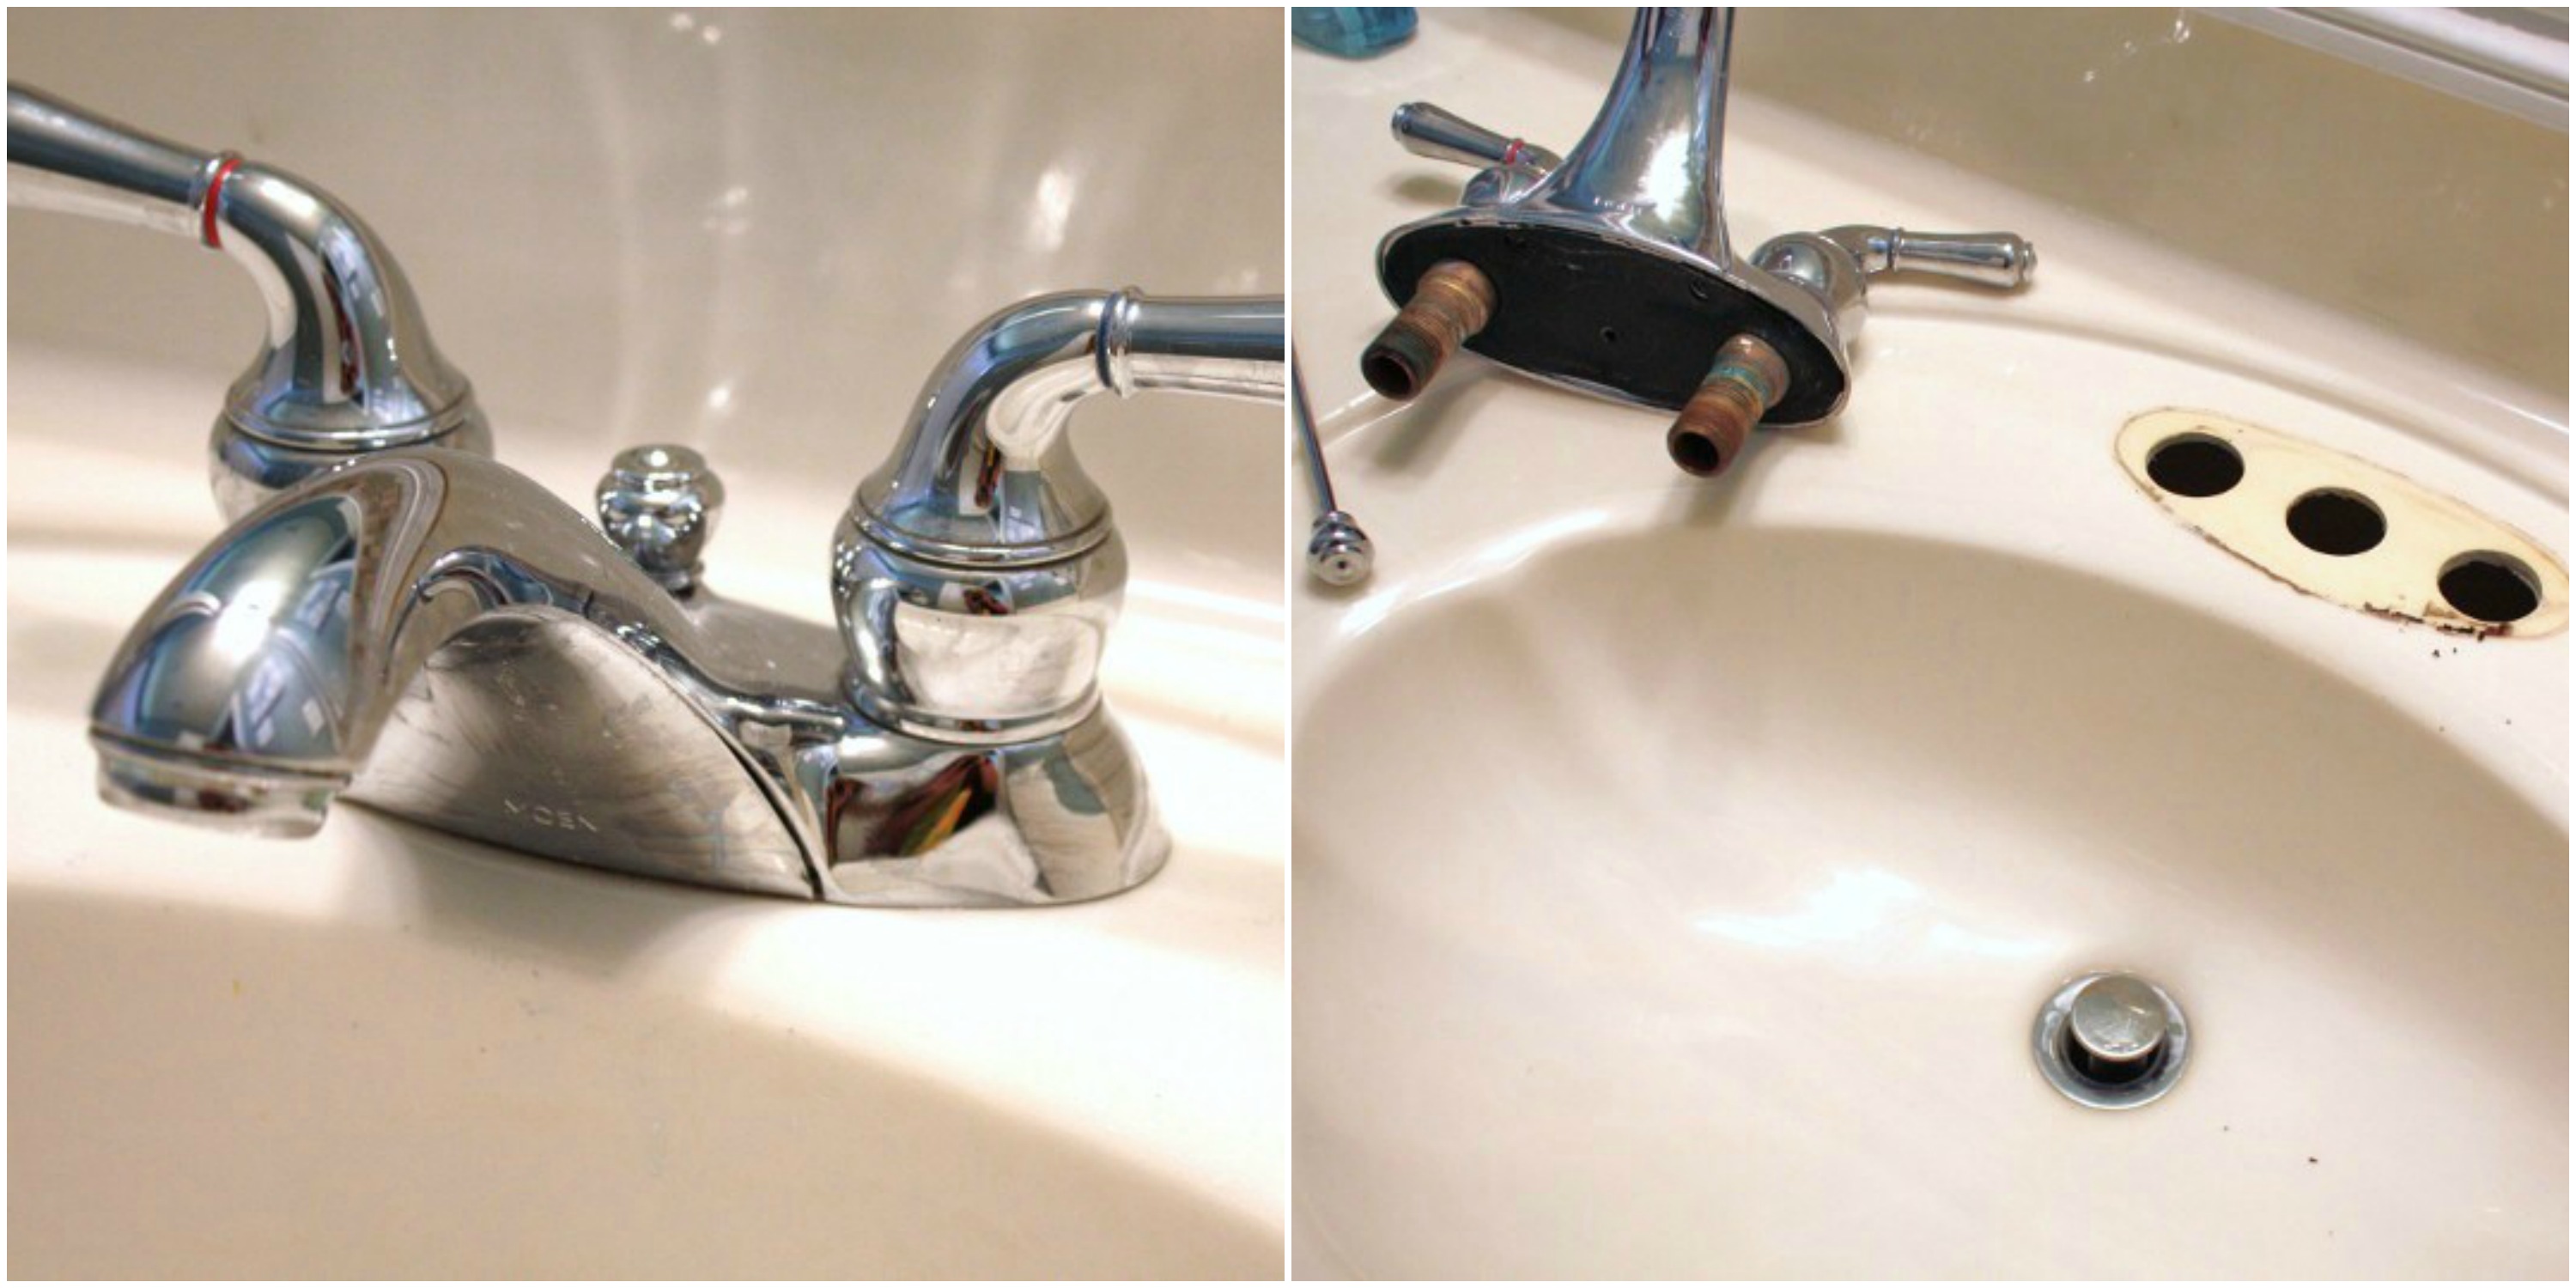
The first step in installing a new faucet is to remove the old one. This can be done by using a wrench to loosen and remove the nuts and bolts that hold the faucet in place. Once the old faucet is removed, clean the area where the new faucet will be installed. Apply plumber’s putty around the base of the new faucet to create a watertight seal.Removing the Old Faucet and Preparing the Sink
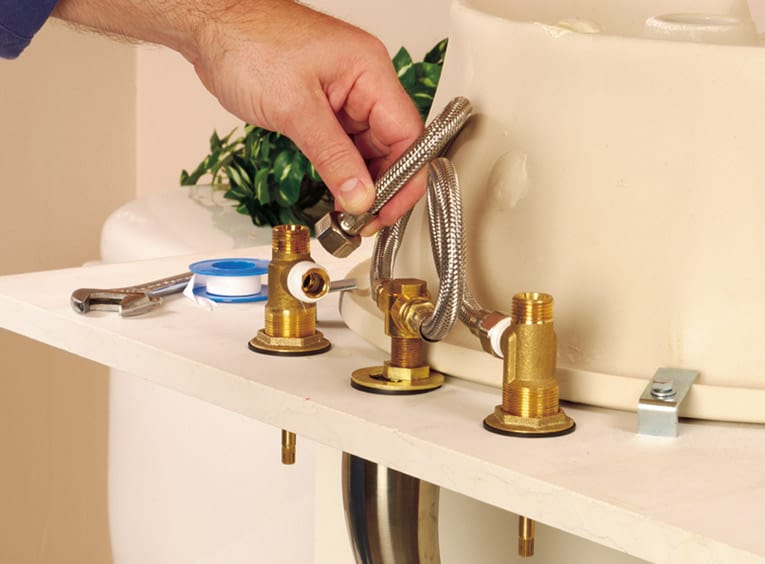
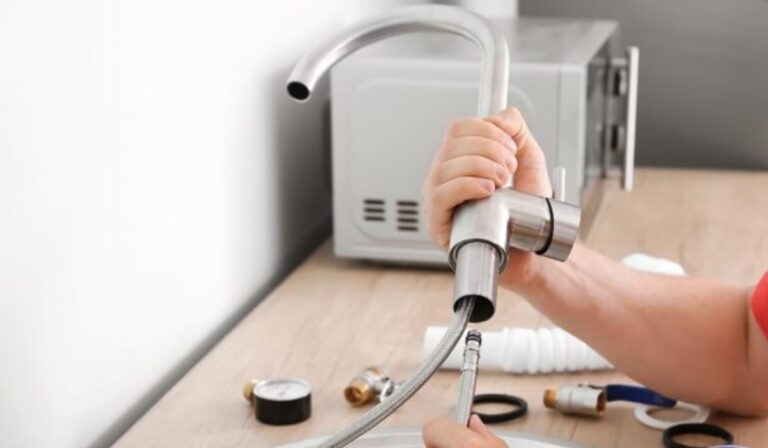
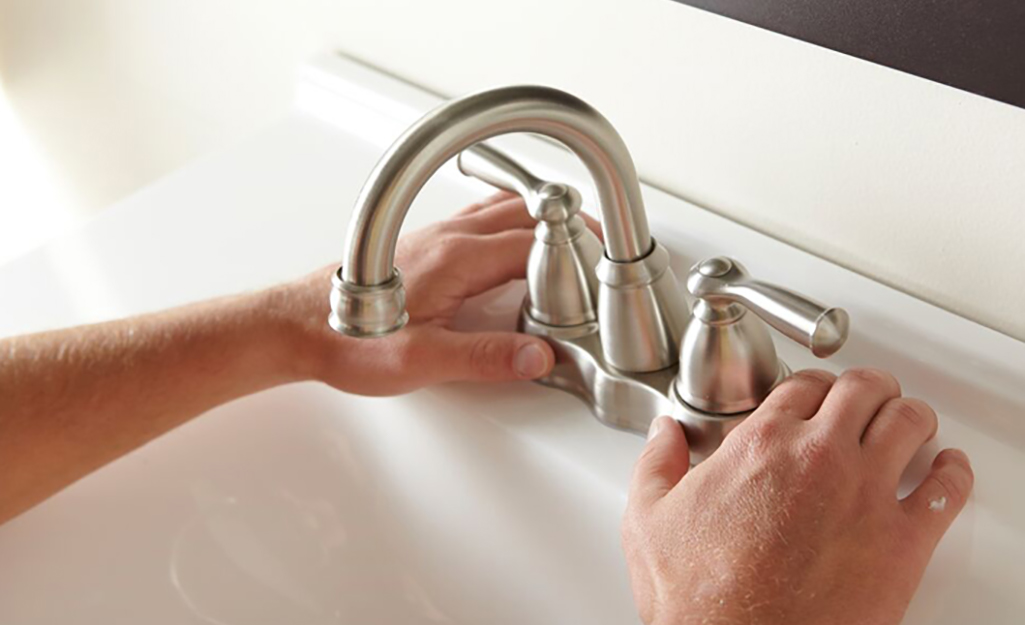
Next, carefully place the new faucet into the holes on the sink and tighten the nuts and bolts to secure it in place. Then, connect the water supply lines to the corresponding valves. Use Teflon tape to create a tight seal and prevent any leaks. Once everything is connected, turn the water supply back on and check for any leaks.Installing the New Faucet and Connecting the Water Supply
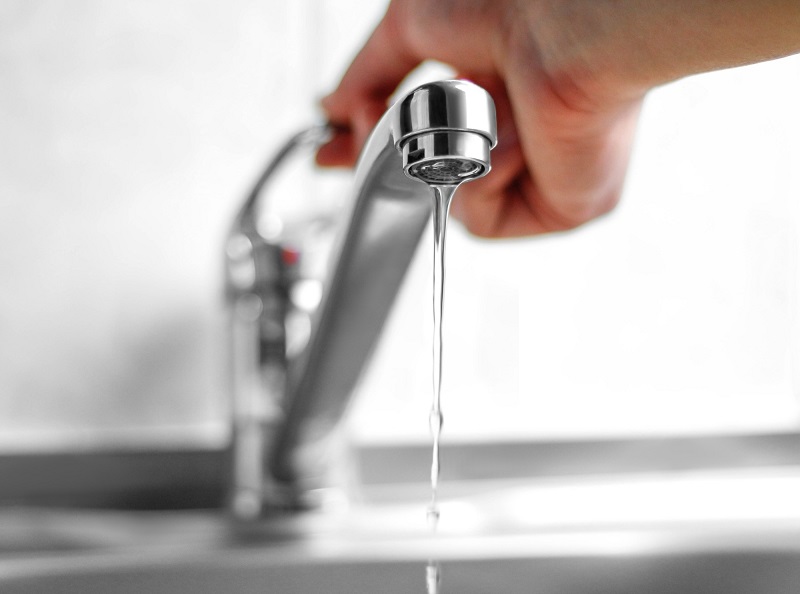
After the faucet is installed, turn it on and test the water flow and temperature. If the water flow is too low, you may need to adjust the water pressure. To adjust the temperature, use the handle of the faucet to find the desired temperature. If the water is too hot or too cold, you may need to adjust the water heater.Testing and Adjusting the Faucet
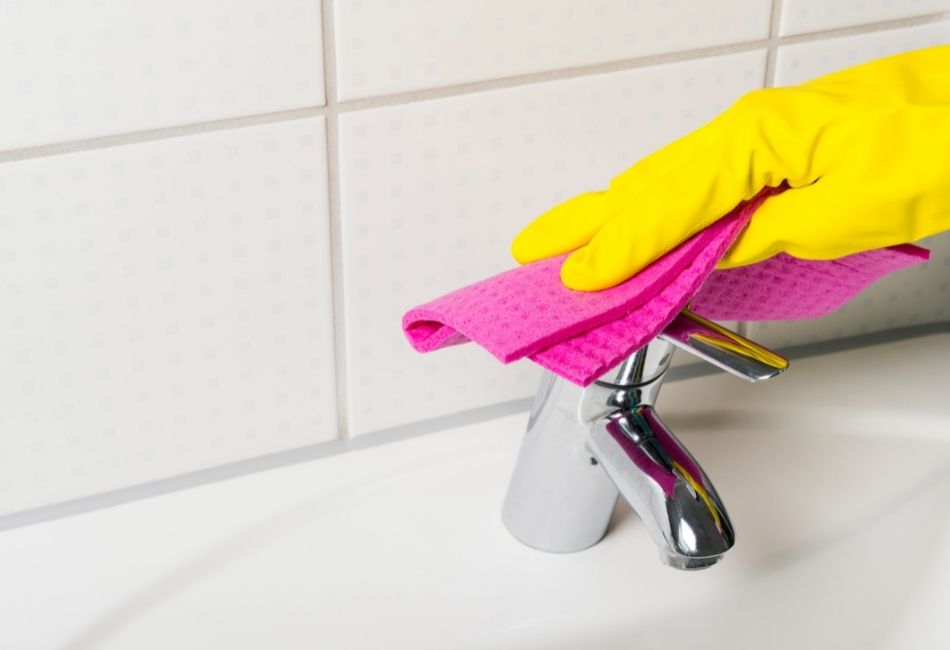
Once the faucet is installed and working properly, it’s time to add some finishing touches. Clean up any excess putty or debris and secure the water supply lines in place. You can also add any additional accessories, such as a soap dispenser or sprayer, if desired.Finishing Touches and Cleaning Up
While installing a faucet may seem like a straightforward process, there are some common issues that may arise. These can include leaks, low water pressure, or difficulty with the installation. If you encounter any of these issues, refer to the manufacturer’s instructions or seek help from a professional plumber.Troubleshooting Common Issues with Faucet Installation
To ensure a successful faucet installation, here are some tips and tricks to keep in mind:Tips and Tricks for a Successful Faucet Installation
The Importance of Proper Faucet Installation in a Bathroom Sink
Ensuring Functionality and Design Aesthetics
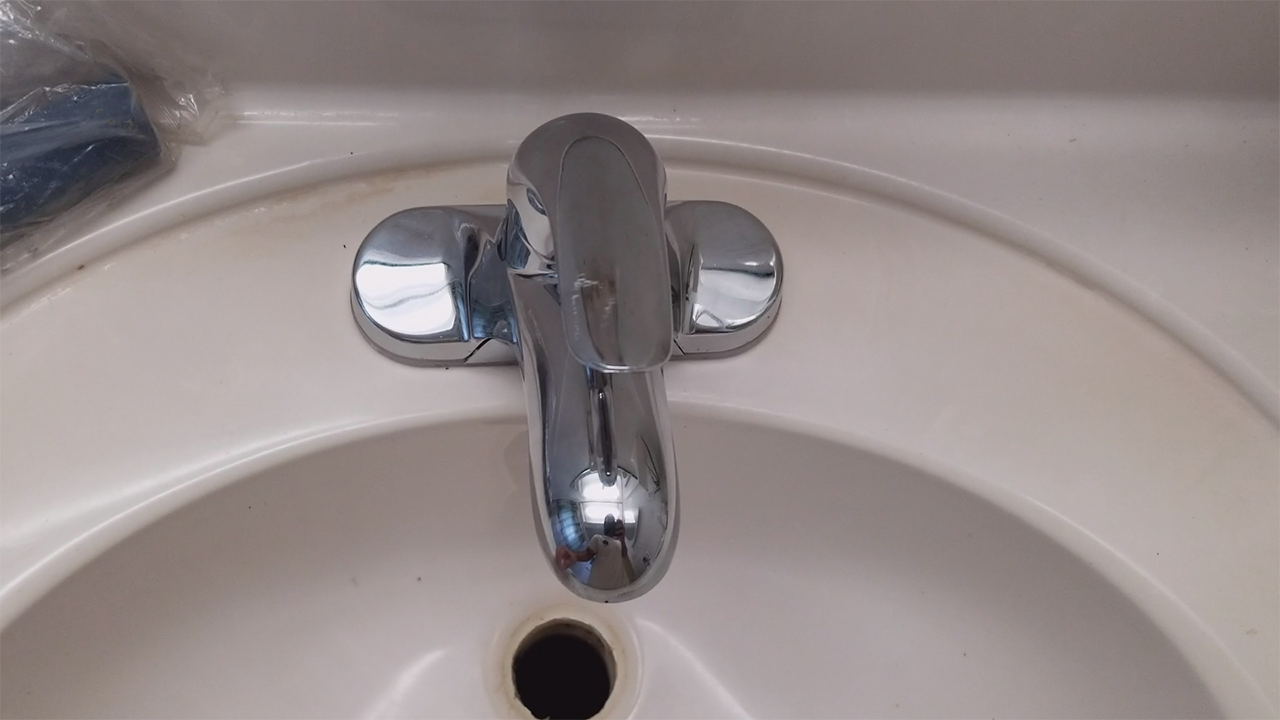 When it comes to designing a bathroom, the faucet may seem like a small detail, but it plays a crucial role in ensuring both functionality and design aesthetics.
Installing a faucet in a bathroom sink is not just about connecting pipes and turning on the water
, it requires careful consideration and proper installation to achieve the desired results.
First and foremost,
proper faucet installation is crucial for ensuring functionality
. A poorly installed faucet can lead to leaks, low water pressure, and even complete malfunction, causing inconvenience and additional expenses.
By hiring a professional to install your faucet, you can ensure that it is done correctly and in accordance with local plumbing codes
, providing you with peace of mind and a functional bathroom.
Moreover,
the installation of a faucet can greatly impact the overall design of your bathroom
. With a wide range of faucet styles and finishes available, it is important to choose one that complements the design and theme of your bathroom.
A professional plumber can offer expert advice on which faucet would best suit your bathroom and handle the installation with precision and care
. This not only enhances the aesthetics of your bathroom but also adds value to your home.
Proper faucet installation also
ensures the longevity of your plumbing system
. A well-installed faucet will last longer and require fewer repairs or replacements, saving you time and money in the long run.
It also reduces the risk of water damage to your bathroom and home, which can be costly and disruptive to fix
. By investing in professional faucet installation, you are investing in the longevity and functionality of your bathroom.
In conclusion,
proper faucet installation is a crucial aspect of bathroom design
. It not only ensures functionality and design aesthetics but also contributes to the longevity of your plumbing system. By hiring a professional to install your faucet, you can avoid potential problems and enjoy a beautiful and functional bathroom for years to come. Don't underestimate the importance of proper faucet installation and
make sure to choose a reputable and experienced plumber for the job
.


:max_bytes(150000):strip_icc()/17-Tools-You-May-Need-for-Electrical-Projects-1152575-final-7965f1286f3f4cbebc40bb2438b1935f.png)


















/fixing-a-tap-459986221-5afc675431283400371f7872.jpg)






/outdoor-tap-faucet-running-water-90327144-5797b78c5f9b58461f2e5649.jpg)


