How to Install a Base Kitchen Cabinet and Sink
Are you looking to renovate your kitchen but don't have the budget to hire a professional? Don't worry, installing a base kitchen cabinet and sink is a relatively simple DIY project that can save you money and give your kitchen a fresh new look. With the right tools and a little bit of patience, you can have your new base cabinet and sink installed in no time. Follow our step-by-step guide to get started.


How to Install a Base Kitchen Cabinet and Sink


Installing a Base Kitchen Cabinet and Sink: A Step-by-Step Guide
Before you begin, make sure you have all the necessary tools and materials, including a drill, screws, level, measuring tape, and a helper. It's also important to measure the space where you will be installing the cabinet and sink to ensure a perfect fit.
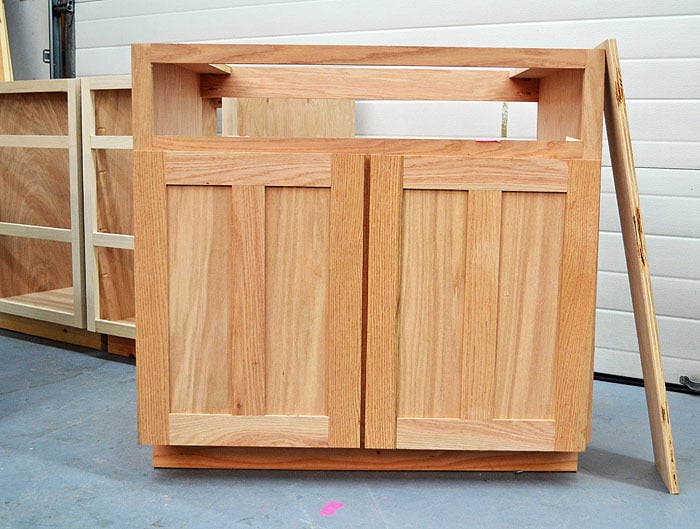
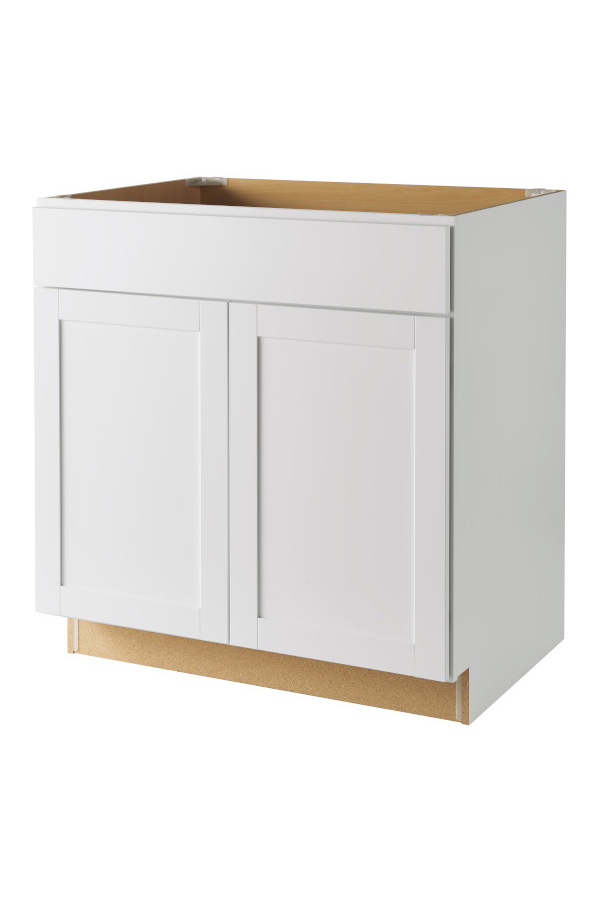
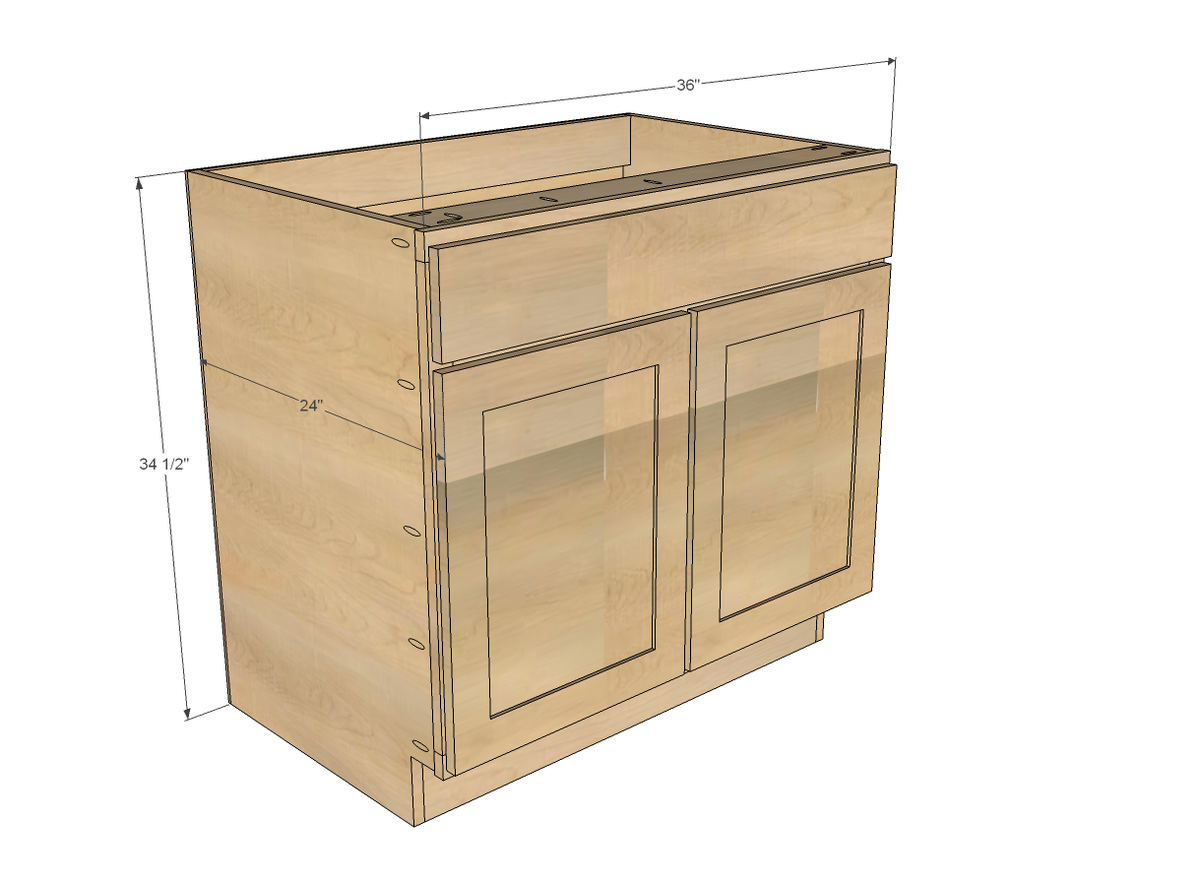
Step 1: Assemble the Base Cabinet
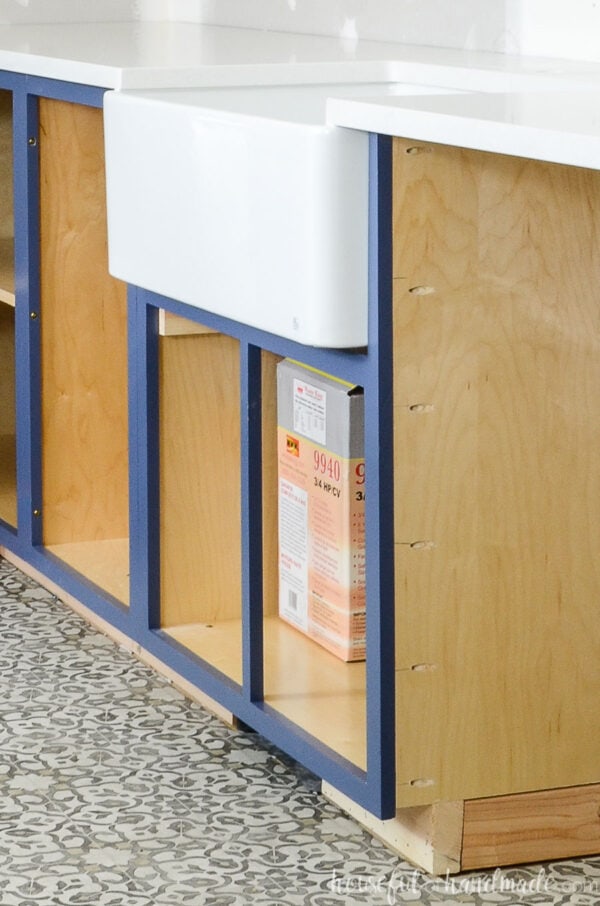
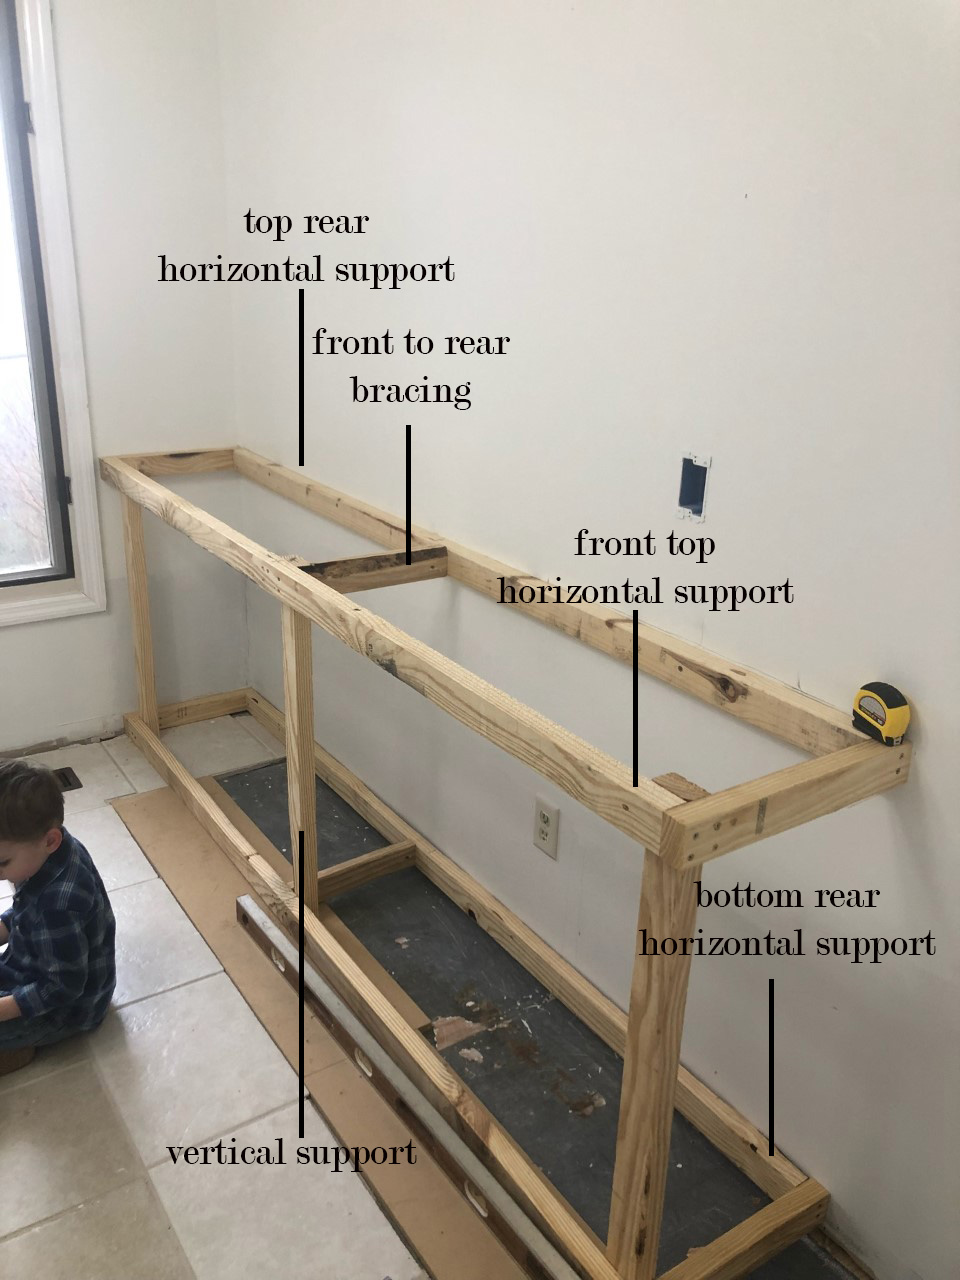
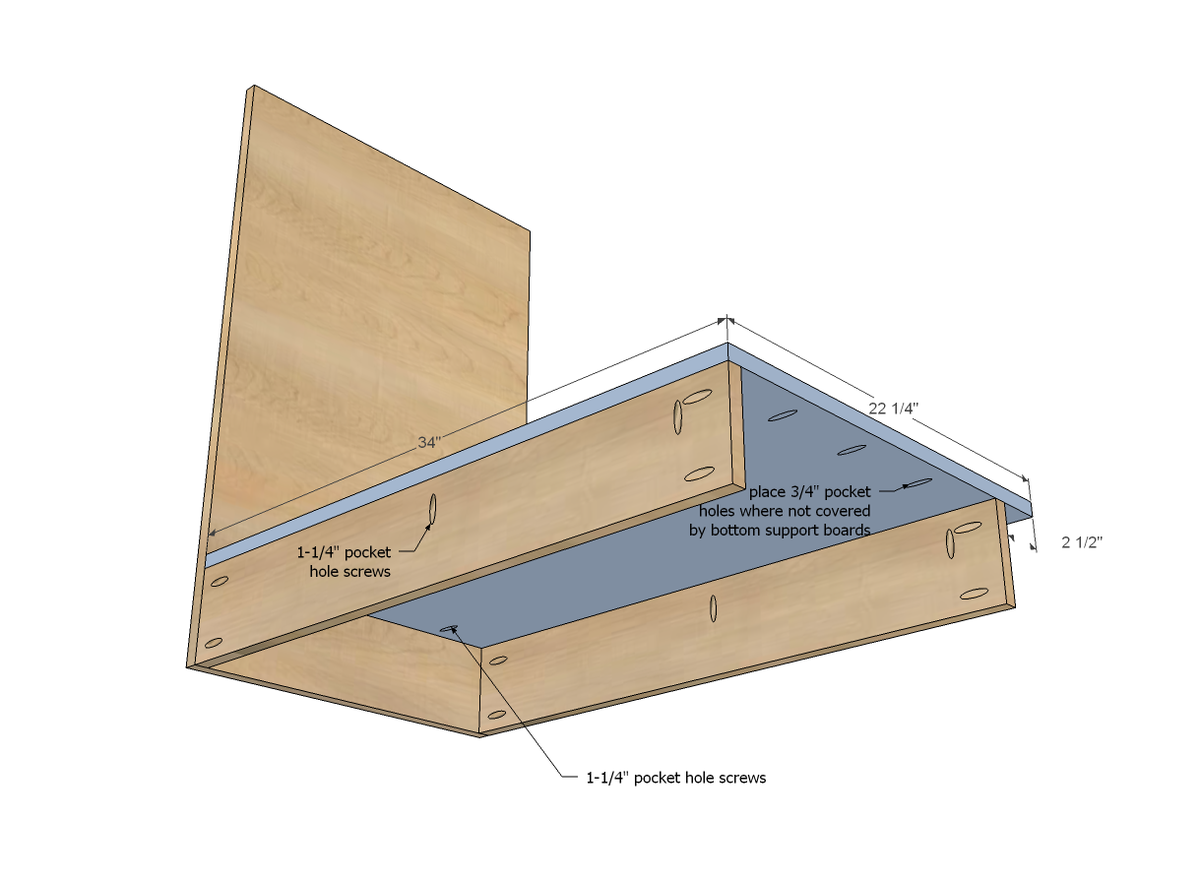
Begin by assembling the base cabinet according to the manufacturer's instructions. This typically involves attaching the side panels, back panel, and shelves together using screws or dowels. Make sure all the pieces are securely attached before moving on to the next step.
Step 2: Mark the Layout
Using a level and measuring tape, mark the layout of the cabinet on the floor. This will help you determine the exact placement of the cabinet and ensure that it is level. It's important to do this step carefully to avoid any mistakes.
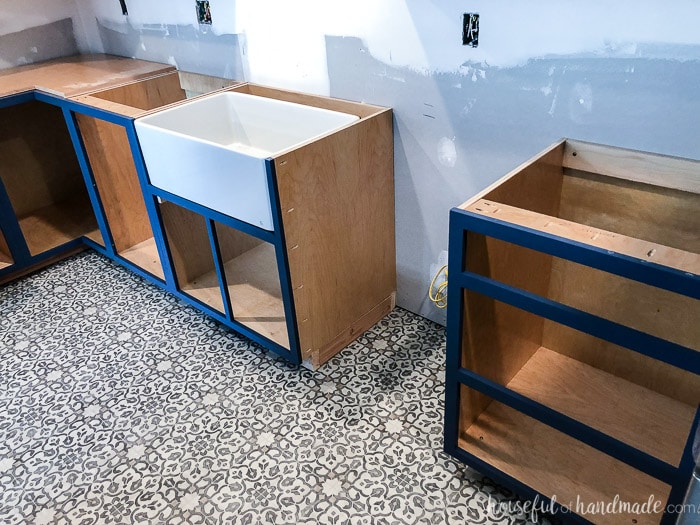
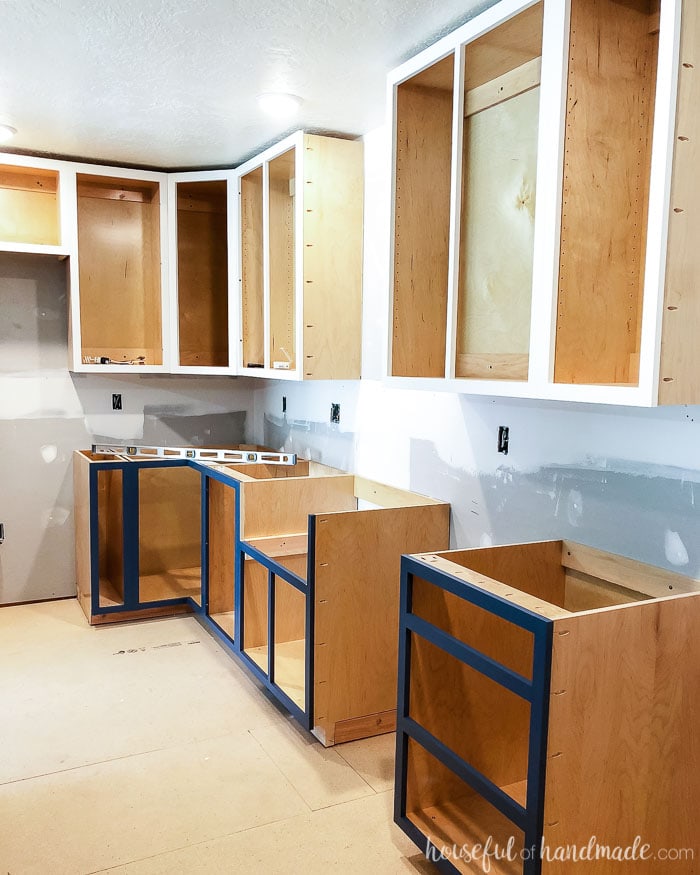
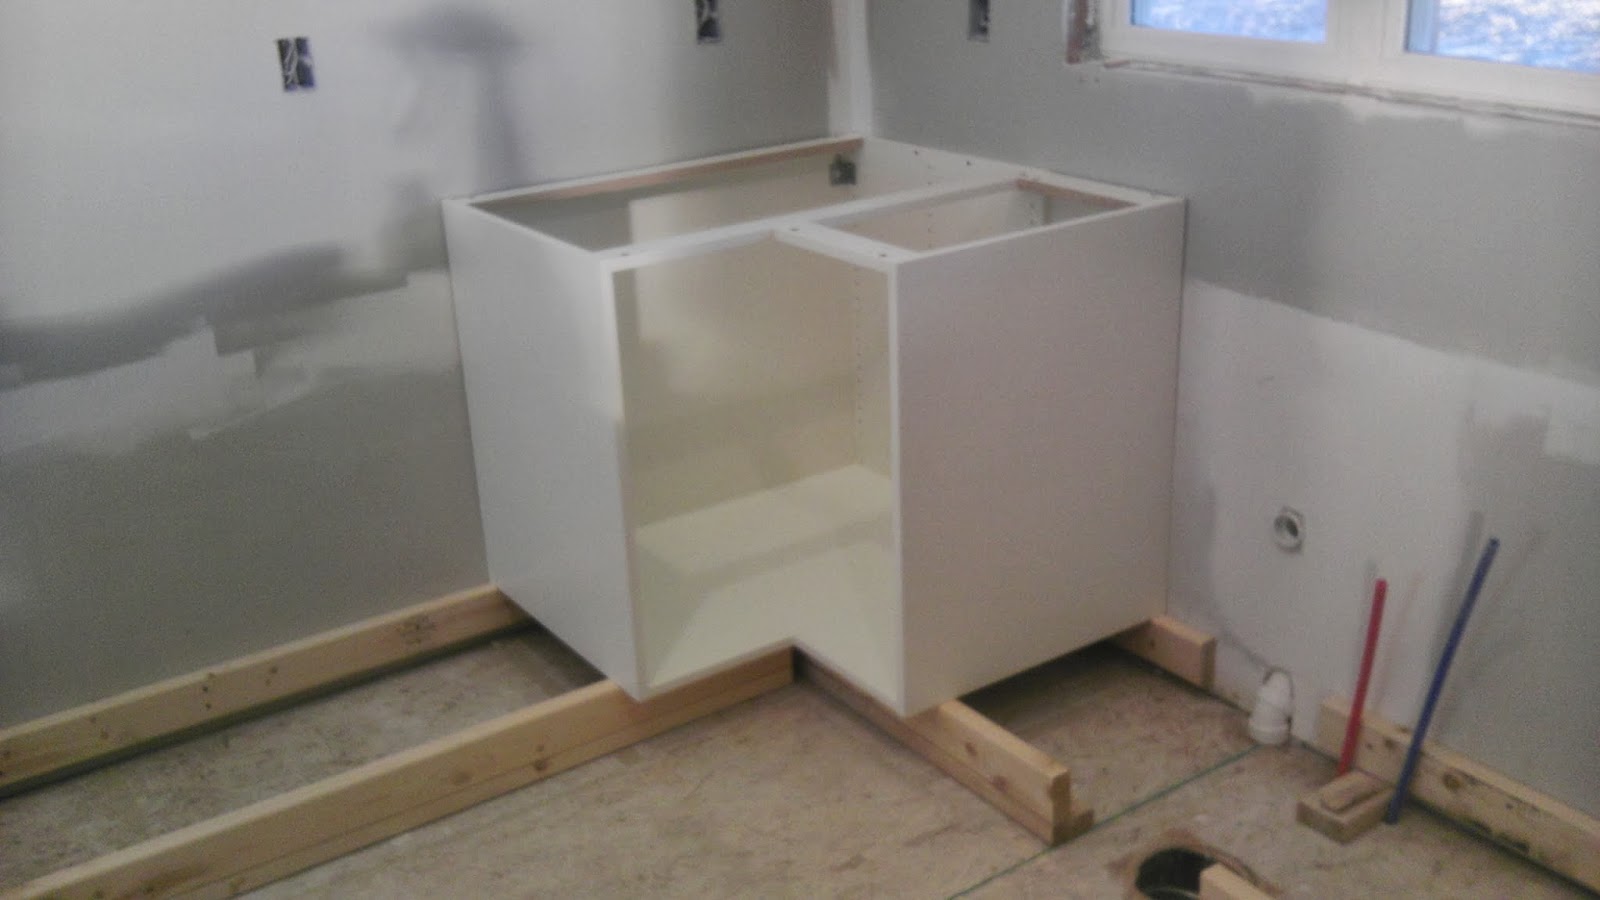
Step 3: Install the Base Cabinet
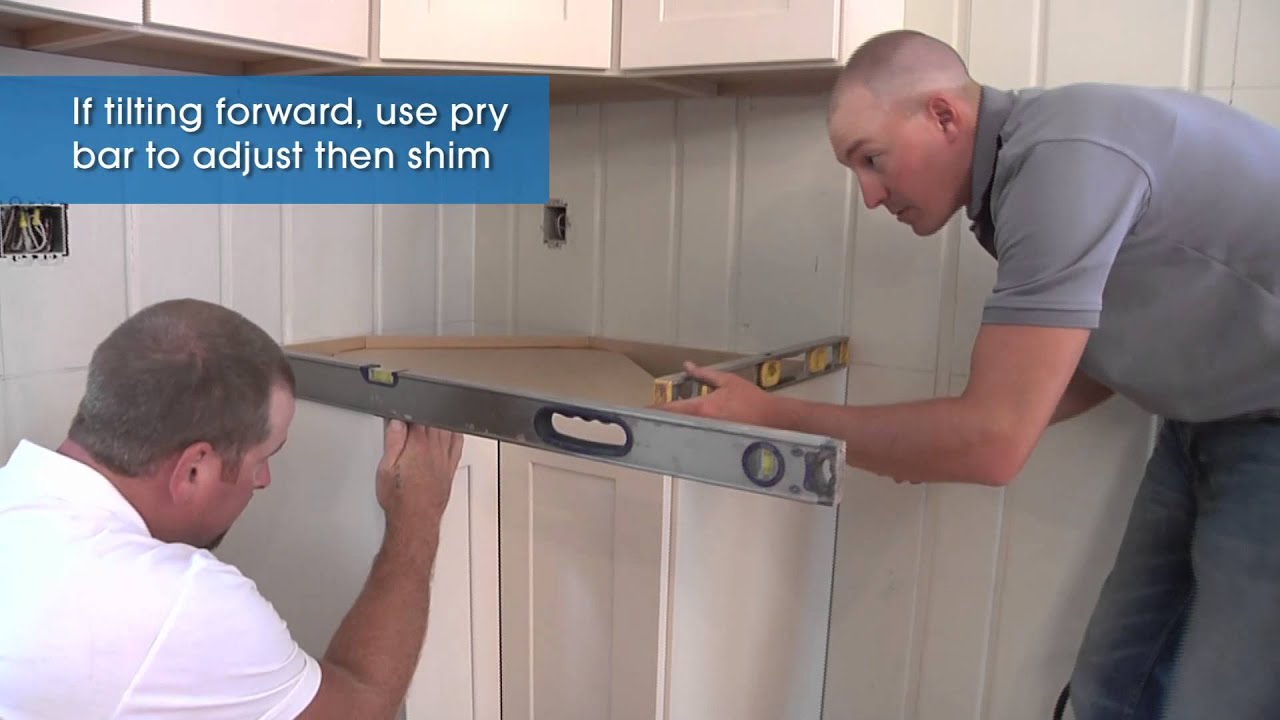
With the help of your assistant, lift the base cabinet and carefully place it in the marked area. Use shims to adjust the cabinet's height and make sure it is level. Once you are satisfied with the placement, secure the cabinet to the wall using screws.
Step 4: Cut Out Space for the Sink
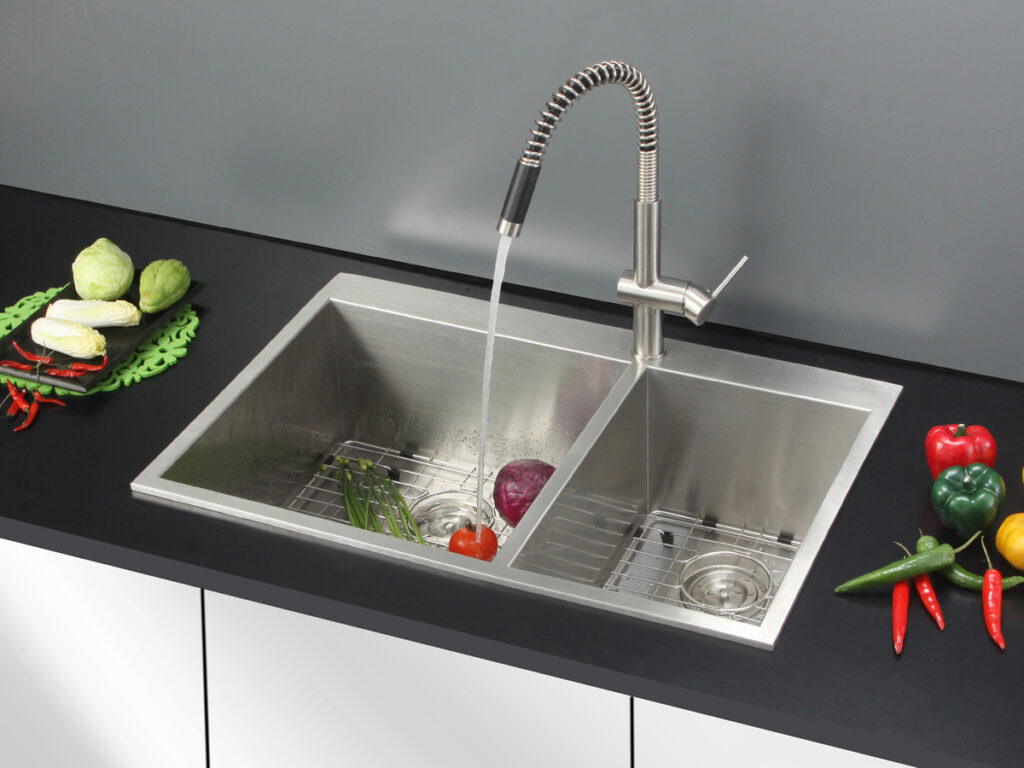
Using a jigsaw, cut out the space for the sink in the top of the base cabinet. Make sure to follow the manufacturer's instructions for the sink's dimensions and placement. Once the space is cut out, place the sink in the hole and secure it with clips.
Step 5: Install the Countertop
Next, install the countertop onto the base cabinet. This can be done using adhesive or screws, depending on the type of countertop you have. Be sure to leave enough space for the sink to fit in the cutout.
Step 6: Connect the Plumbing
Once the countertop is in place, it's time to connect the plumbing. This involves attaching the water supply lines and drain pipe to the sink and connecting them to the existing plumbing. If you are not confident in your plumbing skills, it's best to hire a professional for this step.
Step 7: Secure the Countertop
Finally, secure the countertop to the base cabinet using screws or adhesive. Make sure it is level and securely attached to the cabinet.


Installing a Base Kitchen Cabinet and Sink: A Step-by-Step Guide


DIY Kitchen Renovation: Installing a Base Cabinet and Sink
Now that your base cabinet and sink are installed, it's time to put on the finishing touches. Add any necessary hardware, such as handles or knobs, to the cabinet doors and drawers. You can also add a backsplash to the wall behind the sink for a polished look.
Pro Tip: If you are installing a new sink, it's a good idea to seal the edges with caulk to prevent water from seeping in between the sink and countertop.


DIY Kitchen Renovation: Installing a Base Cabinet and Sink


/interiors-of-the-kitchen-126173645-5835288f5f9b58d5b1b96af2.jpg)

The Ultimate Guide to Installing a Base Kitchen Cabinet and Sink
When it comes to installing a base kitchen cabinet and sink, the key is to take your time and follow the instructions carefully. Measure twice, cut once, and always double-check your work to ensure everything is level and secure. With these tips and tricks, you can successfully complete this DIY project and give your kitchen a fresh new look without breaking the bank.

The Ultimate Guide to Installing a Base Kitchen Cabinet and Sink


Installing a Base Kitchen Cabinet and Sink: Tips and Tricks
Here are a few additional tips to keep in mind while installing your base cabinet and sink:


Installing a Base Kitchen Cabinet and Sink: Tips and Tricks

Step-by-Step Tutorial for Installing a Base Kitchen Cabinet and Sink
To summarize, here are the steps you need to follow to install a base kitchen cabinet and sink:


Step-by-Step Tutorial for Installing a Base Kitchen Cabinet and Sink


From Start to Finish: Installing a Base Kitchen Cabinet and Sink
Now that you have successfully installed your base cabinet and sink, take a step back and admire your handiwork. You have just completed a DIY kitchen renovation that has given your space a fresh new look and saved you money in the process. Whether you are a seasoned DIYer or just starting, this project is a great way to improve your skills and add value to your home.


From Start to Finish: Installing a Base Kitchen Cabinet and Sink

Expert Tips for Installing a Base Kitchen Cabinet and Sink
Here are a few expert tips to help you successfully install your base cabinet and sink:

Expert Tips for Installing a Base Kitchen Cabinet and Sink


The Dos and Don'ts of Installing a Base Kitchen Cabinet and Sink
To ensure a successful installation, here are a few dos and don'ts to keep in mind:


The Dos and Don'ts of Installing a Base Kitchen Cabinet and Sink


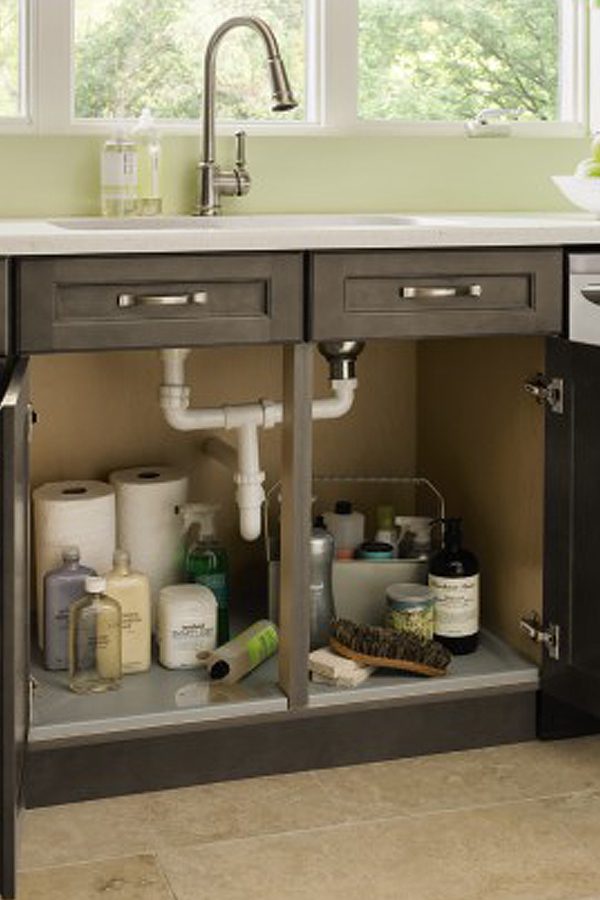
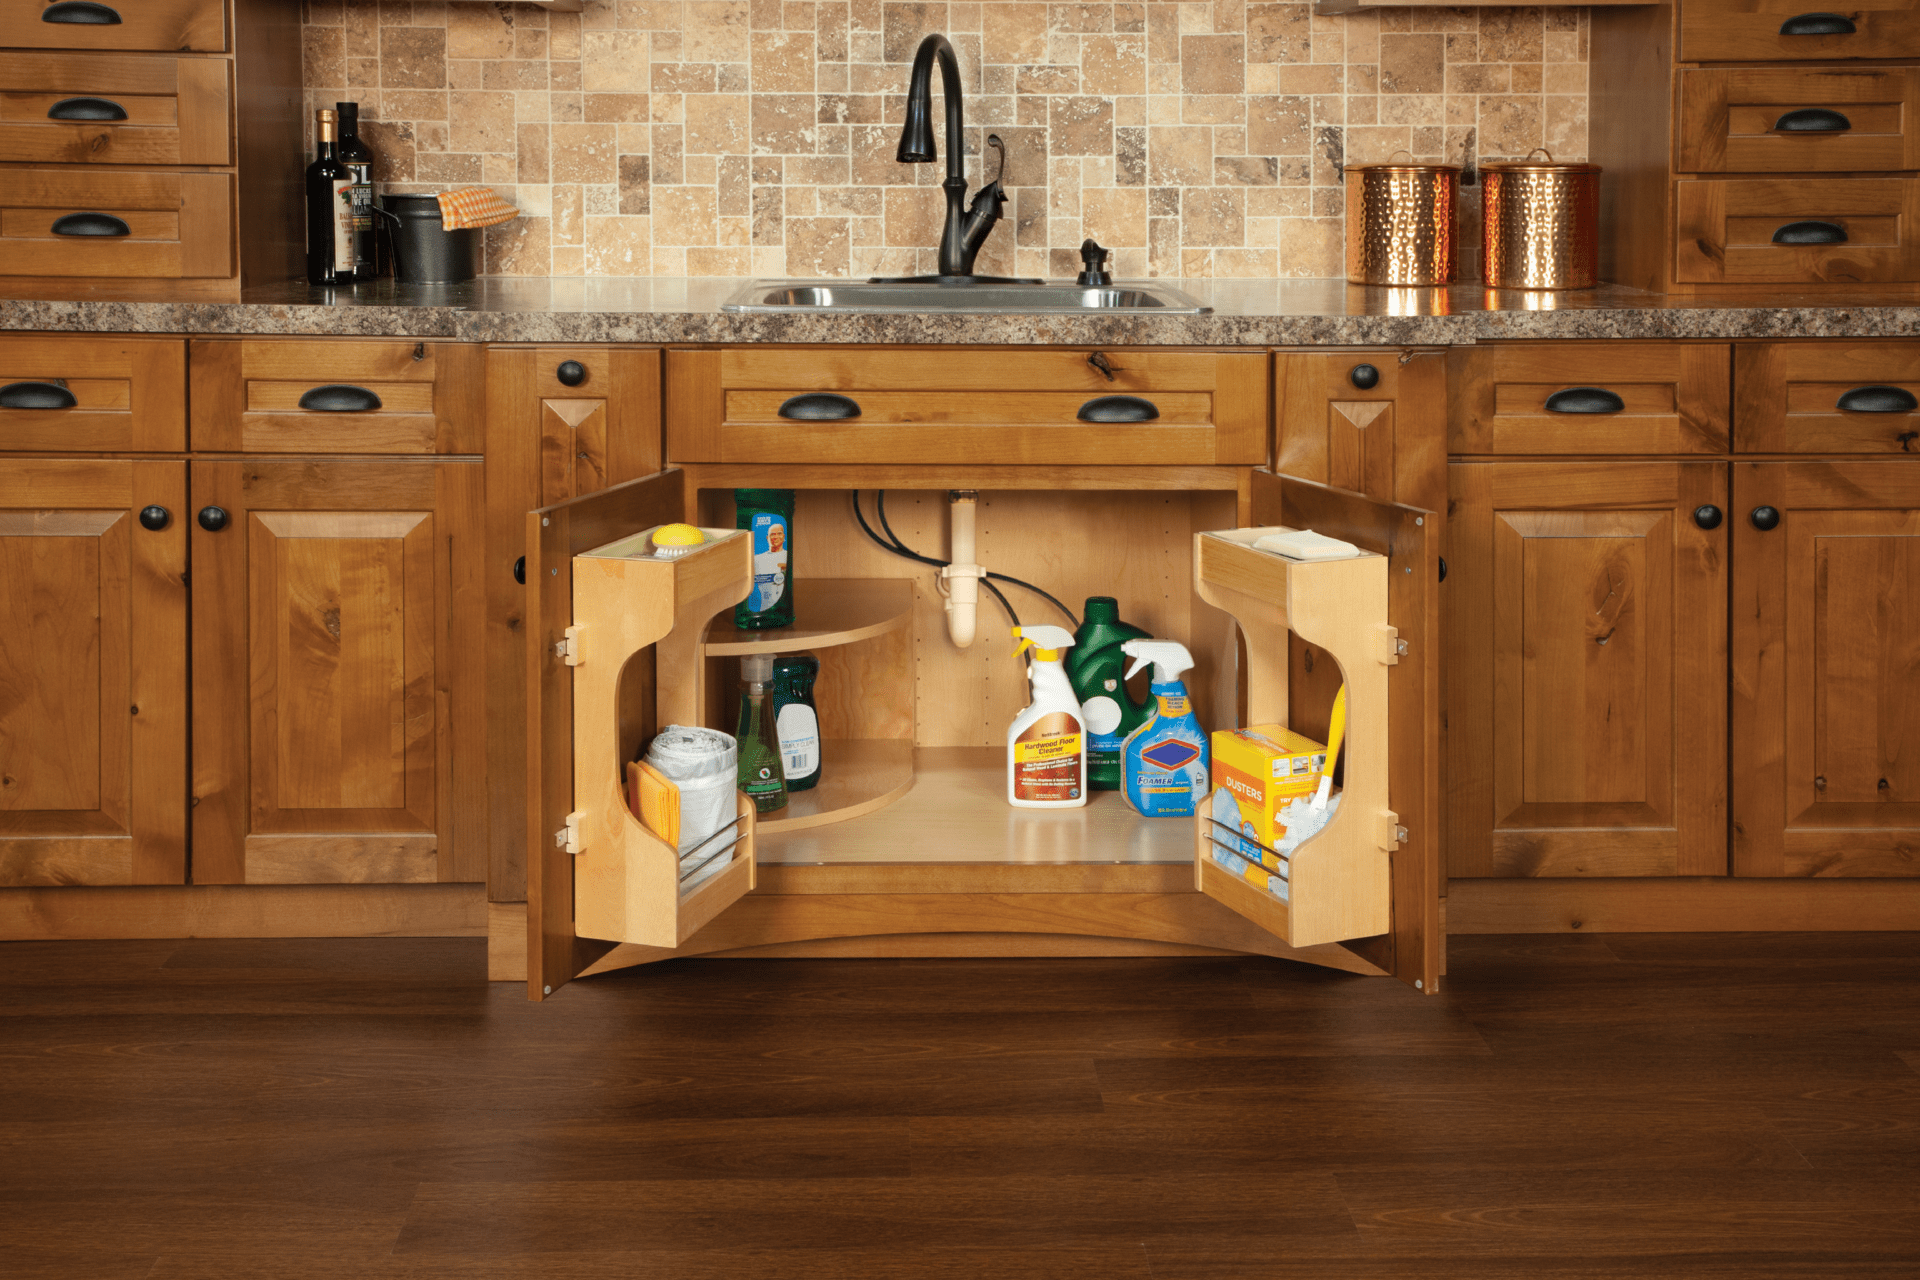
Maximizing Space: Installing a Base Kitchen Cabinet and Sink
Installing a base kitchen cabinet and sink is a great way to maximize space in your kitchen. By utilizing the space below your countertop, you can add additional storage and a functional sink for all your kitchen needs. With the right tools and a little bit of know-how, you can successfully complete this DIY project and improve the look and functionality of your kitchen.

Maximizing Space: Installing a Base Kitchen Cabinet and Sink


Installing a Base Kitchen Cabinet and Sink: A Step-by-Step Guide
Preparing for the Installation
 Before beginning the installation process, it is important to take the necessary precautions and prepare the area for the project.
Clean and clear out the space where the cabinet and sink will be installed, and make sure to have all the necessary tools and materials on hand.
This includes a measuring tape, level, drill, screws, and a saw if necessary. It is also important to have an assistant available to help with lifting and holding the cabinet in place during the installation.
Before beginning the installation process, it is important to take the necessary precautions and prepare the area for the project.
Clean and clear out the space where the cabinet and sink will be installed, and make sure to have all the necessary tools and materials on hand.
This includes a measuring tape, level, drill, screws, and a saw if necessary. It is also important to have an assistant available to help with lifting and holding the cabinet in place during the installation.
Step 1: Assemble the Base Cabinet
 The first step in the installation process is to assemble the base cabinet.
Follow the instructions carefully and make sure all pieces are securely connected.
This will ensure that the cabinet is sturdy and able to support the weight of the sink and countertop. Once assembled, place the cabinet in its designated spot and use shims to ensure it is level.
The first step in the installation process is to assemble the base cabinet.
Follow the instructions carefully and make sure all pieces are securely connected.
This will ensure that the cabinet is sturdy and able to support the weight of the sink and countertop. Once assembled, place the cabinet in its designated spot and use shims to ensure it is level.
Step 2: Measure and Cut the Sink Hole
 Next, it is time to measure and cut the hole for the sink.
Measure the dimensions of the sink and mark them on the countertop above the cabinet.
Use a jigsaw to carefully cut out the marked area. Double check the measurements and make any necessary adjustments before moving on to the next step.
Next, it is time to measure and cut the hole for the sink.
Measure the dimensions of the sink and mark them on the countertop above the cabinet.
Use a jigsaw to carefully cut out the marked area. Double check the measurements and make any necessary adjustments before moving on to the next step.
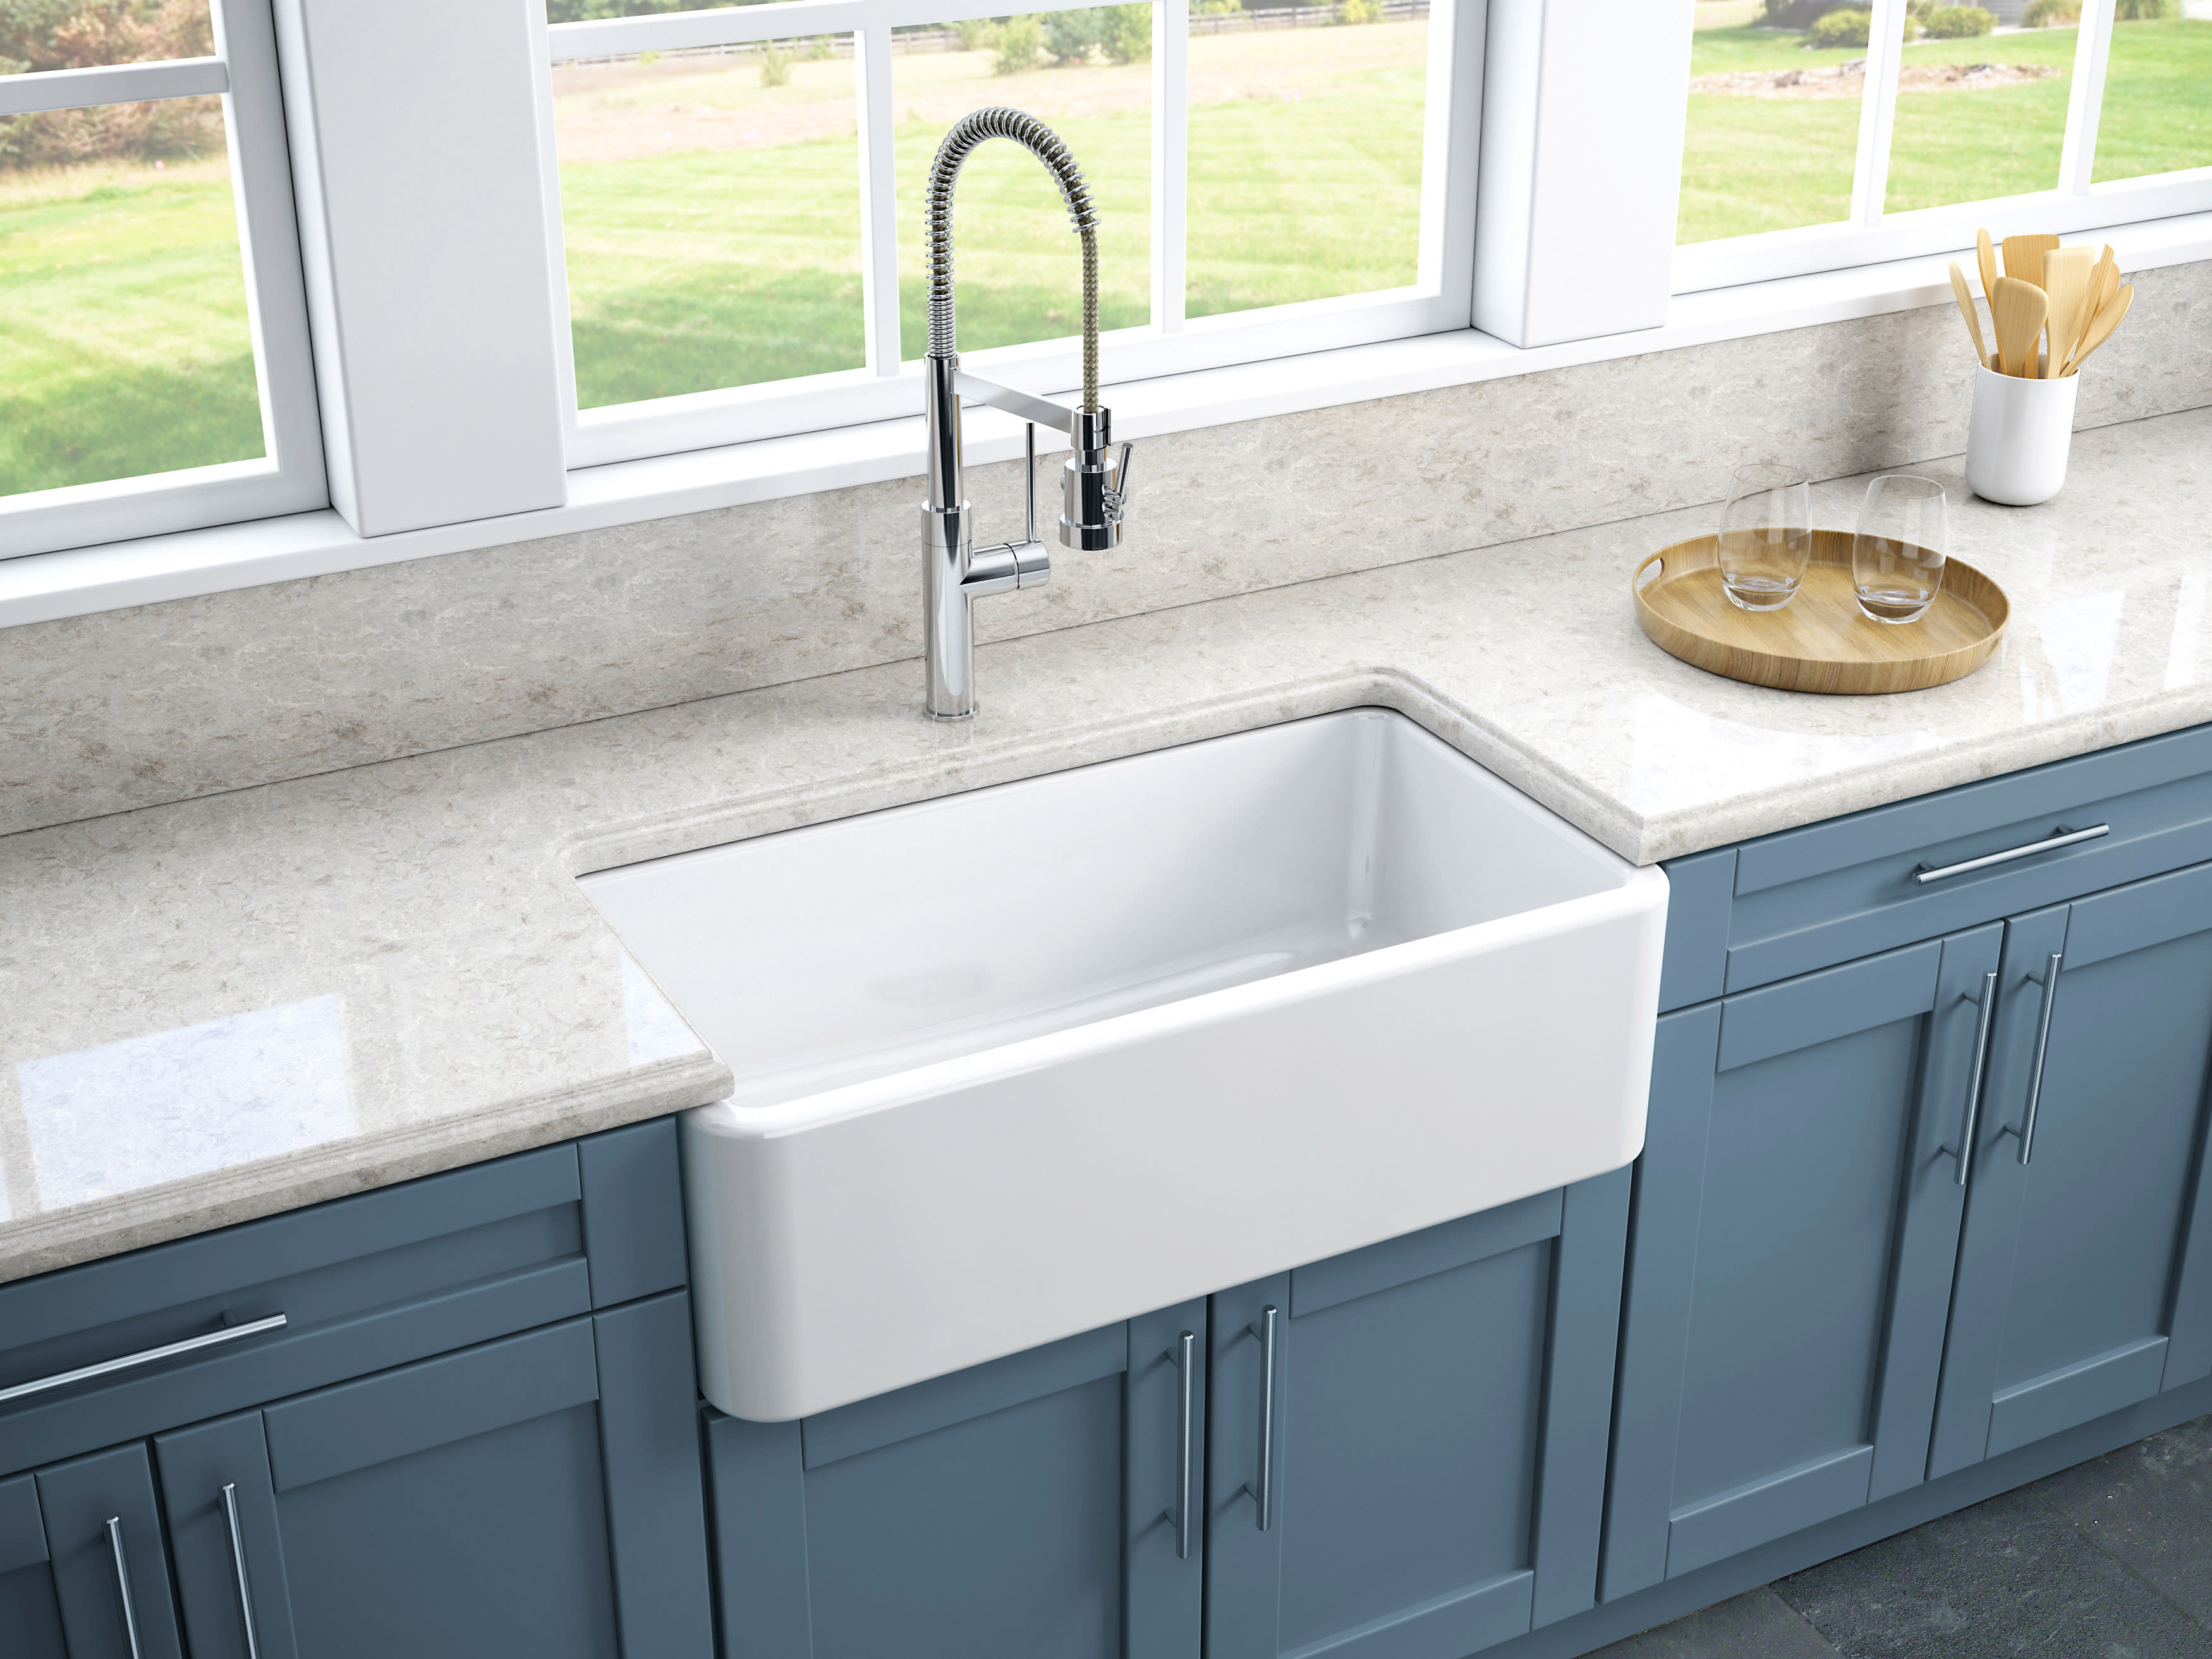
Step 3: Install the Sink
 Now it's time to install the sink.
Apply a thin layer of silicone adhesive around the edges of the sink hole and carefully lower the sink into place.
Make sure it is centered and level before securing it in place with clips or brackets. Once the sink is in place, connect the plumbing and drainage pipes.
Now it's time to install the sink.
Apply a thin layer of silicone adhesive around the edges of the sink hole and carefully lower the sink into place.
Make sure it is centered and level before securing it in place with clips or brackets. Once the sink is in place, connect the plumbing and drainage pipes.
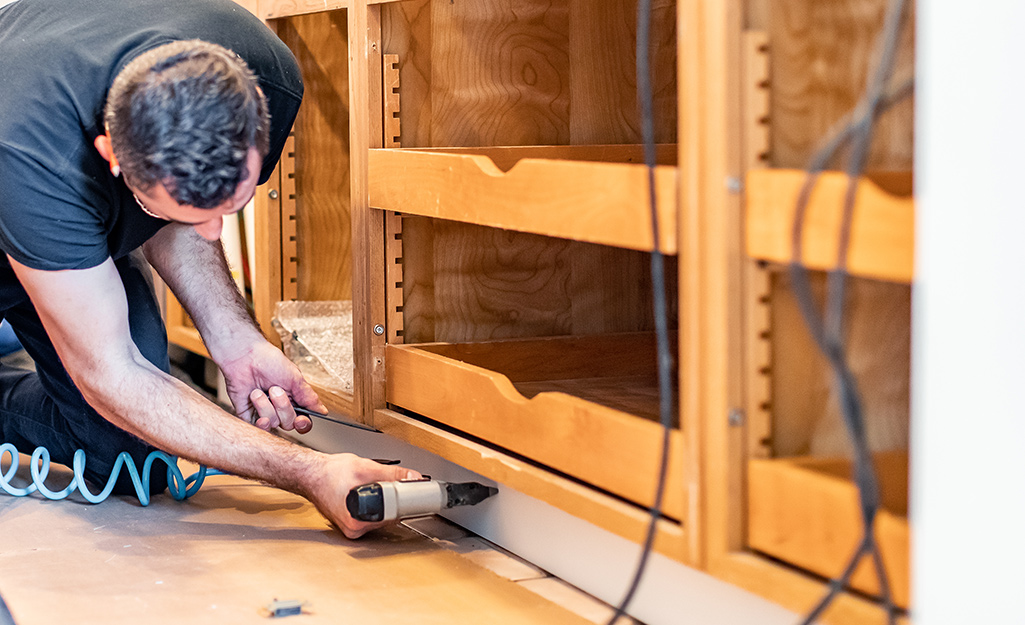
Step 4: Secure the Cabinet to the Wall
 To ensure stability and prevent the cabinet from tipping over, it is important to secure it to the wall.
Using a drill, attach the cabinet to the wall studs.
This will also prevent any movement or shifting of the cabinet over time.
To ensure stability and prevent the cabinet from tipping over, it is important to secure it to the wall.
Using a drill, attach the cabinet to the wall studs.
This will also prevent any movement or shifting of the cabinet over time.
Step 5: Install the Countertop
 The final step in the installation process is to install the countertop.
Place the countertop on the base cabinet and make sure it is level and secure.
Use silicone adhesive to seal the edges and prevent water from seeping in.
Congratulations, you have successfully installed a base kitchen cabinet and sink!
Remember to clean up any debris and admire your newly installed cabinet and sink.
With the right tools and careful attention to detail, this project can be completed in just a few hours, adding both functionality and style to your kitchen.
The final step in the installation process is to install the countertop.
Place the countertop on the base cabinet and make sure it is level and secure.
Use silicone adhesive to seal the edges and prevent water from seeping in.
Congratulations, you have successfully installed a base kitchen cabinet and sink!
Remember to clean up any debris and admire your newly installed cabinet and sink.
With the right tools and careful attention to detail, this project can be completed in just a few hours, adding both functionality and style to your kitchen.