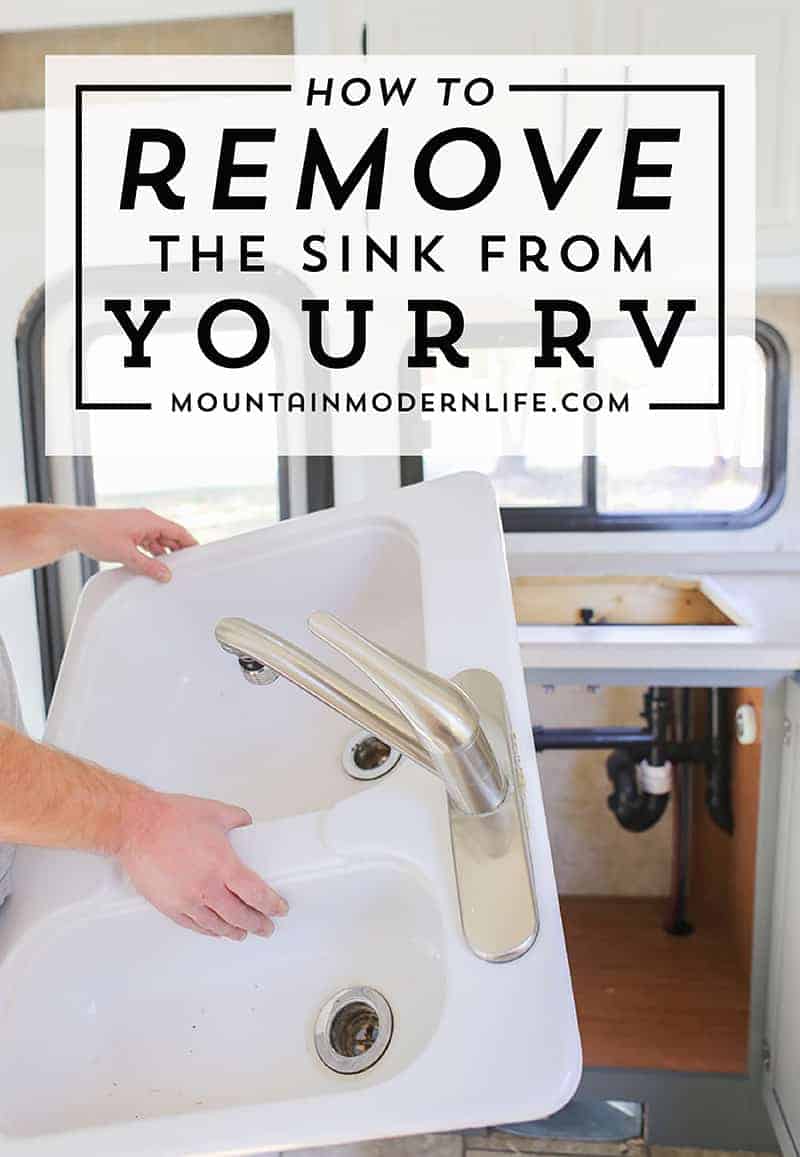
How to Install an Undermount RV Kitchen Sink
If you're looking to upgrade your RV kitchen, installing an undermount sink is a great way to add style and functionality. Undermount sinks are mounted underneath the countertop, creating a seamless and sleek look. Plus, they are easier to clean and provide more counter space compared to top-mounted sinks. In this guide, we'll walk you through the step-by-step process of installing an undermount kitchen sink in your RV.


How to Install an Undermount RV Kitchen Sink


Undermount RV Kitchen Sink Installation Guide
Installing an undermount sink in your RV may seem like a daunting task, but with the right tools and preparation, it can be a straightforward and rewarding DIY project. Follow this installation guide for a successful undermount sink installation in your RV.


Undermount RV Kitchen Sink Installation Guide


Step-by-Step Guide for Installing an Undermount RV Kitchen Sink
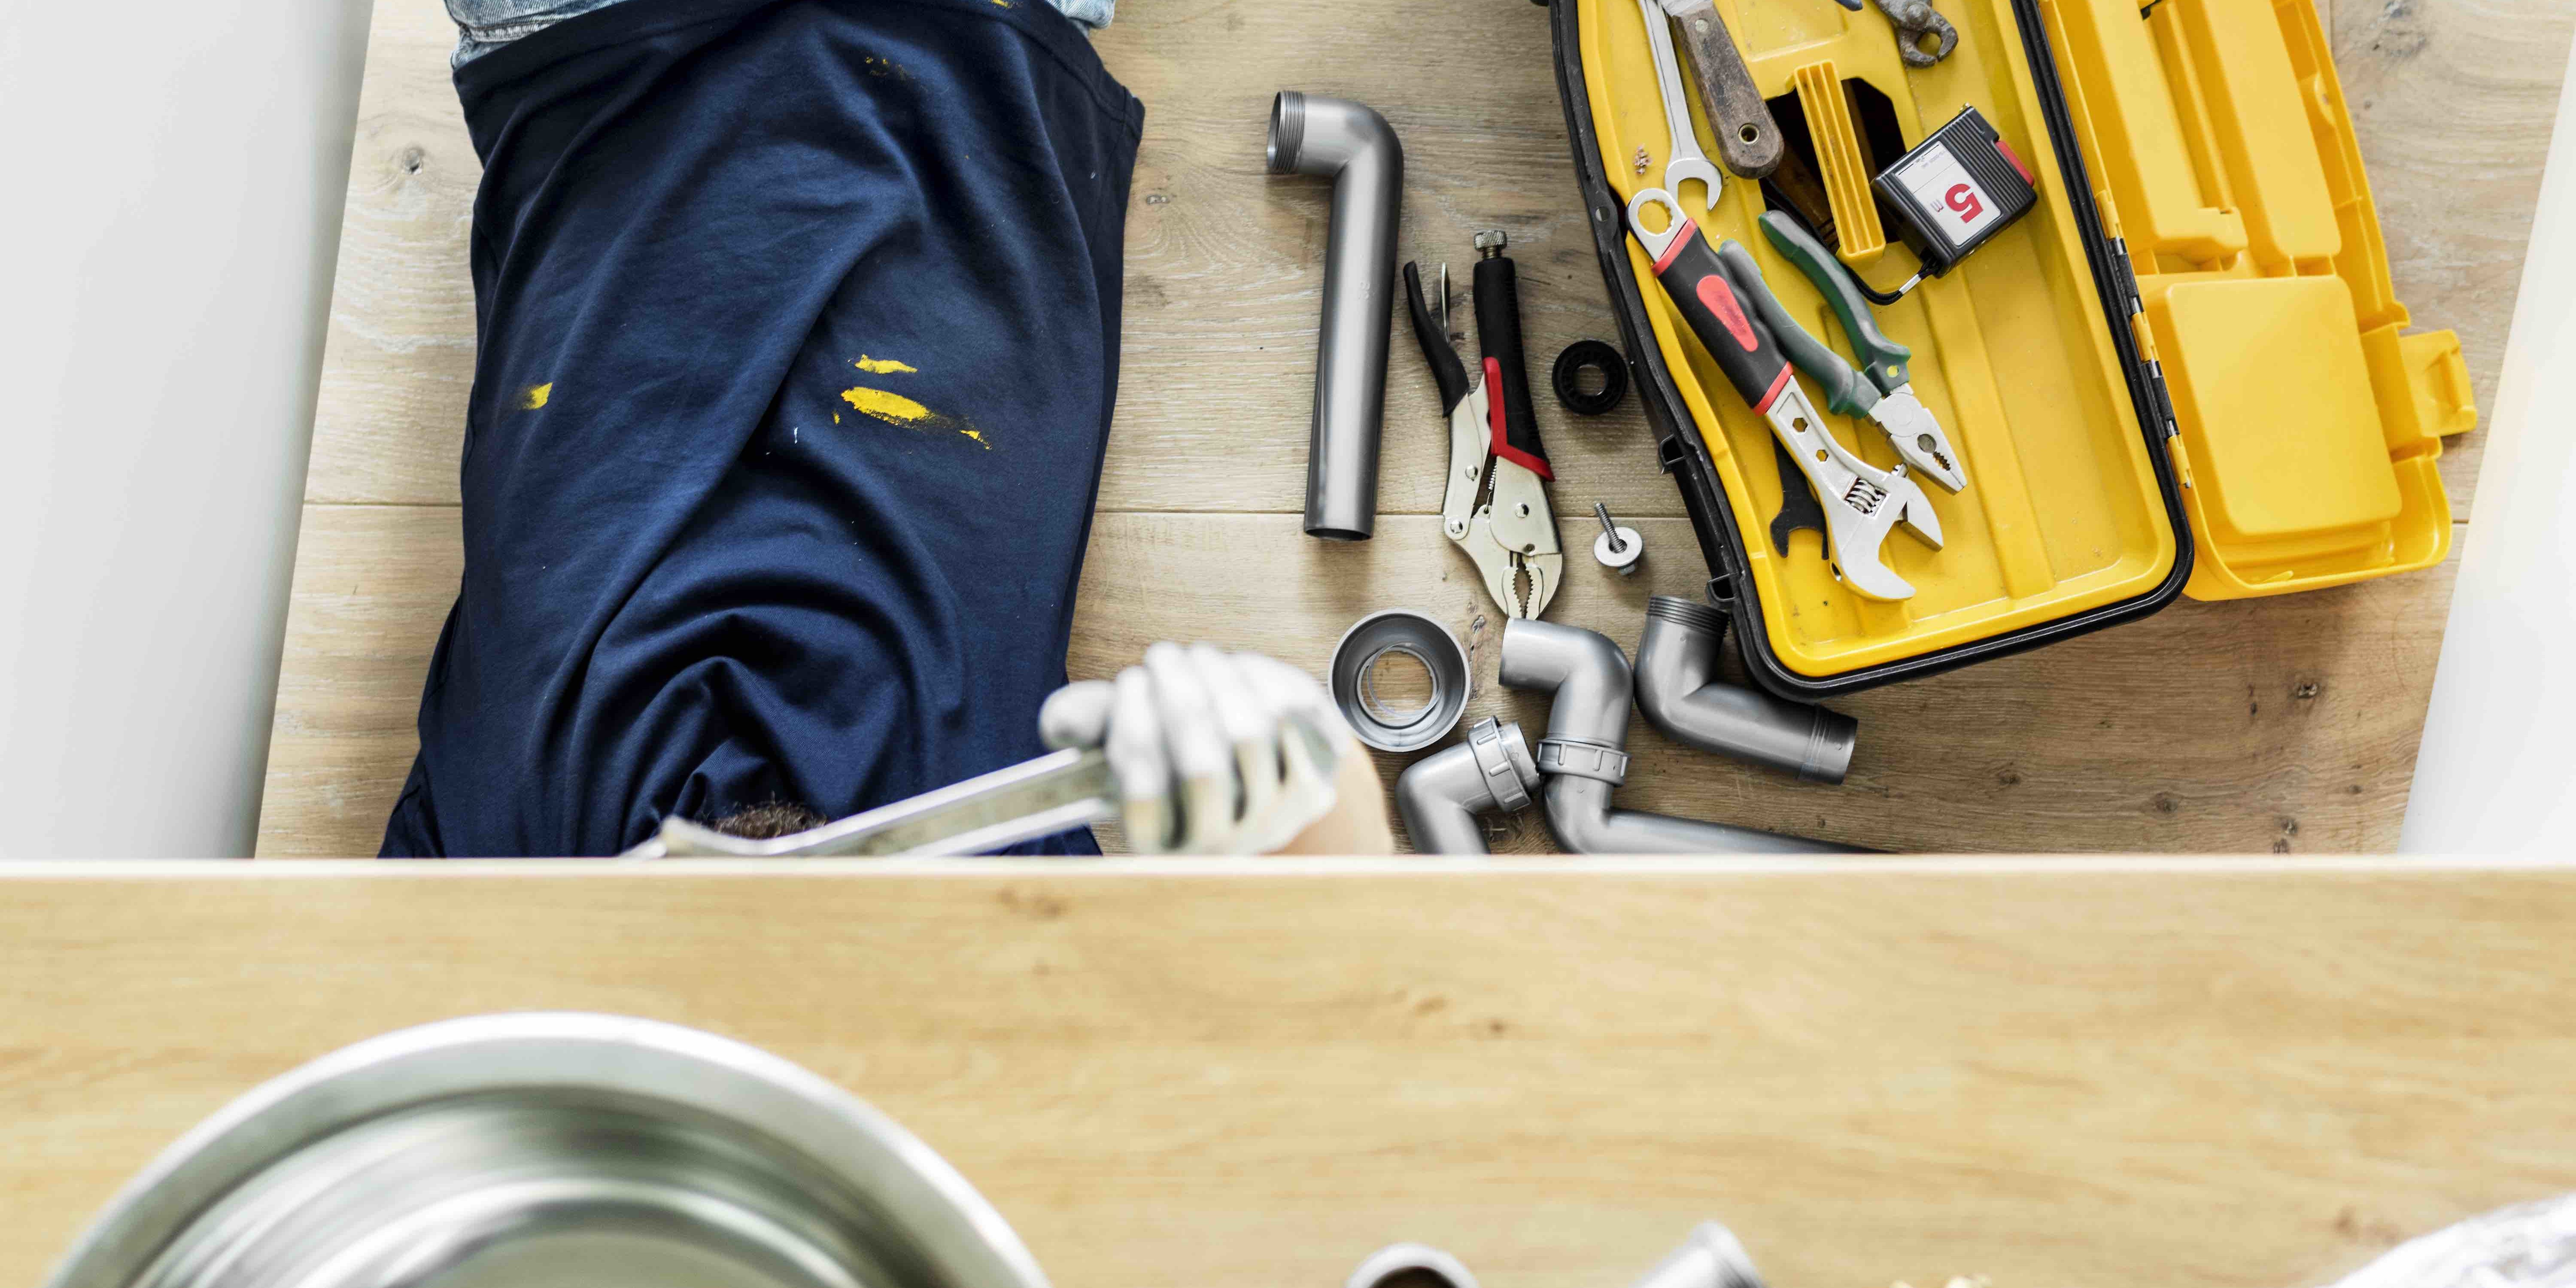
Before diving into the installation process, make sure you have all the necessary tools and materials. Here's a list of what you'll need:


Step-by-Step Guide for Installing an Undermount RV Kitchen Sink


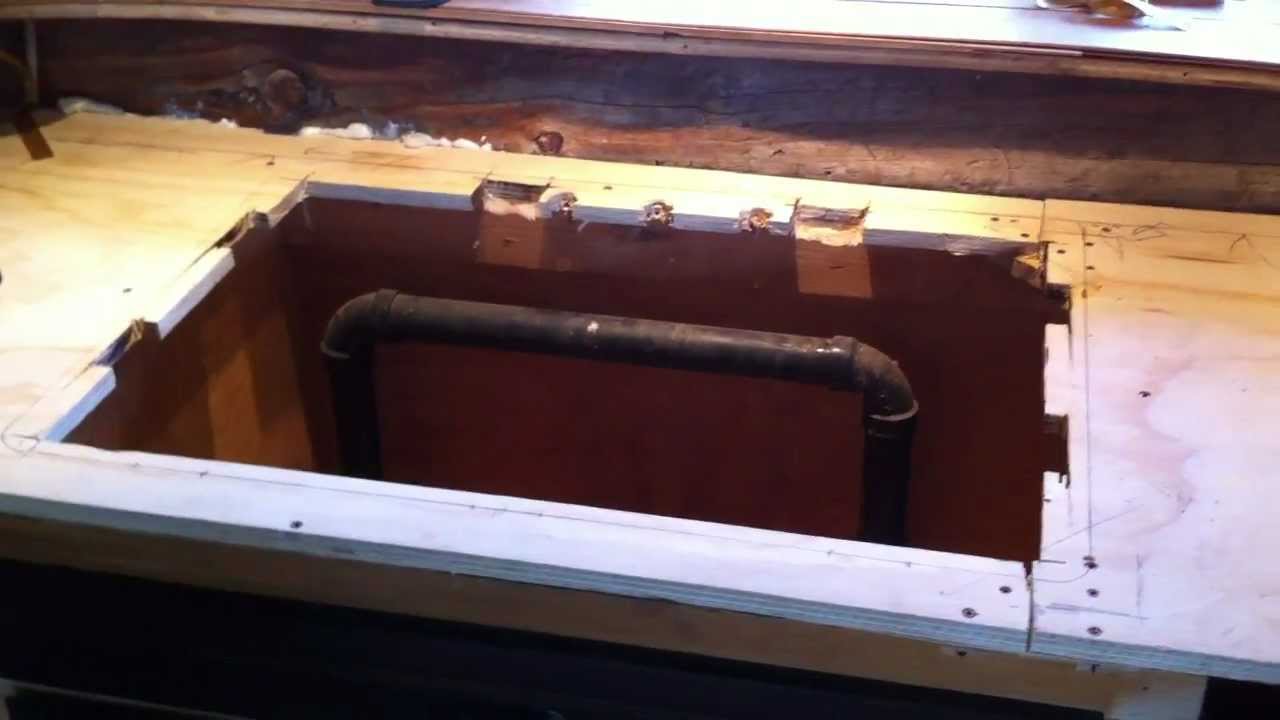
Preparation Steps for Installing an Undermount RV Kitchen Sink
Start by measuring the sink and the countertop opening to ensure a proper fit. Next, use a drill to create pilot holes for the mounting clips. These clips will hold the sink in place and prevent it from shifting. Apply silicone caulk to the bottom of the sink lip and place it into the opening. Secure the sink with clamps and allow the caulk to dry for at least 24 hours.


DIY Undermount RV Kitchen Sink Installation


Installing the Undermount RV Kitchen Sink: Step-by-Step Instructions
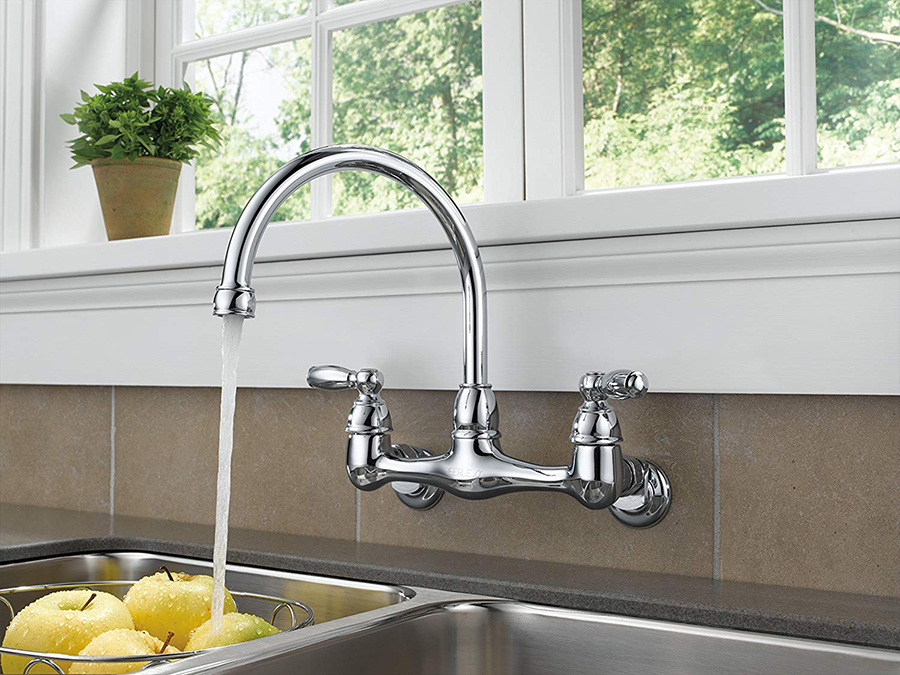
Once the sink is securely in place, it's time to install the plumbing. Apply plumber's putty to the underside of the drain flange and insert it into the drain hole in the sink. From underneath the sink, screw the drain into place. Connect the water supply lines and make sure all connections are tight. Turn on the water to check for any leaks.
Next, use silicone adhesive to seal the edges of the sink to the countertop. This will create a watertight seal and prevent any water from leaking into the cabinet below. Use masking tape to hold the sink in place while the adhesive dries.


Tools and Materials Needed for Installing an Undermount RV Kitchen Sink


Tips for a Successful Undermount RV Kitchen Sink Installation
As with any DIY project, there are a few tips that can make the installation process smoother and more successful. First, make sure to follow the manufacturer's instructions for your specific sink model. This will ensure that you have all the necessary tools and materials and that you're following the correct steps.
Additionally, make sure to use a high-quality silicone caulk and adhesive to ensure a strong and durable seal. Take your time during the installation process and double-check all measurements and connections before moving on to the next step.


Preparation Steps for Installing an Undermount RV Kitchen Sink


Common Mistakes to Avoid When Installing an Undermount RV Kitchen Sink
While installing an undermount sink in your RV is a relatively straightforward process, there are a few common mistakes to avoid. One of the most common mistakes is not properly supporting the sink during installation, which can lead to a weak or uneven seal. Make sure to use clamps and allow the caulk and adhesive to dry for a full 24 hours before using the sink.
Another mistake to avoid is not using the right tools and materials. Using low-quality caulk or adhesive can result in a weak seal that can lead to leaks and damage. Make sure to invest in high-quality products for a successful and long-lasting installation.


Installing the Undermount RV Kitchen Sink: Step-by-Step Instructions

Final Touches: Finishing the Undermount RV Kitchen Sink Installation
Once the adhesive has fully dried, remove the clamps and masking tape. Use a utility knife to remove any excess adhesive or caulk. Finally, run water through the sink to ensure everything is working properly and there are no leaks. Congratulations, you now have a beautiful and functional undermount sink in your RV kitchen!


Tips for a Successful Undermount RV Kitchen Sink Installation


Why Choose an Undermount RV Kitchen Sink?

Space-Saving Design
 One of the main reasons to choose an
undermount RV kitchen sink
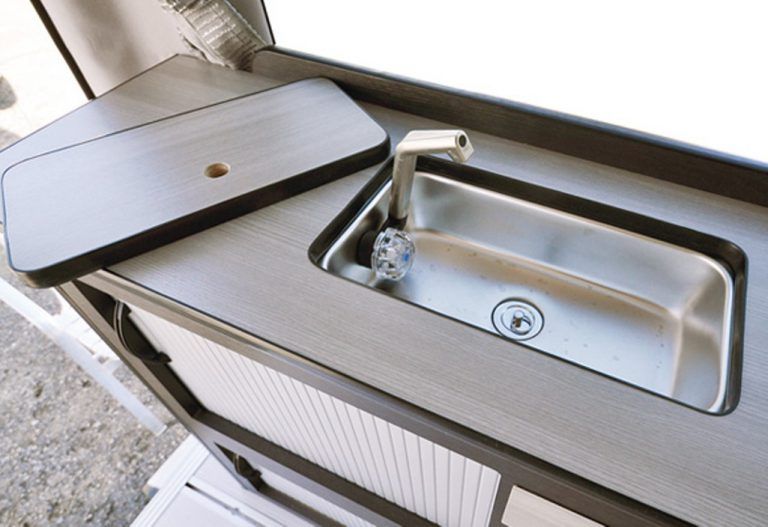
is its space-saving design. In an RV, space is limited and every inch counts. With an undermount sink, the edges are mounted underneath the countertop, allowing for more counter space. This is especially beneficial in smaller RV kitchens where counter space is already at a premium.
One of the main reasons to choose an
undermount RV kitchen sink
is its space-saving design. In an RV, space is limited and every inch counts. With an undermount sink, the edges are mounted underneath the countertop, allowing for more counter space. This is especially beneficial in smaller RV kitchens where counter space is already at a premium.
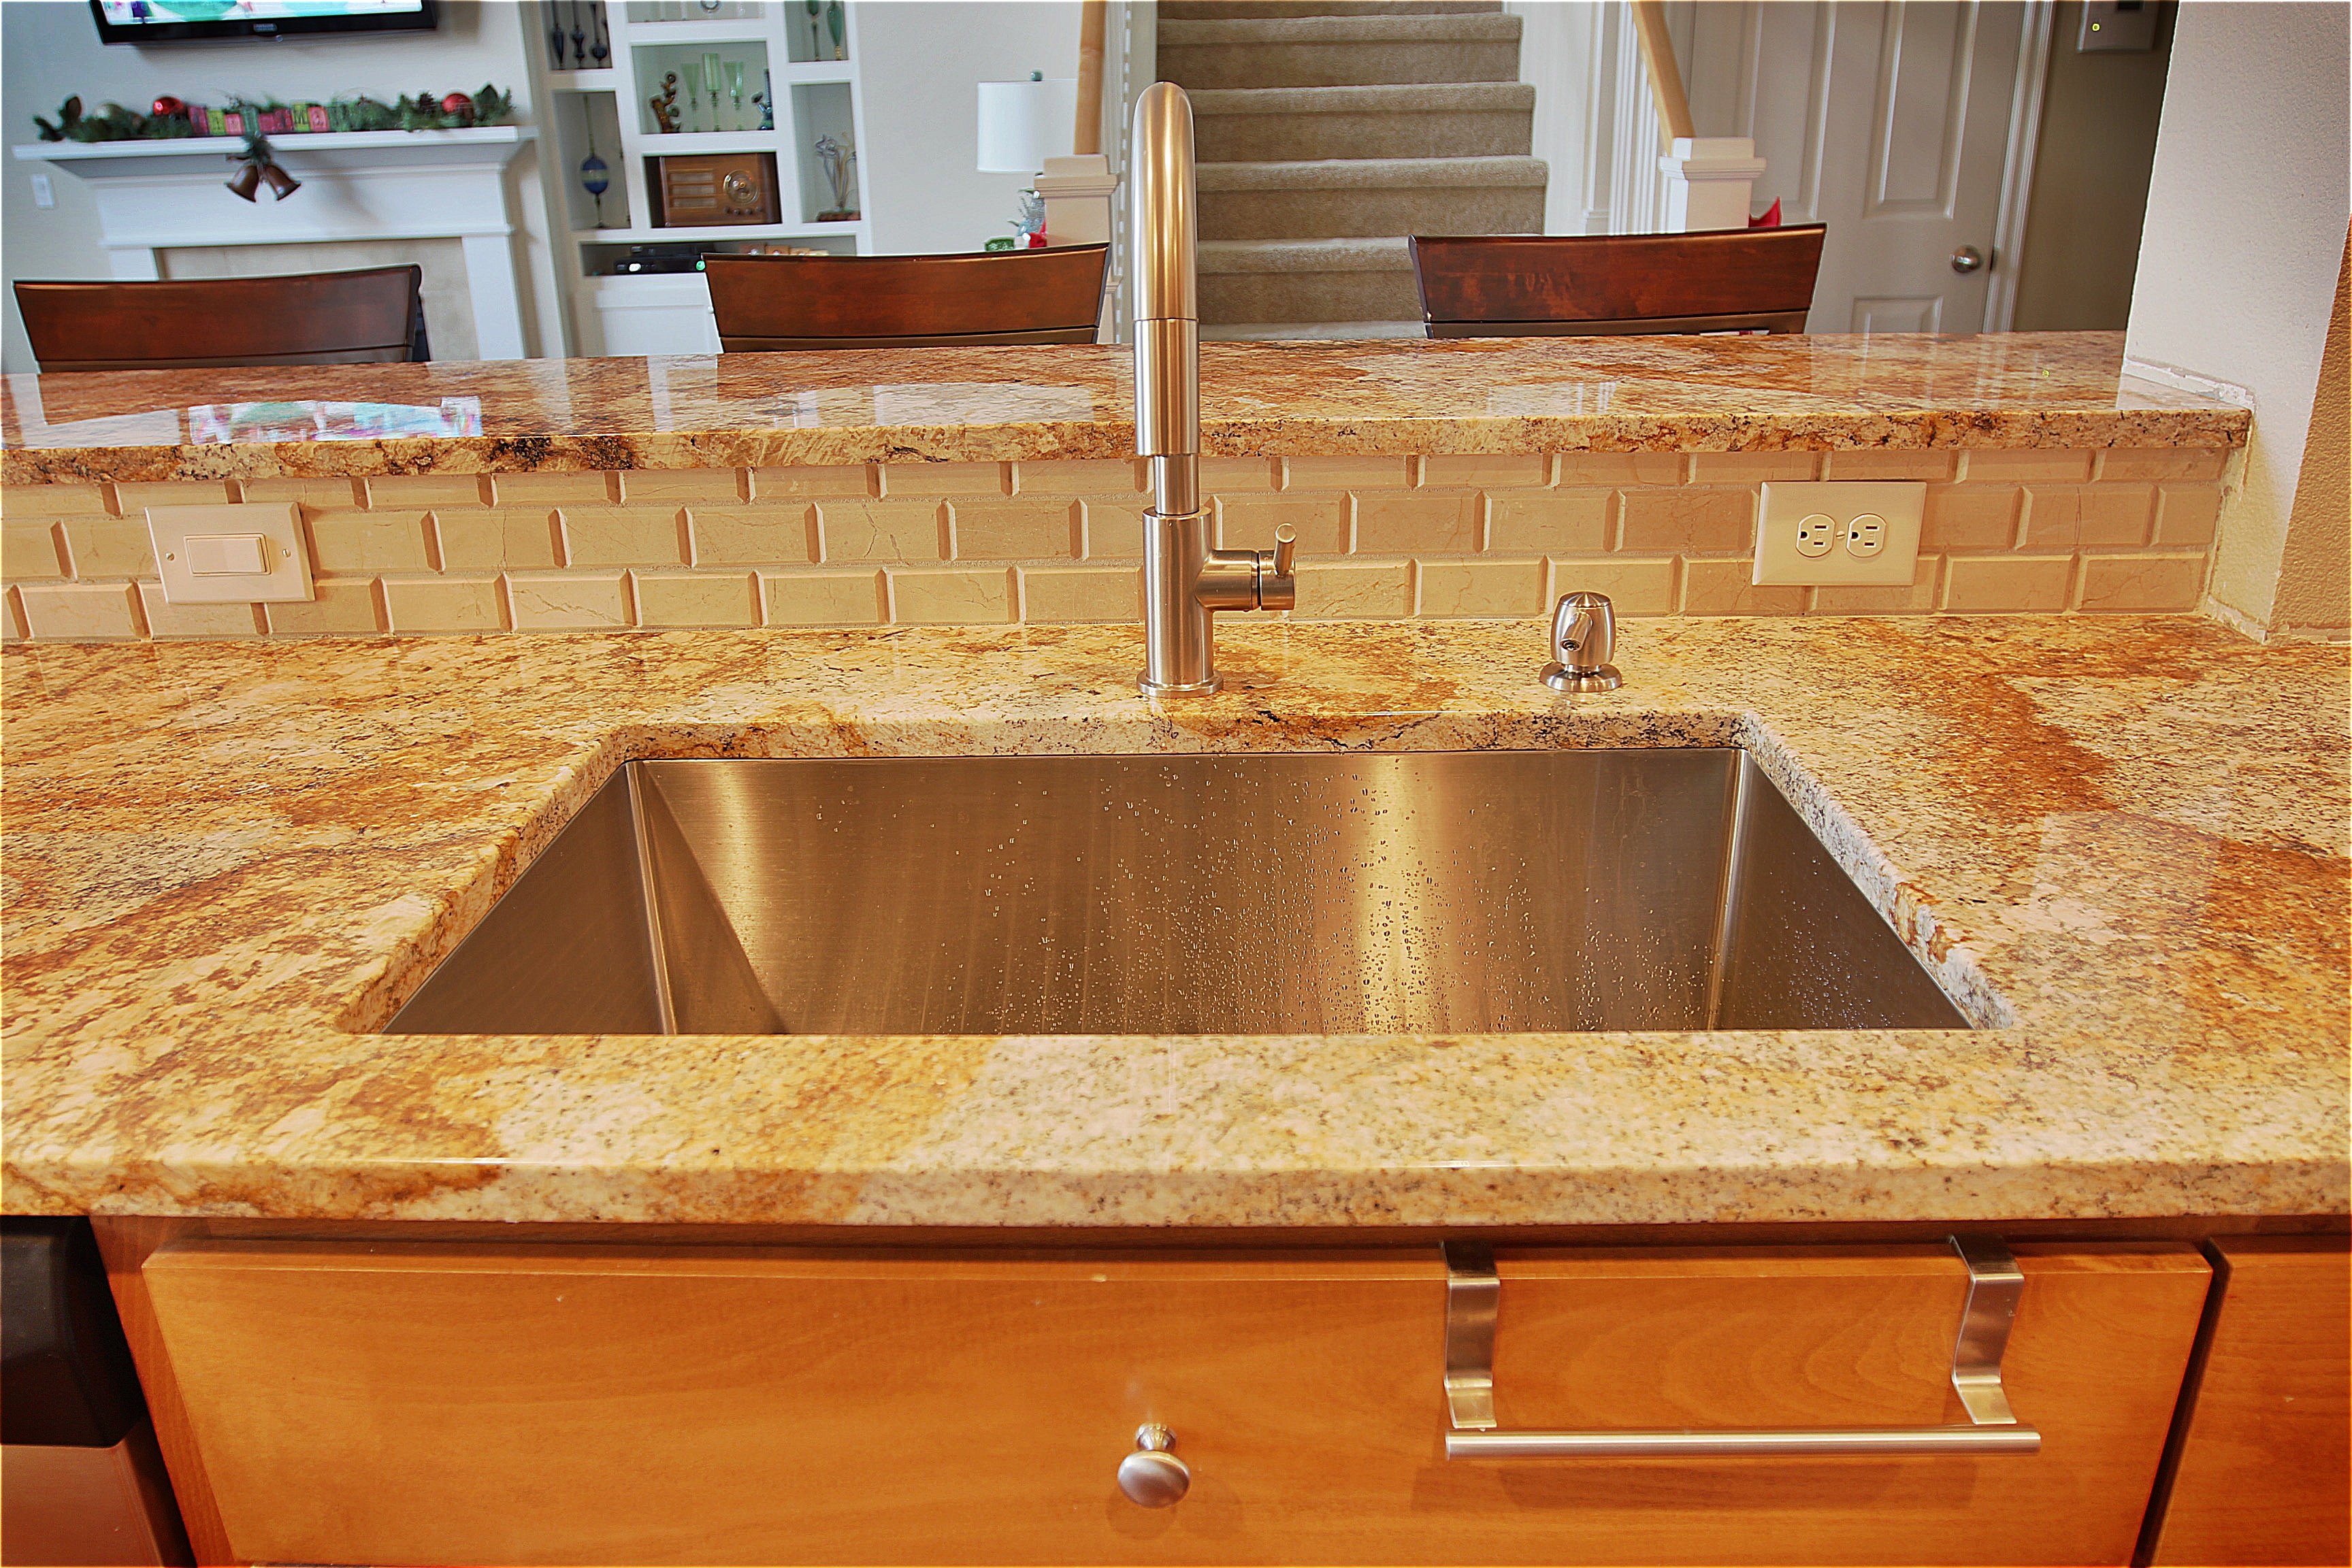
Sleek and Modern Look
 Another reason to install an
undermount RV kitchen sink
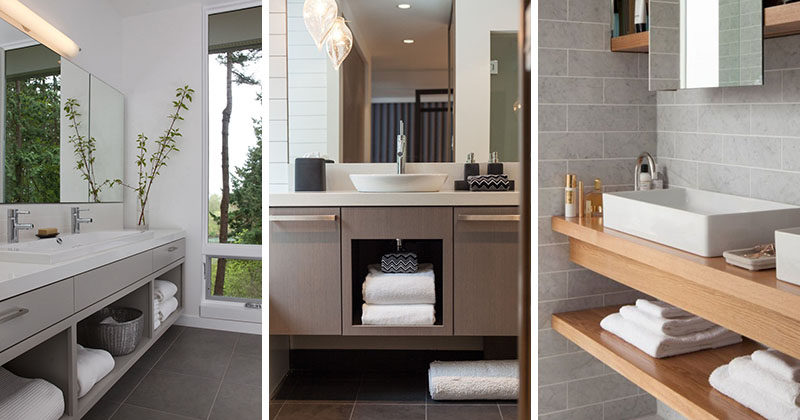
is for its sleek and modern look. The edges of the sink are hidden, giving a seamless and clean appearance to the countertop. This adds a touch of sophistication to your RV kitchen and can make it feel more like a home.
Another reason to install an
undermount RV kitchen sink
is for its sleek and modern look. The edges of the sink are hidden, giving a seamless and clean appearance to the countertop. This adds a touch of sophistication to your RV kitchen and can make it feel more like a home.
Ease of Cleaning
 Cleaning an undermount sink is much easier compared to a traditional top-mount sink. With no edges or crevices, there are fewer places for dirt and grime to accumulate. Plus, the lack of edges also makes wiping down the countertop a breeze. This is especially helpful in an RV where space is limited and you want to keep things clean and tidy.
Added Value to Your RV
 Installing an
undermount RV kitchen sink
can also add value to your RV. If you ever decide to sell or upgrade your RV, having a modern and updated kitchen can make a big difference. Undermount sinks are becoming increasingly popular in homes and having one in your RV can make it stand out to potential buyers.
Installing an
undermount RV kitchen sink
can also add value to your RV. If you ever decide to sell or upgrade your RV, having a modern and updated kitchen can make a big difference. Undermount sinks are becoming increasingly popular in homes and having one in your RV can make it stand out to potential buyers.
Easy Installation
 Many RV owners worry about the installation process of upgrading their kitchen sink. However, installing an undermount sink is actually quite simple and can be done by most DIY enthusiasts. With the right tools and instructions, you can have your new sink up and running in no time.
In conclusion, choosing an undermount RV kitchen sink is a smart and practical decision for any RV owner. It not only saves space but also adds a modern and sophisticated touch to your kitchen. With easy installation and added value to your RV, it's a worthwhile investment. So why wait? Upgrade your RV kitchen today with an undermount sink and enjoy all the benefits it has to offer.
Many RV owners worry about the installation process of upgrading their kitchen sink. However, installing an undermount sink is actually quite simple and can be done by most DIY enthusiasts. With the right tools and instructions, you can have your new sink up and running in no time.
In conclusion, choosing an undermount RV kitchen sink is a smart and practical decision for any RV owner. It not only saves space but also adds a modern and sophisticated touch to your kitchen. With easy installation and added value to your RV, it's a worthwhile investment. So why wait? Upgrade your RV kitchen today with an undermount sink and enjoy all the benefits it has to offer.