If you're looking to revamp your bathroom and add a touch of elegance, a DIY bathroom vanity is a great place to start. But no vanity is complete without a toe kick – that small, recessed space at the bottom that gives it a polished look. So, if you're wondering how to install a toe kick on your DIY bathroom vanity, we've got you covered. Follow our step-by-step guide for a professional finish that will have your guests asking for your design secrets.DIY Bathroom Vanity Installation: How to Install a Toe Kick
The first step to installing a toe kick is to ensure that you have all the necessary tools and materials. You will need your chosen vanity, a toe kick kit, a saw, a drill, screws, and a measuring tape. Once you have everything ready, follow these simple steps:How to Install a Bathroom Vanity Toe Kick
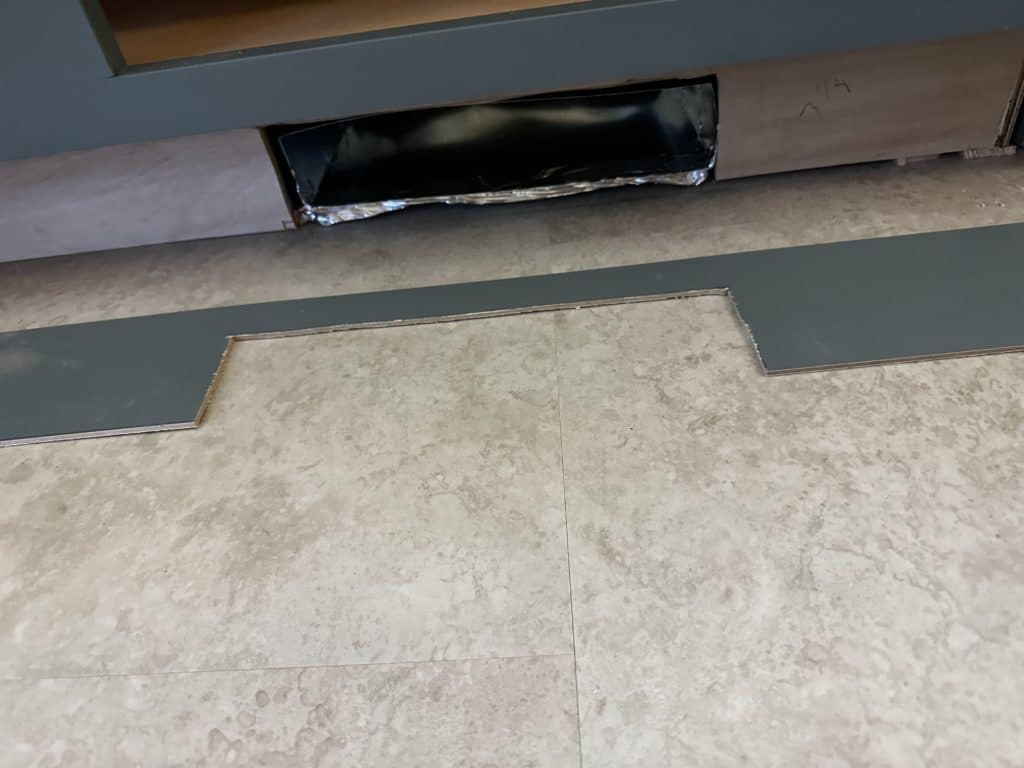
Start by measuring the space between the bottom of your vanity and the floor. This will determine the size of your toe kick. Make sure to measure accurately to avoid any gaps or overlaps.Step 1: Measure the Space
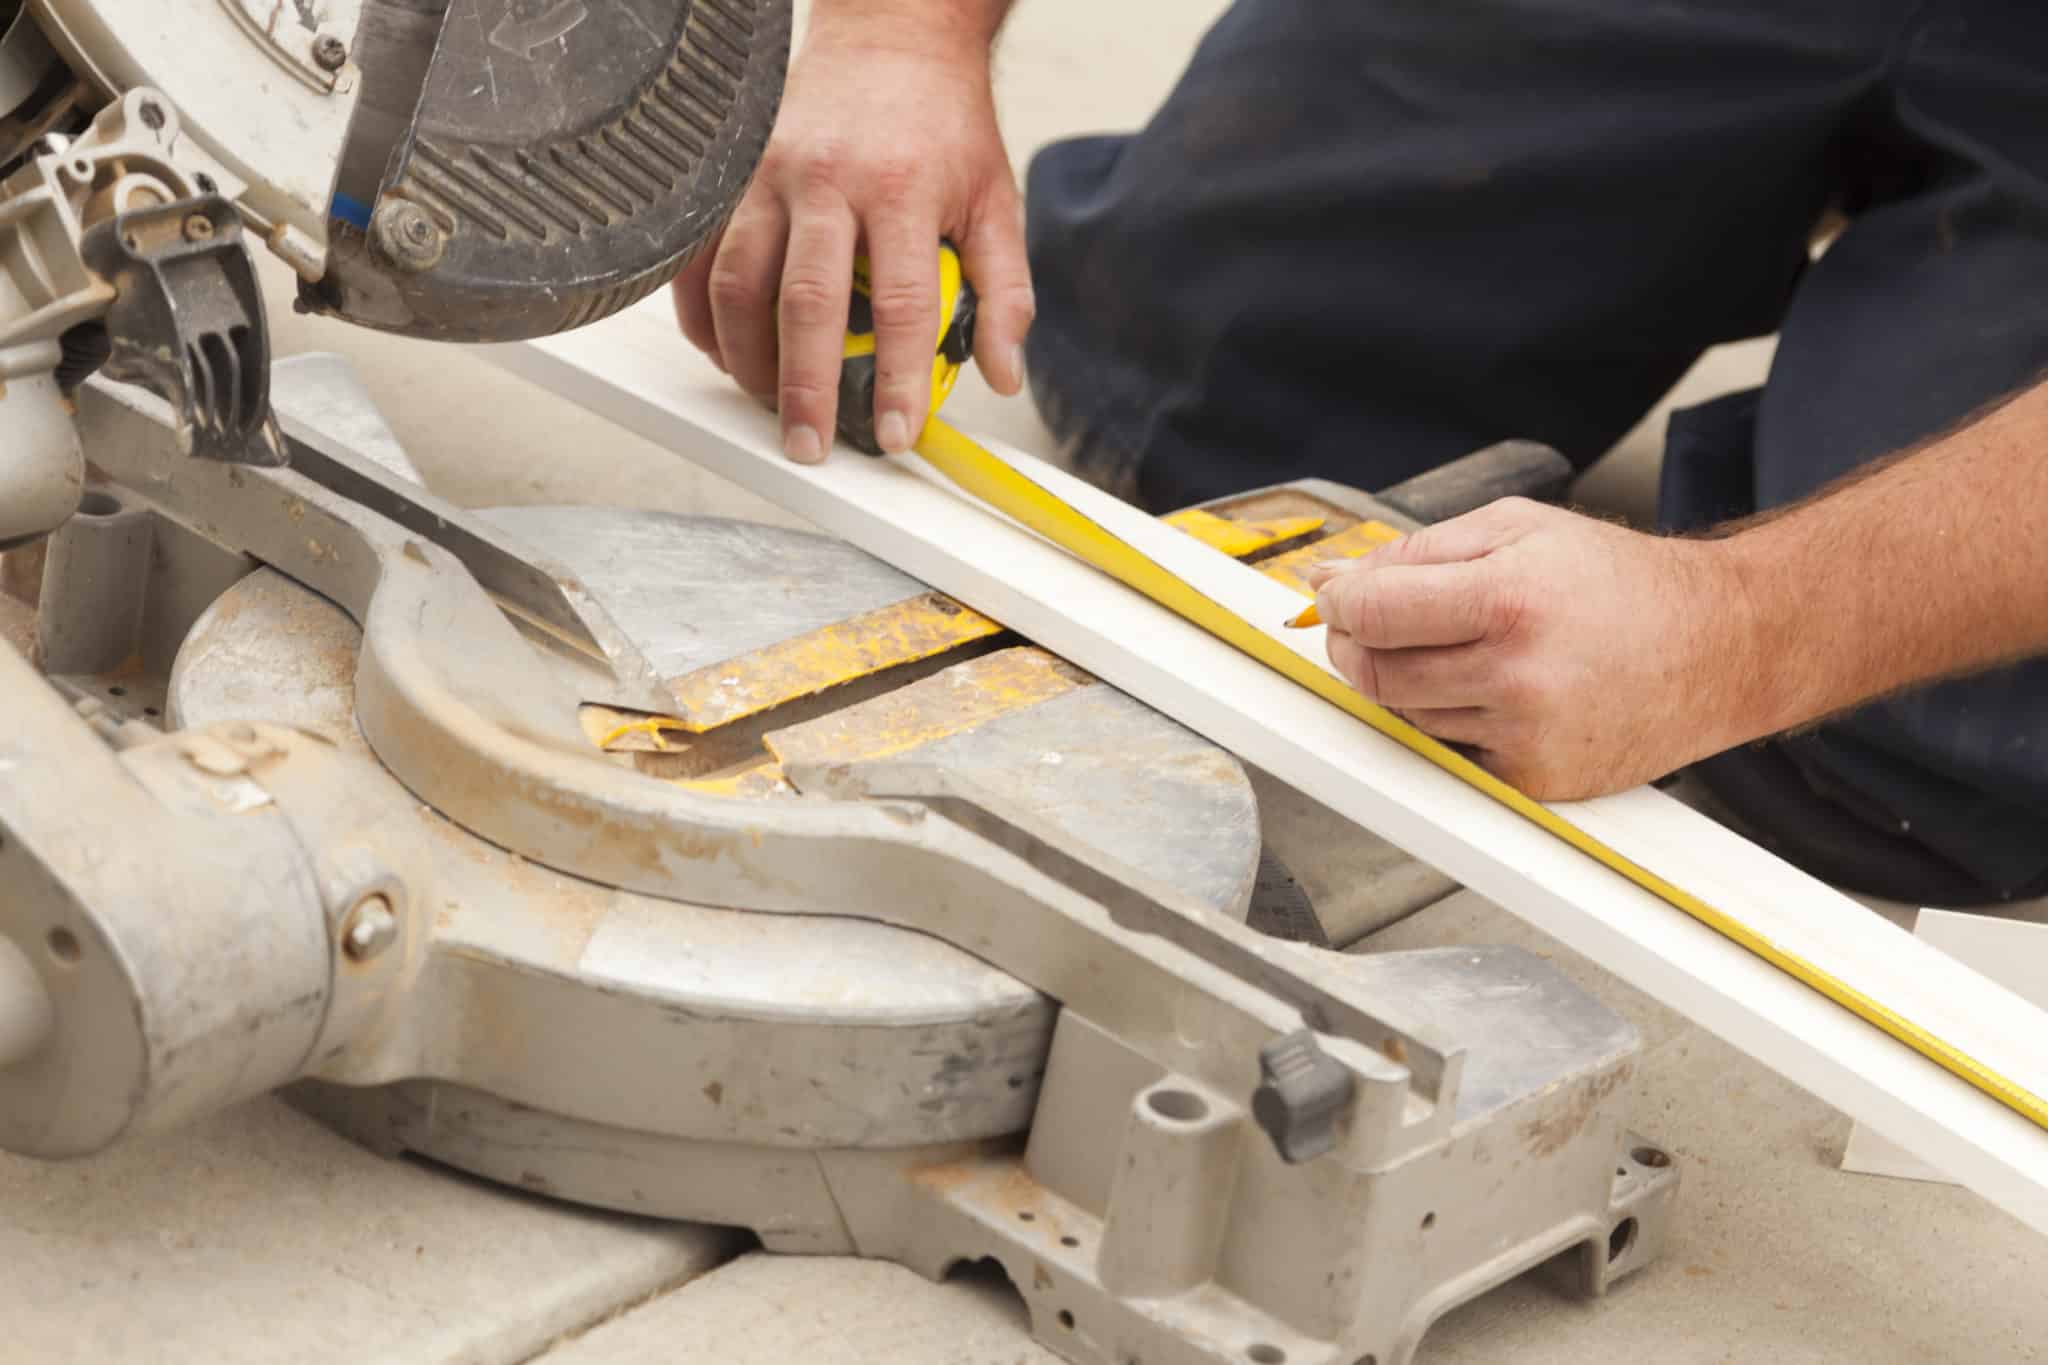
Using a saw, cut the toe kick to the desired size. Take your time with this step to ensure a clean and precise cut.Step 2: Cut the Toe Kick
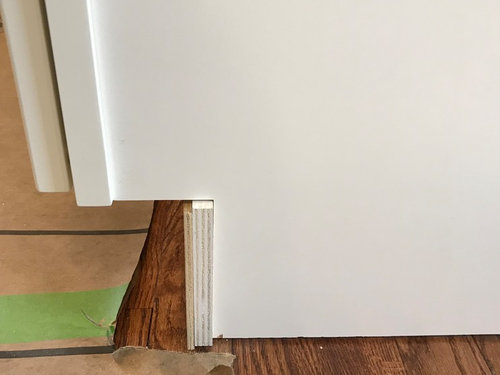
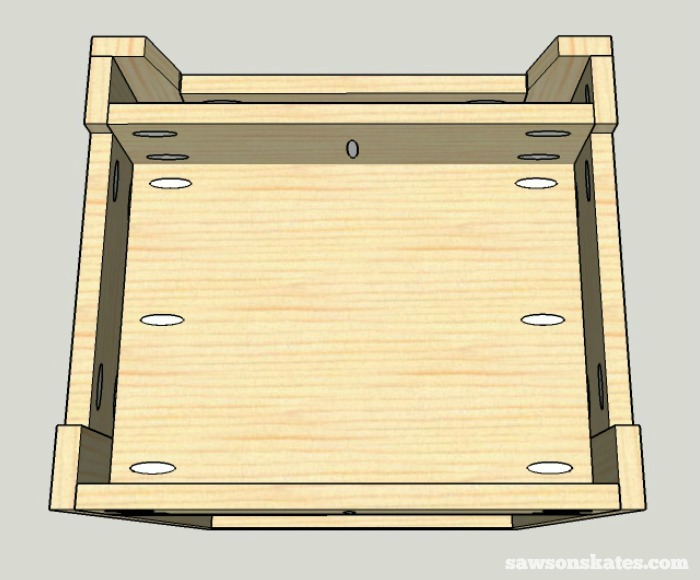
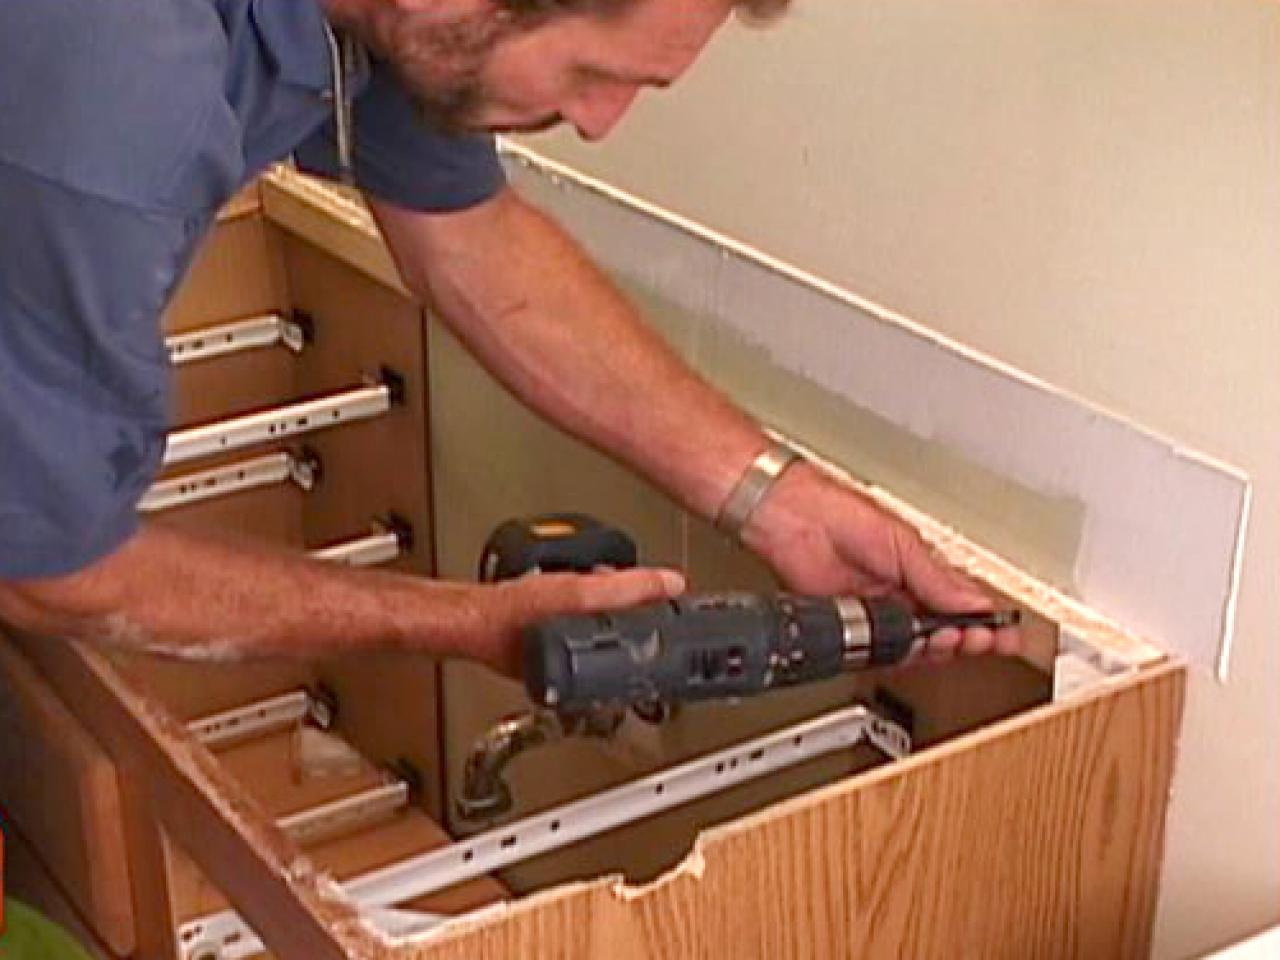
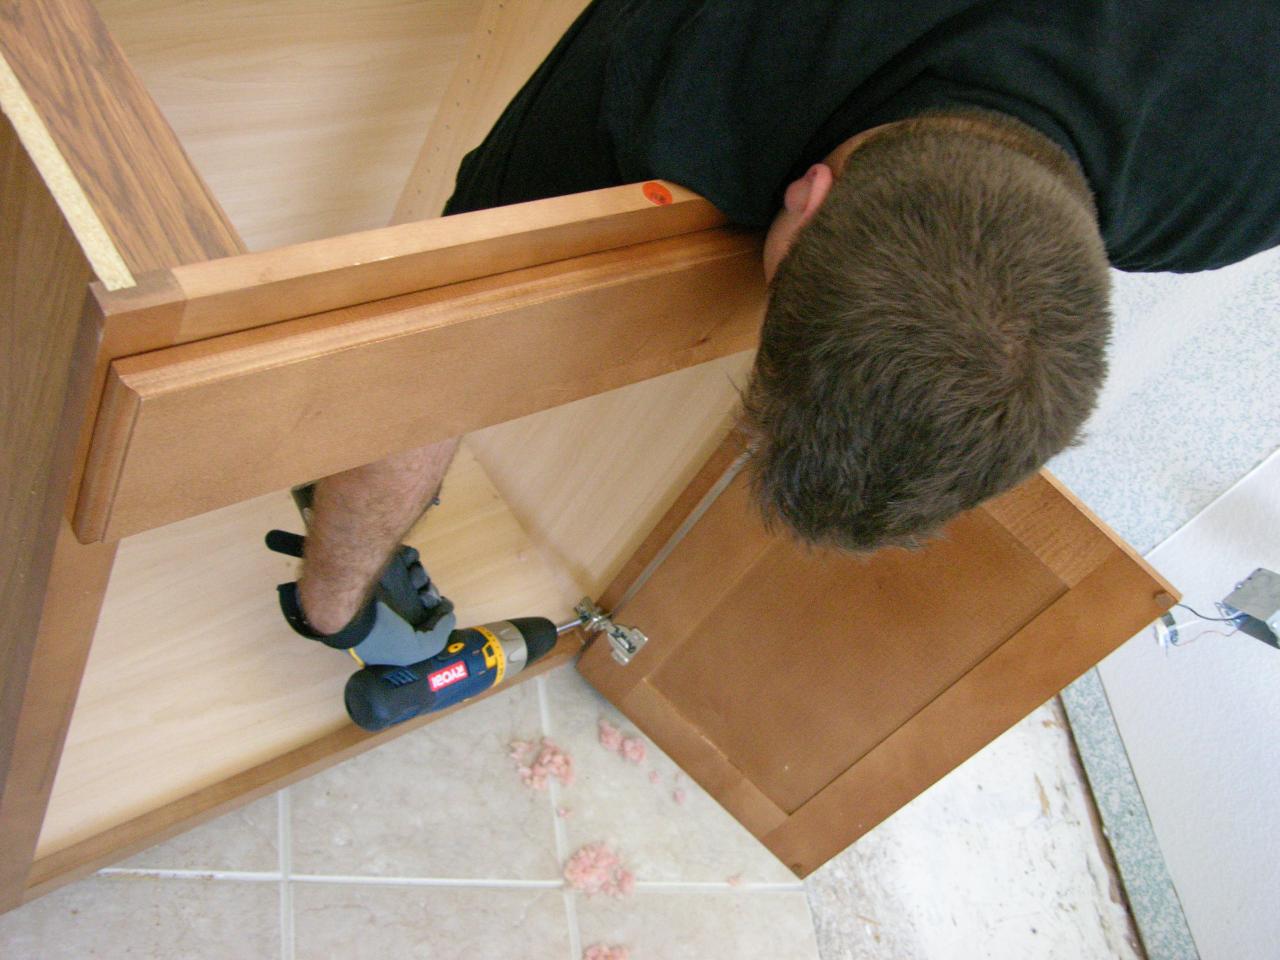
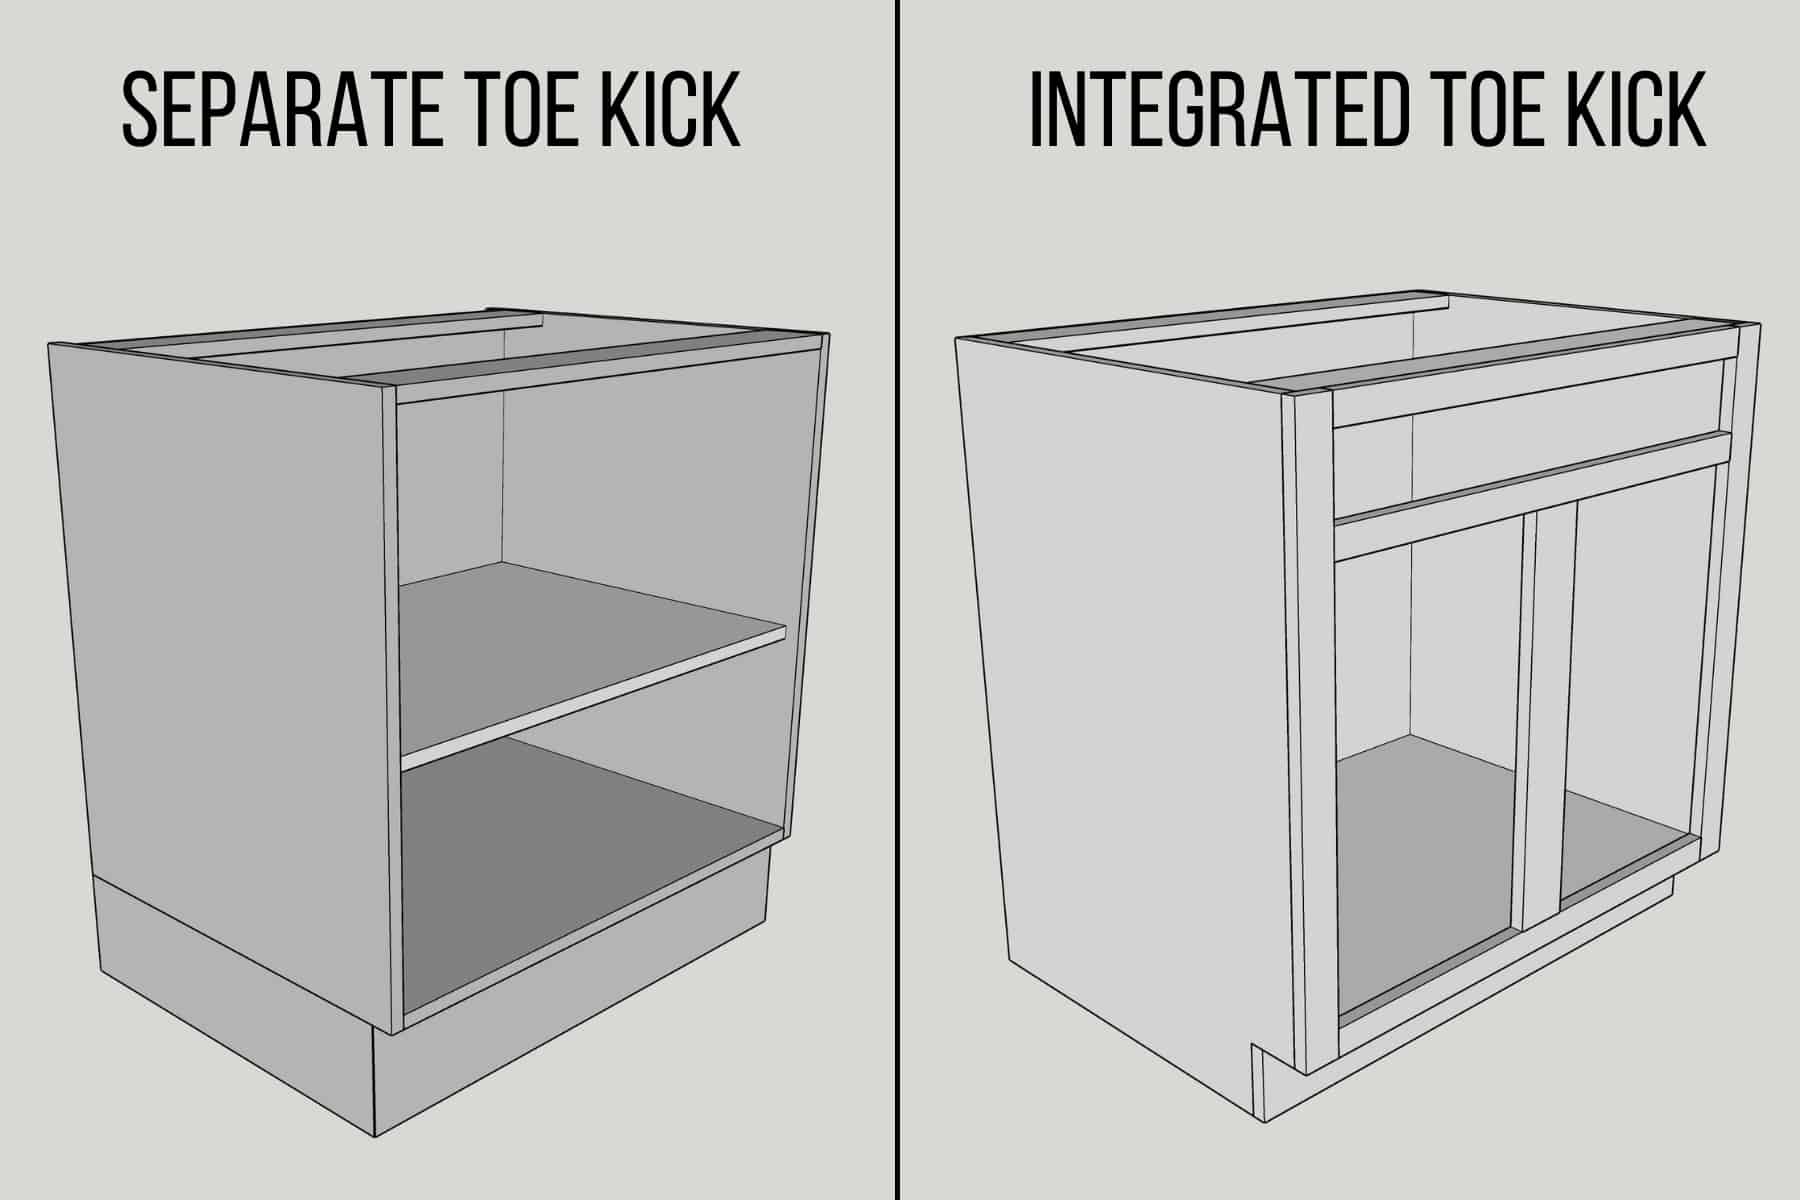
Next, attach the toe kick bracket to the bottom of your vanity using screws and a drill. This will support the toe kick and keep it in place.Step 3: Install the Toe Kick Bracket
Place the toe kick on top of the bracket and secure it with screws. Make sure to line it up properly and check for any gaps or overlaps.Step 4: Attach the Toe Kick
If your toe kick is too long or wide, use a saw to trim it down to the desired size. Again, take your time and make sure to measure accurately.Step 5: Trim the Toe Kick
To give your toe kick a smooth and professional finish, use a file or sandpaper to smooth out any rough edges.Step 6: Finish the Edges
Now that your toe kick is installed, you can choose to paint or stain it to match your vanity or bathroom décor. This step is optional but can add a nice touch to the overall look of your vanity.Step 7: Paint or Stain
Installing a toe kick on your DIY bathroom vanity may seem like a daunting task, but with the right tools and our easy tutorial, it can be a breeze. Just follow these simple steps and you'll have a professional-looking vanity in no time.Easy DIY Bathroom Vanity Toe Kick Installation Tutorial
Why Install a Toe Kick on Your DIY Bathroom Vanity?

Enhance Functionality and Comfort
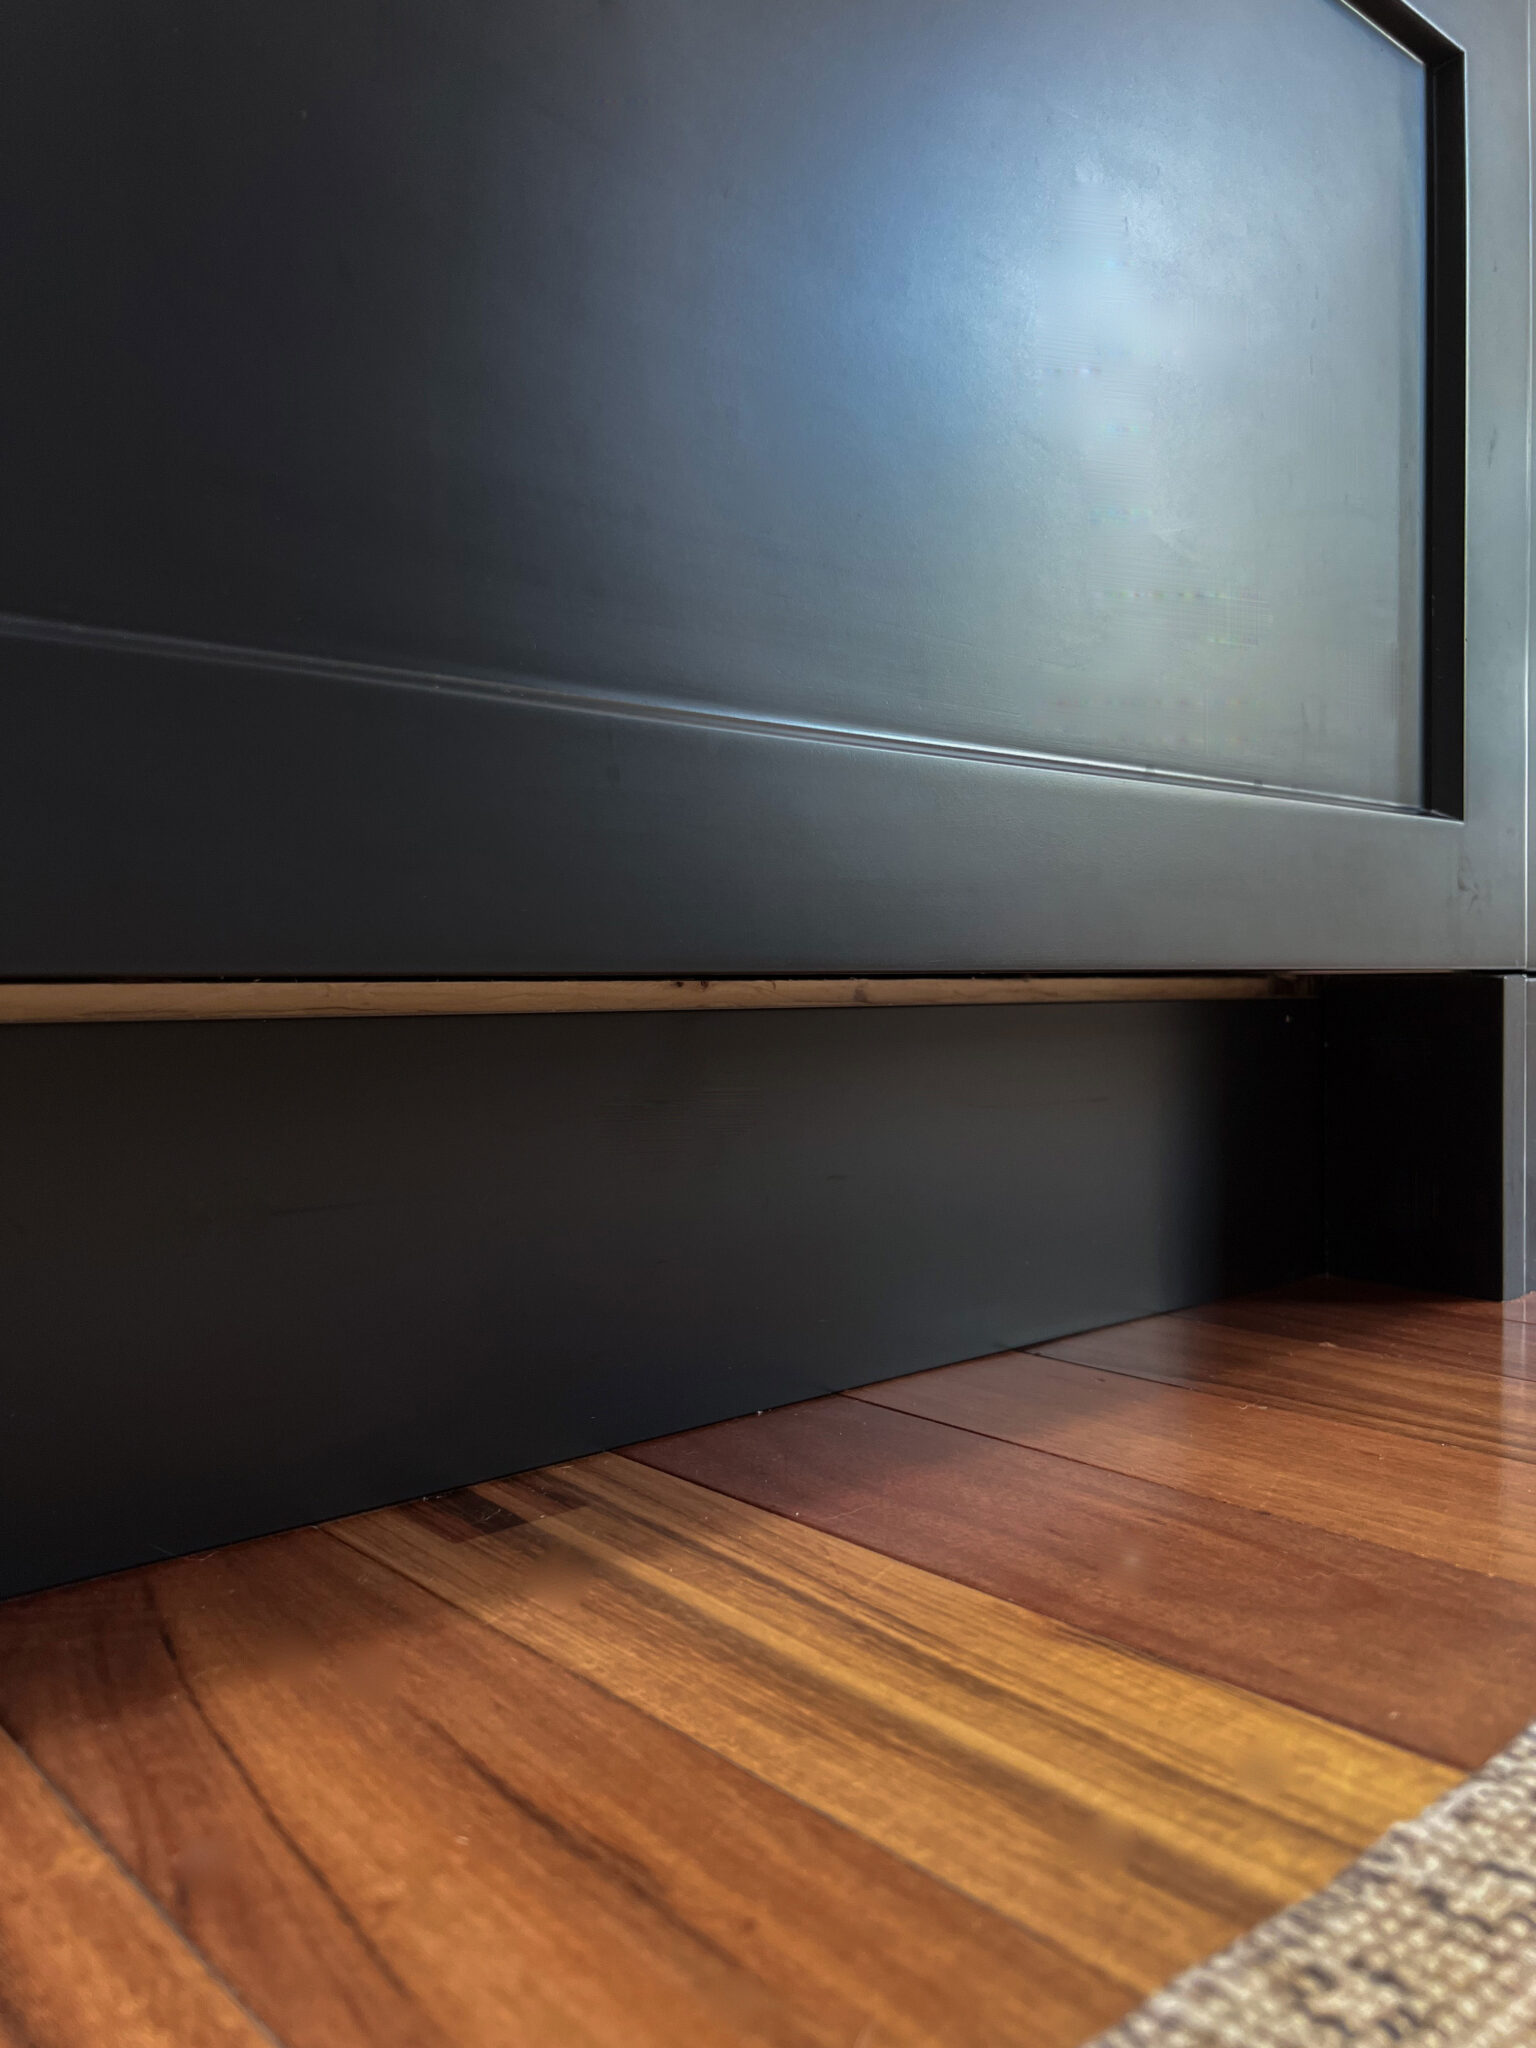
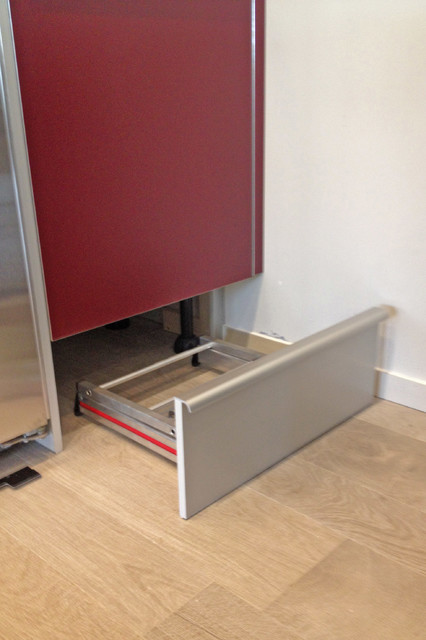
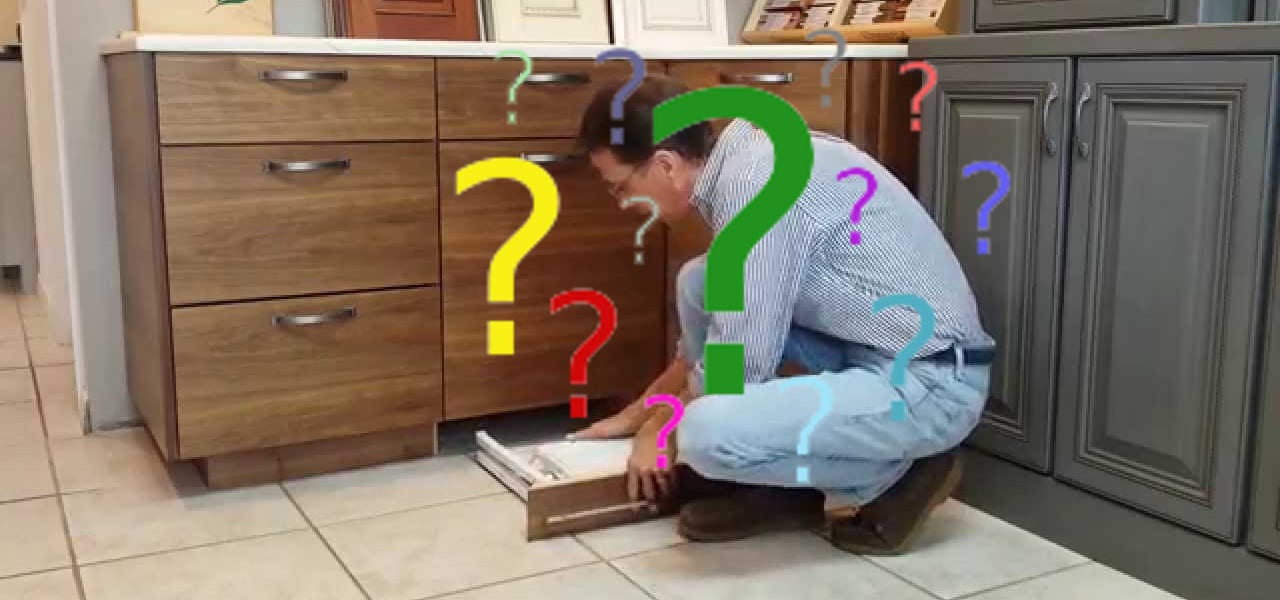
 One of the main reasons to install a toe kick on your DIY bathroom vanity is to enhance its functionality and comfort. A toe kick is a recessed space at the bottom of your vanity cabinet that allows you to stand closer to the sink without bumping your toes against the cabinet. This makes it easier and more comfortable to use the sink, especially for younger children or individuals with mobility issues. Additionally, the toe kick creates extra storage space under the vanity, making it a practical and functional addition to your bathroom design.
Improve Aesthetics
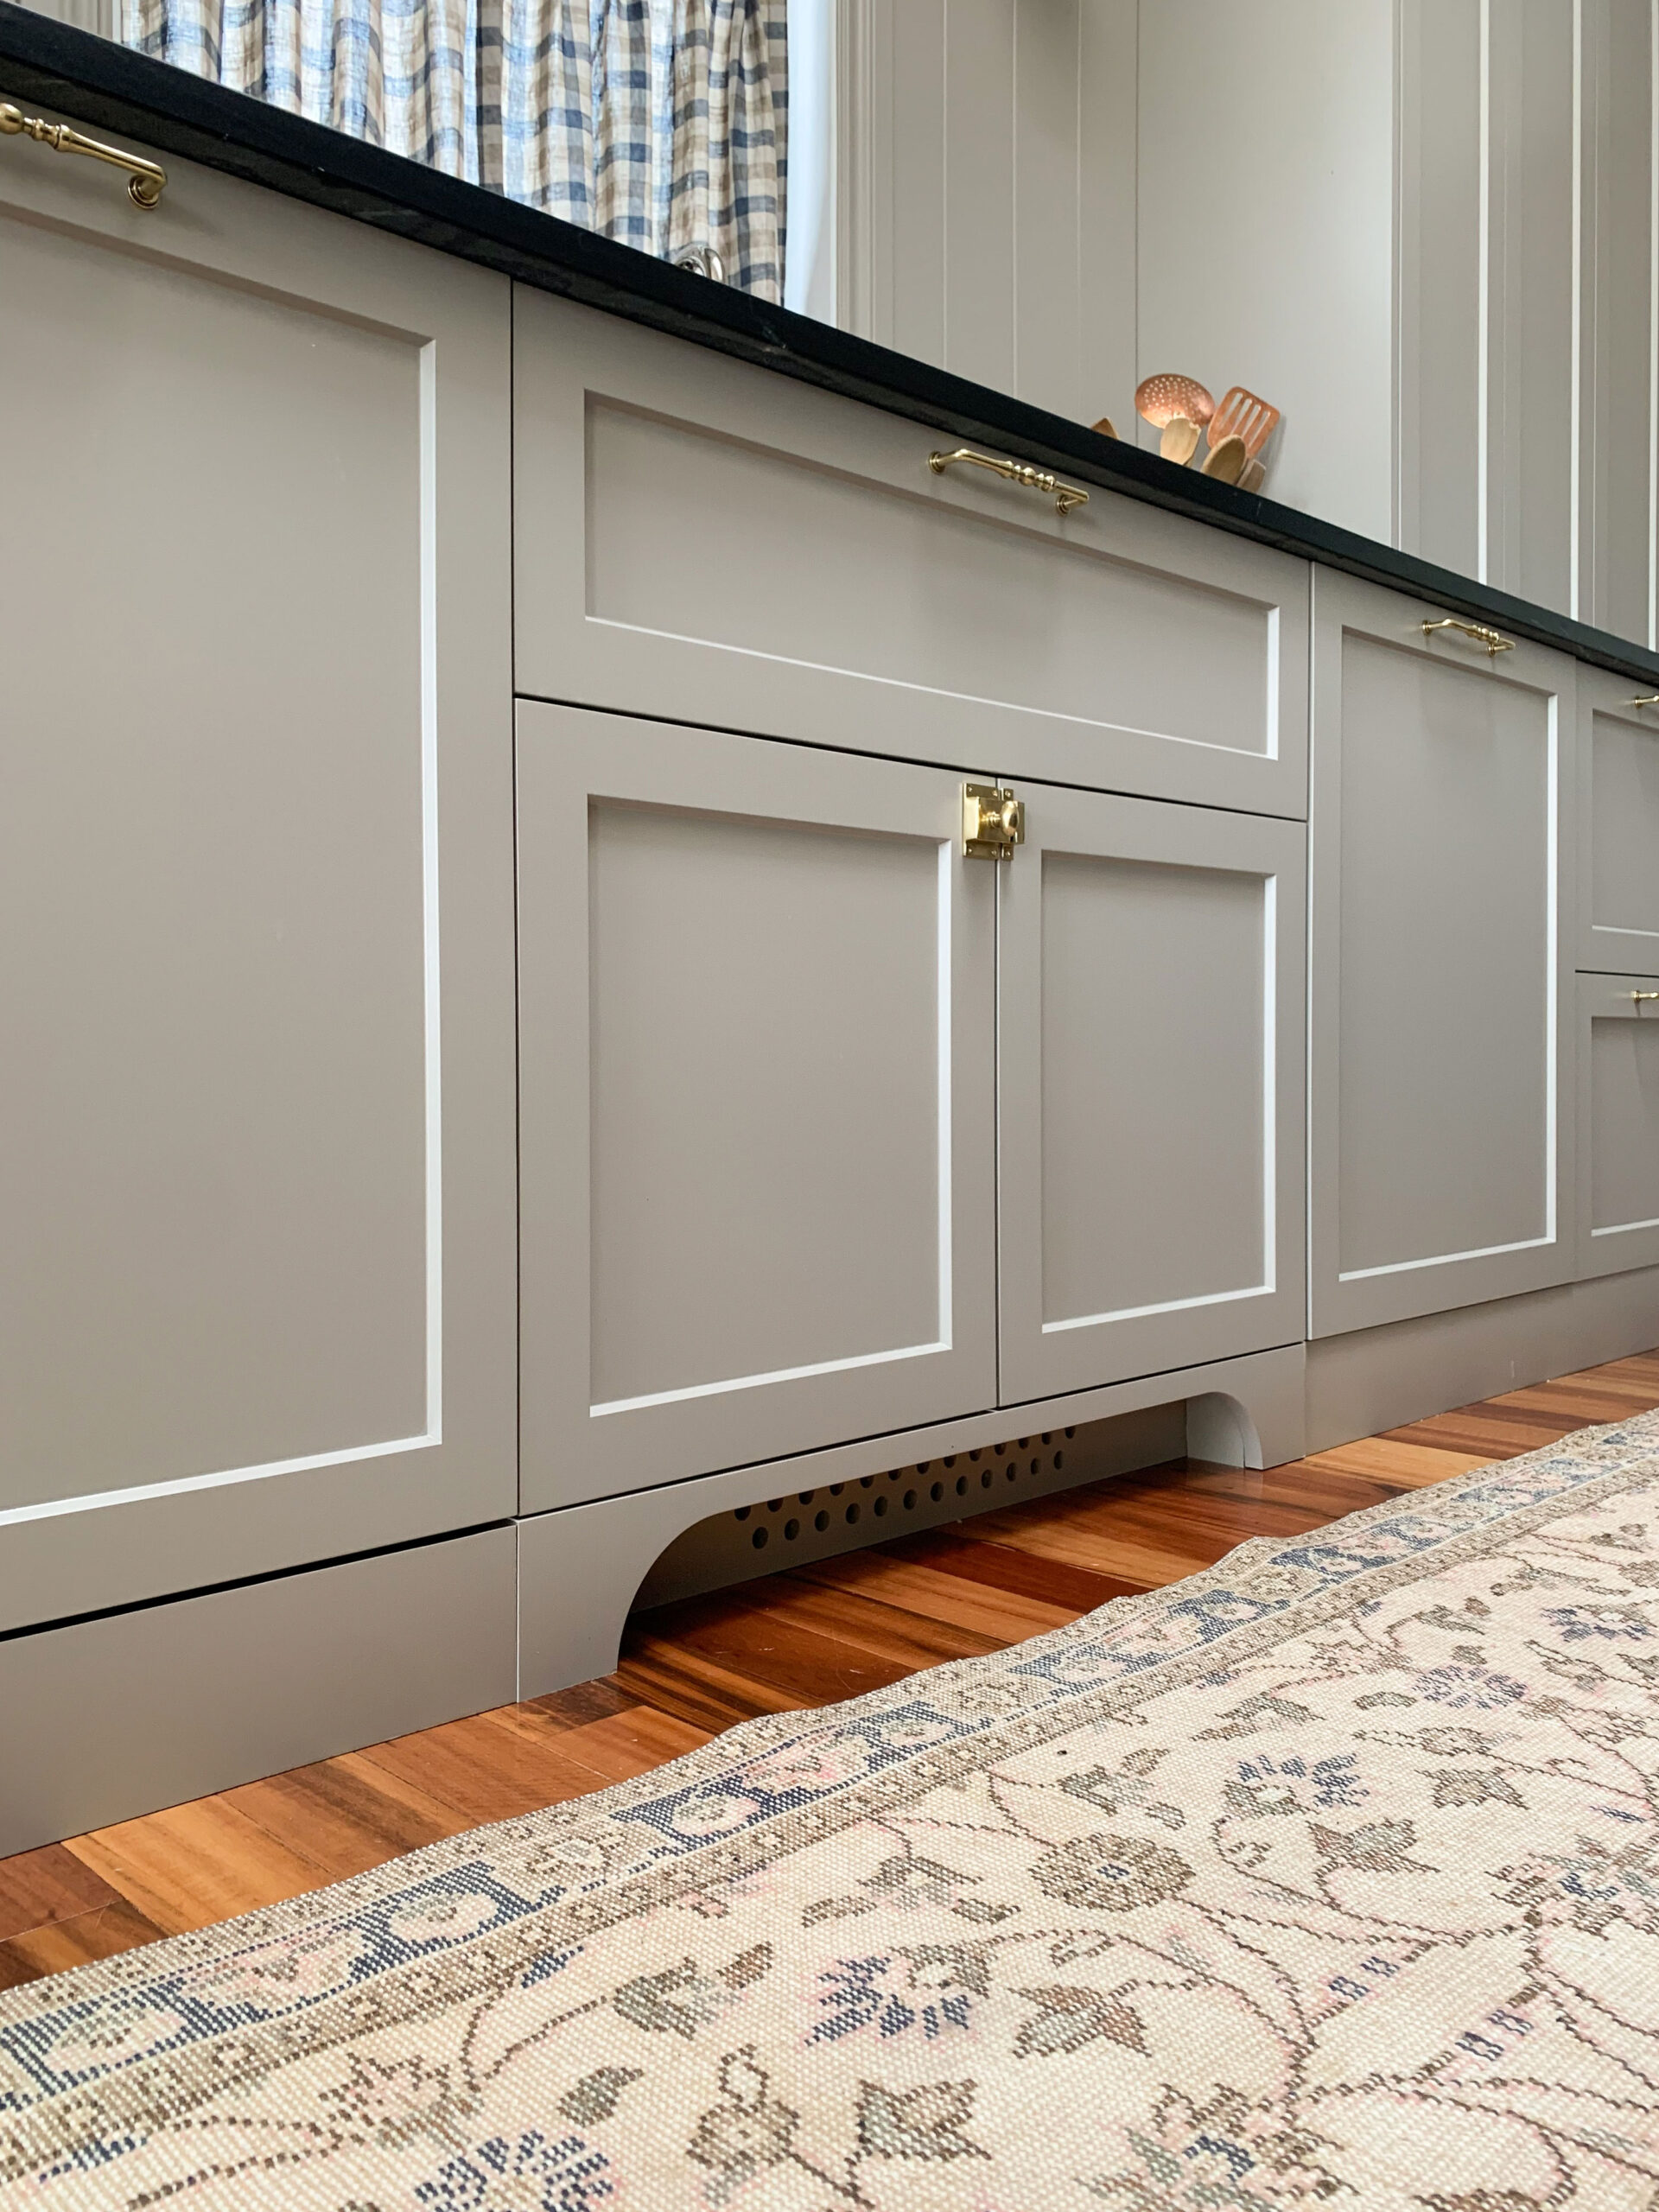
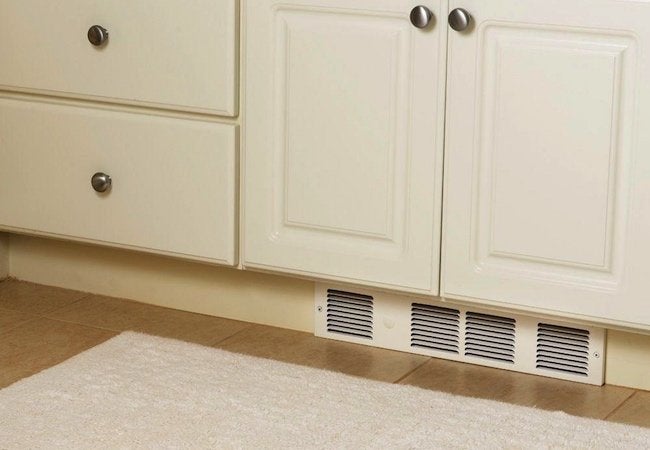
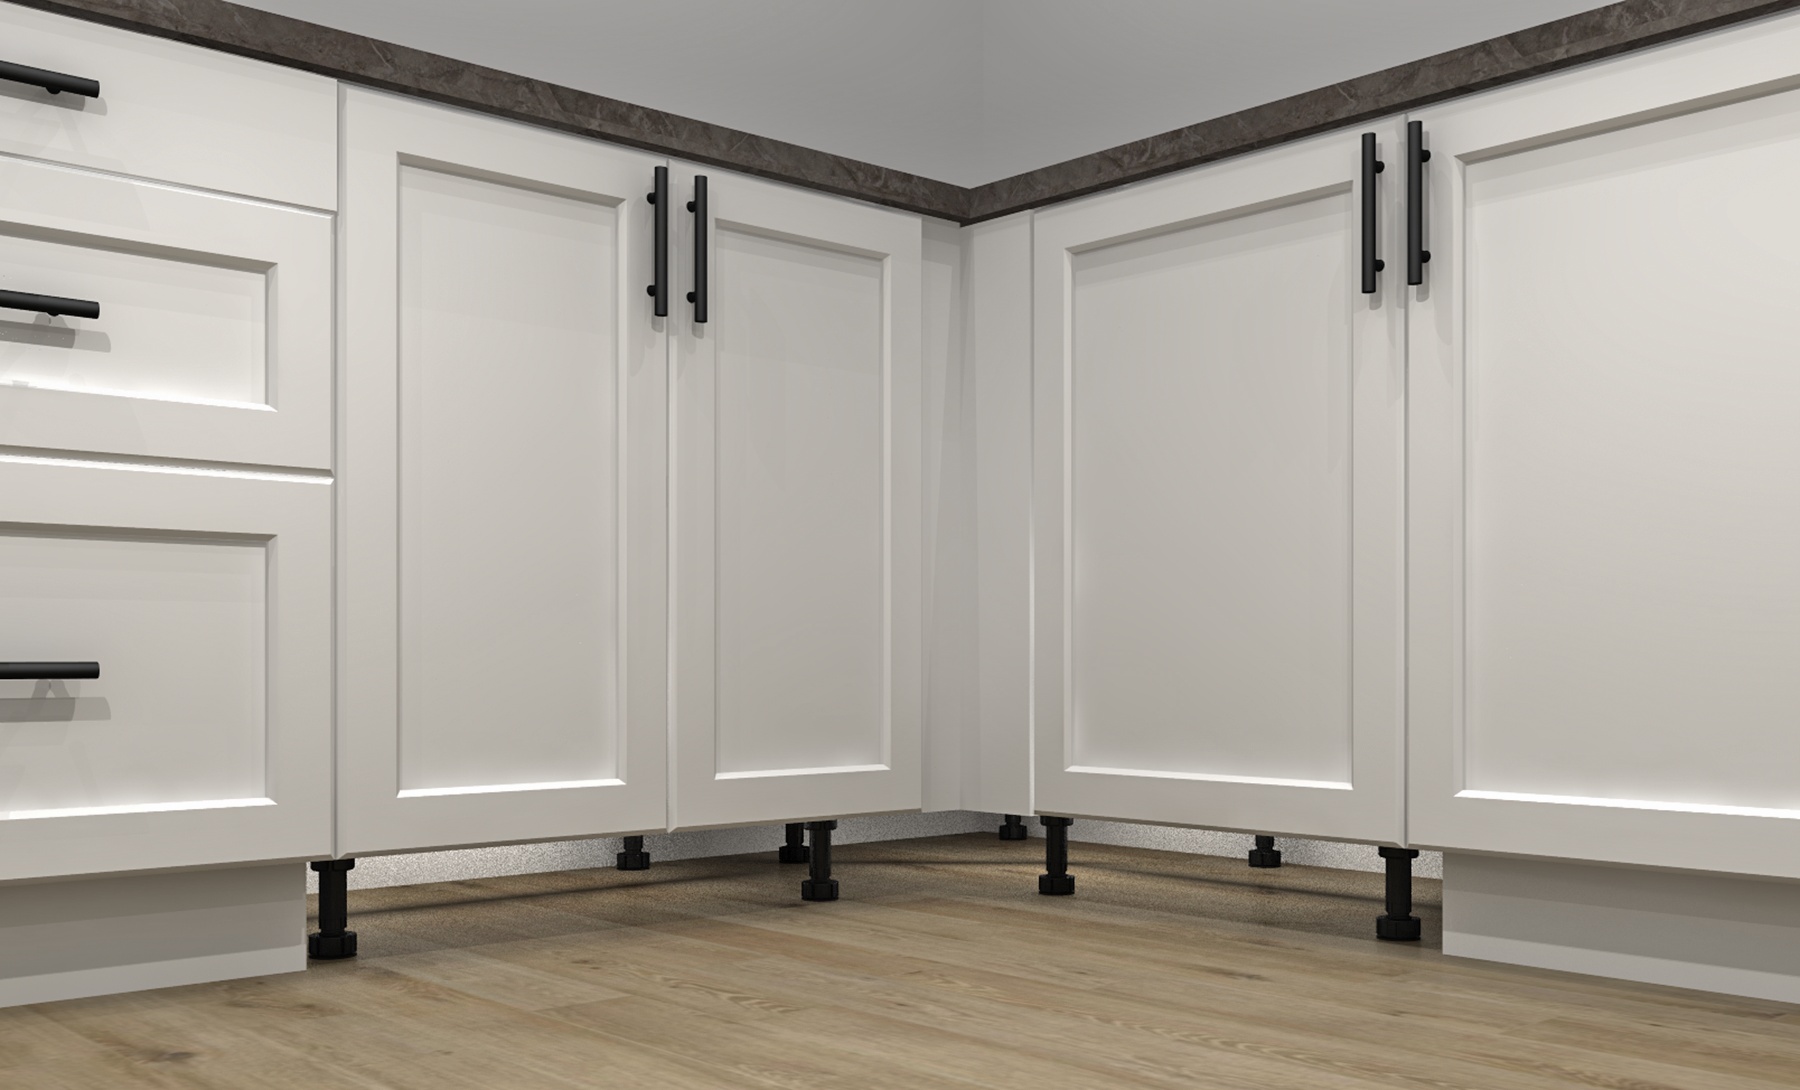
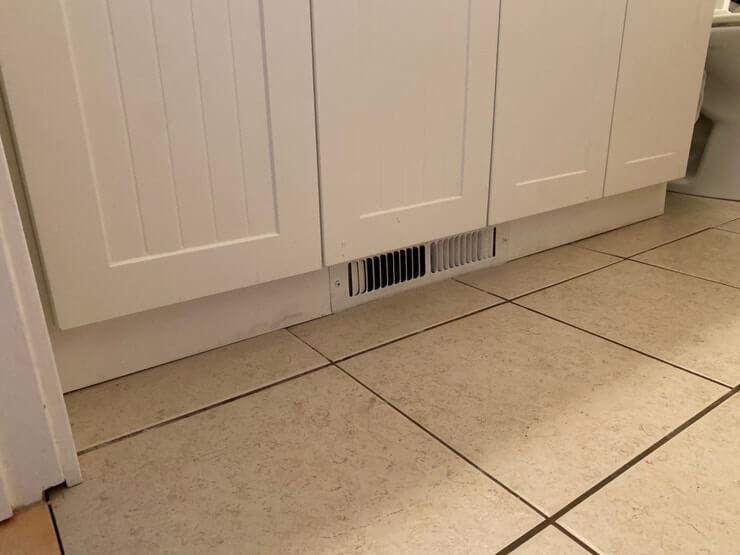
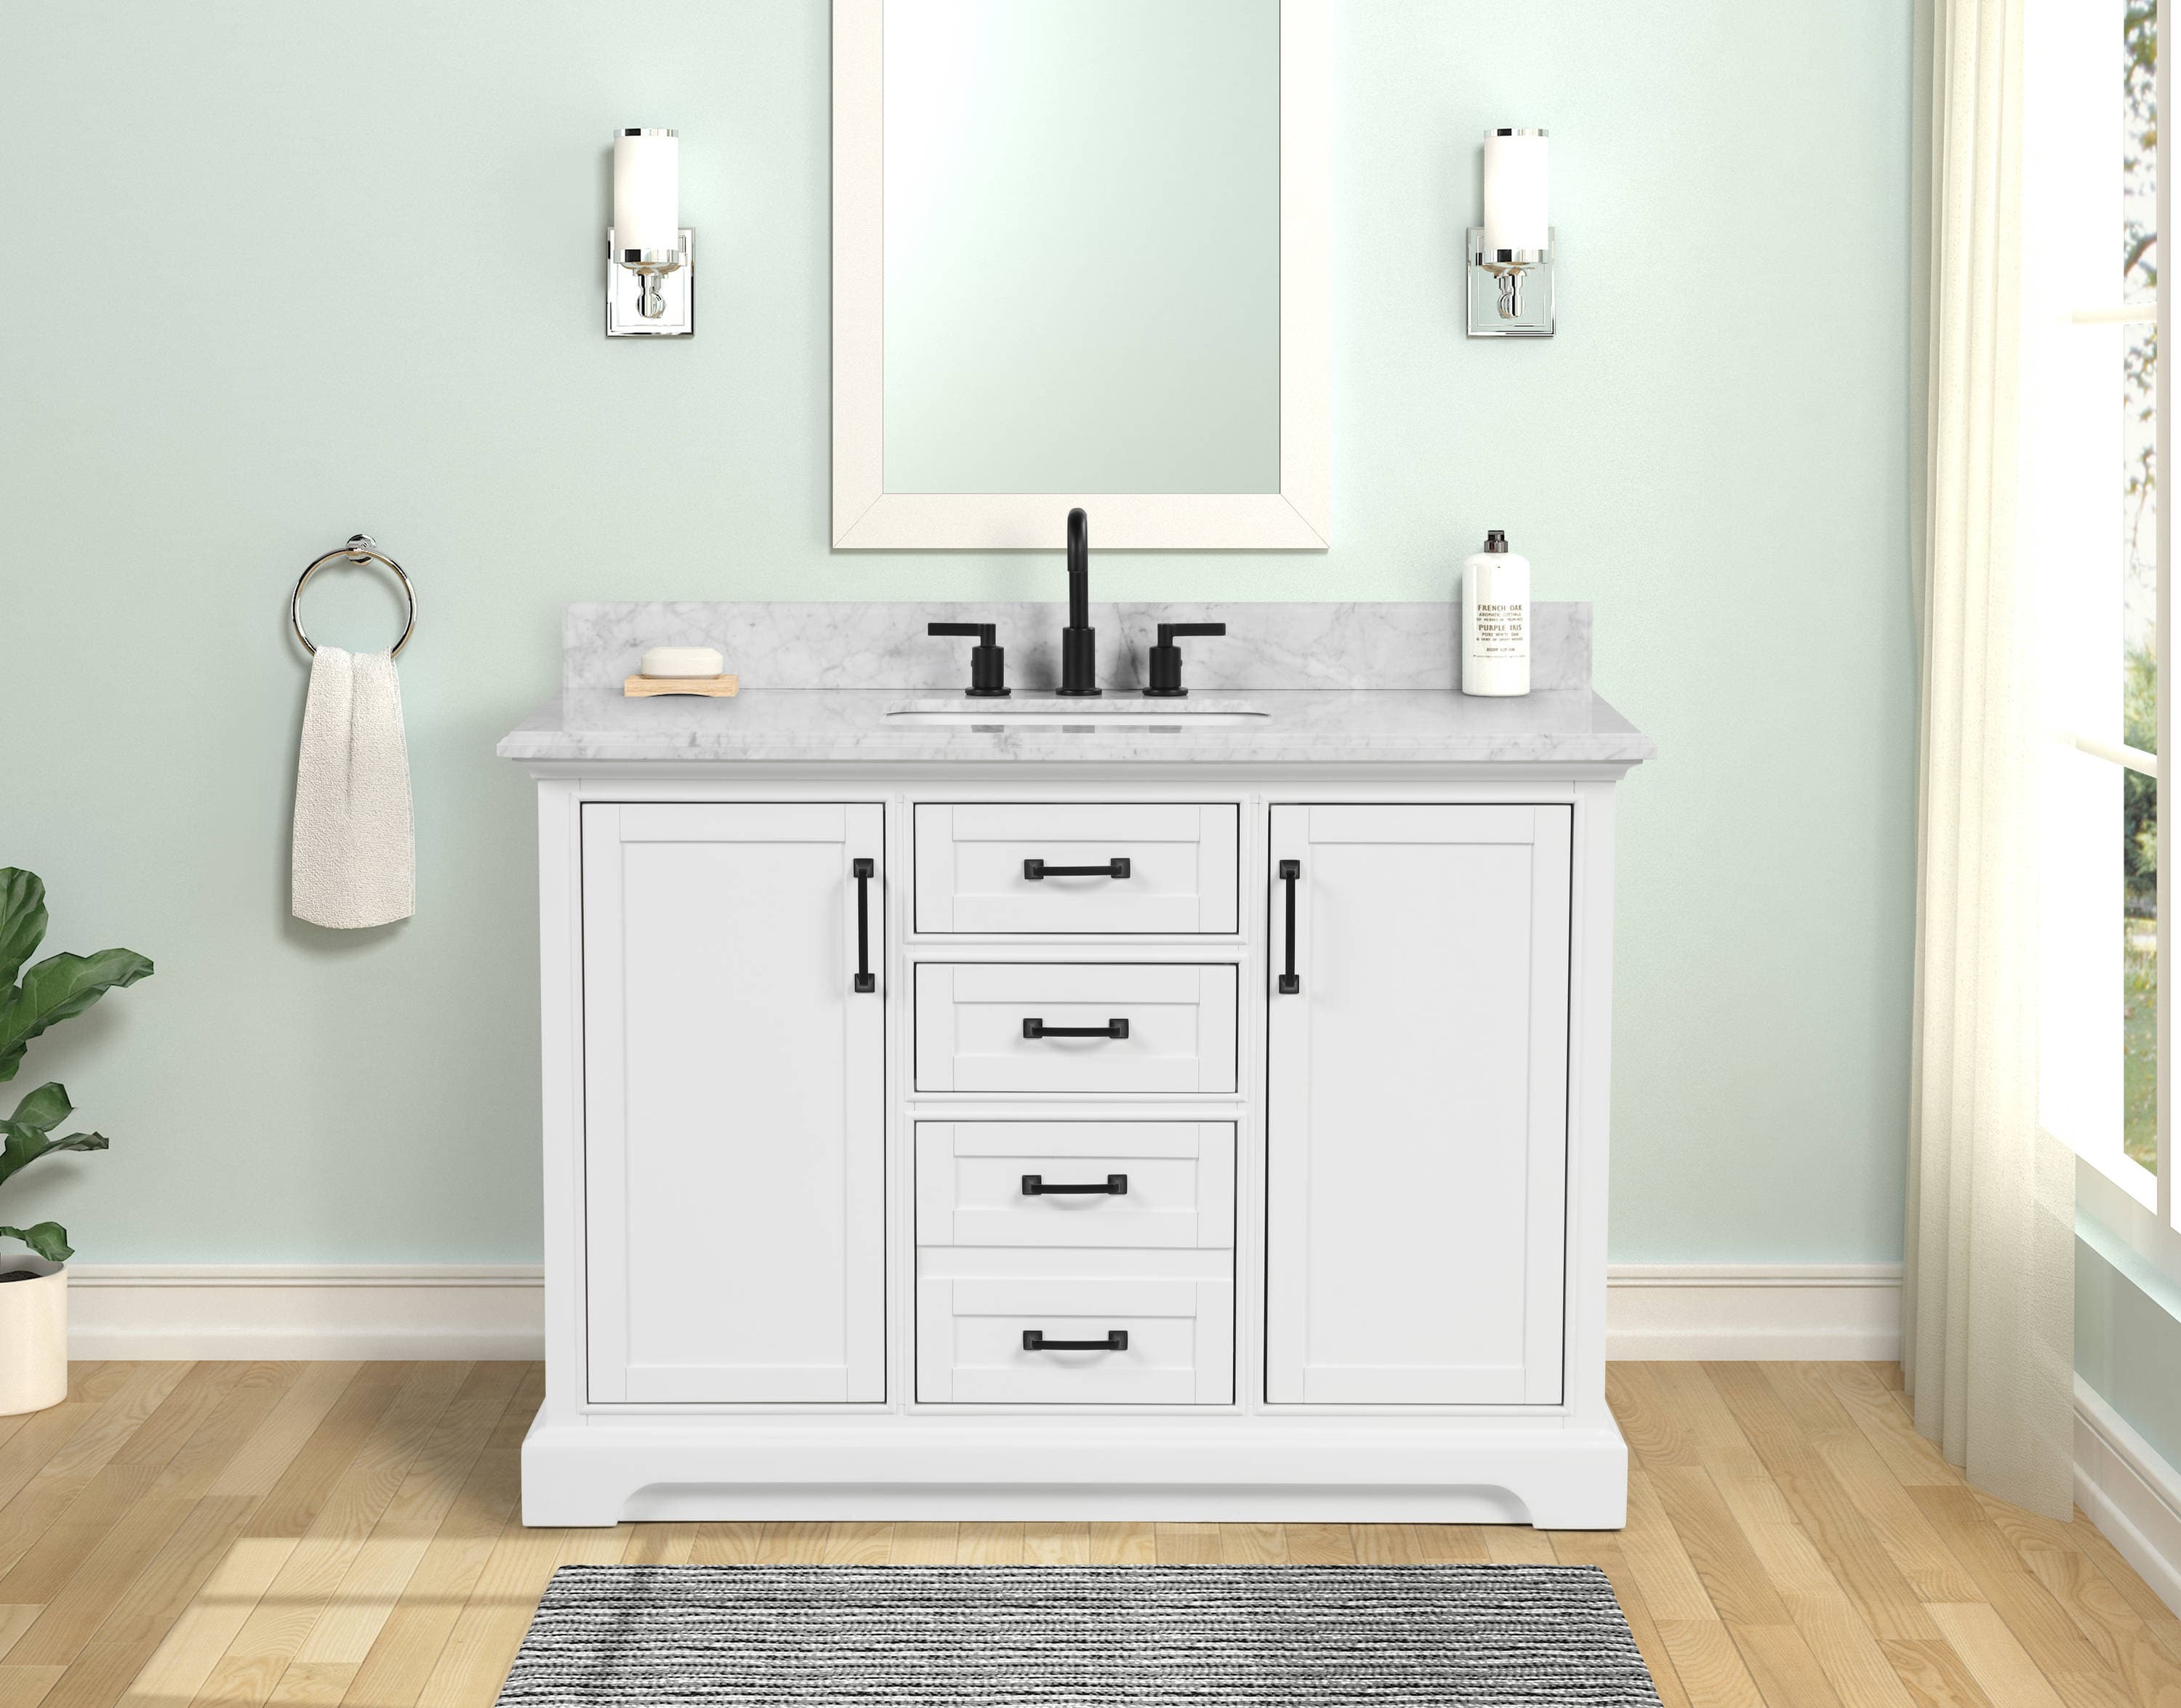
 Not only does a toe kick improve functionality and comfort, but it also adds to the overall aesthetics of your bathroom design. By hiding the cabinet legs and plumbing pipes, a toe kick creates a clean and seamless look. You can even choose to paint or tile the toe kick to match the rest of your bathroom decor, adding a touch of personalization to your vanity. With a toe kick, your DIY bathroom vanity will look more polished and professional.
Protect Against Water Damage
 Another important reason to install a toe kick on your DIY bathroom vanity is to protect it against water damage. Without a toe kick, water can easily seep into the bottom of the cabinet, causing it to warp and deteriorate over time. This can lead to costly repairs and replacements in the future. By installing a toe kick, you create a barrier between the vanity and the floor, preventing any water damage and extending the lifespan of your DIY vanity.
In conclusion,
installing a toe kick on your DIY bathroom vanity is a simple and effective way to enhance its functionality, improve its aesthetics, and protect it against water damage. It is a small addition that can make a big difference in the overall design and functionality of your bathroom. So why wait? Follow these simple steps to install a toe kick and take your DIY bathroom vanity to the next level.














/bathroom-vanity-design-ideas-4135228-hero-26243a156f8744f7b86659ddc9299362.jpeg)


