Installing a shut-off valve for your kitchen sink may seem like a daunting task, but with the right tools and a little bit of know-how, you can easily get the job done. A shut-off valve is an important component of any kitchen sink as it allows you to control the water flow and shut off the water supply in case of emergencies. In this guide, we will walk you through the steps of installing a shut-off valve for your kitchen sink, so you can have peace of mind knowing that you have full control over your water supply.How to Install a Shut-Off Valve for a Kitchen Sink
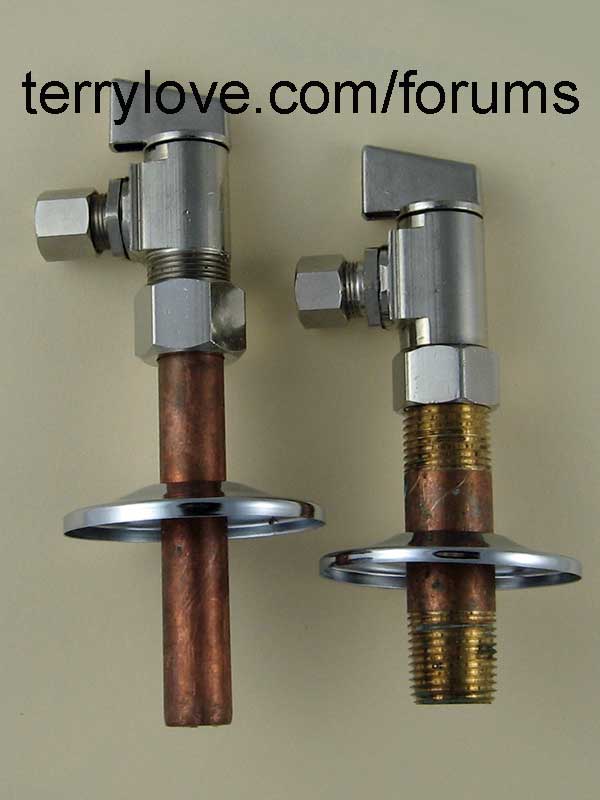
Installing a shut-off valve for your kitchen sink is a relatively simple process that can be completed in just 5 easy steps. Follow these steps to successfully install a shut-off valve for your kitchen sink: Step 1: Gather your tools and materials The first step to installing a shut-off valve for your kitchen sink is to gather all the necessary tools and materials. These may include a wrench, a pipe cutter, Teflon tape, a shut-off valve, and a flexible supply line. Step 2: Shut off the water supply Before you begin any work on your kitchen sink, it is important to shut off the water supply. This can usually be done by turning off the main water valve, which is typically located near your water meter. Once the water supply is turned off, turn on the faucet to release any remaining water pressure. Step 3: Cut the water supply line Using a pipe cutter, cut the water supply line that leads to your kitchen sink. This is where the shut-off valve will be installed. Step 4: Install the shut-off valve Take your shut-off valve and wrap Teflon tape around the threads to ensure a tight seal. Then, attach the shut-off valve to the cut end of the water supply line. Use a wrench to tighten the connections and make sure they are secure. Step 5: Connect the supply line Finally, connect the flexible supply line to the other end of the shut-off valve. Again, use a wrench to tighten the connections and make sure they are secure. Turn on the water supply and test the shut-off valve by turning it on and off.How to Install a Shut-Off Valve for a Kitchen Sink: 5 Steps
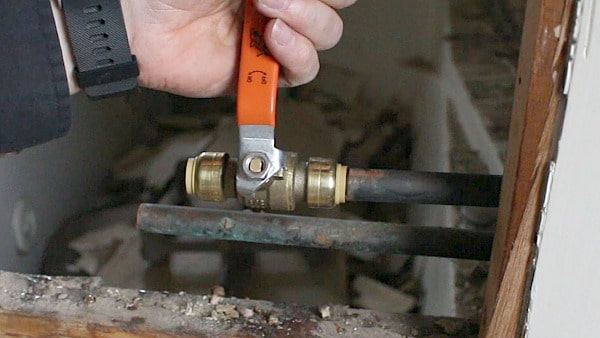
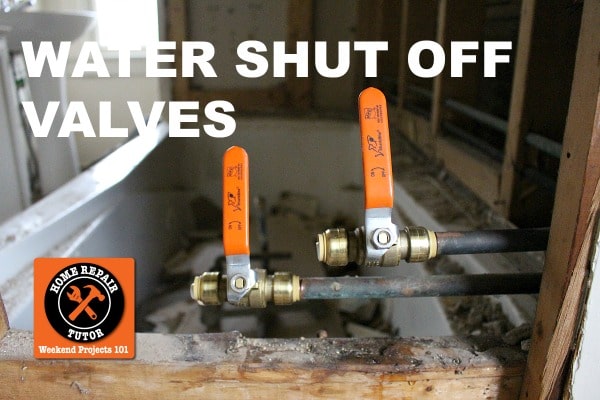
If you are installing a new kitchen sink or replacing an old one, you will need to install a shut-off valve for the water supply. Here are the steps to follow for installing a shut-off valve for a kitchen sink: Step 1: Turn off the water supply Before you begin any work on your kitchen sink, make sure to turn off the water supply. This can usually be done by turning off the main water valve. Step 2: Remove the old sink If you are installing a new kitchen sink, you will need to remove the old one first. This may involve disconnecting the water supply lines and removing any mounting brackets or clips. Step 3: Install the shut-off valve Follow the steps outlined above to install the shut-off valve for your kitchen sink. Step 4: Install the new sink Once the shut-off valve is installed, you can proceed with installing the new sink. Make sure to reconnect the water supply lines and secure the sink in place. Step 5: Turn on the water supply and test the valve Turn on the water supply and test the shut-off valve by turning it on and off. This will ensure that everything is working properly and there are no leaks.How to Install a Kitchen Sink Shut-Off Valve
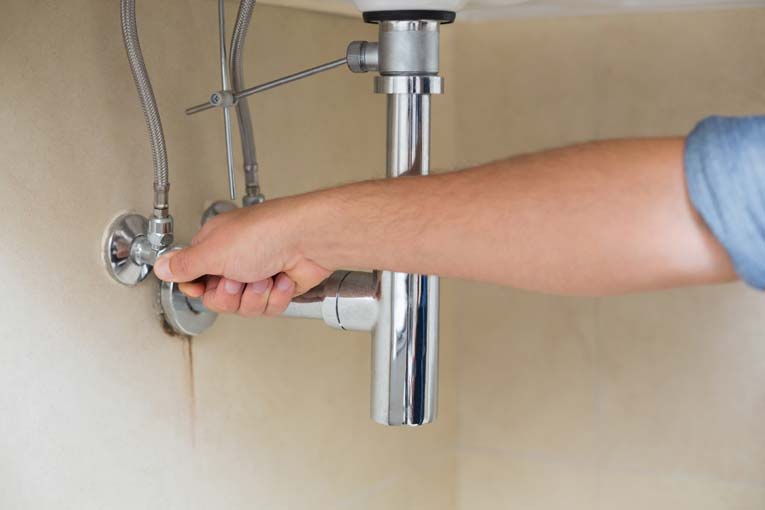
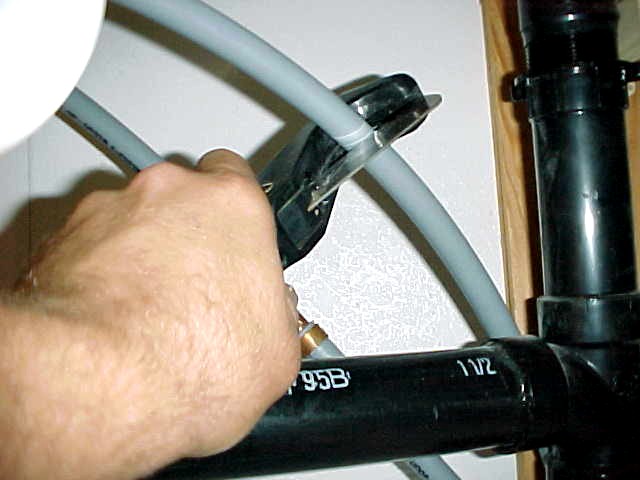
Installing a shut-off valve under your kitchen sink is a great way to have easy access to control the water supply for your sink. Here's how to do it: Step 1: Gather your materials Before you begin, make sure you have all the necessary tools and materials, including a shut-off valve, Teflon tape, and a flexible supply line. Step 2: Turn off the water supply Make sure to turn off the water supply before starting any work on your kitchen sink. Step 3: Cut the water supply line Using a pipe cutter, cut the water supply line that leads to your kitchen sink. Step 4: Install the shut-off valve Wrap Teflon tape around the threads of the shut-off valve and attach it to the cut end of the water supply line. Use a wrench to tighten the connections. Step 5: Connect the supply line Connect the flexible supply line to the other end of the shut-off valve and tighten the connections with a wrench. Step 6: Turn on the water supply and test the valve Turn on the water supply and test the shut-off valve by turning it on and off. Make sure there are no leaks and everything is working properly.How to Install a Shut-Off Valve Under a Kitchen Sink
If you are experiencing issues with your kitchen sink water supply, installing a shut-off valve can help you easily control the flow of water. Here's how to do it: Step 1: Turn off the water supply Before you begin any work, make sure to turn off the water supply. Step 2: Locate the water supply line Locate the water supply line that leads to your kitchen sink. This is where the shut-off valve will be installed. Step 3: Install the shut-off valve Follow the steps outlined above to install the shut-off valve for your kitchen sink water supply. Step 4: Turn on the water supply and test the valve Turn on the water supply and test the shut-off valve by turning it on and off. This will ensure that everything is working properly and there are no leaks.How to Install a Shut-Off Valve for a Kitchen Sink Water Supply
Installing a shut-off valve for your kitchen sink may seem like a complicated task, but with these 6 easy steps, you will have it installed in no time: Step 1: Gather your tools and materials Before you begin, make sure you have all the necessary tools and materials, including a wrench, a pipe cutter, Teflon tape, a shut-off valve, and a flexible supply line. Step 2: Shut off the water supply Make sure to turn off the water supply before starting any work on your kitchen sink. Step 3: Cut the water supply line Using a pipe cutter, cut the water supply line that leads to your kitchen sink. Step 4: Install the shut-off valve Wrap Teflon tape around the threads of the shut-off valve and attach it to the cut end of the water supply line. Use a wrench to tighten the connections. Step 5: Connect the supply line Connect the flexible supply line to the other end of the shut-off valve and tighten the connections with a wrench. Step 6: Turn on the water supply and test the valve Turn on the water supply and test the shut-off valve by turning it on and off. Make sure there are no leaks and everything is working properly.How to Install a Shut-Off Valve for a Kitchen Sink: 6 Easy Steps
If you're a fan of DIY projects, you'll be happy to know that installing a shut-off valve for your kitchen sink is a simple task that you can easily do yourself. Here's a step-by-step guide to help you through the process: Step 1: Gather your tools and materials Before you begin, make sure you have all the necessary tools and materials, including a wrench, a pipe cutter, Teflon tape, a shut-off valve, and a flexible supply line. Step 2: Shut off the water supply Make sure to turn off the water supply before starting any work on your kitchen sink. Step 3: Cut the water supply line Using a pipe cutter, cut the water supply line that leads to your kitchen sink. Step 4: Install the shut-off valve Wrap Teflon tape around the threads of the shut-off valve and attach it to the cut end of the water supply line. Use a wrench to tighten the connections. Step 5: Connect the supply line Connect the flexible supply line to the other end of the shut-off valve and tighten the connections with a wrench. Step 6: Turn on the water supply and test the valve Turn on the water supply and test the shut-off valve by turning it on and off. Make sure there are no leaks and everything is working properly.How to Install a Shut-Off Valve for a Kitchen Sink: A DIY Guide
Installing a shut-off valve for your kitchen sink is a step-by-step process that can easily be completed in a matter of minutes. Here's a guide to help you through the process: Step 1: Gather your tools and materials Before you begin, make sure you have all the necessary tools and materials, including a wrench, a pipe cutter, Teflon tape, a shut-off valve, and a flexible supply line. Step 2: Shut off the water supply Make sure to turn off the water supply before starting any work on your kitchen sink. Step 3: Cut the water supply line Using a pipe cutter, cut the water supply line that leads to your kitchen sink. Step 4: Install the shut-off valve Wrap Teflon tape around the threads of the shut-off valve and attach it to the cut end of the water supply line. Use a wrench to tighten the connections. Step 5: Connect the supply line Connect the flexible supply line to the other end of the shut-off valve and tighten the connections with a wrench. Step 6: Turn on the water supply and test the valve Turn on the water supply and test the shut-off valve by turning it on and off. Make sure there are no leaks and everything is working properly.How to Install a Shut-Off Valve for a Kitchen Sink: A Step-by-Step Guide
Here are some tips and tricks to keep in mind when installing a shut-off valve for your kitchen sink: - Use Teflon tape Using Teflon tape on the threads of the shut-off valve will help create a tight seal and prevent any leaks. - Don't over-tighten Be careful not to over-tighten the connections, as this can cause damage and lead to leaks. - Test the valve It's important to test the shut-off valve after installation to ensure that everything is working properly and there are no leaks. - Turn off the water supply Always remember to turn off the water supply before starting any work on your kitchen sink.How to Install a Shut-Off Valve for a Kitchen Sink: Tips and Tricks
Although installing a shut-off valve for your kitchen sink is a fairly straightforward process, there are some common mistakes that you should avoid: - Forgetting to turn off the water supply Always remember to turn off the water supply before beginning any work on your kitchen sink. This will prevent any accidents or water damage. - Not using Teflon tape Using Teflon tape on the threads of the shut-off valve is crucial to creating a tight seal and preventing leaks. - Over-tightening connections Be careful not to over-tighten the connections, as this can cause damage and lead to leaks. - Not testing the valve It's important to test the shut-off valve after installation to ensure that everything is working properly and there are no leaks.How to Install a Shut-Off Valve for a Kitchen Sink: Common Mistakes to Avoid
Why Install a Shut Off Valve for Your Kitchen Sink?

Efficient Water Management
 One of the main reasons to
install a shut off valve for your kitchen sink
is to efficiently manage your water usage. A shut off valve allows you to completely stop the flow of water to your kitchen sink, which can be helpful for tasks such as washing dishes or filling up a pot of water. This not only helps conserve water but also saves you money on your water bill. Without a shut off valve, you may have to turn off the main water supply to your house, which can be a hassle and disrupt water usage in other areas of your home.
Prevent Water Damage
 Another important reason to
install a shut off valve for your kitchen sink
is to prevent potential water damage. If you ever experience a leak or burst pipe in your kitchen sink, having a shut off valve can quickly stop the flow of water and prevent further damage to your home. This can save you from costly repairs and insurance claims. Additionally, a shut off valve can also be useful when making plumbing repairs or upgrades to your kitchen sink, as it allows you to easily turn off the water without affecting the rest of your home's water supply.
Convenience and Flexibility
 Having a shut off valve for your kitchen sink also offers convenience and flexibility. If you need to replace or upgrade your kitchen sink or faucet, having a shut off valve allows you to easily turn off the water supply and avoid any potential mess or inconvenience. It also offers flexibility for future renovations or changes to your kitchen, as you can easily shut off the water to your sink without disrupting the rest of your home's water supply.
Peace of Mind
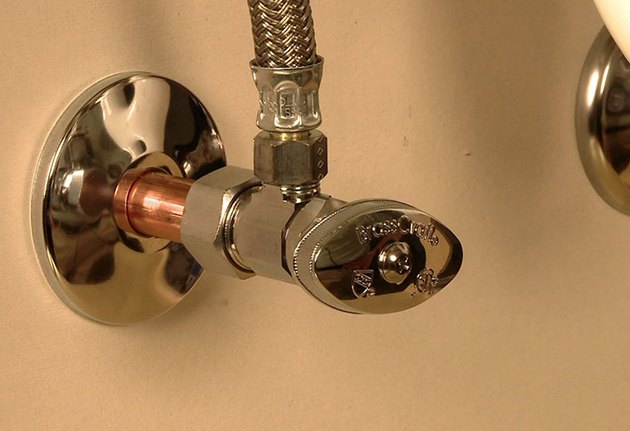 Finally,
installing a shut off valve for your kitchen sink
provides peace of mind. Knowing that you have control over the water flow to your kitchen sink can give you a sense of security and confidence. In the event of an emergency, a shut off valve can help prevent a larger disaster and give you time to address the issue without panicking. It's a simple addition to your kitchen plumbing, but it can make a big difference in your overall peace of mind.
In conclusion,
installing a shut off valve for your kitchen sink
offers numerous benefits, from efficient water management to preventing water damage and providing convenience and peace of mind. It's a small but important addition to your kitchen plumbing that can save you time, money, and hassle in the long run. So if you haven't already, consider adding a shut off valve to your kitchen sink for a more efficient and stress-free water experience.










:no_upscale()/cdn.vox-cdn.com/uploads/chorus_asset/file/19495086/drain_0.jpg)


