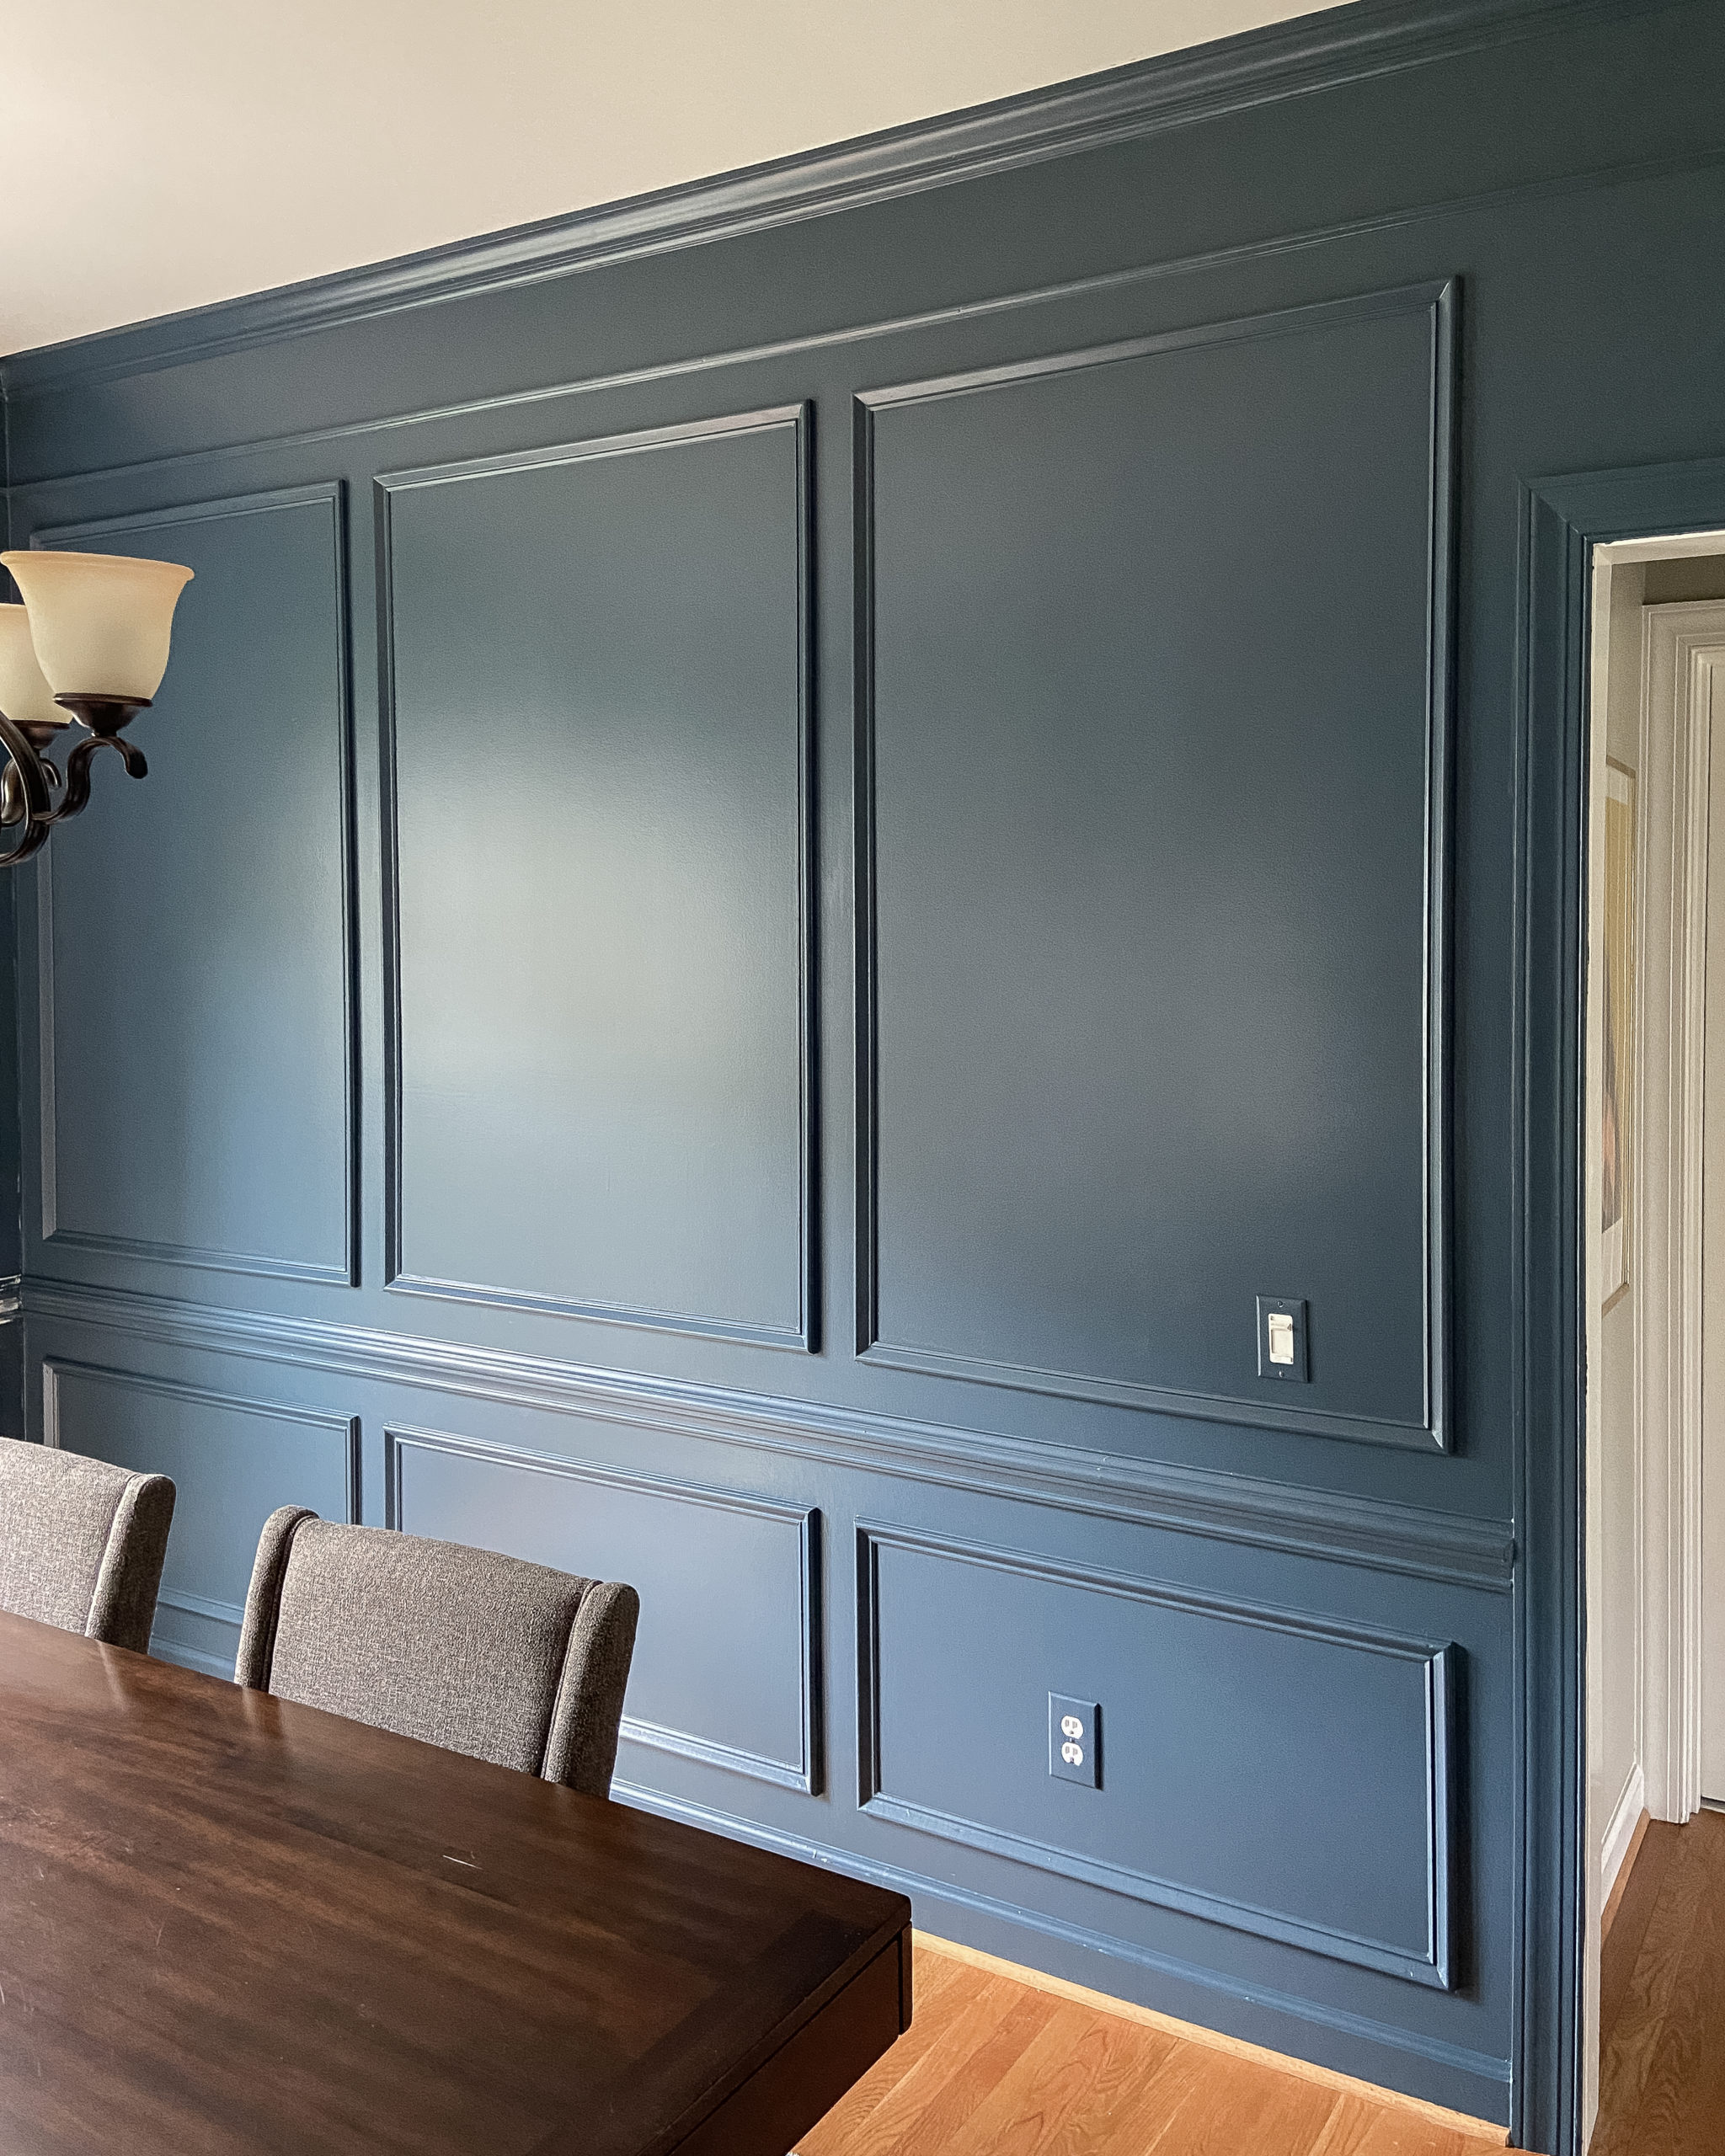
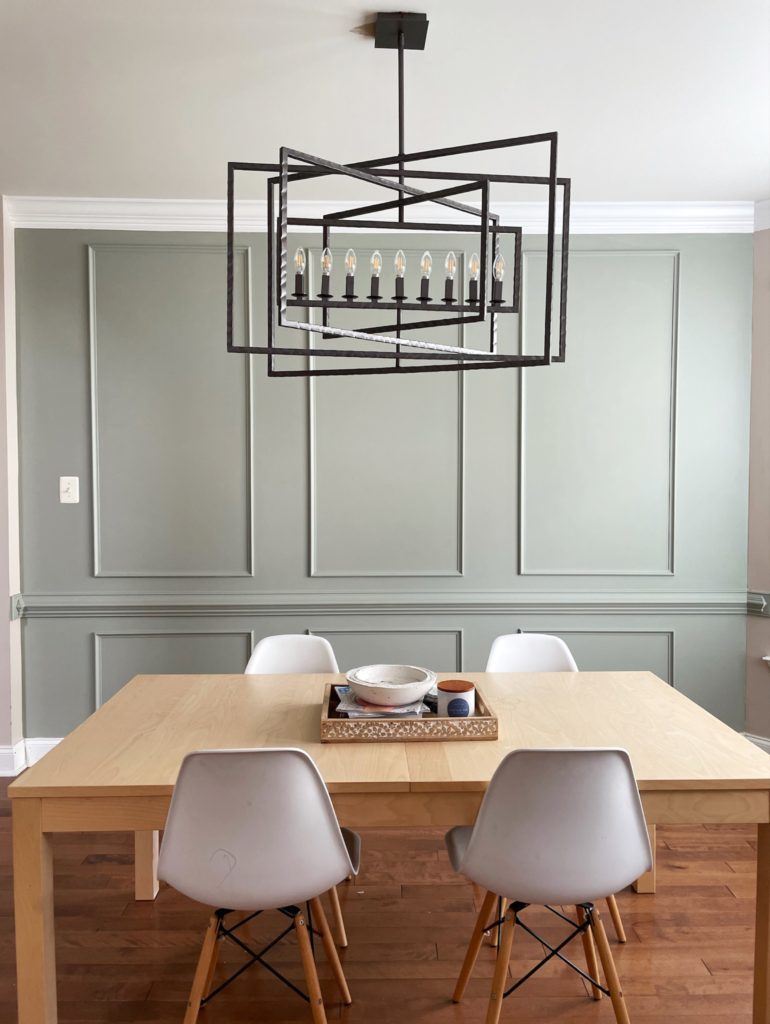
Are you looking to add some charm and character to your dining room without breaking the bank? Look no further than picture frame molding! This simple yet elegant design element can transform any plain wall into a stunning focal point. And the best part? It's easy and affordable to install yourself. In this guide, we'll take you through the step-by-step process of installing picture frame molding in your dining room. So grab your tools and let's get started! How to Install Picture Frame Molding in Your Dining Room
Installing picture frame molding may seem intimidating, but with the right tools and a little bit of patience, it's a project that anyone can tackle. Plus, by doing it yourself, you'll save money on labor costs and have the satisfaction of knowing you did it all on your own. So put on your DIY hat and let's dive in! DIY Guide: Installing Picture Frame Molding in Your Dining Room
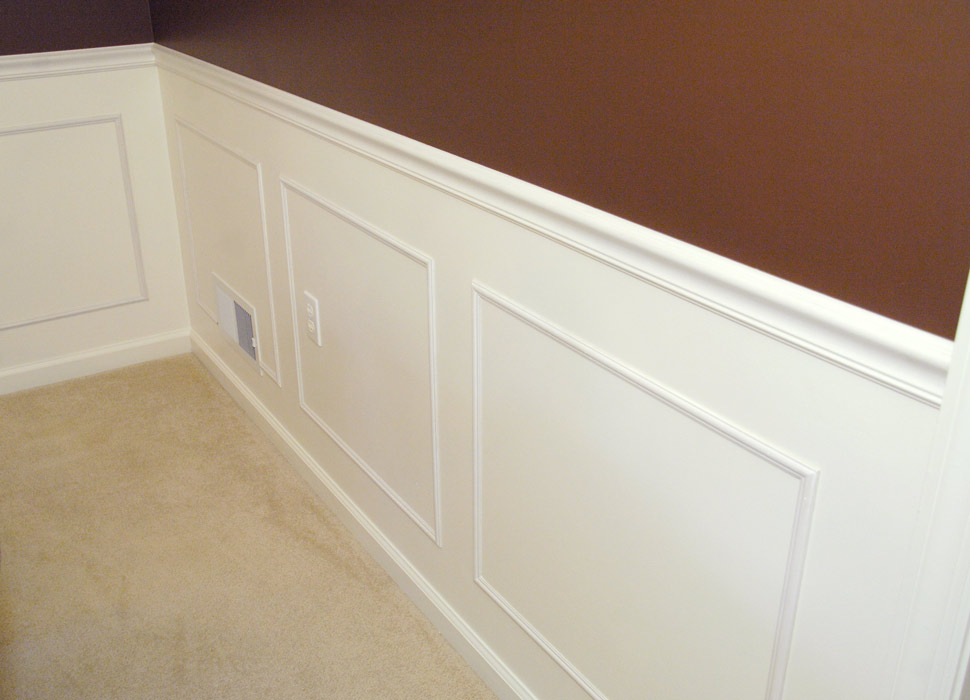
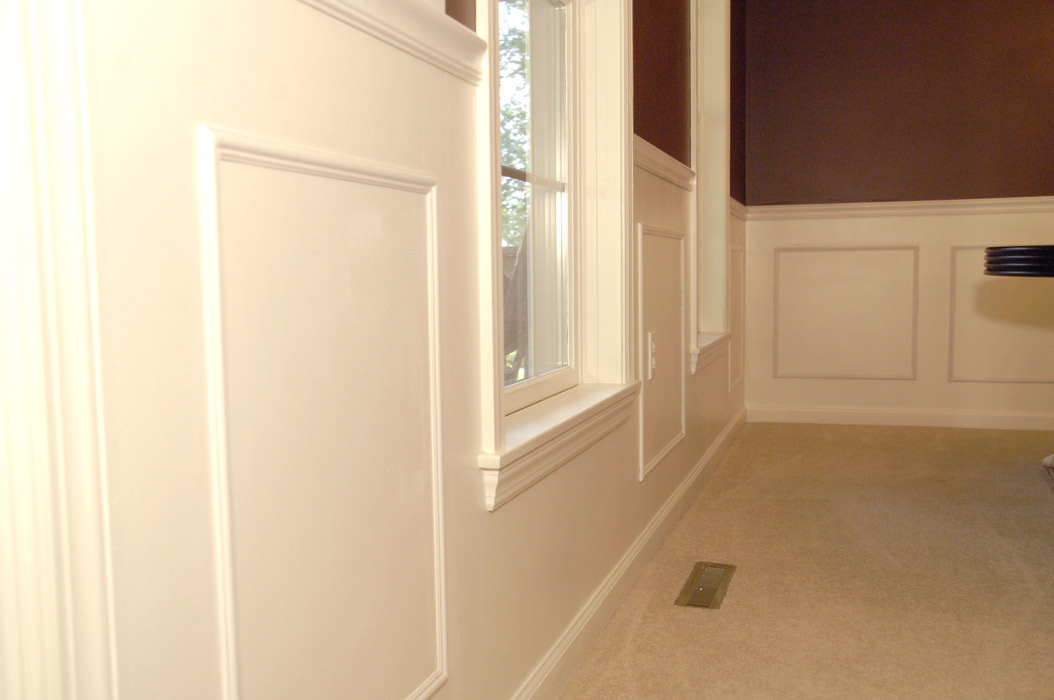
Step 1: Measure and plan. Before you start nailing any molding to your walls, it's important to have a plan in place. Measure the length and width of your walls and determine how many frames you want to create. It's also a good idea to sketch out your design on paper to help visualize the end result. Step 2: Gather your materials. You will need picture frame molding, a miter saw, a measuring tape, a level, a nail gun, and wood filler. You can find all of these materials at your local hardware store. Step 3: Cut your molding. Use your miter saw to cut the molding at a 45-degree angle. This will create a clean and seamless corner when the frames are assembled. Remember to measure twice and cut once! Step 4: Install the top and bottom rails. Using your level as a guide, nail the top and bottom rails into place. The top rail should be flush with the ceiling, and the bottom rail should be level with the baseboard. Step 5: Install the side rails. Again, using your level as a guide, nail the side rails into place. The side rails should be the same length as the top and bottom rails. Step 6: Fill in nail holes. Once all of the molding is in place, use wood filler to fill in any nail holes or gaps in the corners. Allow the filler to dry and then sand it smooth. Step 7: Paint or stain. Now comes the fun part – adding your personal touch! You can leave the molding its natural color for a more rustic look, or paint or stain it to match your existing decor. Step 8: Admire your handiwork. Once the paint or stain has dried, step back and admire your newly transformed dining room. The picture frame molding will add depth and character to the space, giving it a more elegant and polished look. Step-by-Step Tutorial: Installing Picture Frame Molding in Your Dining Room
Picture frame molding is a simple yet effective way to add a touch of sophistication to any dining room. By following these easy steps, you can transform your space into a beautiful and inviting gathering place for family and friends. So roll up your sleeves and get ready to give your dining room a stunning makeover! Transform Your Dining Room with Picture Frame Molding: A Step-by-Step Guide
Many people shy away from home improvement projects because of the high cost of hiring professionals. But installing picture frame molding is a DIY project that won't break the bank. With just a few tools and materials, you can achieve a high-end look at a fraction of the cost. So why not take on this project yourself and save some money in the process? Easy and Affordable: Installing Picture Frame Molding in Your Dining Room
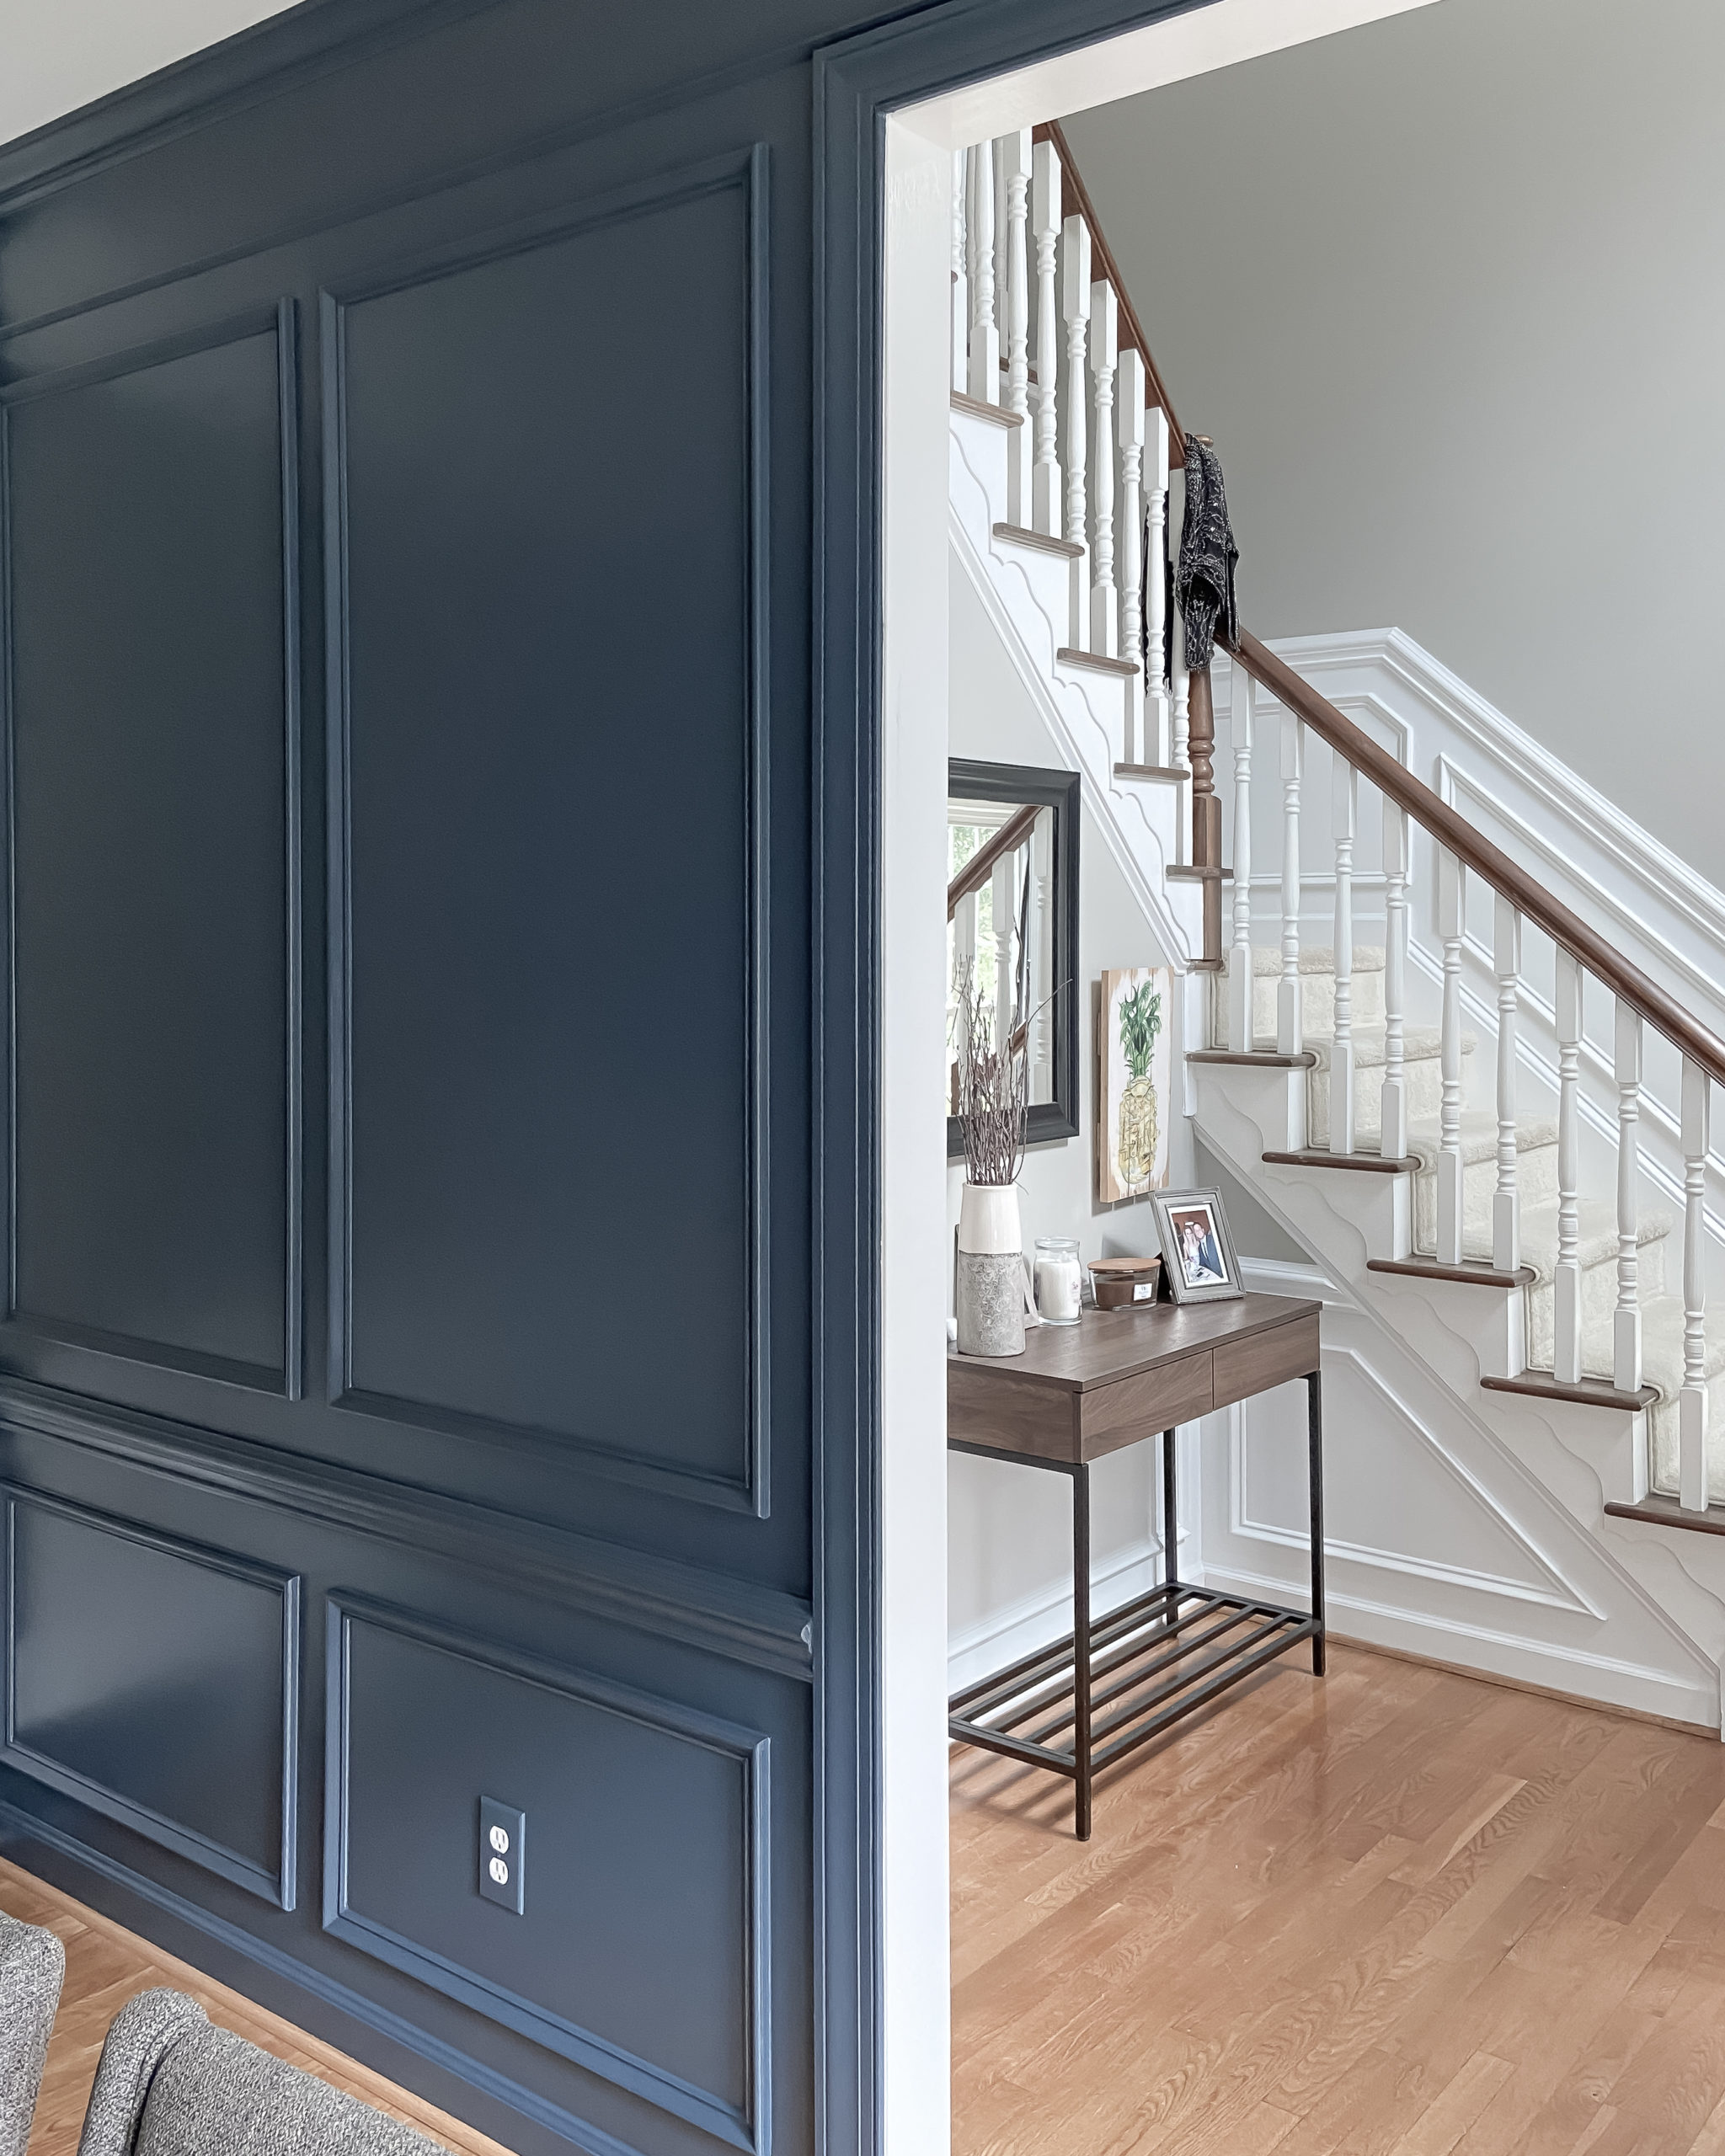
Picture frame molding can instantly elevate the look of your dining room. It adds dimension and texture to plain walls, making the space feel more inviting and elegant. Plus, with so many different styles and finishes to choose from, you can easily find a design that suits your personal taste and complements your existing decor. So go ahead and give your dining room the makeover it deserves with picture frame molding! Get the Look: Installing Picture Frame Molding in Your Dining Room
If your dining room is feeling a bit lackluster, picture frame molding is the perfect solution. It's a budget-friendly and easy way to upgrade the look of your space without having to invest in major renovations. With just a few simple steps, you can transform your dining room into a stylish and inviting area that you'll love to show off to your guests. Upgrade Your Dining Room with Picture Frame Molding: A How-To Guide
Picture frame molding is a timeless design element that can instantly add charm and character to any room. By following our step-by-step guide, you'll have a beautiful and professional-looking installation in no time. So go ahead and make your dining room picture perfect with the addition of picture frame molding! Picture Perfect: How to Install Picture Frame Molding in Your Dining Room
Are you ready to give your dining room a makeover? Look no further than picture frame molding! With these 5 easy steps, you can take your dining room from drab to fab in no time. So why wait? Start planning your new dining room design today! Dining Room Makeover: Installing Picture Frame Molding in 5 Easy Steps
If your dining room is feeling dull and uninspired, picture frame molding can be the perfect solution. With its classic and elegant look, it can transform any room into a stylish and inviting space. And with our DIY guide, you can easily create a stunning installation that will have your guests asking for your decorating secrets. So go ahead and add some fab to your dining room with picture frame molding! From Drab to Fab: Installing Picture Frame Molding in Your Dining Room
Why Choose Picture Frame Molding for Your Dining Room

Upgrade Your Dining Room Design
 Picture frame molding is a simple yet effective way to upgrade the design of your dining room. This classic wall treatment adds dimension and elegance to any space, making it the perfect choice for a refined and stylish dining room. By installing picture frame molding, you can transform a plain and boring room into a sophisticated and inviting space.
Easy Installation Process
 One of the main reasons why people choose picture frame molding for their dining rooms is because of its easy installation process. Unlike other forms of molding, picture frame molding does not require special skills or tools to install. With some basic carpentry skills and the right materials, you can easily create a professional-looking installation in just a few hours. This makes it a great DIY project for those looking to add a personal touch to their dining room design.
Endless Design Possibilities
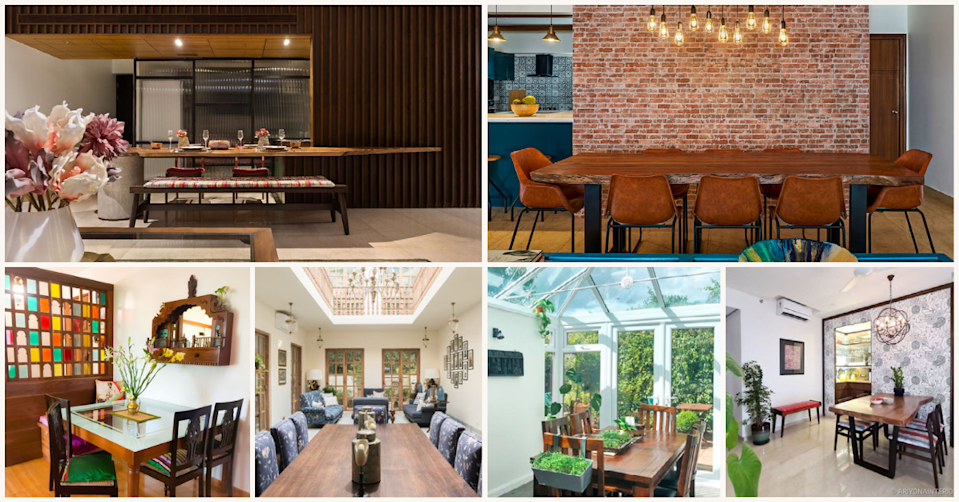
 Picture frame molding offers endless design possibilities, making it a versatile choice for any dining room. You can choose from a variety of styles, shapes, and sizes to create a unique look that suits your personal taste. You can also mix and match different types of molding to create a more intricate and custom design. With picture frame molding, you have the freedom to be creative and make a statement with your dining room design.
Enhance the Overall Ambiance
 The addition of picture frame molding can greatly enhance the overall ambiance of your dining room. By adding depth and texture to your walls, it creates a more visually interesting and inviting space. It also helps to create a sense of warmth and coziness, making it the perfect setting for intimate dinners with loved ones or lively gatherings with friends.
Conclusion
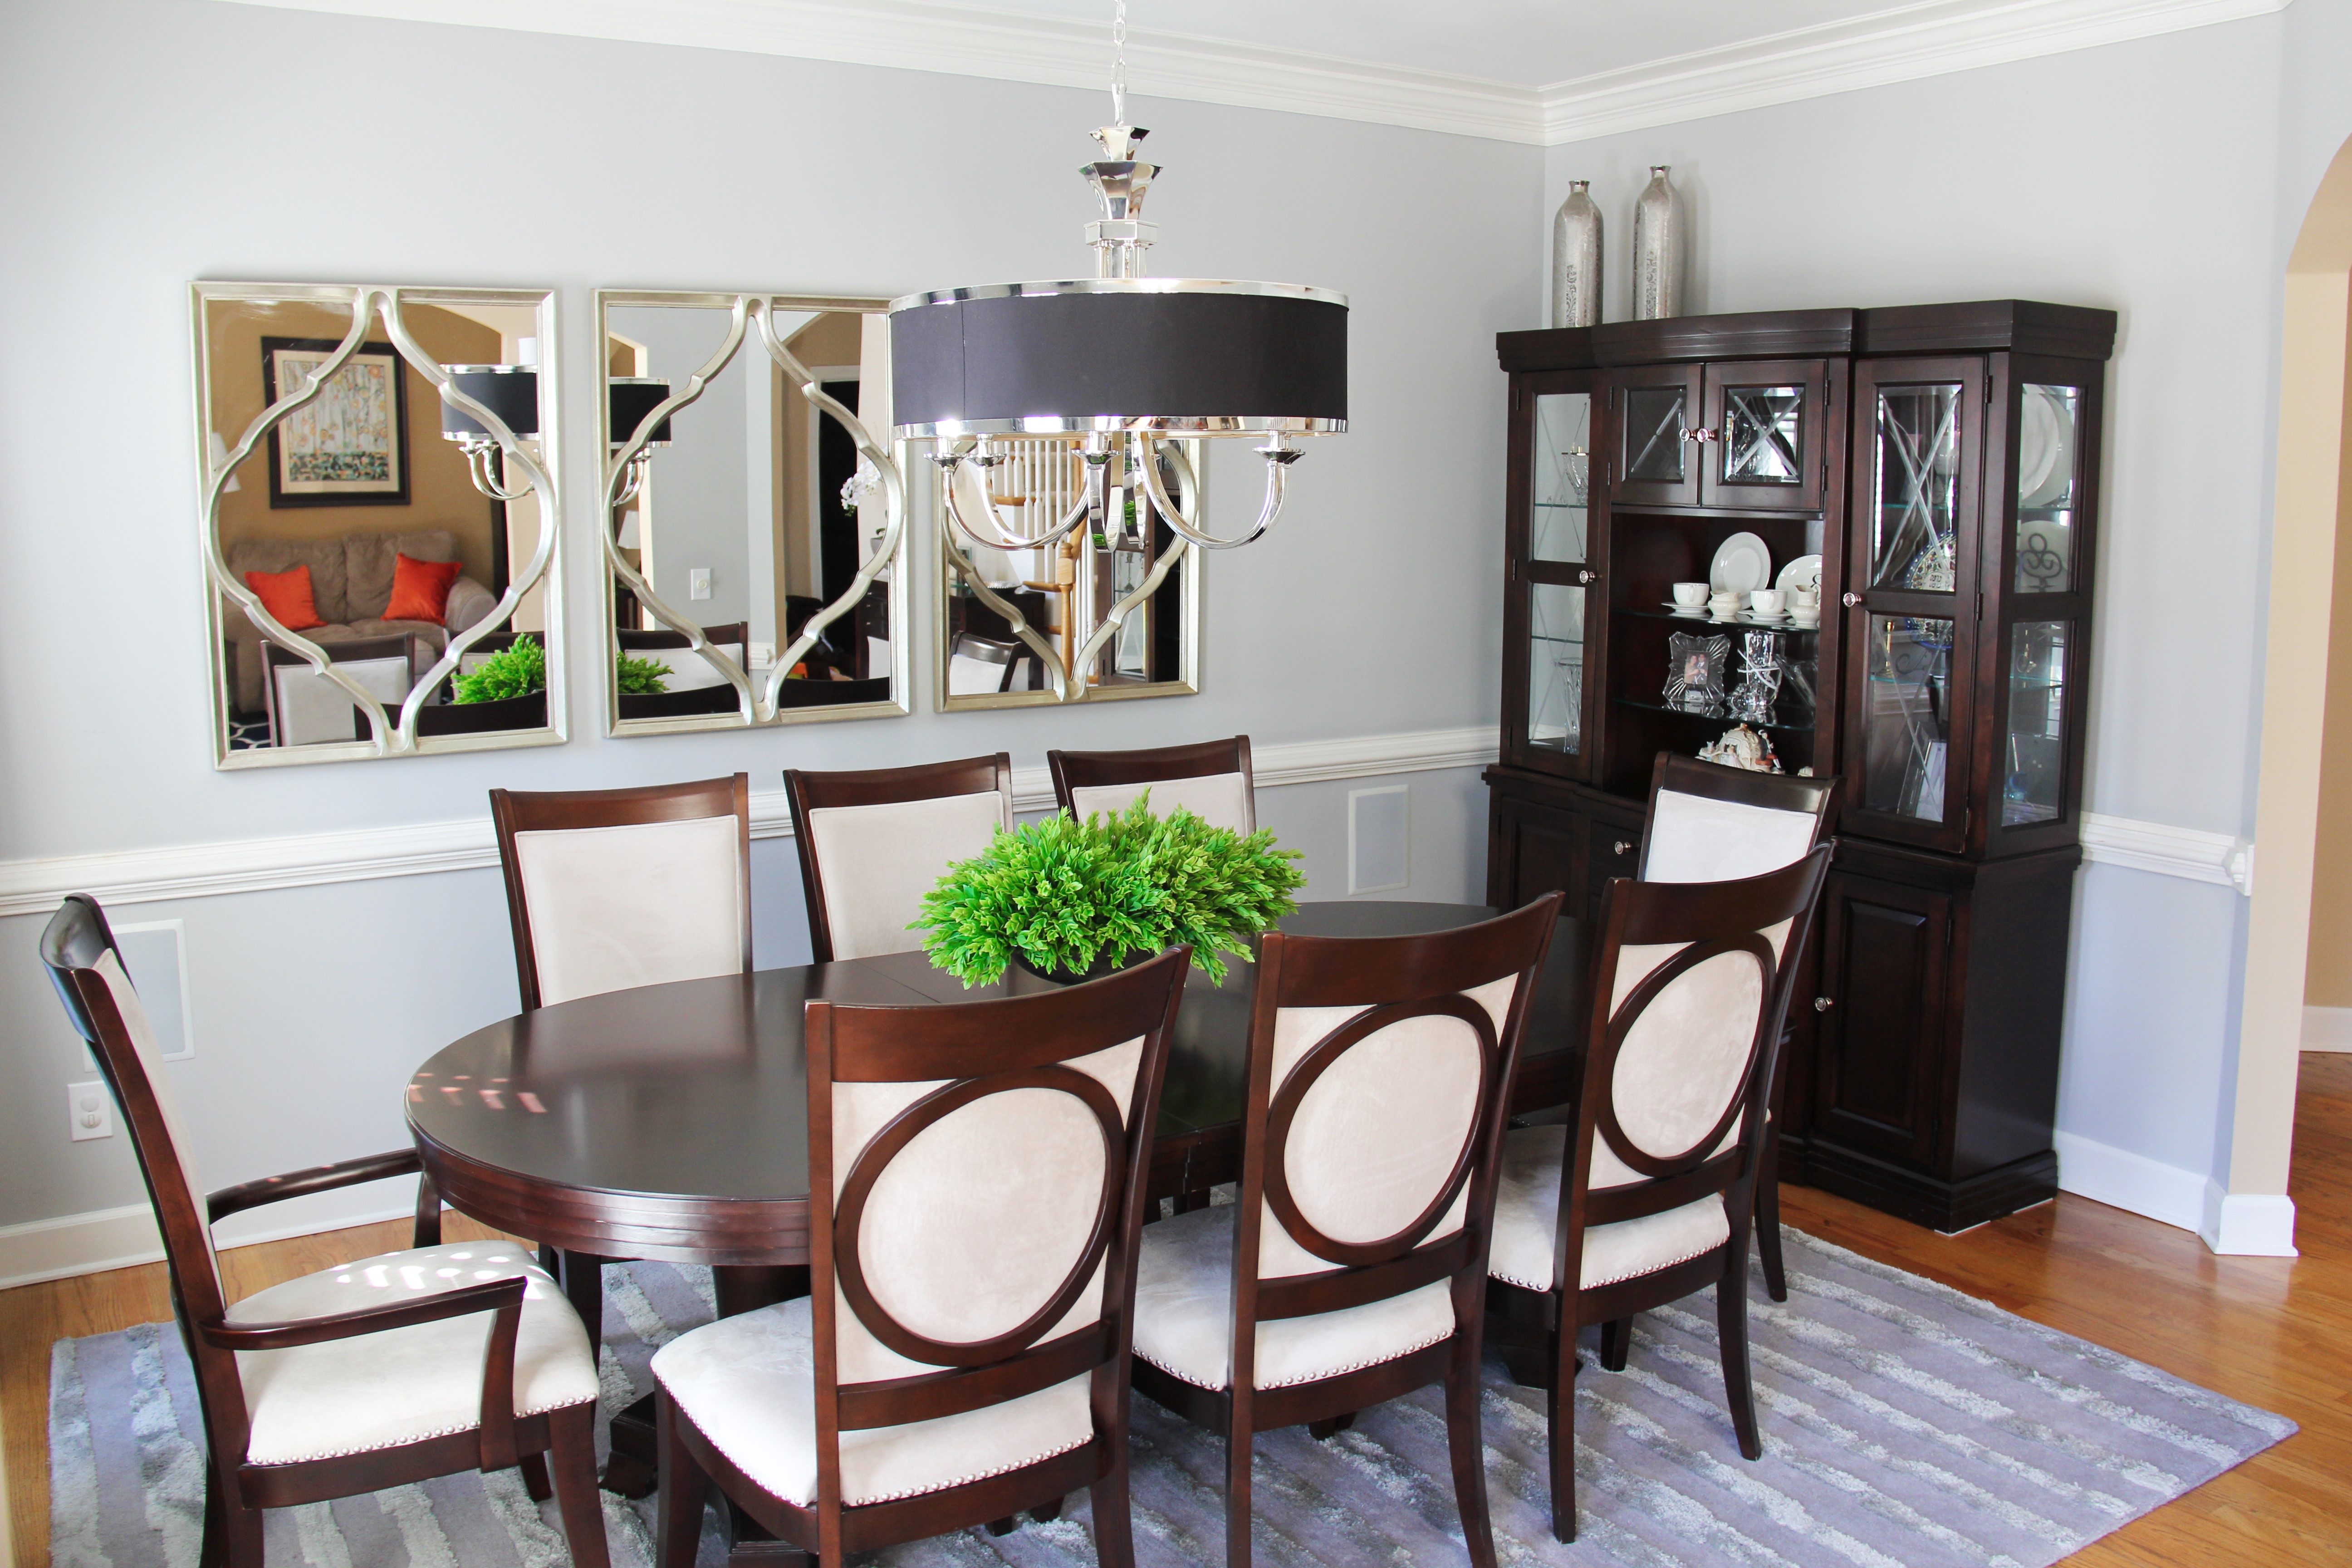
/ChairRailinginFormalDiningRoom-5ab8fc2f1f4e130037a980ea.jpg) In conclusion, picture frame molding is a fantastic choice for upgrading the design of your dining room. With its easy installation process, endless design possibilities, and ability to enhance the overall ambiance, it is a must-have for any homeowner looking to add a touch of elegance to their space. So why wait? Install picture frame molding in your dining room and see the transformation for yourself.
In conclusion, picture frame molding is a fantastic choice for upgrading the design of your dining room. With its easy installation process, endless design possibilities, and ability to enhance the overall ambiance, it is a must-have for any homeowner looking to add a touch of elegance to their space. So why wait? Install picture frame molding in your dining room and see the transformation for yourself.
