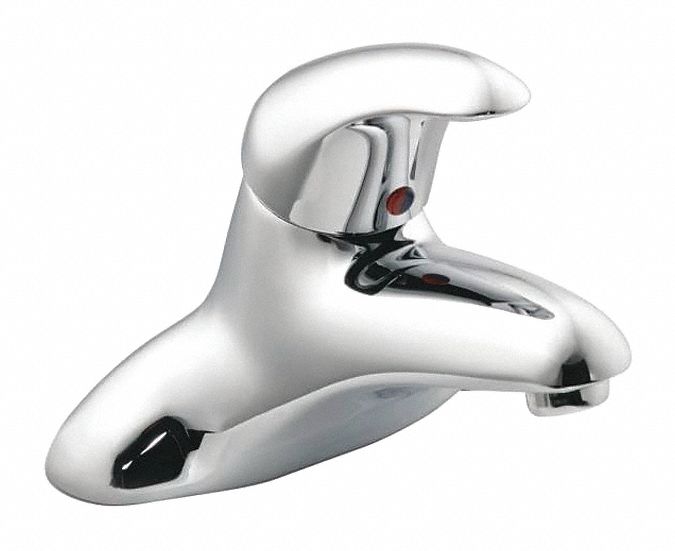
Are you looking to upgrade your bathroom with a new Moen sink faucet and drain? You're in luck because we have put together a comprehensive guide on how to install a Moen bathroom sink faucet and drain. With just a few simple steps, you can have a sleek and functional addition to your bathroom. So, let's get started!How to Install a Moen Bathroom Sink Faucet and Drain


How to Install a Moen Bathroom Sink Faucet and Drain


Before you begin, make sure you have all the necessary tools and materials. This includes a Moen sink faucet and drain, a wrench, plumber's putty, silicone sealant, and a screwdriver. Once you have everything ready, follow these steps:Step-by-Step Guide for Installing a Moen Bathroom Sink Faucet and Drain

Step-by-Step Guide for Installing a Moen Bathroom Sink Faucet and Drain


If you're a handy person and love taking on DIY projects, installing a Moen bathroom sink faucet and drain should be a breeze for you. With our step-by-step guide and a little bit of patience, you can have a professional-looking installation in no time.DIY: Installing a Moen Bathroom Sink Faucet and Drain


DIY: Installing a Moen Bathroom Sink Faucet and Drain


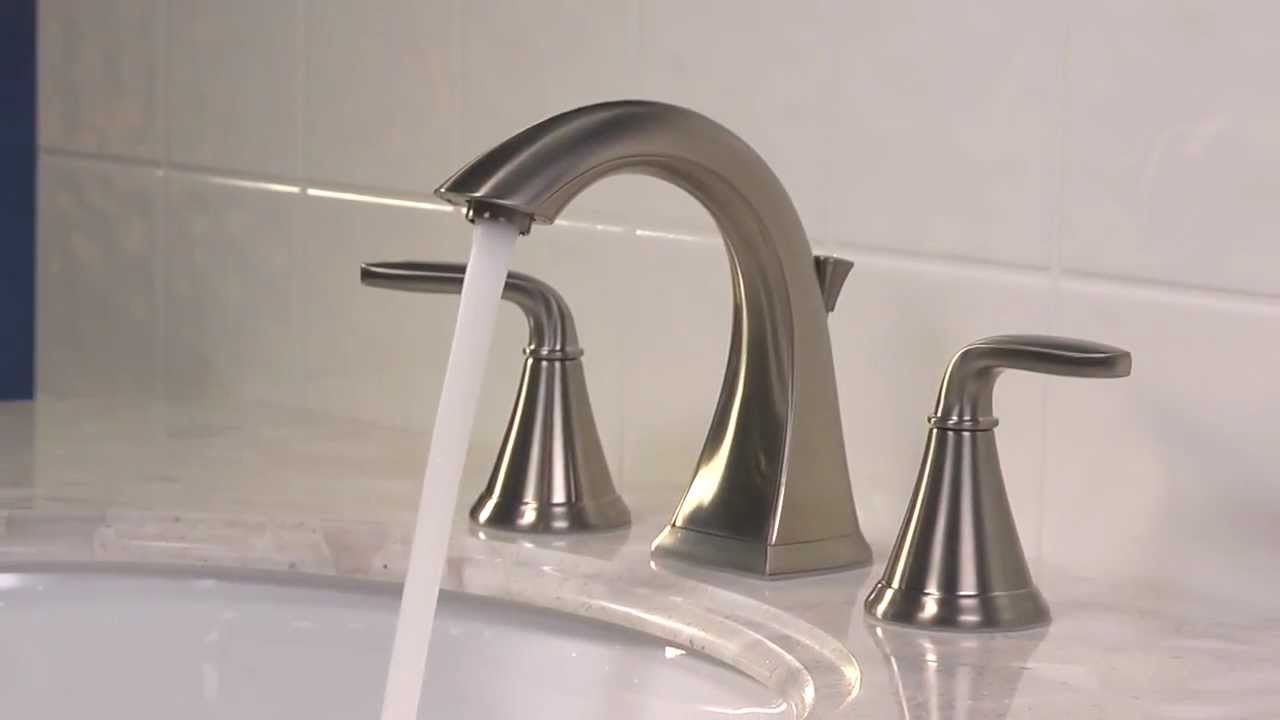
If you prefer visual instructions, there are many tutorials available online that can guide you through the process of installing a Moen bathroom sink faucet and drain. These tutorials often include helpful tips and tricks to make the installation process even easier.Moen Bathroom Sink Faucet and Drain Installation Tutorial


Moen Bathroom Sink Faucet and Drain Installation Tutorial


Installing a Moen bathroom sink faucet and drain doesn't have to be a long and complicated process. With the right tools and our easy-to-follow guide, you can have your new products up and running in just a few simple steps.Quick and Easy Guide to Installing a Moen Bathroom Sink Faucet and Drain

Quick and Easy Guide to Installing a Moen Bathroom Sink Faucet and Drain


As with any home improvement project, there are some tips and tricks that can make the installation of a Moen bathroom sink faucet and drain go even smoother. For example, using a basin wrench can make tightening the mounting nuts much easier, especially in tight spaces.Installing a Moen Bathroom Sink Faucet and Drain: Tips and Tricks
Installing a Moen Bathroom Sink Faucet and Drain: Tips and Tricks

If you're not confident in your DIY skills or just want to make sure the installation is done correctly, it's always a good idea to seek advice from experts. They can provide you with helpful tips and ensure that your Moen bathroom sink faucet and drain are installed correctly and functioning properly.Expert Tips for Installing a Moen Bathroom Sink Faucet and Drain


Expert Tips for Installing a Moen Bathroom Sink Faucet and Drain
For those who are visual learners, watching a step-by-step video tutorial on how to install a Moen bathroom sink faucet and drain can be extremely helpful. You can follow along at your own pace and pause or rewind as needed.Step-by-Step Video Tutorial for Installing a Moen Bathroom Sink Faucet and Drain


Step-by-Step Video Tutorial for Installing a Moen Bathroom Sink Faucet and Drain

While installing a Moen bathroom sink faucet and drain may seem like a simple task, there are some common mistakes that can lead to issues down the road. These include not using enough plumber's putty or sealant, overtightening the mounting nuts, and not properly connecting the water supply lines.Common Mistakes to Avoid When Installing a Moen Bathroom Sink Faucet and Drain


Common Mistakes to Avoid When Installing a Moen Bathroom Sink Faucet and Drain


:no_upscale()/cdn.vox-cdn.com/uploads/chorus_asset/file/19495086/drain_0.jpg)
Now that you have all the necessary information and tips, you're ready to install your Moen bathroom sink faucet and drain. Remember to take your time, follow the instructions carefully, and seek help if needed. With a little bit of effort, you can have a beautiful and functional addition to your bathroom. Happy installing!Complete Guide to Installing a Moen Bathroom Sink Faucet and Drain


Complete Guide to Installing a Moen Bathroom Sink Faucet and Drain
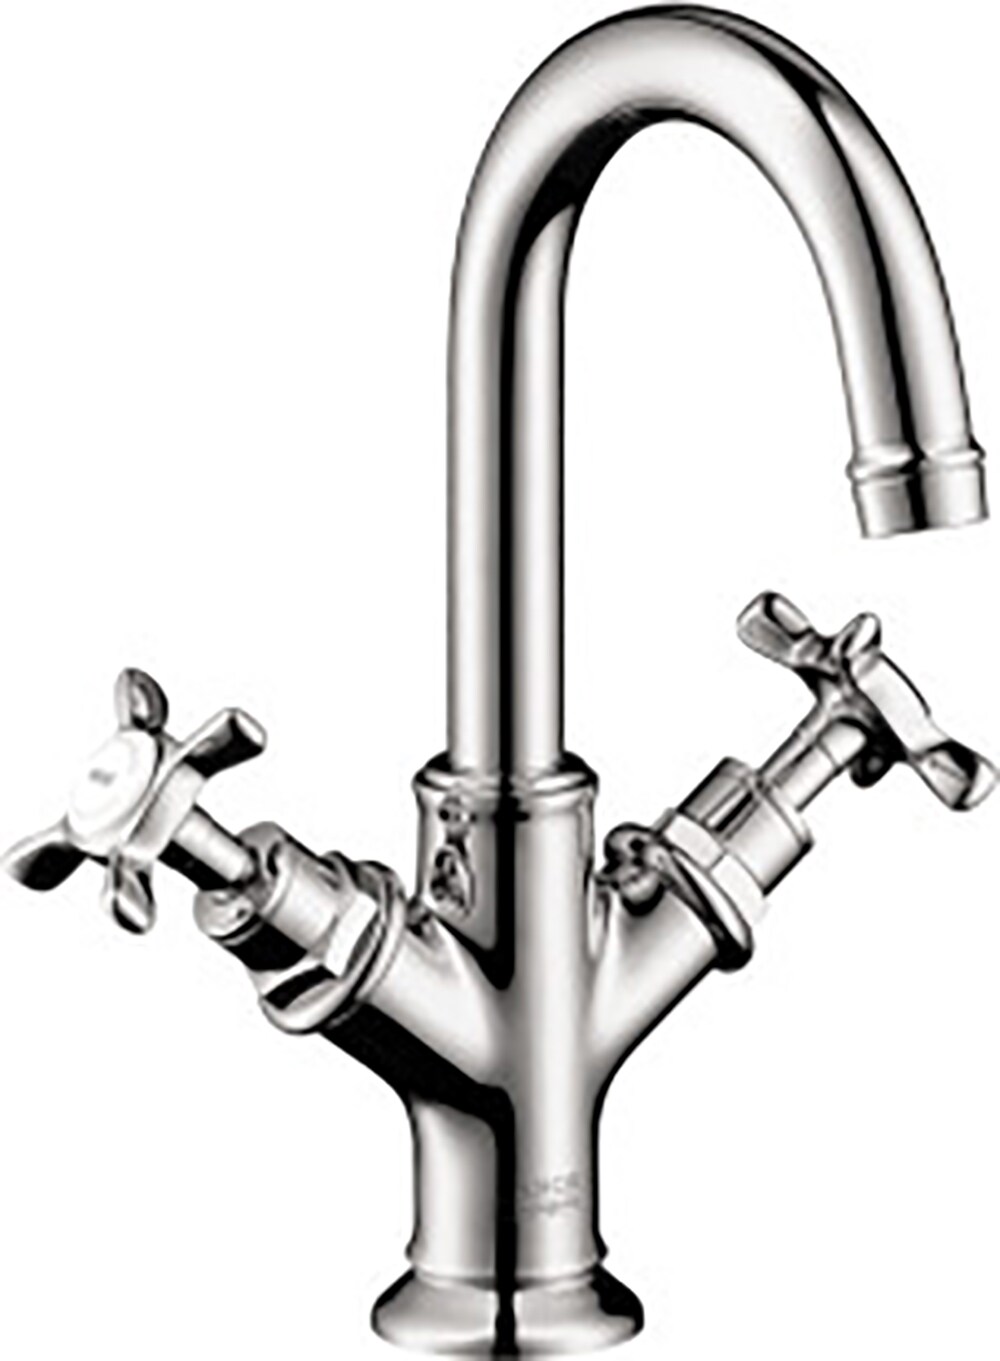
Installing a Moen Bathroom Sink Faucet and Drain: A Step-by-Step Guide

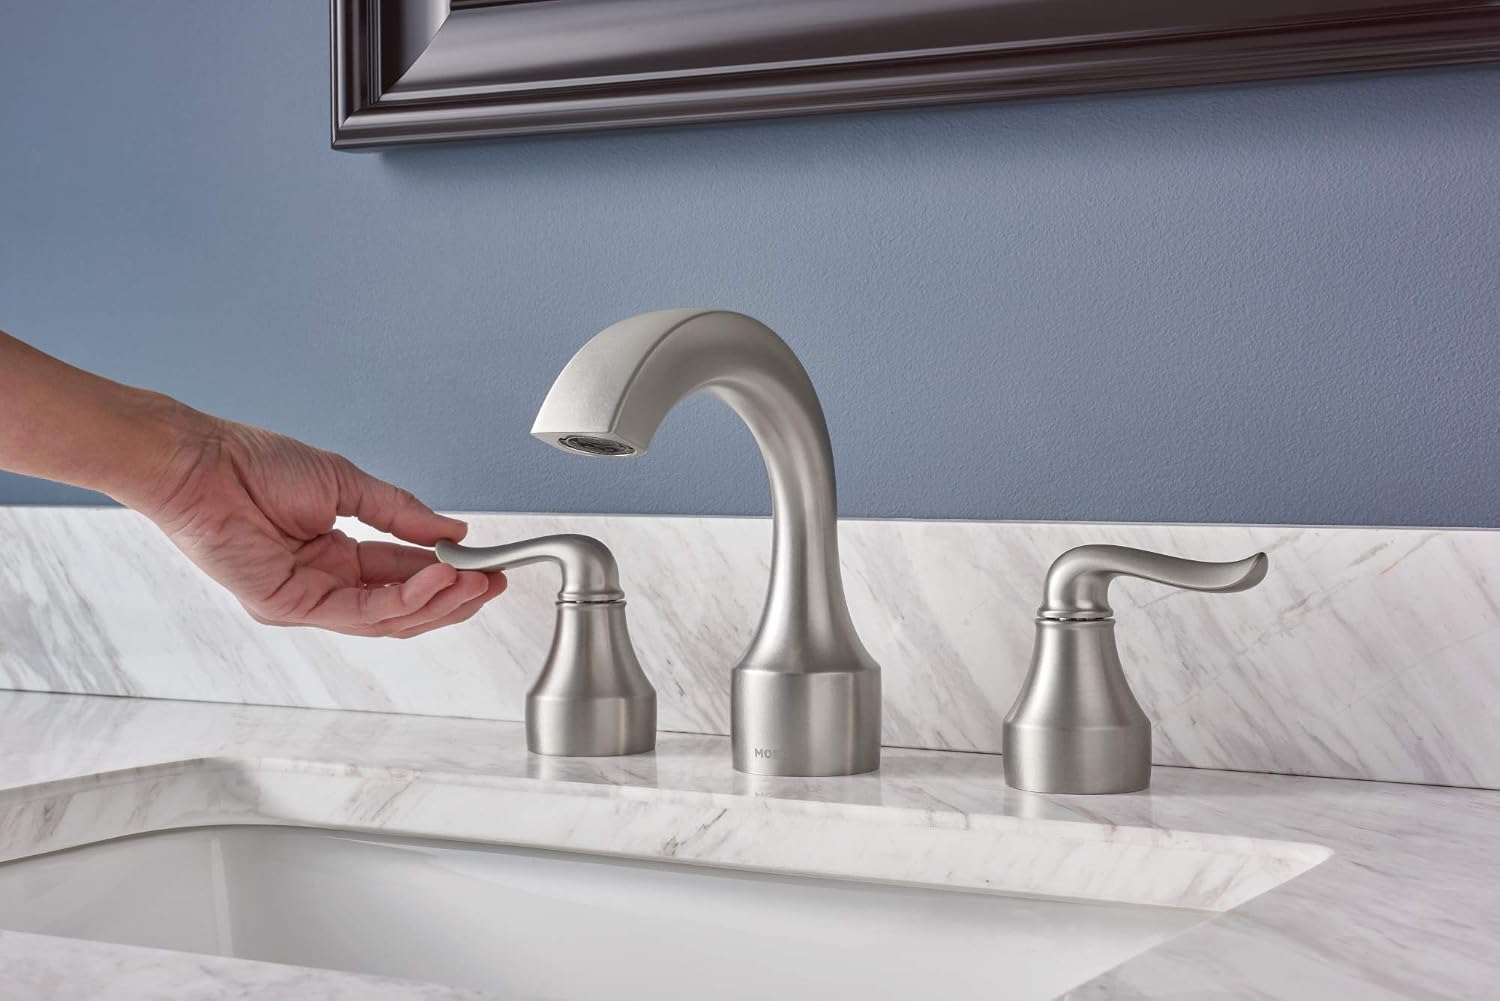
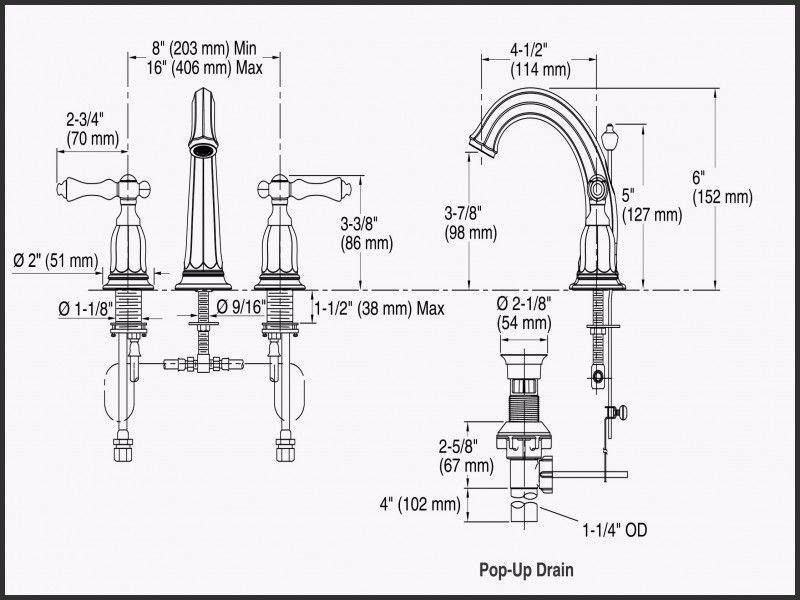
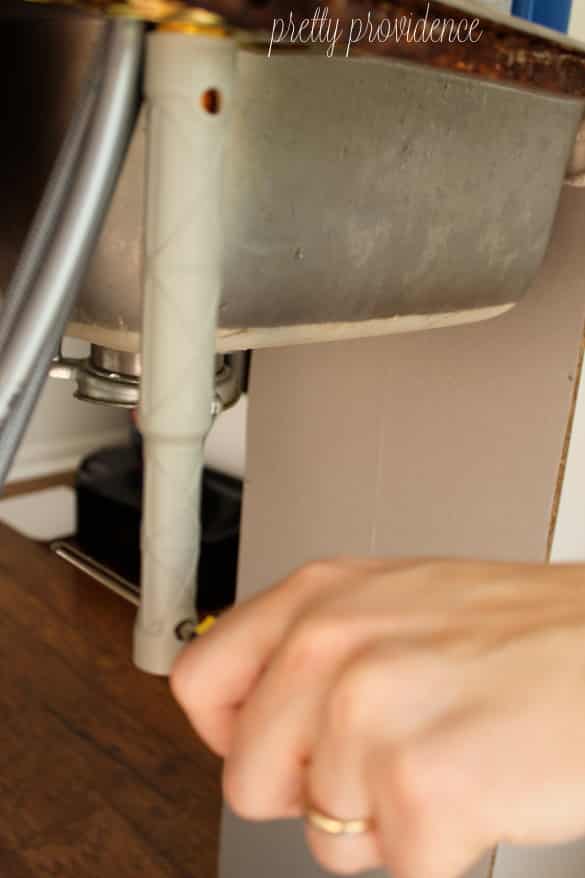
Step 4: Assemble the Faucet and Drain
 Once you have attached the faucet and drain to the sink, it is time to assemble them. This is a crucial step as it ensures that all the components are properly aligned and secured.
Start by attaching the faucet to the sink. Make sure to follow the manufacturer's instructions and use the provided tools for a secure fit. Then, attach the drain to the sink, making sure it is sealed tightly to prevent any leaks.
Once you have attached the faucet and drain to the sink, it is time to assemble them. This is a crucial step as it ensures that all the components are properly aligned and secured.
Start by attaching the faucet to the sink. Make sure to follow the manufacturer's instructions and use the provided tools for a secure fit. Then, attach the drain to the sink, making sure it is sealed tightly to prevent any leaks.
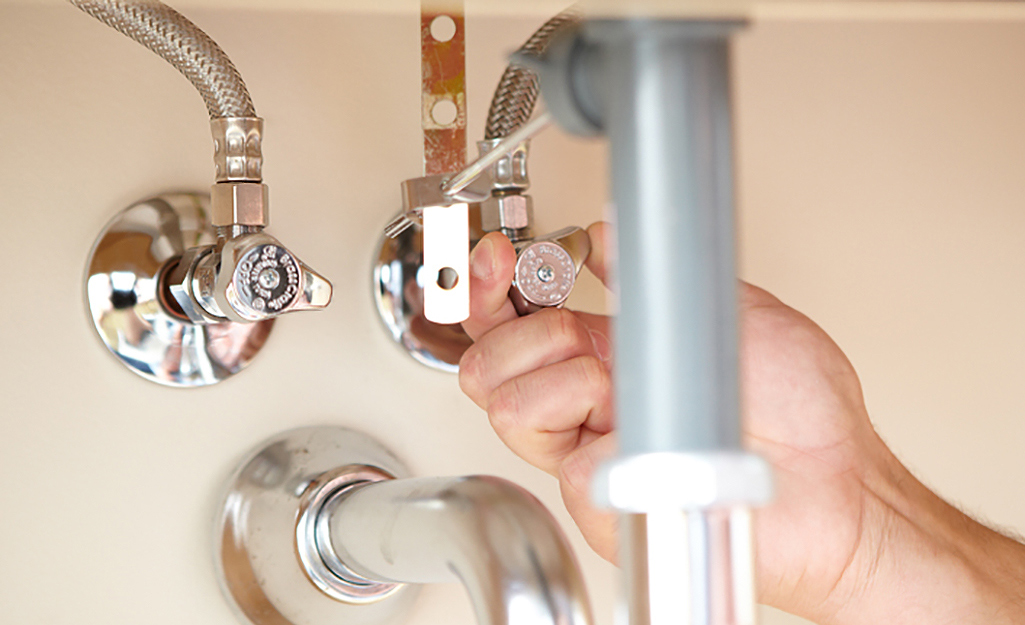
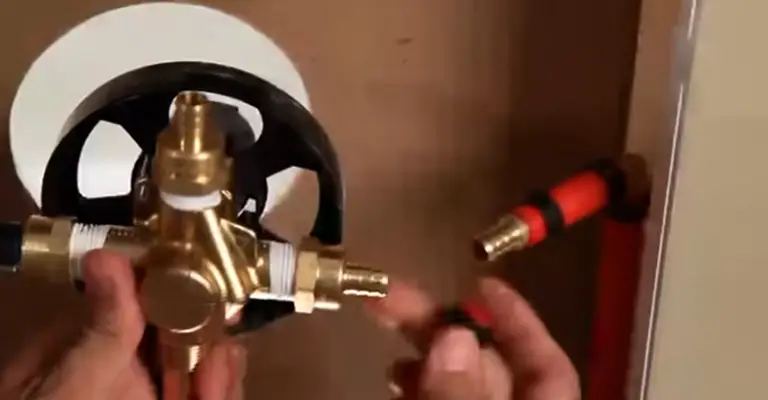
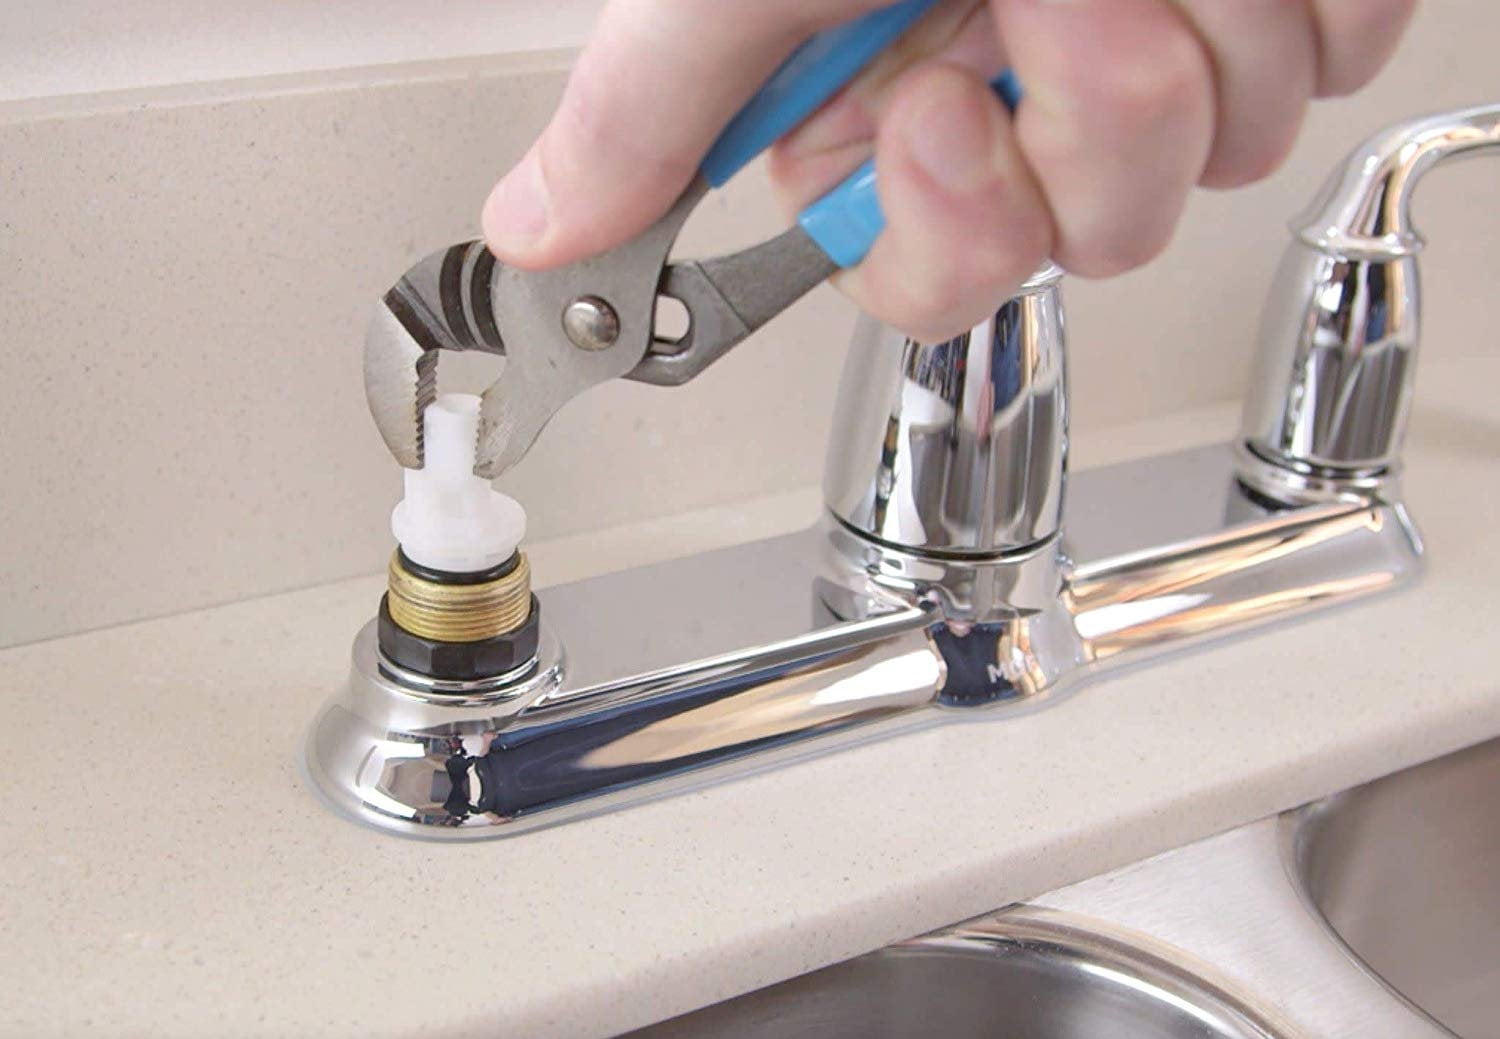
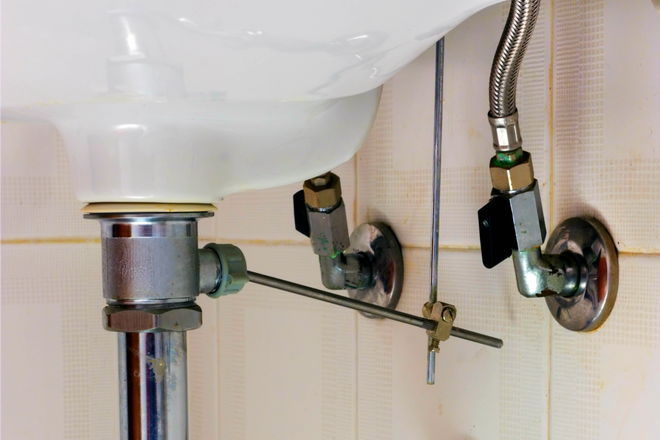
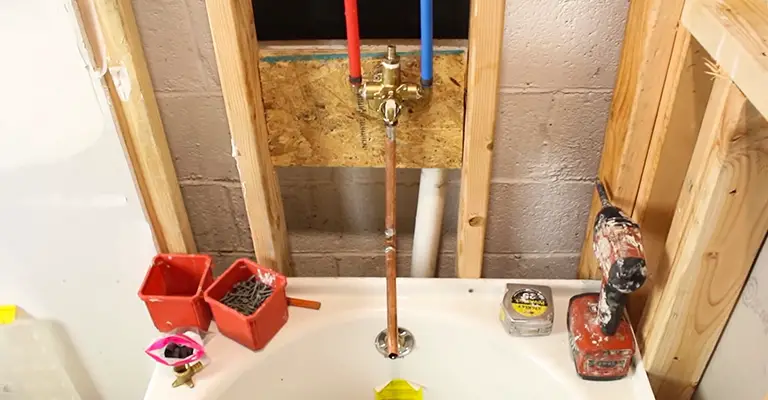
Step 5: Connect the Water Supply Lines
 After assembling the faucet and drain, it is time to connect the water supply lines. This involves attaching the hot and cold supply lines to the corresponding valves under the sink. Again, refer to the manufacturer's instructions for proper installation.
Make sure to turn off the main water supply before connecting the lines. Once they are connected, turn the water supply back on and check for any leaks. If everything looks good, move on to the next step.
After assembling the faucet and drain, it is time to connect the water supply lines. This involves attaching the hot and cold supply lines to the corresponding valves under the sink. Again, refer to the manufacturer's instructions for proper installation.
Make sure to turn off the main water supply before connecting the lines. Once they are connected, turn the water supply back on and check for any leaks. If everything looks good, move on to the next step.
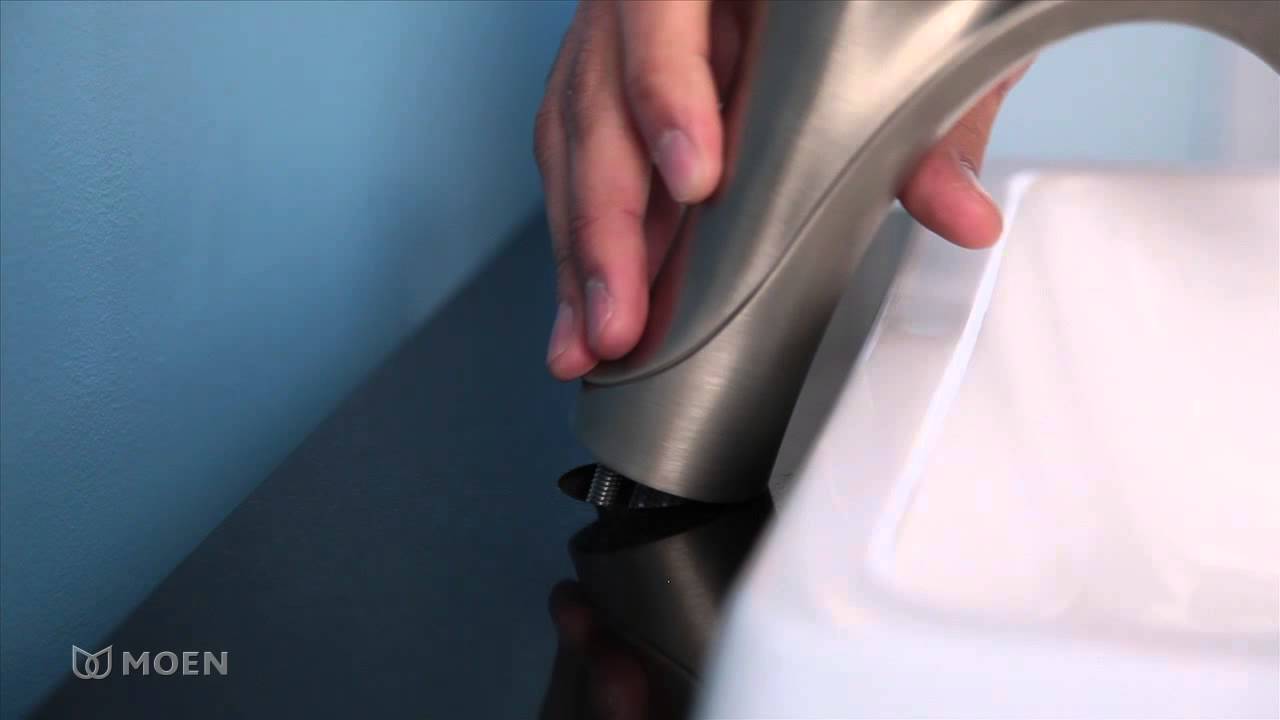
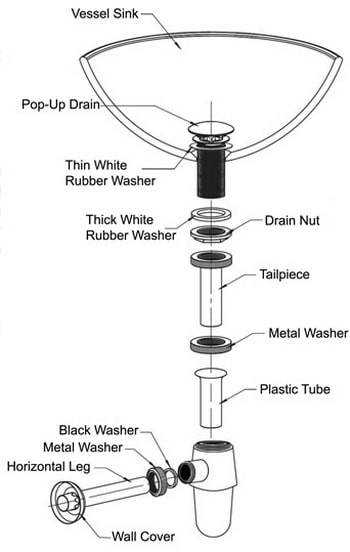
Step 6: Install the Drain Stopper
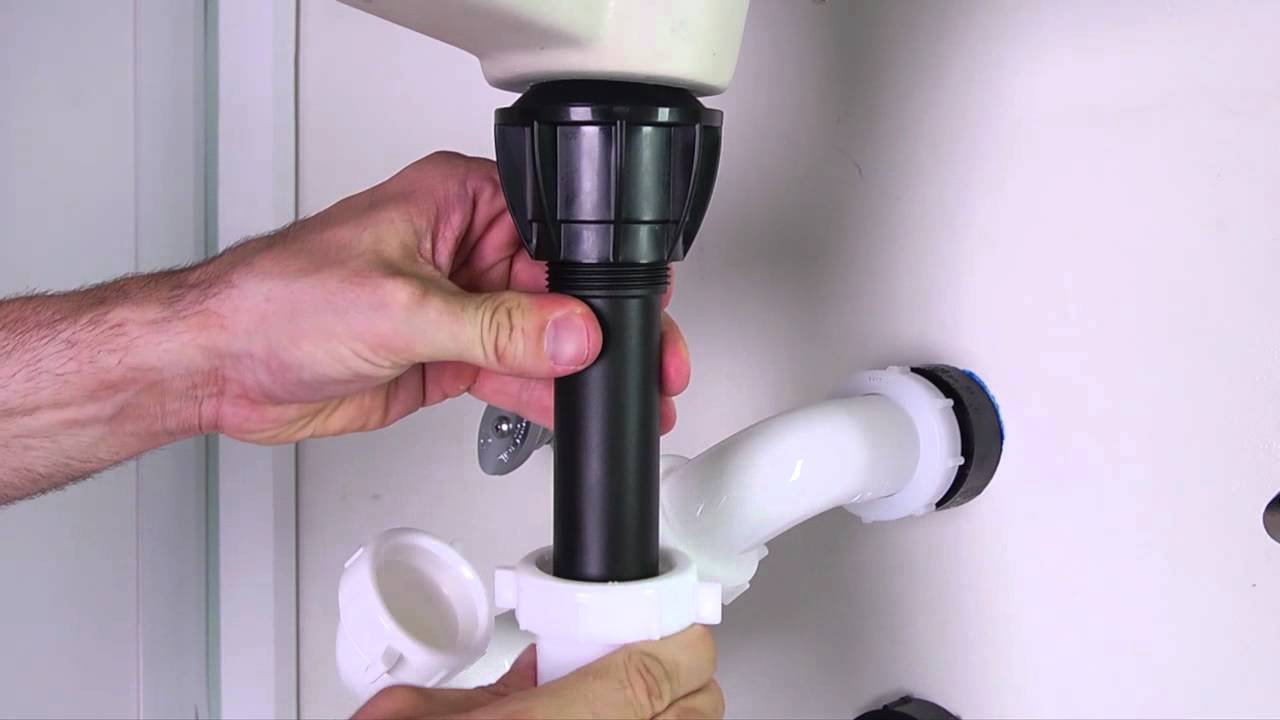 The final step in installing a Moen bathroom sink faucet and drain is to install the drain stopper. This is the mechanism that allows you to plug and unplug the sink. It is usually a simple push-and-pull mechanism that is easy to install.
Once the drain stopper is installed, test it to make sure it is working properly. If it is not, adjust it according to the manufacturer's instructions.
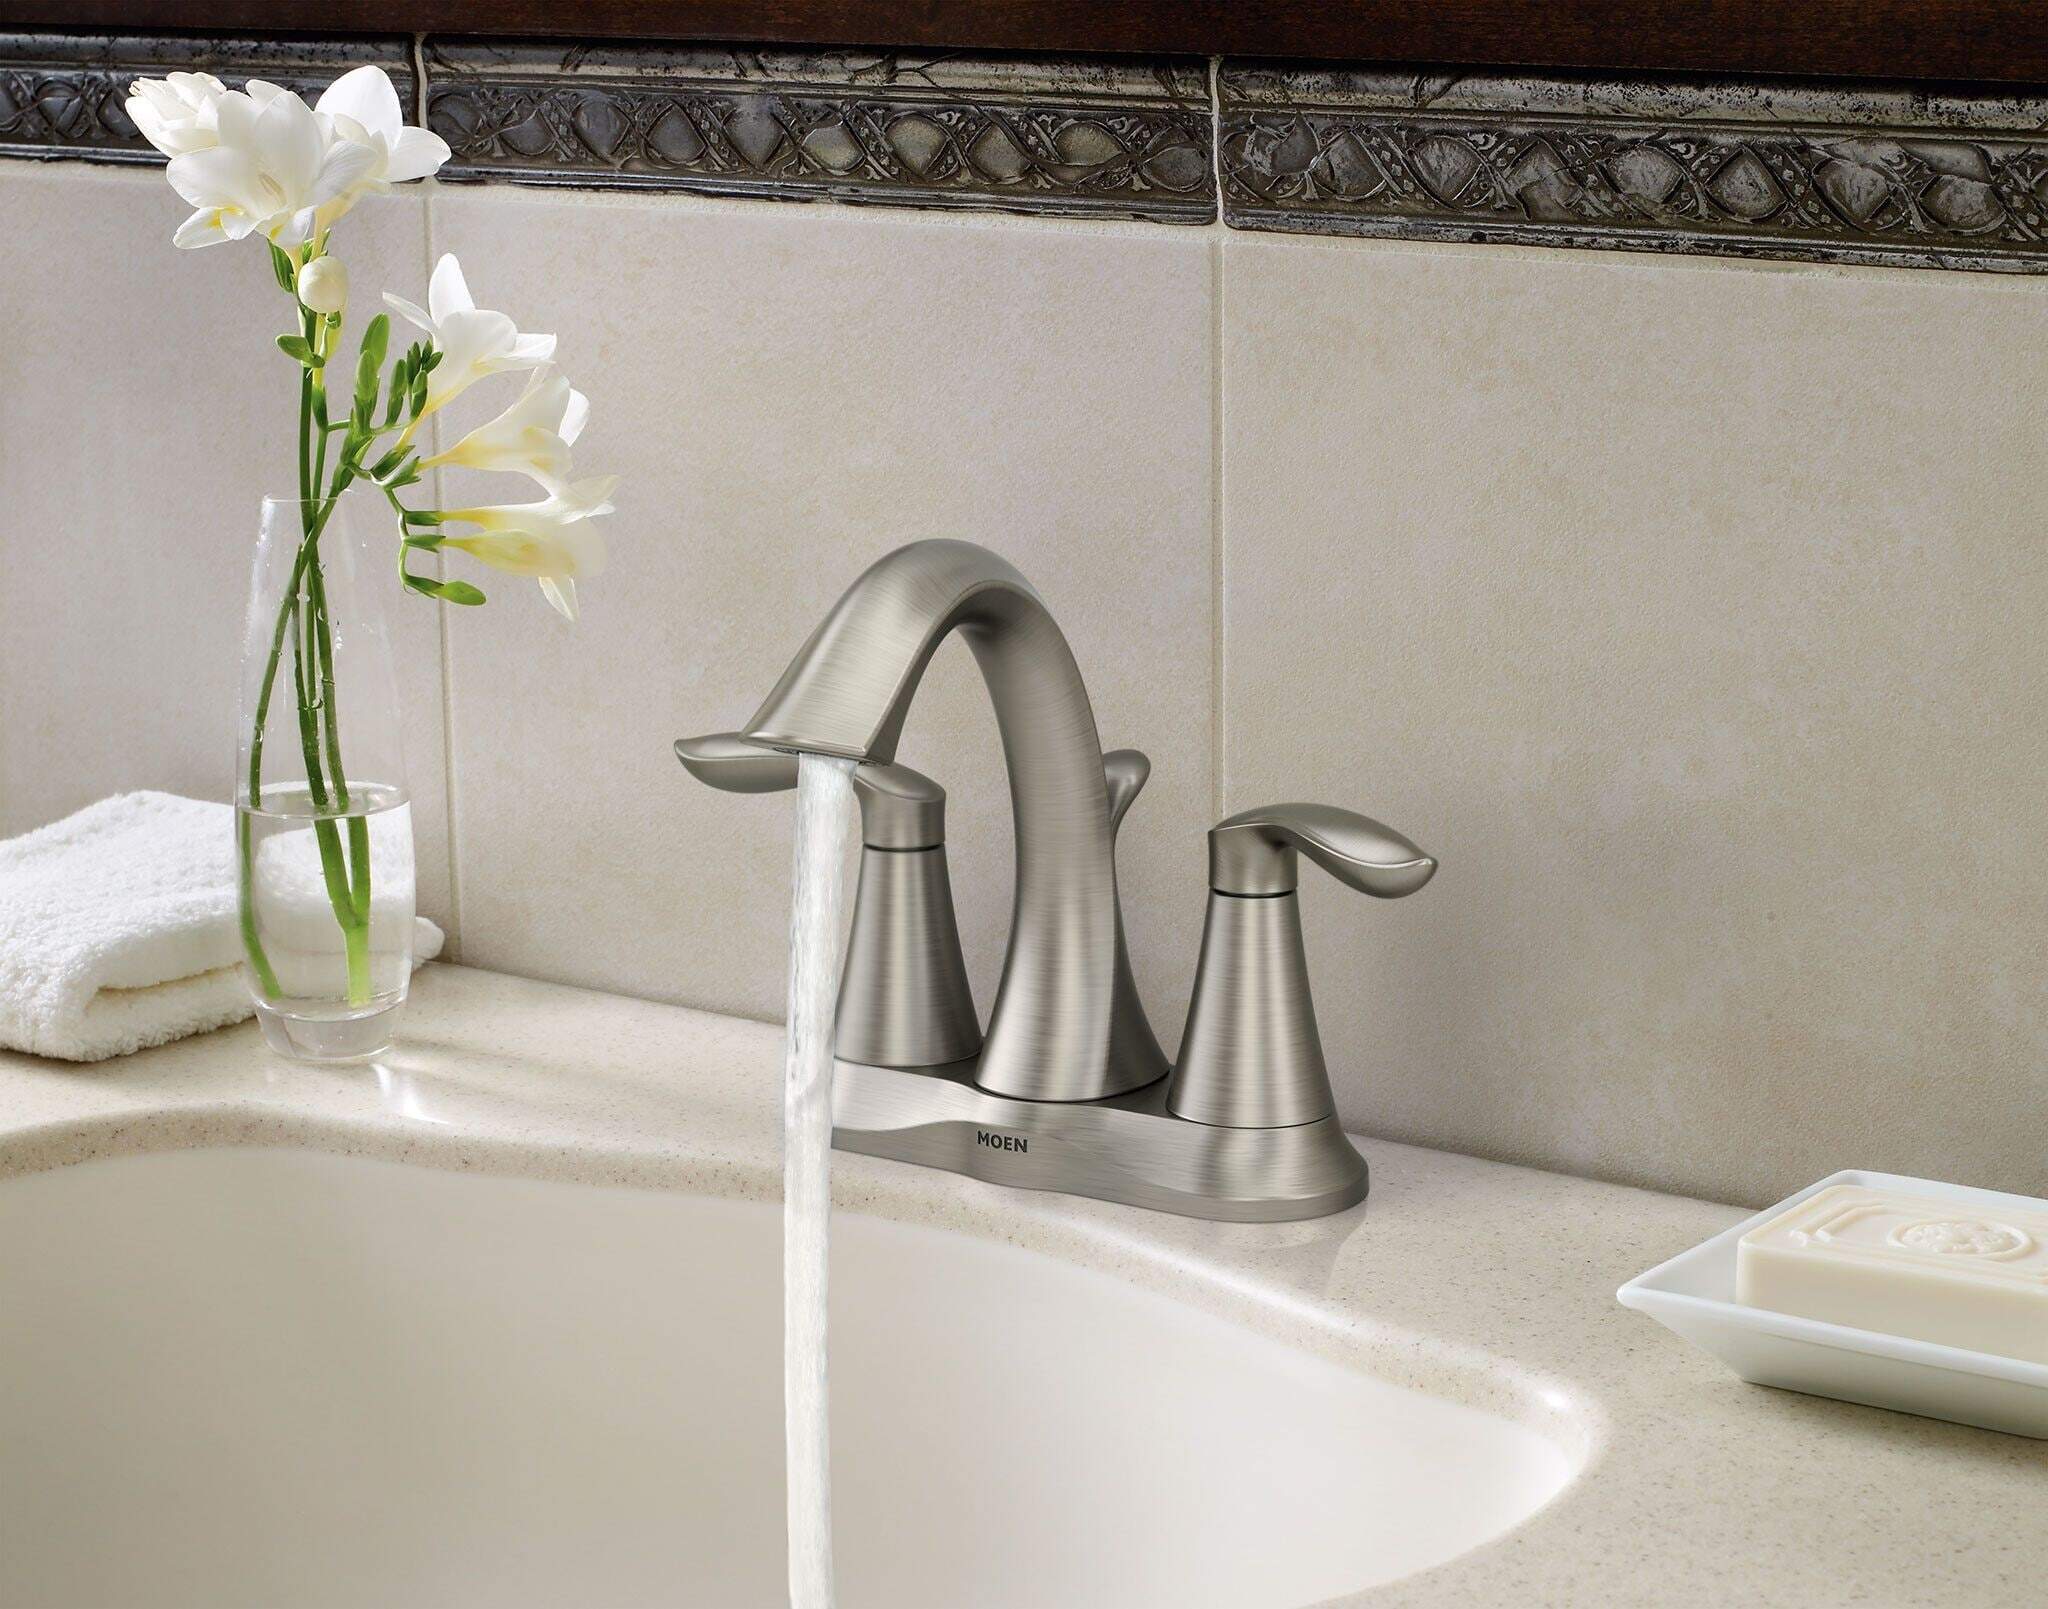
Congratulations, you have successfully installed a Moen bathroom sink faucet and drain!
With these simple steps, you can transform the look of your bathroom and add a touch of modern design. Remember to always follow the manufacturer's instructions and take your time to ensure a proper installation. Now sit back, relax, and enjoy your newly installed faucet and drain.
The final step in installing a Moen bathroom sink faucet and drain is to install the drain stopper. This is the mechanism that allows you to plug and unplug the sink. It is usually a simple push-and-pull mechanism that is easy to install.
Once the drain stopper is installed, test it to make sure it is working properly. If it is not, adjust it according to the manufacturer's instructions.
Congratulations, you have successfully installed a Moen bathroom sink faucet and drain!
With these simple steps, you can transform the look of your bathroom and add a touch of modern design. Remember to always follow the manufacturer's instructions and take your time to ensure a proper installation. Now sit back, relax, and enjoy your newly installed faucet and drain.
:max_bytes(150000):strip_icc()/af1be3_9960f559a12d41e0a169edadf5a766e7mv2-6888abb774c746bd9eac91e05c0d5355.jpg)