Are you tired of constantly dealing with clogged drains in your kitchen sink? Installing a kitchen sink strainer can help prevent food scraps and other debris from going down your drain and causing blockages. In this guide, we will walk you through the steps of installing a kitchen sink strainer so you can enjoy a clear and functional sink.How to Install a Kitchen Sink Strainer


How to Install a Kitchen Sink Strainer


If you already have a kitchen sink strainer but it is old and worn out, it may be time for a replacement. Replacing a kitchen sink strainer is similar to installing a new one, so you can follow the same steps outlined in this guide.How to Replace a Kitchen Sink Strainer

How to Replace a Kitchen Sink Strainer


Installing a kitchen sink strainer is a relatively simple DIY project that can save you money on hiring a professional plumber. With the right tools and materials, you can have your new strainer installed in no time.DIY Kitchen Sink Strainer Installation


DIY Kitchen Sink Strainer Installation


To install a new kitchen sink strainer, follow these steps:Step-by-Step Guide for Installing a Kitchen Sink Strainer


Step-by-Step Guide for Installing a Kitchen Sink Strainer


:no_upscale()/cdn.vox-cdn.com/uploads/chorus_asset/file/19495086/drain_0.jpg)
Here is a list of the tools and materials you will need for installing a kitchen sink strainer:Tools and Materials Needed for Installing a Kitchen Sink Strainer


Tools and Materials Needed for Installing a Kitchen Sink Strainer


Here are some helpful tips to keep in mind when installing a kitchen sink strainer:Tips for Installing a Kitchen Sink Strainer


Tips for Installing a Kitchen Sink Strainer


Avoid these common mistakes when installing a kitchen sink strainer to ensure a successful installation:Common Mistakes to Avoid When Installing a Kitchen Sink Strainer


Common Mistakes to Avoid When Installing a Kitchen Sink Strainer


If you prefer visual guidance, you can also watch a video tutorial on how to install a kitchen sink strainer. This can help you better understand the steps and ensure a successful installation.Video Tutorial: How to Install a Kitchen Sink Strainer

Video Tutorial: How to Install a Kitchen Sink Strainer

While installing a kitchen sink strainer is a relatively simple DIY project, you may still prefer to hire a professional plumber for the job. A professional will have the necessary tools and expertise to ensure a proper and long-lasting installation. However, if you are confident in your DIY skills, then you can save money by installing the strainer yourself.Professional Installation vs. DIY for Kitchen Sink Strainer

Professional Installation vs. DIY for Kitchen Sink Strainer


You can find a kitchen sink strainer at most home improvement stores or online retailers. When choosing the right one, make sure to consider the size and style of your sink, as well as the material of the strainer. It is also important to read reviews and choose a reputable brand to ensure a quality product. With these tips and a step-by-step guide, you can easily install a kitchen sink strainer and say goodbye to clogged drains in your kitchen sink. Remember to always follow safety precautions and consult a professional if you encounter any difficulties. Enjoy your new and functional kitchen sink! Where to Buy a Kitchen Sink Strainer and How to Choose the Right One


Where to Buy a Kitchen Sink Strainer and How to Choose the Right One


How to Install a Kitchen Sink Strainer: A Step-by-Step Guide

Why Install a Kitchen Sink Strainer?
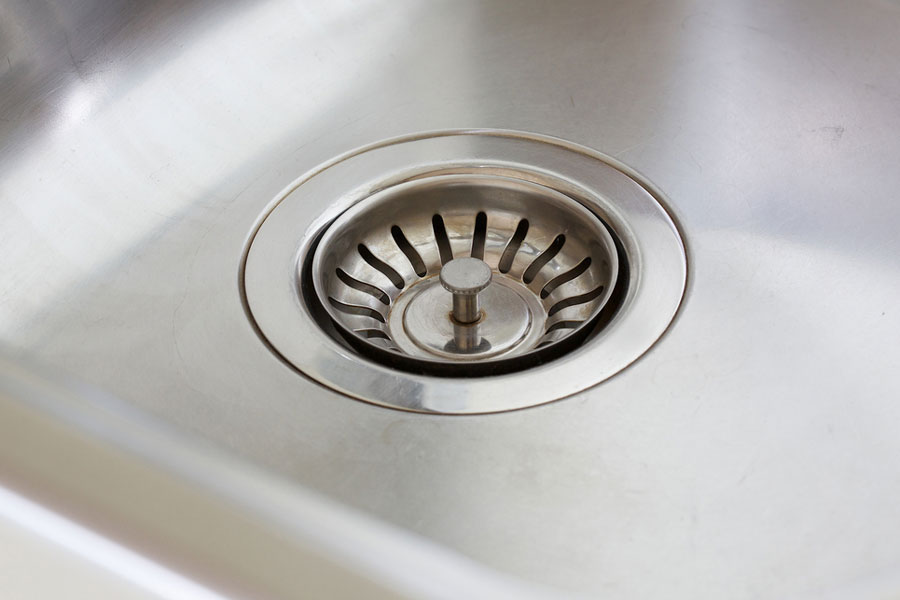
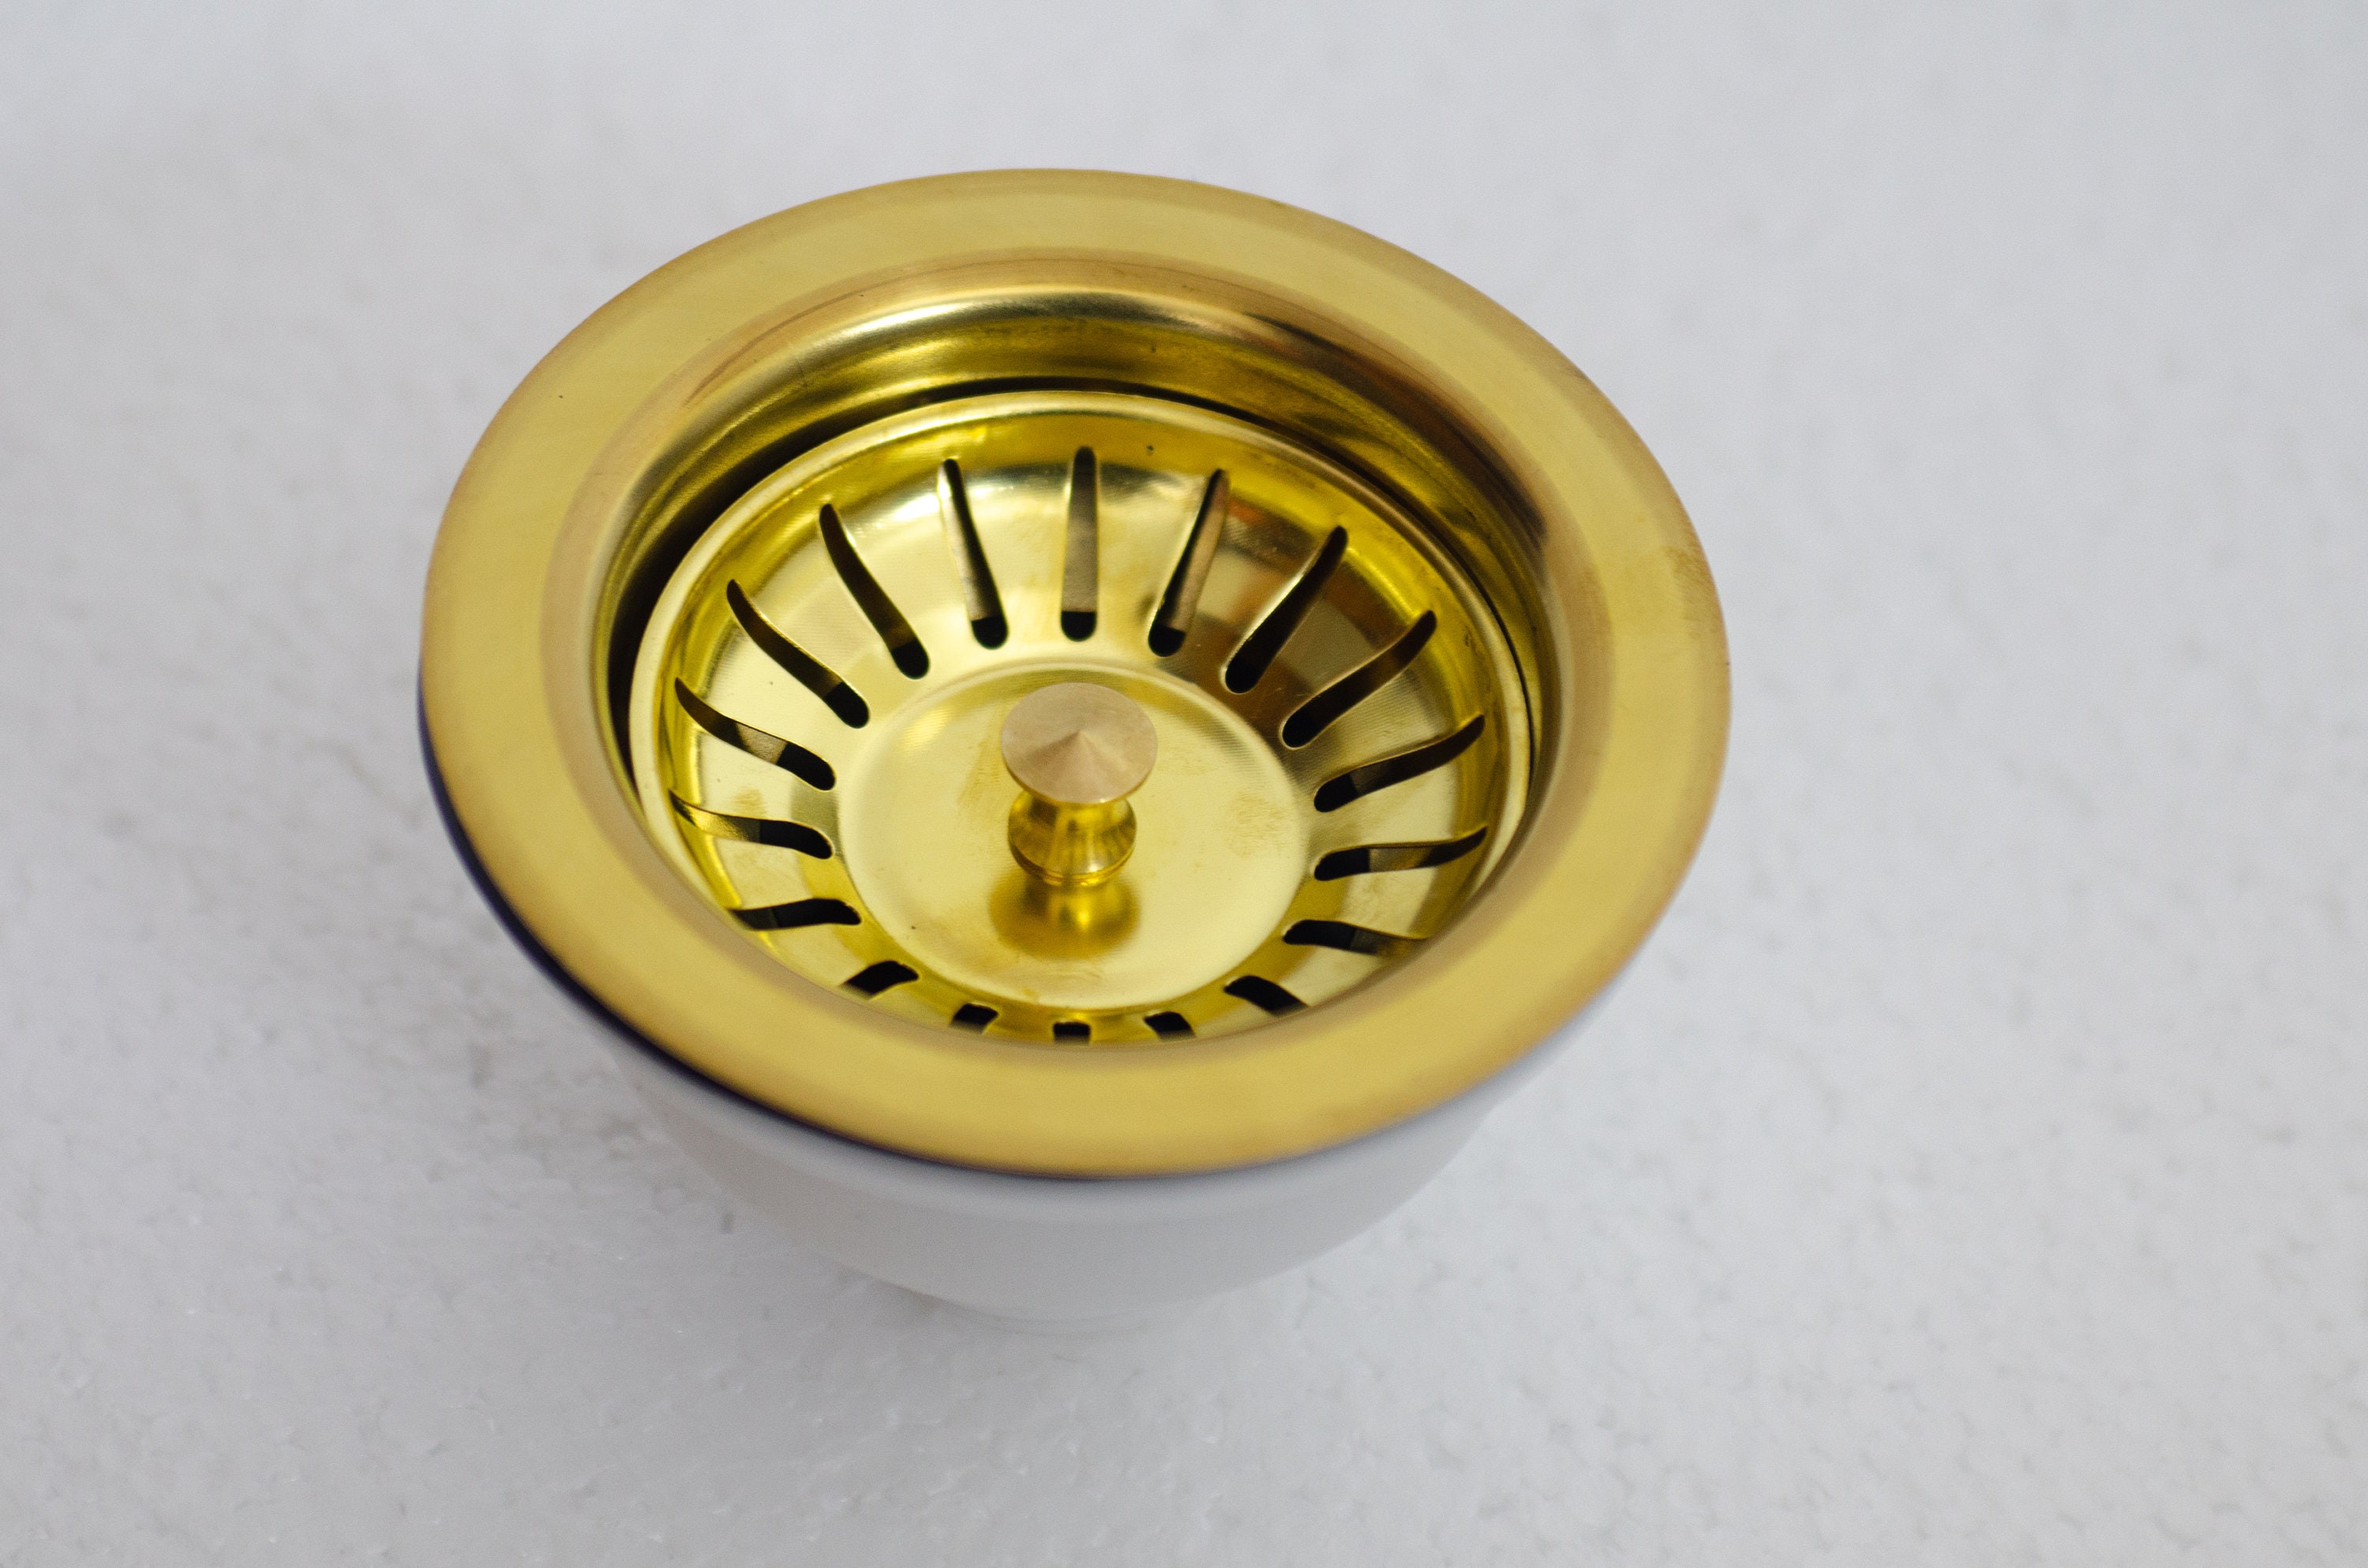
 When it comes to designing your dream kitchen, every detail matters. One essential element that often gets overlooked is the kitchen sink strainer. This small yet crucial component helps prevent clogged drains and keeps your sink clean and functional.
Step 1: Gather Your Tools and Materials
 Before you begin the installation process, make sure you have all the necessary tools and materials. You will need a sink strainer, plumber's putty, a wrench, and a screwdriver.
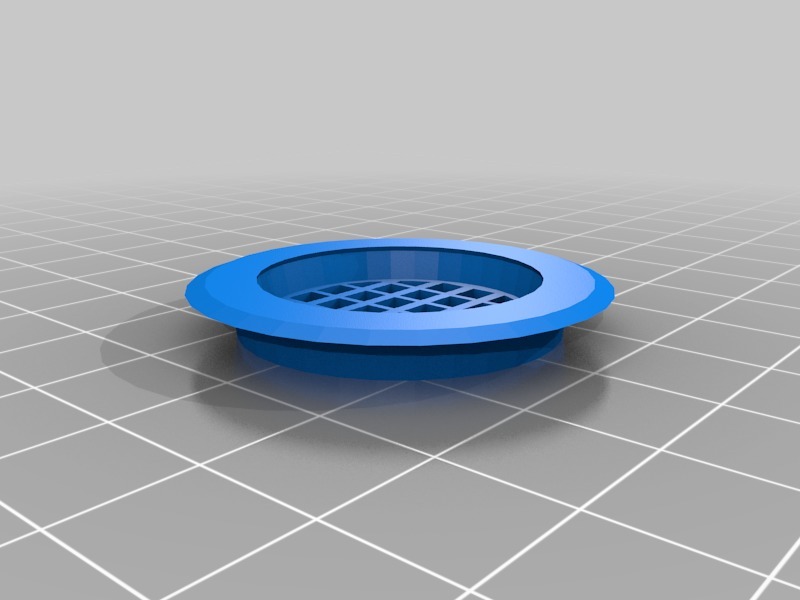
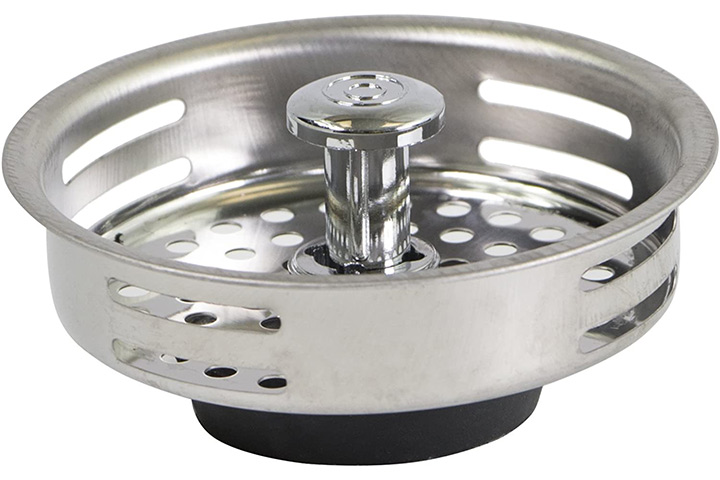
Kitchen sink strainers come in various sizes and finishes, so be sure to choose one that fits your sink and matches your kitchen aesthetic.
Before you begin the installation process, make sure you have all the necessary tools and materials. You will need a sink strainer, plumber's putty, a wrench, and a screwdriver.
Kitchen sink strainers come in various sizes and finishes, so be sure to choose one that fits your sink and matches your kitchen aesthetic.
Step 2: Prepare the Sink and Strainer
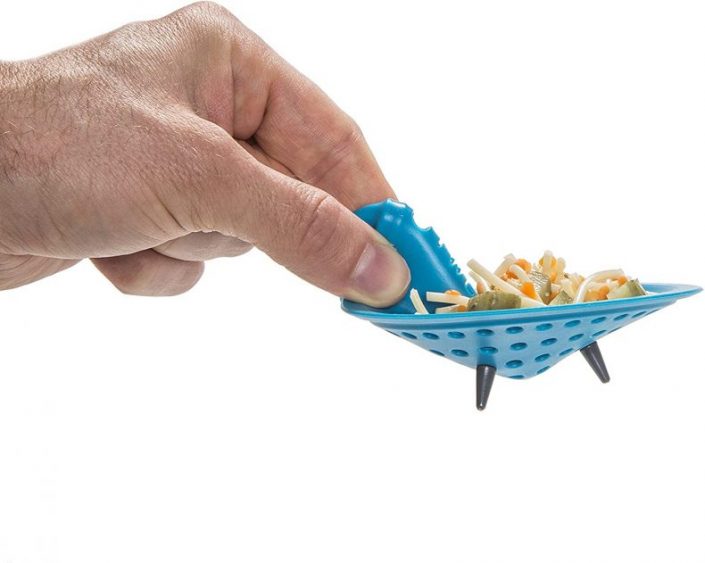
 Start by removing any old strainer or debris from the sink drain. Then, clean the area around the drain thoroughly.
It is essential to have a clean surface to ensure a proper seal and prevent leaks.
Start by removing any old strainer or debris from the sink drain. Then, clean the area around the drain thoroughly.
It is essential to have a clean surface to ensure a proper seal and prevent leaks.
Step 3: Apply Plumber's Putty
 Take a small amount of plumber's putty and roll it into a rope shape. Place the putty around the underside of the strainer's lip, making sure it is evenly distributed.
This putty will create a watertight seal between the sink and the strainer.
Take a small amount of plumber's putty and roll it into a rope shape. Place the putty around the underside of the strainer's lip, making sure it is evenly distributed.
This putty will create a watertight seal between the sink and the strainer.
Step 4: Install the Strainer
 Place the strainer into the sink drain, making sure it fits snugly.
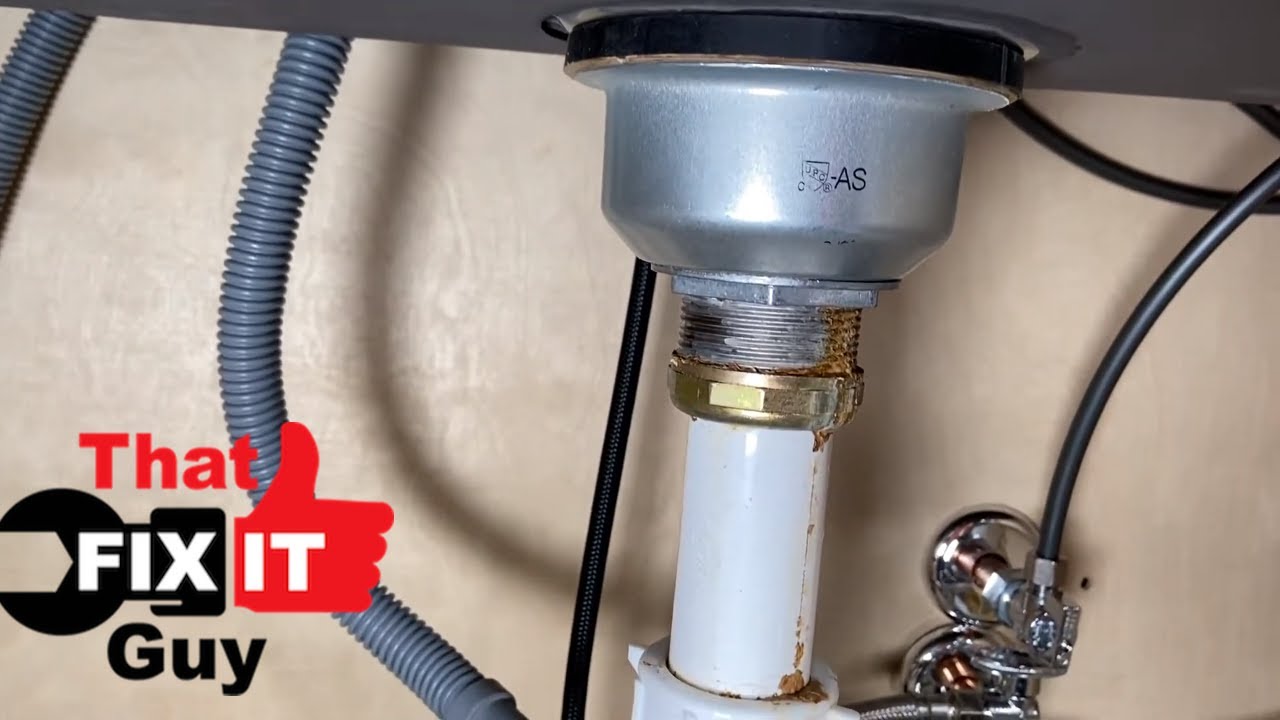
Use a wrench to tighten the locknut underneath the sink.
This will secure the strainer in place and create a tight seal.
Place the strainer into the sink drain, making sure it fits snugly.
Use a wrench to tighten the locknut underneath the sink.
This will secure the strainer in place and create a tight seal.
Step 5: Connect the Drainpipe
 Now, it's time to connect the drainpipe to the strainer.
Use a wrench to tighten the slip nut that connects the drainpipe to the strainer's tailpiece.
This will ensure a secure connection and prevent any leaks.
Now, it's time to connect the drainpipe to the strainer.
Use a wrench to tighten the slip nut that connects the drainpipe to the strainer's tailpiece.
This will ensure a secure connection and prevent any leaks.
Step 6: Test the Strainer
 Once everything is connected, turn on the water and let it run for a few minutes.
Check for any leaks around the strainer and tighten any connections if necessary.
If there are no leaks, congratulations, you have successfully installed your kitchen sink strainer!
Once everything is connected, turn on the water and let it run for a few minutes.
Check for any leaks around the strainer and tighten any connections if necessary.
If there are no leaks, congratulations, you have successfully installed your kitchen sink strainer!
Final Thoughts
 Installing a kitchen sink strainer may seem like a small task, but it can make a big difference in the functionality and cleanliness of your kitchen. Follow these steps, and you will have a perfectly installed strainer in no time.
Remember to choose a high-quality strainer and regularly clean and maintain it to ensure it continues to work effectively.
Happy straining!
Installing a kitchen sink strainer may seem like a small task, but it can make a big difference in the functionality and cleanliness of your kitchen. Follow these steps, and you will have a perfectly installed strainer in no time.
Remember to choose a high-quality strainer and regularly clean and maintain it to ensure it continues to work effectively.
Happy straining!