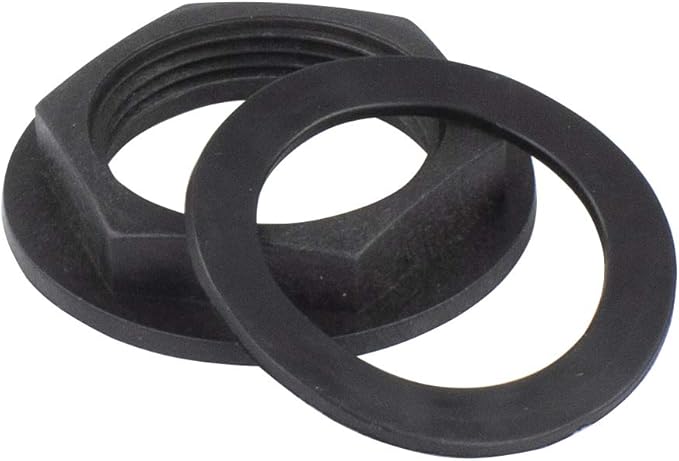
Installing a kitchen sink nut and washer may seem like a daunting task, but with the right tools and knowledge, it can be a simple and straightforward process. Whether you are installing a new sink or replacing an old one, knowing how to properly install the nuts and washers is essential for a leak-free and secure sink. Follow these steps for a successful kitchen sink nut and washer installation.How to Install a Kitchen Sink Nut and Washer


How to Install a Kitchen Sink Nut and Washer

If you are replacing a kitchen sink, the first step is to remove the old sink and its components, including the old nuts and washers. To replace the kitchen sink nut and washer, follow the same steps as installing a new one. However, make sure to clean the area thoroughly before installing the new nut and washer to ensure a proper seal.How to Replace a Kitchen Sink Nut and Washer

How to Replace a Kitchen Sink Nut and Washer


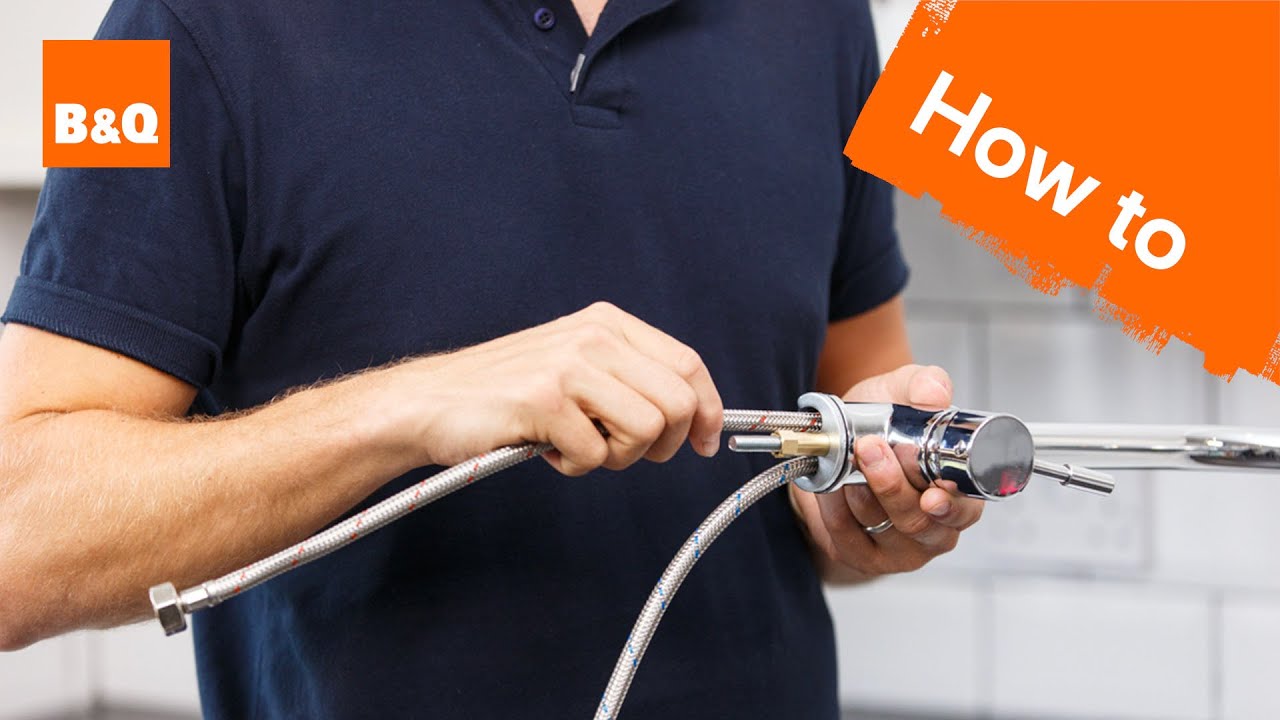
Step 1: Gather the necessary tools and materials. You will need a pair of pliers, an adjustable wrench, a screwdriver, a putty knife, and of course, the new kitchen sink nut and washer. Step 2: Turn off the water supply to the sink. This is usually located under the sink or in a nearby cabinet. Step 3: Remove the old nut and washer by using a pair of pliers or an adjustable wrench. Turn the nut counterclockwise to loosen it and then remove it by hand. Step 4: Clean the area around the sink drain with a putty knife to remove any old sealant or debris. Step 5: Place the new washer on the sink drain, making sure it fits snugly. Step 6: Install the new nut by screwing it onto the drain clockwise. Use a screwdriver or pliers to tighten it, but be careful not to over-tighten as it can damage the nut. Step 7: Turn the water supply back on and check for any leaks. If there are no leaks, you have successfully installed a kitchen sink nut and washer.Step-by-Step Guide for Installing a Kitchen Sink Nut and Washer


Step-by-Step Guide for Installing a Kitchen Sink Nut and Washer


If you are the DIY type, installing a kitchen sink nut and washer is a task that you can easily take on. With the right tools and knowledge, you can save money and have the satisfaction of doing it yourself. However, if you are not confident in your abilities, it is always best to hire a professional to ensure a proper installation.DIY Kitchen Sink Nut and Washer Installation


DIY Kitchen Sink Nut and Washer Installation


To install a kitchen sink nut and washer, you will need a pair of pliers, an adjustable wrench, a screwdriver, a putty knife, and the new nut and washer. It is also recommended to have a towel or old cloth on hand to catch any water that may leak during the installation process.Tools Needed for Installing a Kitchen Sink Nut and Washer


Tools Needed for Installing a Kitchen Sink Nut and Washer


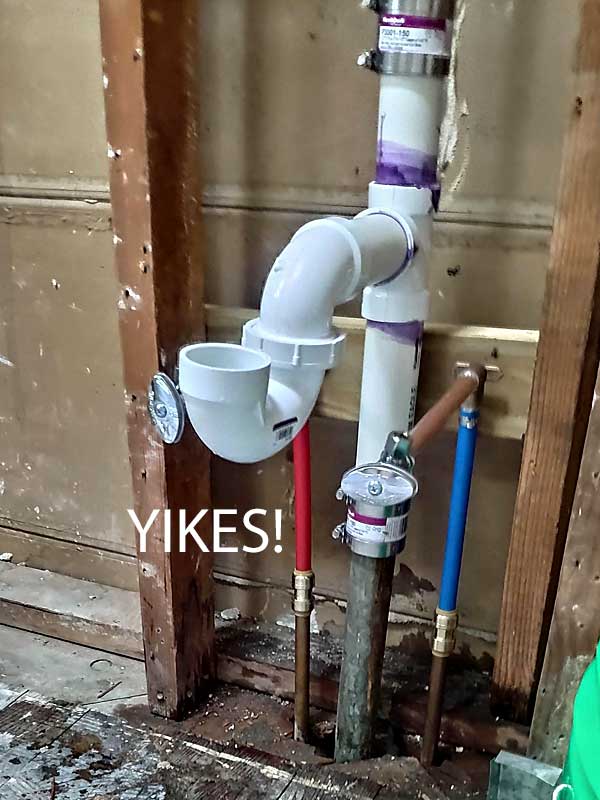
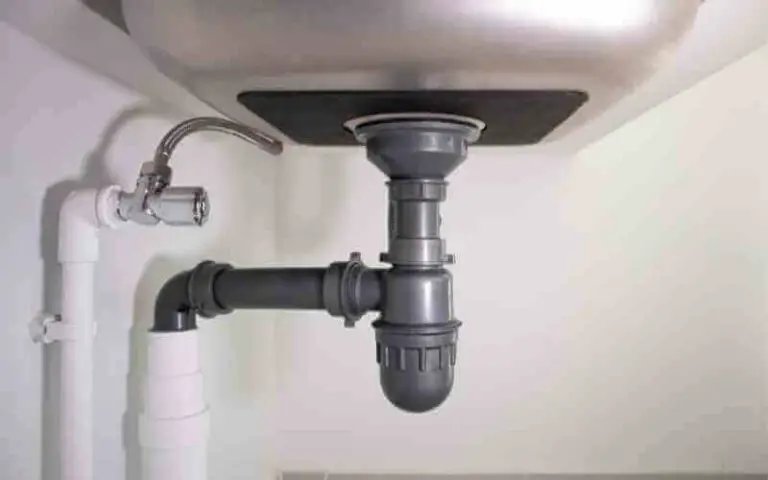
/how-to-install-a-sink-drain-2718789-hero-b5b99f72b5a24bb2ae8364e60539cece.jpg)
Here are some helpful tips to keep in mind when installing a kitchen sink nut and washer: Tip 1: Always turn off the water supply before starting the installation process. Tip 2: Use a putty knife to remove any old sealant or debris from the sink drain before installing the new nut and washer. Tip 3: Make sure the new washer fits snugly onto the sink drain to ensure a proper seal. Tip 4: Use a towel or old cloth to catch any water that may leak during the installation process.Tips for a Successful Kitchen Sink Nut and Washer Installation


Tips for a Successful Kitchen Sink Nut and Washer Installation
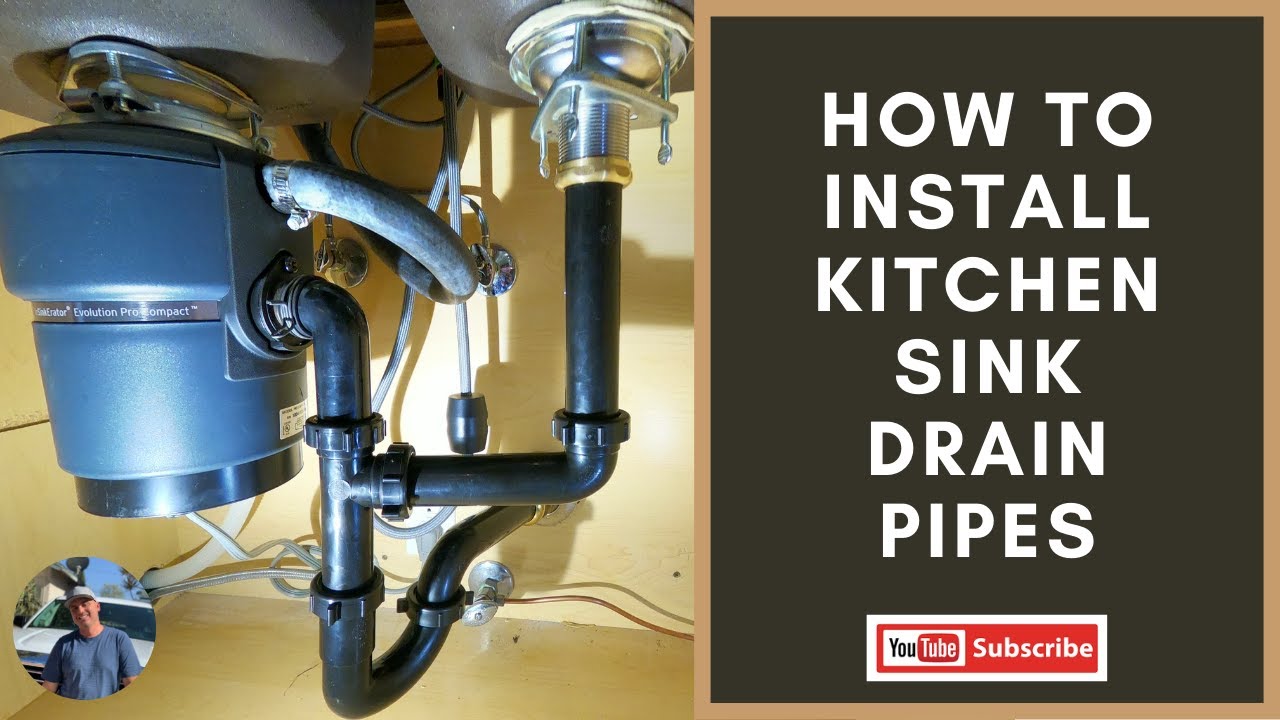
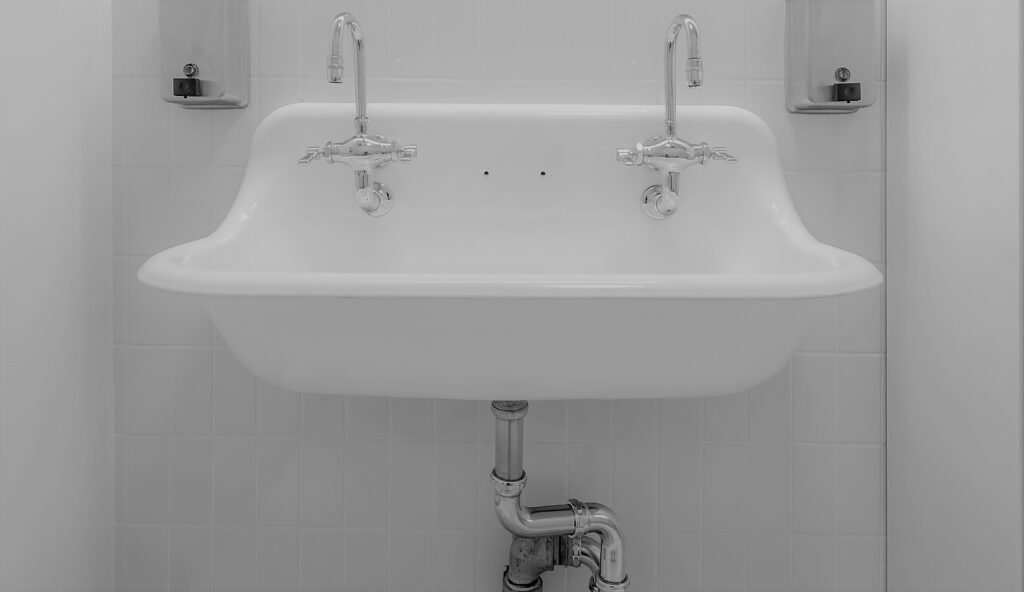
/how-to-install-a-sink-drain-2718789-hero-24e898006ed94c9593a2a268b57989a3.jpg)


Here are some common mistakes that can occur when installing a kitchen sink nut and washer: Not turning off the water supply before starting the installation process. This can result in a messy and potentially damaging leak if the nut and washer are not installed properly. Using too much force when tightening the nut. Over-tightening can cause damage to the nut and washer and may result in leaks. Not cleaning the area around the sink drain before installing the new nut and washer. Any debris or old sealant left on the sink can compromise the seal and result in leaks.Common Mistakes to Avoid When Installing a Kitchen Sink Nut and Washer


Common Mistakes to Avoid When Installing a Kitchen Sink Nut and Washer


If you notice that your kitchen sink nut and washer have become loose, it is important to tighten them to prevent any leaks. Follow these steps to tighten a loose kitchen sink nut and washer: Step 1: Turn off the water supply to the sink. Step 2: Use a pair of pliers or an adjustable wrench to tighten the nut by turning it clockwise. Step 3: Turn the water supply back on and check for any leaks. If the nut and washer are still loose, you may need to replace them.How to Tighten a Loose Kitchen Sink Nut and Washer

How to Tighten a Loose Kitchen Sink Nut and Washer


You can purchase kitchen sink nuts and washers at most hardware or home improvement stores. They are also available online through various retailers. Make sure to choose a reputable brand and check for compatibility with your sink before purchasing.Where to Buy Kitchen Sink Nuts and Washers


Where to Buy Kitchen Sink Nuts and Washers


If you are not confident in your abilities or simply do not have the time to install a kitchen sink nut and washer yourself, it is best to hire a professional. They have the necessary tools and expertise to ensure a proper and leak-free installation. You can find reputable installation services through online reviews or by asking for recommendations from friends and family.Professional Kitchen Sink Nut and Washer Installation Services


Professional Kitchen Sink Nut and Washer Installation Services

Why Proper Installation of Kitchen Sink Nut and Washer is Essential for a Functional Kitchen
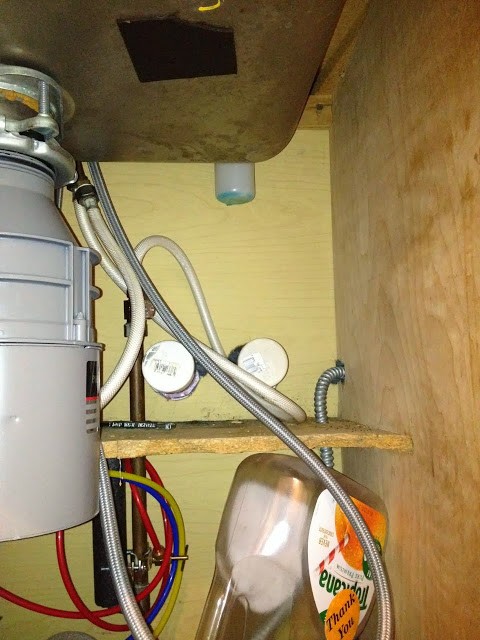
:no_upscale()/cdn.vox-cdn.com/uploads/chorus_asset/file/19495086/drain_0.jpg)
The installation of a kitchen sink nut and washer may seem like a small and insignificant task, but it is actually a crucial step in creating a functional and well-designed kitchen. These essential components play a vital role in keeping your sink in place and preventing leaks, which can lead to costly repairs in the future. In this article, we will discuss the importance of properly installing a kitchen sink nut and washer and provide step-by-step instructions on how to do it correctly.
Preventing Leaks

One of the main reasons why it is important to properly install a kitchen sink nut and washer is to prevent leaks. A leaky sink can cause significant damage to your cabinets, floors, and countertops, not to mention the inconvenience and cost of having to constantly clean up water. By ensuring that the nut and washer are installed correctly, you can avoid these issues and maintain the integrity of your kitchen.
Securing the Sink

A kitchen sink nut and washer also play a crucial role in securing the sink in place. Without them, the sink could become loose and wobbly, making it difficult to use and potentially causing damage to the surrounding areas. By properly installing these components, you can ensure that your sink stays in place and functions properly.
Step-by-Step Guide for Proper Installation
Now that you understand the importance of a kitchen sink nut and washer, let's go over the steps for installing them correctly.
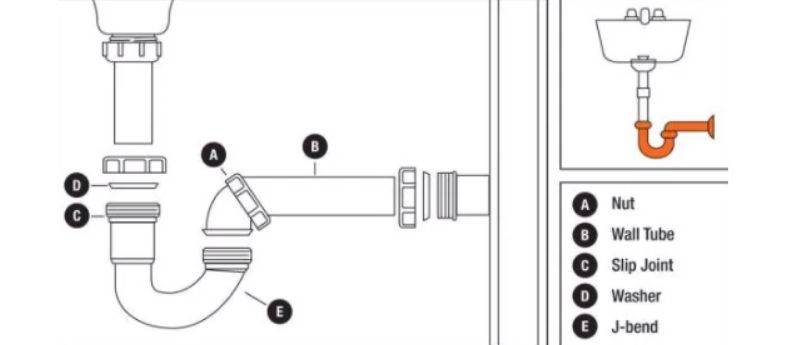
- First, place the washer on the bottom of the sink's drain.
- Next, push the sink strainer up through the drain hole and place the nut on top.
- Tighten the nut by hand as much as possible, and then use a wrench to tighten it further.
- Check to make sure the sink is securely in place and the nut is tightened enough to prevent leaks.
It is important to note that the nut should be tightened evenly, and you should avoid over-tightening it, as this can cause damage to the sink. Additionally, if you are using a sink with a garbage disposal, you will need to install a mounting ring and secure it with the nut before attaching the disposal.
Conclusion

In conclusion, properly installing a kitchen sink nut and washer is crucial for maintaining a functional and well-designed kitchen. By following the steps outlined in this article, you can ensure that your sink stays in place and prevents leaks, saving you time, money, and potential headaches in the future.


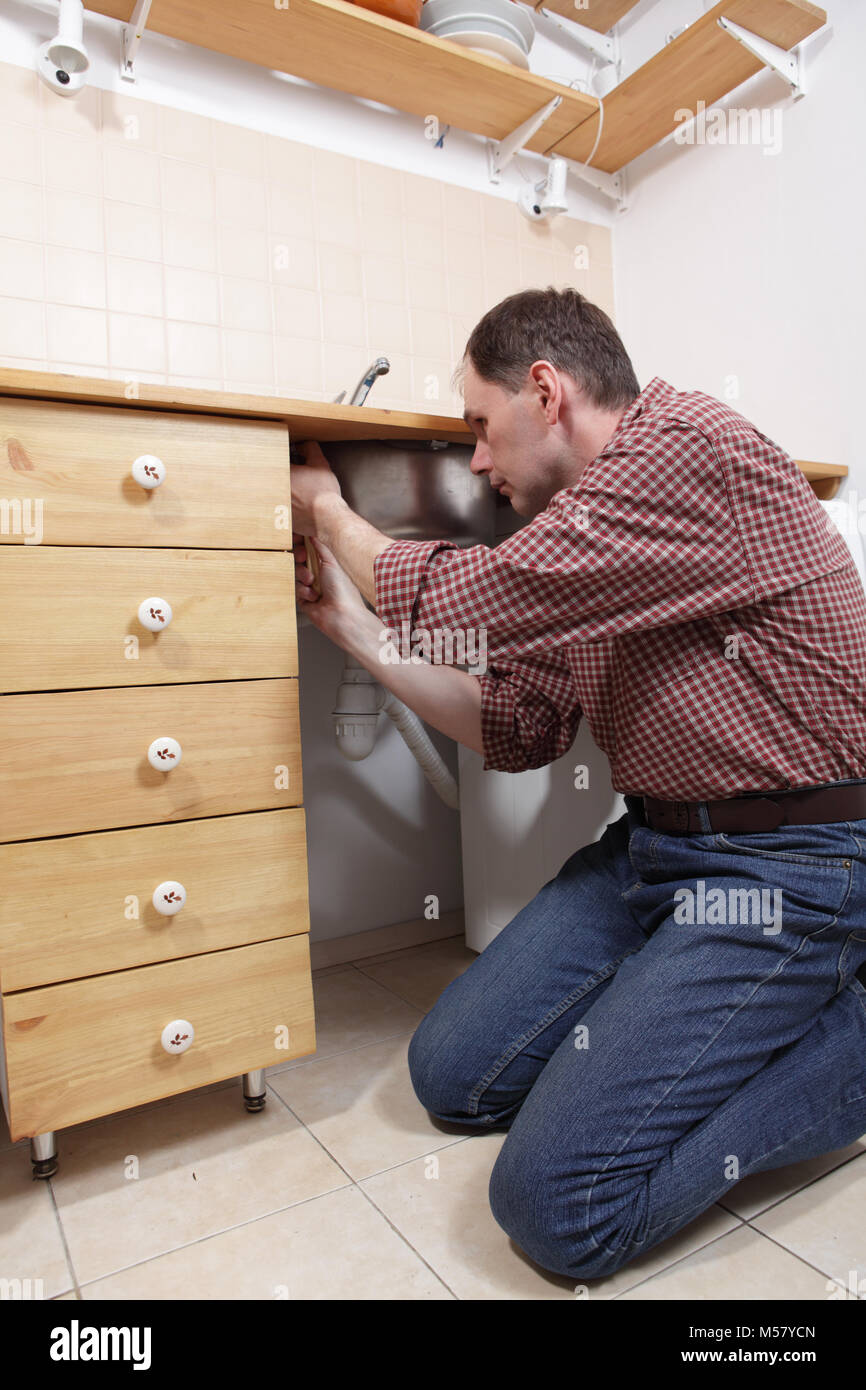
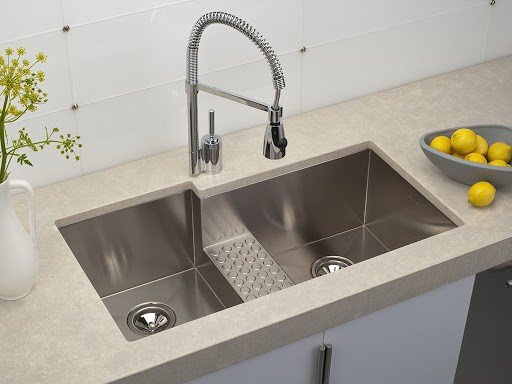
:max_bytes(150000):strip_icc()/GettyImages-872728164-5c79d40f46e0fb0001a5f030.jpg)

