How to Install Kitchen Sink Mixer Taps
If you're looking to upgrade your kitchen sink, installing a new mixer tap can make a big difference in both style and functionality. While the thought of installing something new may seem intimidating, with the right tools and a little know-how, you can easily do it yourself. In this guide, we'll walk you through the steps to successfully install kitchen sink mixer taps and transform your kitchen in no time.
Step-by-Step Guide for Installing Kitchen Sink Mixer Taps
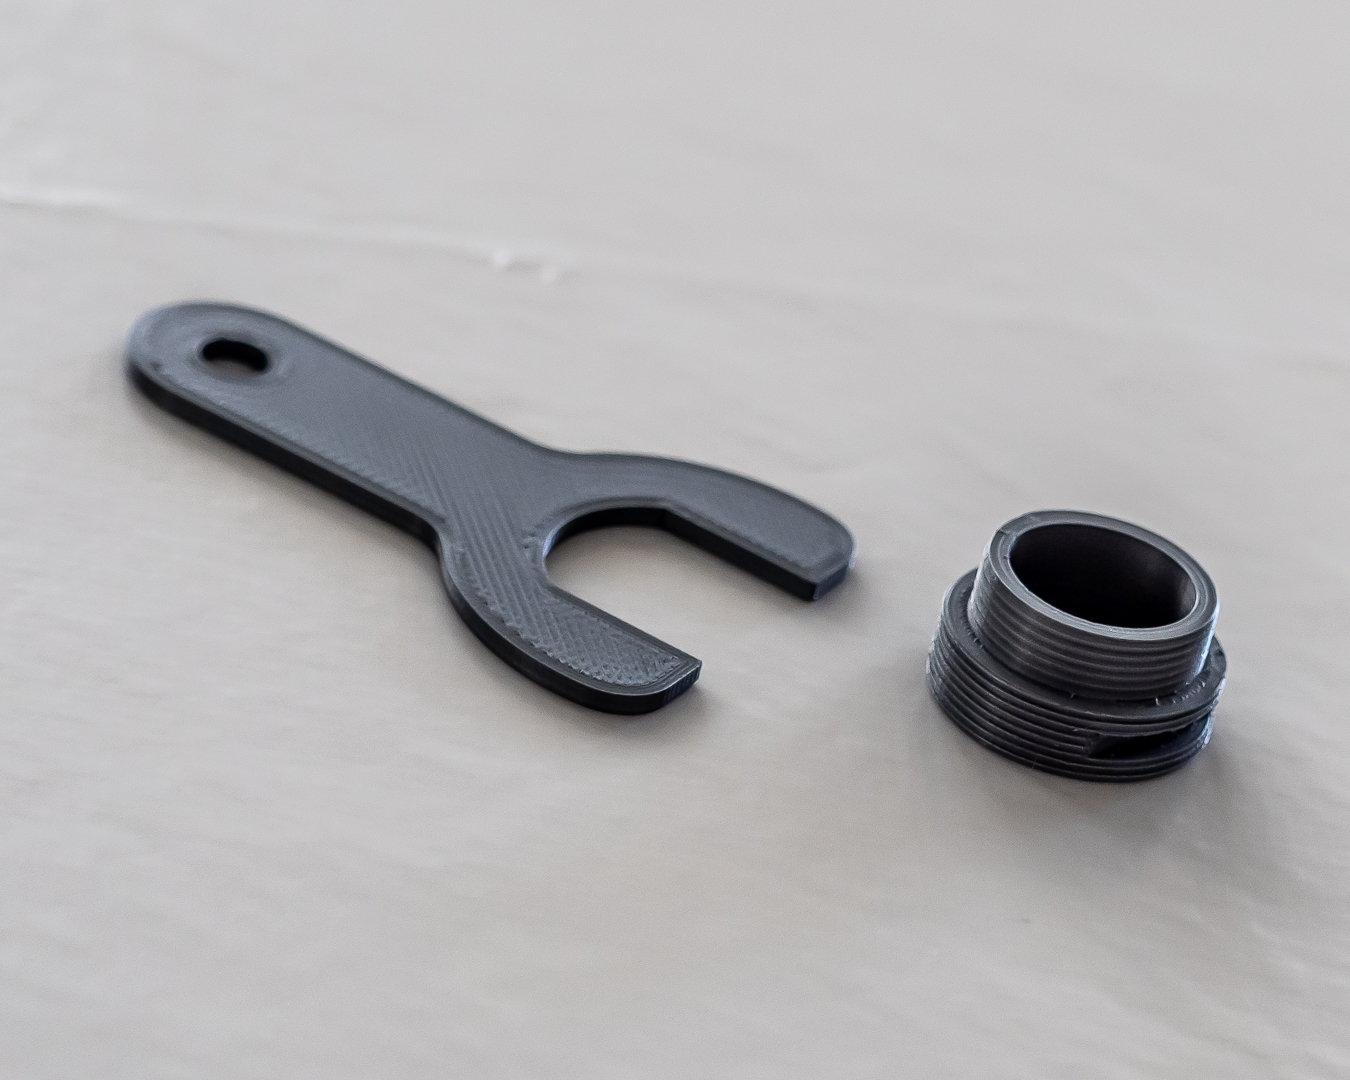
Installing kitchen sink mixer taps may seem like a daunting task, but with our step-by-step guide, you'll have it done in no time. Before you begin, make sure to gather all the necessary tools and materials, including a basin wrench, adjustable wrench, plumber's tape, and silicone sealant. Once you have everything you need, follow these steps:
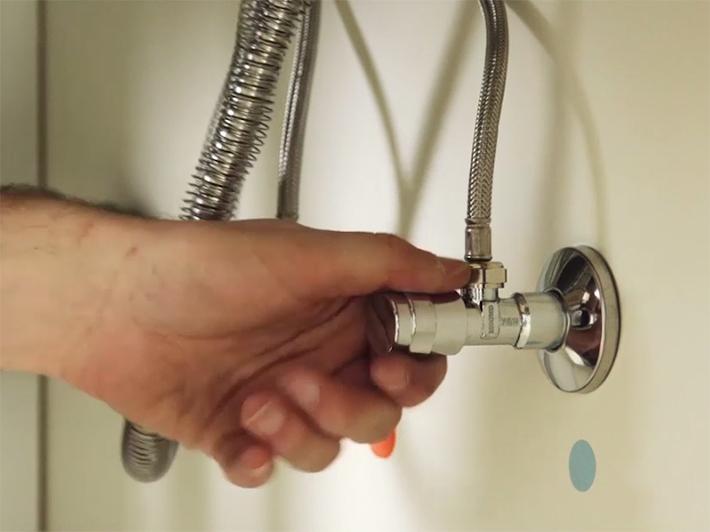
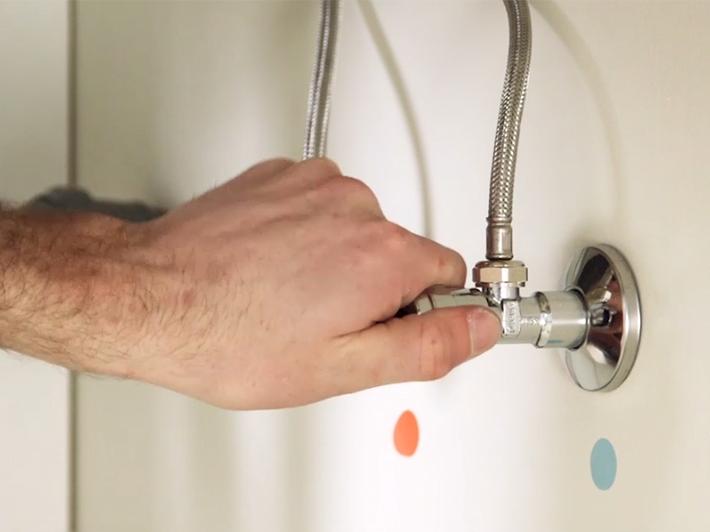
Step 1: Start by turning off the water supply to your sink. You can do this by turning off the main water valve or by turning off the supply valves located under the sink.
Step 2: Use a basin wrench to remove the old tap from the sink. If you're struggling to loosen it, try using a little bit of penetrating oil. Once it's loose, remove the tap and any remaining hardware.
Step 3: Clean the area where the old tap was installed. Make sure to remove any old caulk or debris to ensure a clean surface for your new tap.
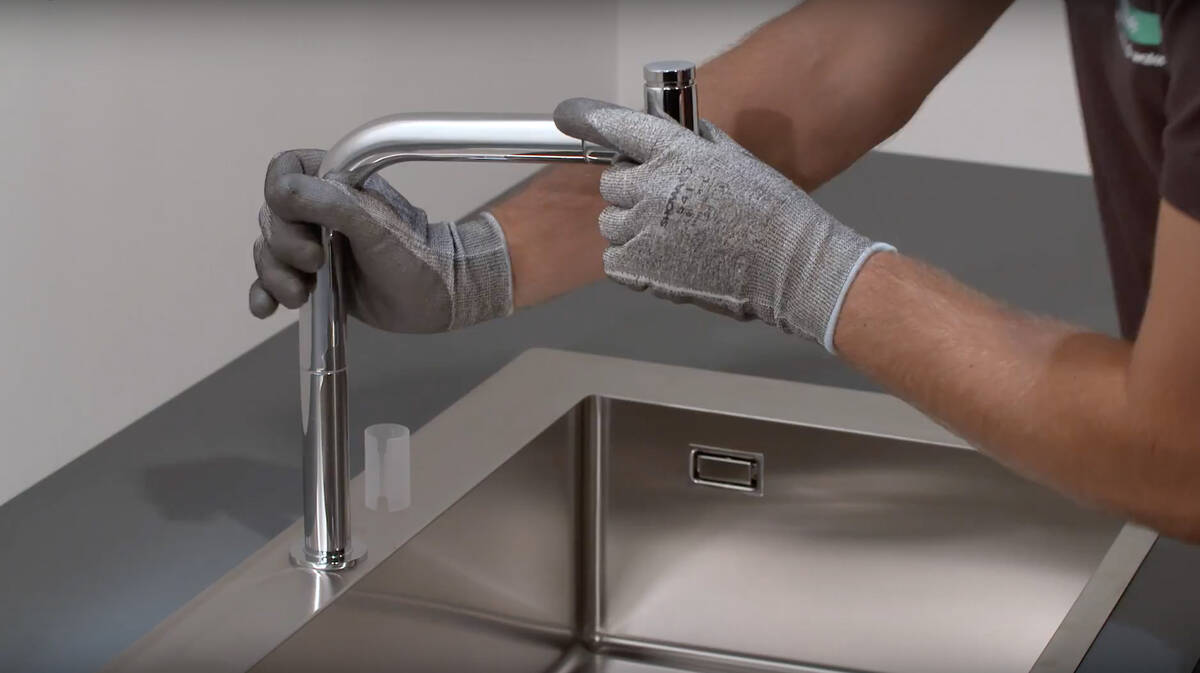
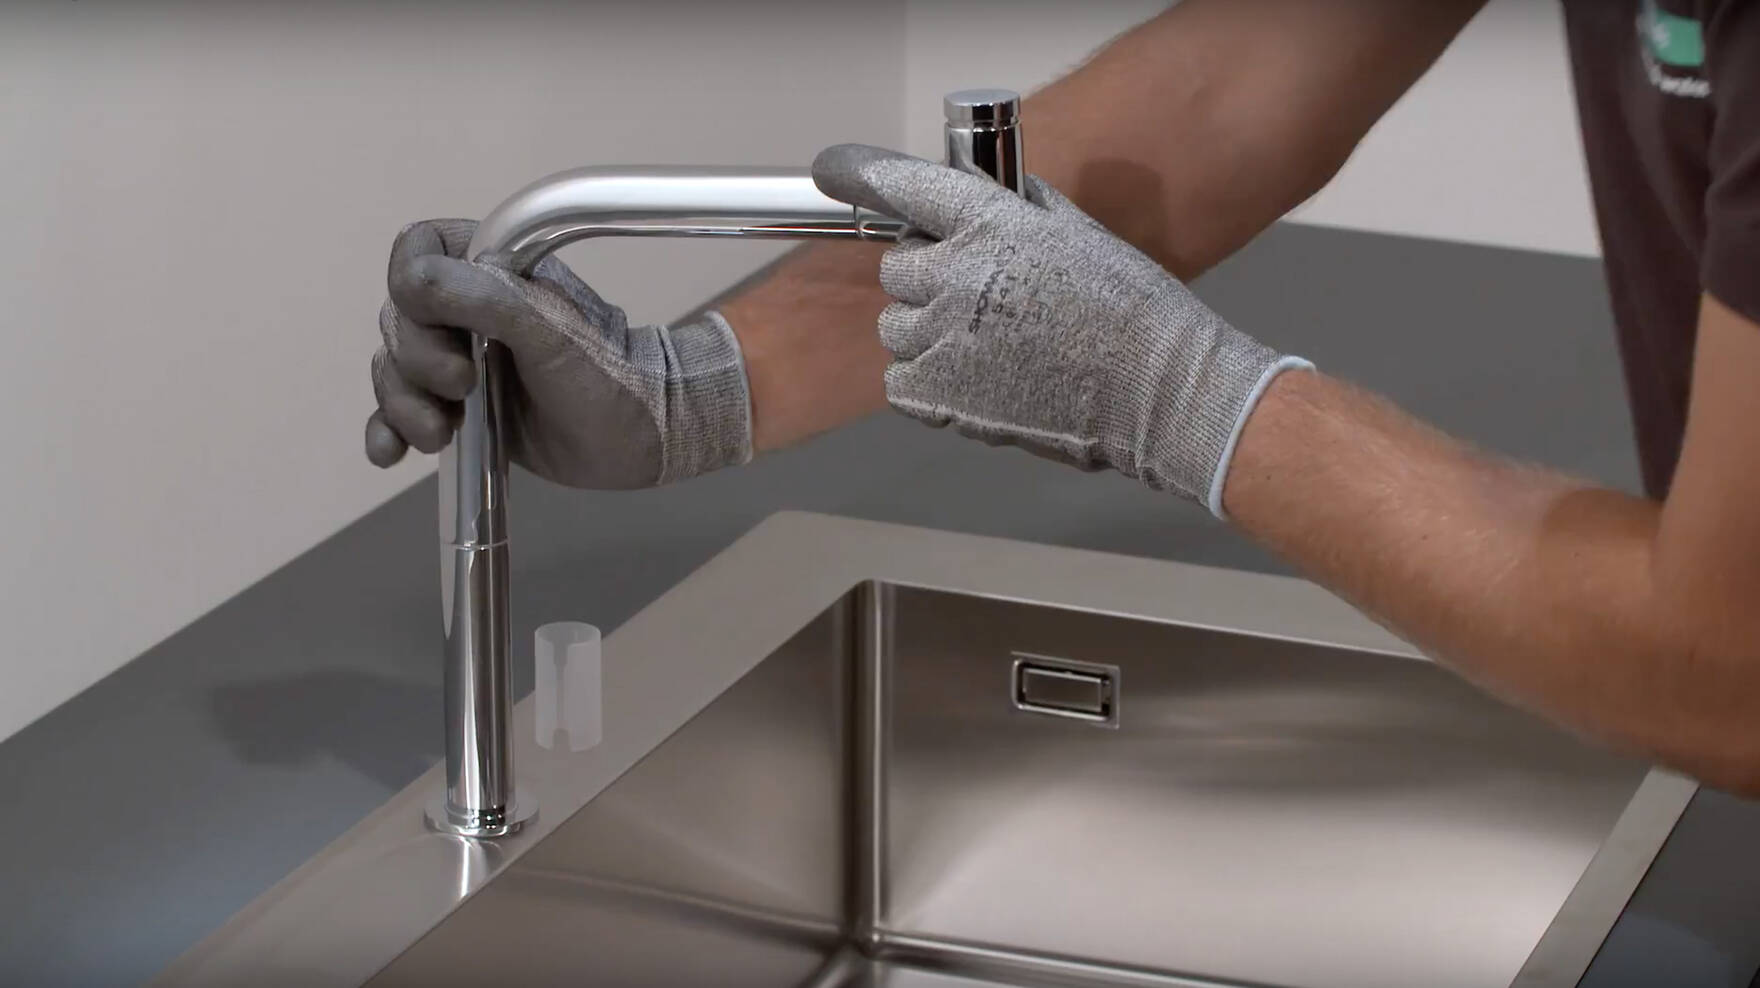
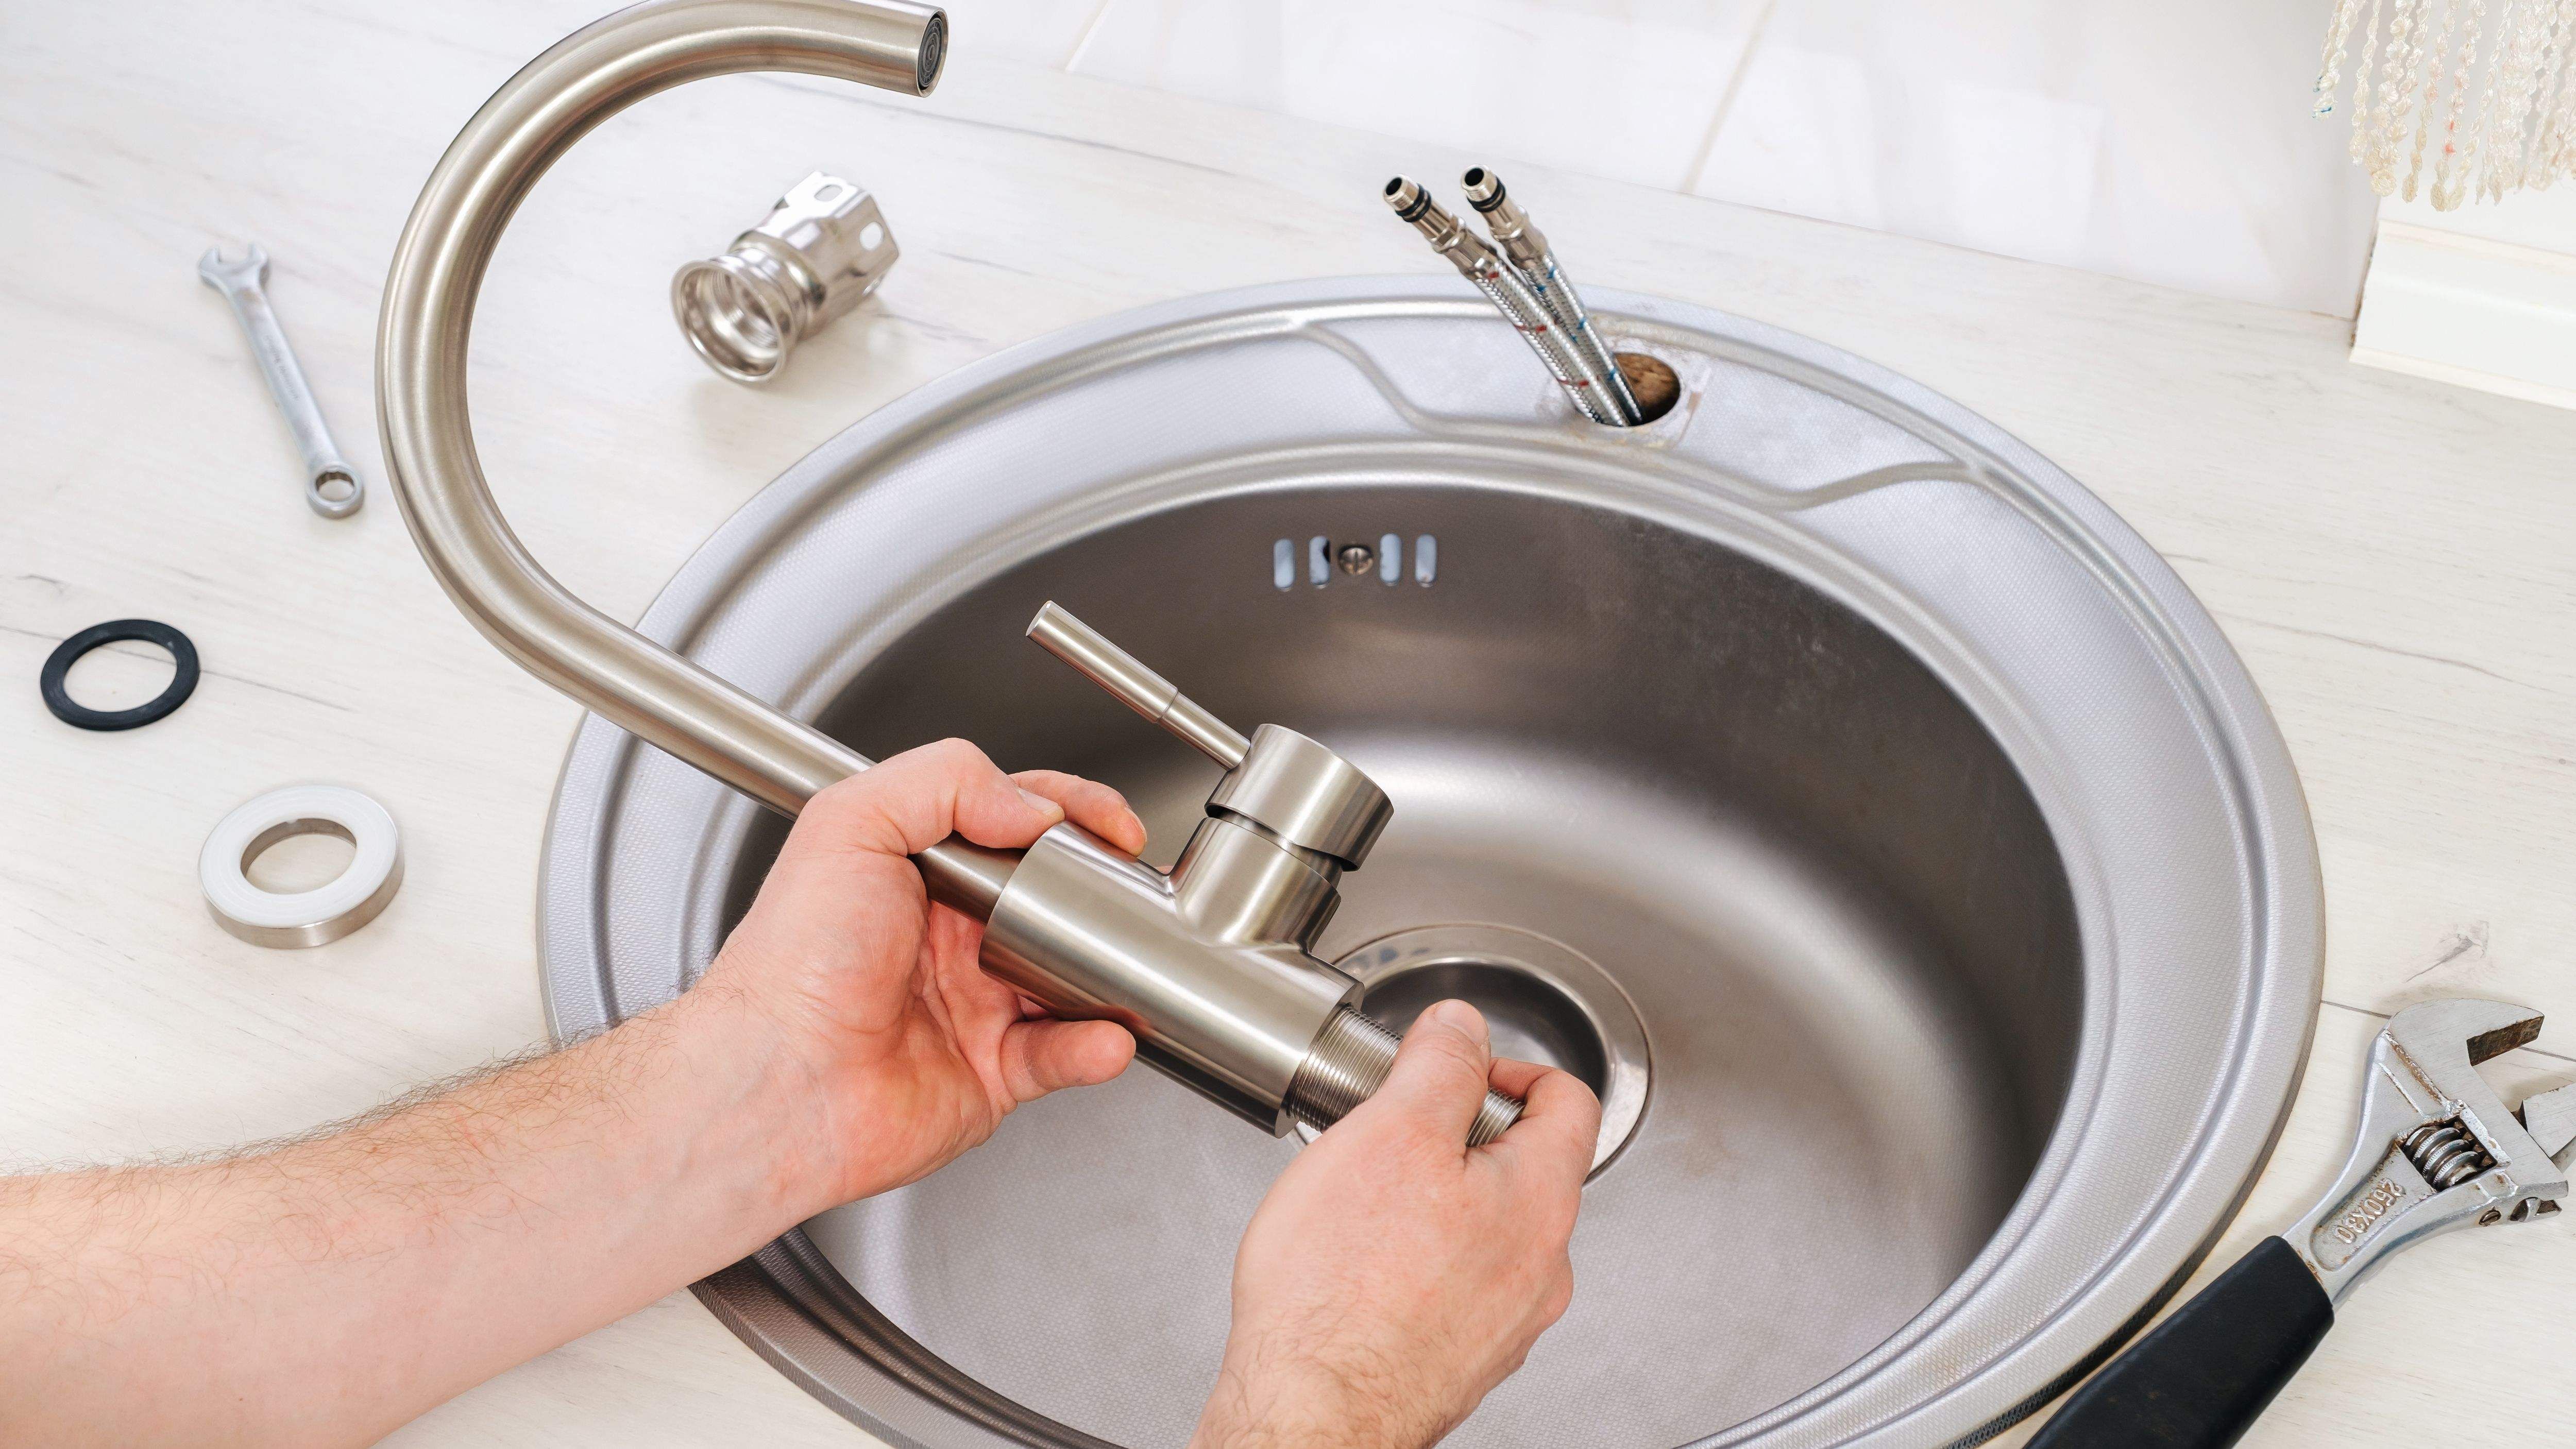
Step 4: Place the new tap into the mounting holes on your sink, making sure it's centered and level.
Step 5: Underneath the sink, tighten the mounting nuts with an adjustable wrench. Make sure not to over-tighten to avoid damaging the tap or sink.
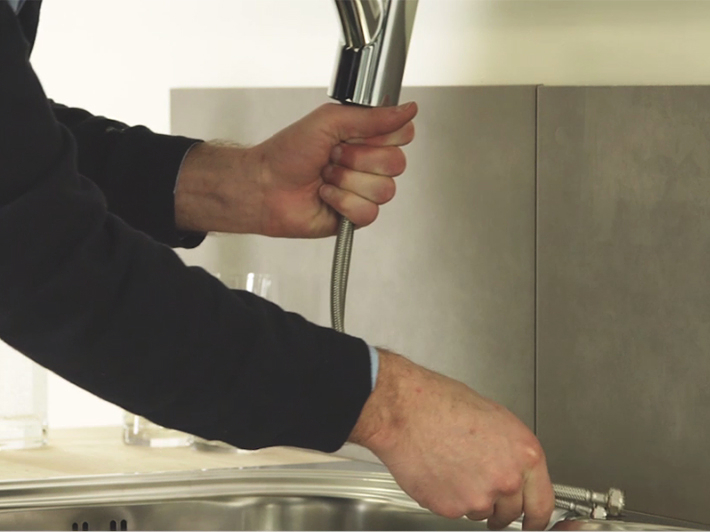
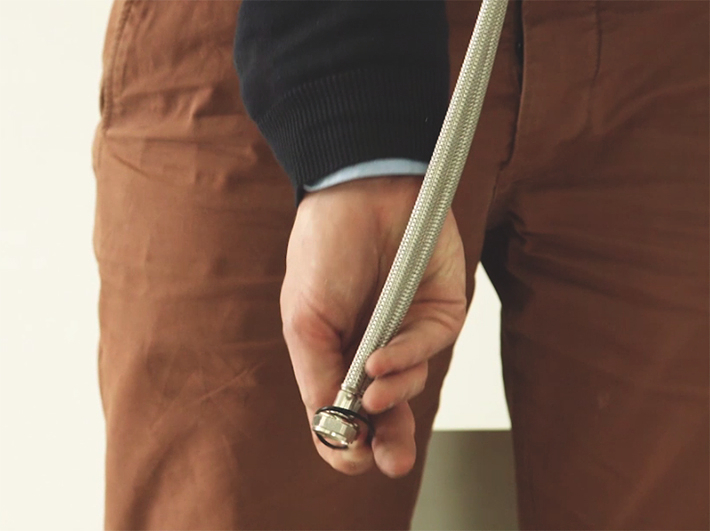
Step 6: Connect the hot and cold water supply lines to the corresponding valves on the tap. Use plumber's tape on the threads to ensure a tight seal.
Step 7: Turn the water supply back on and check for any leaks. If you notice any, tighten the connections until they are leak-free.
Step 8: Apply a thin bead of silicone sealant around the base of the tap on the sink. This will help to prevent any water from getting underneath the tap and causing damage.
Step 9: Wipe away any excess sealant and let it dry according to the manufacturer's instructions.
Step 10: Test your new tap by turning on the water and adjusting the hot and cold handles. Congratulations, you have successfully installed your new kitchen sink mixer tap!
DIY: Installing Kitchen Sink Mixer Taps
Installing kitchen sink mixer taps can be a DIY project that will save you time and money. With a little bit of research and the right tools, you can easily install your new tap yourself. Not only is this a satisfying DIY project, but it also gives you the opportunity to customize your kitchen according to your own style and preferences.
Installing Kitchen Sink Mixer Taps: A Beginner's Guide
If you're a beginner when it comes to home improvement projects, installing kitchen sink mixer taps is a great place to start. With only a few basic tools and some patience, you can successfully install your new tap and give your kitchen a fresh look. Just make sure to follow the steps carefully and don't be afraid to ask for help if needed.
Tools and Materials Needed for Installing Kitchen Sink Mixer Taps
Before you begin installing your new kitchen sink mixer tap, make sure you have all the necessary tools and materials. This will save you time and prevent any frustration during the installation process. Some essential tools and materials you will need include:
- Basin wrench
- Adjustable wrench
- Plumber's tape
- Silicone sealant
- New tap
- Penetrating oil (if needed)
- Towels or rags
- Bucket or container to catch water
Common Mistakes to Avoid When Installing Kitchen Sink Mixer Taps
While installing kitchen sink mixer taps may seem like a straightforward task, there are some common mistakes that can easily be avoided. These include over-tightening the mounting nuts, not using plumber's tape, and not properly aligning the tap. Make sure to take your time and follow the steps carefully to avoid any mistakes that could potentially cause damage.
Tips for a Successful Installation of Kitchen Sink Mixer Taps
To ensure a successful installation of your new kitchen sink mixer tap, here are some helpful tips to keep in mind:
- Make sure to turn off the water supply before starting the installation.
- Use plumber's tape on all threaded connections to prevent leaks.
- Don't over-tighten any connections.
- Clean the area thoroughly before installing the new tap.
- Test for leaks before applying sealant.
- Follow the manufacturer's instructions for drying time before using the tap.
How to Remove Old Kitchen Sink Mixer Taps and Install New Ones
If you're looking to update your kitchen sink, removing the old tap and installing a new one is a simple process. Follow the steps outlined in this guide to successfully remove the old tap and install a new one. Remember to carefully follow the instructions and take your time to avoid any mistakes.
Video Tutorial: Installing Kitchen Sink Mixer Taps
If you're a visual learner, watching a video tutorial on how to install kitchen sink mixer taps can be helpful. You can find many tutorials online that will guide you through the installation process, making it easier to follow along step by step. Just make sure to find a reliable source and double-check any steps that may differ from the instructions provided with your tap.
Professional vs. DIY: Which is the Best Option for Installing Kitchen Sink Mixer Taps?
Deciding between hiring a professional or doing it yourself can be a tough decision when it comes to home improvement projects. While hiring a professional may seem like the easier and safer option, installing kitchen sink mixer taps is a task that can easily be done by yourself with the right tools and instructions. However, if you're unsure or uncomfortable with DIY projects, it's always best to seek professional help to ensure a successful installation.
Choosing the Right Kitchen Sink Mixer Taps for Your Home
Why Invest in Quality Kitchen Sink Mixer Taps?
 When it comes to designing or renovating your kitchen, every small detail matters. From the color scheme to the appliances, every element plays a significant role in creating a functional and aesthetically pleasing space. One such crucial element is the kitchen sink mixer taps. These taps not only add a touch of style to your kitchen but also play a vital role in your day-to-day tasks.
Having a high-quality kitchen sink mixer tap is essential for a smooth and efficient workflow in the kitchen.
From washing dishes to filling up pots and pans, your sink tap is one of the most used fixtures in the kitchen. Therefore, it is crucial to choose the right one that not only looks good but also meets your practical needs.
Factors to Consider When Choosing Kitchen Sink Mixer Taps
 1. Design and Aesthetics:
The first thing to consider when choosing kitchen sink mixer taps is the design and aesthetics.
It should complement the overall style of your kitchen and add to its visual appeal.
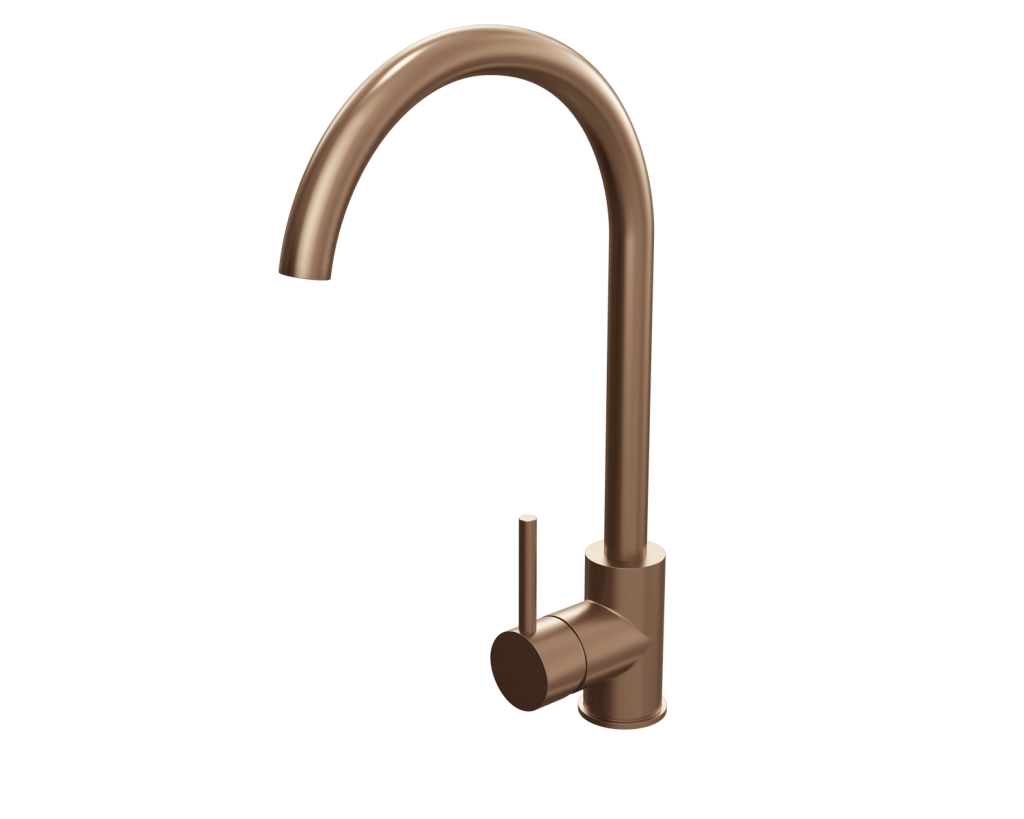
From traditional to modern, there are various designs and finishes available to choose from, such as chrome, brushed nickel, and matte black.
2. Functionality:
Apart from its appearance, the functionality of the tap is equally important.
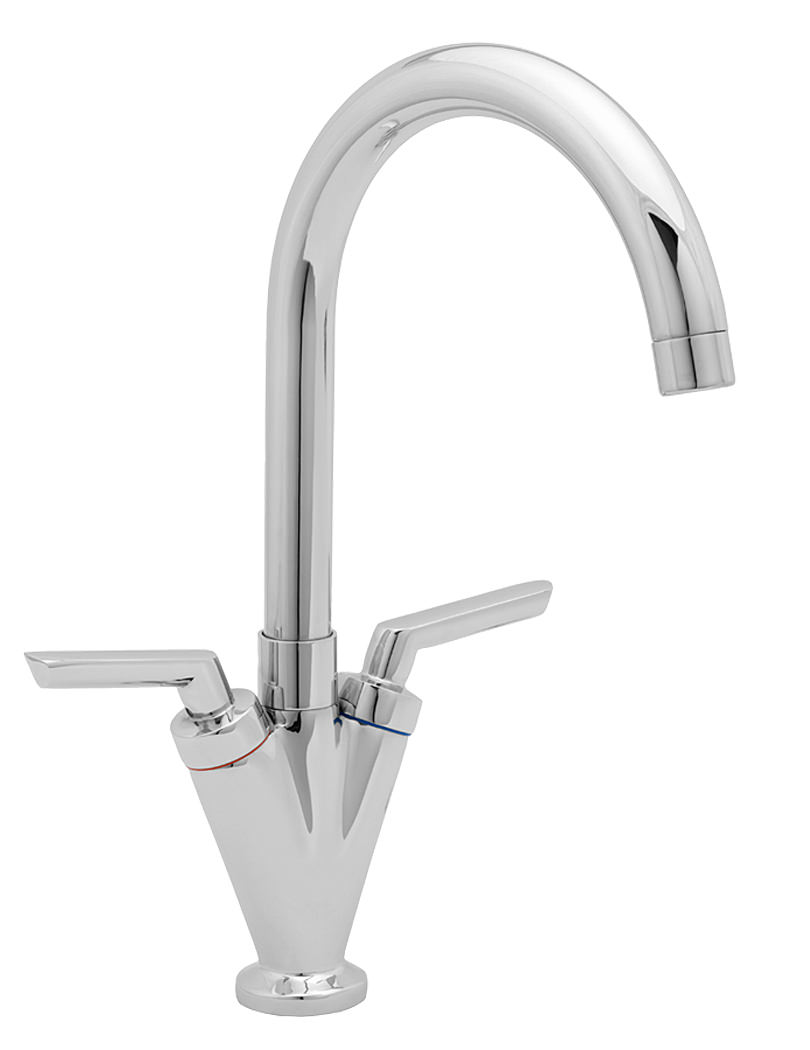
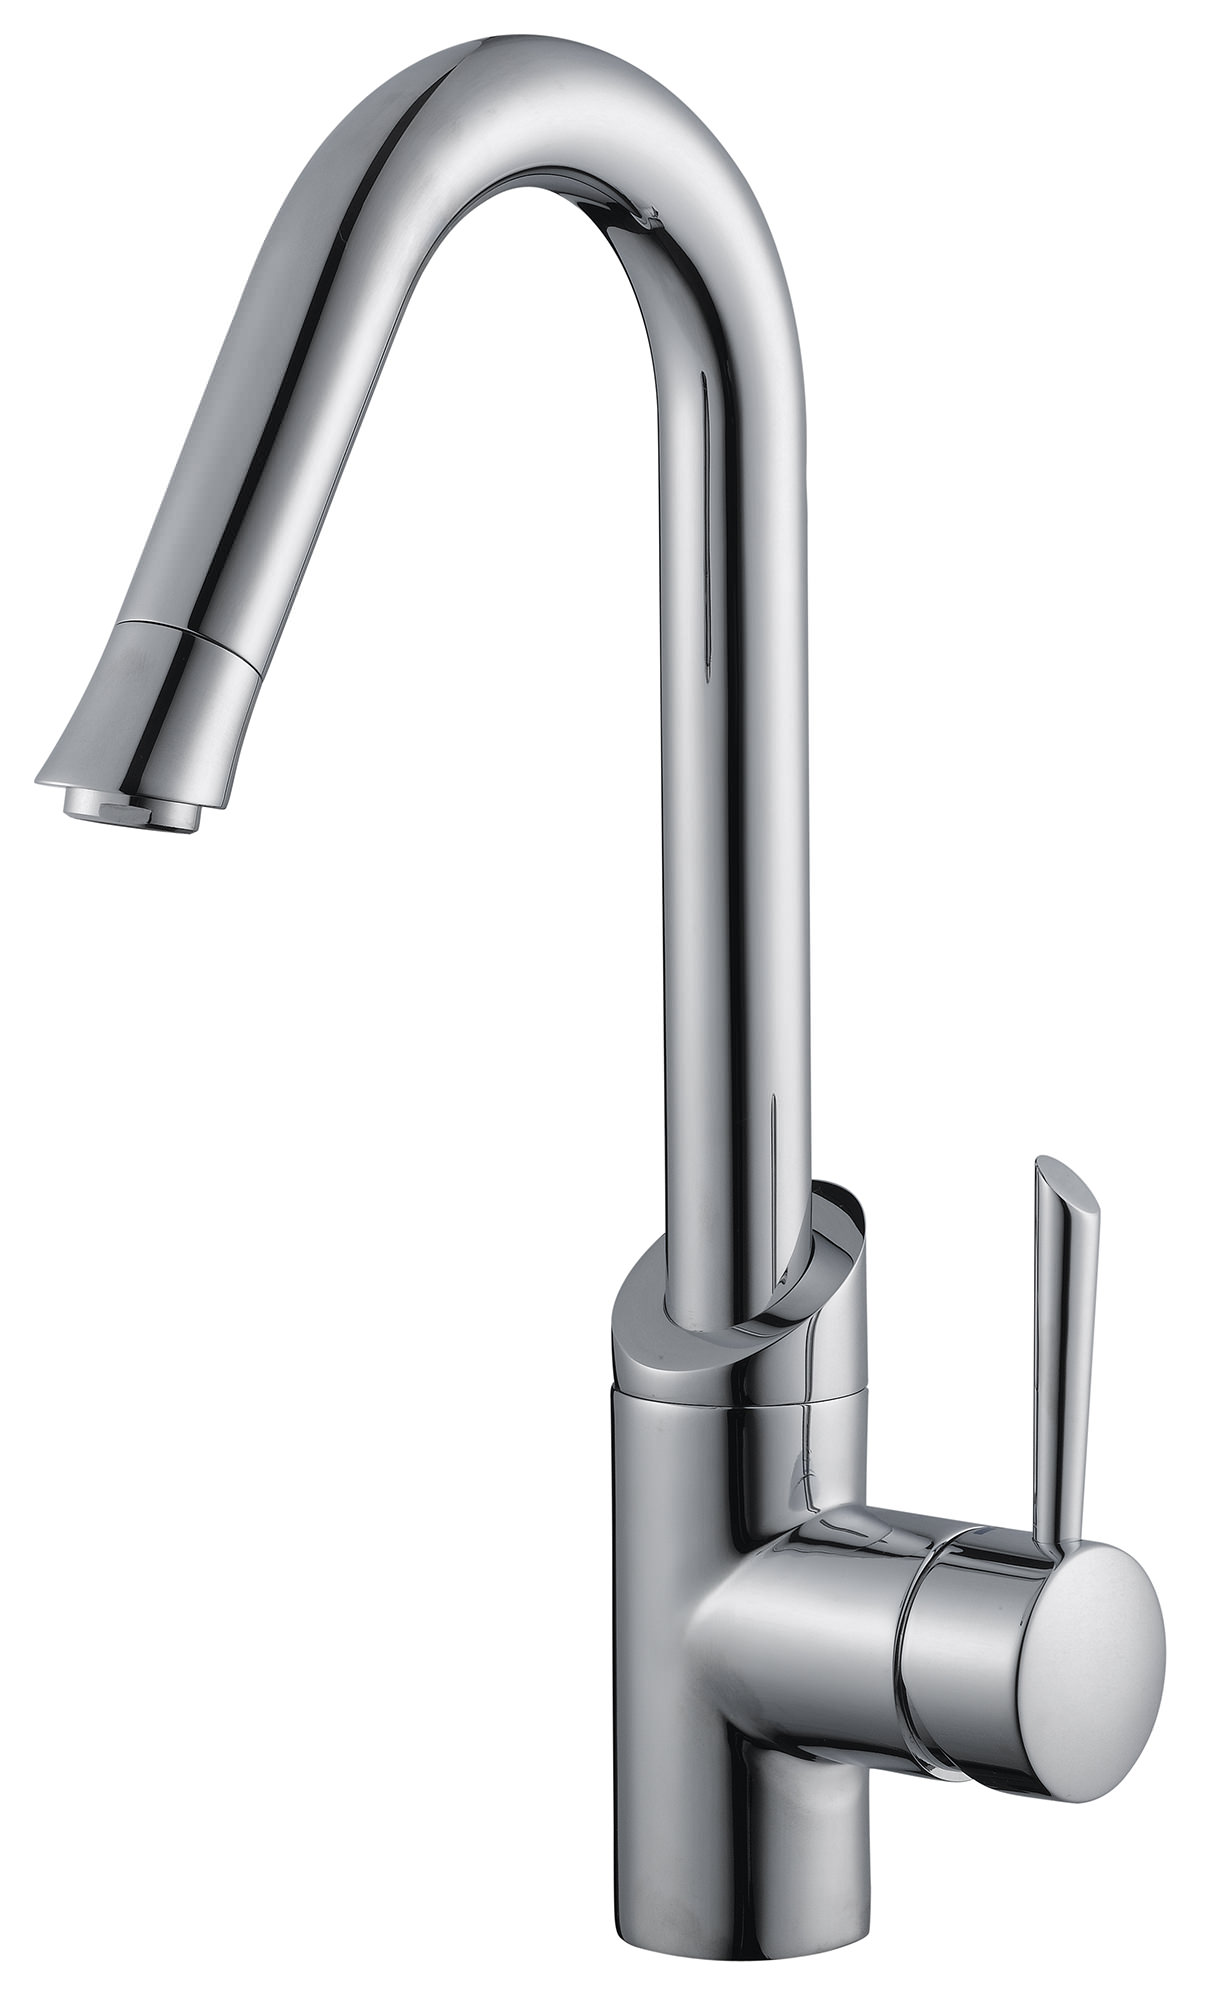
Look for taps with a swivel spout that can rotate 360 degrees for easy maneuvering and reach.
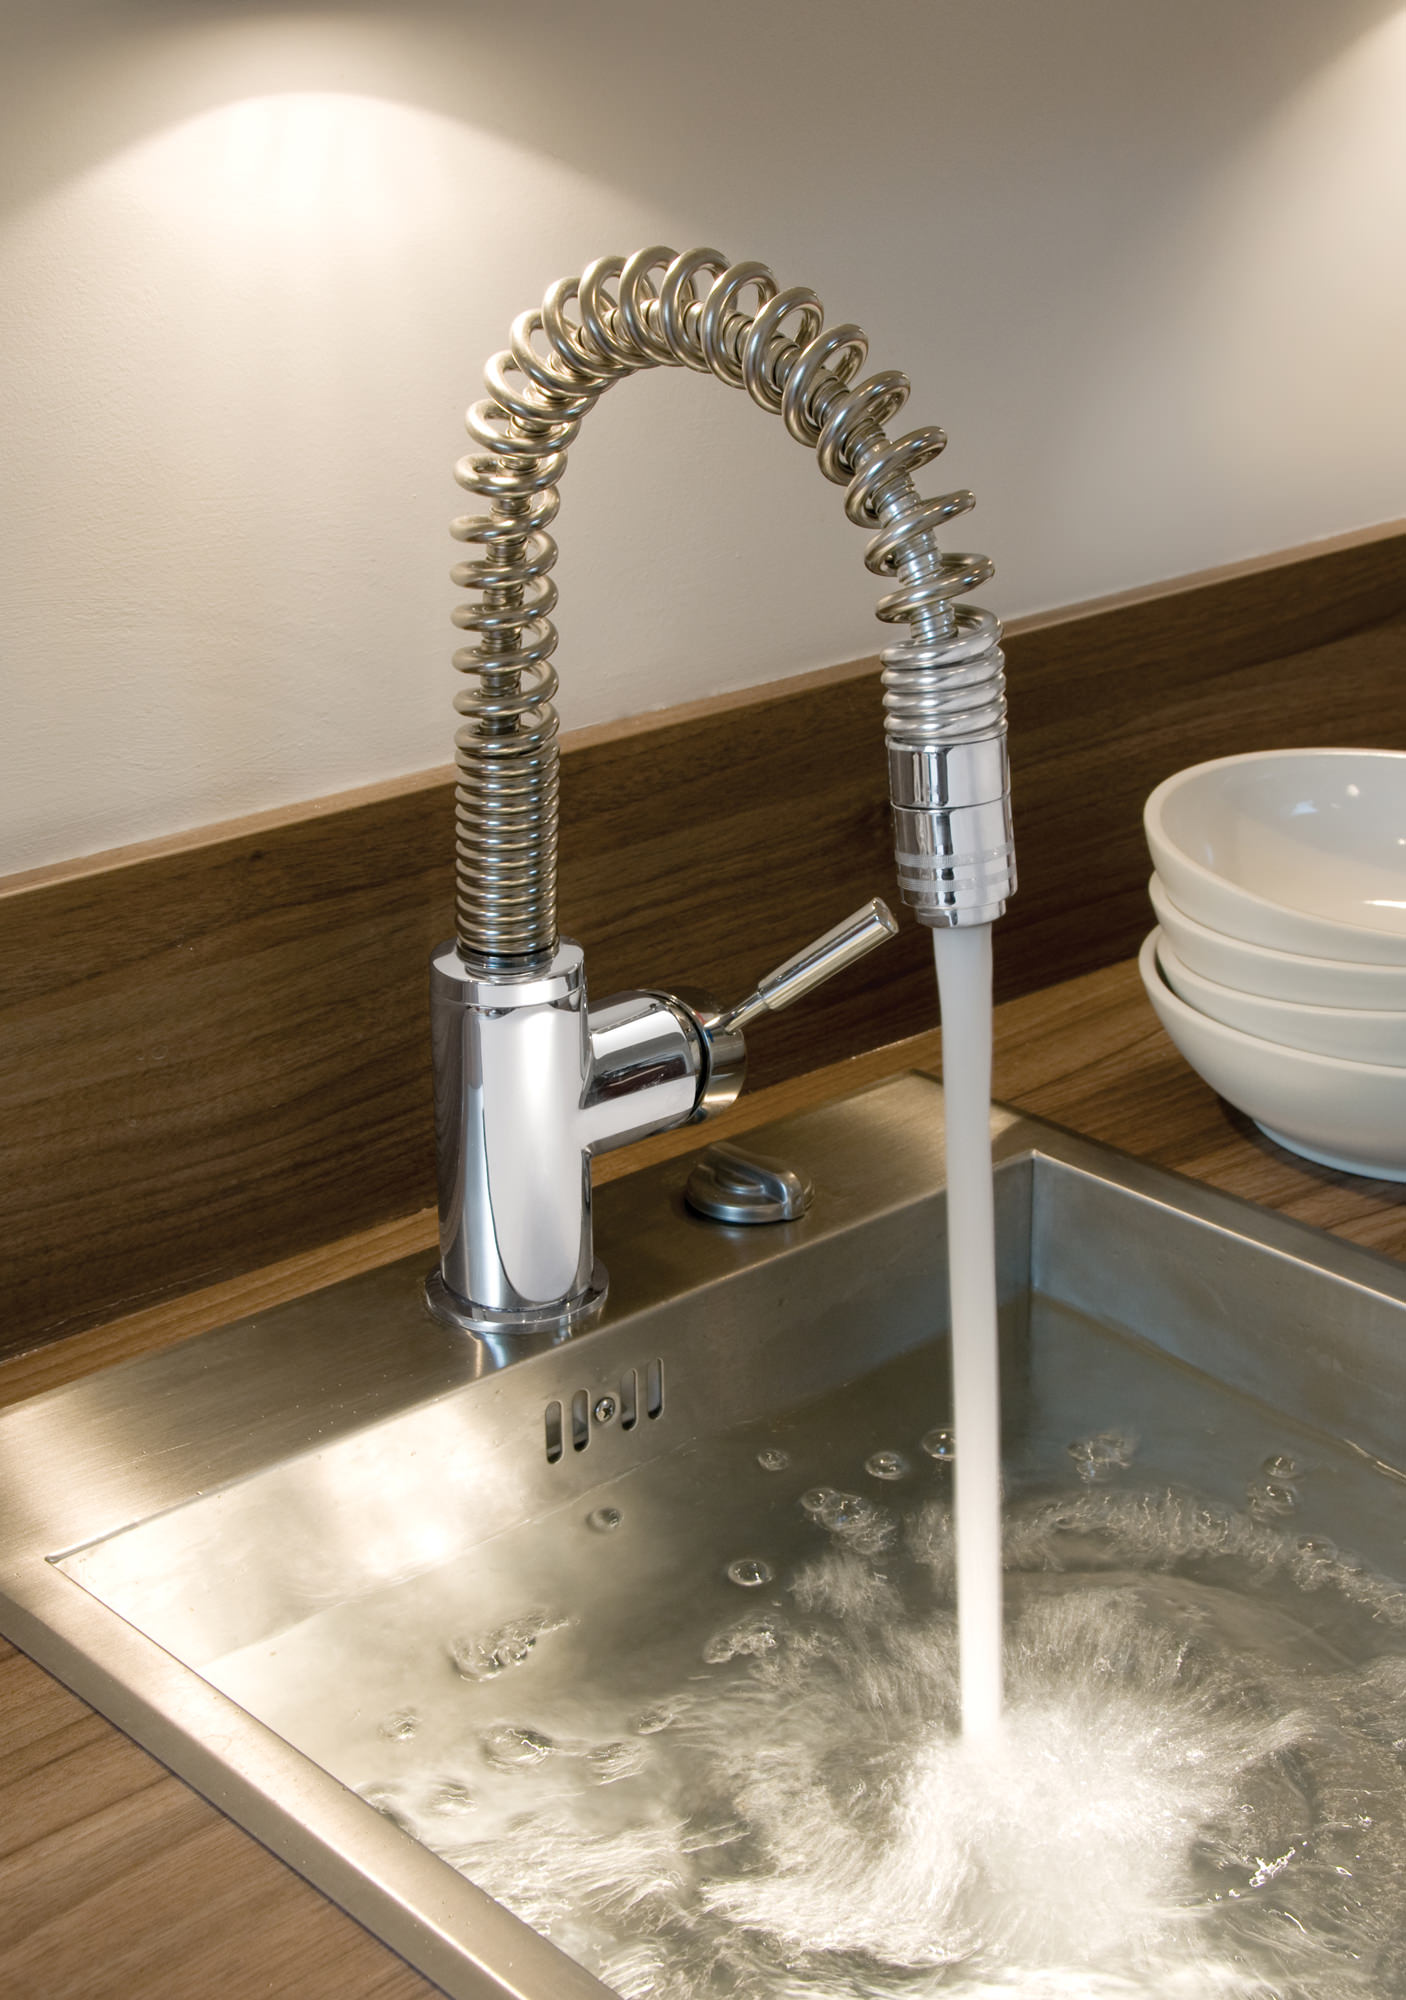
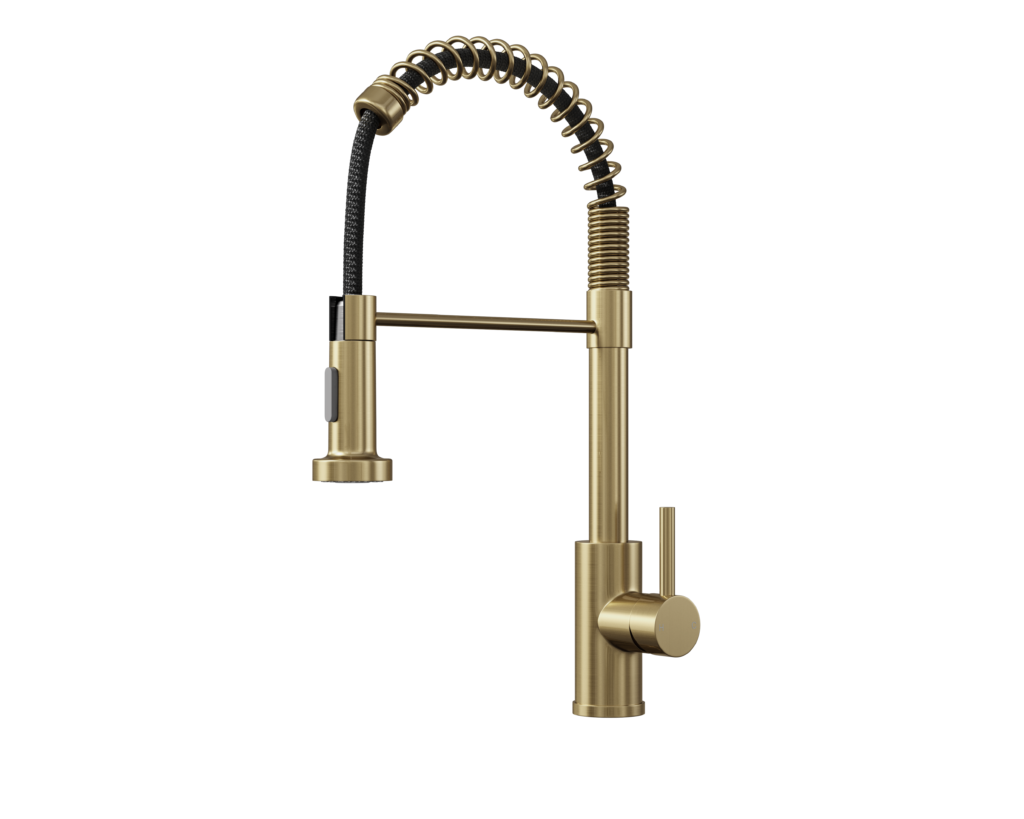
You can also opt for taps with a pull-out spray head for added convenience.
3. Water Efficiency:
With the increasing focus on sustainability, choosing a water-efficient tap is crucial.
Look for taps with a high WELS (Water Efficiency Labelling and Standards) rating.
This will not only help you save water but also reduce your utility bills.
4. Durability:
Kitchen sink mixer taps are an investment, and you want them to last for years to come.
Choose taps made with high-quality materials such as brass or stainless steel for durability and longevity.
Installation of Kitchen Sink Mixer Taps
 Once you have chosen the perfect kitchen sink mixer tap for your home, it is essential to get it installed correctly.
Hiring a professional plumber is highly recommended to ensure proper installation and avoid any potential leaks or damages.
Make sure to follow the manufacturer's instructions and turn off the water supply before installing the tap.
It is also a good idea to check for any warranties or guarantees offered by the manufacturer.
In conclusion, choosing the right kitchen sink mixer taps is crucial for both the functionality and aesthetics of your kitchen.
Investing in high-quality taps will not only enhance the overall look of your kitchen but also make your daily tasks more efficient and convenient.
With careful consideration and proper installation, your kitchen sink mixer tap is sure to be a valuable addition to your home for years to come.


