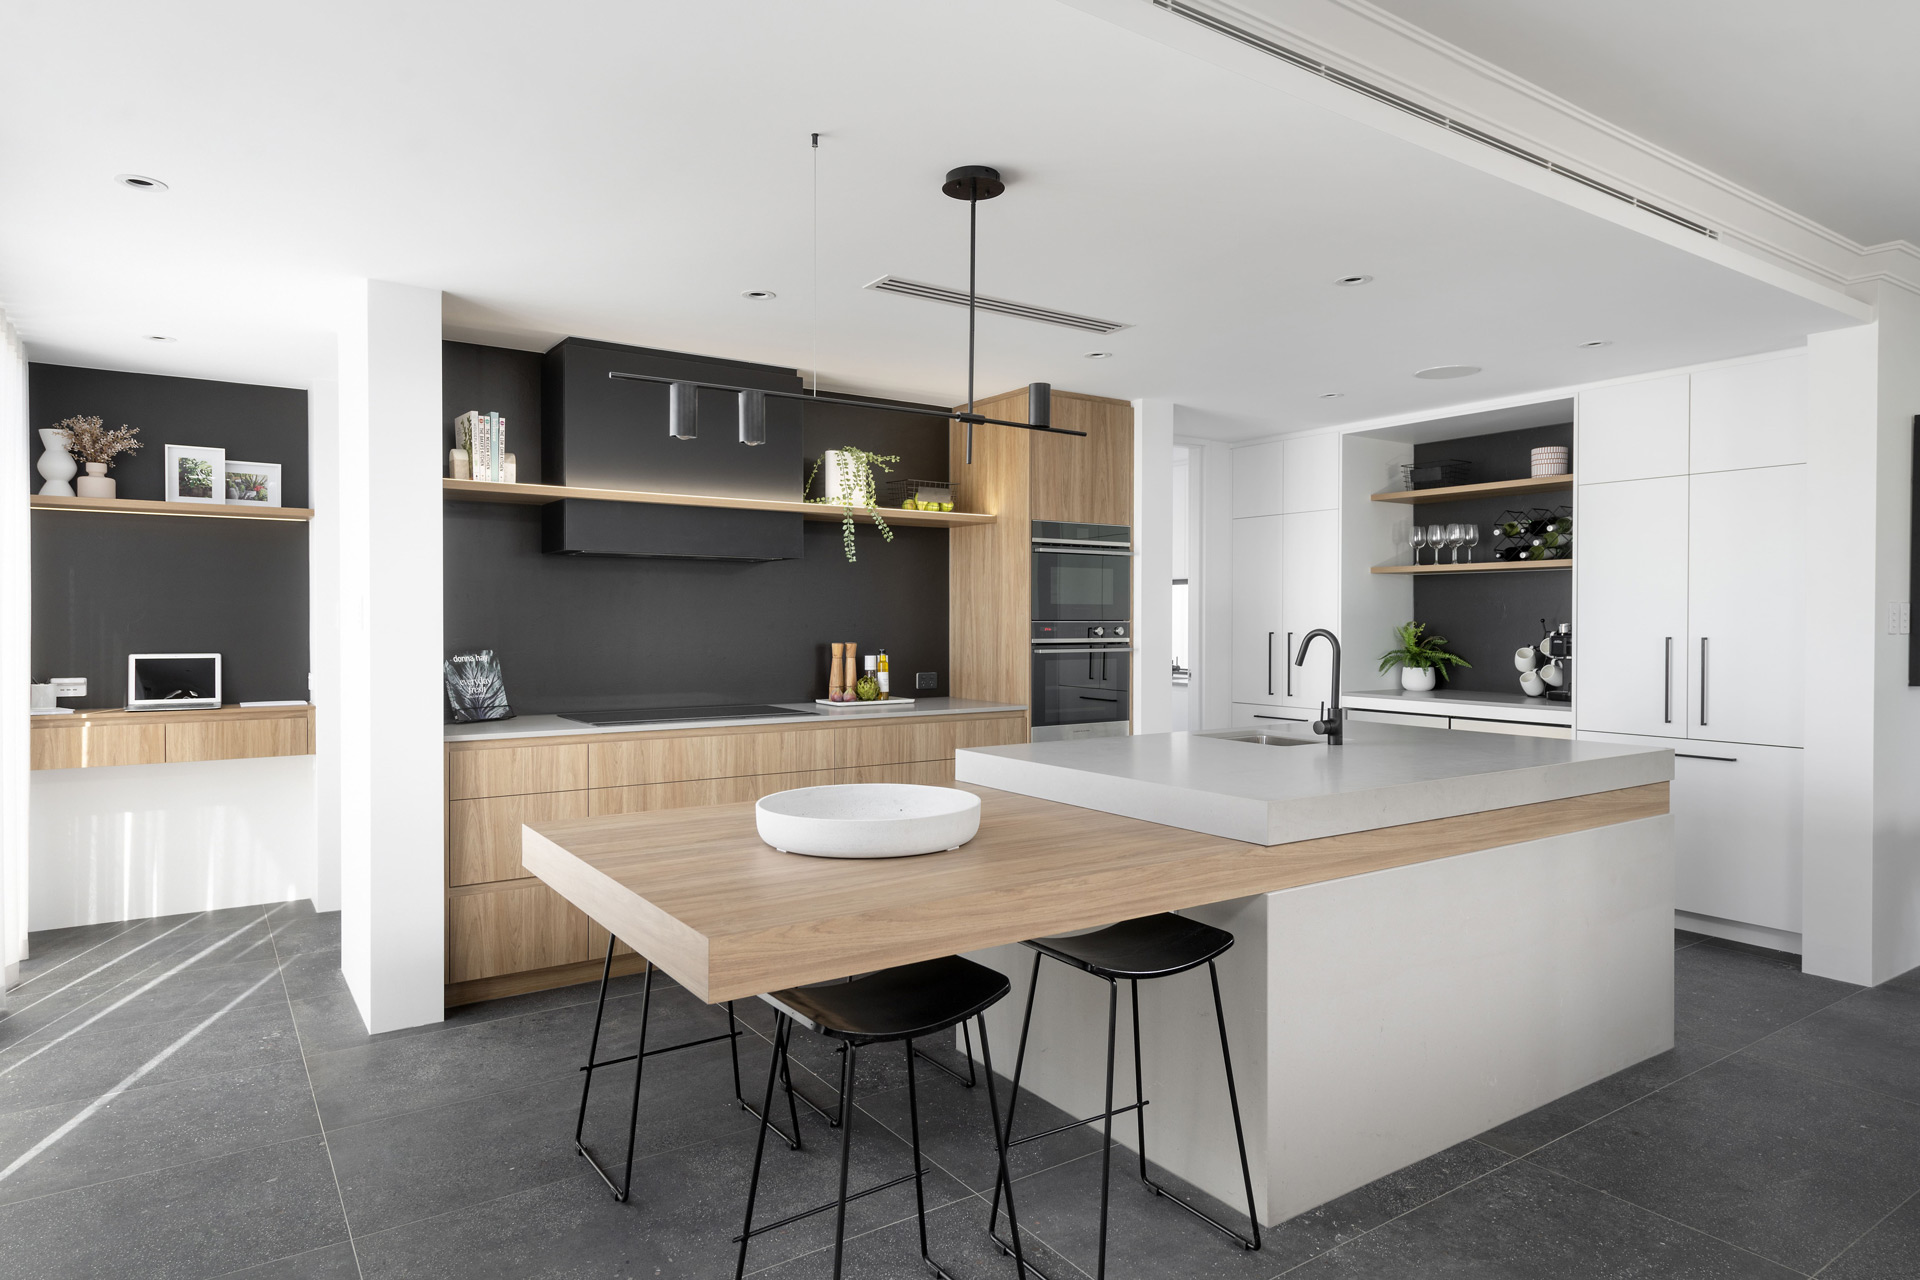
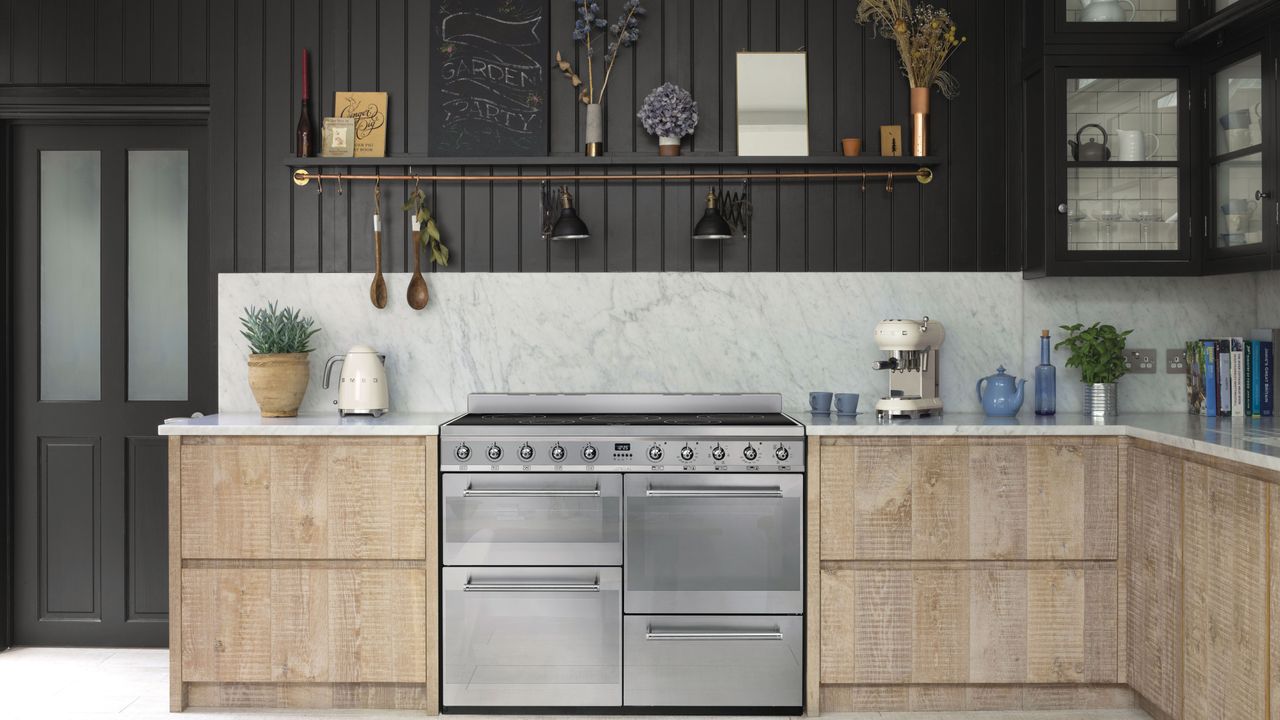
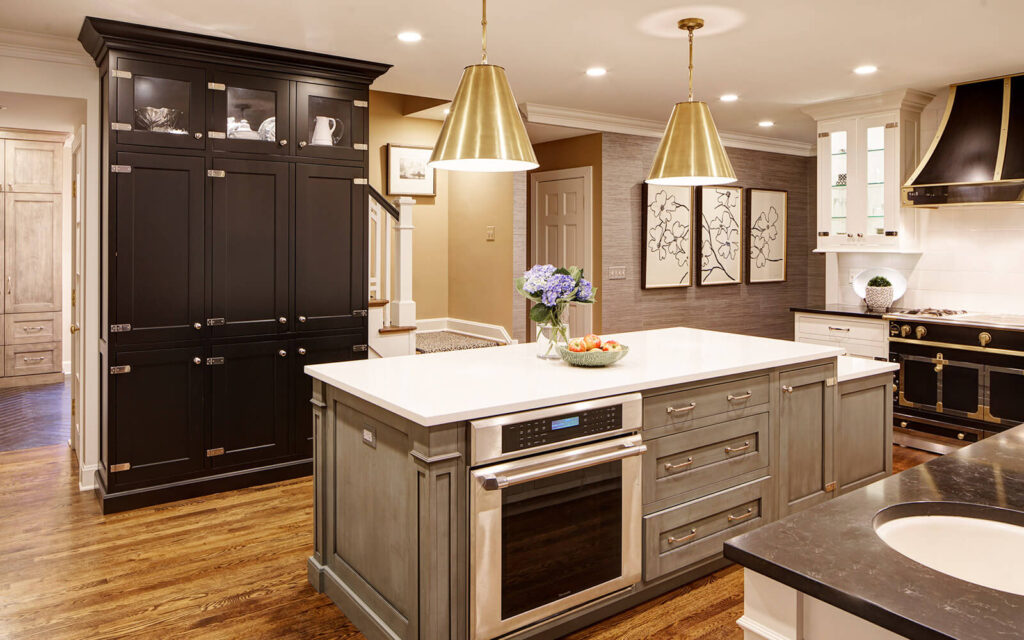
Installing kitchen can lights is a great way to brighten up your kitchen and give it a modern, stylish look. Not only do these lights provide ample lighting for cooking and dining, but they also add a touch of elegance to your space. Whether you're remodeling your kitchen or just looking to upgrade your lighting, here's a step-by-step guide on how to install kitchen can lights.Install Kitchen Can Light
The first step in installing kitchen can lights is to determine the placement of the lights. You want to make sure they are evenly spaced and provide enough light for your kitchen. Use a measuring tape to mark the spots where you want to install the lights. Next, turn off the power to your kitchen's lighting circuit. This will ensure your safety while working with electricity. You can also use a voltage tester to make sure the power is off.How to Install Kitchen Can Light
Now it's time to gather your tools. You will need a drywall saw, a screwdriver, a drill, and wire strippers. Make sure to also have the appropriate light fixtures and wiring for your kitchen can lights. Using the drywall saw, cut holes in the ceiling where you marked the placement of the lights. Make sure to follow the instructions that come with the light fixtures for the size of the holes.DIY Kitchen Can Light Installation
Once the holes are cut, it's time to install the light fixtures. Begin by connecting the wires from the fixture to the wiring in your ceiling. Make sure to match the colors of the wires (black to black, white to white, etc.) and twist them together securely. Next, attach the light fixture to the ceiling by tightening the screws. Make sure the fixture is flush with the ceiling and secure. Repeat this process for each light fixture. Once they are all installed, turn the power back on and test the lights to make sure they are working properly.Step-by-Step Guide for Installing Kitchen Can Lights
When installing kitchen can lights, it's important to follow some best practices to ensure a successful and safe installation. Always turn off the power before working with electrical wiring. Use a voltage tester to double check that the power is off. Make sure to properly secure the light fixtures to the ceiling. Loose fixtures can be a safety hazard and also affect the lighting in your kitchen. Take your time and measure carefully when marking the placement of the lights. Proper spacing is key to achieving a balanced and well-lit kitchen.Best Practices for Installing Kitchen Can Lights
As mentioned before, you will need a drywall saw, screwdriver, drill, and wire strippers for this project. It's also helpful to have a ladder or step stool to reach the ceiling and a voltage tester to ensure the power is off. Make sure to have all the necessary tools on hand before beginning the installation process.Tools Needed for Installing Kitchen Can Lights
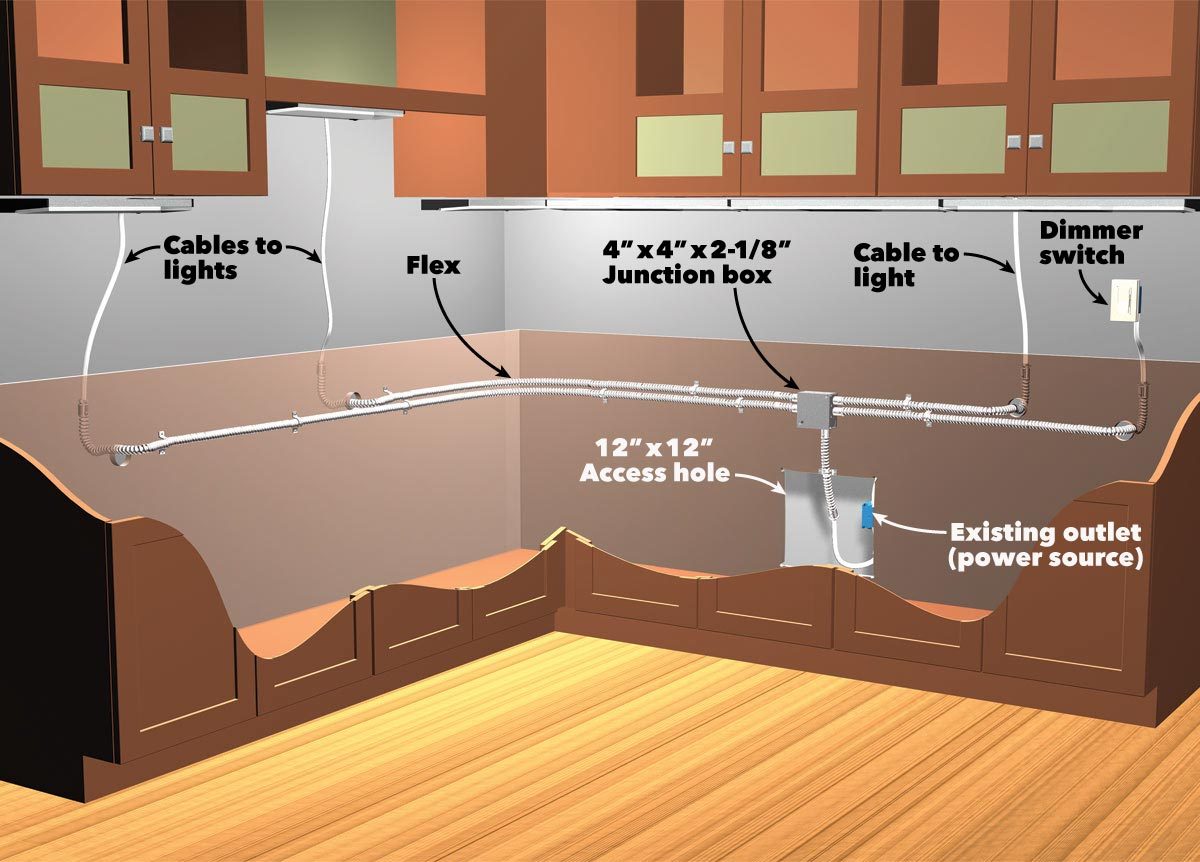
Here are some additional tips to keep in mind for a successful kitchen can light installation: - Make sure the light fixtures are compatible with your existing wiring. - Use LED bulbs for energy efficiency and longevity. - Consider installing a dimmer switch for customizable lighting options.Tips for a Successful Kitchen Can Light Installation
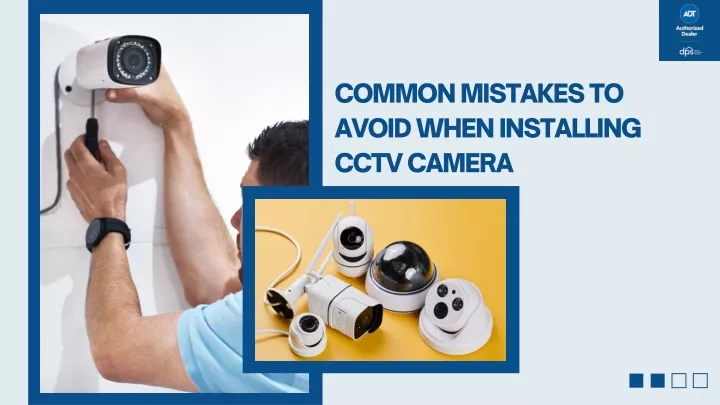
While installing kitchen can lights may seem like a straightforward task, there are some common mistakes that can occur. Here are a few to avoid: - Not turning off the power before working with electrical wiring. - Installing the lights too close together, resulting in uneven lighting. - Cutting the holes in the ceiling too large or too small.Common Mistakes to Avoid When Installing Kitchen Can Lights
The cost of installing kitchen can lights can vary depending on the type and number of lights you choose, as well as the labor costs if you hire a professional. On average, you can expect to spend anywhere from $200 to $600 for materials and labor.Cost of Installing Kitchen Can Lights
Deciding whether to hire a professional or tackle the installation yourself is a personal choice. If you have experience with electrical work and feel confident in your abilities, then a DIY installation may be a good option. However, if you are unsure or want a more complex lighting design, it's best to hire a professional to ensure a safe and successful installation.Professional vs DIY Kitchen Can Light Installation
How to Install Kitchen Can Lights for a Modern and Functional Home Design
Introduction
 The kitchen is the heart of the home, and having adequate lighting is crucial for a functional and inviting space. One of the best ways to ensure proper lighting in your kitchen is by installing can lights. These small, recessed lights provide bright and even illumination, making them a popular choice for modern homes. In this article, we will guide you through the process of installing kitchen can lights, so you can achieve a sleek and functional design for your kitchen.
Gather the Necessary Tools and Materials
 Before you begin the installation process, it is essential to have all the necessary tools and materials on hand. This will ensure a smooth and efficient installation process. Some of the tools and materials you will need include:
- Can lights: Choose high-quality can lights that are suitable for your kitchen's size and layout.
- Wire cutters and strippers: These tools will help you cut and strip the electrical wires.
- Screwdriver: You will need a screwdriver to secure the can lights in place.
- Fish tape: This tool will help you run the electrical wires through the ceiling.
- Wire connectors: These will be used to connect the electrical wires.
- Electrical tape: Use this to secure the wire connectors and protect the wires.
- Ladder: A ladder will be necessary to reach the ceiling and install the can lights.
Plan the Layout and Placement of the Can Lights
 Next, you need to plan the layout and placement of the can lights in your kitchen. This will depend on the size and shape of your kitchen, as well as the existing lighting fixtures. Consider the function of each area in your kitchen and ensure that the can lights are evenly spaced for adequate lighting. You can use a measuring tape and a pencil to mark the placement of the can lights on the ceiling.
Turn Off the Power and Cut the Holes
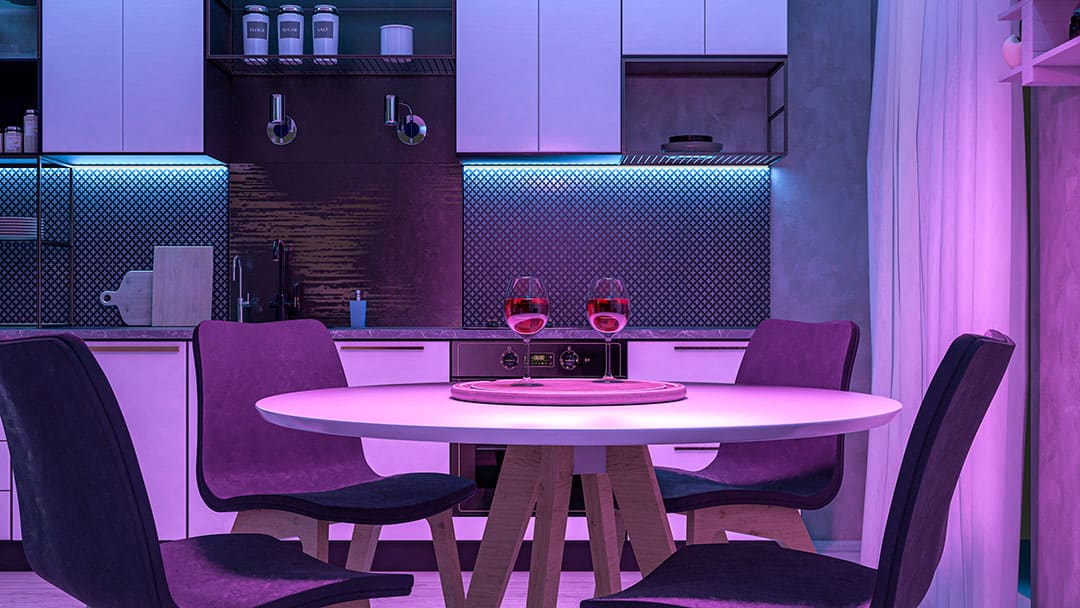 Before you start working on the installation, make sure to turn off the power to your kitchen. This will prevent any accidents or injury. Once the power is turned off, use a drywall saw to cut holes in the ceiling where the can lights will be installed. Make sure to follow the markings you made earlier.
Run the Electrical Wires
 After cutting the holes, use a fish tape to run the electrical wires from the power source to each can light location. Make sure to leave enough slack in the wires for easy connection.
Connect the Wires and Install the Can Lights
 Next, you will need to connect the wires using wire connectors and secure them with electrical tape. Once the wires are connected, carefully place the can lights into the holes and secure them in place using the screws provided. Make sure to follow the manufacturer's instructions for proper installation.
Turn On the Power and Test the Lights
 After all the can lights are installed, turn the power back on and test the lights to ensure they are working correctly. If everything is functioning correctly, you can now enjoy your new modern and functional kitchen design with beautiful and efficient can lights.
Conclusion
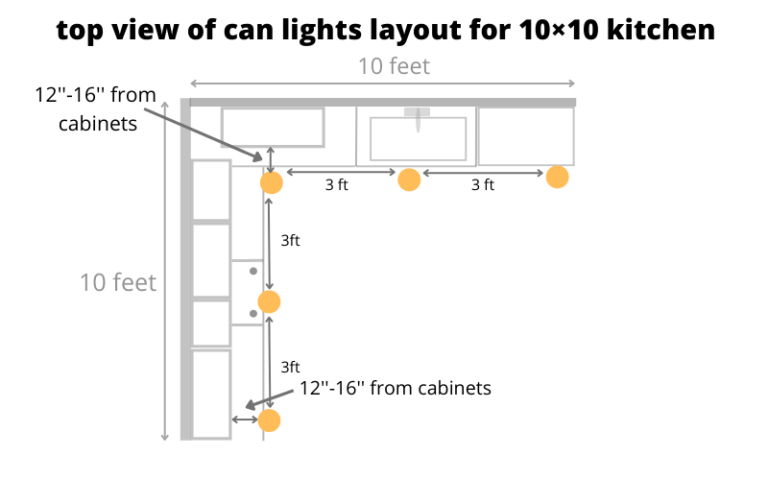 Installing kitchen can lights is a relatively simple and cost-effective way to enhance the design and functionality of your kitchen. With the right tools, materials, and proper planning, you can achieve a sleek and modern look for your kitchen while ensuring adequate lighting for all your cooking and entertaining needs. So, follow the steps outlined in this article and enjoy a well-lit and inviting kitchen space.

















.jpg)





:max_bytes(150000):strip_icc()/DSC_0268-3b917e92940e4869859fa29983d2063c.jpeg)








/__opt__aboutcom__coeus__resources__content_migration__serious_eats__seriouseats.com__2017__06__20190610-kitchen-starter-equipment-vicky-wasik-1-33650db9ee6a4b5982dc8a18d1c6ef90.jpg)


