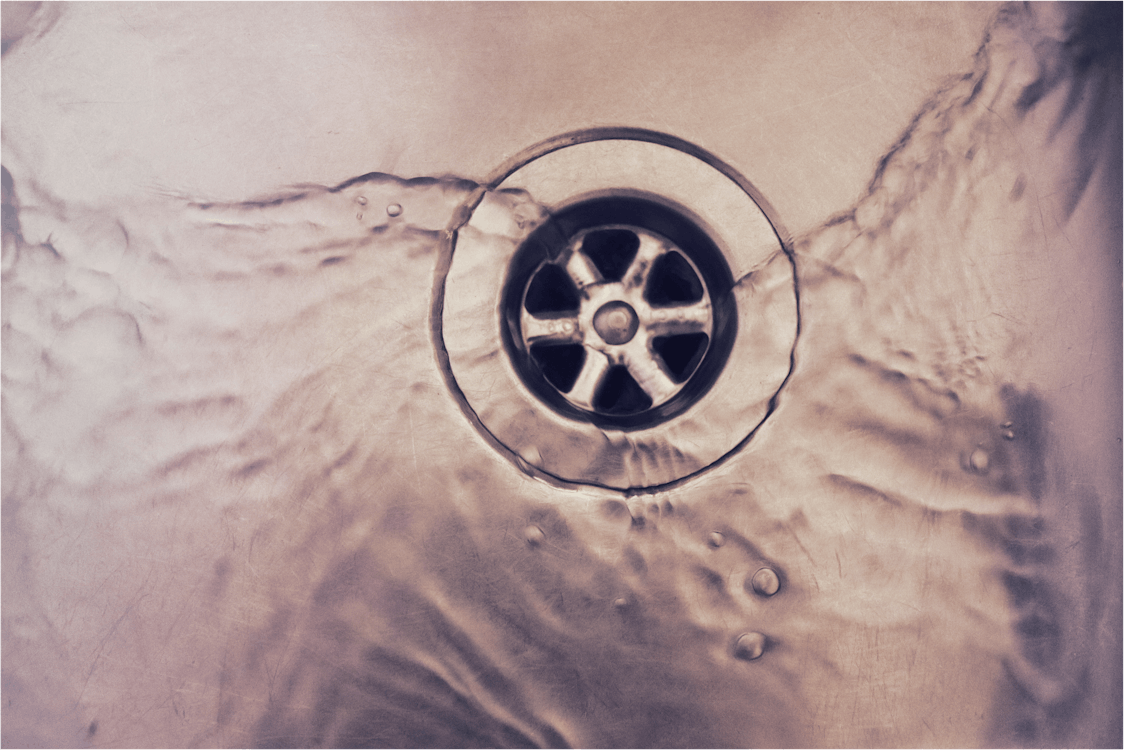
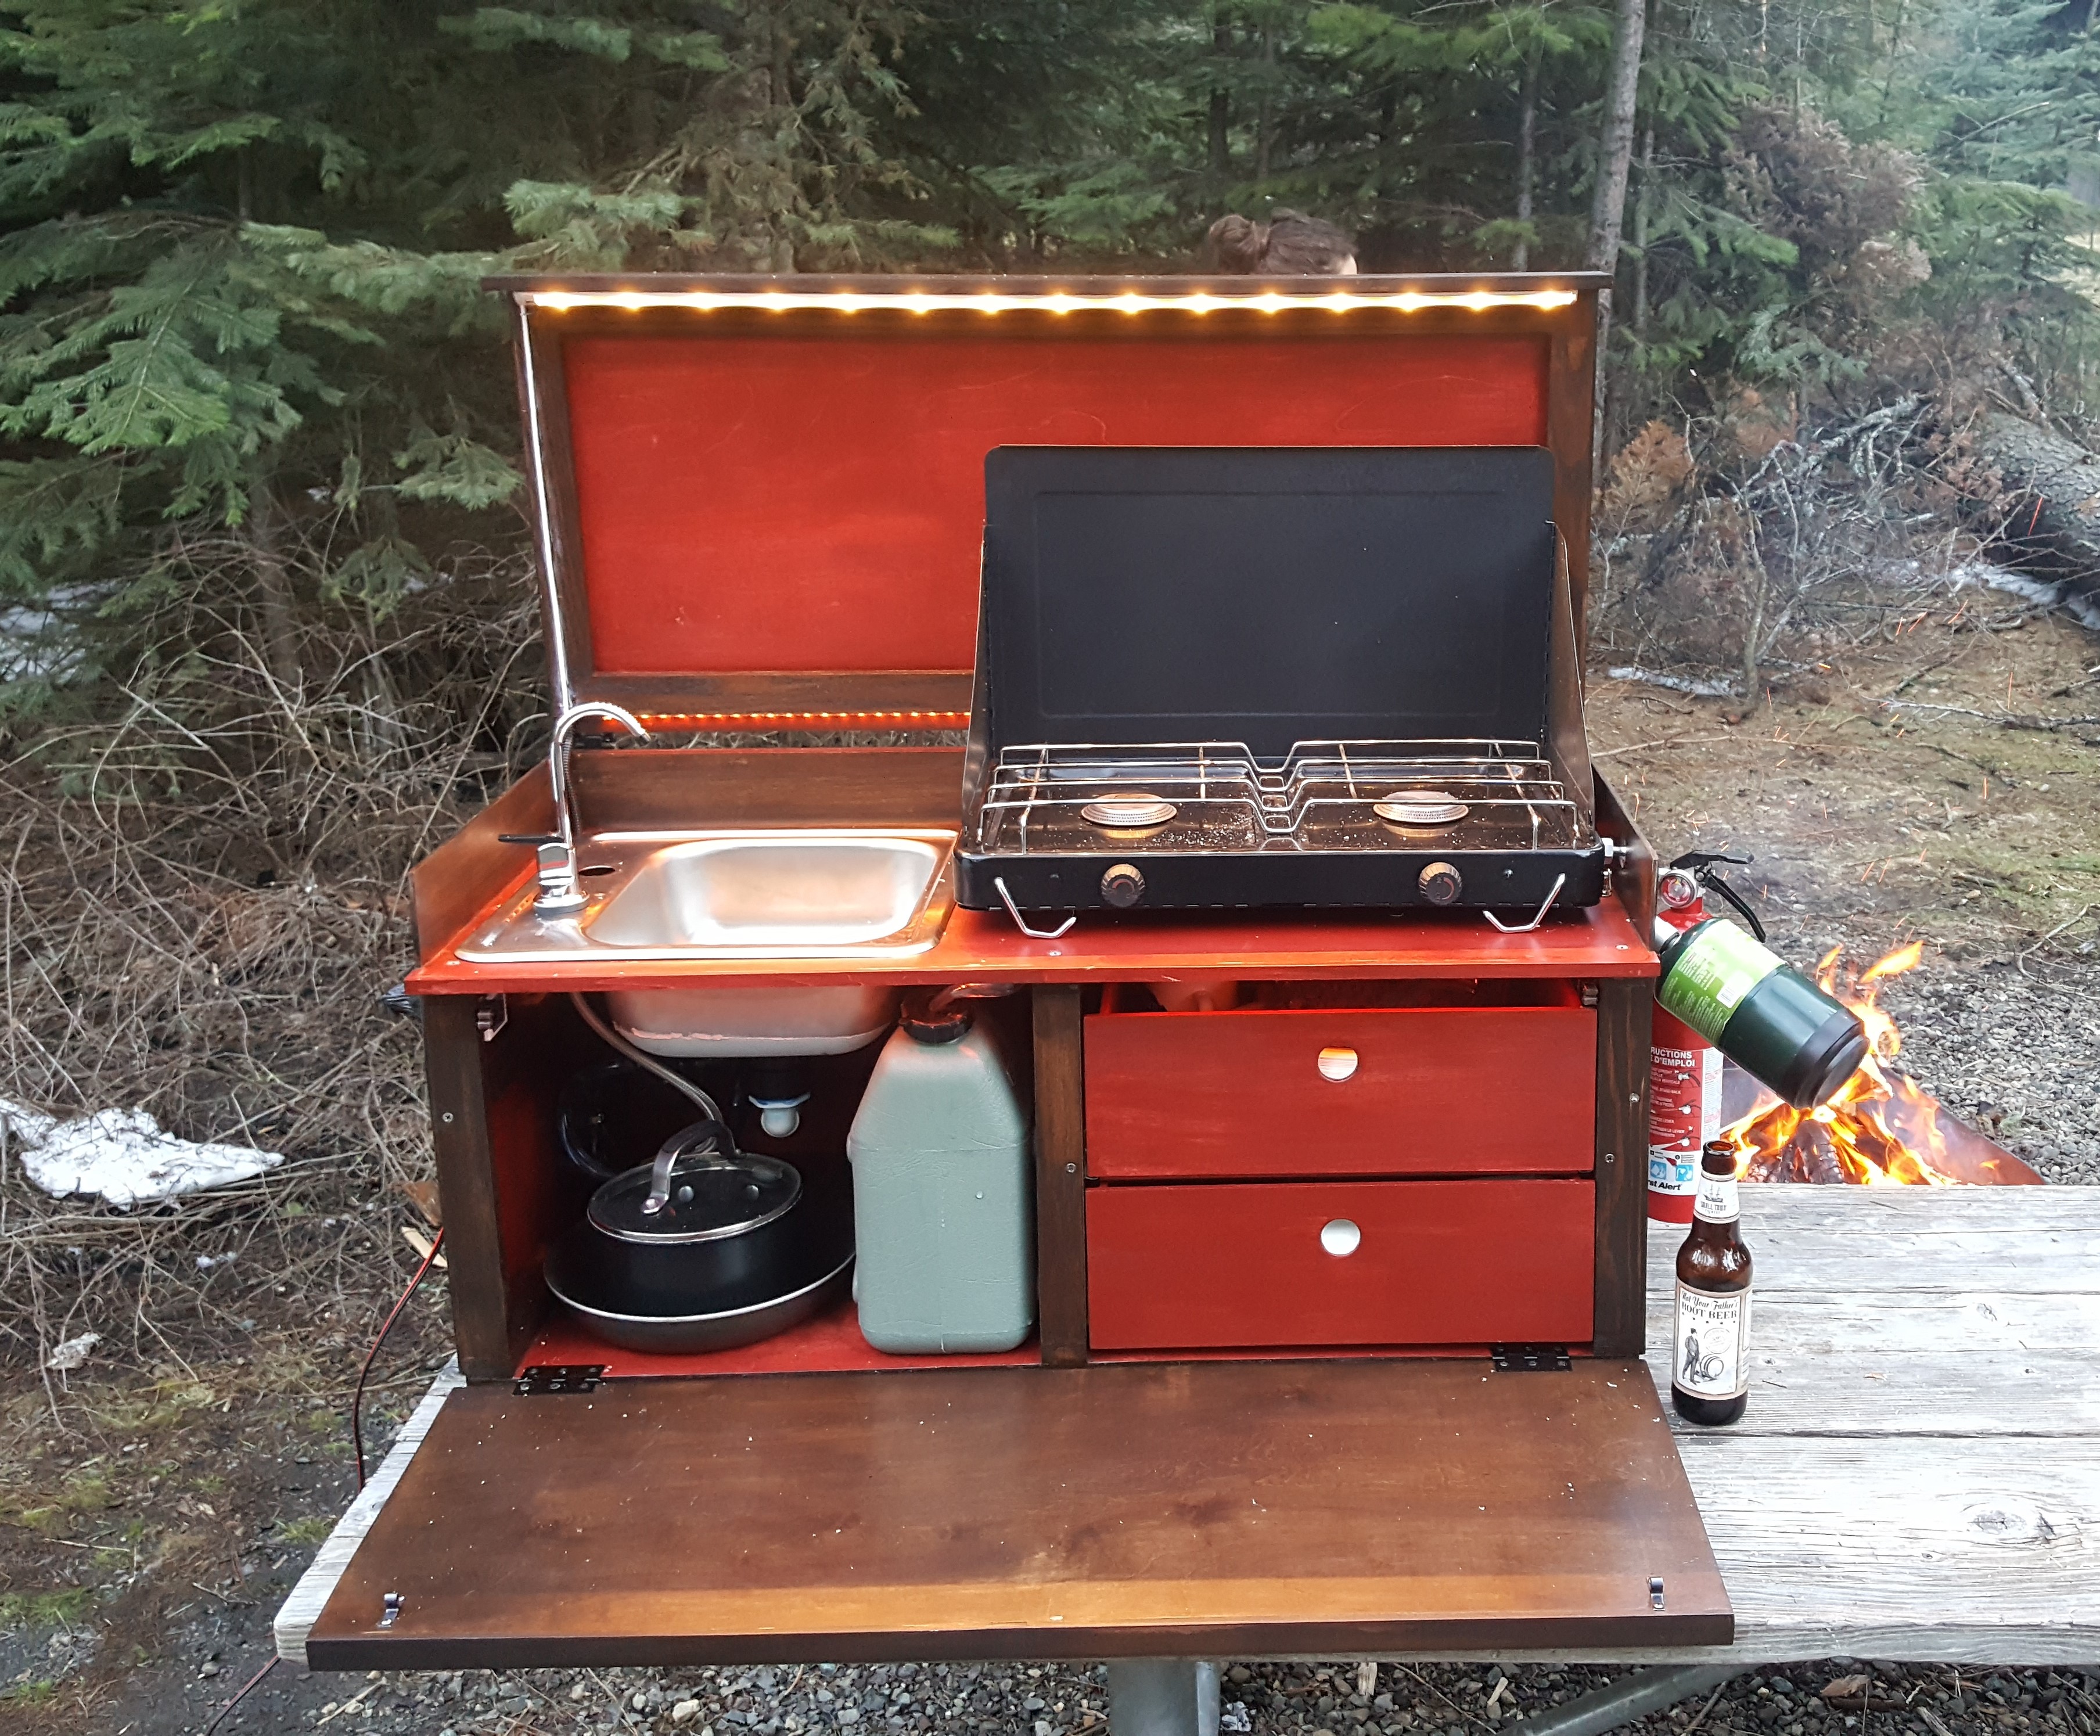
If you're an avid camper, having an outdoor kitchen sink in your camper is a game changer. But to make sure your outdoor kitchen sink is fully functional, you'll need to install a drain. Installing a drain in a camper outdoor kitchen sink may seem like a daunting task, but with the right tools and knowledge, it can be a straightforward and rewarding DIY project. In this article, we'll guide you through the process of installing a drain in your camper outdoor kitchen sink, so you can enjoy the convenience of a fully functional outdoor kitchen on your next camping trip.How to Install a Drain in a Camper Outdoor Kitchen Sink
Installing a drain in a camper outdoor kitchen sink is a great DIY project for any camping enthusiast. Not only does it save you money, but it also allows you to customize your sink to your specific needs. With a little bit of elbow grease and the right tools, you can have your camper outdoor kitchen sink up and running in no time.DIY Camper Outdoor Kitchen Sink Drain Installation
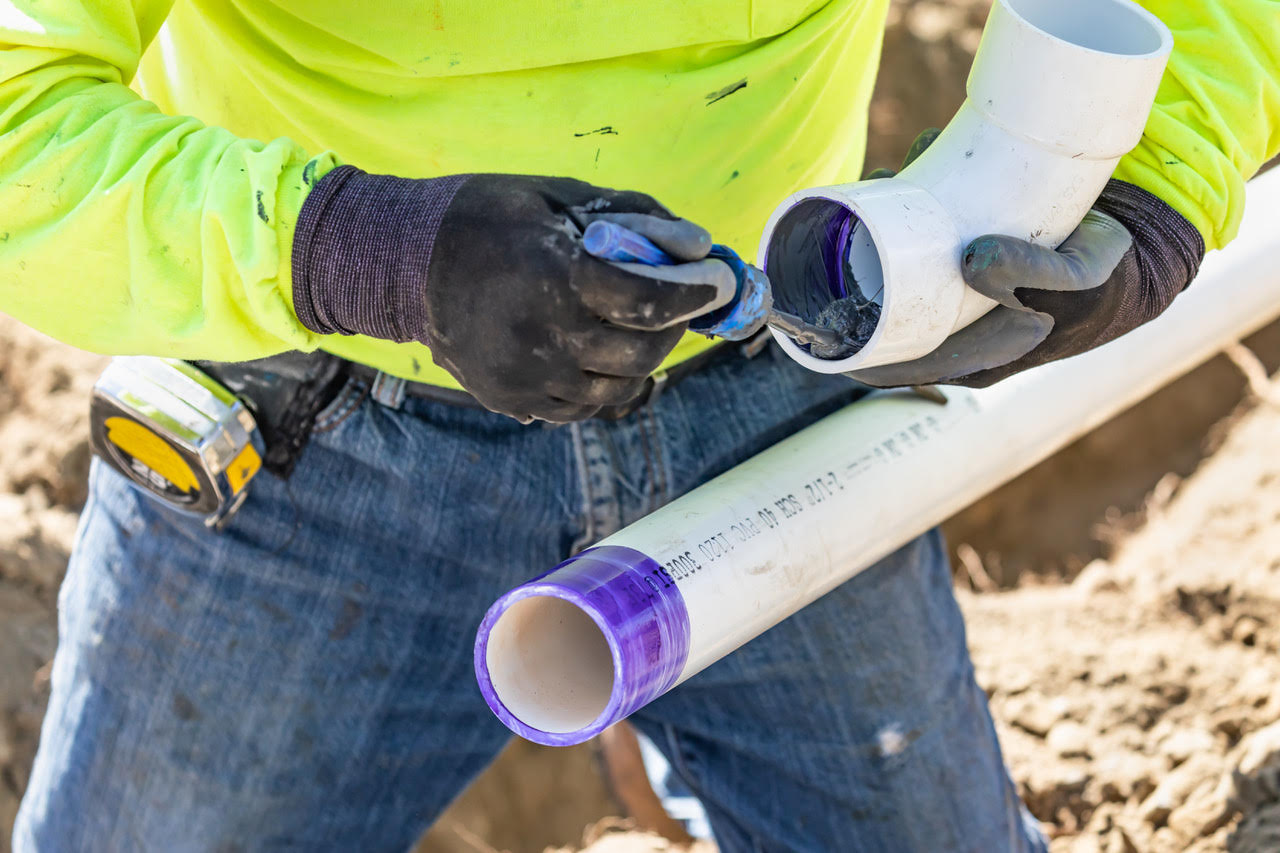
Before you begin the installation process, make sure you have all the necessary tools and materials. You'll need a sink with a pre-cut hole for the drain, a drain assembly kit, plumber's putty, a screwdriver, and a wrench. Once you have everything ready, follow these steps: 1. Begin by removing any old fittings or plugs from the sink's drain hole. 2. Apply a thin layer of plumber's putty around the bottom of the drain assembly. 3. Insert the drain assembly into the sink's drain hole and tighten it with a wrench. 4. Attach the tailpiece to the bottom of the sink and secure it with a wrench. 5. Connect the P-trap to the tailpiece and tighten the fittings with a wrench. 6. Connect the other end of the P-trap to the camper's grey water tank or a portable waste tank. 7. Turn on the water and check for any leaks. 8. Once everything is secure and there are no leaks, your camper outdoor kitchen sink drain is ready to use!Step-by-Step Guide for Installing a Drain in a Camper Outdoor Kitchen Sink
Here are some tips and tricks to make your camper outdoor kitchen sink drain installation go smoothly: - Make sure to use plumber's putty or silicone sealant to create a watertight seal around the drain assembly. - If your sink doesn't have a pre-cut hole for the drain, you can use a hole saw to create one. - To avoid any issues with leaking, make sure to use Teflon tape on any threaded connections. - If you're not confident in your DIY skills, it's always a good idea to consult a professional plumber.Camper Outdoor Kitchen Sink Drain Installation Tips and Tricks
To complete the installation process, you'll need the following tools and materials: - Sink with a pre-cut drain hole - Drain assembly kit - Plumber's putty or silicone sealant - Screwdriver - WrenchEssential Tools and Materials for Installing a Drain in a Camper Outdoor Kitchen Sink
To ensure a successful installation, here are some common mistakes to avoid: - Forgetting to use plumber's putty or silicone sealant to create a watertight seal. - Not tightening the fittings enough, which can lead to leaks. - Using the wrong size or type of fittings. - Not checking for leaks after installation.Common Mistakes to Avoid When Installing a Drain in a Camper Outdoor Kitchen Sink
Sealing and securing the drain in your camper outdoor kitchen sink is crucial to avoid any leaks or issues. Make sure to use plumber's putty or silicone sealant around the drain assembly and tighten all fittings securely with a wrench. It's also a good idea to check for leaks after installation and make any necessary adjustments.How to Properly Seal and Secure a Drain in a Camper Outdoor Kitchen Sink
If you're not confident in your DIY skills, it's always best to consult a professional plumber for expert advice on installing a drain in your camper outdoor kitchen sink. They can provide valuable tips and guidance to ensure a successful installation.Expert Advice on Installing a Drain in a Camper Outdoor Kitchen Sink
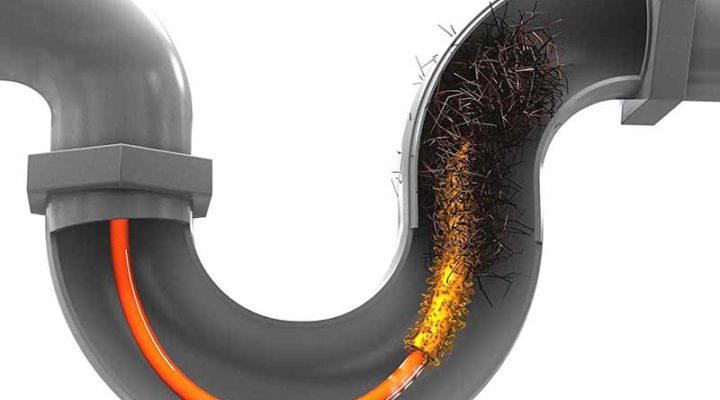
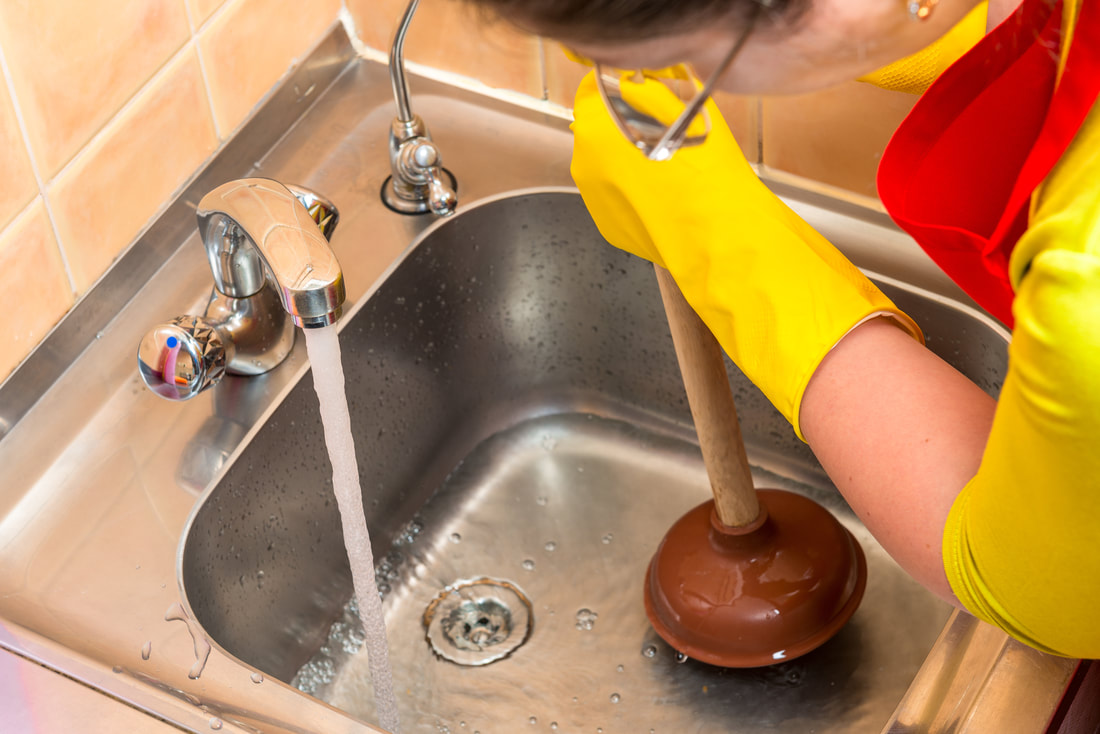
If you encounter any issues during the installation process, here are some common troubleshooting tips: - If there are leaks, check all fittings and tighten them if necessary. - If the drain is clogged, try using a plunger or drain cleaner to clear it. - If the sink is not draining properly, make sure the P-trap is not blocked and clear any debris.Troubleshooting Common Issues with Camper Outdoor Kitchen Sink Drain Installation
If you're on a budget, there are some affordable options for installing a drain in your camper outdoor kitchen sink. You can opt for a basic drain assembly kit and use household items like Teflon tape and plumber's putty to secure and seal it. You can also repurpose an old sink or purchase a second-hand one to save some money. Installing a drain in a camper outdoor kitchen sink may seem like a daunting task, but with the right tools and knowledge, it can be a simple and rewarding DIY project. Just make sure to follow these tips and tricks, and your outdoor kitchen sink will be ready to use on your next camping trip!Budget-Friendly Options for Installing a Drain in a Camper Outdoor Kitchen Sink
The Importance of Proper Drainage in Outdoor Kitchen Sink Installation for Camper Vans
:max_bytes(150000):strip_icc()/how-to-install-a-sink-drain-2718789-hero-24e898006ed94c9593a2a268b57989a3.jpg)
Why is Drainage Important?
 Proper drainage is a crucial aspect of installing
outdoor kitchen sinks in camper vans. Without a functional drainage system, the sink can quickly become a breeding ground for bacteria and mold, and can also cause damage to your camper van's interior. Moreover, stagnant water can attract insects and pests, making your outdoor cooking experience unpleasant and unhygienic.
Therefore, it is essential to have a proper drainage system in place to ensure that your outdoor kitchen sink is clean and functional at all times.
Choosing the Right Drain for Your Camper Van
 When it comes to installing a drain in your camper van's outdoor kitchen sink, there are several options to choose from. The most common types of drains are
undermount, top mount, and drop-in drains.
Undermount drains are installed underneath the sink and provide a clean and seamless look. Top mount drains are installed on top of the sink and are a more budget-friendly option. Drop-in drains are a combination of undermount and top mount drains and offer both functionality and aesthetics.
Factors to Consider
/how-to-install-a-sink-drain-2718789-hero-b5b99f72b5a24bb2ae8364e60539cece.jpg) When choosing the right drain for your camper van's outdoor kitchen sink, there are a few factors that you should consider. Firstly, the size of the sink and the amount of space available for the drain. It is essential to ensure that the drain fits the sink properly and does not take up too much space. Additionally, the material of the drain should be durable and resistant to rust and corrosion.
Stainless steel is a popular choice for camper van drains as it is easy to clean and maintain.
When choosing the right drain for your camper van's outdoor kitchen sink, there are a few factors that you should consider. Firstly, the size of the sink and the amount of space available for the drain. It is essential to ensure that the drain fits the sink properly and does not take up too much space. Additionally, the material of the drain should be durable and resistant to rust and corrosion.
Stainless steel is a popular choice for camper van drains as it is easy to clean and maintain.
Proper Drainage System Installation
 Installing a drainage system for your outdoor kitchen sink may seem like a daunting task, but with the right tools and proper instructions, it can be done easily.
Start by determining the location of the sink and the drain, making sure that it is close to a water source and has proper ventilation.
Then, using a jigsaw, cut a hole in the countertop for the drain. Once the drain is in place, connect the pipes and secure them using a wrench. Finally, test the drain by running water through it and check for any leaks.
In conclusion, having a proper drainage system in place is essential for installing an outdoor kitchen sink in your camper van. It not only ensures hygiene and functionality but also adds to the overall aesthetic of your camper van's interior.
Remember to choose the right drain for your sink, consider factors such as size and material, and follow proper installation instructions for a hassle-free outdoor cooking experience.












/how-to-install-a-sink-drain-2718789-hero-24e898006ed94c9593a2a268b57989a3.jpg)


