Installing a bathroom sink back piece may seem like a daunting task, but with the right tools and techniques, it can be a simple and straightforward process. In this step-by-step guide, we will walk you through the process of installing a bathroom sink back piece, from preparation to securing the back piece in place. How to Install a Bathroom Sink Back Piece


How to Install a Bathroom Sink Back Piece
:max_bytes(150000):strip_icc()/bathroom-sink-drain-installation-2718843-07-2b728cbd5c994dc39179346f51bb6421.jpg)
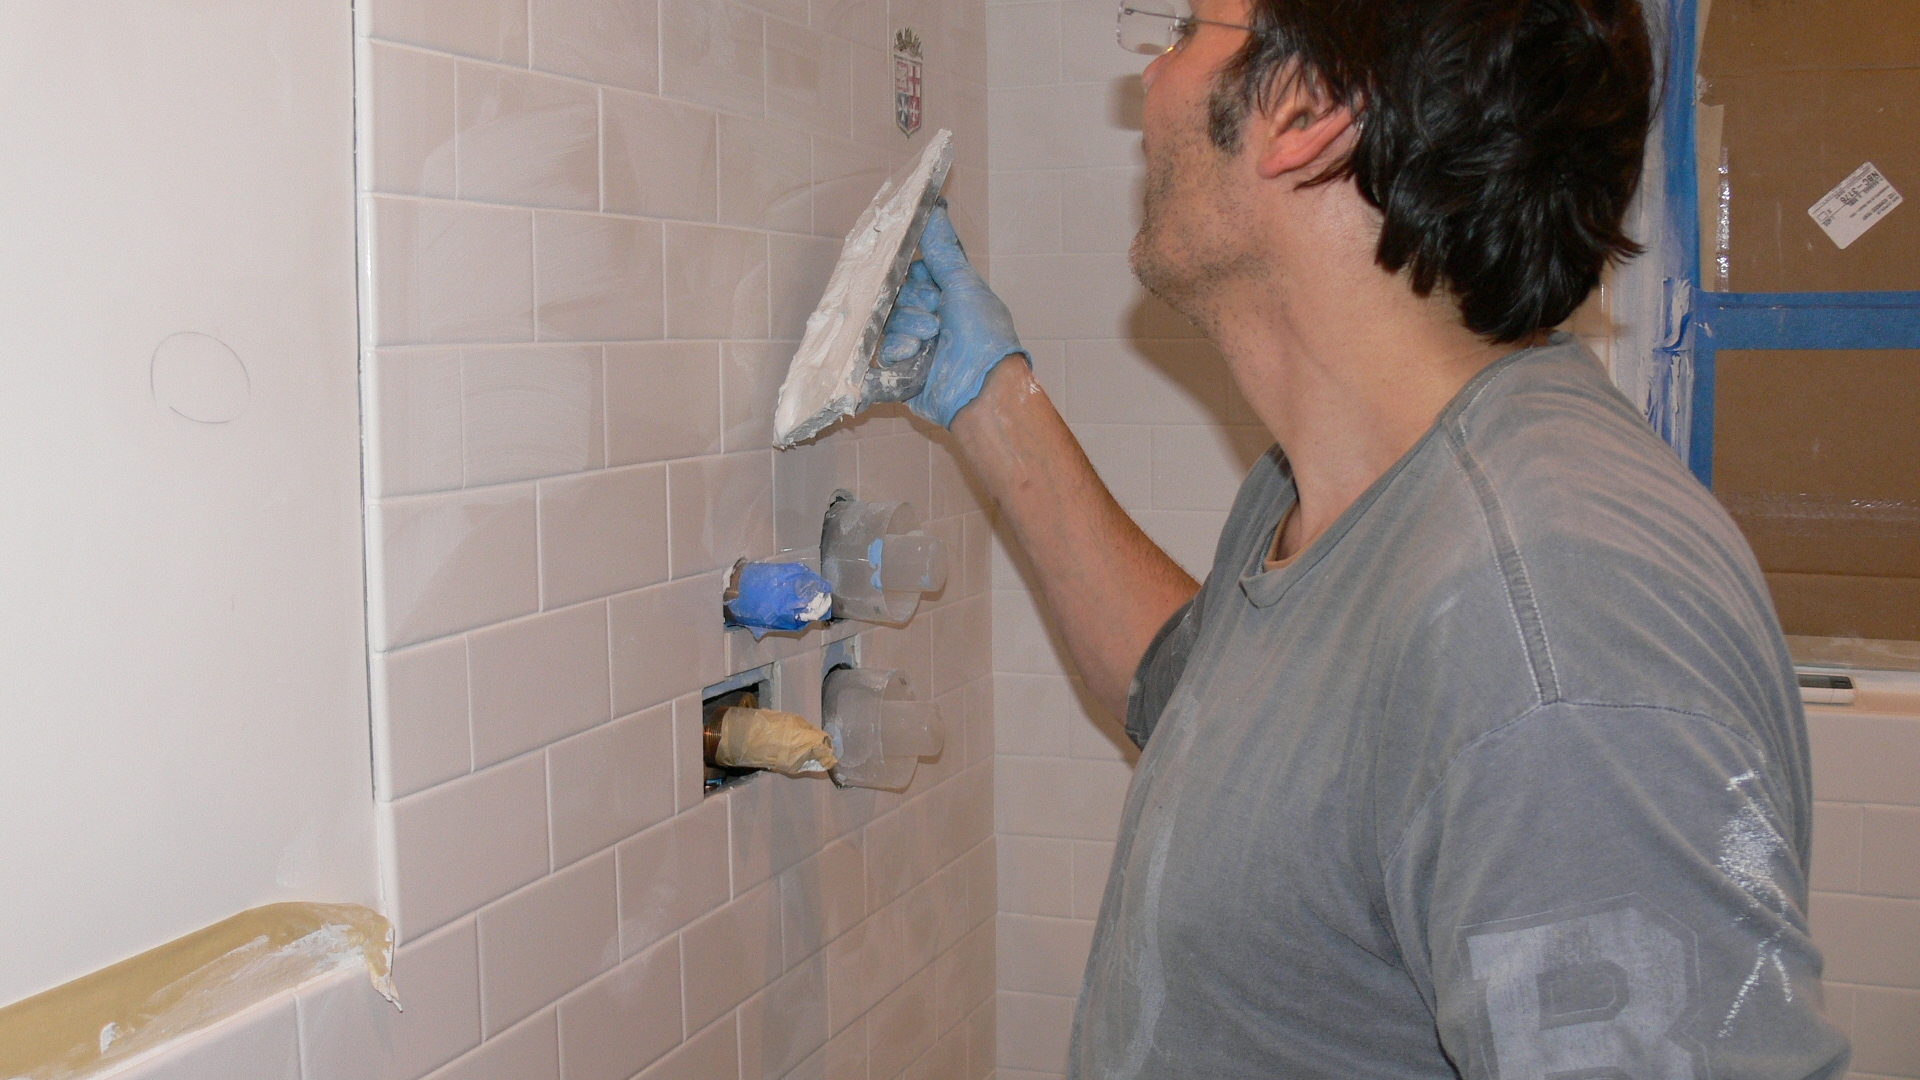
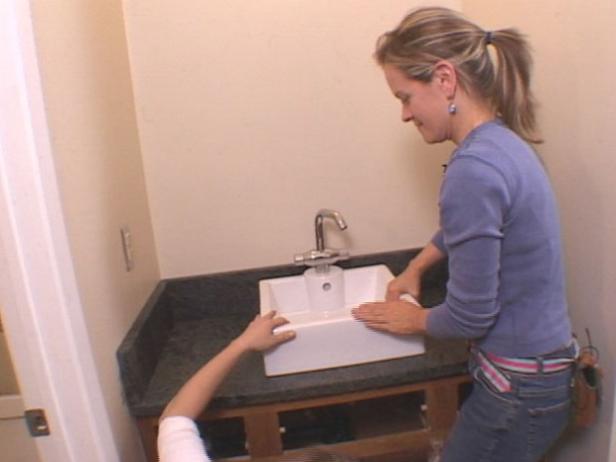
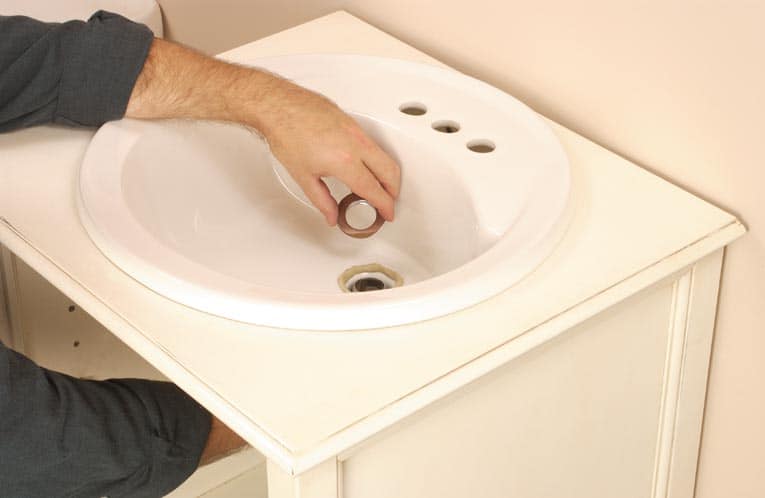
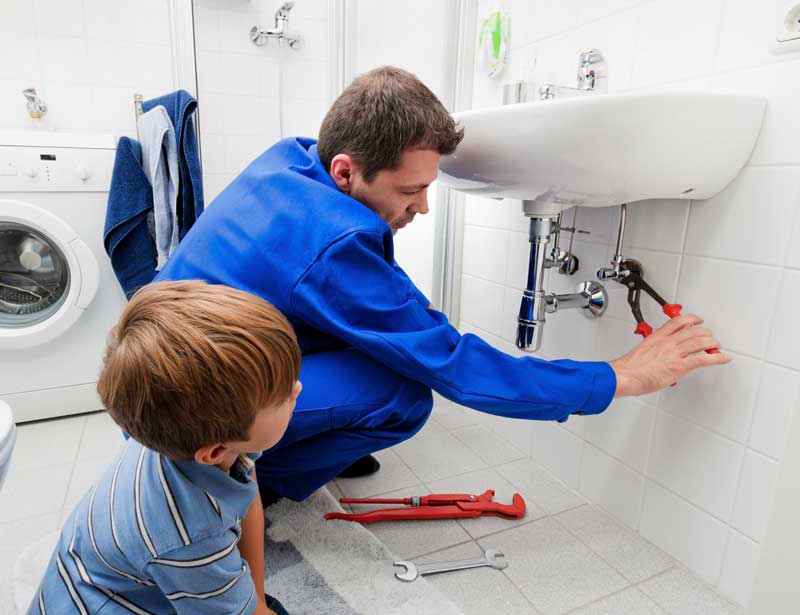
Before you begin, make sure you have all the necessary tools and materials. You will need a drill, screwdriver, measuring tape, level, adhesive caulk, and the back piece itself. Once you have everything you need, follow these steps to install the back piece: Step 1: Measure and mark the placement of the back piece on the wall. Make sure it is centered and level. Use a measuring tape and level to ensure accuracy. Step 2: Use a drill to create pilot holes on the marked spots. This will make it easier to insert the screws later on. Step 3: Apply a thin layer of adhesive caulk on the back of the sink back piece. This will help secure it in place. Step 4: Carefully place the back piece on the wall, making sure it is aligned with the marks you made earlier. Step 5: Use a screwdriver to screw in the back piece to the wall through the pilot holes you created. Make sure to tighten the screws securely. Step 6: Wipe off any excess adhesive caulk around the edges of the back piece. Step 7: Allow the adhesive caulk to dry completely before using the sink. Step-by-Step Guide for Installing a Bathroom Sink Back Piece


Step-by-Step Guide for Installing a Bathroom Sink Back Piece


Installing a bathroom sink back piece yourself can save you money and give you a sense of accomplishment. However, it is important to follow the proper steps and use the right tools to ensure a successful installation. Here are some tips for a successful DIY bathroom sink back piece installation: Tip 1: Make sure you have all the necessary tools and materials before starting the installation process. Tip 2: Measure and mark the placement of the back piece carefully to ensure it is centered and level. Tip 3: Use a drill to create pilot holes for easier screw insertion. Tip 4: Apply a thin layer of adhesive caulk to ensure the back piece is securely attached to the wall. Tip 5: Take your time and follow the step-by-step guide to avoid any mistakes. DIY Bathroom Sink Back Piece Installation


DIY Bathroom Sink Back Piece Installation


Installing a bathroom sink back piece may seem like a simple task, but there are some important tips to keep in mind to ensure a successful installation: Tip 1: If the back piece is made of glass or ceramic, handle it with care to avoid breakage. Tip 2: Use a level to make sure the back piece is straight and even before securing it in place. Tip 3: If your sink has a pedestal, make sure to attach the back piece to the wall before installing the sink. Tip 4: Use a damp cloth to wipe off any excess adhesive caulk to give your sink a clean and polished look. Tips for Installing a Bathroom Sink Back Piece


Tips for Installing a Bathroom Sink Back Piece


/Single-BasinBathroomVanityTopHuntshireVirtu-5672db5d3df78ccc15fa6a86.JPG)


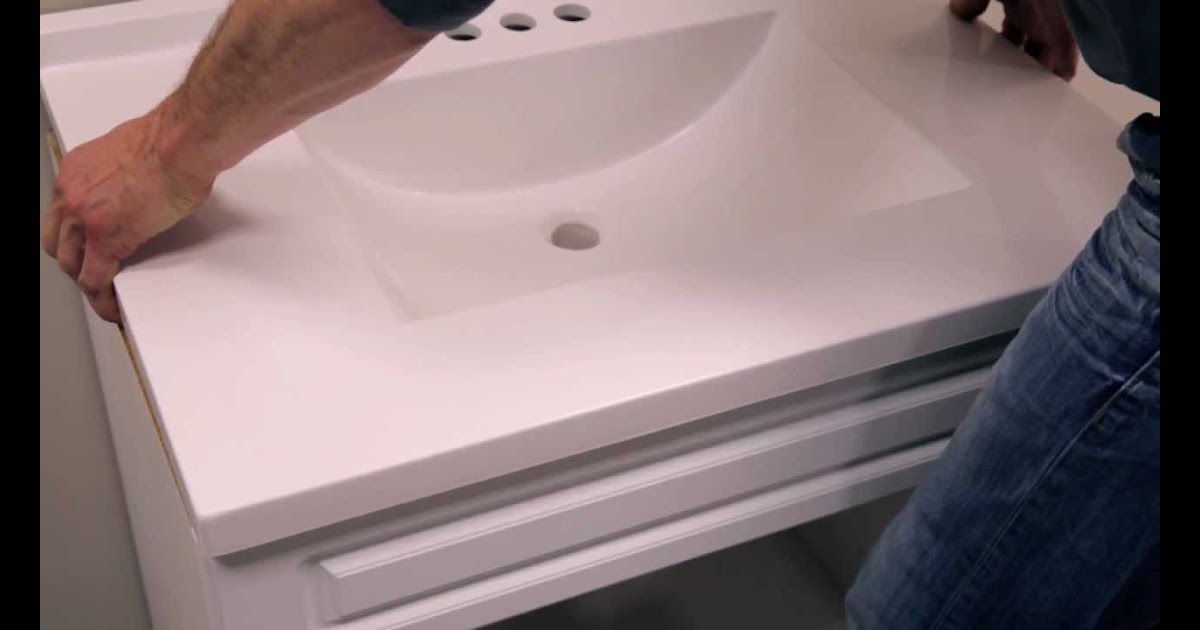
Having the right tools is crucial for a successful bathroom sink back piece installation. Here are the tools you will need: Drill: A drill is necessary for creating pilot holes and screwing in the back piece. Screwdriver: A screwdriver is needed to tighten the screws and secure the back piece in place. Measuring Tape: Use a measuring tape to ensure the back piece is centered and level. Level: A level is essential to make sure the back piece is straight and even. Adhesive Caulk: Adhesive caulk is used to secure the back piece to the wall. Tools Needed for Installing a Bathroom Sink Back Piece


Tools Needed for Installing a Bathroom Sink Back Piece


While installing a bathroom sink back piece may seem like a simple task, there are some common mistakes that can lead to a failed installation. Here are some mistakes to avoid: Mistake 1: Not measuring and marking the placement of the back piece accurately. Mistake 2: Forgetting to create pilot holes before screwing in the back piece. Mistake 3: Using too much adhesive caulk, which can result in a messy and uneven installation. Mistake 4: Not allowing enough time for the adhesive caulk to dry before using the sink. Common Mistakes to Avoid When Installing a Bathroom Sink Back Piece


Common Mistakes to Avoid When Installing a Bathroom Sink Back Piece


Despite following all the steps and tips, sometimes things may not go as planned during a bathroom sink back piece installation. Here are some troubleshooting tips: Problem: The back piece is not level. Solution: Use a level to adjust the back piece and make sure it is straight before tightening the screws. Problem: The back piece is not securely attached to the wall. Solution: Apply more adhesive caulk and tighten the screws to ensure the back piece is firmly in place. Problem: The back piece is crooked or misaligned. Solution: Remove the back piece and start the installation process again, making sure to measure and mark the placement accurately. Troubleshooting Guide for Bathroom Sink Back Piece Installation


Troubleshooting Guide for Bathroom Sink Back Piece Installation

:max_bytes(150000):strip_icc()/8_IMG_3767-56a4a2753df78cf772835b72.JPG)


To ensure a successful and long-lasting installation, here are some best practices to keep in mind: Best Practice 1: Take your time and follow the step-by-step guide to avoid any mistakes. Best Practice 2: Use a level and measuring tape to ensure accuracy. Best Practice 3: Use a small amount of adhesive caulk to avoid a messy installation. Best Practice 4: Allow the adhesive caulk to dry completely before using the sink. Best Practices for Installing a Bathroom Sink Back Piece


Best Practices for Installing a Bathroom Sink Back Piece

Securing the back piece to the wall is a crucial part of the installation process. Here are some tips for securely attaching the back piece: Tip 1: Make sure you have the right tools and materials before starting the installation process. Tip 2: Use adhesive caulk to ensure the back piece is firmly attached to the wall. Tip 3: Tighten the screws securely to avoid any wobbling or movement of the back piece. How to Securely Attach a Bathroom Sink Back Piece


How to Securely Attach a Bathroom Sink Back Piece


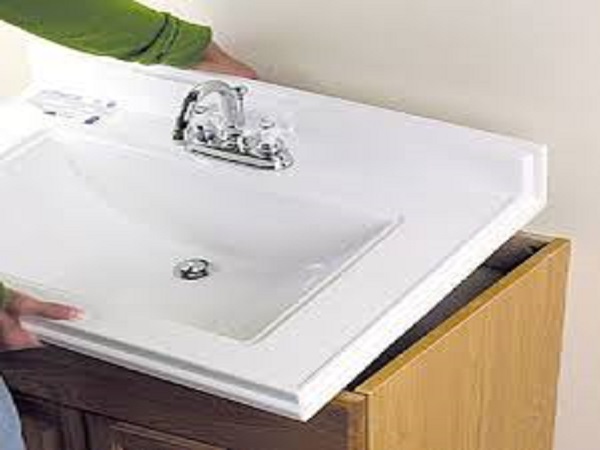
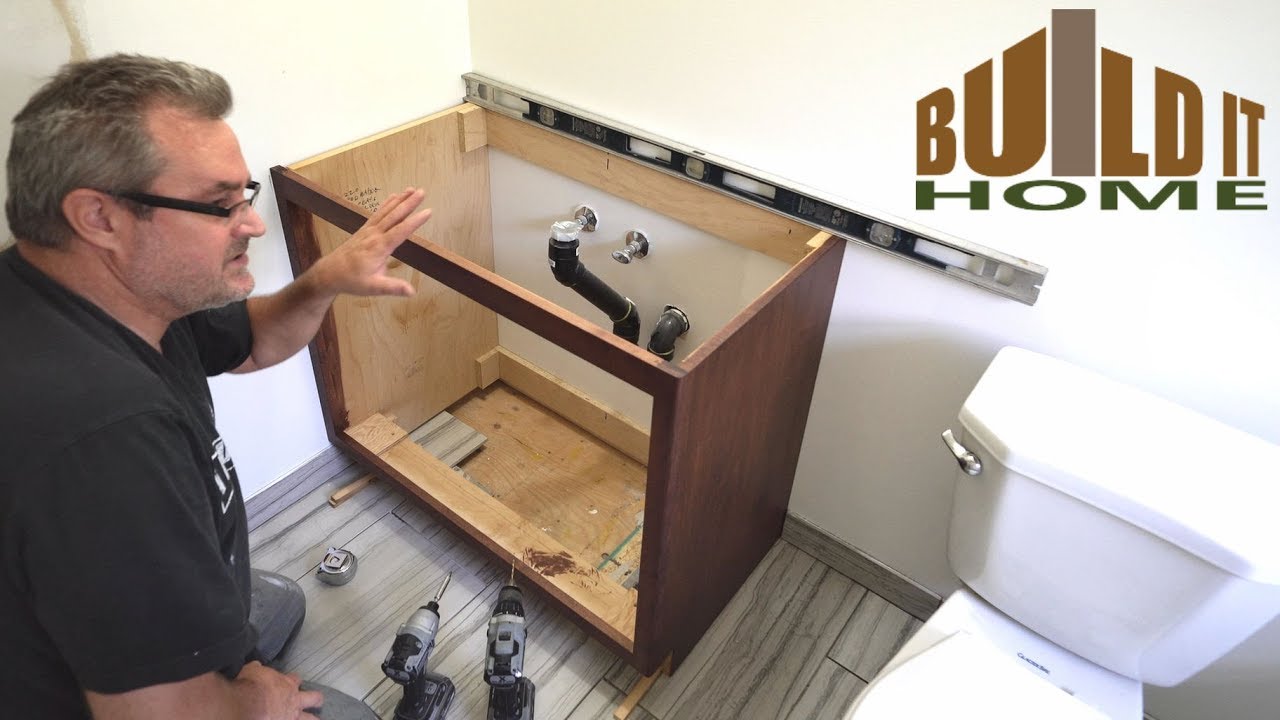
Before starting the installation process, it is important to prepare your bathroom for the sink back piece. Here are some steps to follow: Step 1: Clear the area where the sink back piece will be installed. Step 2: Make sure there is enough space for the back piece and the sink. Step 3: Clean the wall where the back piece will be installed to ensure a smooth surface. Step 4: Lay out all the necessary tools and materials for easy access. Preparing Your Bathroom for a Sink Back Piece Installation


Preparing Your Bathroom for a Sink Back Piece Installation


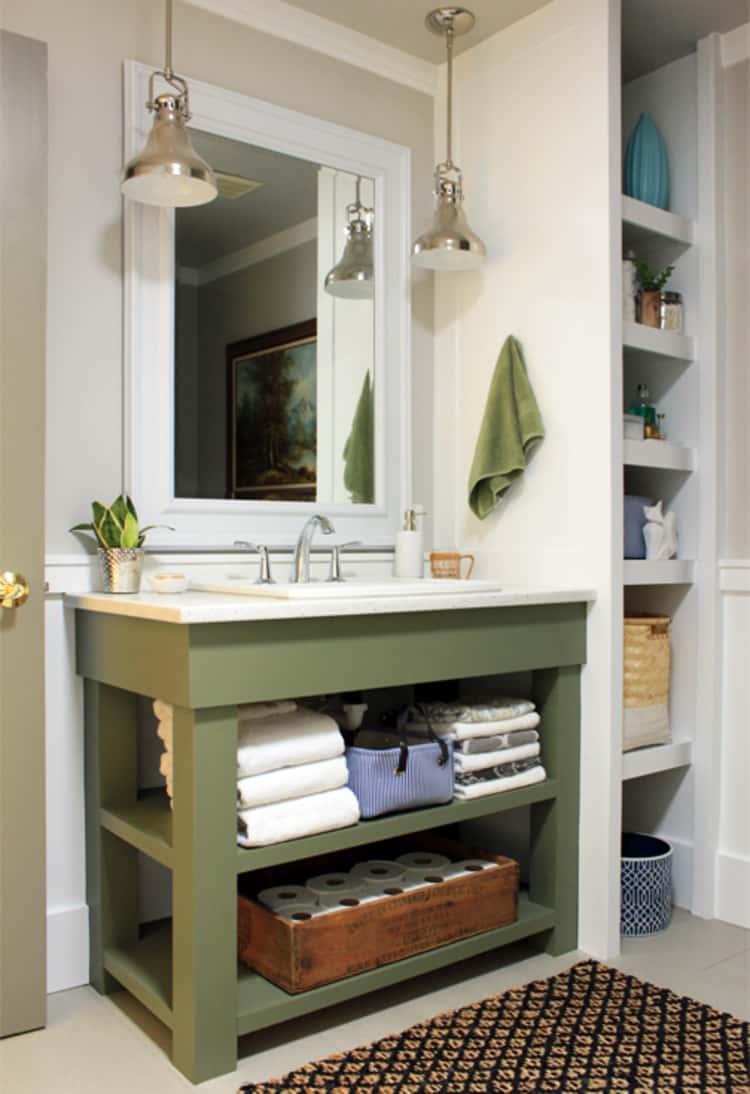
Why Installing a Bathroom Sink Back Piece Can Enhance Your House Design

Creating a Functional and Stylish Bathroom
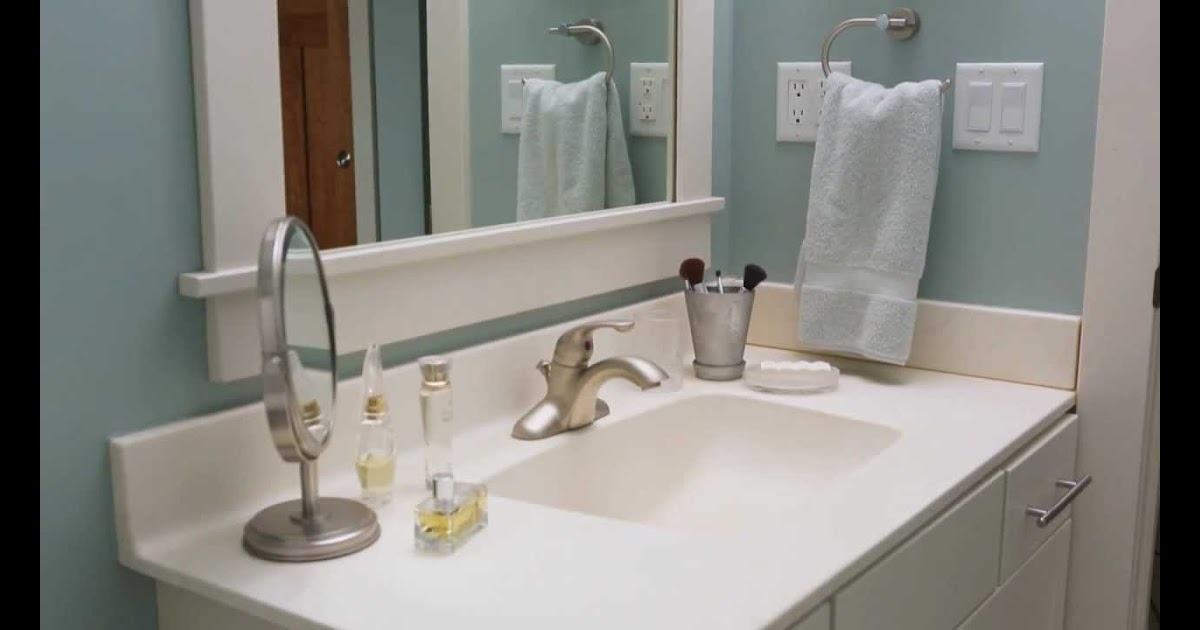
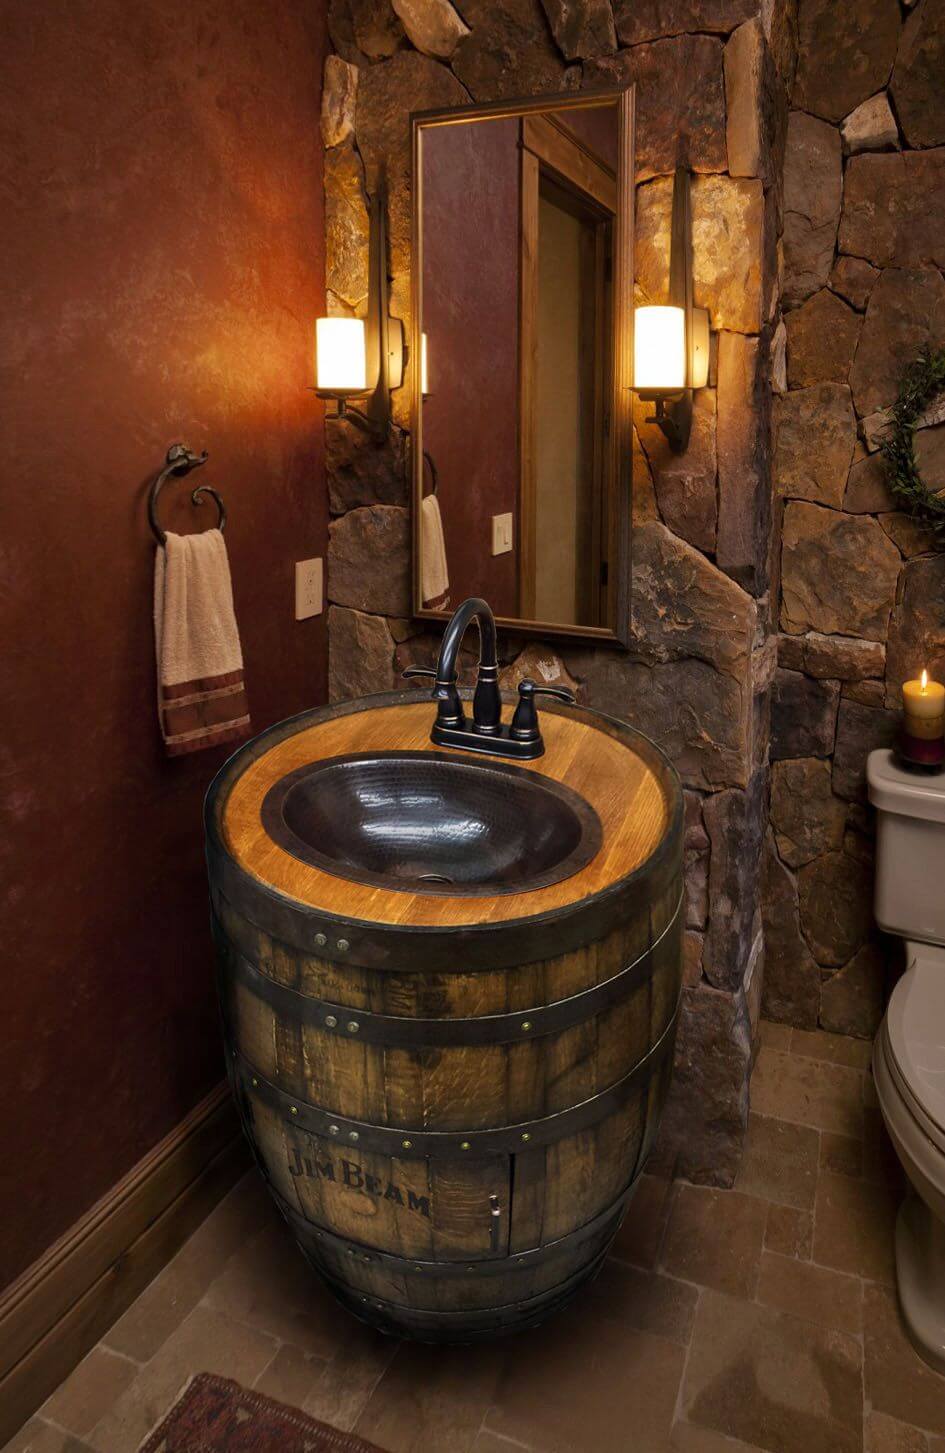
 When it comes to designing a house, the bathroom is often overlooked. However, a well-designed bathroom can greatly enhance the overall aesthetic and functionality of your home. One important element of a bathroom that is often not given much thought is the sink back piece. This small but significant piece can make a big impact on the design of your bathroom.
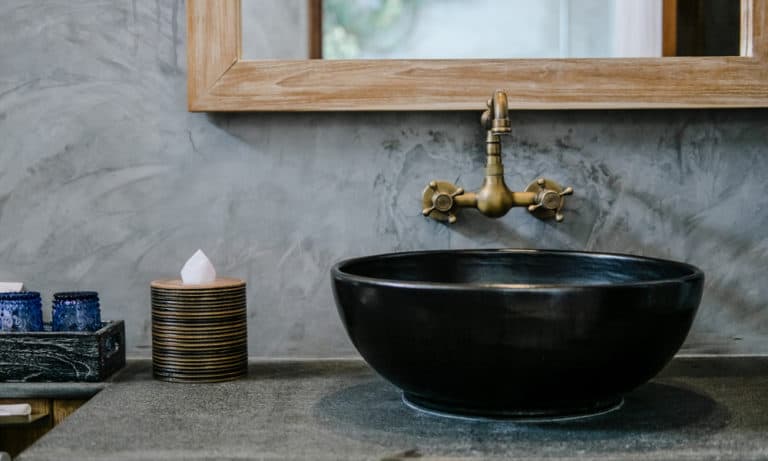
The Importance of a Sink Back Piece
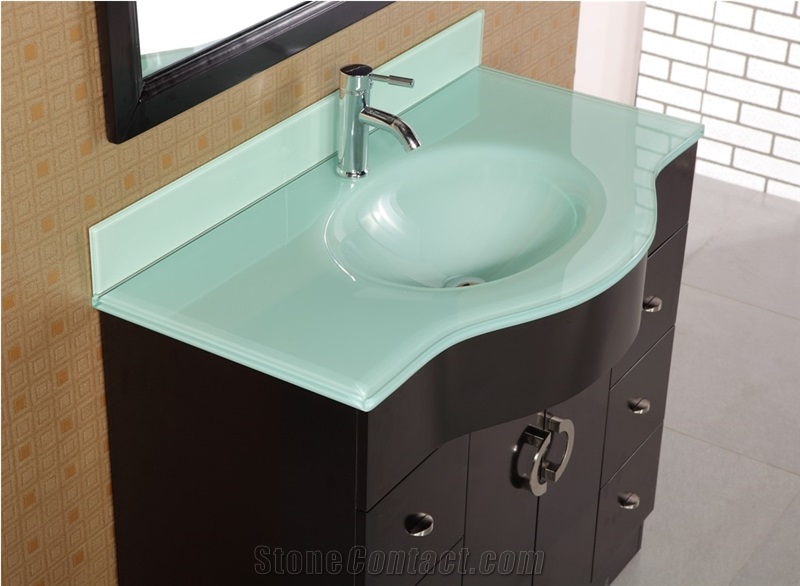
 A sink back piece is the vertical panel that sits behind the sink and is attached to the wall. Its main purpose is to protect the wall from water damage and provide a seamless backdrop for the sink. However, with the right choice of materials and design, a sink back piece can also add a touch of elegance and style to your bathroom.
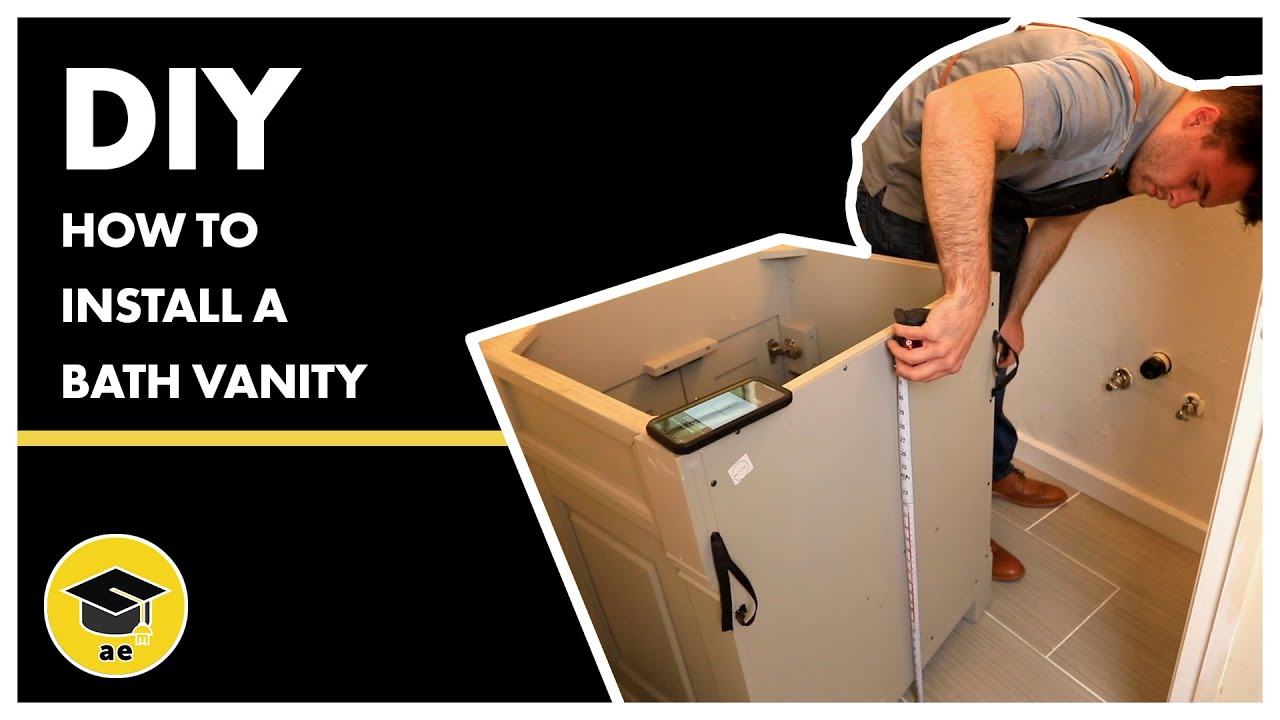
Installing a Bathroom Sink Back Piece
is a relatively simple and affordable way to upgrade your bathroom's design. It can be done as a standalone project or as part of a larger bathroom renovation. With a wide variety of materials, colors, and designs available, there is something to suit every style and budget.
A sink back piece is the vertical panel that sits behind the sink and is attached to the wall. Its main purpose is to protect the wall from water damage and provide a seamless backdrop for the sink. However, with the right choice of materials and design, a sink back piece can also add a touch of elegance and style to your bathroom.
Installing a Bathroom Sink Back Piece
is a relatively simple and affordable way to upgrade your bathroom's design. It can be done as a standalone project or as part of a larger bathroom renovation. With a wide variety of materials, colors, and designs available, there is something to suit every style and budget.
Choosing the Right Materials
 When it comes to choosing the material for your sink back piece, there are several options to consider.
Ceramic tiles
are a popular choice as they are durable, water-resistant, and come in a variety of colors and patterns. Another option is
acrylic panels
, which are easy to install and maintain. For a more
luxurious
look,
marble
or
granite
can be used, but they may require professional installation and are more expensive.
When it comes to choosing the material for your sink back piece, there are several options to consider.
Ceramic tiles
are a popular choice as they are durable, water-resistant, and come in a variety of colors and patterns. Another option is
acrylic panels
, which are easy to install and maintain. For a more
luxurious
look,
marble
or
granite
can be used, but they may require professional installation and are more expensive.
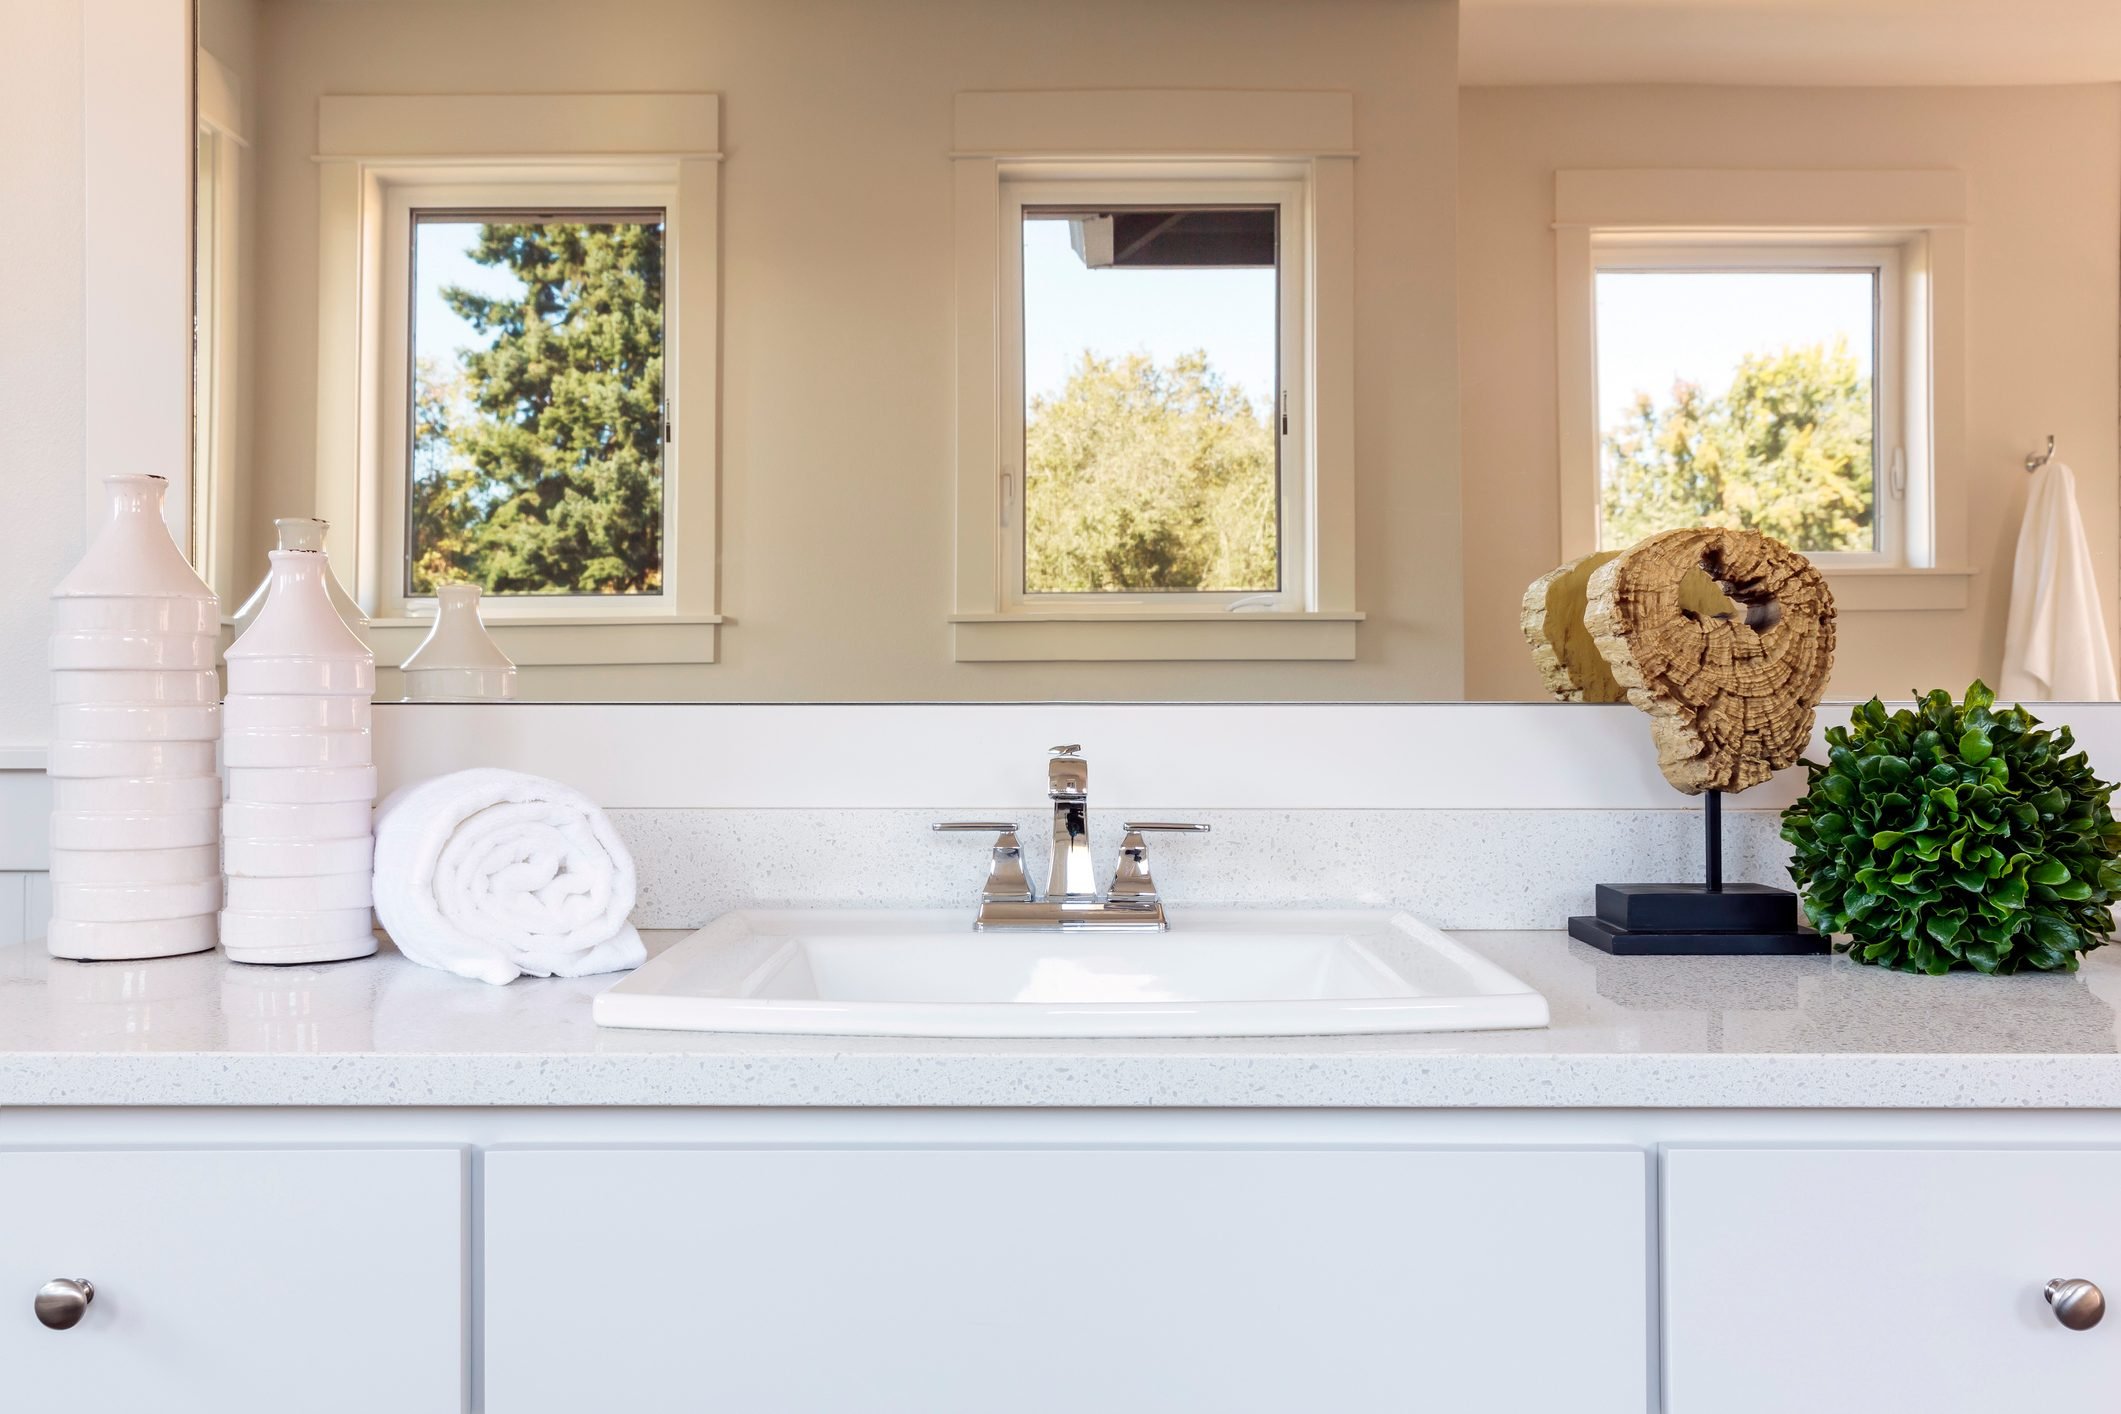
Adding Personality to Your Bathroom
 The sink back piece is also a great opportunity to add some personality to your bathroom. You can choose a bold
color
or
pattern
to make a statement or opt for a more subtle design that complements the overall aesthetic of your bathroom. You can also use
mosaic tiles
or
custom designs
to create a unique and personalized look.
The sink back piece is also a great opportunity to add some personality to your bathroom. You can choose a bold
color
or
pattern
to make a statement or opt for a more subtle design that complements the overall aesthetic of your bathroom. You can also use
mosaic tiles
or
custom designs
to create a unique and personalized look.
Conclusion
 In conclusion, installing a bathroom sink back piece is a simple and effective way to enhance the design of your bathroom. With the right choice of materials and design, it can add both functionality and style to your space. So why not give your bathroom a makeover and see the difference a sink back piece can make?