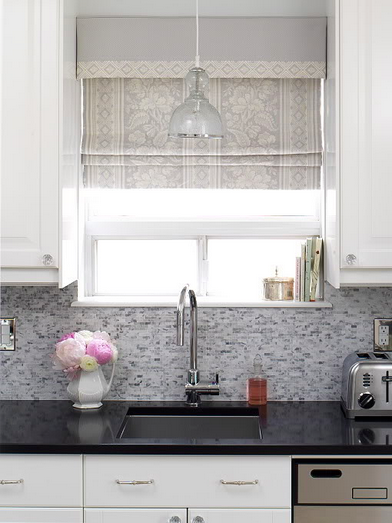
Installing a plastic kitchen light diffuser is a simple and cost-effective way to improve the lighting in your kitchen. Not only does it diffuse the light for a softer and more even glow, but it also helps to reduce glare and eyestrain. Plus, with the right tools and materials, you can easily install a plastic kitchen light diffuser yourself without having to hire a professional. In this guide, we will take you through the step-by-step process of installing a plastic kitchen light diffuser.How to Install a Plastic Kitchen Light Diffuser
Before we get started, make sure you have all the necessary tools and materials. You will need a plastic light diffuser, a measuring tape, a pencil, a saw, screws, a screwdriver, and a ladder. Once you have everything ready, follow these steps:Installing a Plastic Kitchen Light Diffuser: A Step-by-Step Guide
The first step is to measure the size of your kitchen light fixture. Use a measuring tape to determine the length and width of the fixture. This will help you determine the size of the plastic diffuser you will need.Step 1: Measure the Size of Your Kitchen Light Fixture
Using the measurements from the previous step, mark the plastic diffuser with a pencil and cut it to size using a saw. Make sure to cut the diffuser slightly smaller than the fixture to allow for a snug fit.Step 2: Cut the Plastic Diffuser to Size
Before installing the plastic diffuser, make sure to turn off the power to the light fixture. Then, carefully remove the light bulbs and the cover of the fixture. Set them aside in a safe place.Step 3: Remove the Light Bulbs and Cover
Place the plastic diffuser on top of the light fixture, making sure it fits snugly. If needed, you can use screws to secure the diffuser in place. Make sure the diffuser is properly aligned and centered on the fixture.Step 4: Install the Plastic Diffuser
Once the plastic diffuser is installed, you can reattach the cover and light bulbs. Make sure to screw the cover back on securely and replace the light bulbs. Turn the power back on and test the light to ensure the diffuser is placed correctly and the light is diffused evenly.Step 5: Reinstall the Cover and Light Bulbs
Installing a plastic kitchen light diffuser is a DIY project that can be completed in just a few simple steps. Not only is it a cost-effective way to improve the lighting in your kitchen, but it can also be a fun and satisfying DIY project. So why not give it a try and see the difference it can make in your kitchen.DIY: Installing a Plastic Kitchen Light Diffuser
With just a few easy steps, you can install a plastic kitchen light diffuser and significantly improve the lighting in your kitchen. It's a simple and straightforward process that requires minimal tools and time. Plus, with the added benefit of reducing glare and eyestrain, installing a plastic diffuser is an easy and effective way to enhance your kitchen lighting.Easy Steps for Installing a Plastic Kitchen Light Diffuser
When installing a plastic kitchen light diffuser, there are a few tips and tricks that can make the process even easier. For example, using a ladder or step stool can help you reach the light fixture safely and easily. Also, make sure to use screws that are the appropriate length for your light fixture to avoid damaging the diffuser.Installing a Plastic Kitchen Light Diffuser: Tips and Tricks
Why You Should Install a Plastic Kitchen Light Diffuser in Your Home

Enhance Lighting and Create a Modern Look
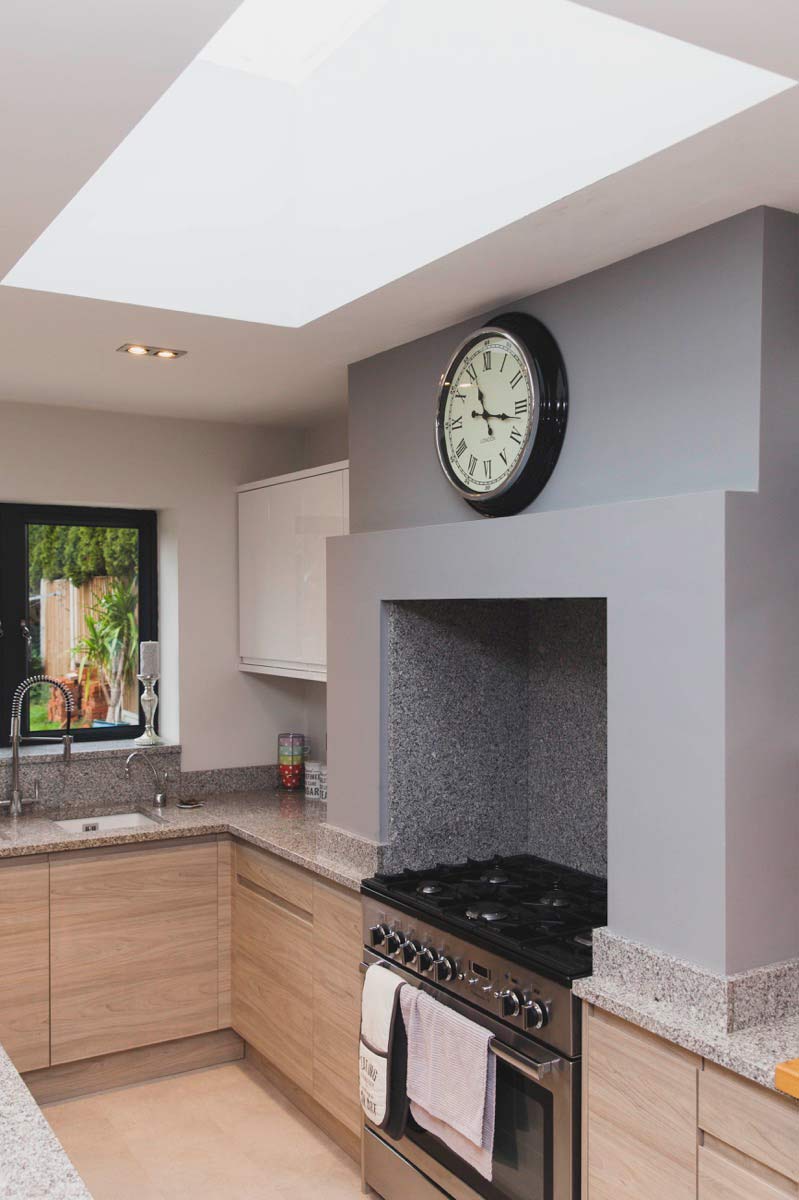
 If you're looking to update the design of your kitchen, installing a plastic light diffuser is a simple and effective way to do so. Not only does it enhance the lighting in your kitchen, but it also adds a modern touch to the overall aesthetic. The use of
plastic
can give your kitchen a sleek and contemporary look, making it stand out from traditional kitchen designs.
Reduce Glare and Create a Softer Ambiance
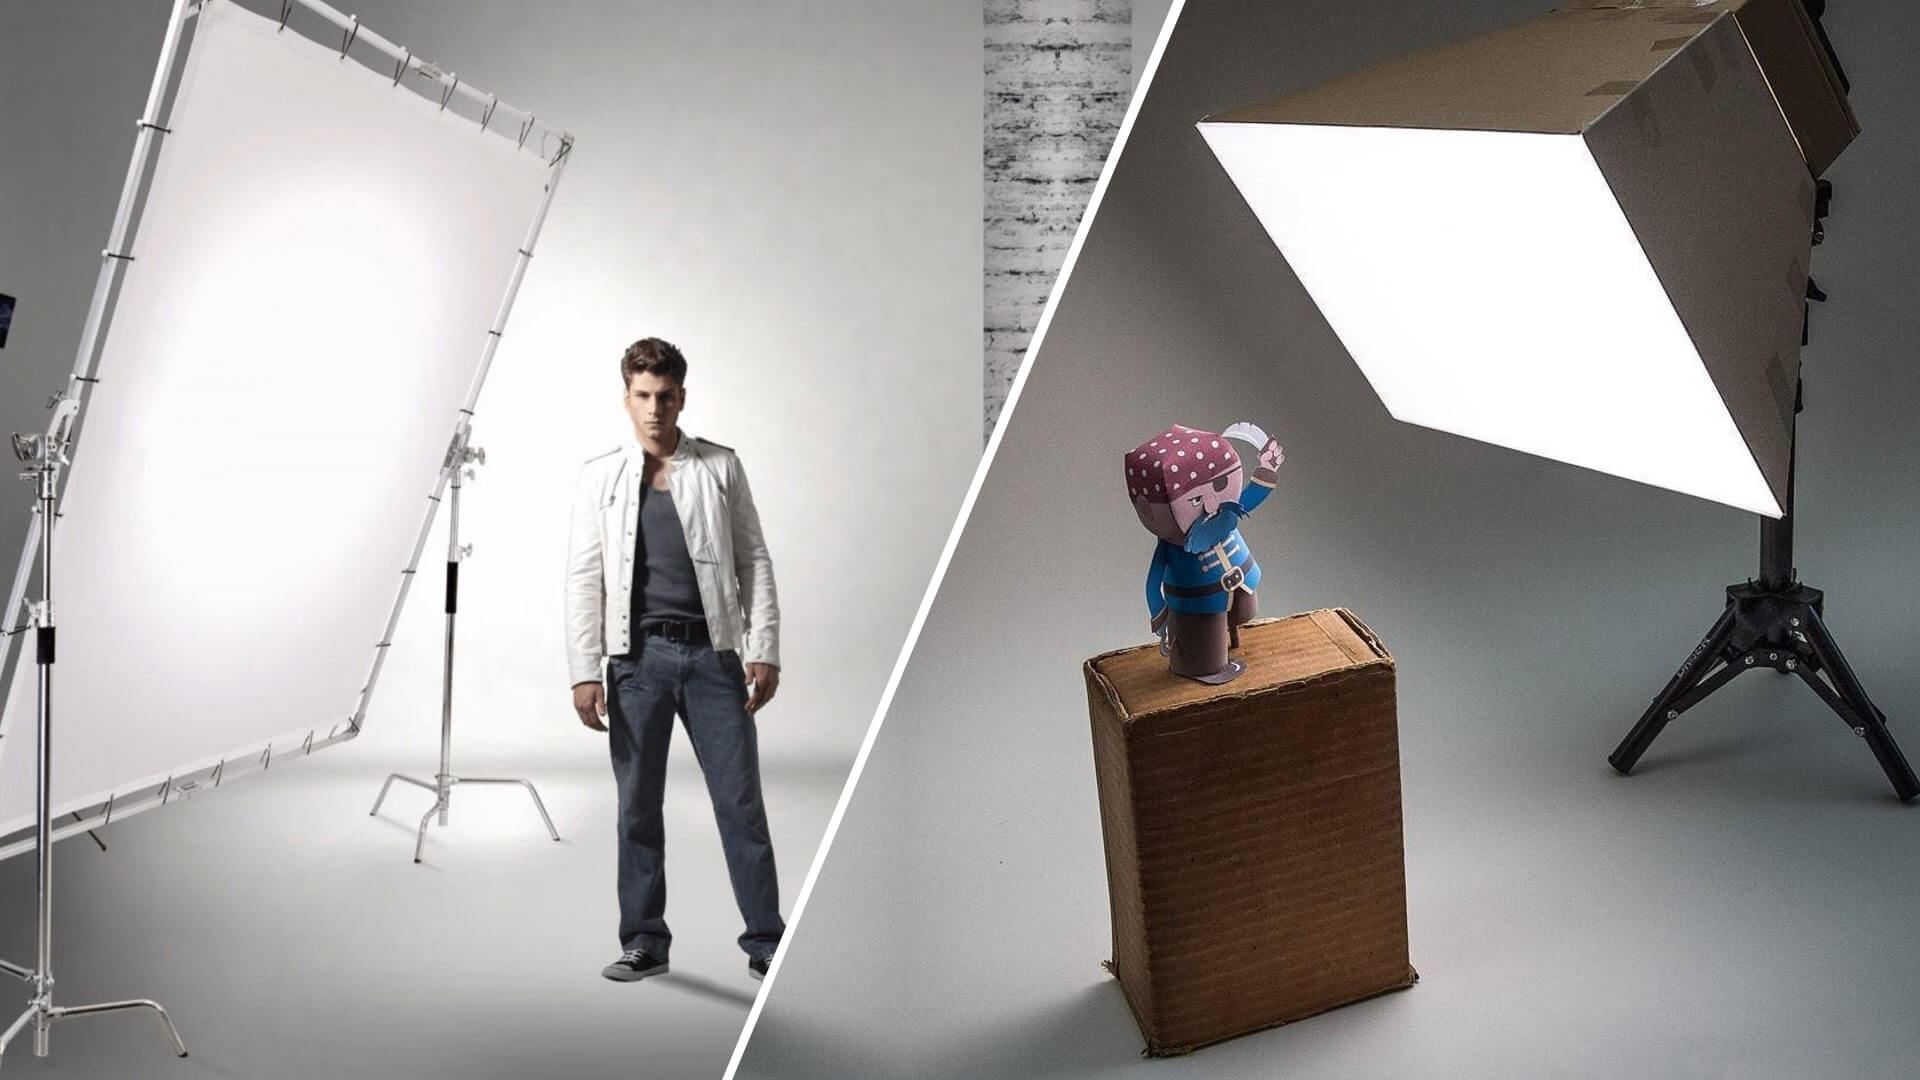
 One of the main benefits of a plastic light diffuser is its ability to reduce glare. This is especially useful in the kitchen where you may have bright overhead lights that can create harsh lighting and cause eye strain. A plastic diffuser helps to soften the light and create a more
comfortable
ambiance in your kitchen. This is especially beneficial if you use your kitchen not only for cooking, but also as a gathering space for family and friends.
Protect Your Eyes and Save Energy
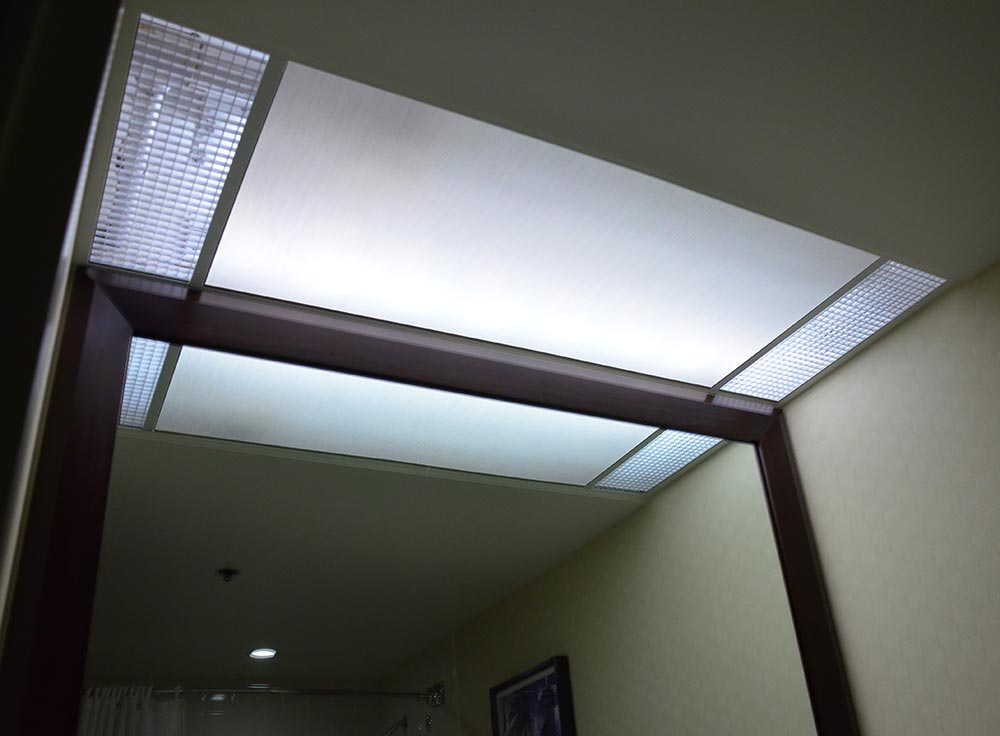 In addition to reducing glare, a plastic light diffuser can also protect your eyes from direct exposure to bright lights. This is important for anyone who spends a lot of time in the kitchen, whether it's cooking, cleaning, or doing other tasks. The diffuser acts as a shield, dispersing the light evenly and preventing it from directly hitting your eyes. Additionally, by softening and spreading the light, a diffuser can also help save energy as it reduces the need for multiple bright lights in the kitchen.
Easy to Install and Cost-Effective
 Installing a plastic kitchen light diffuser is a simple and cost-effective way to update the look and functionality of your kitchen. It can easily be installed by anyone, even those with minimal DIY experience. With a variety of sizes and styles available, you can choose one that fits your kitchen perfectly. This makes it a great option for those who are on a budget but still want to make a noticeable change in their kitchen design.
Conclusion
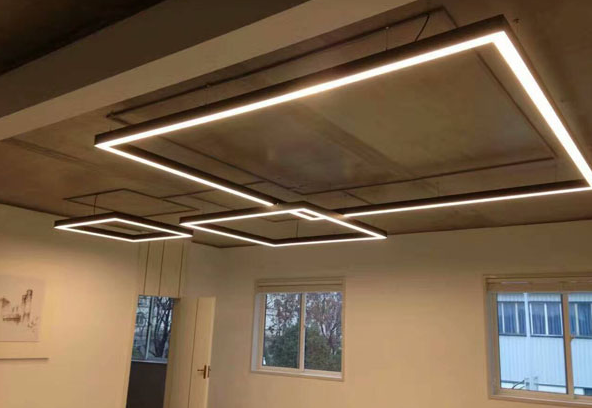 In conclusion, installing a plastic kitchen light diffuser is a practical and stylish choice for any home. Not only does it enhance lighting and add a modern touch, but it also has numerous benefits such as reducing glare, protecting your eyes, and saving energy. It's an easy and affordable way to update the design of your kitchen and create a more comfortable and inviting space for you and your family. So why wait? Start shopping for a plastic light diffuser today and see the difference it can make in your kitchen.


