Are you tired of looking at your old, worn out kitchen sink and dreaming of a shiny new one? Well, it's time to stop dreaming and start doing! Installing a new kitchen sink may seem like a daunting task, but with the right tools and a little bit of know-how, you can have a beautiful new sink in no time. Follow this step-by-step guide to learn how to install a kitchen sink like a pro.1. Kitchen Sink Installation: Step-by-Step Guide


1. Kitchen Sink Installation: Step-by-Step Guide


The first step in installing a new kitchen sink is to choose the right one for your space. Measure the area where your sink will go and make sure to choose a sink that fits those dimensions. Once you have your sink, gather all the necessary tools and materials, including a wrench, plumber's putty, silicone caulk, and a screwdriver.2. How to Install a Kitchen Sink


2. How to Install a Kitchen Sink


:max_bytes(150000):strip_icc()/how-to-install-a-sink-drain-2718789-hero-24e898006ed94c9593a2a268b57989a3.jpg)


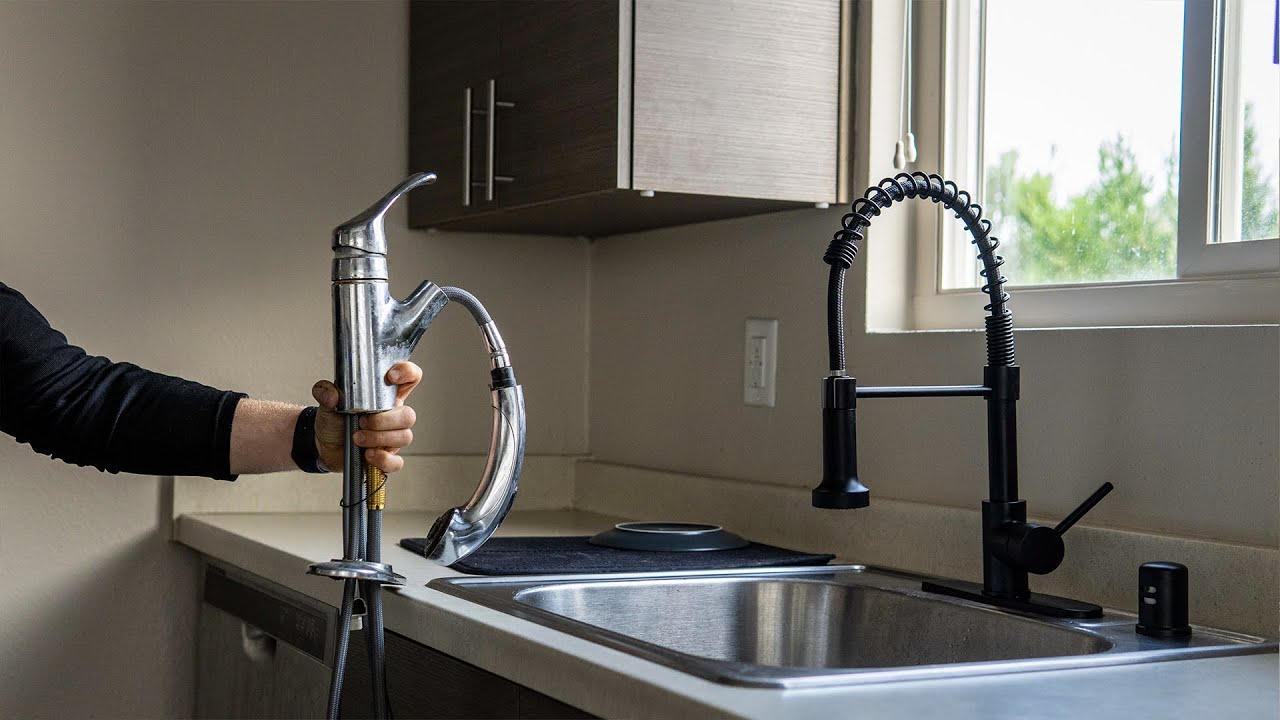
Now it's time to get to work! Begin by turning off the water supply to your kitchen. This can usually be done by turning off the valves under the sink. Next, disconnect the water supply lines and remove the old sink. If your sink has a garbage disposal, be sure to disconnect it as well.3. DIY Kitchen Sink Installation


3. DIY Kitchen Sink Installation

/how-to-install-a-sink-drain-2718789-hero-24e898006ed94c9593a2a268b57989a3.jpg)


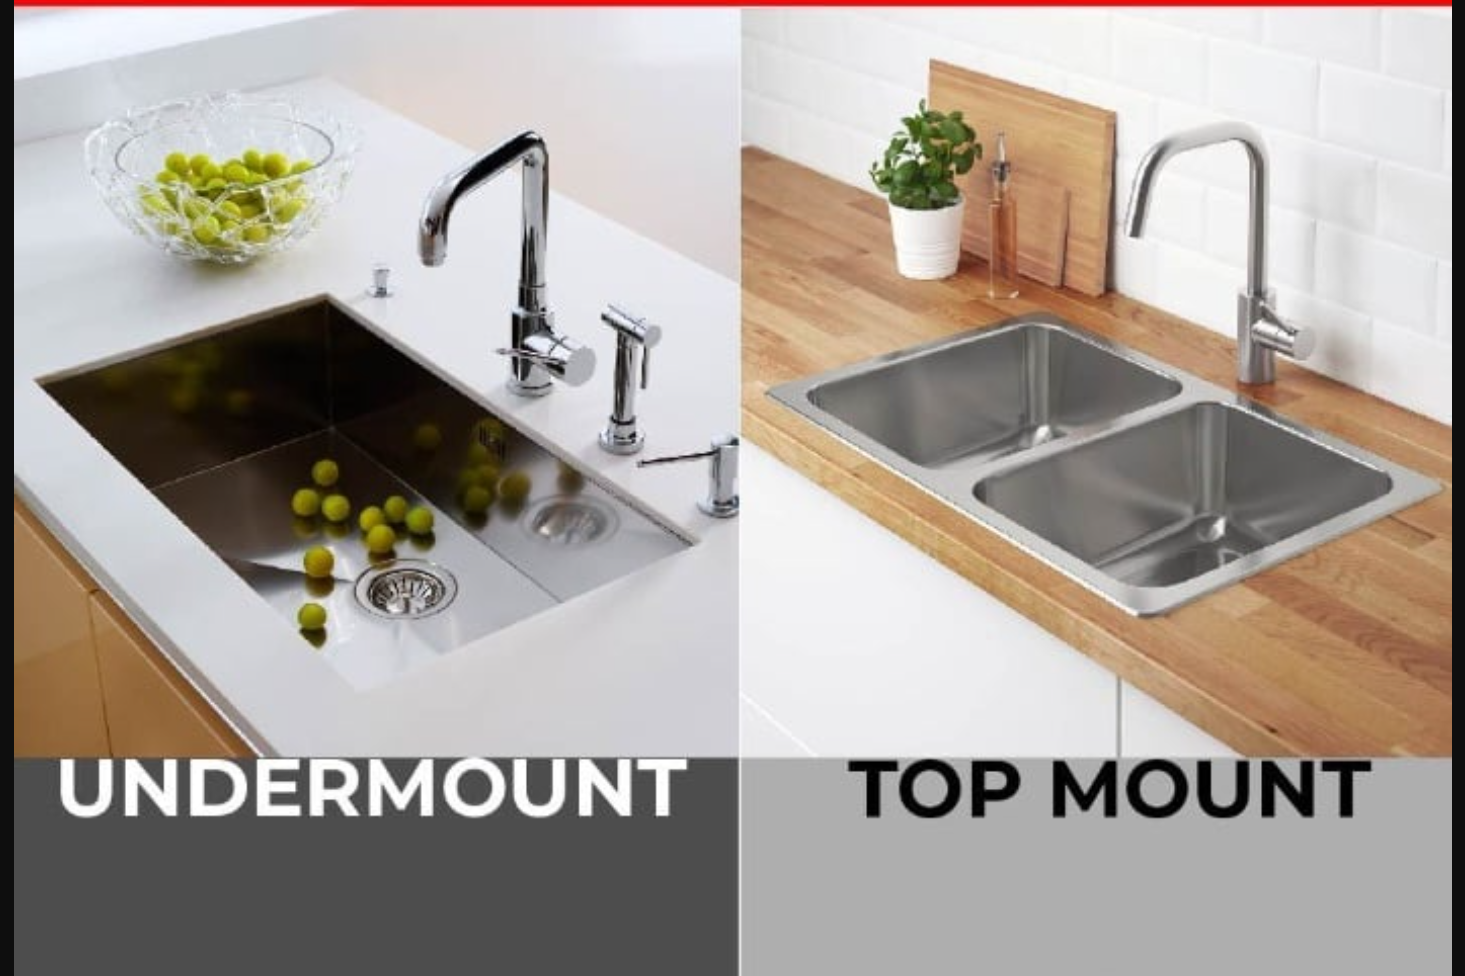
Once you have removed the old sink, it's time to prep the area for the new one. Clean and dry the countertop, making sure to remove any old caulk or debris. If you are using a drop-in sink, you will need to create a template of the sink's outline on the countertop. This can be done by tracing the sink's shape onto a piece of cardboard and cutting it out.4. Installing a New Kitchen Sink: Tips and Tricks


4. Installing a New Kitchen Sink: Tips and Tricks


With the template in hand, use it to cut a hole in the countertop for the sink. Carefully follow the template and make sure the hole is the correct size for your sink. Once the hole is cut, test fit the sink to make sure it fits properly.5. Kitchen Sink Replacement: A Comprehensive Guide


5. Kitchen Sink Replacement: A Comprehensive Guide


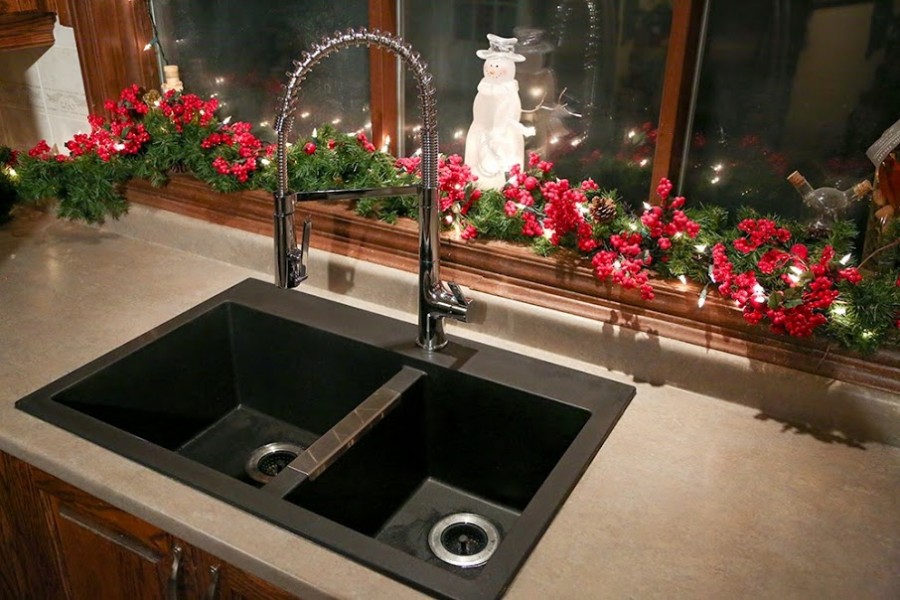


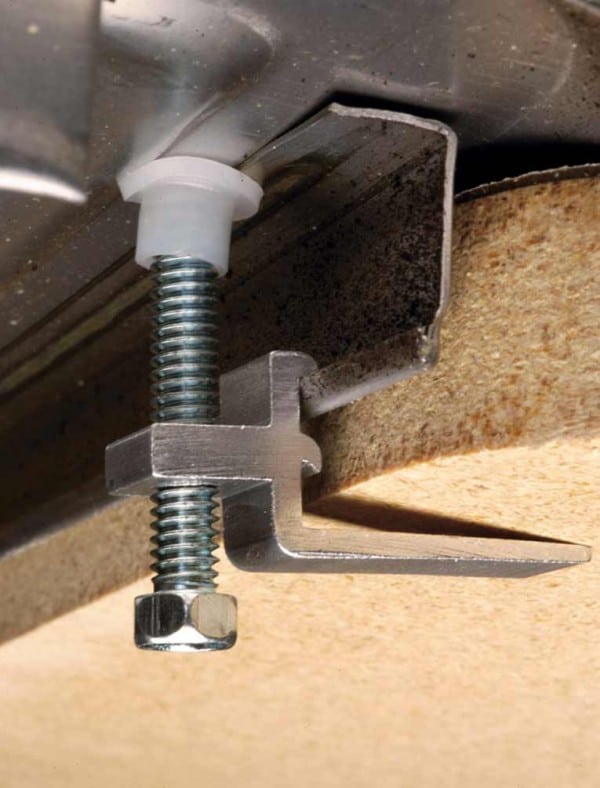
Next, it's time to install the sink itself. Apply a thin layer of plumber's putty around the edge of the sink and place it into the hole in the countertop. Once the sink is in place, secure it with clips or brackets, depending on the type of sink you have. Hook up the water supply lines and attach the drain components.6. The Best Way to Install a Kitchen Sink

6. The Best Way to Install a Kitchen Sink


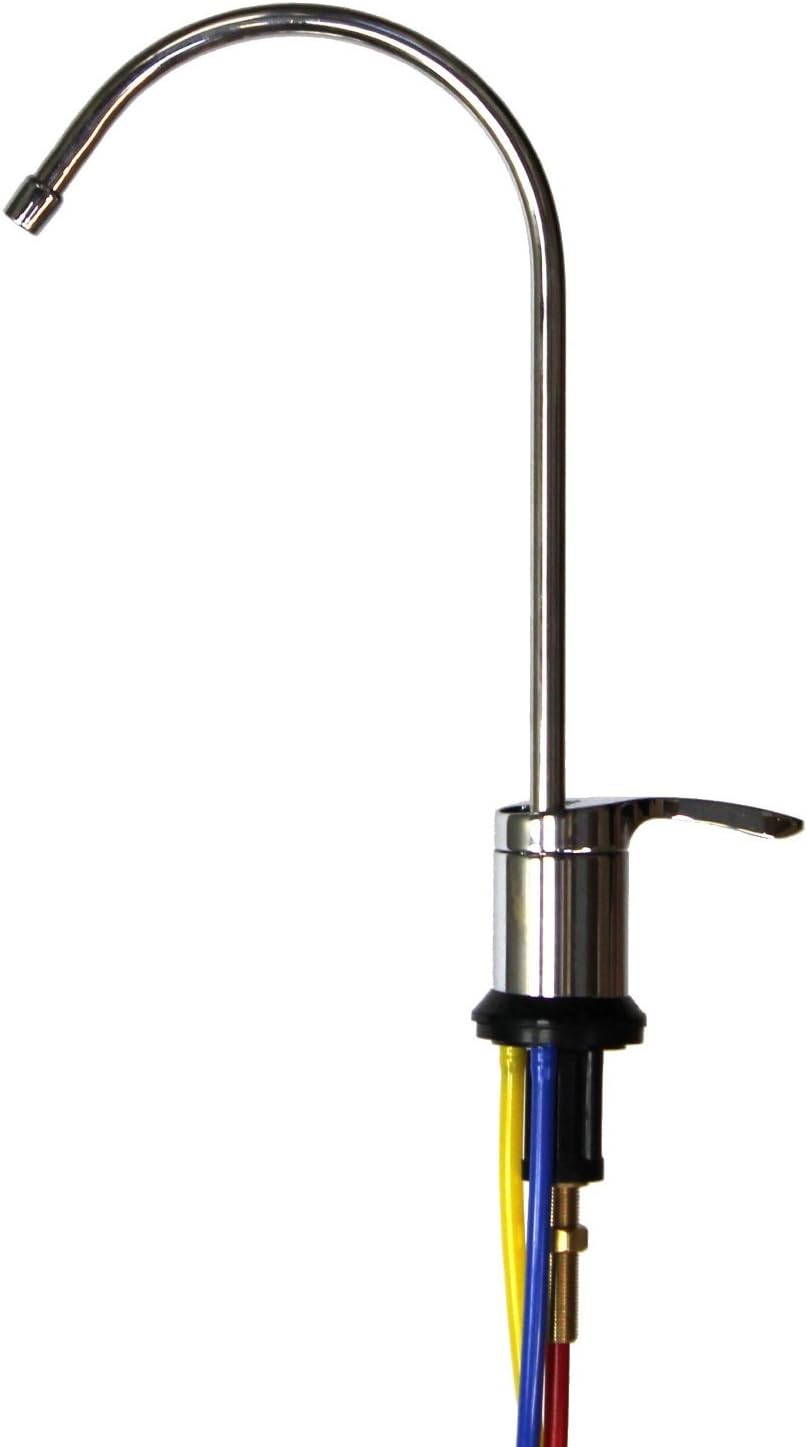
If you are also installing a new faucet, now is the time to do so. Follow the manufacturer's instructions to install the faucet, making sure to use the necessary tools and materials. Once the faucet is in place, turn the water supply back on and check for any leaks. If everything looks good, you're almost done!7. How to Install a New Kitchen Sink and Faucet


7. How to Install a New Kitchen Sink and Faucet


The final step in installing a new kitchen sink is to seal everything up with silicone caulk. Apply a thin bead of caulk around the edge of the sink and smooth it out with your finger or a caulk tool. This will create a watertight seal and give your sink a professional finish.8. Kitchen Sink Installation: What You Need to Know


8. Kitchen Sink Installation: What You Need to Know


While installing a kitchen sink may seem like a simple task, there are a few common mistakes that can lead to problems down the road. Be sure to properly measure and cut the hole for your sink, use the right tools and materials, and take your time to ensure everything is done correctly.9. Installing a Kitchen Sink: Common Mistakes to Avoid


9. Installing a Kitchen Sink: Common Mistakes to Avoid


Congratulations, you have successfully installed a new kitchen sink! Now it's time to sit back, relax, and enjoy your beautiful new sink. Whether you choose a classic stainless steel sink or a trendy farmhouse sink, following these steps will ensure a smooth and successful installation process. Now that you have all the information you need, it's time to put it into action. Don't be afraid to tackle this project on your own and save some money in the process. With a little bit of patience and the right tools, you can have a brand new kitchen sink that will make your cooking and cleaning tasks a breeze.10. Step-by-Step Guide to Installing a Kitchen Sink and Drain


10. Step-by-Step Guide to Installing a Kitchen Sink and Drain


:no_upscale()/cdn.vox-cdn.com/uploads/chorus_asset/file/19495086/drain_0.jpg)
/how-to-install-a-sink-drain-2718789-hero-b5b99f72b5a24bb2ae8364e60539cece.jpg)


Upgrade Your Kitchen with a New Kitchen Sink

Why the Kitchen Sink is the Heart of Your Kitchen Design
 When it comes to designing a house, the kitchen is often considered the heart of the home. And within the kitchen, the sink is the central focal point. It's where we prepare our meals, wash our dishes, and gather with family and friends. That's why it's important to invest in a new kitchen sink that not only looks great but also functions well.
Installing a new kitchen sink
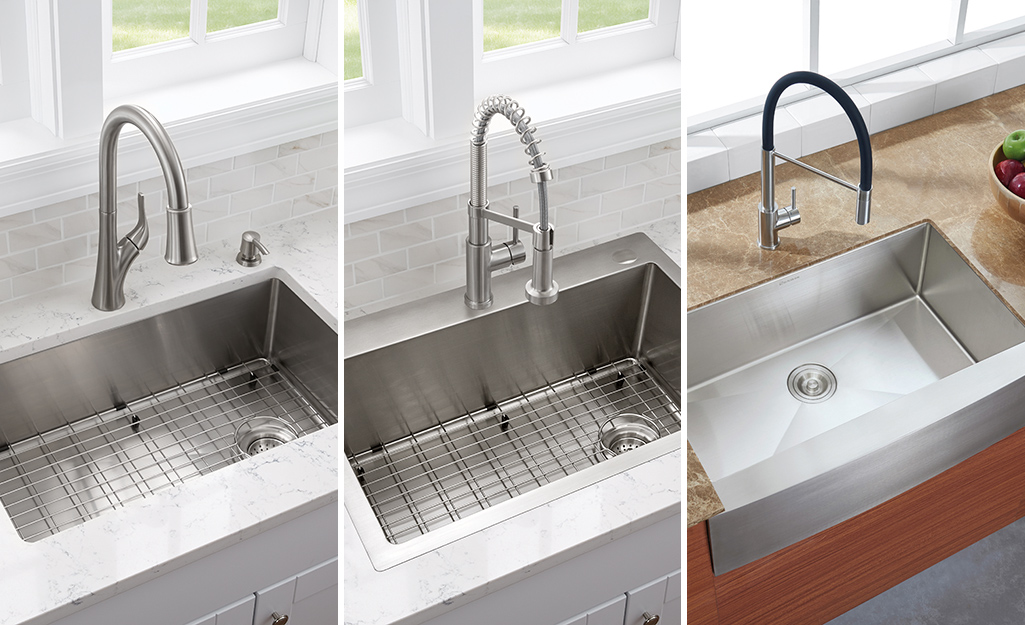
is a simple yet impactful way to upgrade your kitchen design. Not only will it improve the overall aesthetic, but it can also make your daily tasks in the kitchen more efficient. There are a variety of sink options available, ranging from
stainless steel
to
granite composite
to
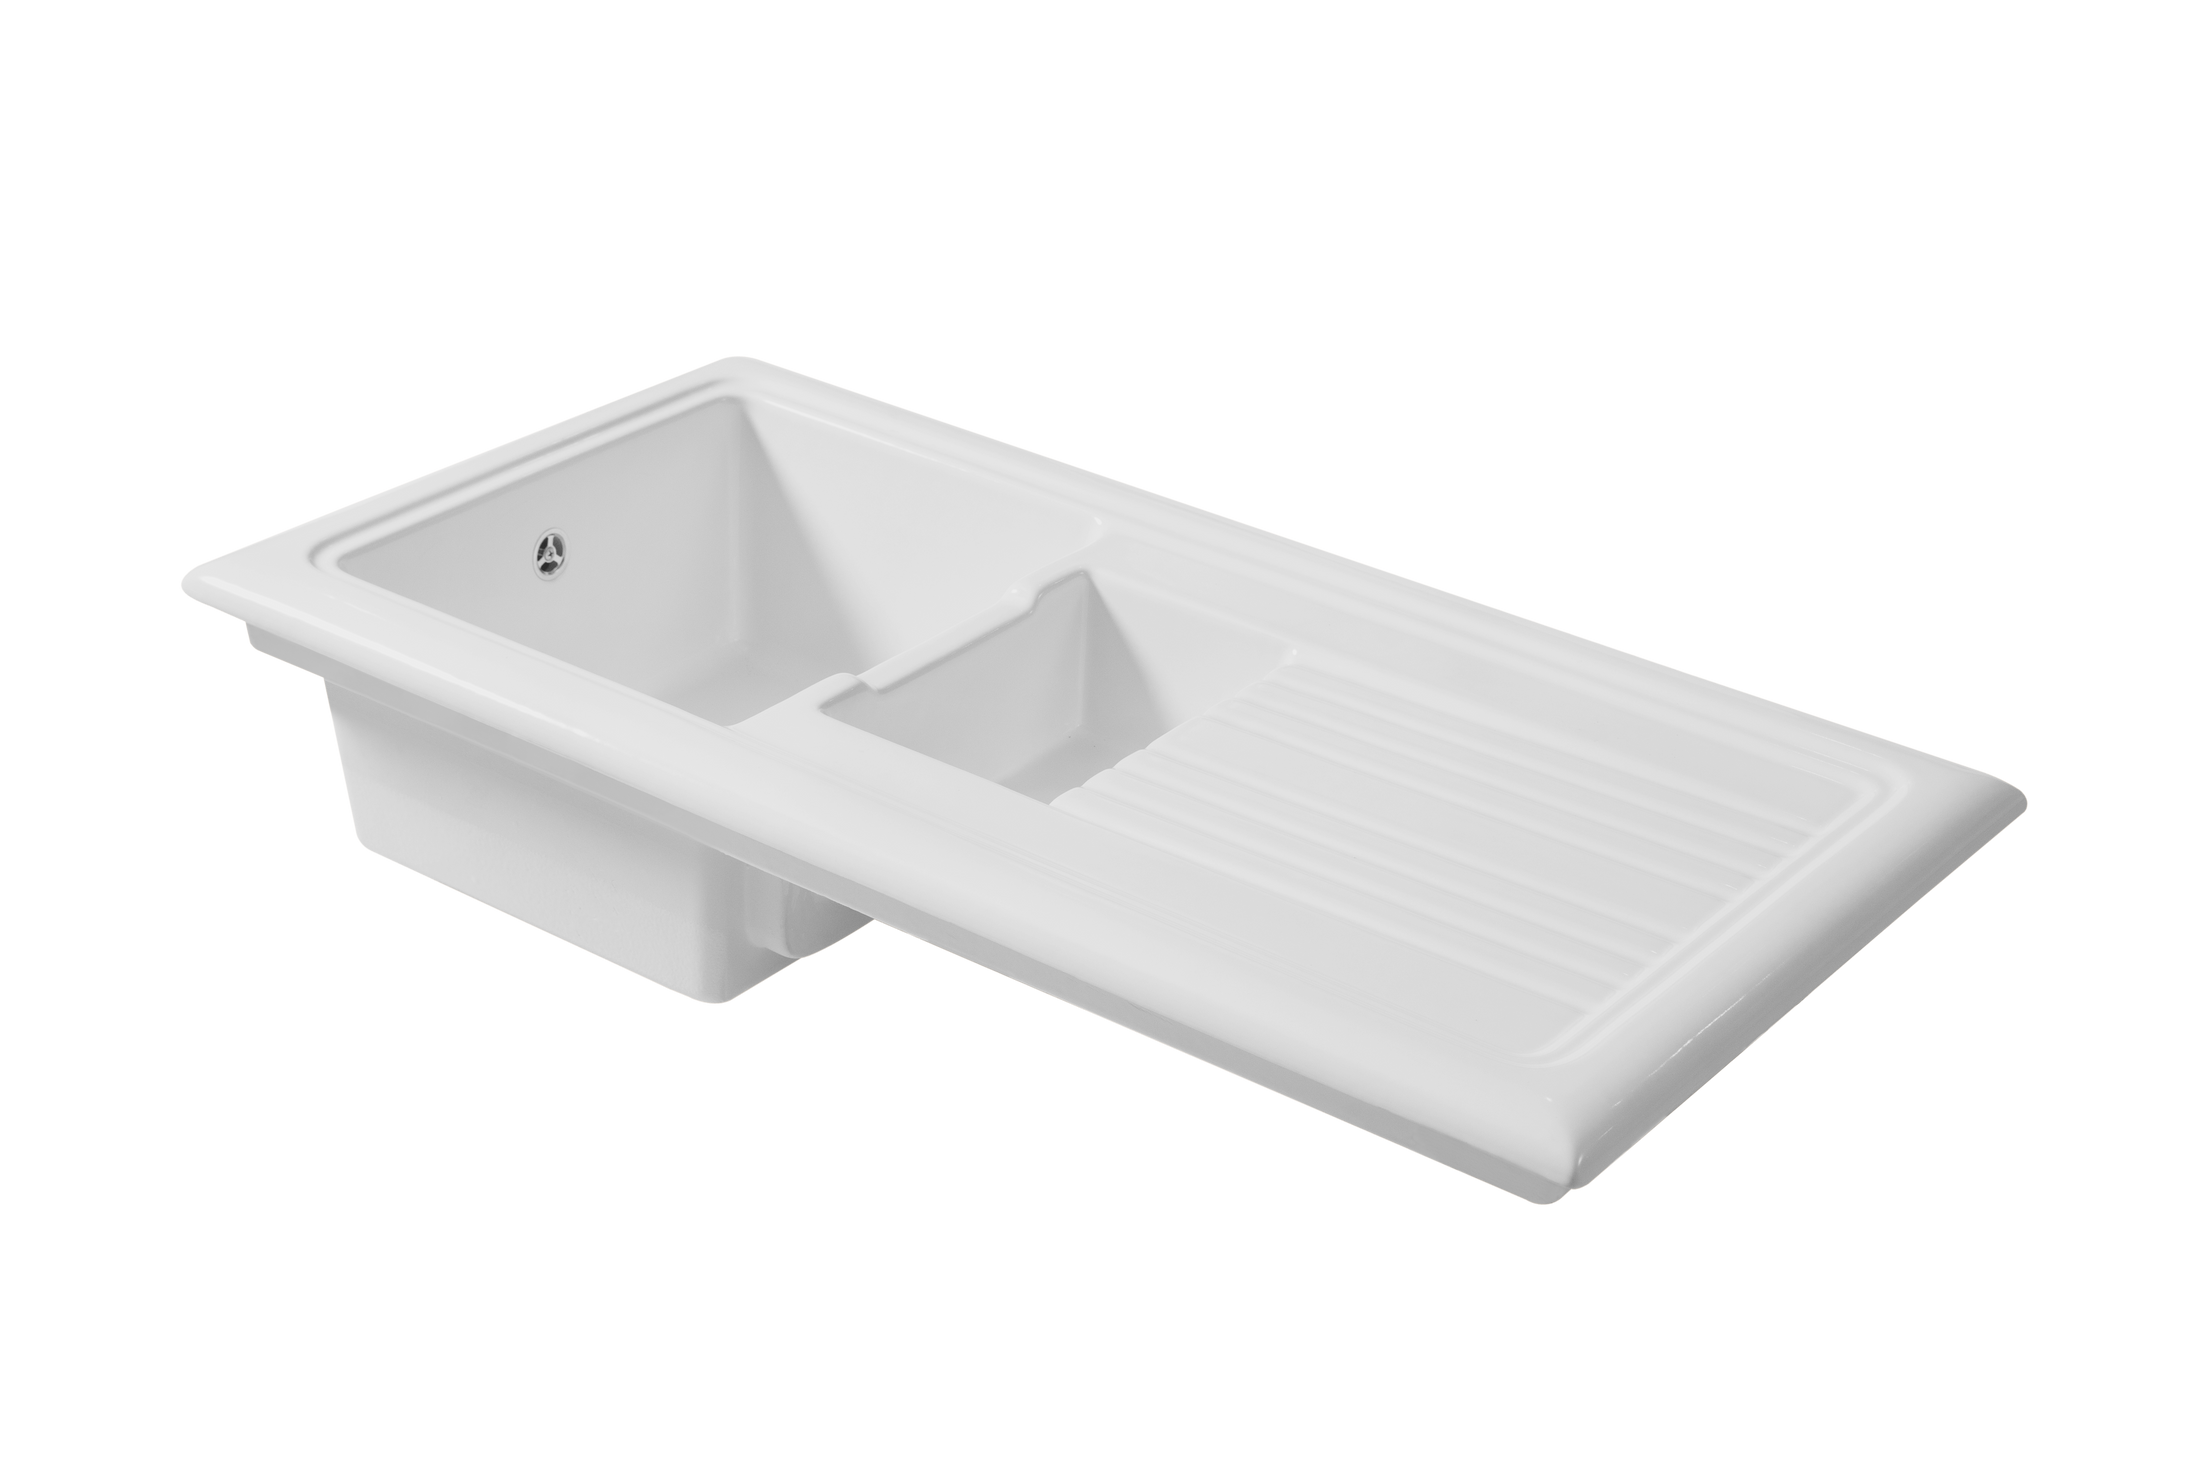
ceramic
. Each material has its own unique benefits, so it's important to choose one that suits your needs and style.
When it comes to designing a house, the kitchen is often considered the heart of the home. And within the kitchen, the sink is the central focal point. It's where we prepare our meals, wash our dishes, and gather with family and friends. That's why it's important to invest in a new kitchen sink that not only looks great but also functions well.
Installing a new kitchen sink
is a simple yet impactful way to upgrade your kitchen design. Not only will it improve the overall aesthetic, but it can also make your daily tasks in the kitchen more efficient. There are a variety of sink options available, ranging from
stainless steel
to
granite composite
to
ceramic
. Each material has its own unique benefits, so it's important to choose one that suits your needs and style.
Benefits of Upgrading Your Kitchen Sink
 One of the biggest benefits of
installing a new kitchen sink
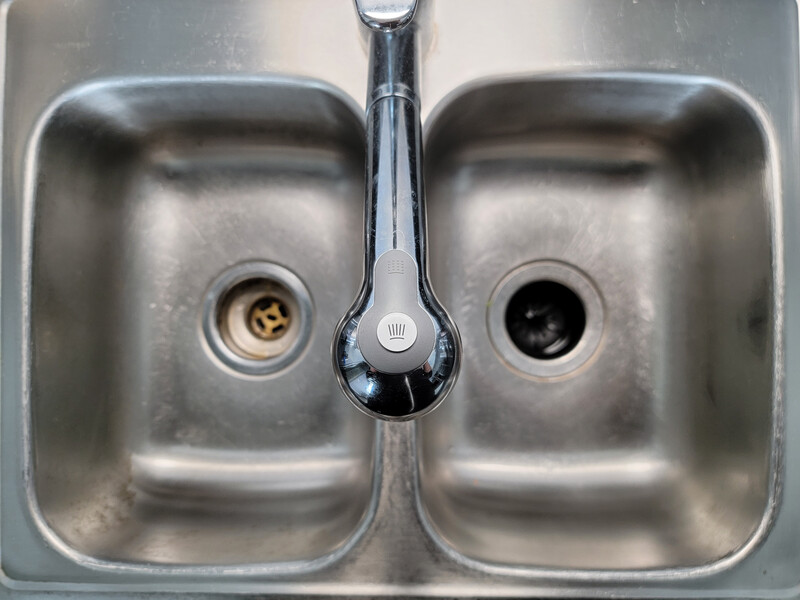
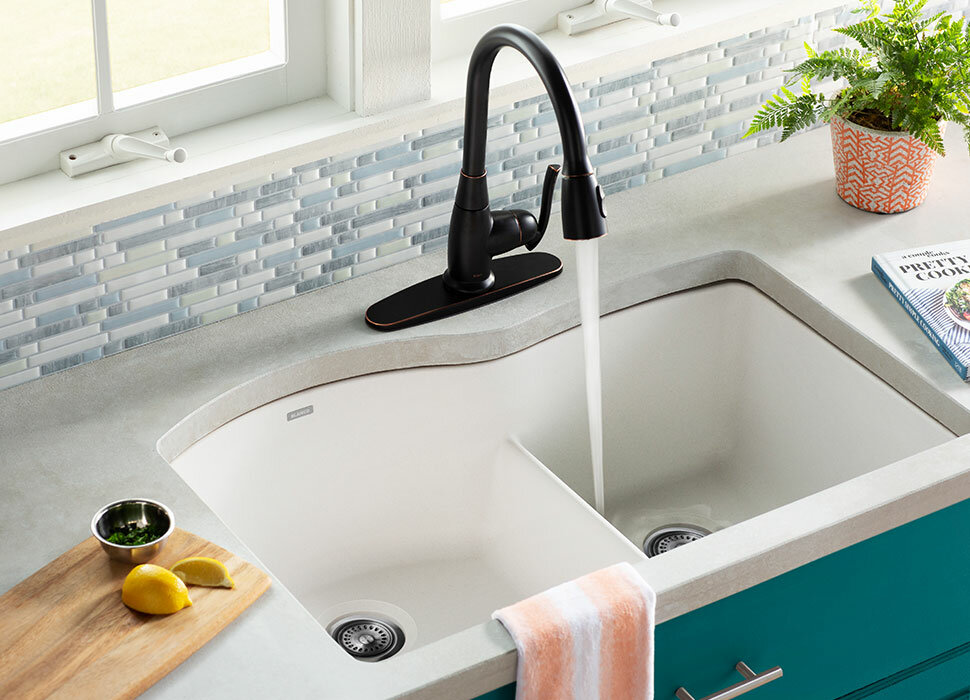
is the increased functionality it provides. A larger sink with multiple compartments can make washing dishes and food prep a breeze. You can also opt for a sink with built-in accessories like a cutting board or colander to make your kitchen tasks even easier.
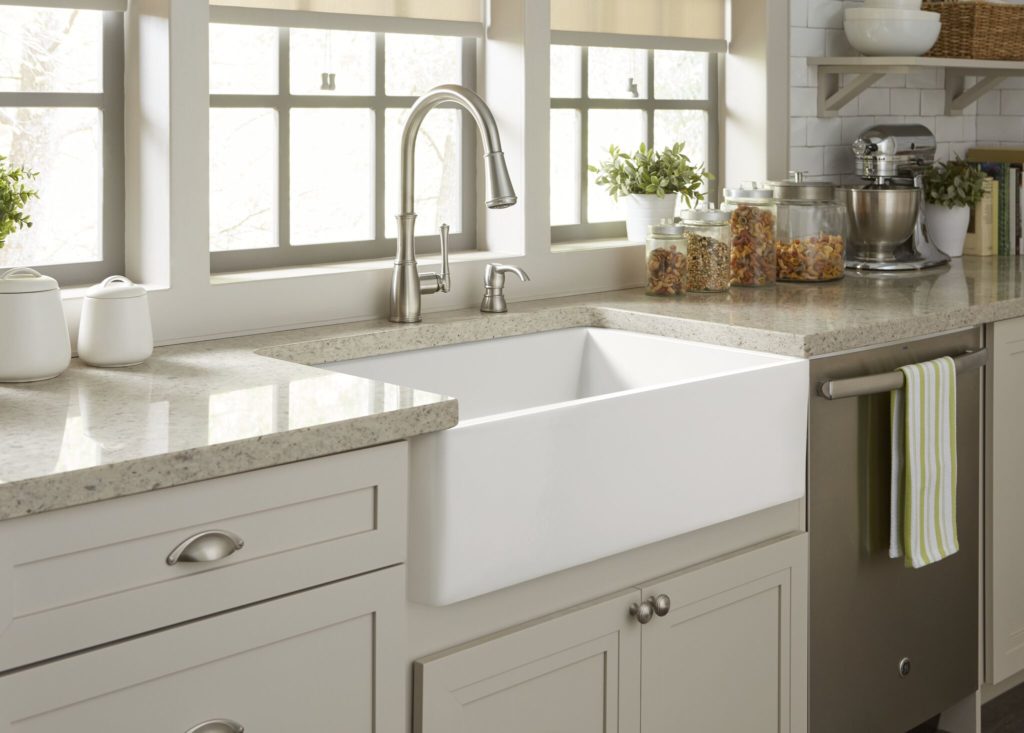
Not only will a new sink be more functional, but it can also enhance the overall look of your kitchen. A modern, sleek stainless steel sink can give your kitchen a contemporary feel, while a farmhouse-style ceramic sink adds a charming touch. Plus, a new sink can also increase the value of your home, making it a worthwhile investment.
One of the biggest benefits of
installing a new kitchen sink
is the increased functionality it provides. A larger sink with multiple compartments can make washing dishes and food prep a breeze. You can also opt for a sink with built-in accessories like a cutting board or colander to make your kitchen tasks even easier.
Not only will a new sink be more functional, but it can also enhance the overall look of your kitchen. A modern, sleek stainless steel sink can give your kitchen a contemporary feel, while a farmhouse-style ceramic sink adds a charming touch. Plus, a new sink can also increase the value of your home, making it a worthwhile investment.
Considerations for Choosing a New Kitchen Sink
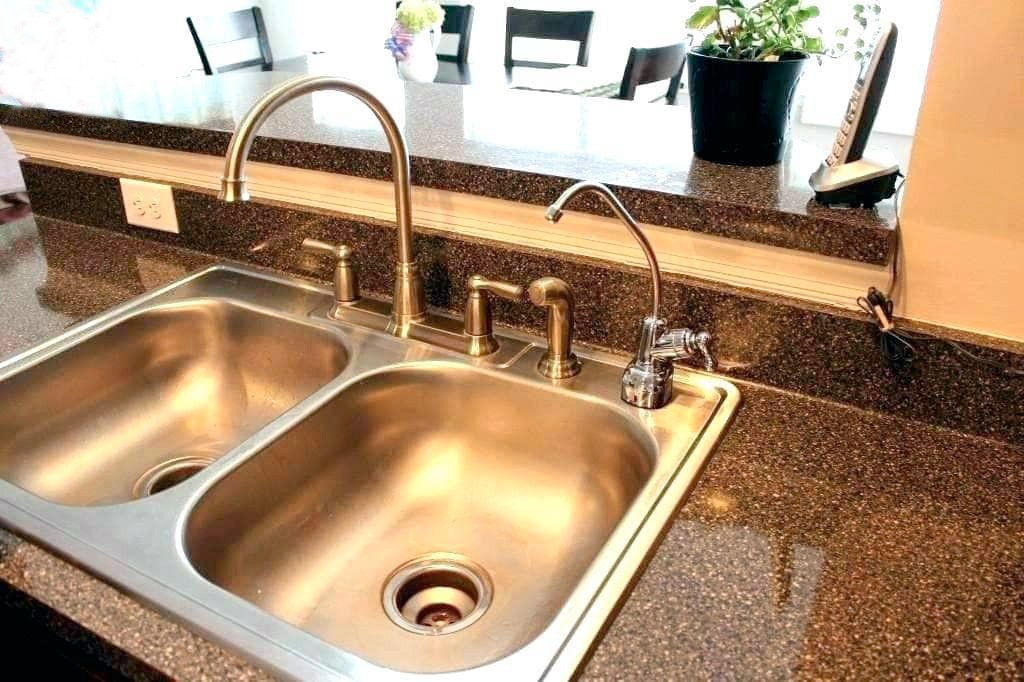
 Before diving into the installation process, there are a few things to consider when choosing a new kitchen sink. First, think about the size and layout of your kitchen. You want to choose a sink that fits comfortably in your space and complements your existing design. Next, think about your daily kitchen routine and what features would be most beneficial for you. Do you need a deep sink for washing large pots and pans? Or a sink with a built-in soap dispenser? These small details can make a big difference in your overall satisfaction with your new sink.
Trust the Professionals for a Seamless Installation
 While installing a new kitchen sink may seem like a simple task, it's best to leave it to the professionals. A skilled plumber can ensure that your new sink is properly installed and connected to your plumbing system. They can also handle any potential issues that may arise during the installation process, saving you time and stress.
In conclusion,
installing a new kitchen sink
is a fantastic way to upgrade your kitchen design and improve its functionality. With a variety of options available, you can choose a sink that fits your style and daily needs. Just remember to trust the professionals for a seamless installation process. Say goodbye to your old, worn-out sink and hello to a beautiful and functional new addition to your kitchen.
While installing a new kitchen sink may seem like a simple task, it's best to leave it to the professionals. A skilled plumber can ensure that your new sink is properly installed and connected to your plumbing system. They can also handle any potential issues that may arise during the installation process, saving you time and stress.
In conclusion,
installing a new kitchen sink
is a fantastic way to upgrade your kitchen design and improve its functionality. With a variety of options available, you can choose a sink that fits your style and daily needs. Just remember to trust the professionals for a seamless installation process. Say goodbye to your old, worn-out sink and hello to a beautiful and functional new addition to your kitchen.