1. How to Install a Kitchen Sink to a Connor Top
Installing a kitchen sink to a Connor top may seem like a daunting task, but with the right tools and knowledge, it can be a simple DIY project. Whether you're replacing an old sink or installing a new one, this step-by-step guide will walk you through the process.


1. How to Install a Kitchen Sink to a Connor Top


2. Step-by-Step Guide for Installing a Kitchen Sink to a Connor Top
Before you begin, make sure to turn off the water supply and disconnect any existing plumbing. Then, follow these steps:
Step 1: Measure the sink opening on the Connor top and purchase a sink that fits those dimensions.
Step 2: Place the sink upside down on the Connor top and trace the outline of the sink onto the counter.
Step 3: Use a jigsaw to cut along the traced line, making sure to leave a 1/4 inch lip for the sink to sit on.
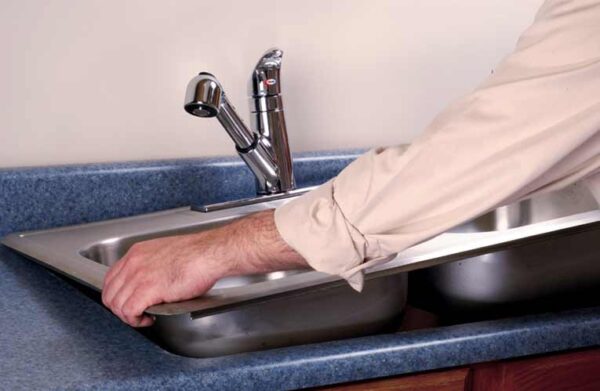
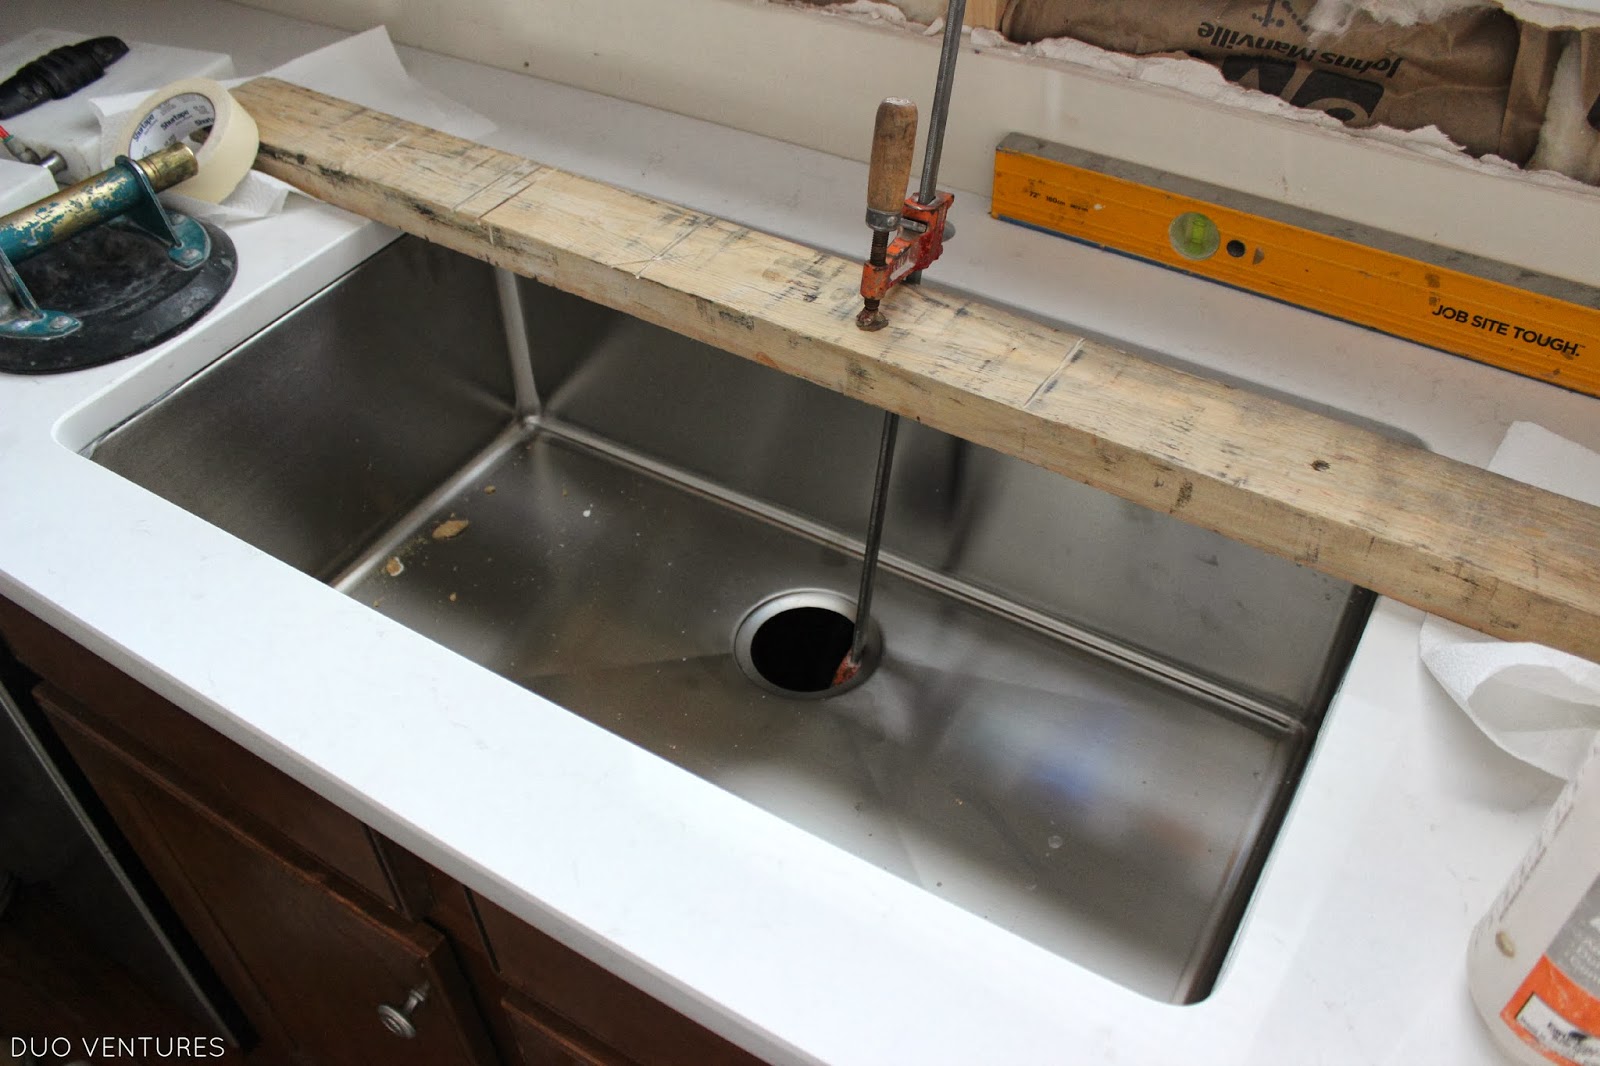
Step 4: Place the sink into the opening and secure it with caulk or adhesive.
Step 5: Reconnect the plumbing and turn the water supply back on.


2. Step-by-Step Guide for Installing a Kitchen Sink to a Connor Top


3. Tools and Materials Needed for Installing a Kitchen Sink to a Connor Top
Here are the tools and materials you'll need for a successful installation:
- Sink and faucet (make sure they fit the sink opening)
- Jigsaw (to cut the opening in the Connor top)
- Caulk or adhesive (to secure the sink)
- Pipe wrench (for plumbing connections)
- Plumber's putty (to seal the faucet and sink drain)
- Silicone sealant (to seal the edges of the sink)


3. Tools and Materials Needed for Installing a Kitchen Sink to a Connor Top


4. Tips for a Successful Installation of a Kitchen Sink to a Connor Top
Here are some tips to keep in mind while installing your kitchen sink to a Connor top:
- Measure twice, cut once: Double-check your measurements before cutting the sink opening to ensure a perfect fit.
- Use the right tools: Make sure you have all the necessary tools and materials for the job.
- Follow the manufacturer's instructions: Every sink and countertop may have slightly different installation instructions, so it's important to follow them carefully.
- Don't overtighten: Be careful not to overtighten the plumbing connections, as this can cause leaks.
- Seal the edges: To prevent water damage, make sure to seal the edges of the sink with silicone sealant.


4. Tips for a Successful Installation of a Kitchen Sink to a Connor Top
/how-to-install-a-sink-drain-2718789-hero-24e898006ed94c9593a2a268b57989a3.jpg)


5. Common Mistakes to Avoid When Installing a Kitchen Sink to a Connor Top
While installing a kitchen sink to a Connor top is a relatively simple process, mistakes can happen. Here are some common mistakes to avoid:
- Choosing the wrong size sink: Make sure to measure the opening on your Connor top and purchase a sink that fits those dimensions.
- Not sealing the edges: Sealing the edges of the sink with silicone sealant is essential to prevent water damage.
- Overtightening: As mentioned earlier, overtightening the plumbing connections can cause leaks.
- Not following the instructions: Make sure to carefully follow the manufacturer's instructions for both the sink and the countertop to ensure a successful installation.


5. Common Mistakes to Avoid When Installing a Kitchen Sink to a Connor Top


6. Video Tutorial: Installing a Kitchen Sink to a Connor Top
If you're a visual learner, watching a video tutorial can be helpful. Here's a helpful video that walks you through the process of installing a kitchen sink to a Connor top:
Insert link to video tutorial here


6. Video Tutorial: Installing a Kitchen Sink to a Connor Top


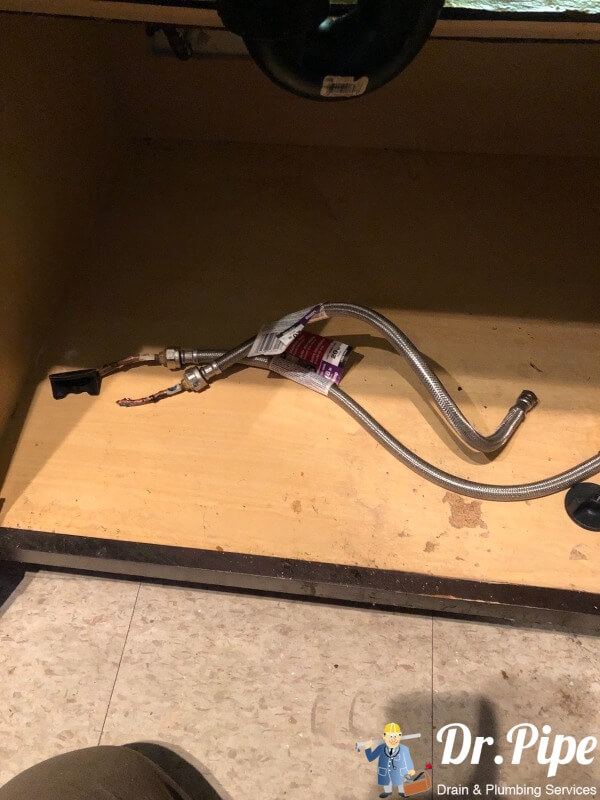
7. How to Connect Plumbing to a Kitchen Sink on a Connor Top
Connecting the plumbing to a kitchen sink on a Connor top may seem intimidating, but it's actually quite simple. Here's how:
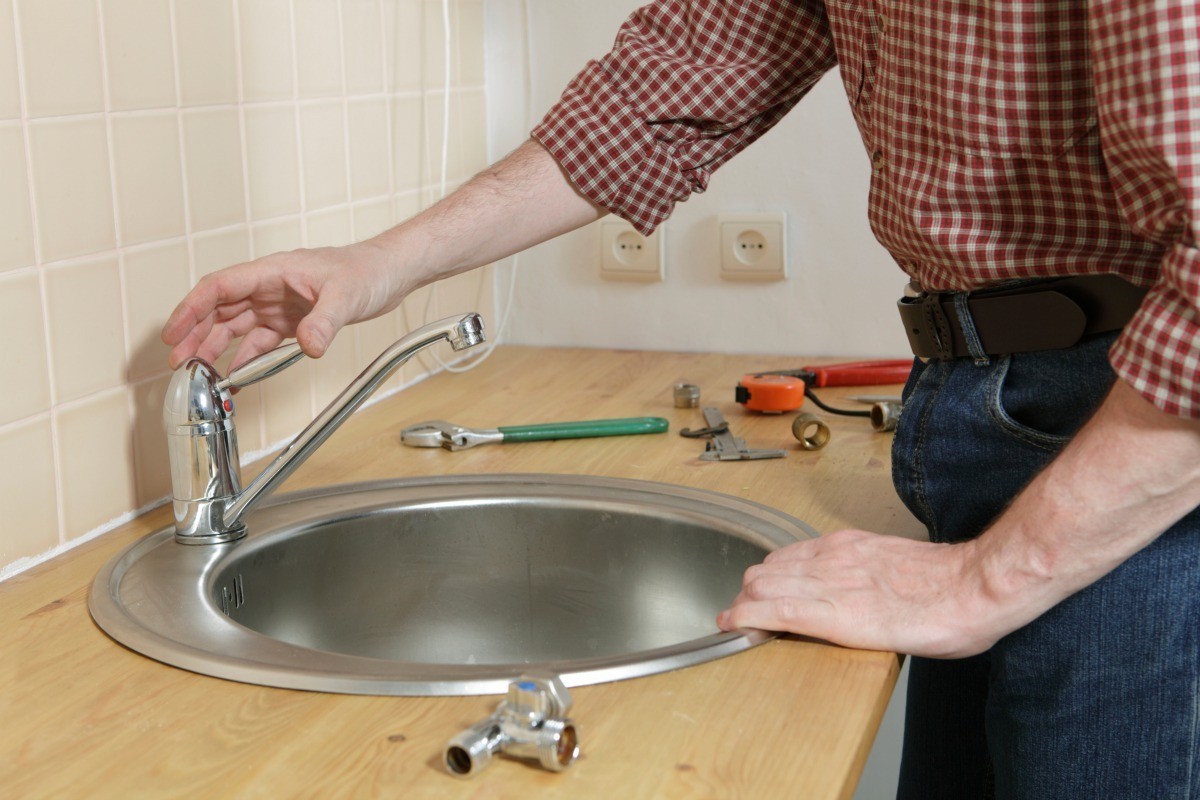
Step 1: Connect the faucet to the sink by following the manufacturer's instructions.
Step 2: Install the sink drain assembly by applying plumber's putty to the underside of the drain and placing it into the sink's drain hole.
Step 3: Connect the drain pipe to the sink drain assembly and secure it with a pipe wrench.
Step 4: Connect the P-trap to the drain pipe and the main plumbing line.
Step 5: Turn on the water supply and check for any leaks.


7. How to Connect Plumbing to a Kitchen Sink on a Connor Top


8. Troubleshooting: Issues with Installing a Kitchen Sink to a Connor Top
If you encounter any issues while installing your kitchen sink to a Connor top, here are some troubleshooting tips:
- Sink doesn't fit: If the sink doesn't fit into the opening, double-check your measurements and make sure you purchased the correct size sink.
- Leaks: If you notice leaks after connecting the plumbing, try tightening the connections or using plumber's tape.
- Uneven sink: If the sink is not level, adjust the placement of the caulk or adhesive underneath the sink.


8. Troubleshooting: Issues with Installing a Kitchen Sink to a Connor Top


9. Benefits of Installing a Kitchen Sink to a Connor Top
There are many benefits to installing a kitchen sink to a Connor top, including:
- Aesthetics: A well-installed sink can add to the overall look and feel of your kitchen.
- Functionality: A properly installed sink can make daily tasks in the kitchen easier and more efficient.
- Cost-saving: Installing a sink yourself can save you the cost of hiring a professional.
- Customization: With a variety of sink and faucet options, you can choose one that fits your personal style and needs.


9. Benefits of Installing a Kitchen Sink to a Connor Top


10. Frequently Asked Questions about Installing a Kitchen Sink to a Connor Top
Here are some commonly asked questions about installing a kitchen sink to a Connor top:
- How long does it take to install a kitchen sink to a Connor top?
The installation process can take anywhere from 1-3 hours, depending on your level of experience.
- Can I install a sink to a Connor top by myself?
Yes, with the right tools and knowledge, installing a sink to a Connor top can be a simple DIY project.
- Do I need to hire a professional to install a kitchen sink to a Connor top?
No, as long as you have the necessary tools and follow the instructions carefully, you can install a sink to a Connor top yourself.
- Can I install any type of sink to a Connor top?
No, make sure to measure the opening on your Connor top and purchase a sink that fits those dimensions.
- How often should I replace my kitchen sink?
On average, a kitchen sink should last around 15-20 years before needing to be replaced.


10. Frequently Asked Questions about Installing a Kitchen Sink to a Connor Top


:no_upscale()/cdn.vox-cdn.com/uploads/chorus_asset/file/19495086/drain_0.jpg)


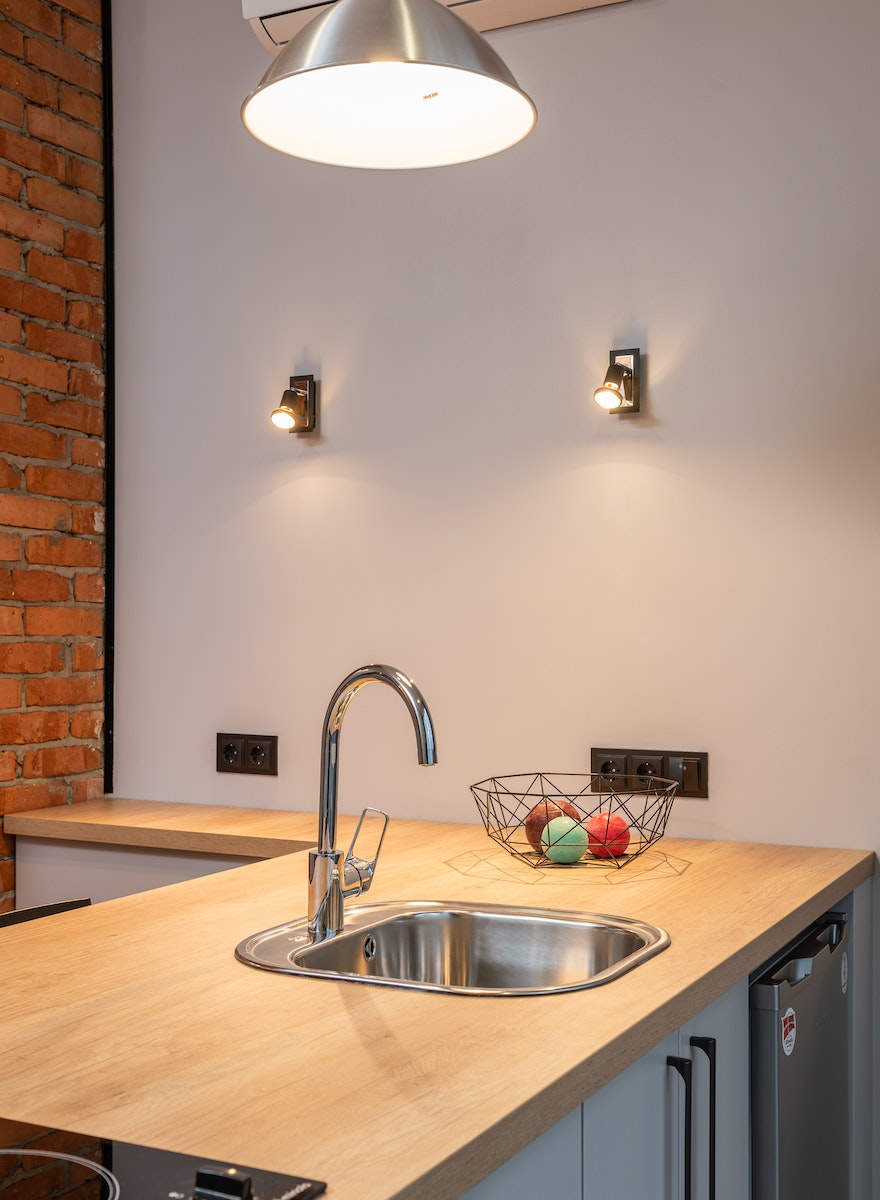
Why Installing a Kitchen Sink is Essential for Your Countertops

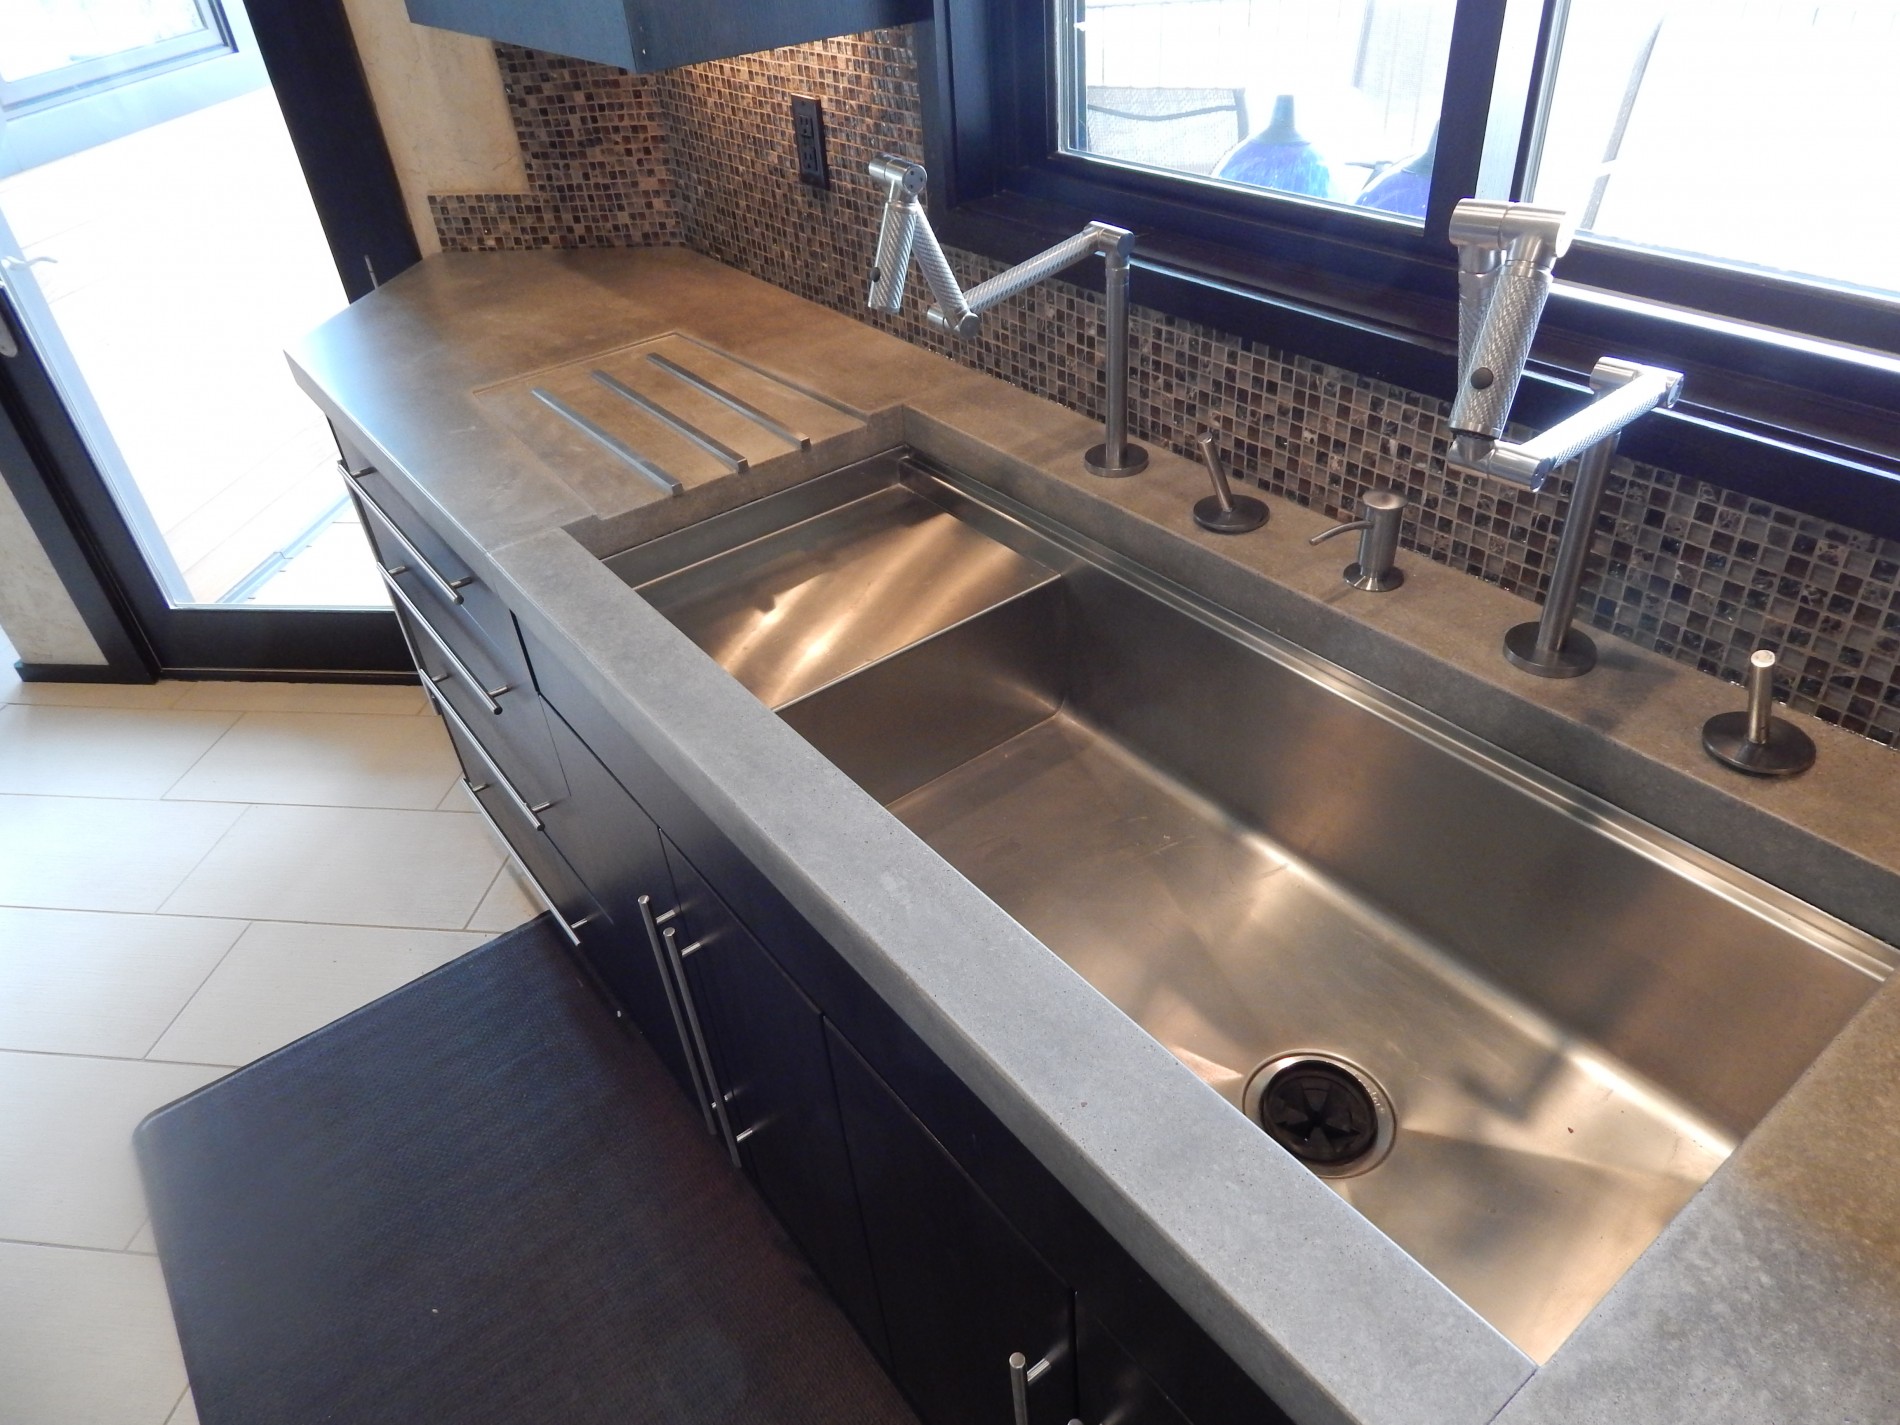
Maximizing Space and Functionality
 When it comes to designing your dream kitchen, the smallest details can make a big impact. One key element that often gets overlooked is the
installation of a kitchen sink to connect
the top of your countertops. Not only does it add a functional element to your space, but it also adds a touch of style and elegance to your kitchen. And with a variety of sink options available in the market, you can easily find one that suits your specific needs and preferences.
One of the main reasons why
installing a kitchen sink
is essential for your countertops is because it helps maximize space and functionality. By having a sink installed, you can easily wash and prep food without having to use extra counter space for a separate basin. This not only saves space but also makes your kitchen more efficient and organized. You can also opt for a sink with multiple compartments, allowing you to multitask and save time while cooking.
When it comes to designing your dream kitchen, the smallest details can make a big impact. One key element that often gets overlooked is the
installation of a kitchen sink to connect
the top of your countertops. Not only does it add a functional element to your space, but it also adds a touch of style and elegance to your kitchen. And with a variety of sink options available in the market, you can easily find one that suits your specific needs and preferences.
One of the main reasons why
installing a kitchen sink
is essential for your countertops is because it helps maximize space and functionality. By having a sink installed, you can easily wash and prep food without having to use extra counter space for a separate basin. This not only saves space but also makes your kitchen more efficient and organized. You can also opt for a sink with multiple compartments, allowing you to multitask and save time while cooking.
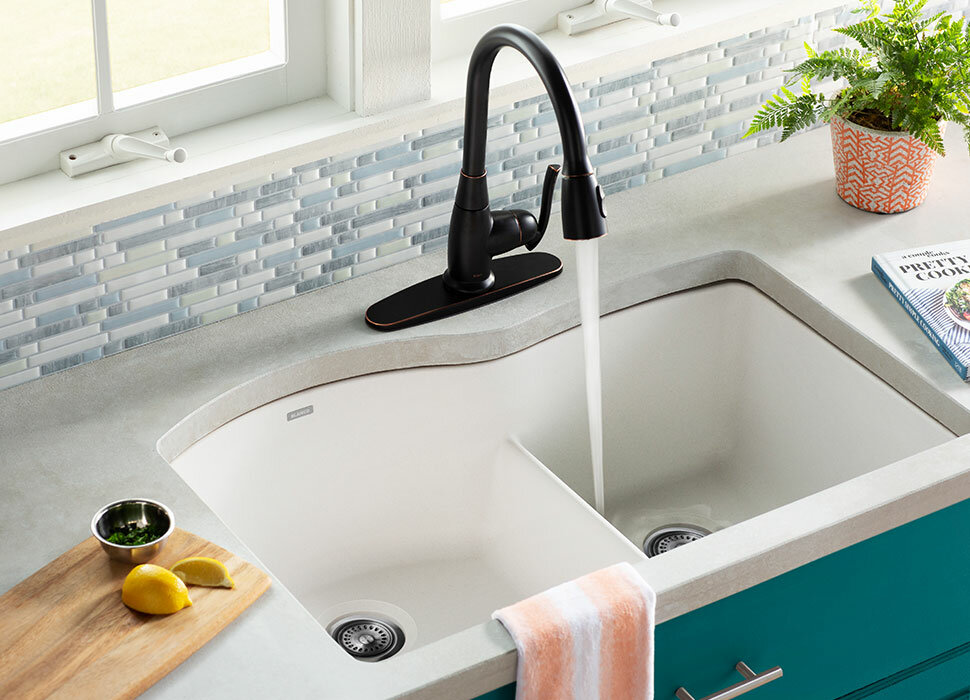
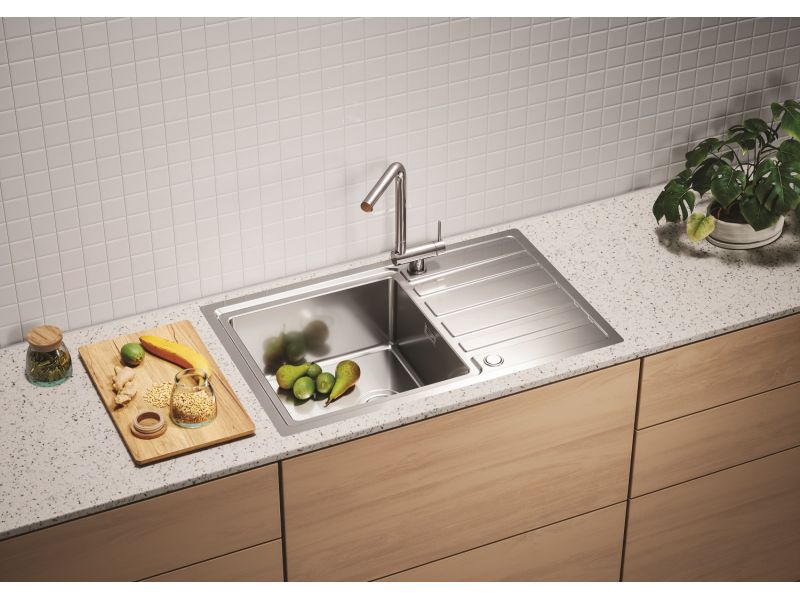
Aesthetic Appeal
:no_upscale()/cdn.vox-cdn.com/uploads/chorus_asset/file/19495086/drain_0.jpg) Aside from its functionality, a
kitchen sink
can also add a touch of aesthetic appeal to your countertops. With a wide range of designs and materials available, you can choose a sink that complements the overall design and theme of your kitchen. Whether you prefer a sleek and modern stainless steel sink or a classic farmhouse style, there is an option for every taste and style. And with the sink being one of the most used features in the kitchen, investing in a visually appealing one can elevate the look of your entire space.
Aside from its functionality, a
kitchen sink
can also add a touch of aesthetic appeal to your countertops. With a wide range of designs and materials available, you can choose a sink that complements the overall design and theme of your kitchen. Whether you prefer a sleek and modern stainless steel sink or a classic farmhouse style, there is an option for every taste and style. And with the sink being one of the most used features in the kitchen, investing in a visually appealing one can elevate the look of your entire space.
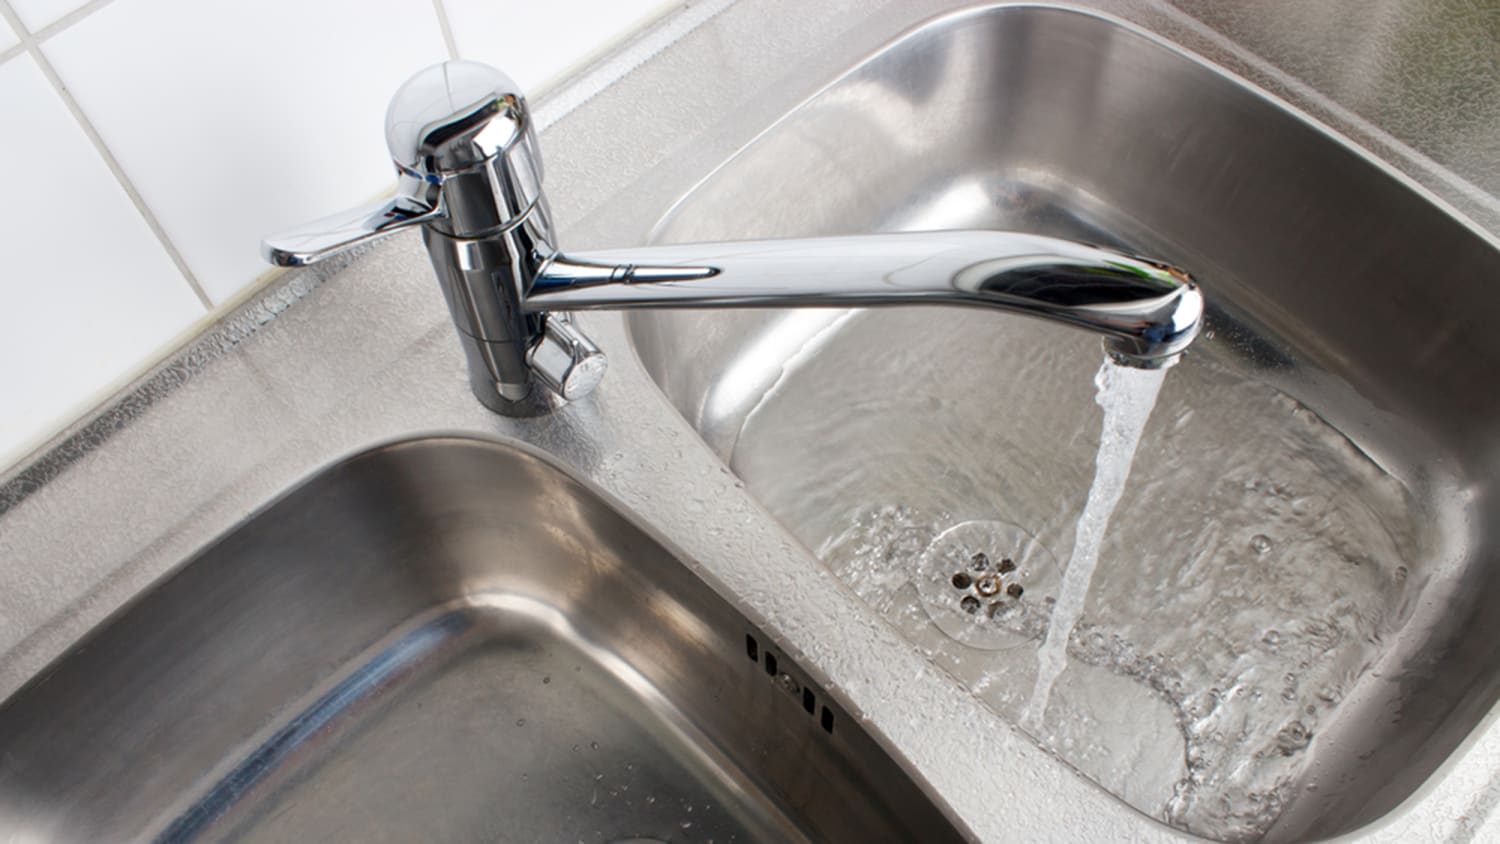
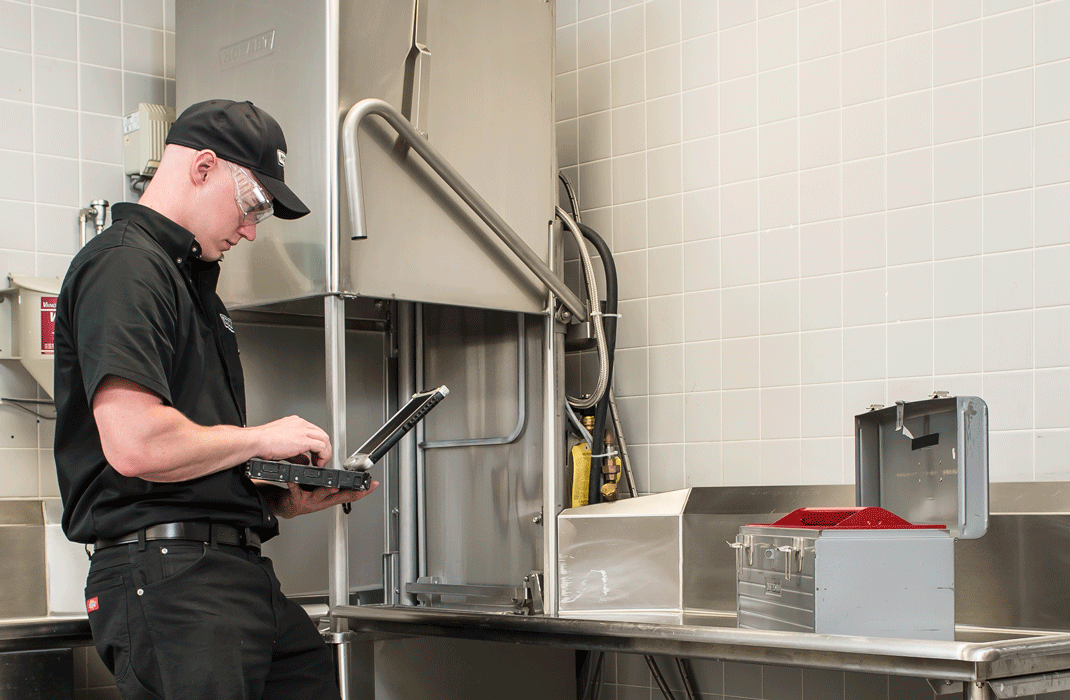
Improved Hygiene and Cleanliness
 Having a
kitchen sink
installed in your countertops also promotes better hygiene and cleanliness. With a designated space for washing dishes and food, you can keep your kitchen more organized and free from clutter. This also helps prevent cross-contamination and ensures that your food is prepared in a clean and sanitary environment. Additionally, having a sink with a garbage disposal feature can make cleaning up after meals a breeze, making your kitchen routine more efficient and hassle-free.
In conclusion,
installing a kitchen sink to connect
the top of your countertops is a crucial element in house design. It not only maximizes space and functionality but also adds aesthetic appeal and promotes better hygiene and cleanliness. So, if you're looking to upgrade your kitchen, don't forget to include a sink in your design plans. With the right sink, you can transform your kitchen into a functional and stylish space that you'll love spending time in.
Having a
kitchen sink
installed in your countertops also promotes better hygiene and cleanliness. With a designated space for washing dishes and food, you can keep your kitchen more organized and free from clutter. This also helps prevent cross-contamination and ensures that your food is prepared in a clean and sanitary environment. Additionally, having a sink with a garbage disposal feature can make cleaning up after meals a breeze, making your kitchen routine more efficient and hassle-free.
In conclusion,
installing a kitchen sink to connect
the top of your countertops is a crucial element in house design. It not only maximizes space and functionality but also adds aesthetic appeal and promotes better hygiene and cleanliness. So, if you're looking to upgrade your kitchen, don't forget to include a sink in your design plans. With the right sink, you can transform your kitchen into a functional and stylish space that you'll love spending time in.