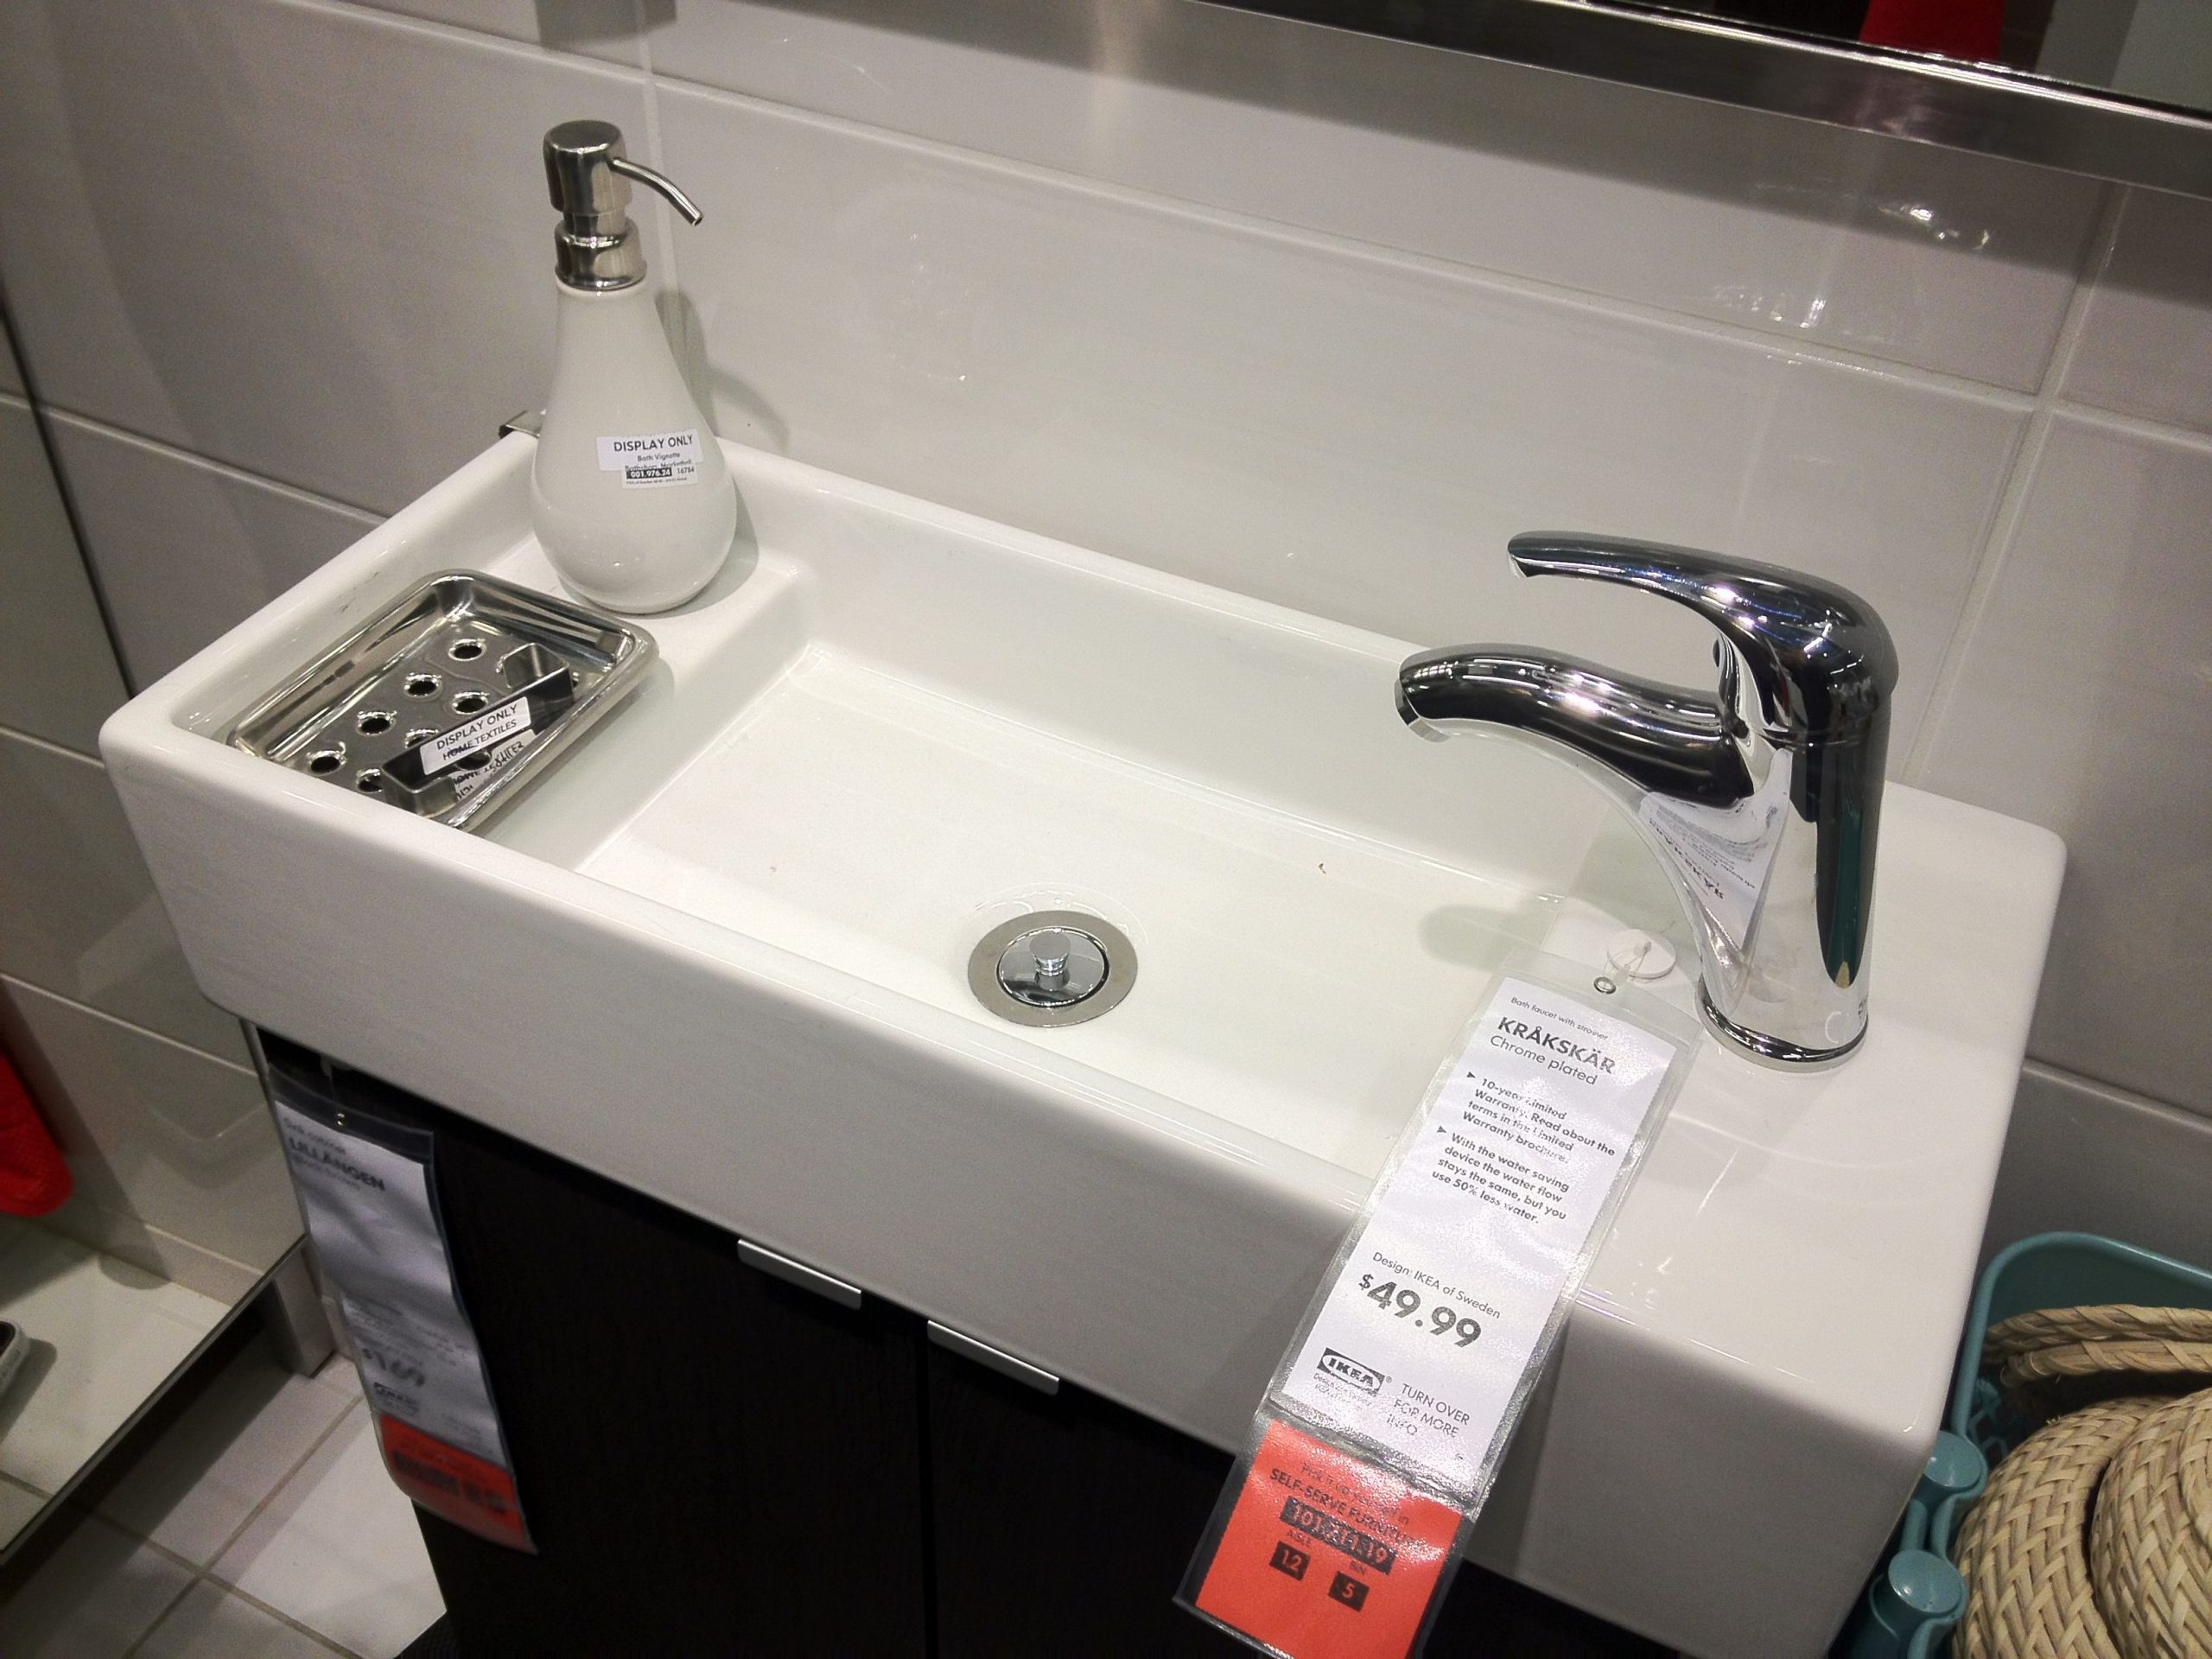
IKEA Bathroom Sink Installation: Transform Your Bathroom with These Top 10 Tips
Are you looking to give your bathroom a fresh, modern update? Look no further than IKEA for all your bathroom sink needs. With their wide selection of sinks and affordable prices, IKEA is the perfect place to start your bathroom renovation. But before you dive headfirst into the installation process, check out our top 10 tips for a successful and stress-free experience.
IKEA Bathroom Sink Installation Guide: Step-by-Step Instructions
First things first, make sure you have all the necessary tools and materials for the installation. These include a sink, faucet, drain pipes, P-trap, silicone caulk, and a wrench. Once you have everything you need, follow these step-by-step instructions for a smooth and easy installation process.
Step 1: Measure the space where you want to install the sink and make sure it will fit. If necessary, adjust the placement of the sink to accommodate any existing plumbing or electrical outlets.
Step 2: Install the faucet on the sink according to the manufacturer's instructions. Make sure to use the appropriate tools and tighten all connections securely.
Step 3: Place the sink on top of the vanity or countertop, ensuring that it is centered and level. Use a pencil to mark the outline of the sink on the countertop.
Step 4: Carefully remove the sink and use a jigsaw to cut along the marked outline. If you are not confident in your ability to make a clean cut, consider hiring a professional for this step.
Step 5: Place the sink back on the countertop and secure it in place with silicone caulk. This will prevent any water from leaking out from under the sink.
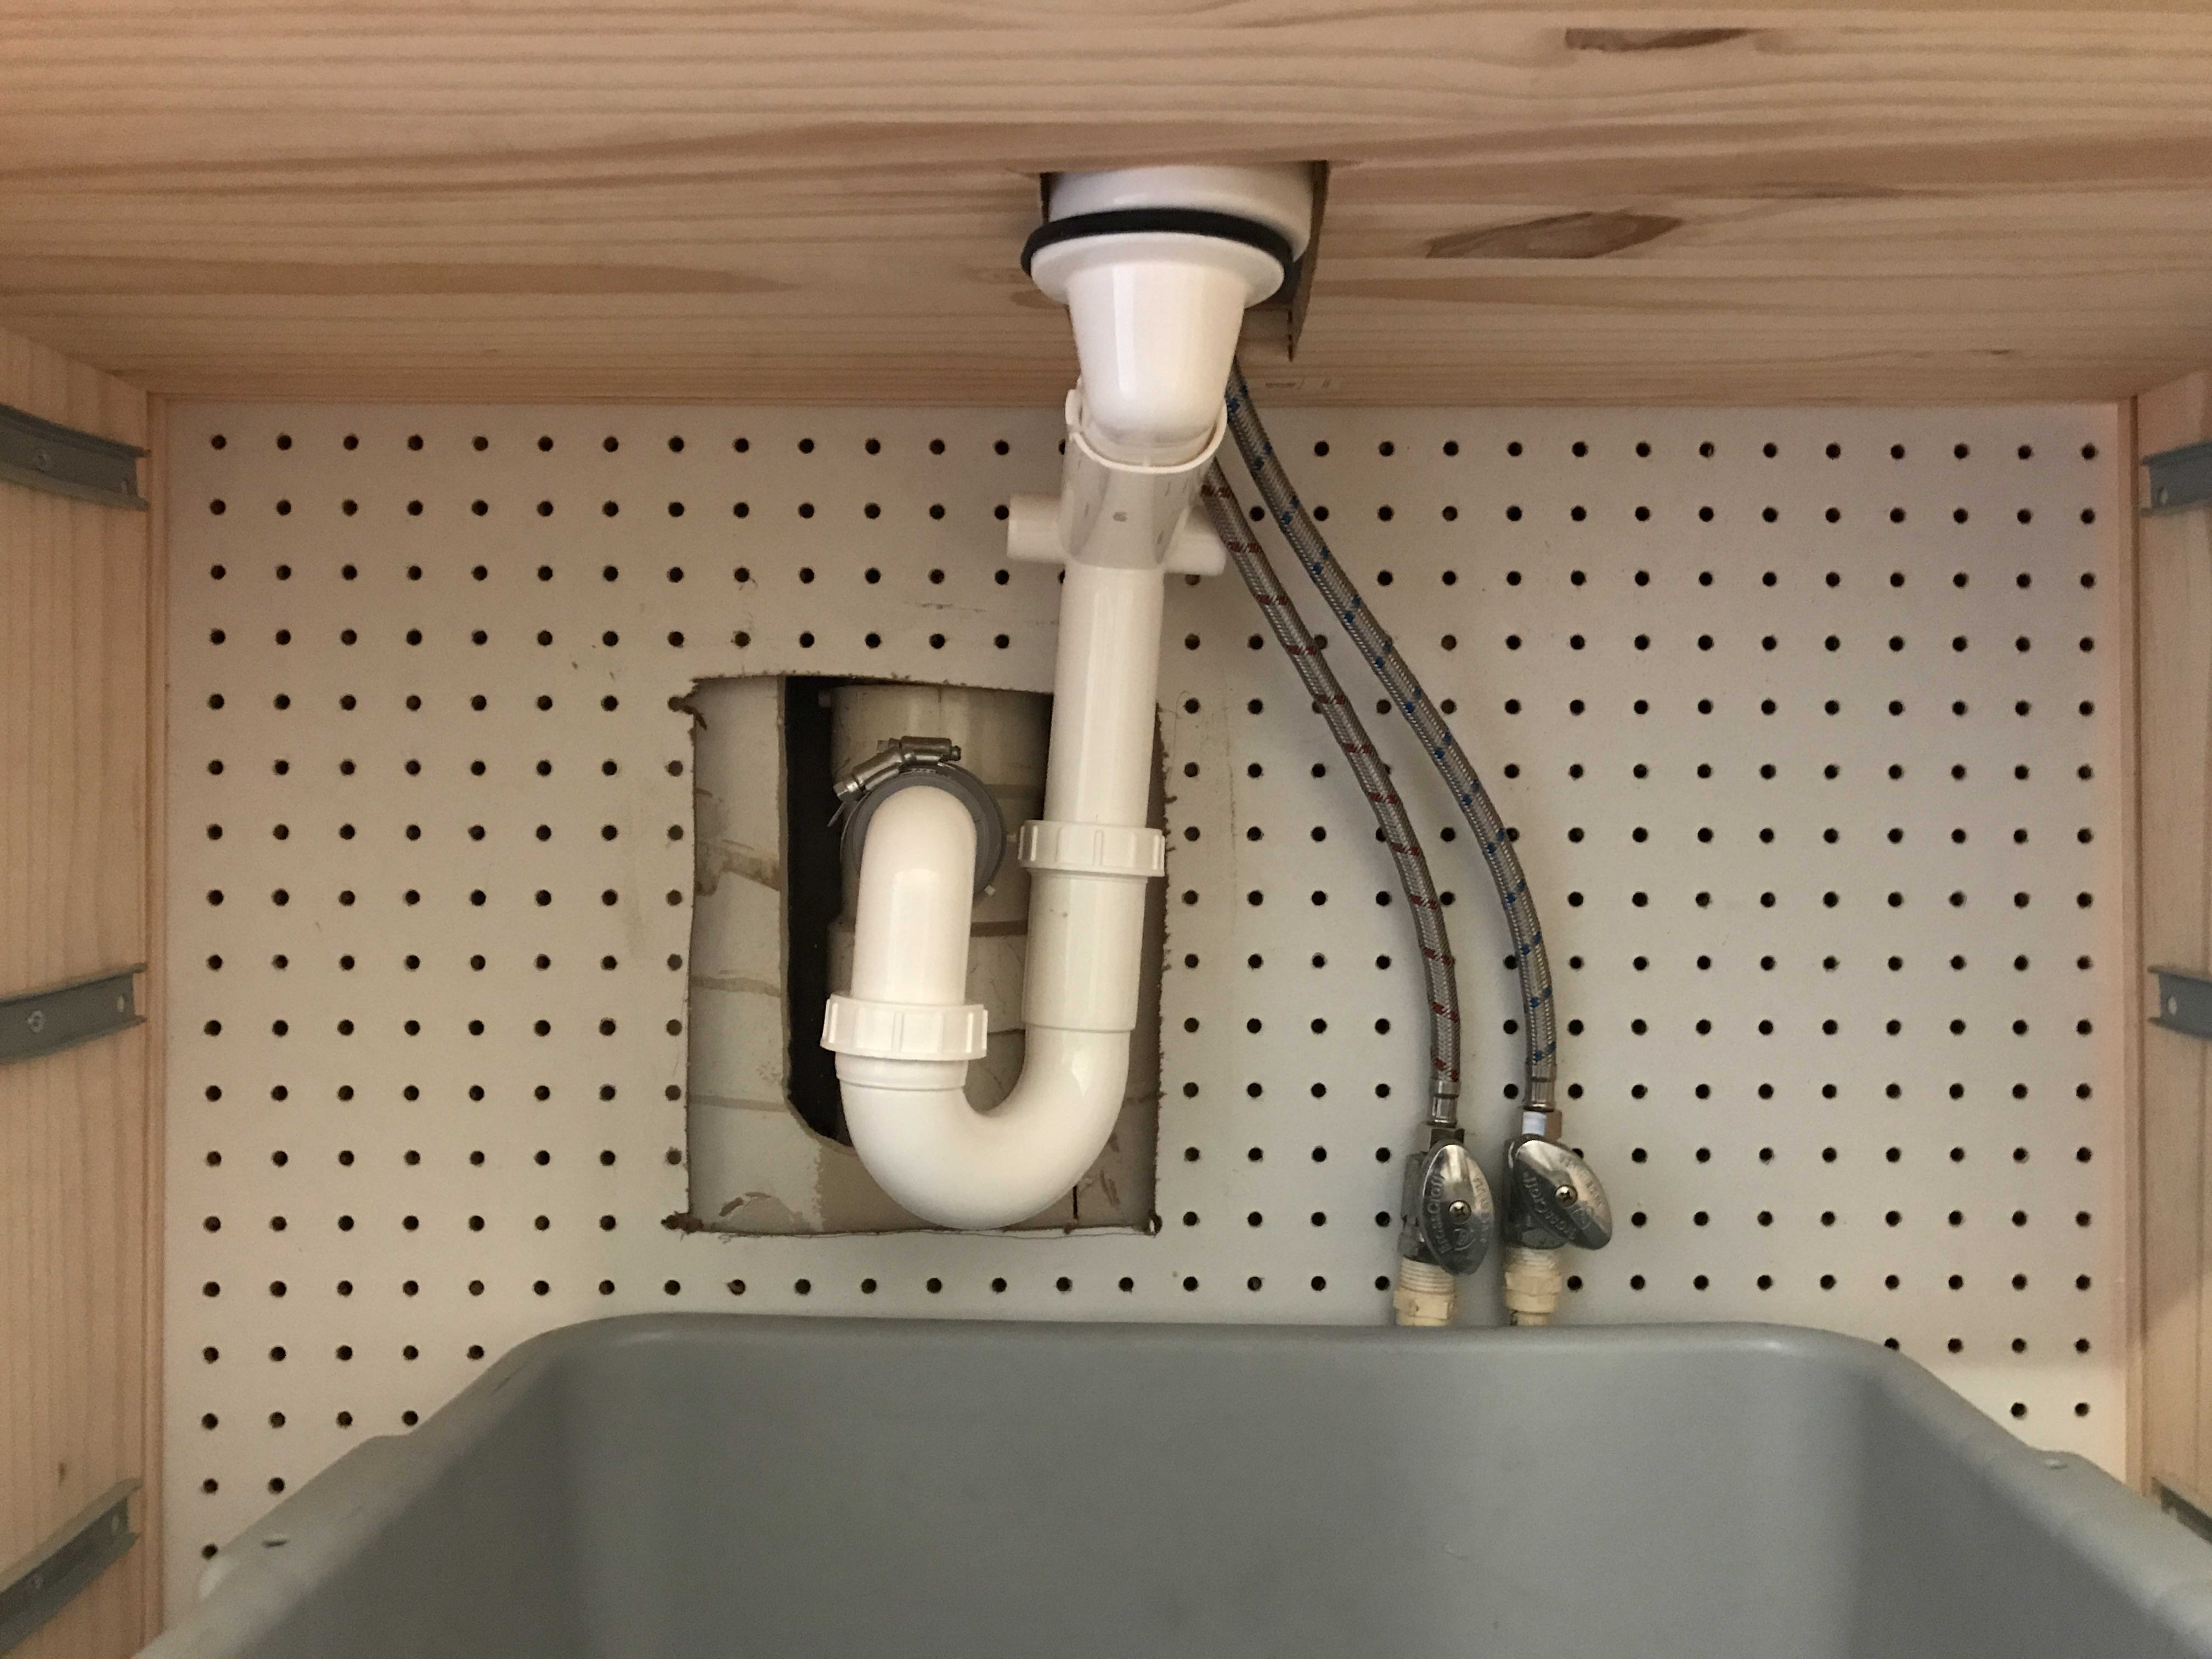
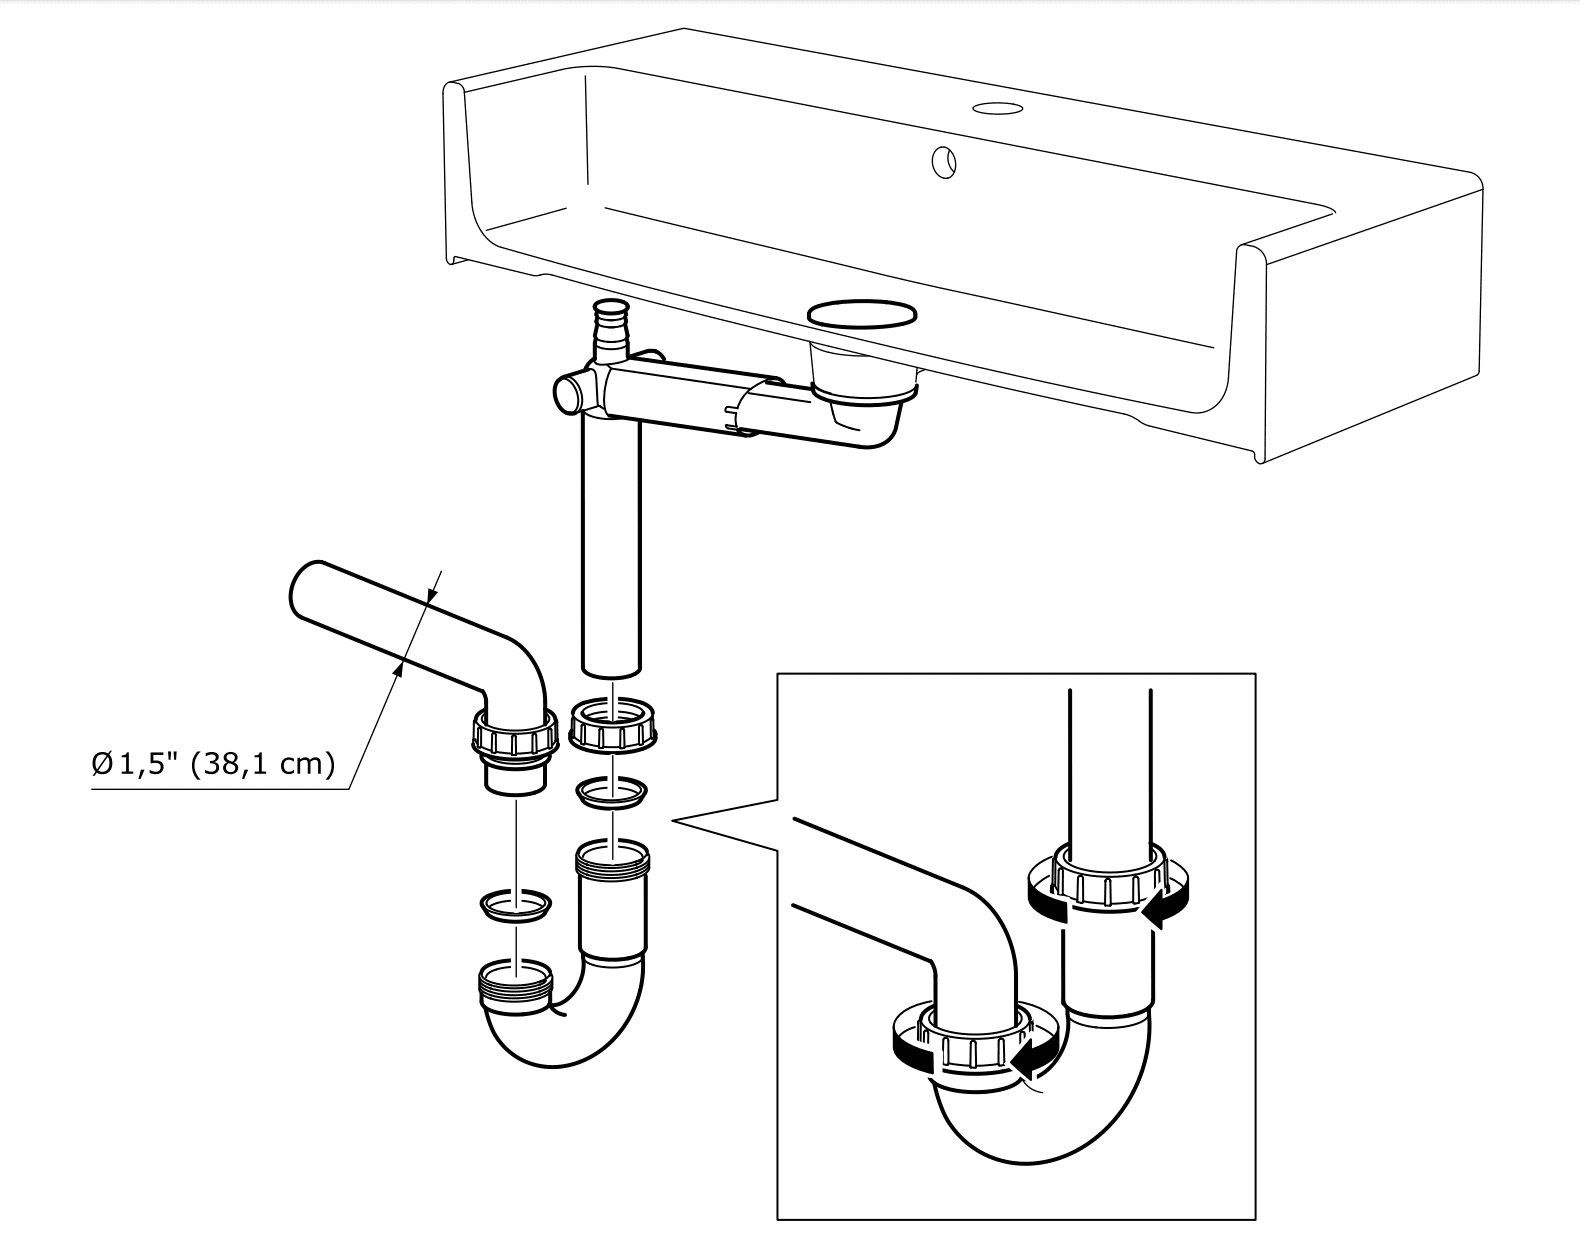
Step 6: Connect the drain pipes to the sink and the P-trap. Make sure all connections are tight and secure.
Step 7: Turn on the water supply and check for any leaks. If there are any, tighten the connections until the leaks stop.
Step 8: Apply a bead of silicone caulk around the edge of the sink where it meets the countertop. This will create a waterproof seal and give a finished look to your installation.
Step 9: Let the caulk dry completely before using the sink. This can take anywhere from 24-48 hours depending on the type of caulk used.
Step 10: Enjoy your newly installed IKEA bathroom sink!
IKEA Bathroom Sink Installation Video: Watch and Learn
If you prefer visual instructions, IKEA has a helpful installation video on their website that walks you through the entire process. This can be especially useful for those who are new to DIY projects or need a little extra guidance.
IKEA Bathroom Sink Installation Cost: Affordable and Budget-Friendly
One of the best things about choosing an IKEA bathroom sink is the cost. With prices starting as low as $60, you can transform your bathroom without breaking the bank. Plus, with their easy installation process, you can save even more money by doing it yourself.
IKEA Bathroom Sink Installation Service: Leave it to the Professionals
If you're not the DIY type or simply don't have the time or tools to install your IKEA bathroom sink, don't worry. IKEA offers professional installation services for an additional fee. This can be a great option for those who want a flawless and hassle-free installation experience.
IKEA Bathroom Sink Installation Tips: Expert Advice for a Perfect Finish
Here are a few expert tips to keep in mind when installing your IKEA bathroom sink:
Tip 1: Always read and follow the manufacturer's instructions carefully.
Tip 2: Use appropriate tools and safety equipment to avoid injury.
Tip 3: Have a helper on hand to assist with lifting and holding the sink in place.
Tip 4: Measure twice and cut once to avoid any mistakes.
Tip 5: Don't rush the installation process. Take your time to ensure everything is done correctly.
IKEA Bathroom Sink Installation Tools: What You'll Need
Here's a list of the essential tools you'll need for a successful IKEA bathroom sink installation:
Sink, faucet, drain pipes, P-trap, silicone caulk, wrench, jigsaw, measuring tape, pencil, safety glasses, and gloves.
IKEA Bathroom Sink Installation Contractor: Hire a Professional for a Stress-Free Experience
If you're not confident in your abilities to install your IKEA bathroom sink, consider hiring a professional contractor. They can ensure a flawless installation and save you time and stress in the process.
IKEA Bathroom Sink Installation DIY: A Fun and Rewarding Project
Installing an IKEA bathroom sink can be a fun and rewarding DIY project. With the right tools and instructions, you can transform your bathroom and add value to your home. Plus, you'll have the satisfaction of knowing you did it yourself.
Transform Your Bathroom with IKEA Bathroom Sink Installation
In conclusion, IKEA bathroom sinks offer a wide selection of modern and affordable options for your bathroom renovation. By following our top 10 tips and step-by-step instructions, you can successfully install your IKEA bathroom sink and transform your bathroom into a beautiful and functional space. So, what are you waiting for? Head to IKEA and start your bathroom renovation today!
The Perfect IKEA Installation for Your Bathroom Sink

Transform Your Bathroom into a Functional and Stylish Space
 When it comes to designing your bathroom, one of the most important elements is the sink. Not only is it a functional aspect of the room, but it also contributes to the overall aesthetic and design. That's why it's crucial to choose the right sink and installation method. And what better way to achieve that than with an
IKEA installation for your bathroom sink
.
IKEA
is known for its modern and affordable furniture and home accessories, making it a popular choice for many homeowners. Their bathroom sink installation options are no exception, offering a variety of styles and installation methods to suit your needs and preferences.
One of the main benefits of opting for an
IKEA installation
is the ease and convenience it provides. With detailed instructions and all the necessary parts included in the package, you can easily achieve a professional-looking installation without the need for professional help. This not only saves you time and money but also allows you to have full control over the design and layout of your sink.
Another advantage of using
IKEA
for your bathroom sink installation is the wide range of options available. From wall-mounted to free-standing sinks, you can choose the perfect style to complement your bathroom design. Plus, with their affordable prices, you can easily switch up the look of your bathroom without breaking the bank.
But it's not just about the aesthetics,
IKEA
also prioritizes functionality. Their sinks are designed with durable materials that can withstand everyday use, ensuring longevity and low maintenance. Plus, their installation methods are designed to optimize space and provide ample storage solutions, making your bathroom not only stylish but also functional.
In conclusion, if you're looking to transform your bathroom into a functional and stylish space, consider an
IKEA installation for your bathroom sink
. With its convenience, affordability, and range of options, you can easily achieve your dream bathroom without any hassle. So why wait? Visit your nearest
IKEA
store or shop online to start your bathroom renovation journey.

