Dealing with a leaky kitchen sink can be frustrating and costly. Not only does it waste water, but it can also cause damage to your kitchen cabinets and floors. If you notice water dripping from your disposable kitchen sink, it's important to address the issue right away. Here are some steps you can take to fix a leaky kitchen sink. First, identify the source of the leak. The first step in fixing a leaky kitchen sink is to determine where the leak is coming from. Is it the faucet, the drain, or the pipes underneath? Once you have identified the source, you can move on to the next step. Next, tighten any loose connections. Often, a leaky kitchen sink is caused by loose connections. Use a wrench to tighten any loose nuts and bolts on the faucet, drain, and pipes. This may be all you need to do to stop the leak. If tightening doesn't work, replace worn out parts. Over time, the parts in your kitchen sink can wear out and need to be replaced. This could include the faucet washer, O-ring, or valve seat. Make sure to turn off the water supply before replacing any parts. Consider replacing the entire faucet. If your kitchen sink is old and the faucet is constantly leaking, it may be time to replace the entire faucet. This can be a more costly option, but it will save you from constantly dealing with leaks. Consult a professional plumber. If you are unable to fix the leak yourself, it's best to call a professional plumber. They have the knowledge and tools to properly diagnose and fix the issue, saving you time and frustration.1. How to Fix a Leaky Kitchen Sink


1. How to Fix a Leaky Kitchen Sink


A dripping kitchen sink is not only annoying, but it can also lead to bigger problems if left untreated. Knowing the common causes of a dripping kitchen sink can help you prevent and address the issue before it becomes a major headache. Here are some of the most common causes of a dripping kitchen sink. Worn out washers or seals. The most common cause of a dripping kitchen sink is worn out washers or seals. Over time, these parts can wear out and cause water to leak from the faucet. Loose connections. As mentioned earlier, loose connections can also cause a dripping kitchen sink. Make sure to regularly check and tighten any loose nuts and bolts on your faucet, drain, and pipes. High water pressure. If your water pressure is too high, it can put extra strain on your faucet and cause it to drip. Consider installing a pressure regulator to help control the water flow. Corroded pipes. If your kitchen sink is older, it's possible that the pipes underneath have become corroded, causing leaks. In this case, it's best to call a professional plumber to replace the pipes. Worn out cartridges or valves. In some cases, the cause of a dripping kitchen sink could be a worn out cartridge or valve. These parts can also become clogged with sediment, causing water to leak from the faucet.2. Common Causes of a Dripping Kitchen Sink


2. Common Causes of a Dripping Kitchen Sink


If your disposable kitchen sink won't hold water, it can make everyday tasks like washing dishes or filling up a pot a lot more difficult. Here are some troubleshooting tips to help you figure out why your sink won't hold water. Check the stopper. The first thing to do is check the stopper in your sink. It may have come loose or be damaged, preventing it from sealing properly. If this is the case, you can easily replace the stopper. Inspect the drain. Over time, the drain in your kitchen sink can become clogged with food particles and debris. Use a drain cleaner or a drain snake to clear out any clogs that may be preventing your sink from holding water. Check the drain flange. The drain flange is the metal ring that surrounds the drain in your sink. It's possible that this could be loose, causing water to leak out. Use a wrench to tighten the flange and create a better seal. Consider replacing the drain assembly. If none of these troubleshooting steps work, it may be time to replace the entire drain assembly. This is a more complex task and may require the help of a professional plumber.3. Troubleshooting a Sink that Won't Hold Water


3. Troubleshooting a Sink that Won't Hold Water


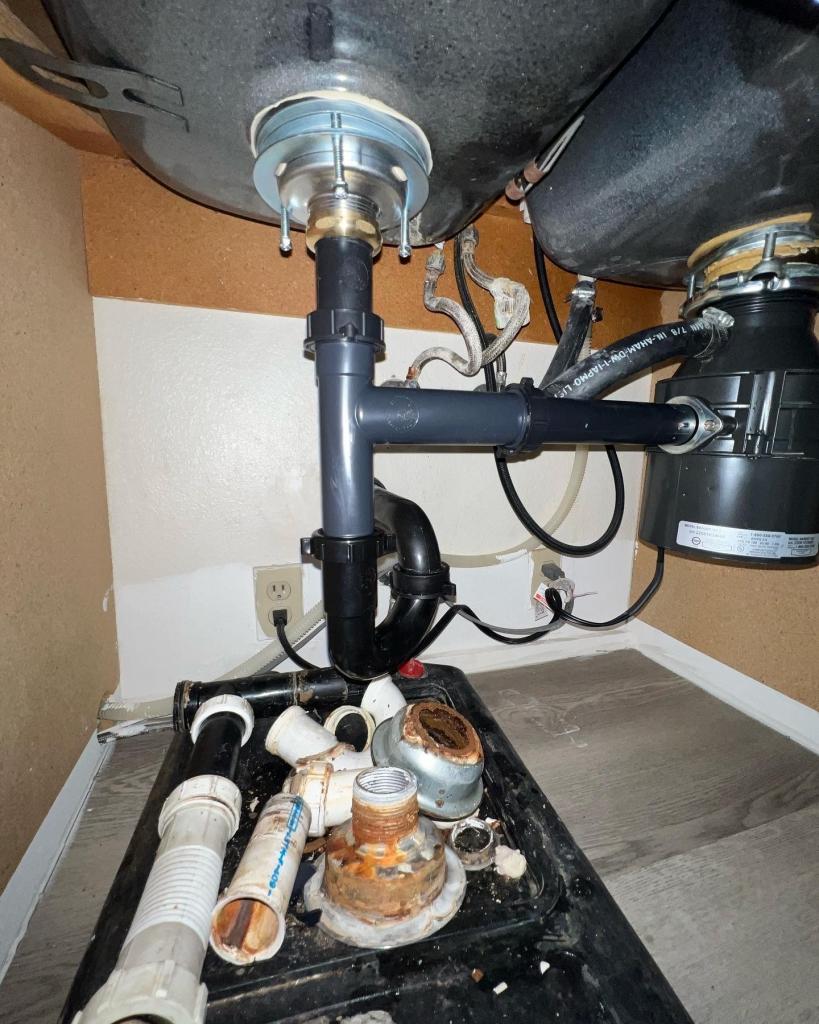
Replacing a kitchen sink drain may seem like a daunting task, but with the right tools and knowledge, it can be done easily. Here's a step-by-step guide on how to replace a kitchen sink drain. Step 1: Gather your tools and materials. Before you start, make sure you have all the necessary tools and materials, including a new drain assembly, plumber's putty, a wrench, and a screwdriver. Step 2: Remove the old drain. First, you'll need to disconnect the P-trap and any other connections to the old drain. Then, use a wrench to loosen and remove the locknut holding the old drain in place. You can then remove the old drain and clean any remaining putty or debris. Step 3: Install the new drain. Apply plumber's putty around the flange of the new drain and insert it into the sink opening. Use a wrench to tighten the locknut and create a seal. Make sure the drain is straight and flush with the bottom of the sink. Step 4: Reconnect the P-trap and other connections. Once the new drain is in place, you can reconnect the P-trap and any other connections. Make sure everything is securely tightened. Step 5: Test for leaks. Turn on the water and check for any leaks. If everything looks good, you have successfully replaced your kitchen sink drain!4. How to Replace a Kitchen Sink Drain


4. How to Replace a Kitchen Sink Drain
/sink-drain-trap-185105402-5797c5f13df78ceb869154b5.jpg)


:max_bytes(150000):strip_icc()/how-to-install-a-sink-drain-2718789-hero-24e898006ed94c9593a2a268b57989a3.jpg)
/how-to-install-a-sink-drain-2718789-hero-b5b99f72b5a24bb2ae8364e60539cece.jpg)
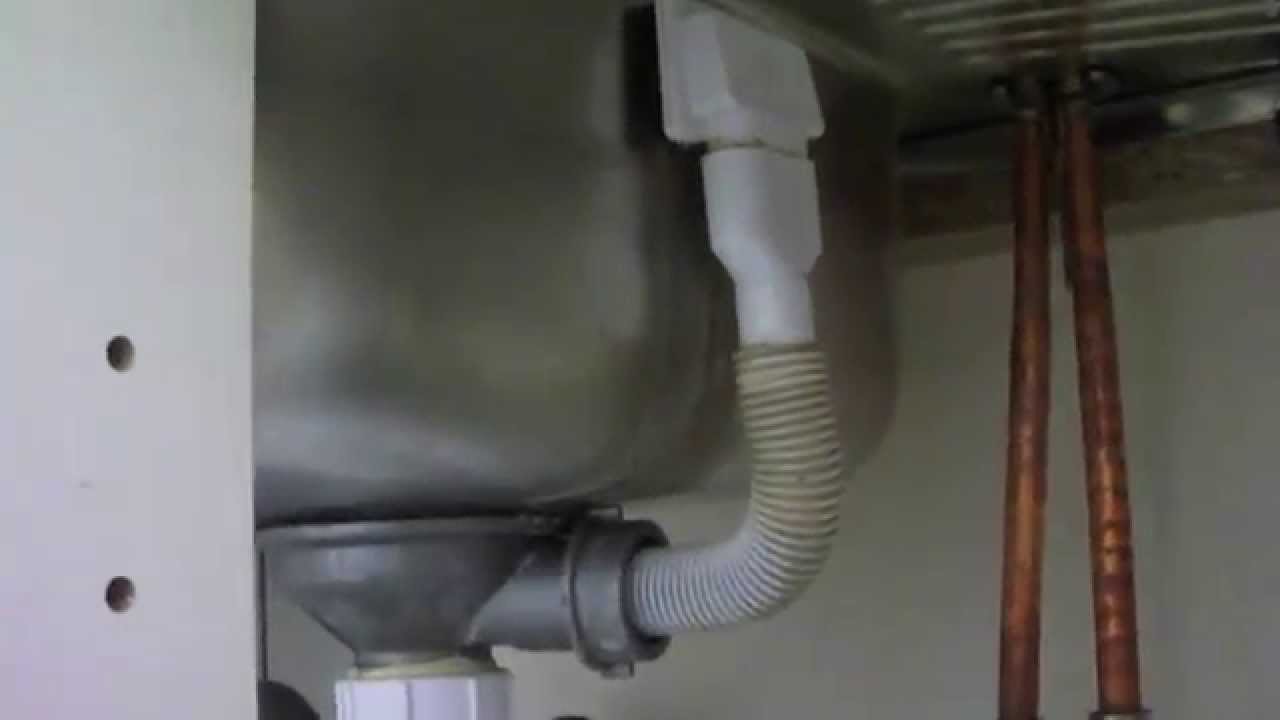
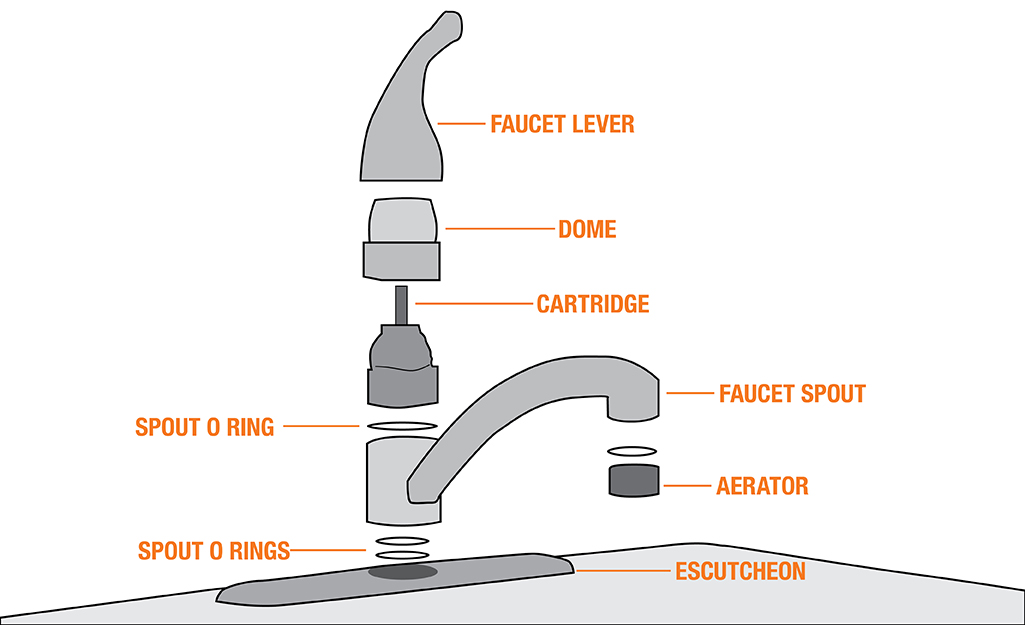
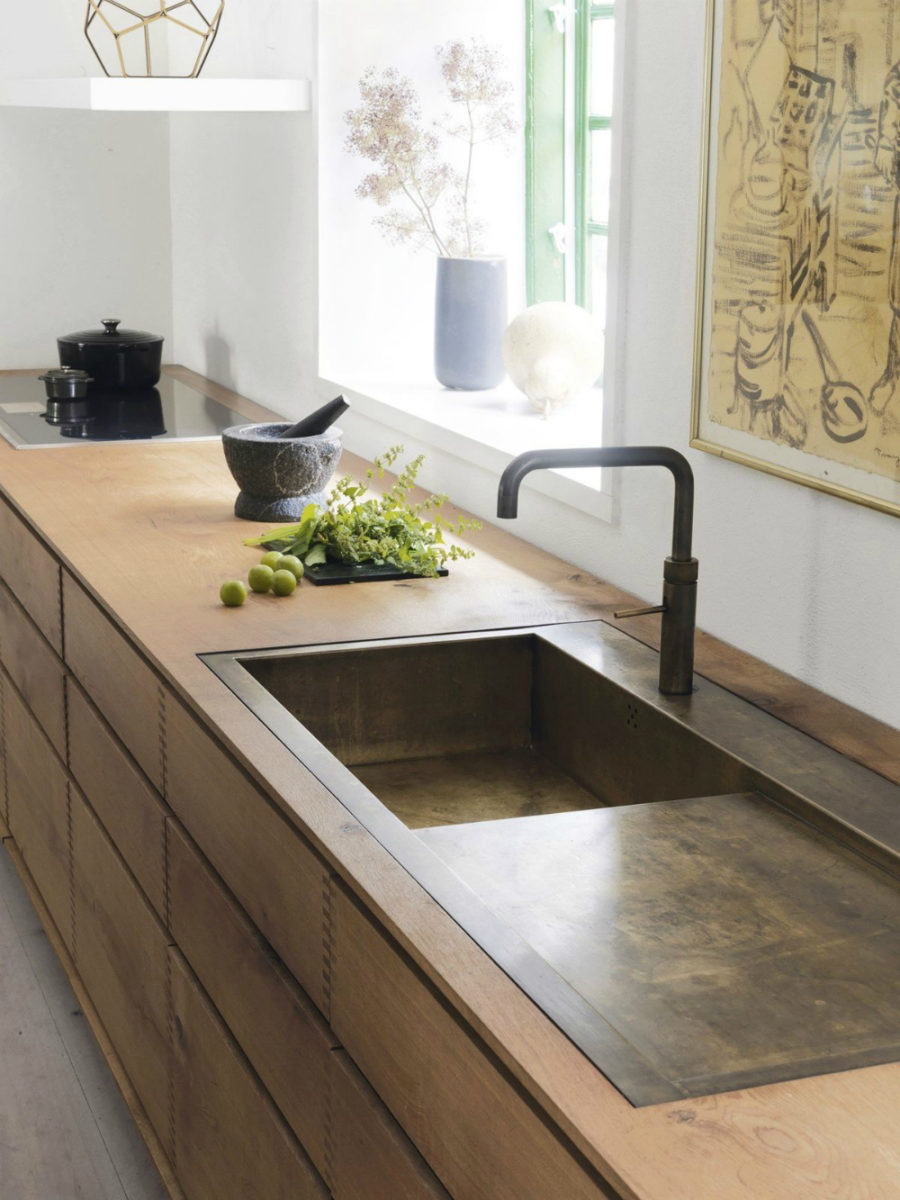
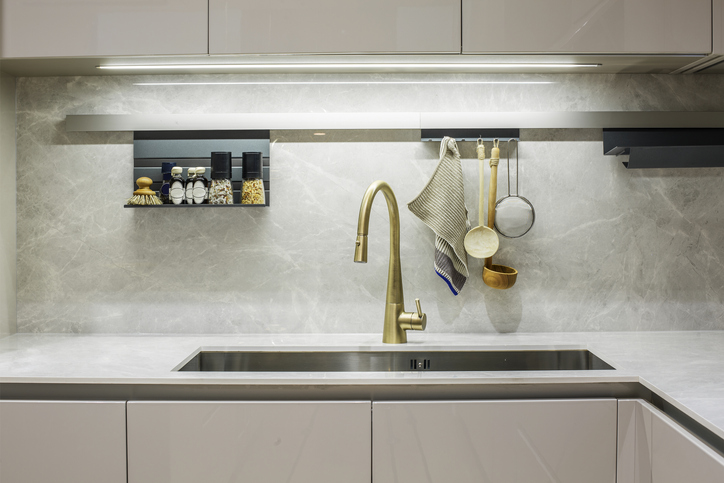
Having a basic understanding of the different parts of your kitchen sink can be helpful when troubleshooting issues or making repairs. Here's a breakdown of the different components of a kitchen sink. Faucet. The faucet is the most visible part of your kitchen sink and is used for controlling the flow of water. Handles. Handles are used to turn the faucets on and off. Some sinks have separate hot and cold water handles, while others have a single handle for both. Spout. The spout is the part of the faucet where the water comes out. Some spouts are stationary, while others can be pulled out or have a separate spray feature. Drain. The drain is located at the bottom of the sink and allows water to flow out. It typically has a stopper that can be opened and closed to hold water in the sink. Pipes. The pipes underneath the sink are responsible for carrying water in and out of the sink. These may include the supply lines, P-trap, and waste pipe.5. Understanding the Anatomy of a Kitchen Sink


5. Understanding the Anatomy of a Kitchen Sink


Maintaining your disposable kitchen sink is essential for keeping it in good condition and preventing issues like leaks and clogs. Here are some tips to help you maintain your kitchen sink. Keep it clean. Regularly cleaning your kitchen sink can help prevent buildup of dirt, grime, and bacteria. Use a mild cleaner and a soft cloth to clean the sink and faucet. Avoid harsh chemicals. Harsh chemicals can damage the finish on your sink and cause it to corrode. Instead, use natural cleaning products or make your own using ingredients like vinegar and baking soda. Don't pour grease down the drain. Grease and oil can solidify and clog your drains. Instead, pour them into a container and dispose of them in the garbage. Regularly check for leaks. Periodically check for any leaks or drips from your kitchen sink. Catching and fixing them early can save you from costly repairs down the line. Consider a garbage disposal. A garbage disposal can help prevent food scraps from clogging your kitchen sink drain. Just make sure to run plenty of water while using it.6. Tips for Maintaining a Disposable Kitchen Sink


6. Tips for Maintaining a Disposable Kitchen Sink


/how-to-install-a-sink-drain-2718789-hero-24e898006ed94c9593a2a268b57989a3.jpg)
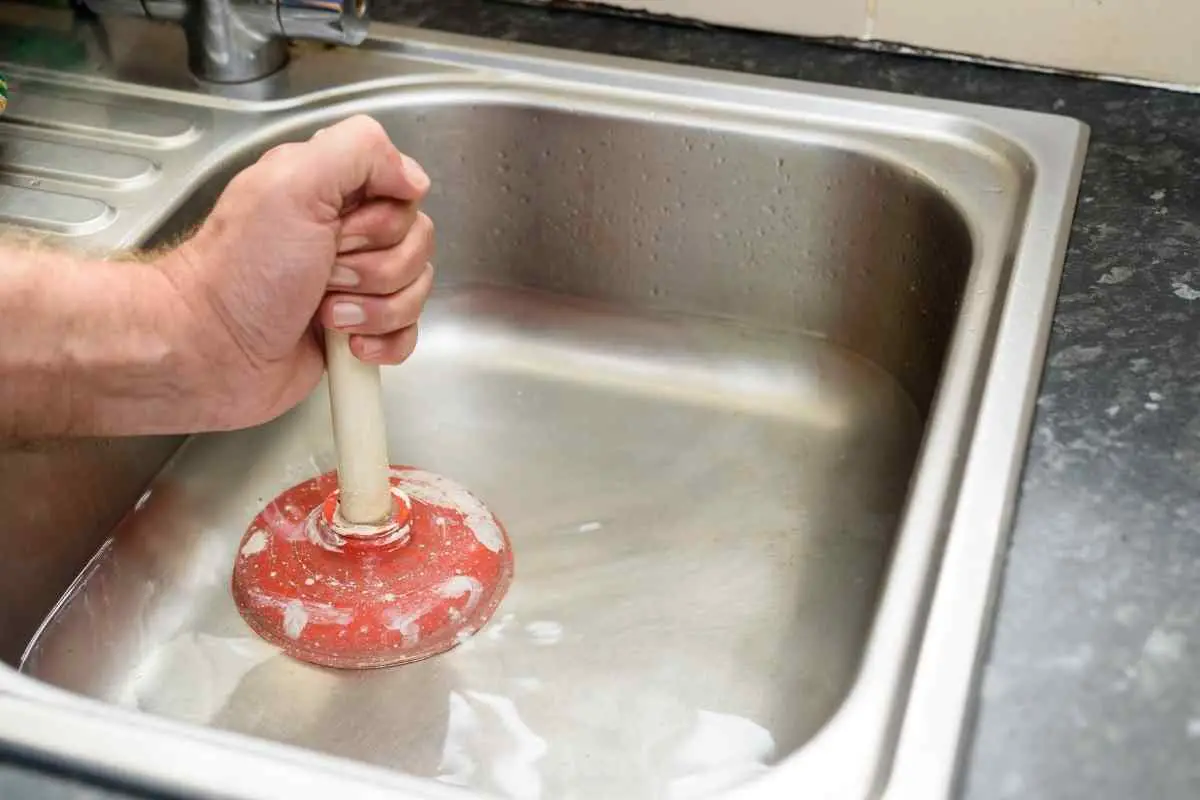
Dealing with a clogged kitchen sink can be a major inconvenience. If your sink is draining slowly or not at all, here's what you can do to fix the problem. Use a plunger. A plunger can be effective in clearing minor clogs in your kitchen sink. Make sure to cover the overflow drain with a wet cloth before plunging to create a better seal. Try a drain snake. For tougher clogs, a drain snake may be needed. Insert it into the drain and twist it to catch and remove any debris that may be causing the clog. Use a homemade drain cleaner. If you prefer to use natural methods, you can make your own drain cleaner using baking soda, vinegar, and hot water. Pour the baking soda and vinegar down the drain, followed by hot water, and let it sit for 15-20 minutes before flushing with more hot water. Call a professional plumber. If none of these methods work, it's best to call a professional plumber. They have specialized tools and equipment to effectively clear stubborn clogs without causing damage to your pipes.7. What to Do if Your Kitchen Sink is Clogged


7. What to Do if Your Kitchen Sink is Clogged


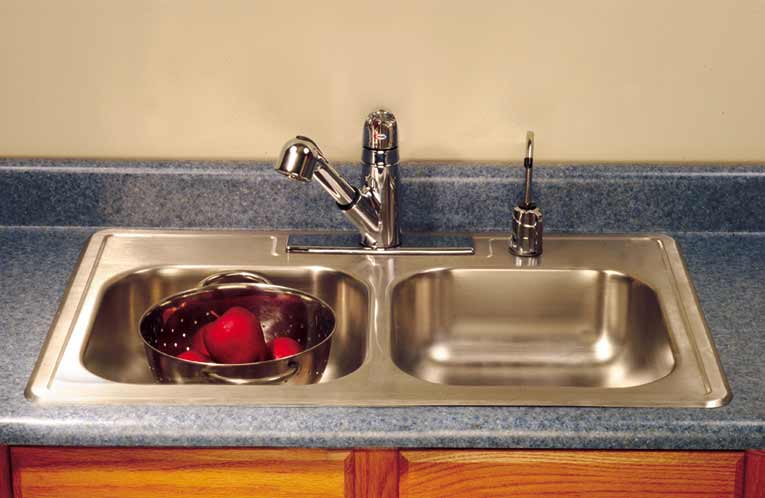
If you're renovating your kitchen or simply want to upgrade your sink, installing a new kitchen sink is a project you can do yourself. Here's a general overview of the installation process. Step 1: Gather your tools and materials. Before you start, make sure you have all the necessary tools and materials, including a new sink, faucet, plumber's putty, and a wrench. Step 2: Remove the old sink. First, you'll need to disconnect the water supply lines and drain pipes from the old sink. Then, use a knife to cut through any caulking or adhesive around the sink and remove it from the countertop. Step 3: Install the new sink. Apply plumber's putty around the edge of the new sink and place it in the sink opening. Make sure it is level and secure it in place with mounting clips or screws. Step 4: Connect the supply lines and drain pipes. Once the sink is in place, you can connect the supply lines and drain pipes. Make sure everything is securely tightened. Step 5: Install the faucet. Follow the manufacturer's instructions to install the faucet onto the sink. Then, connect the water supply lines to the faucet. Step 6: Test for leaks. Turn on the water and check for any leaks. If everything looks good, your new kitchen sink is ready to use!8. How to Install a New Kitchen Sink


8. How to Install a New Kitchen Sink


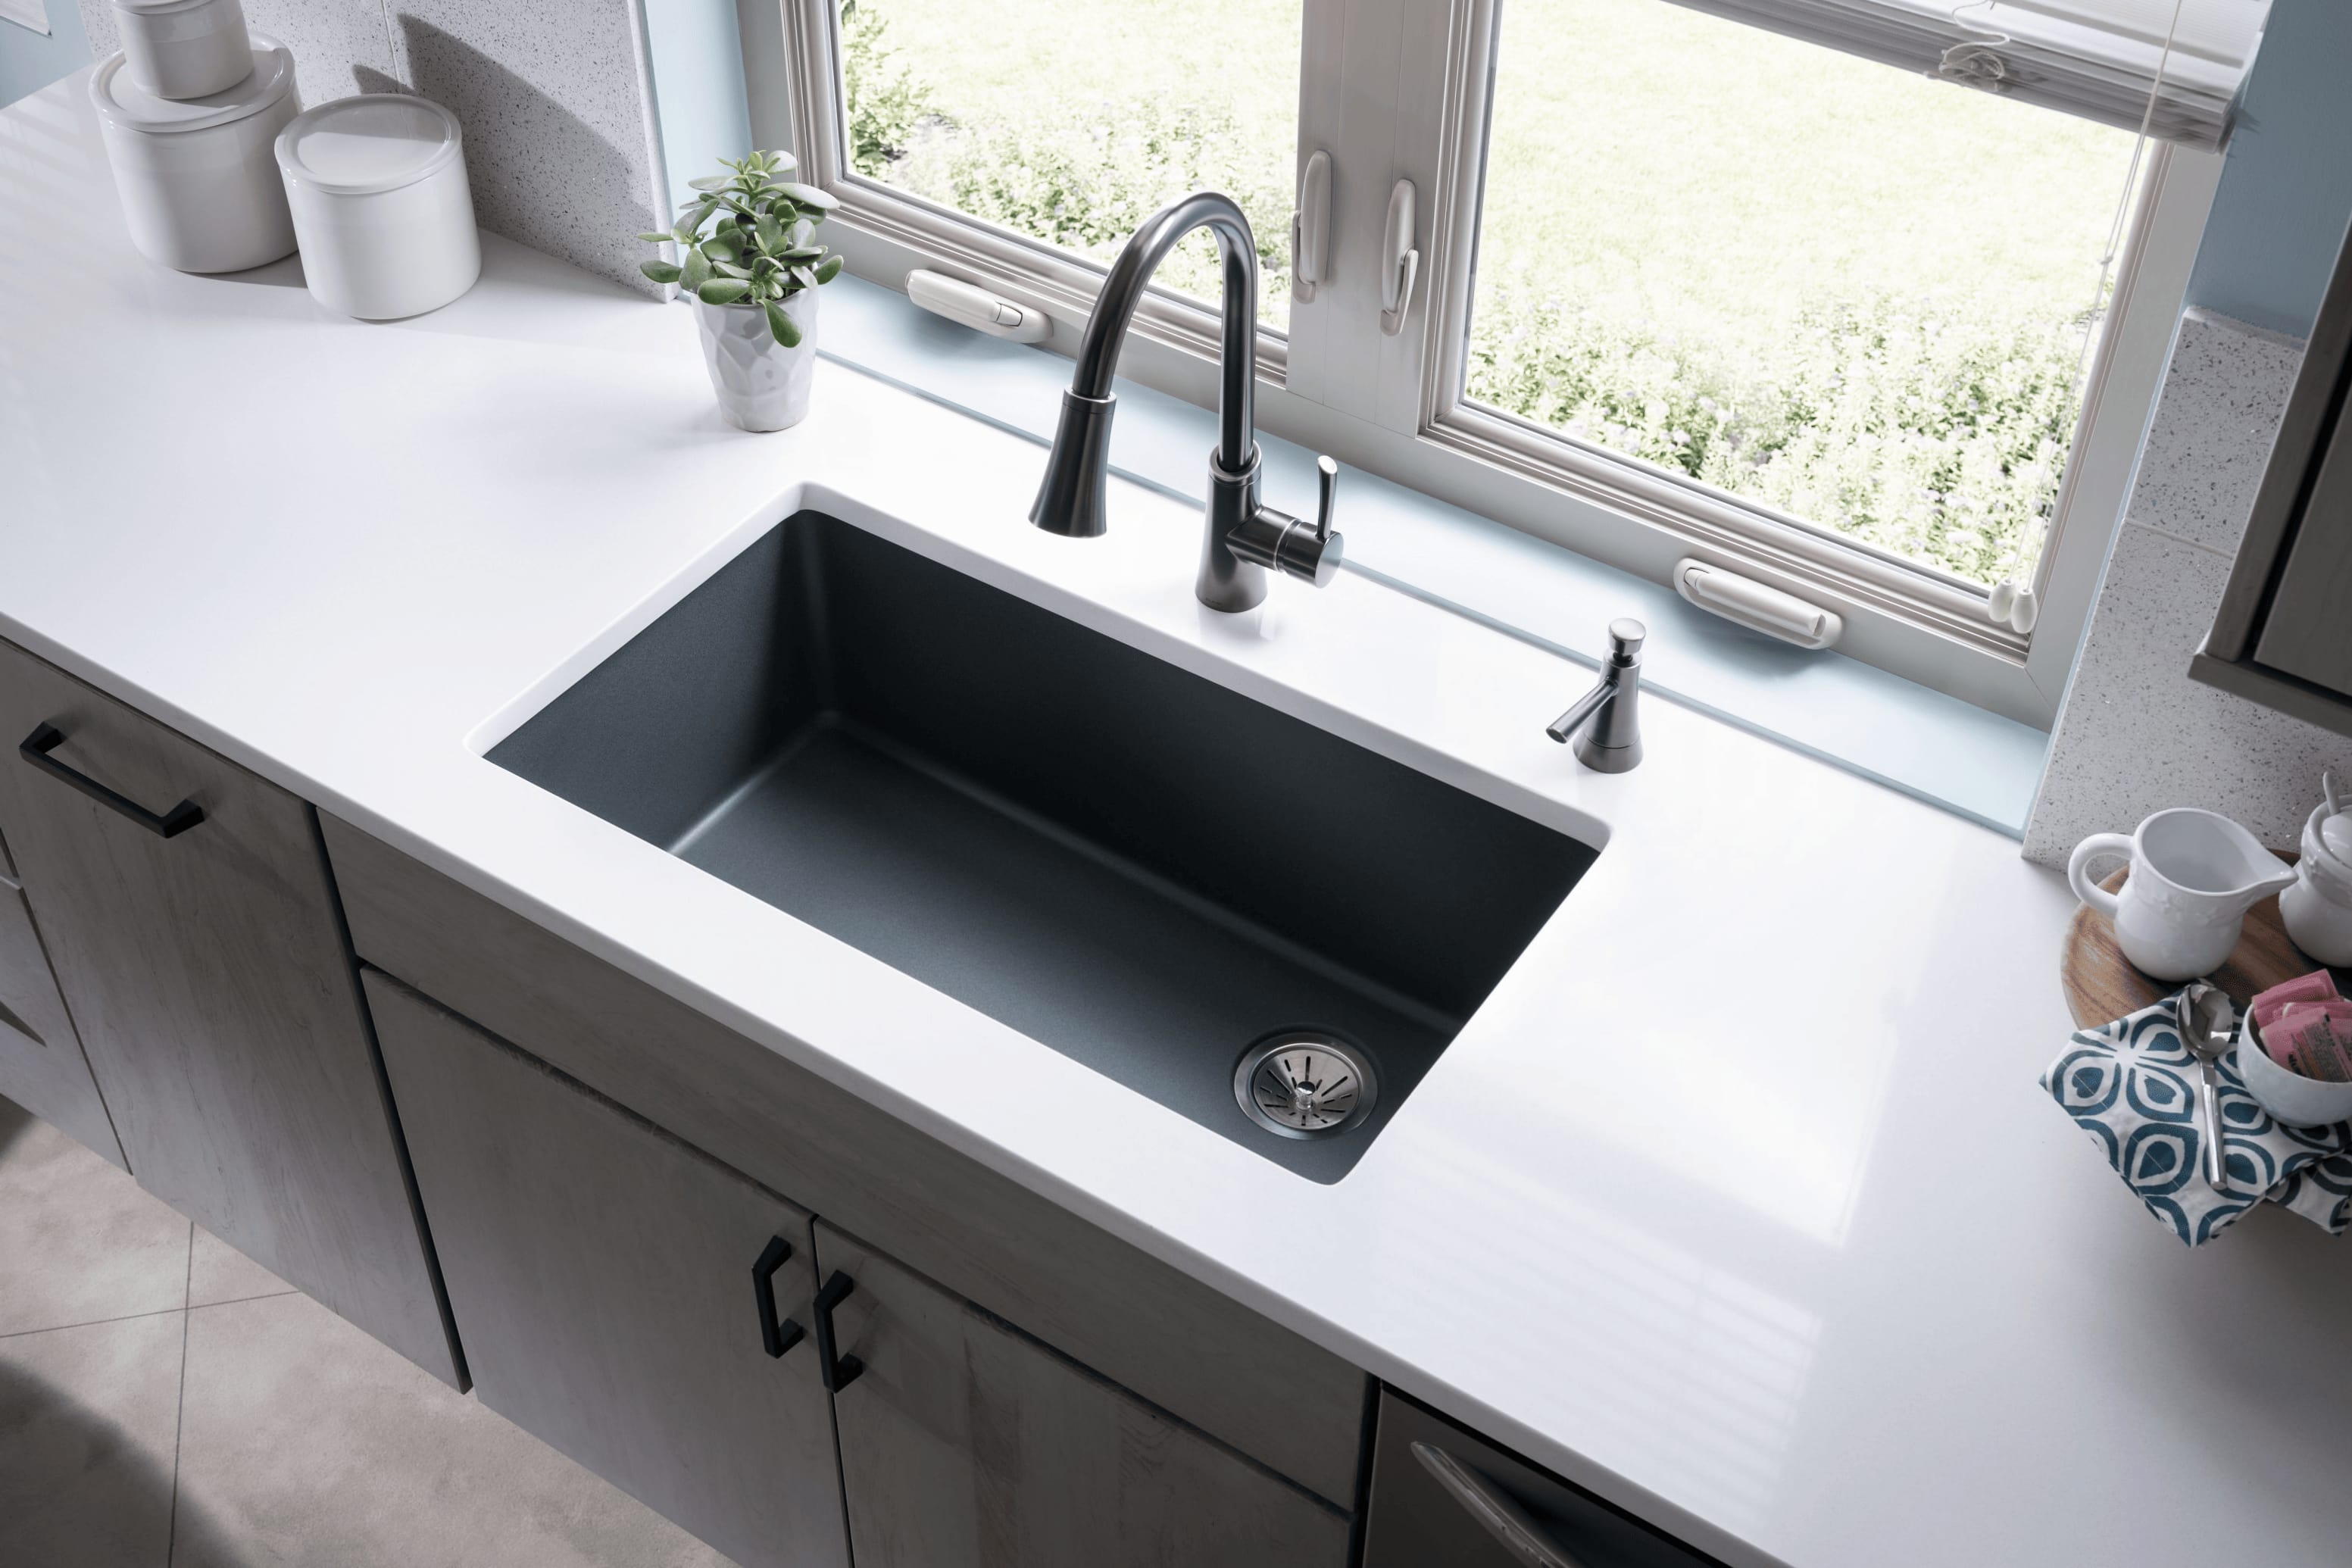
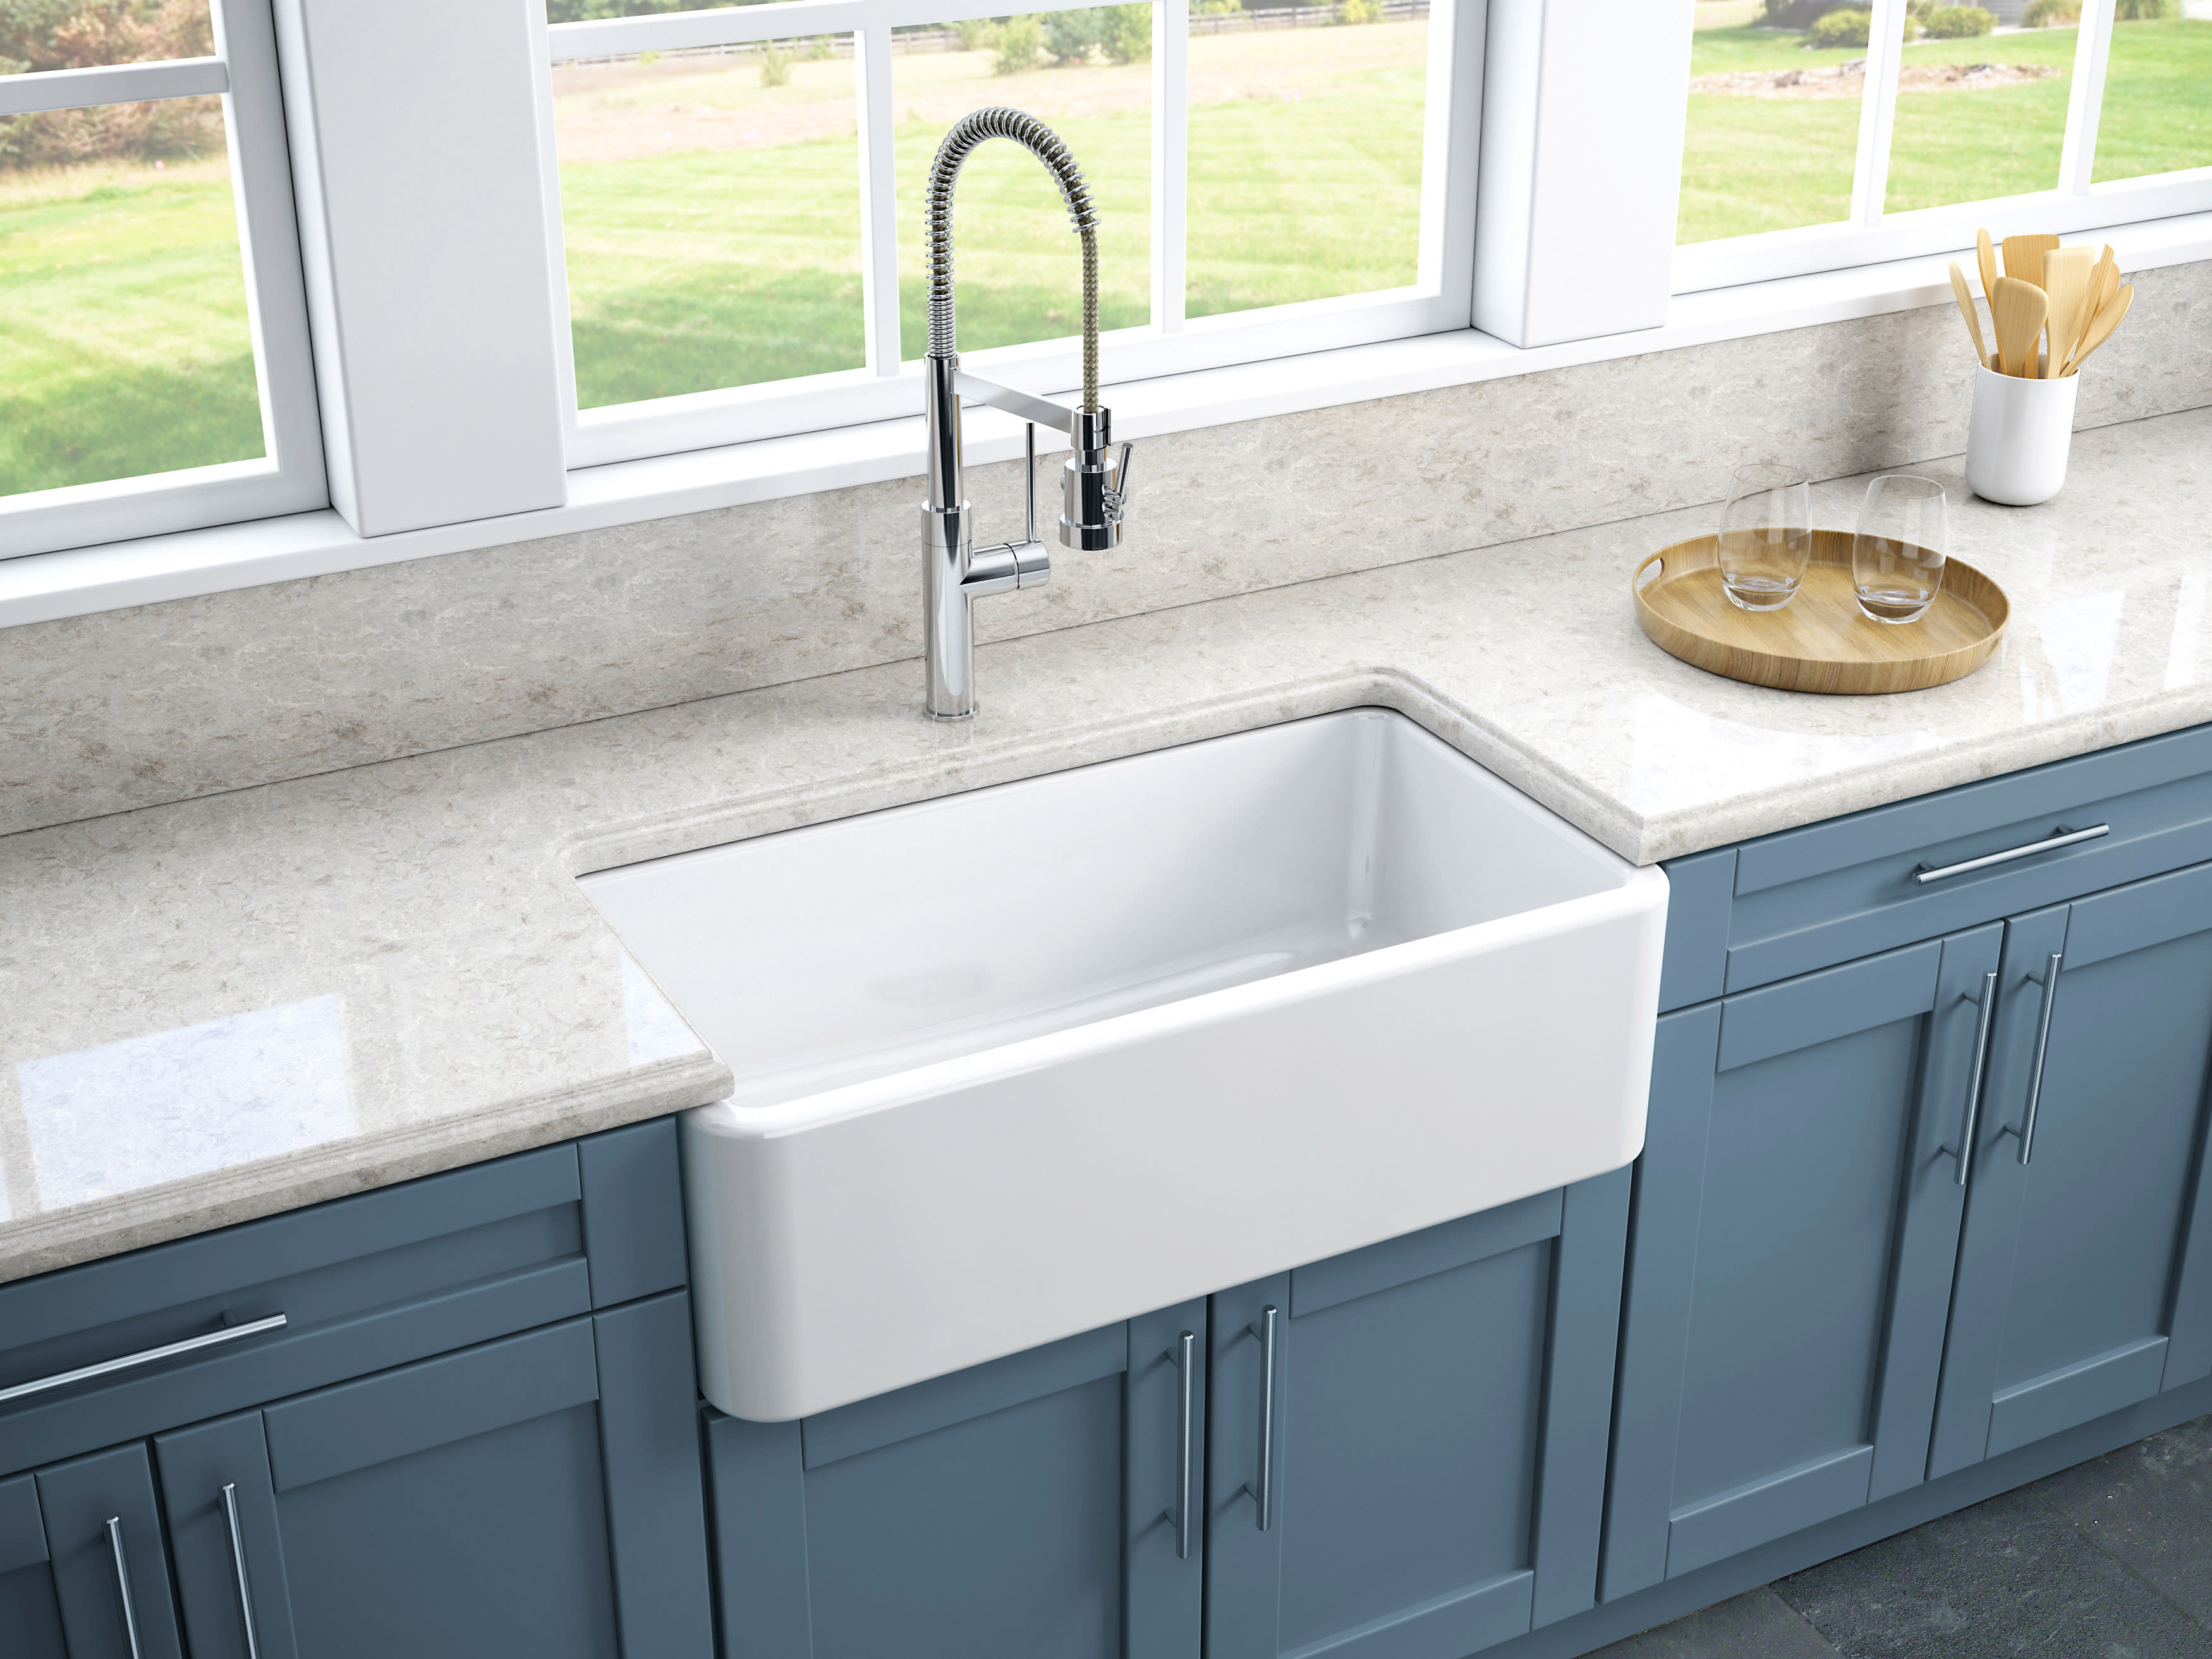
Disposable kitchen sinks have become increasingly popular in recent years for their convenience and affordability. Here are some of the benefits of using a disposable kitchen sink. Easy to install. Disposable kitchen sinks are typically very easy to install, making them a great option for DIY projects or rentals. Budget-friendly. Disposable kitchen sinks are much more affordable than traditional sinks, making them a great choice for those on a budget. Convenient for temporary use. If you're renovating your kitchen or need a temporary sink for a special event or outdoor project, a disposable kitchen sink is a convenient and cost-effective option. Lightweight and portable. Disposable kitchen sinks are lightweight and easy to move, making them a great option for camping or RV trips. Available in various sizes and styles. Despite being disposable, kitchen sinks come in a variety of sizes and styles to suit your needs and preferences.9. The Benefits of Using a Disposable Kitchen Sink


9. The Benefits of Using a Disposable Kitchen Sink


While disposable kitchen sinks are generally easy to maintain and use, they can still experience some common problems. Here are some troubleshooting tips for these issues. Leaky faucet. As mentioned earlier, a leaky faucet is a common issue that can be caused by loose connections, worn out parts, or high water pressure. Clogged drain. Clogs in the drain can be caused by food particles, grease, or other debris. Use a plunger, drain snake, or a homemade drain cleaner to clear the clog. Inadequate water flow. If your water flow seems low, it could be due to a clogged aerator. Simply unscrew the aerator, clean it, and screw it back on. Foul odors. To get rid of any unpleasant smells coming from your kitchen sink, try pouring a mixture of baking soda, vinegar, and hot water down the drain. You can also use a commercial drain cleaner for tougher odors.10. Troubleshooting Common Kitchen Sink Problems


10. Troubleshooting Common Kitchen Sink Problems
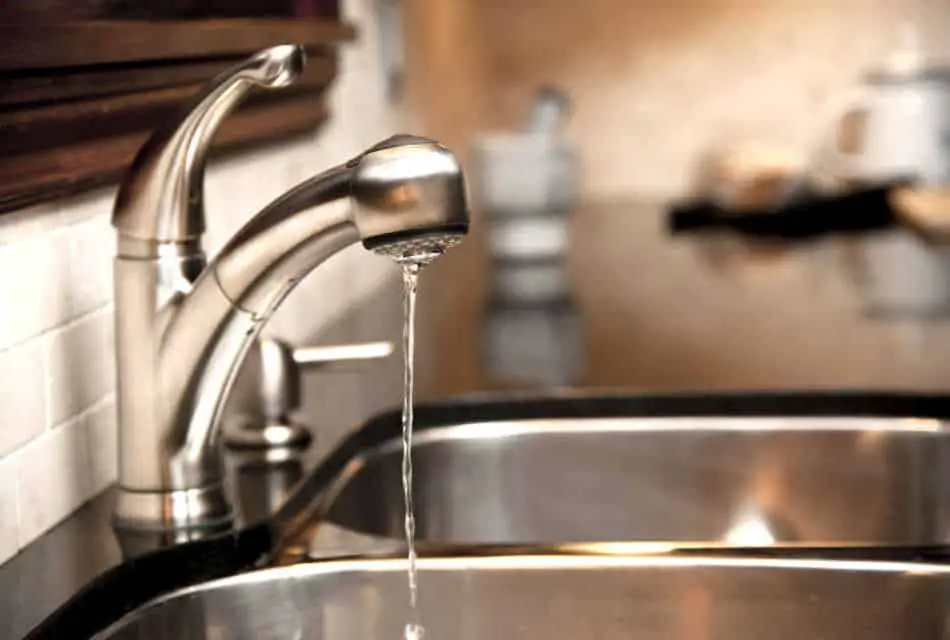


If Water Drips from the Disposable Kitchen Sink: A Common Issue in House Design

Understanding the Problem
 When it comes to designing a house, the kitchen is often considered the heart of the home. It's where meals are prepared, memories are made, and conversations are had. However, with the daily use and constant flow of water in the kitchen sink, it's not uncommon for homeowners to experience issues like water dripping from the disposable kitchen sink. This may seem like a minor inconvenience, but if left unaddressed, it can lead to bigger problems such as damage to cabinets and countertops, as well as increased water bills. So, why does this happen and how can it be fixed?
The Root Cause
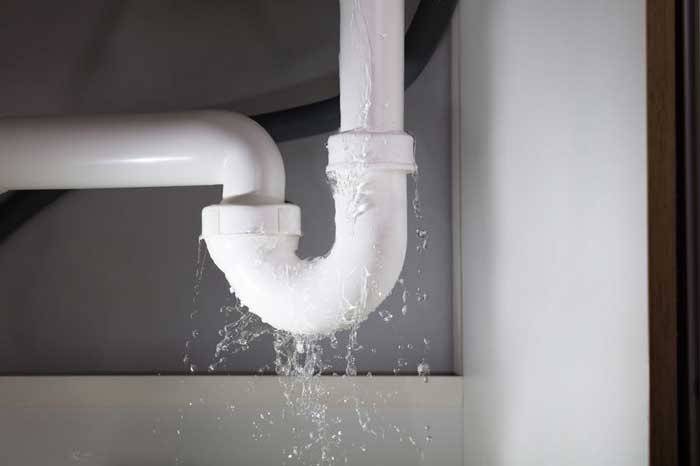
 The most common reason for water dripping from the disposable kitchen sink is a damaged or worn out seal. The seal, also known as a gasket, is a rubber ring that sits between the sink and the drain. Its purpose is to create a watertight seal, preventing any leakage. However, over time, the seal can become cracked, brittle, or loose, causing water to seep out. Another possible cause could be a clogged drain, which can put pressure on the seal and cause it to break.
Solving the Issue
 If you notice water dripping from your disposable kitchen sink, the first step is to identify the root cause. If it's a damaged seal, you can easily replace it with a new one. Simply turn off the water supply, unscrew the drain, and replace the old seal with a new one. If the issue is a clogged drain, you can use a plunger or a drain snake to clear out any debris and restore proper drainage. However, if the problem persists, it's best to seek professional help to ensure that there are no underlying issues causing the leak.
Proper Maintenance is Key
To prevent water dripping from your disposable kitchen sink, it's essential to properly maintain it. Regularly check the seal and replace it if needed, and make sure to clean out the drain to prevent clogs. Additionally, be mindful of what you put down the drain to avoid any potential damage.
In conclusion, water dripping from the disposable kitchen sink is a common issue in house design, but it can be easily solved with proper maintenance and timely repairs. By understanding the problem and taking necessary precautions, you can ensure a functional and leak-free kitchen sink, making your cooking and cleaning experience much more enjoyable.
If you notice water dripping from your disposable kitchen sink, the first step is to identify the root cause. If it's a damaged seal, you can easily replace it with a new one. Simply turn off the water supply, unscrew the drain, and replace the old seal with a new one. If the issue is a clogged drain, you can use a plunger or a drain snake to clear out any debris and restore proper drainage. However, if the problem persists, it's best to seek professional help to ensure that there are no underlying issues causing the leak.
Proper Maintenance is Key
To prevent water dripping from your disposable kitchen sink, it's essential to properly maintain it. Regularly check the seal and replace it if needed, and make sure to clean out the drain to prevent clogs. Additionally, be mindful of what you put down the drain to avoid any potential damage.
In conclusion, water dripping from the disposable kitchen sink is a common issue in house design, but it can be easily solved with proper maintenance and timely repairs. By understanding the problem and taking necessary precautions, you can ensure a functional and leak-free kitchen sink, making your cooking and cleaning experience much more enjoyable.


:max_bytes(150000):strip_icc()/sink-pipe-under-wash-basin-119001607-6f28aec4c66944efb7a9a38cb622ab8b.jpg)
