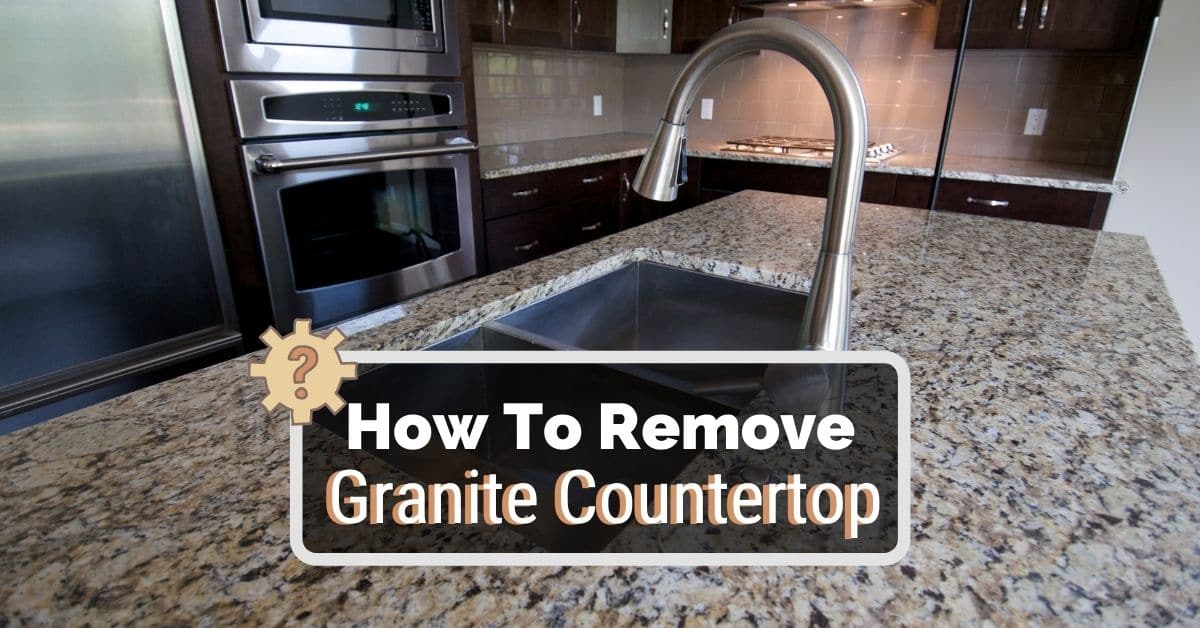
If you're looking to create more space in your kitchen or simply update the layout, removing a kitchen breakfast bar can make a big difference. While it may seem like a daunting task, with the right tools and knowledge, you can easily remove a kitchen breakfast bar on your own.How to Remove a Kitchen Breakfast Bar


How to Remove a Kitchen Breakfast Bar


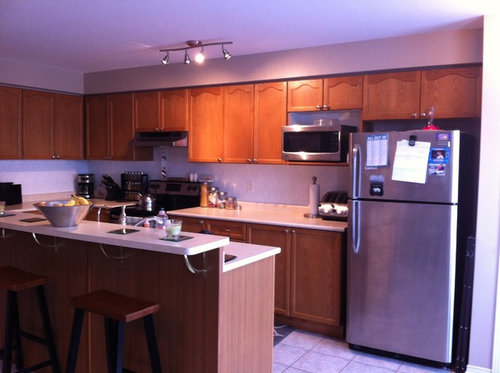
The first step to removing a kitchen breakfast bar is to assess the type of bar you have. Some breakfast bars are attached to the countertop, while others are freestanding. Knowing the type of bar you have will determine the level of difficulty in removing it.Removing a Kitchen Breakfast Bar


Removing a Kitchen Breakfast Bar


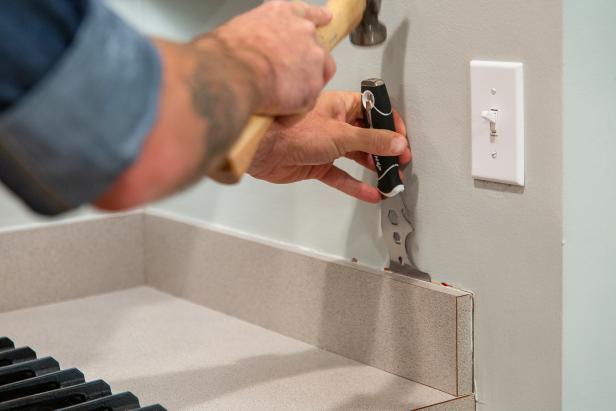
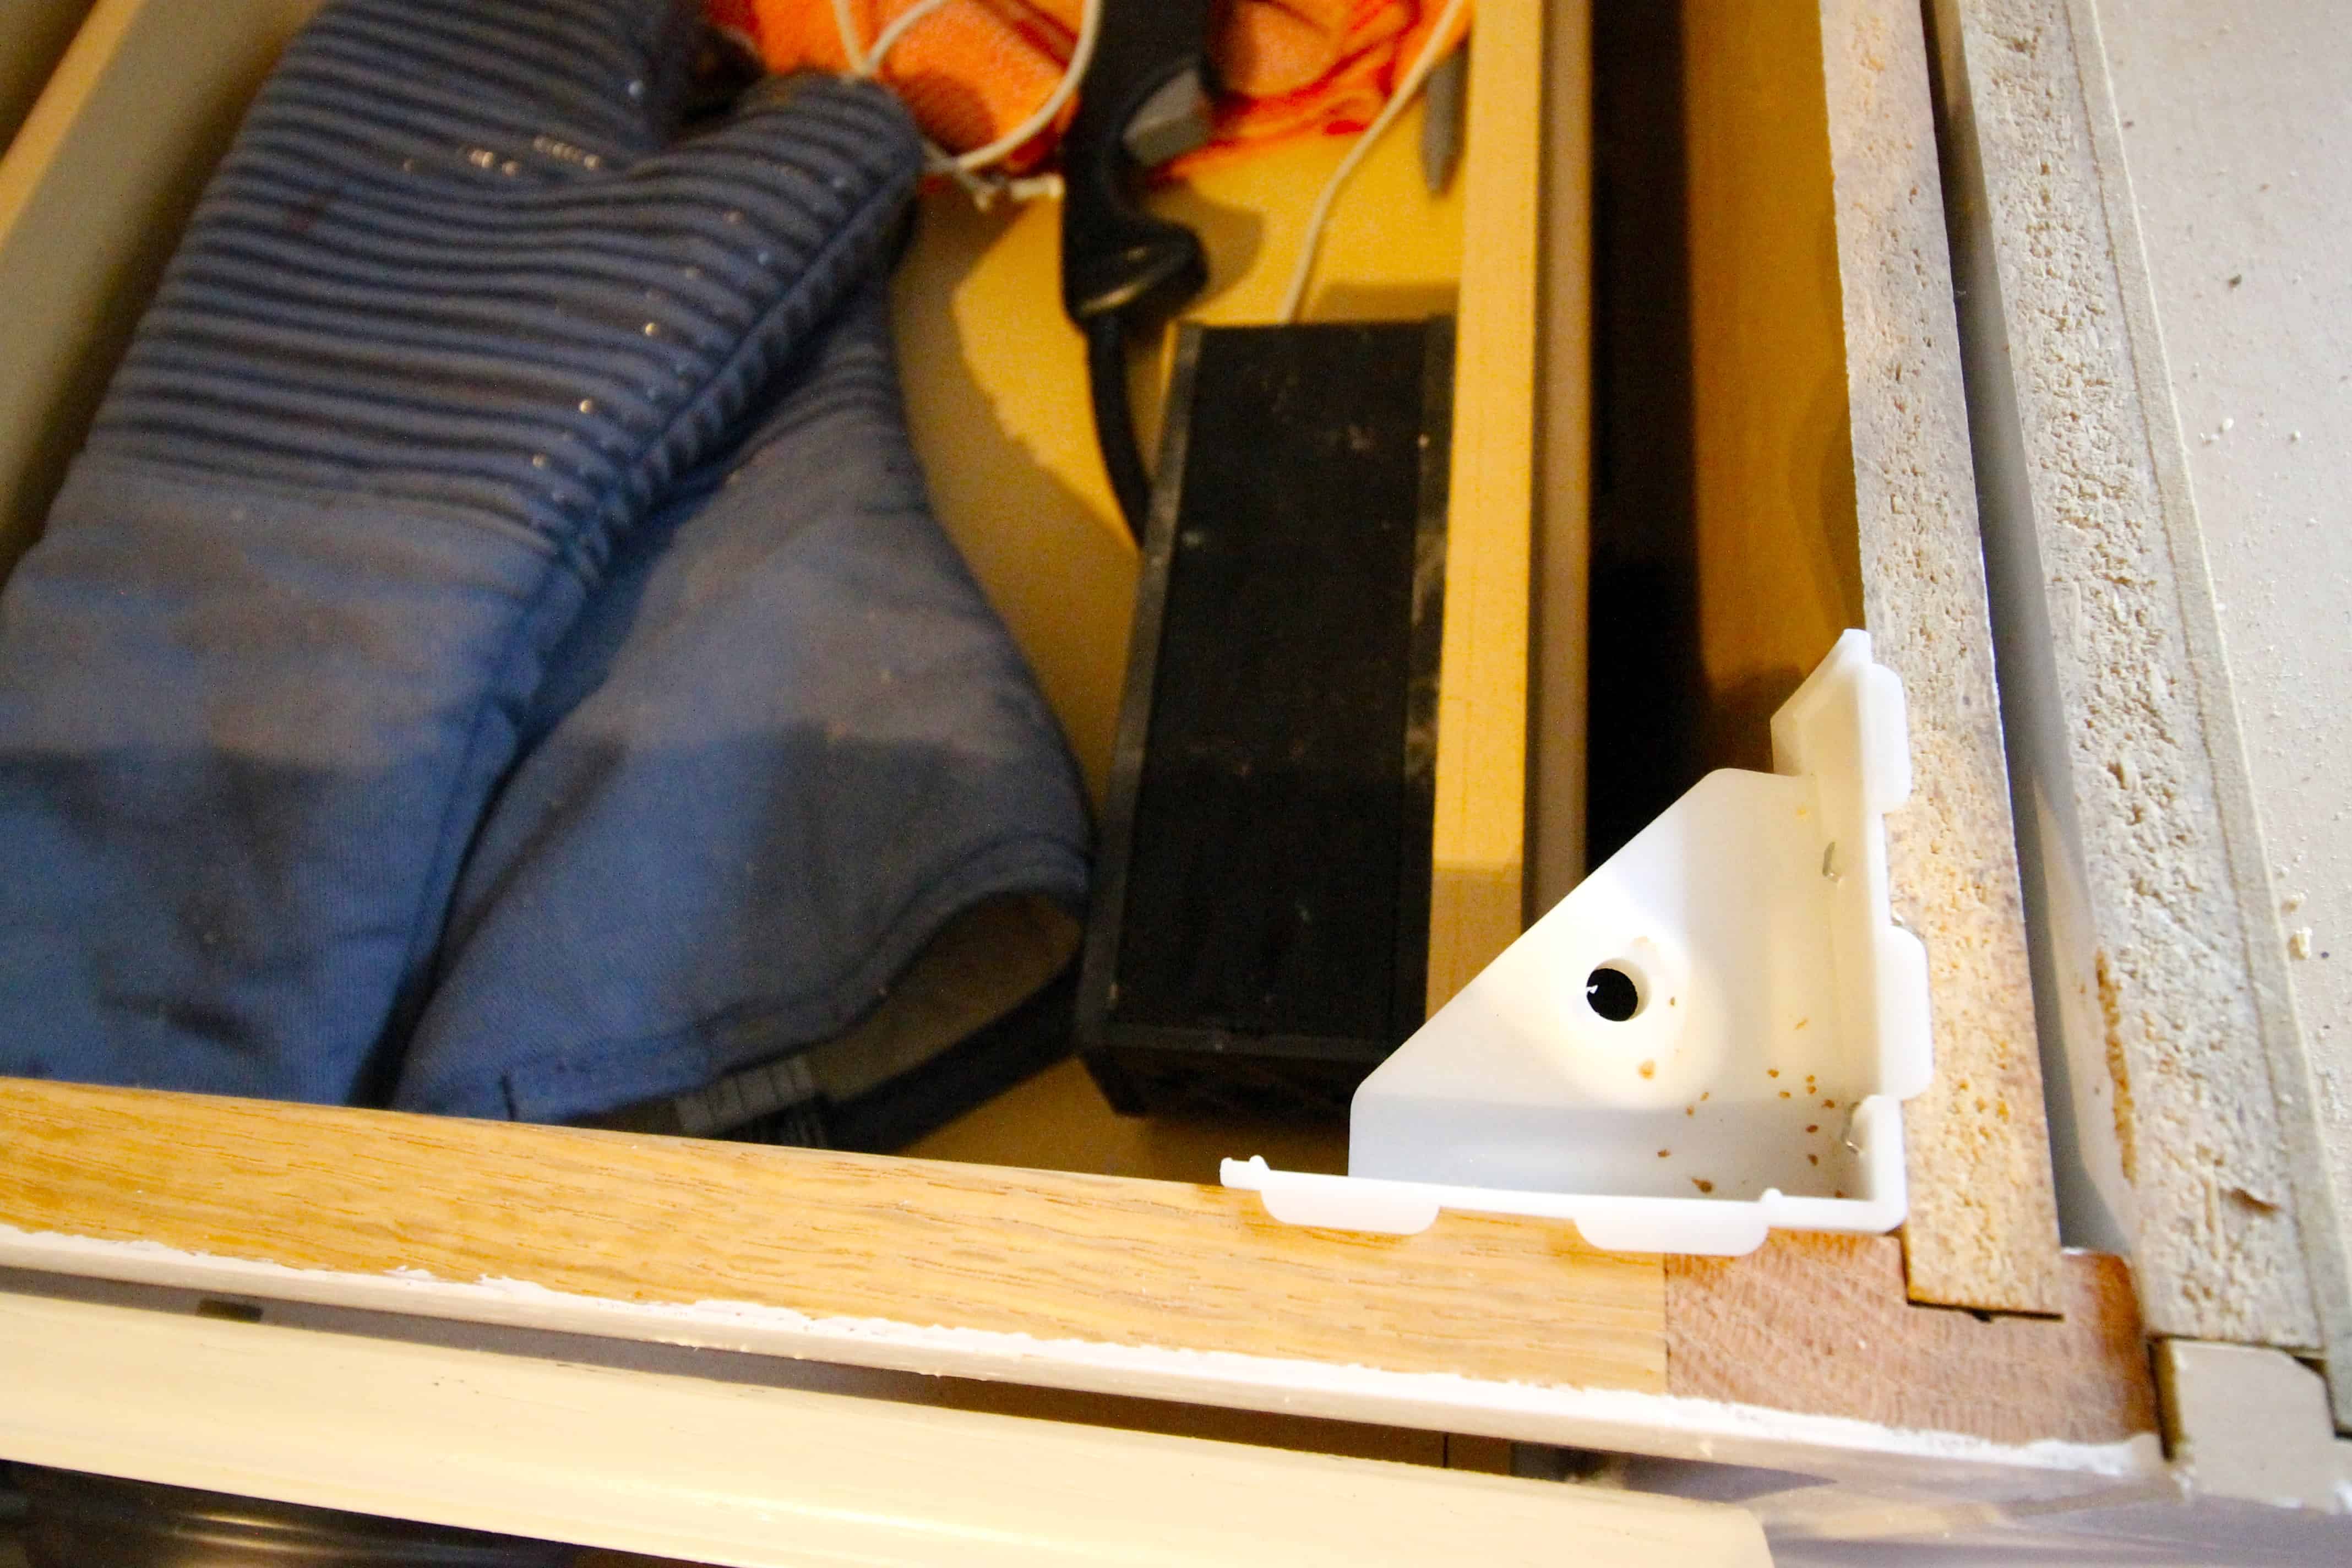
Whether your breakfast bar is attached to the countertop or freestanding, the basic steps for removal are the same. Here's a step-by-step guide to help you through the process: Step 1: Gather your tools. Before starting, make sure you have all the necessary tools at hand. These may include a hammer, pry bar, screwdriver, utility knife, and pliers. Step 2: Protect the surrounding area. Use drop cloths or cardboard to protect your floors and countertops from any damage during the removal process. Step 3: Remove the countertop. If your breakfast bar is attached to the countertop, start by removing the countertop. Use the utility knife to carefully cut along the edges to loosen any caulk or adhesive. Then, use the pry bar to gently lift the countertop off the base cabinets. Step 4: Remove the base cabinets. If your breakfast bar is freestanding, you will need to remove the base cabinets. Use the screwdriver to unscrew any screws holding the cabinets to the wall or floor. Then, use the pry bar to lift the cabinets off the wall or floor. Step 5: Remove the breakfast bar. Once the countertop and base cabinets are removed, you can easily lift and remove the breakfast bar. If the bar is attached to the wall, use the pry bar to gently loosen it from the wall.Step-by-Step Guide to Removing a Kitchen Breakfast Bar


Step-by-Step Guide to Removing a Kitchen Breakfast Bar


Removing a kitchen breakfast bar on your own can save you money and give you a sense of accomplishment. However, make sure you have the necessary tools and knowledge before attempting to remove the bar. If in doubt, it's always best to hire a professional to ensure the job is done safely and correctly.DIY Kitchen Breakfast Bar Removal


DIY Kitchen Breakfast Bar Removal


To successfully remove a kitchen breakfast bar, you will need the following tools: Hammer, pry bar, screwdriver, utility knife, pliers, drop cloths or cardboard.Tools Needed for Removing a Kitchen Breakfast Bar

Tools Needed for Removing a Kitchen Breakfast Bar


Removing a kitchen breakfast bar may seem like a simple task, but safety should always be a priority. Here are a few tips to keep in mind: Wear protective gear, such as gloves and safety glasses, to prevent any injuries. Use caution when handling tools and lifting heavy objects. If you are unsure about any step of the process, consult a professional.Tips for Removing a Kitchen Breakfast Bar Safely


Tips for Removing a Kitchen Breakfast Bar Safely
:max_bytes(150000):strip_icc()/kitchen-breakfast-bars-5079603-hero-40d6c07ad45e48c4961da230a6f31b49.jpg)


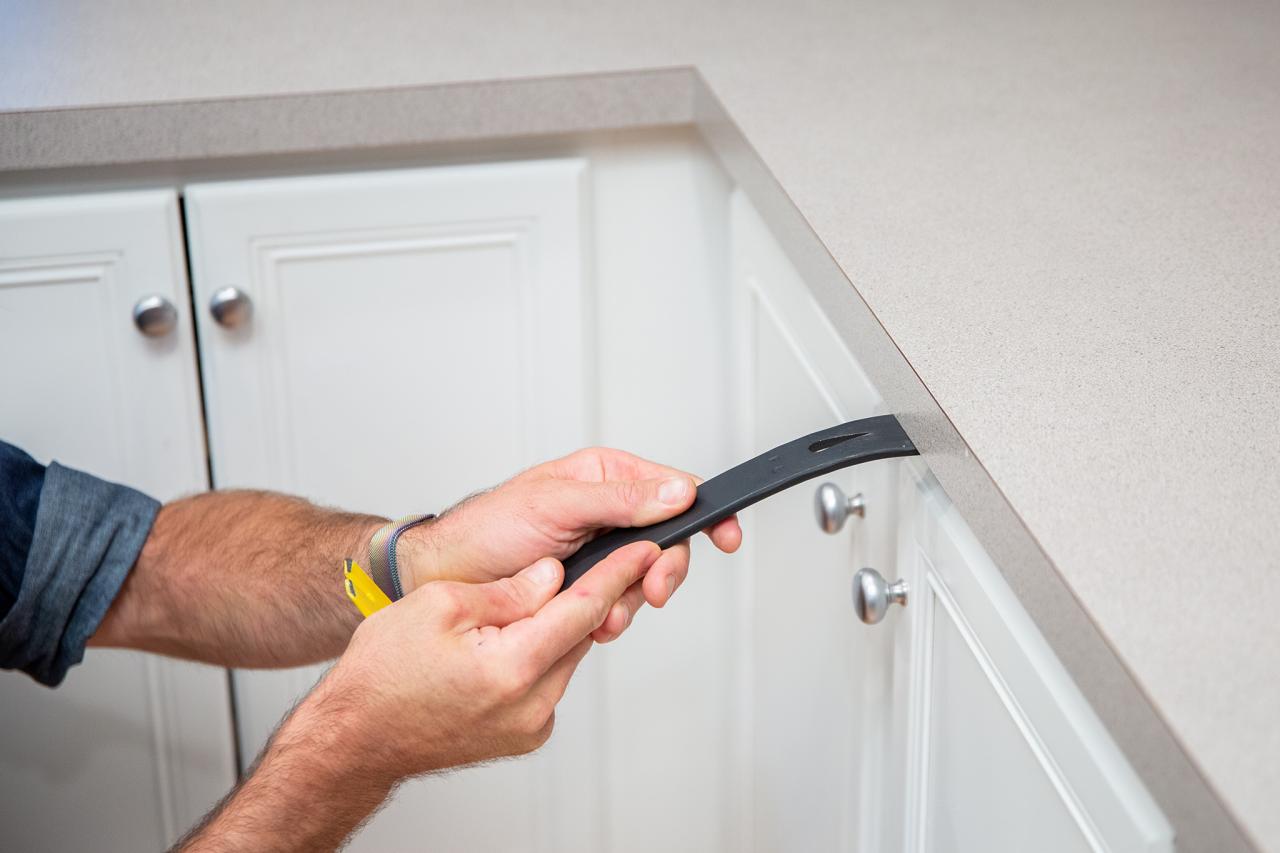
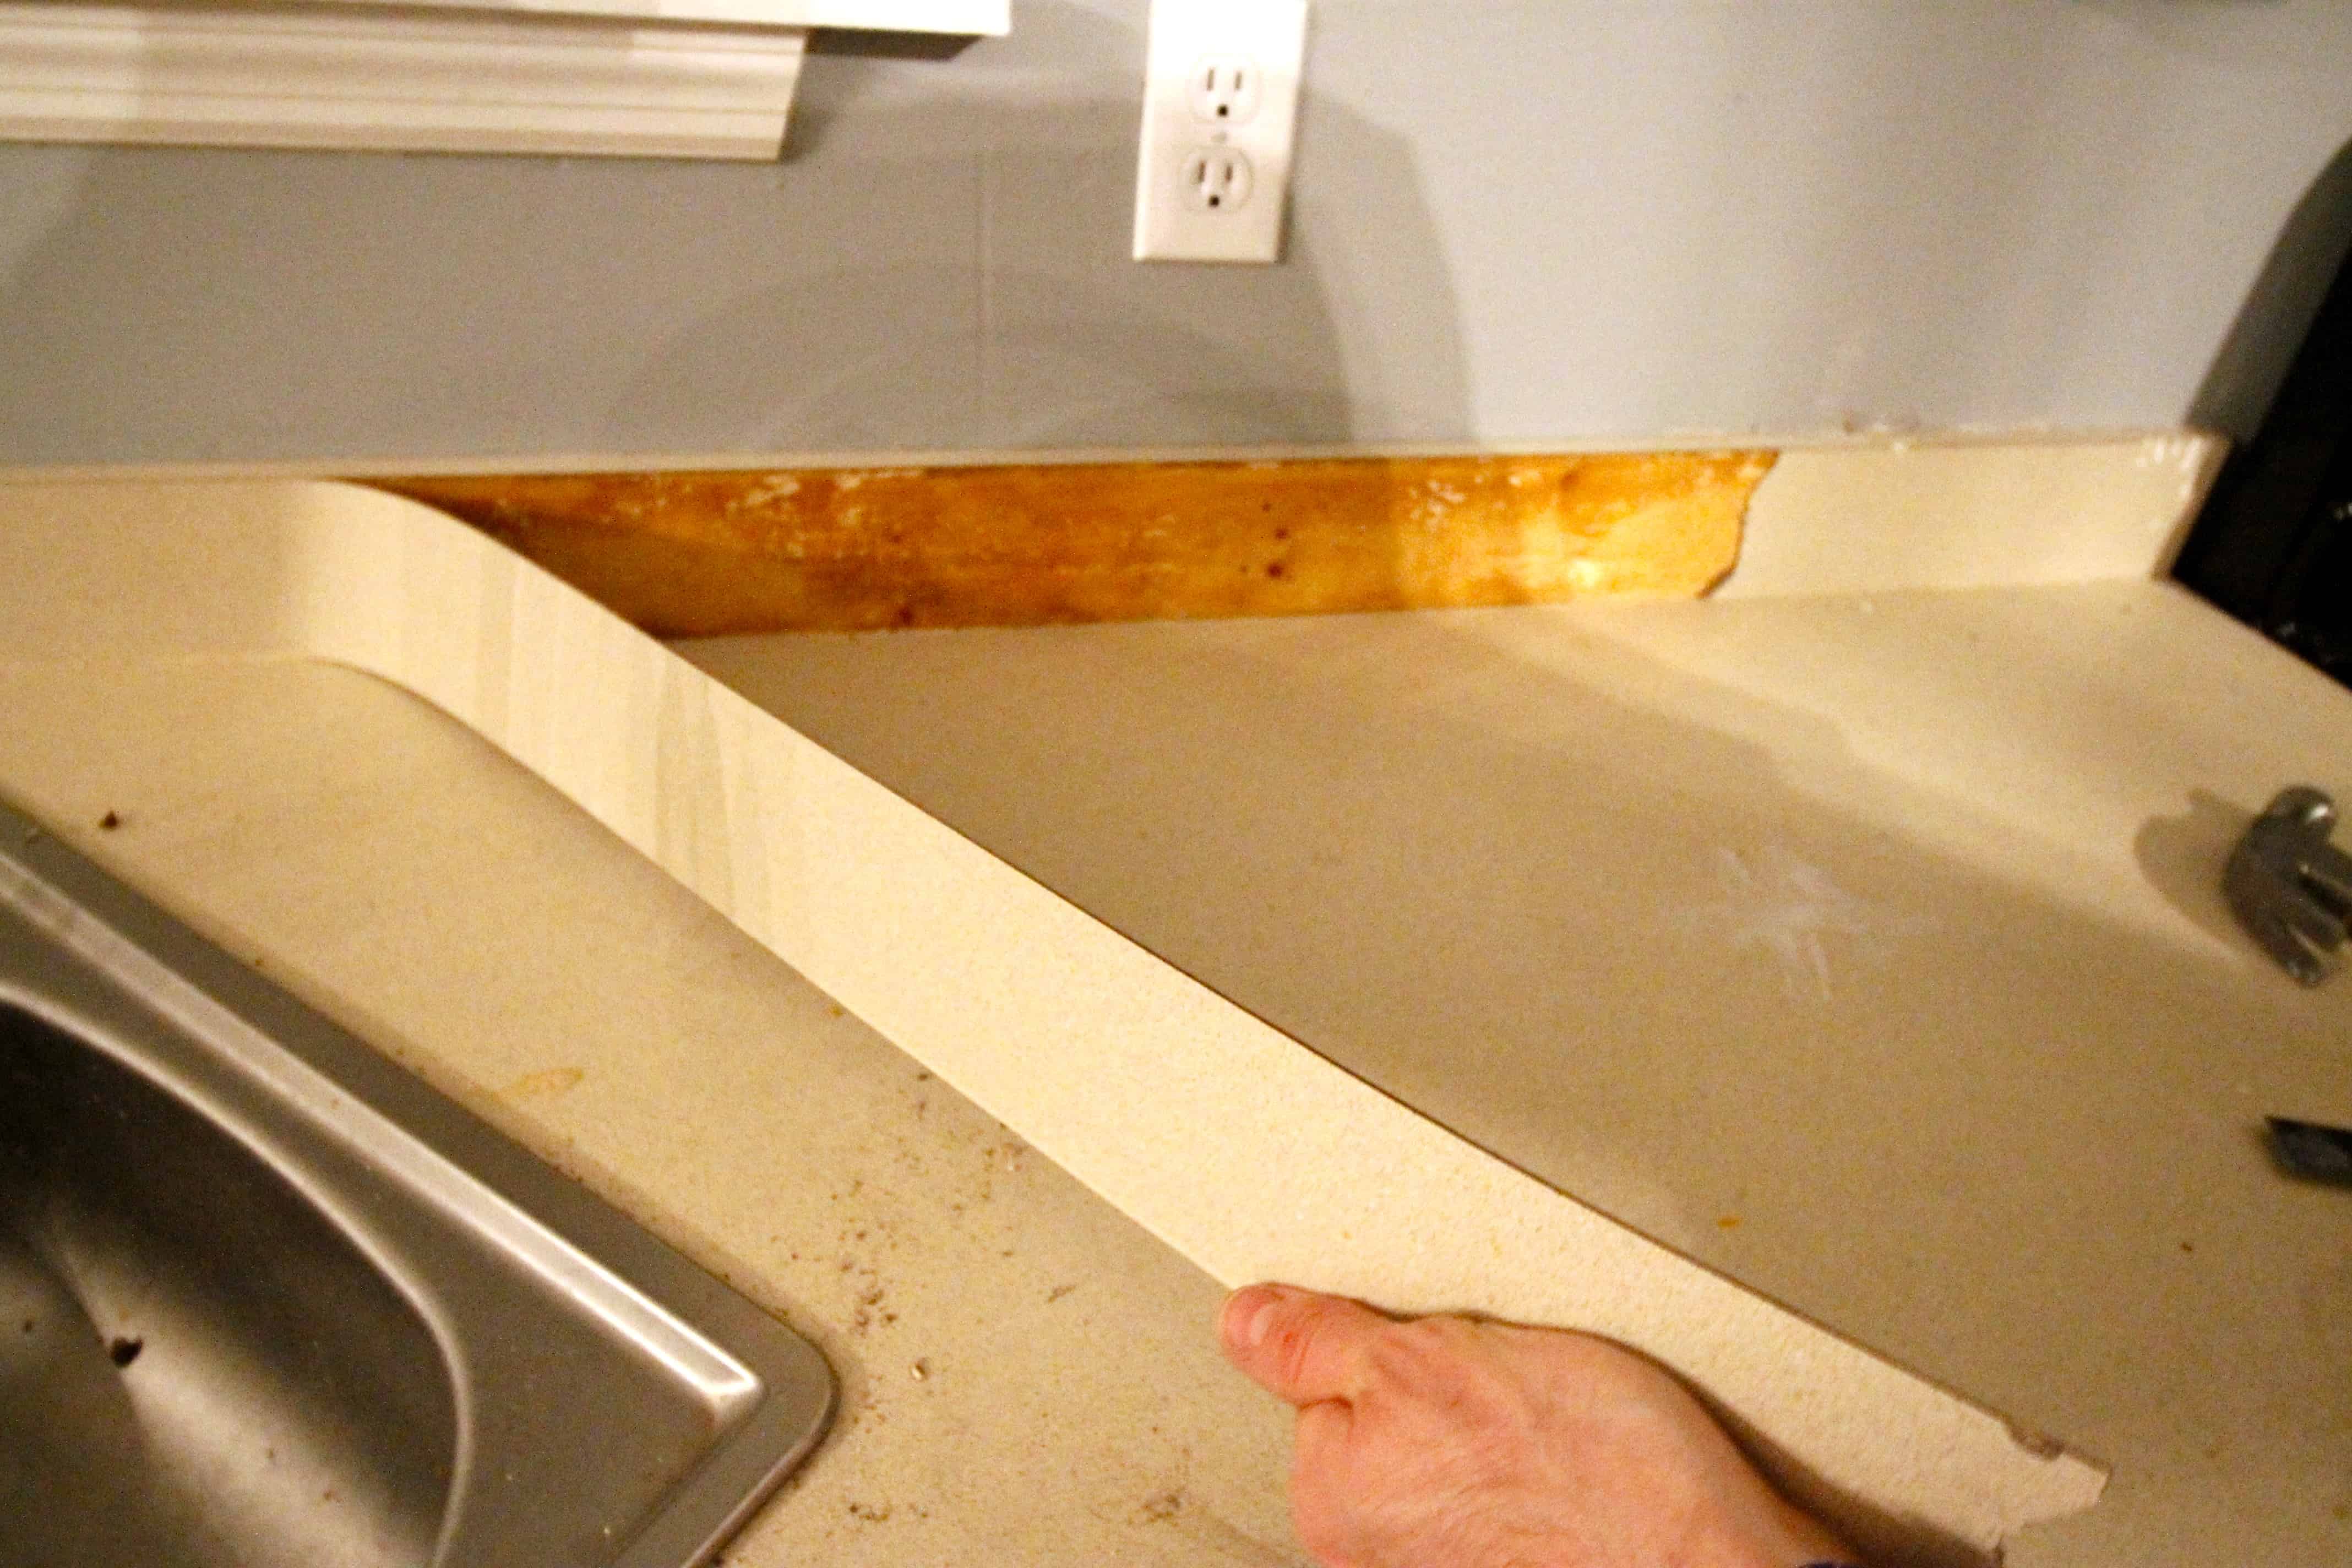
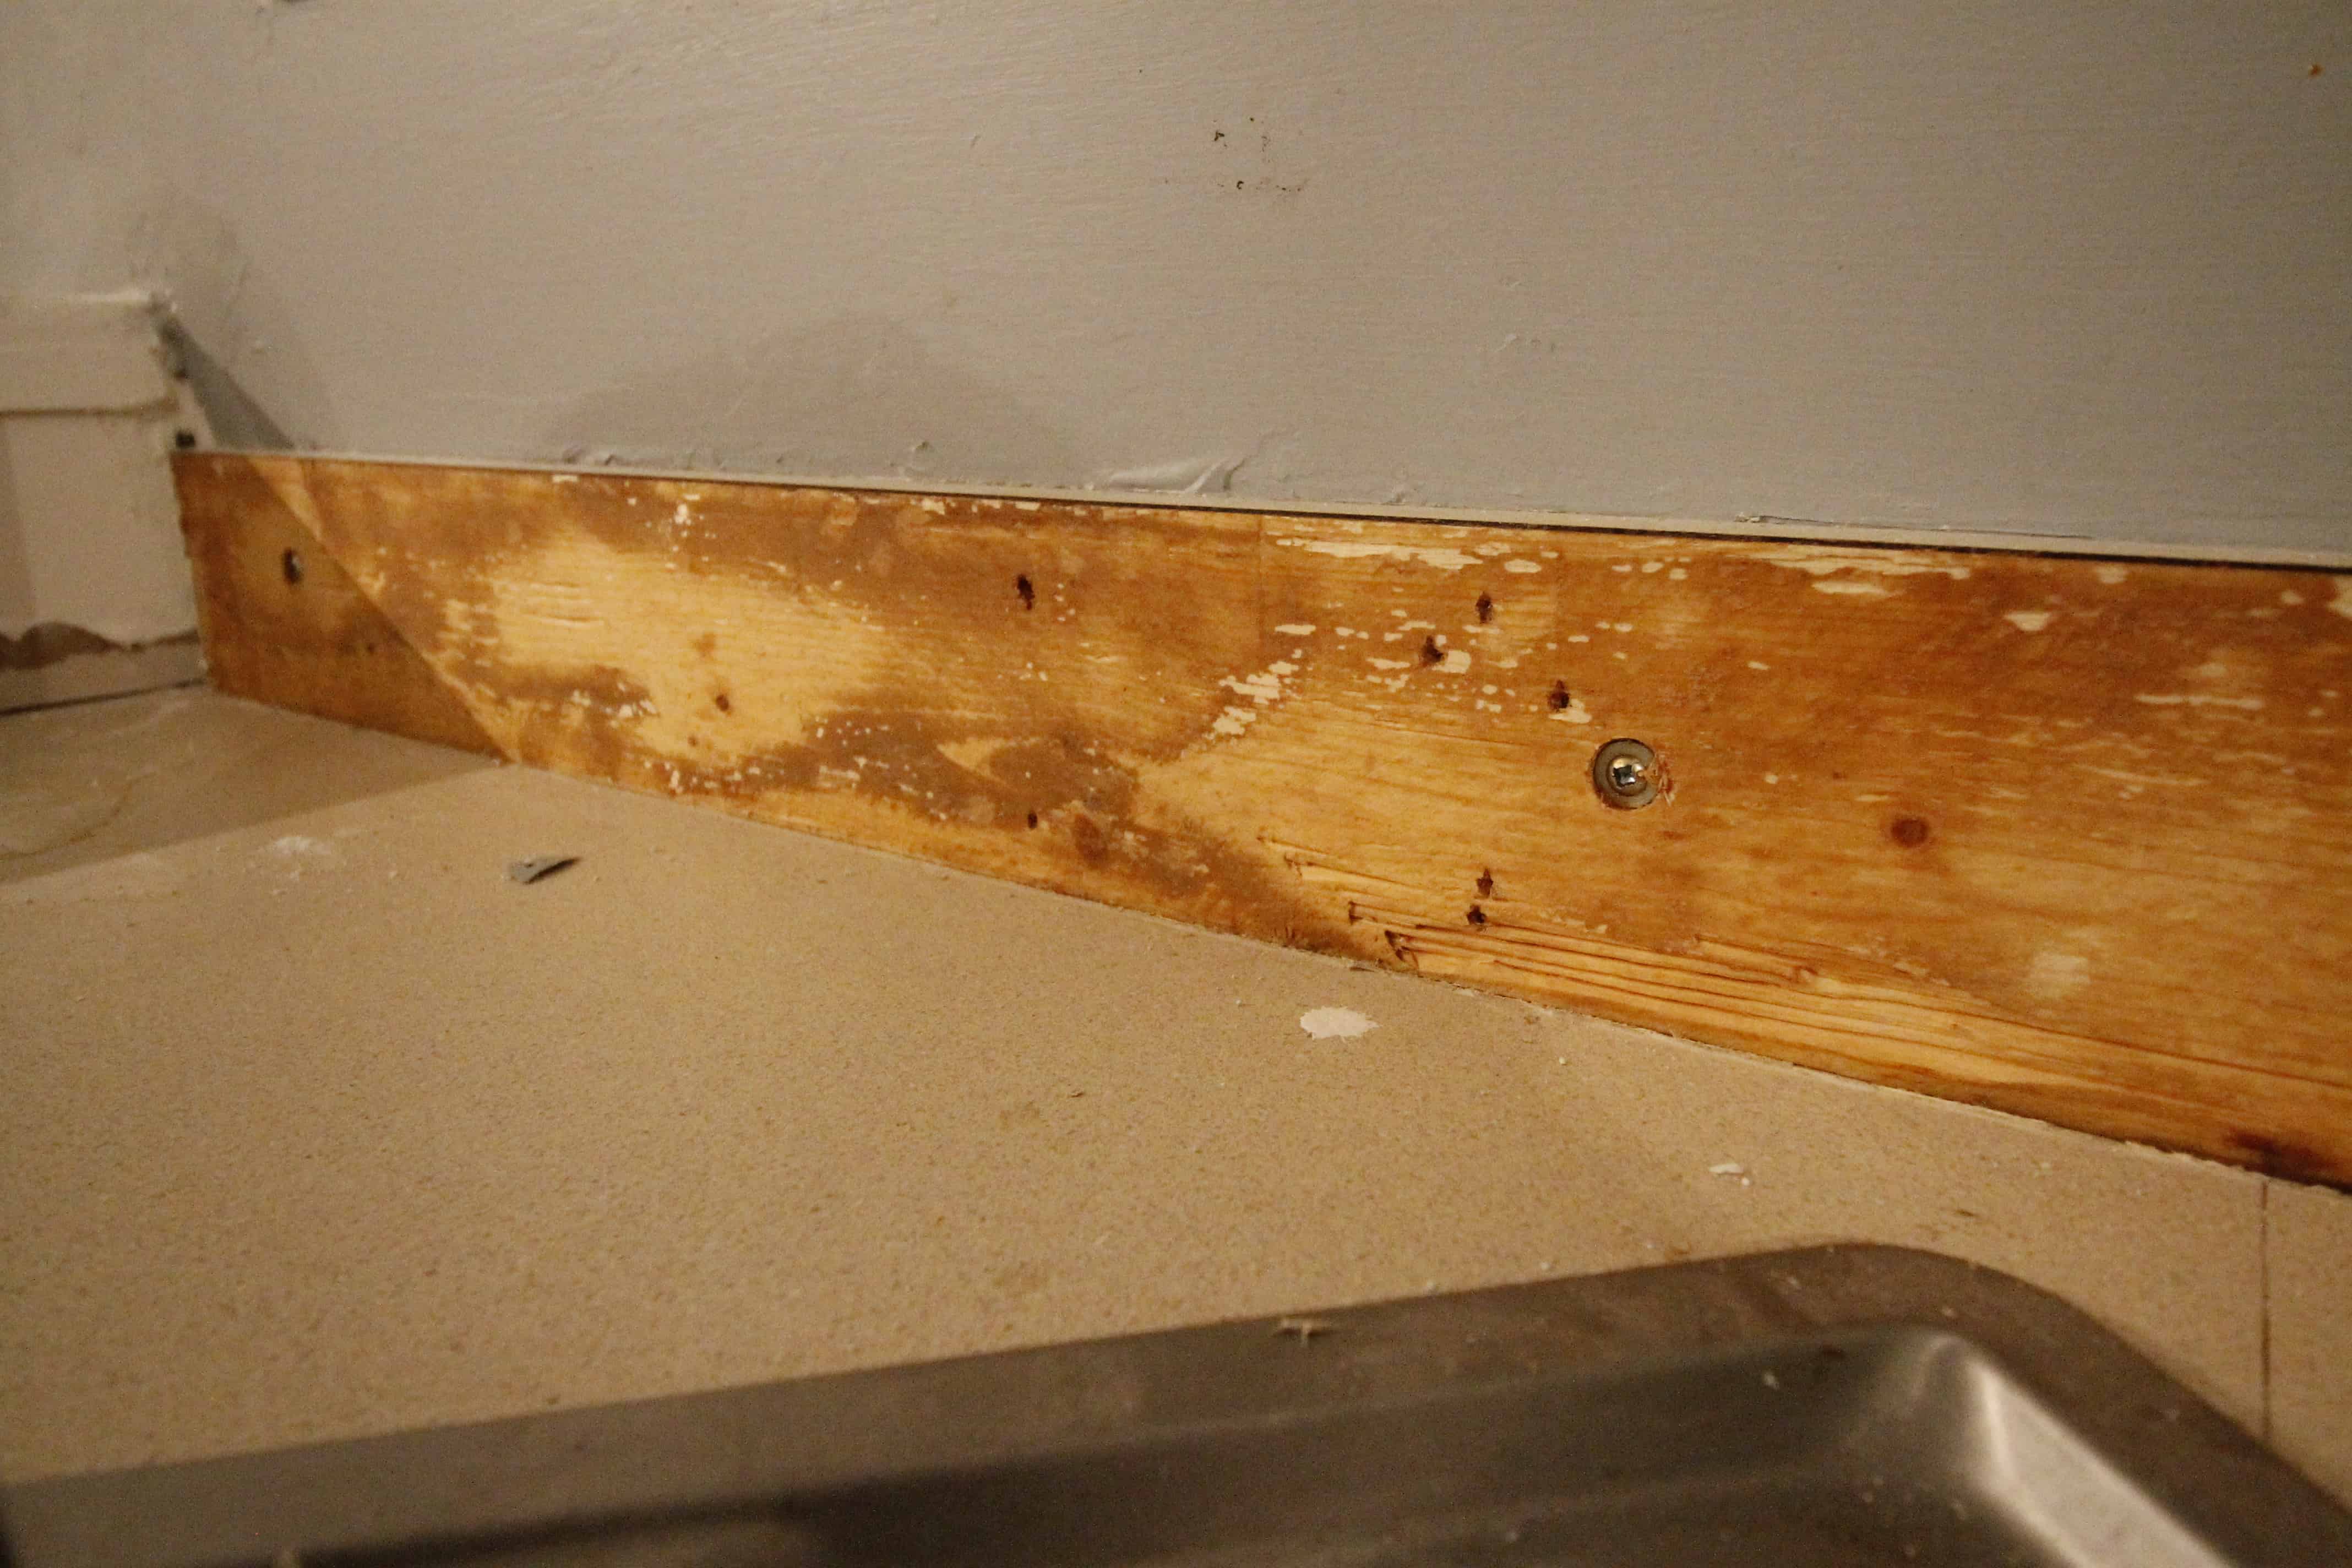
If your breakfast bar is attached to the countertop, it's important to remove it without causing any damage. To do this, use a utility knife to carefully cut along the edges of the countertop to loosen any caulk or adhesive. Then, use the pry bar to gently lift the countertop off the base cabinets. If necessary, use a putty knife to help loosen any stubborn adhesive.Removing a Kitchen Breakfast Bar Without Damaging the Countertop


Removing a Kitchen Breakfast Bar Without Damaging the Countertop
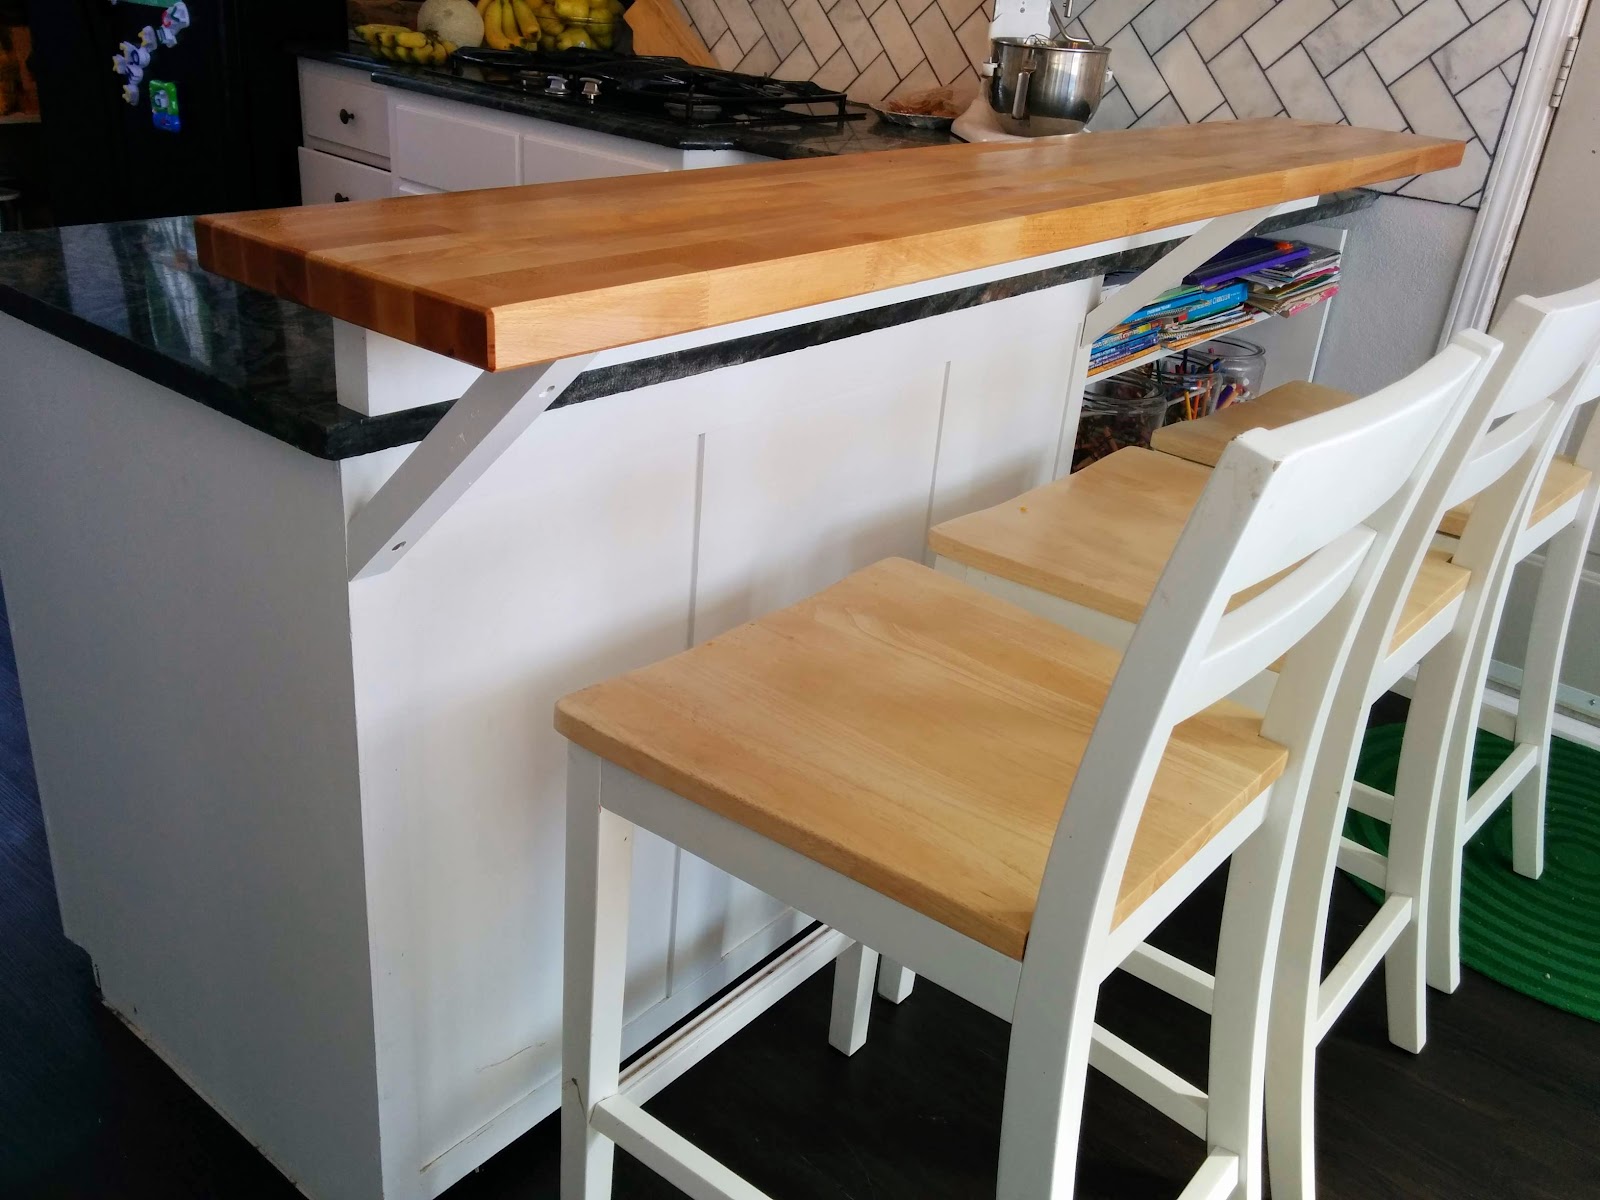
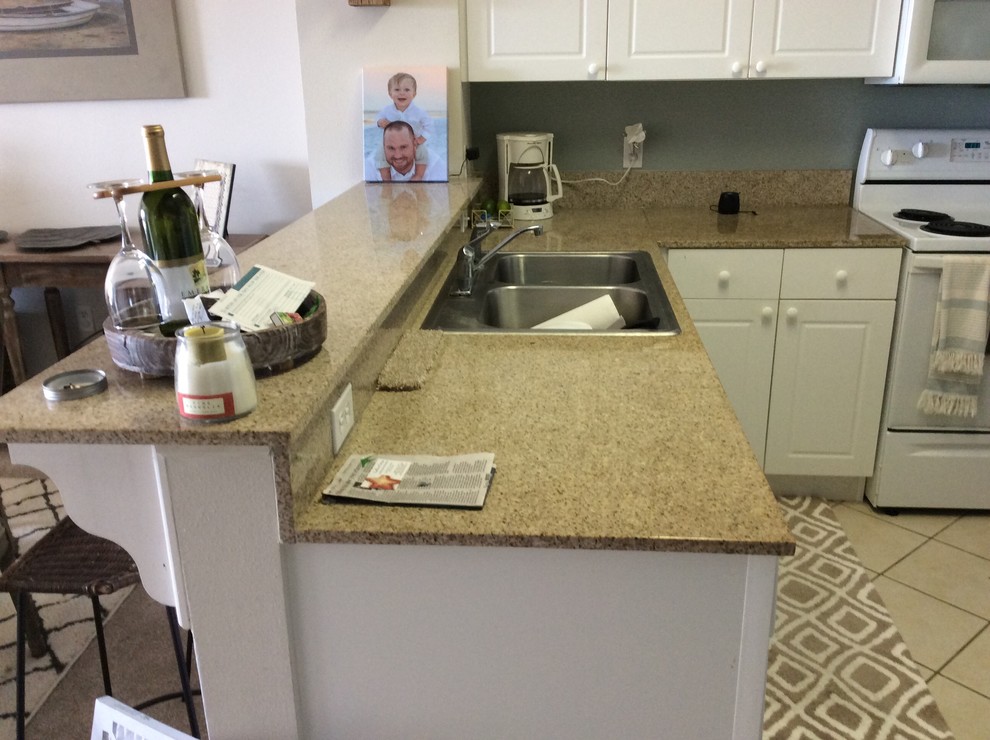
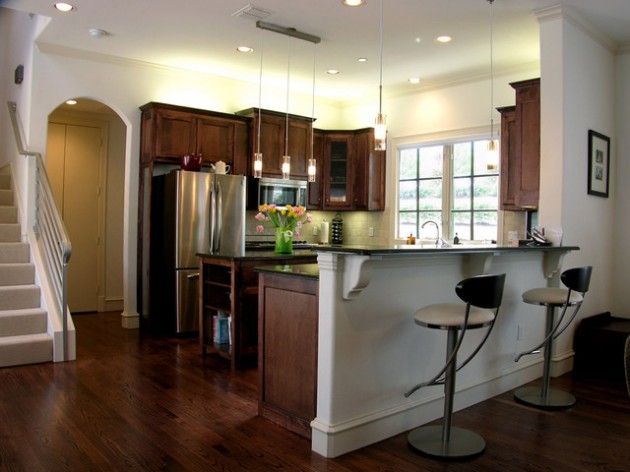
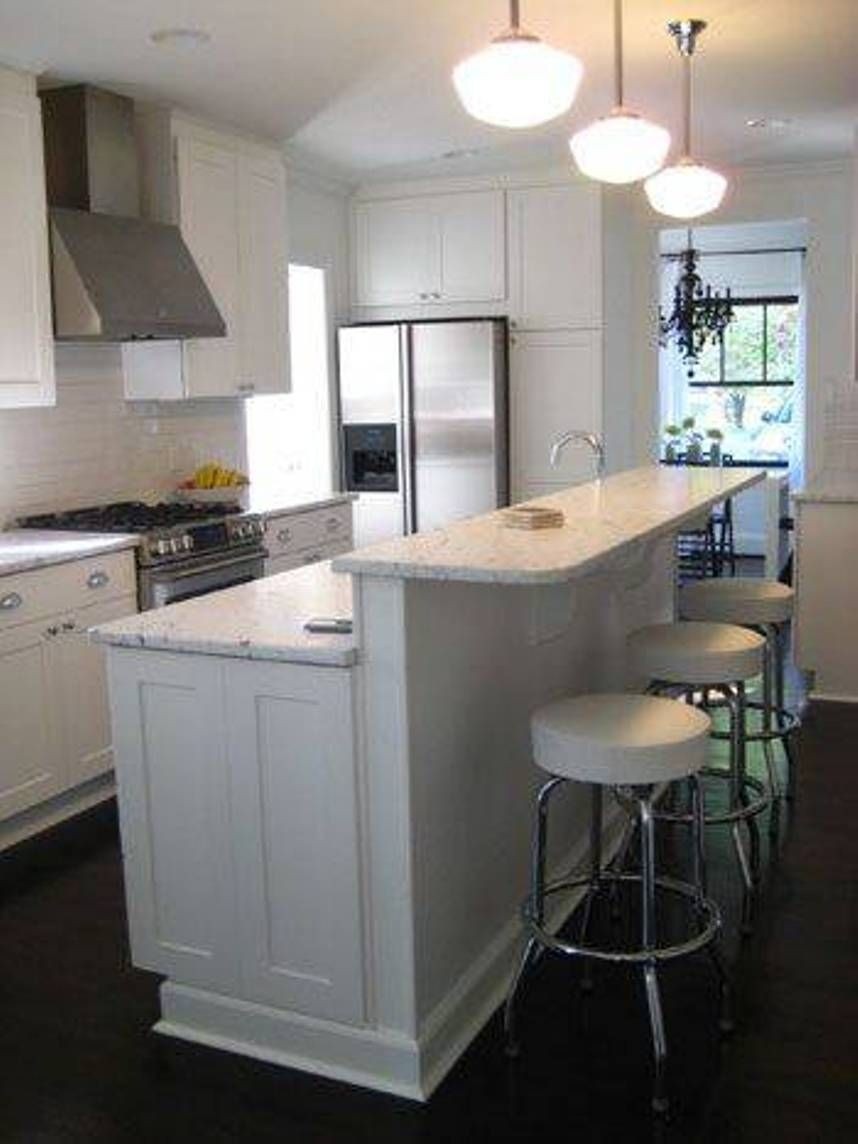
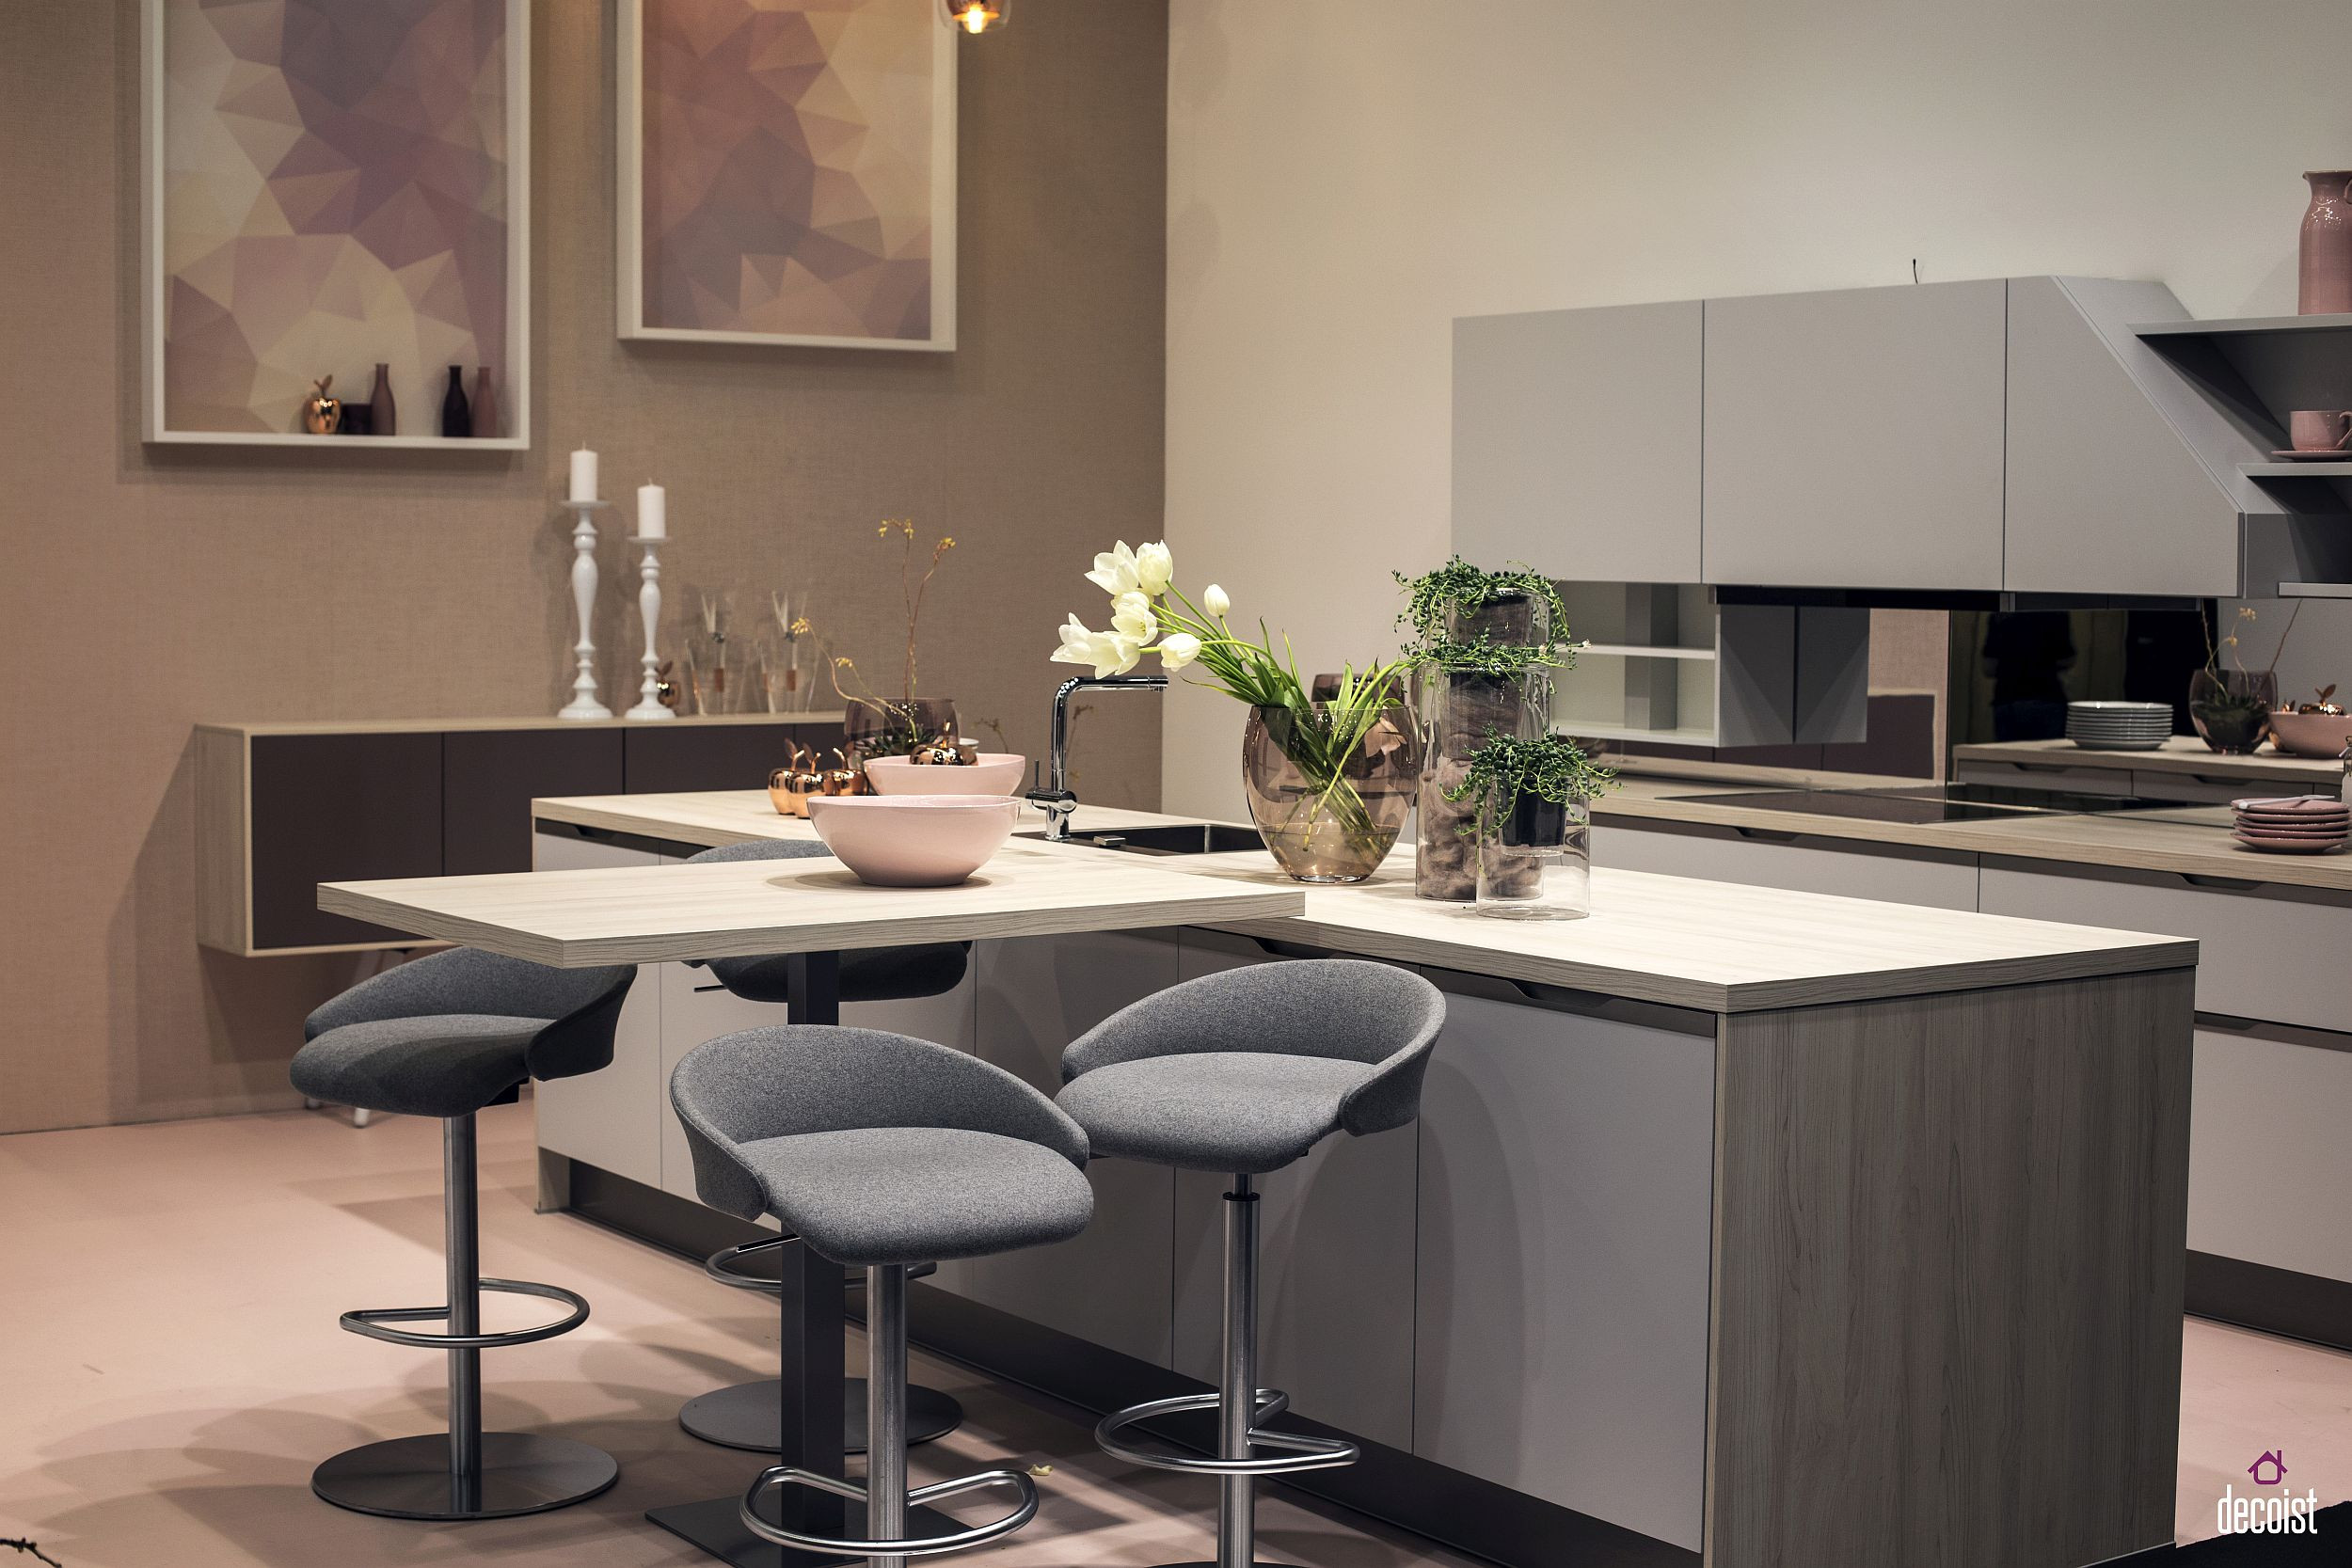
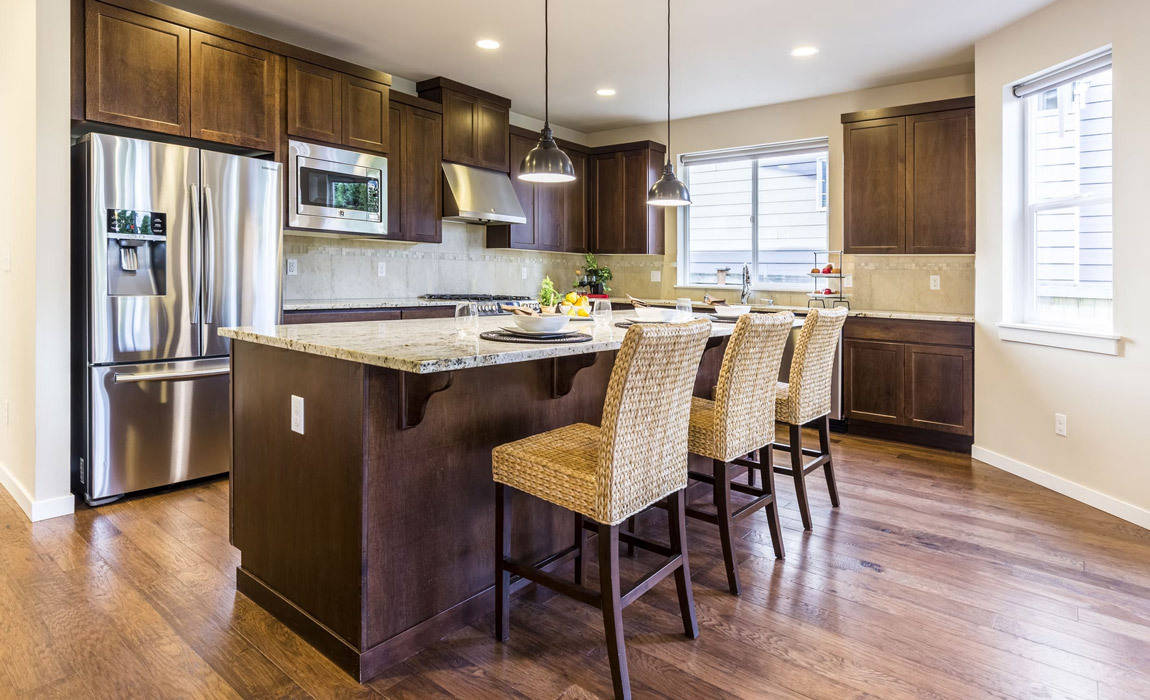
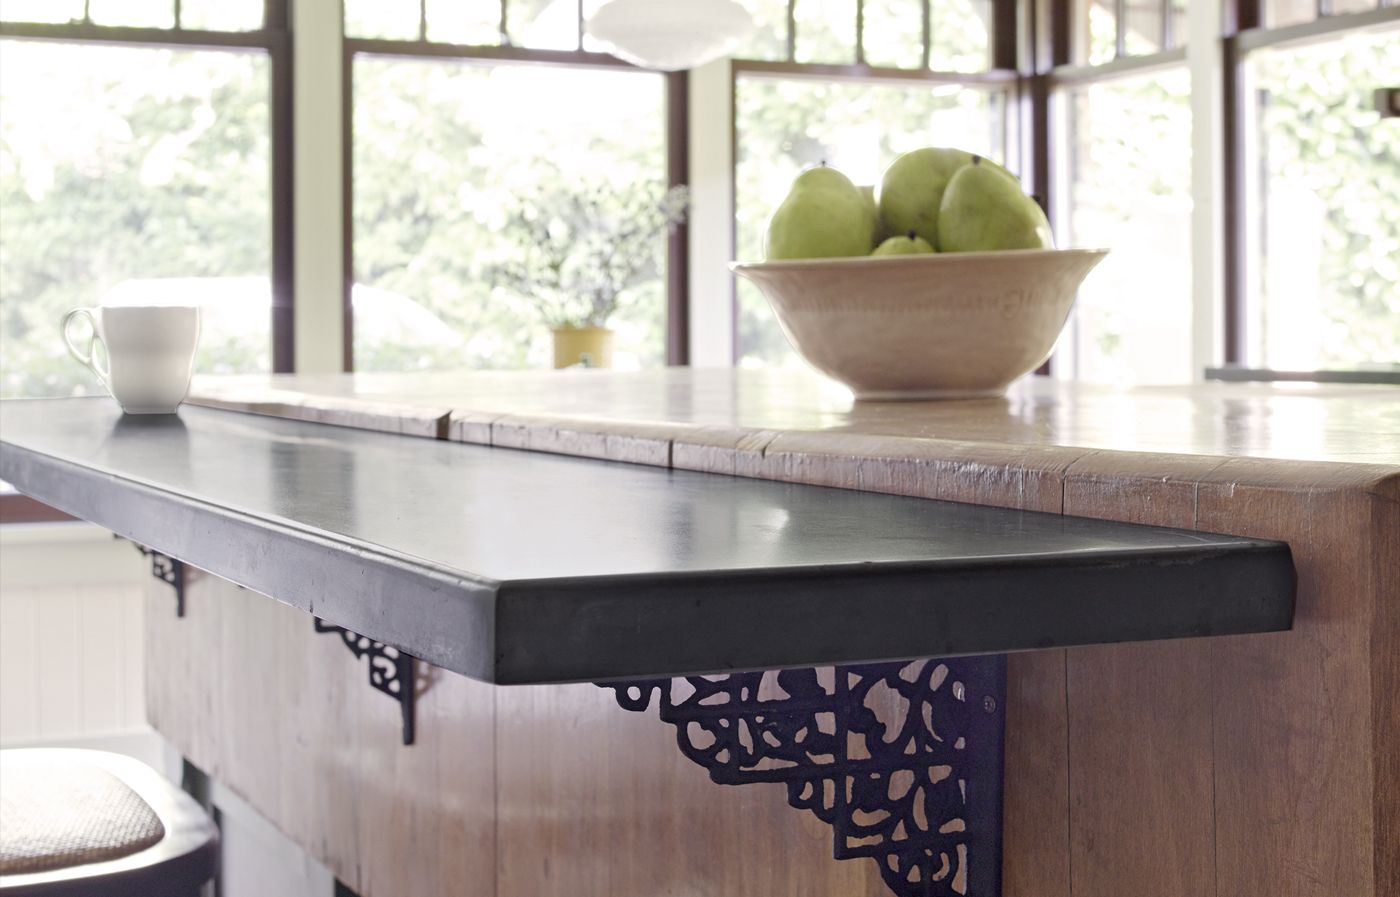
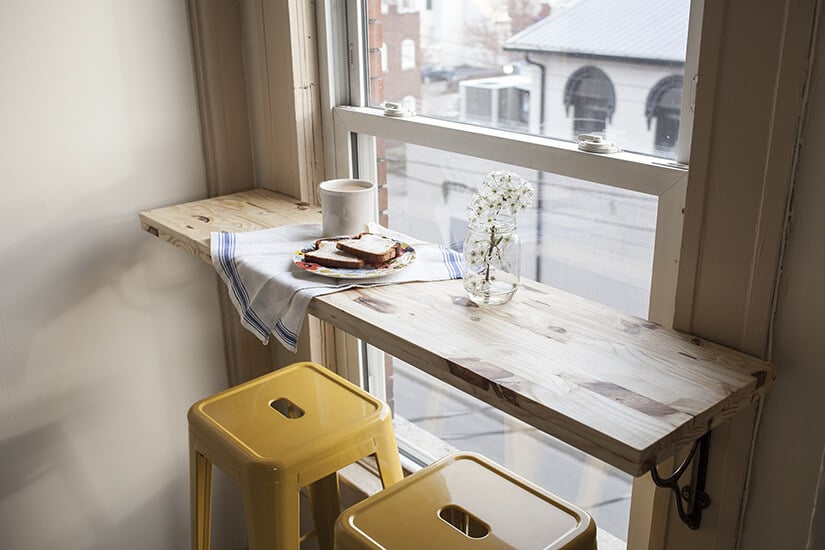
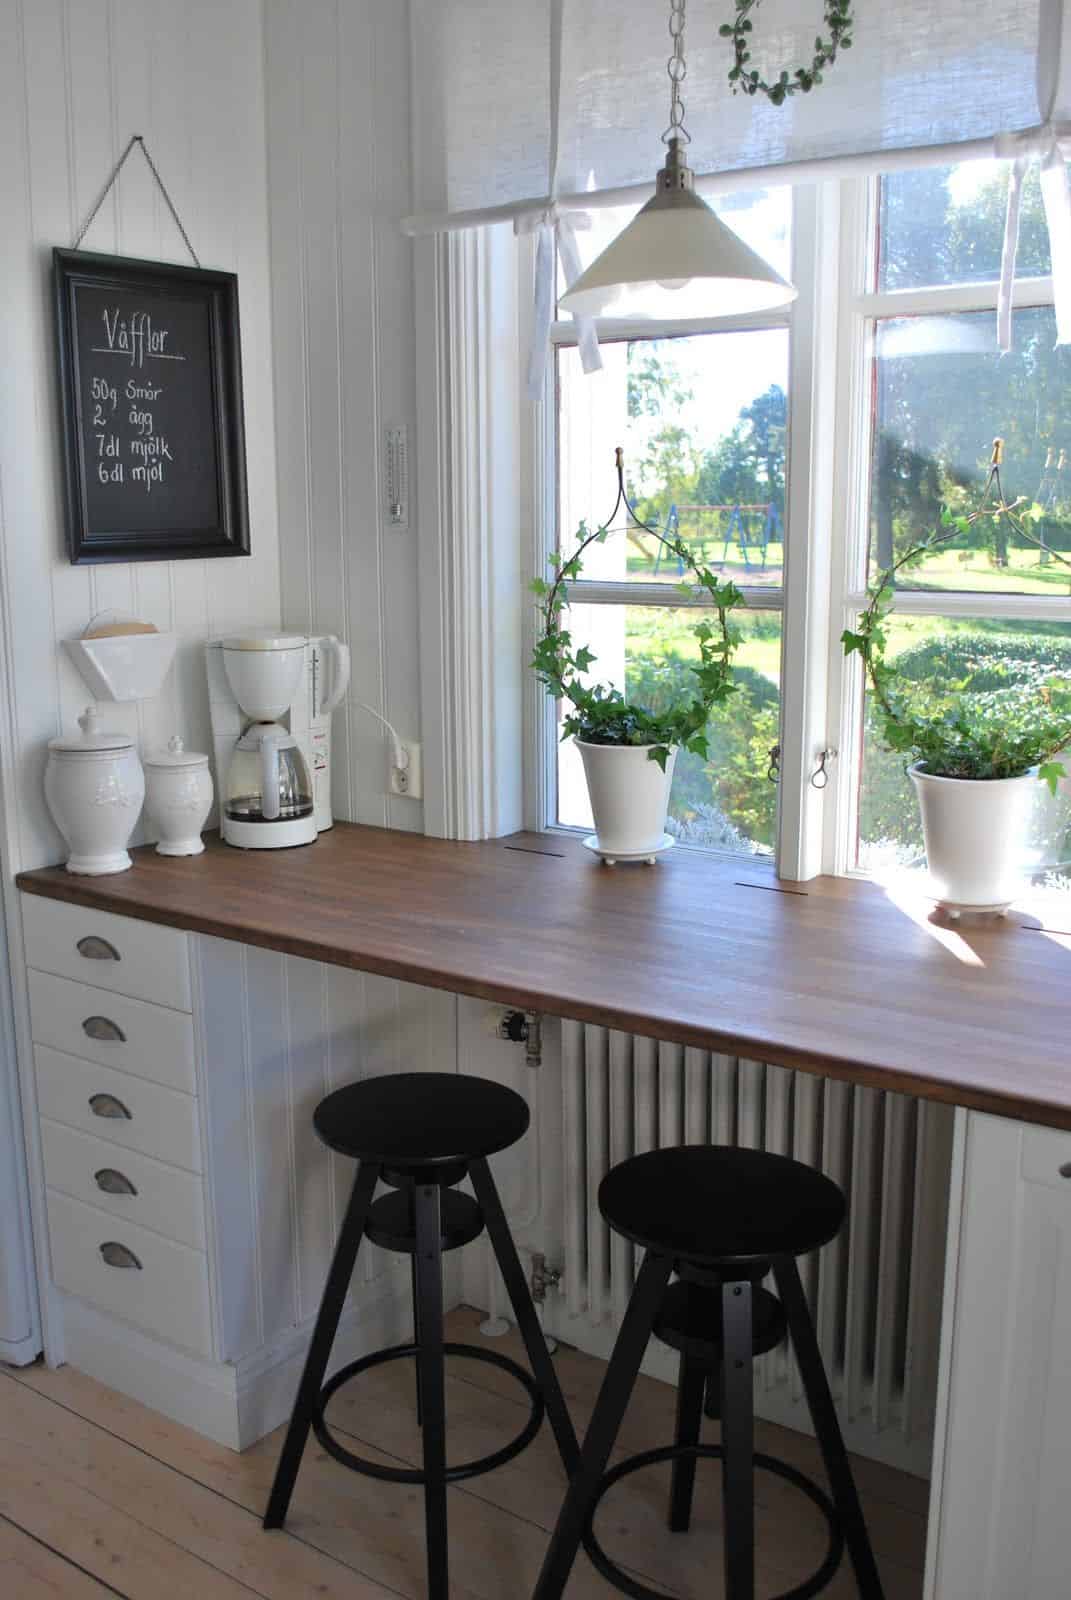
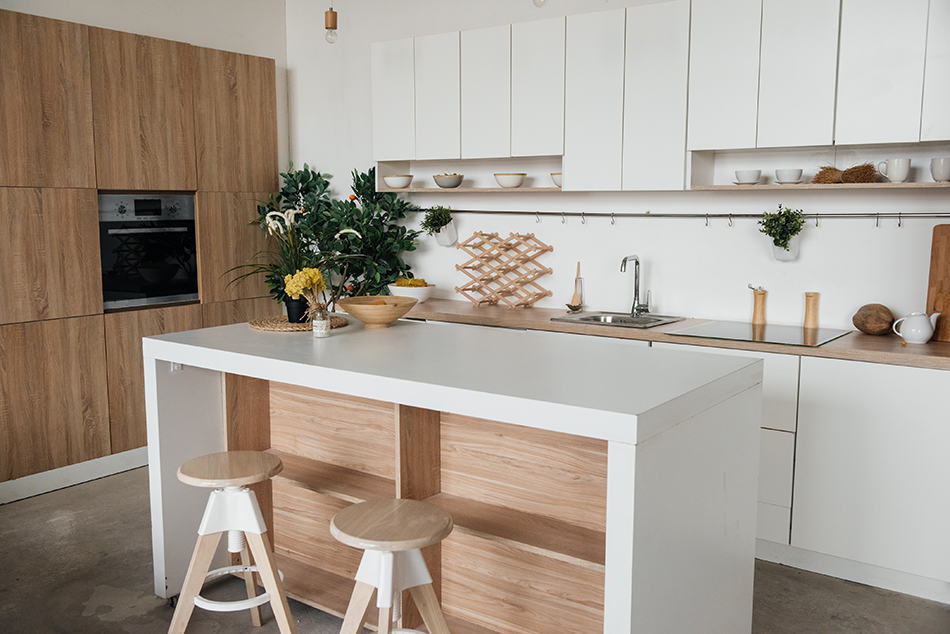
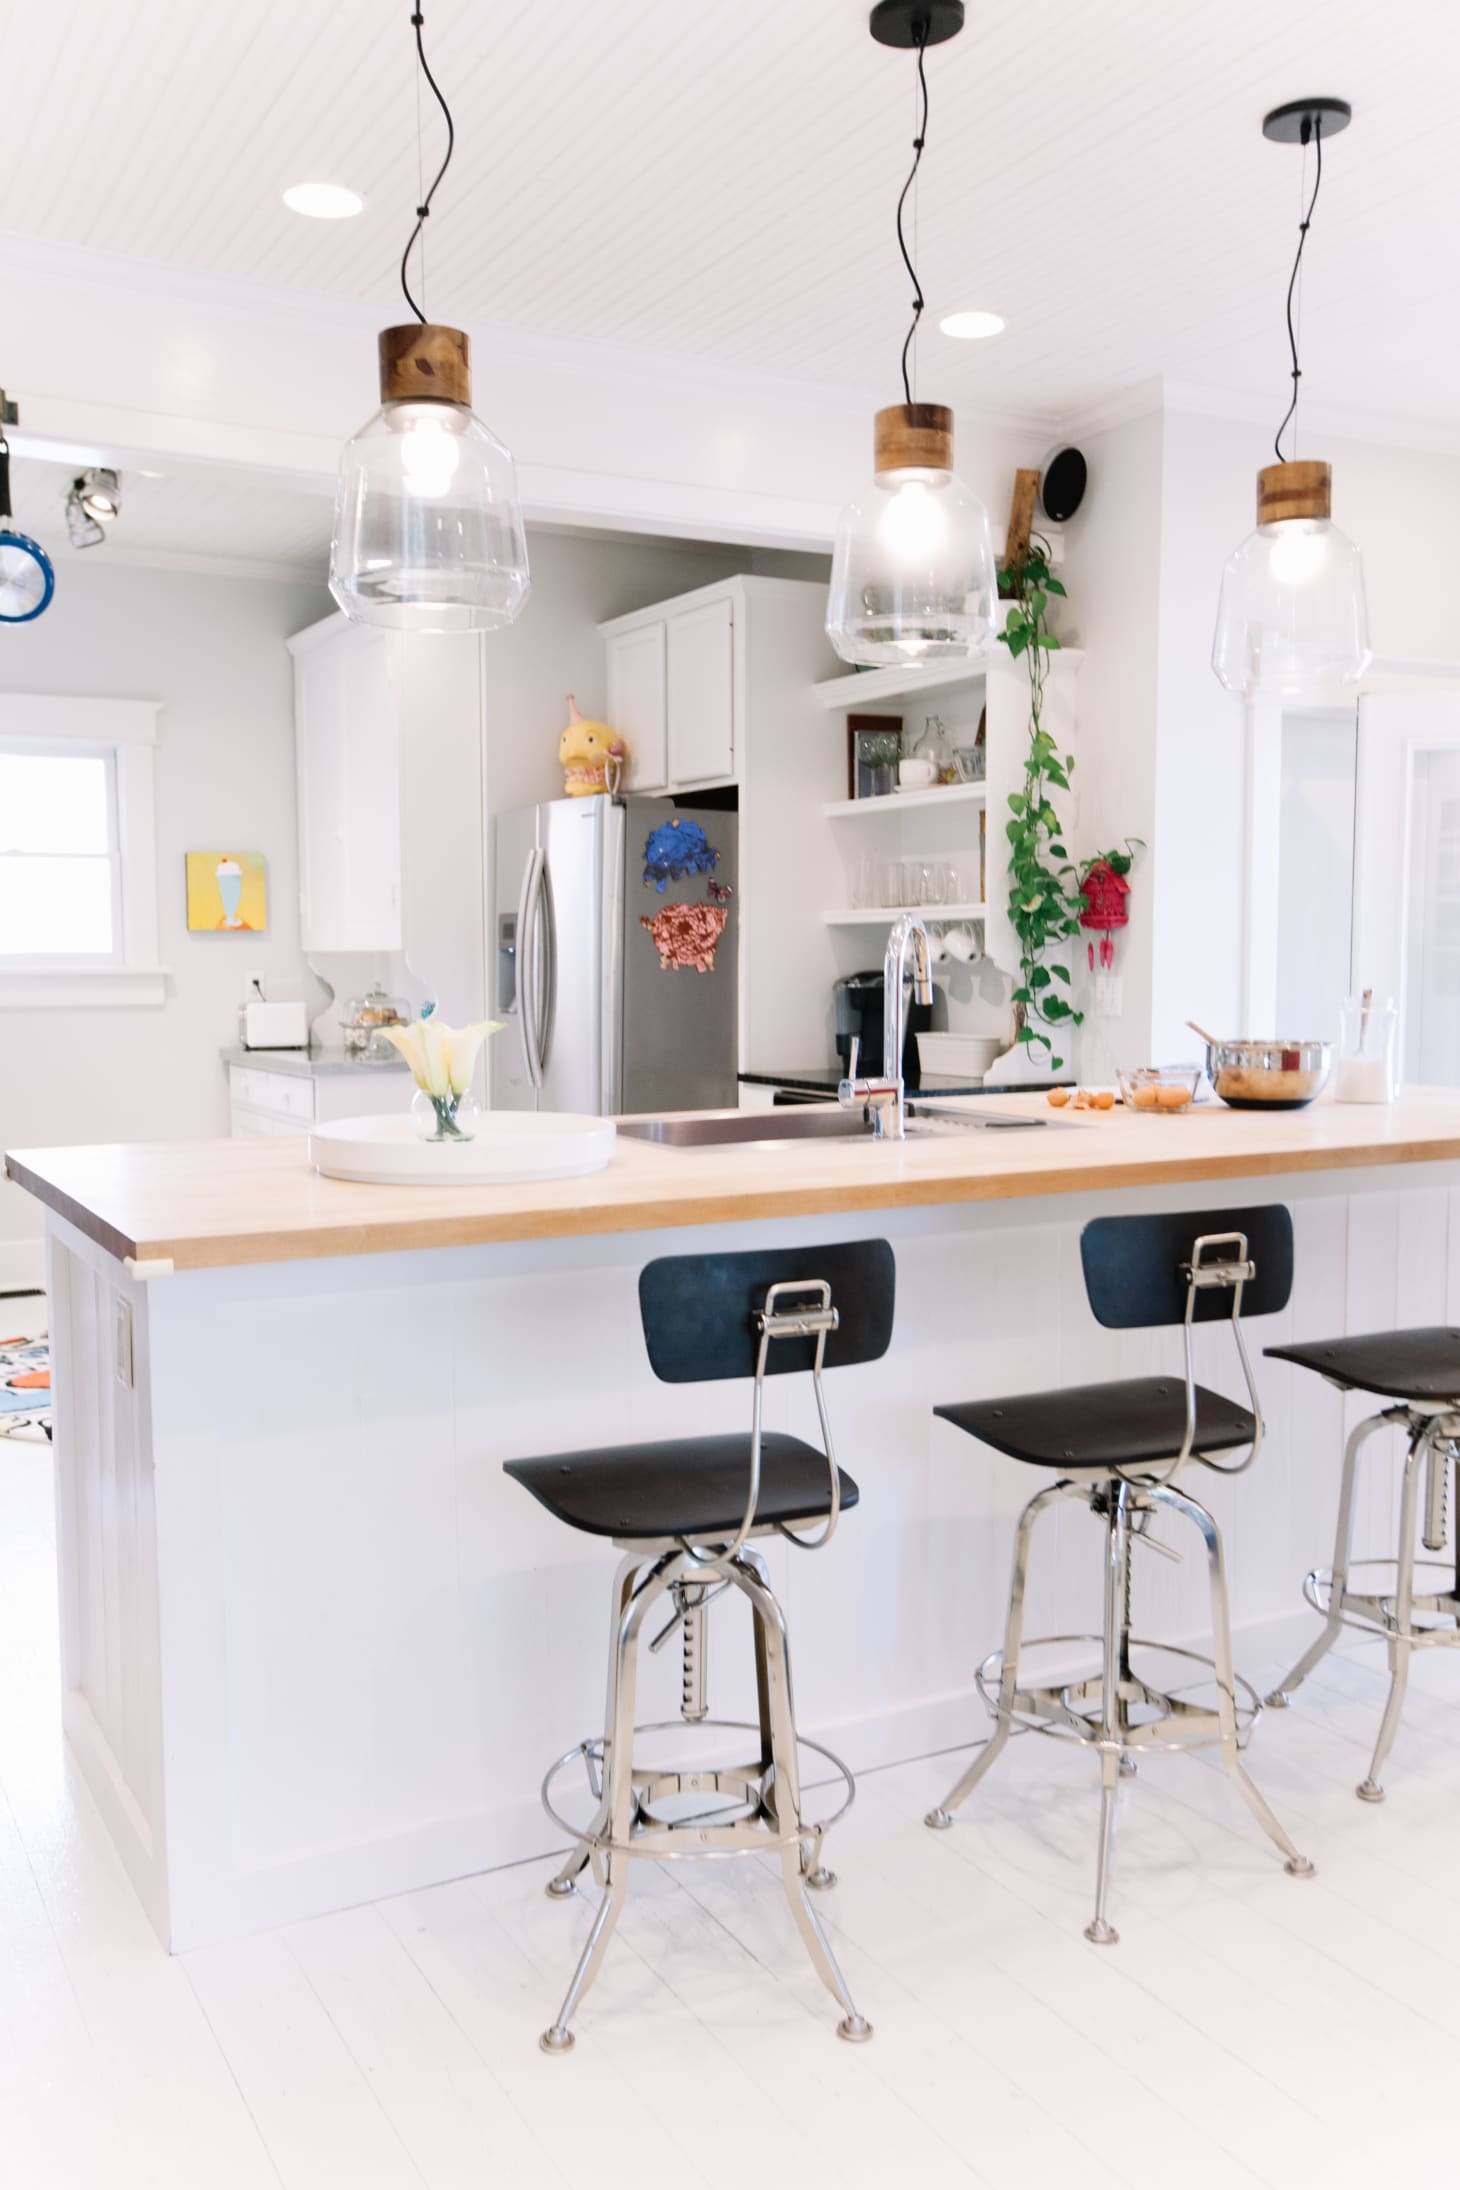
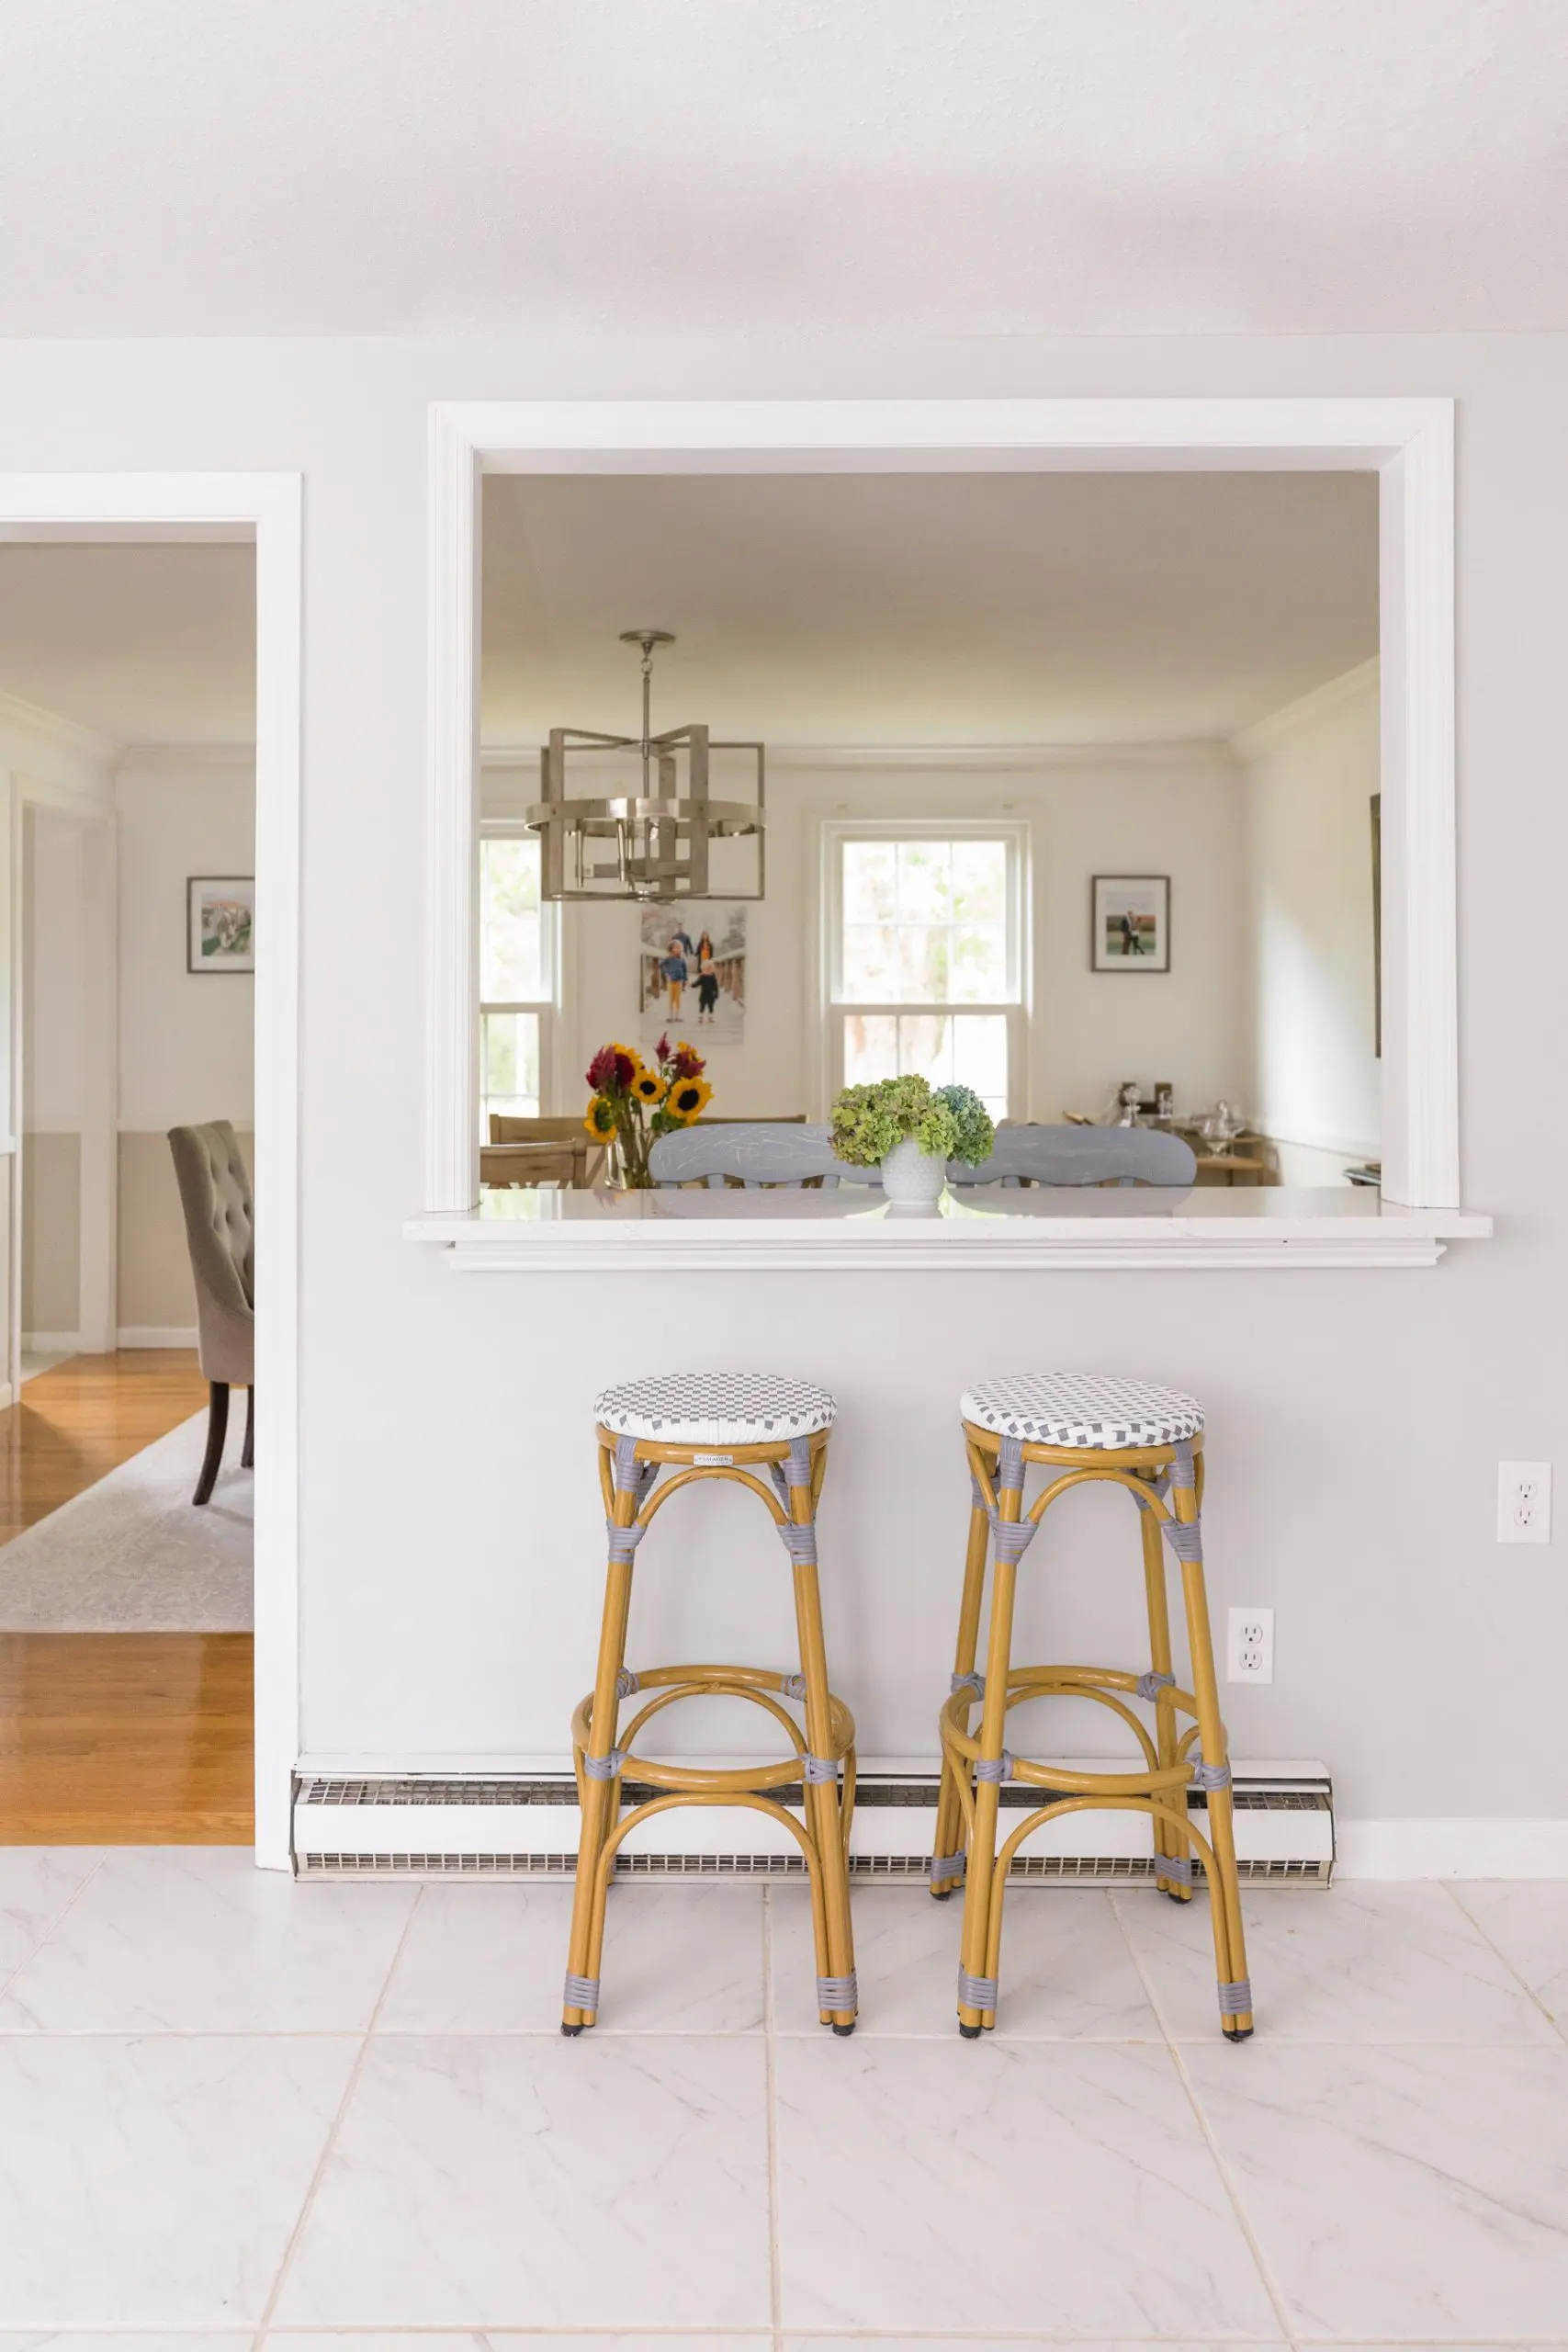
A kitchen breakfast bar can take up valuable space in your kitchen, making it feel crowded and cramped. Removing the bar can open up the room and give you more space for cooking and entertaining. You can also use the space for additional storage or a new kitchen island.Removing a Kitchen Breakfast Bar to Create More Space

Removing a Kitchen Breakfast Bar to Create More Space

Once the breakfast bar is removed, you may be left with holes or damage to the wall. To repair this, use spackling paste to fill in any holes or cracks. Once the paste dries, sand it down and paint over it to match the rest of the wall.How to Patch and Repair the Wall After Removing a Kitchen Breakfast Bar

How to Patch and Repair the Wall After Removing a Kitchen Breakfast Bar


If you're not comfortable removing a kitchen breakfast bar on your own, or if you have a more complex bar attached to your countertop, it's best to hire a professional. They have the experience and tools to safely and efficiently remove the bar without causing any damage. Removing a kitchen breakfast bar may seem like a daunting task, but with the right tools and knowledge, it can be done easily. Whether you're looking to create more space or update the layout of your kitchen, following these steps will help you successfully remove the breakfast bar without any hassle. Remember to always prioritize safety and don't hesitate to seek professional help if needed.Professional Kitchen Breakfast Bar Removal Services

Professional Kitchen Breakfast Bar Removal Services


Removing a Kitchen Breakfast Bar: A Step-by-Step Guide
 Removing a kitchen breakfast bar can be a daunting task, but with the right tools and techniques, it can be a relatively simple process. Whether you're looking to create more space in your kitchen or revamp the overall design, taking out a breakfast bar can make a big impact. Here's a step-by-step guide on how to remove a kitchen breakfast bar.
Gather Your Tools and Materials
 Before starting the removal process, it's important to gather all the necessary tools and materials. This includes a hammer, pry bar, screwdriver, and safety goggles. It's also a good idea to have a drop cloth or tarp to protect your flooring and a bucket for debris.
Shut Off Utilities
 If your breakfast bar has any electrical outlets or plumbing, you'll need to shut off the utilities before beginning the removal process. This will ensure your safety and prevent any potential hazards.
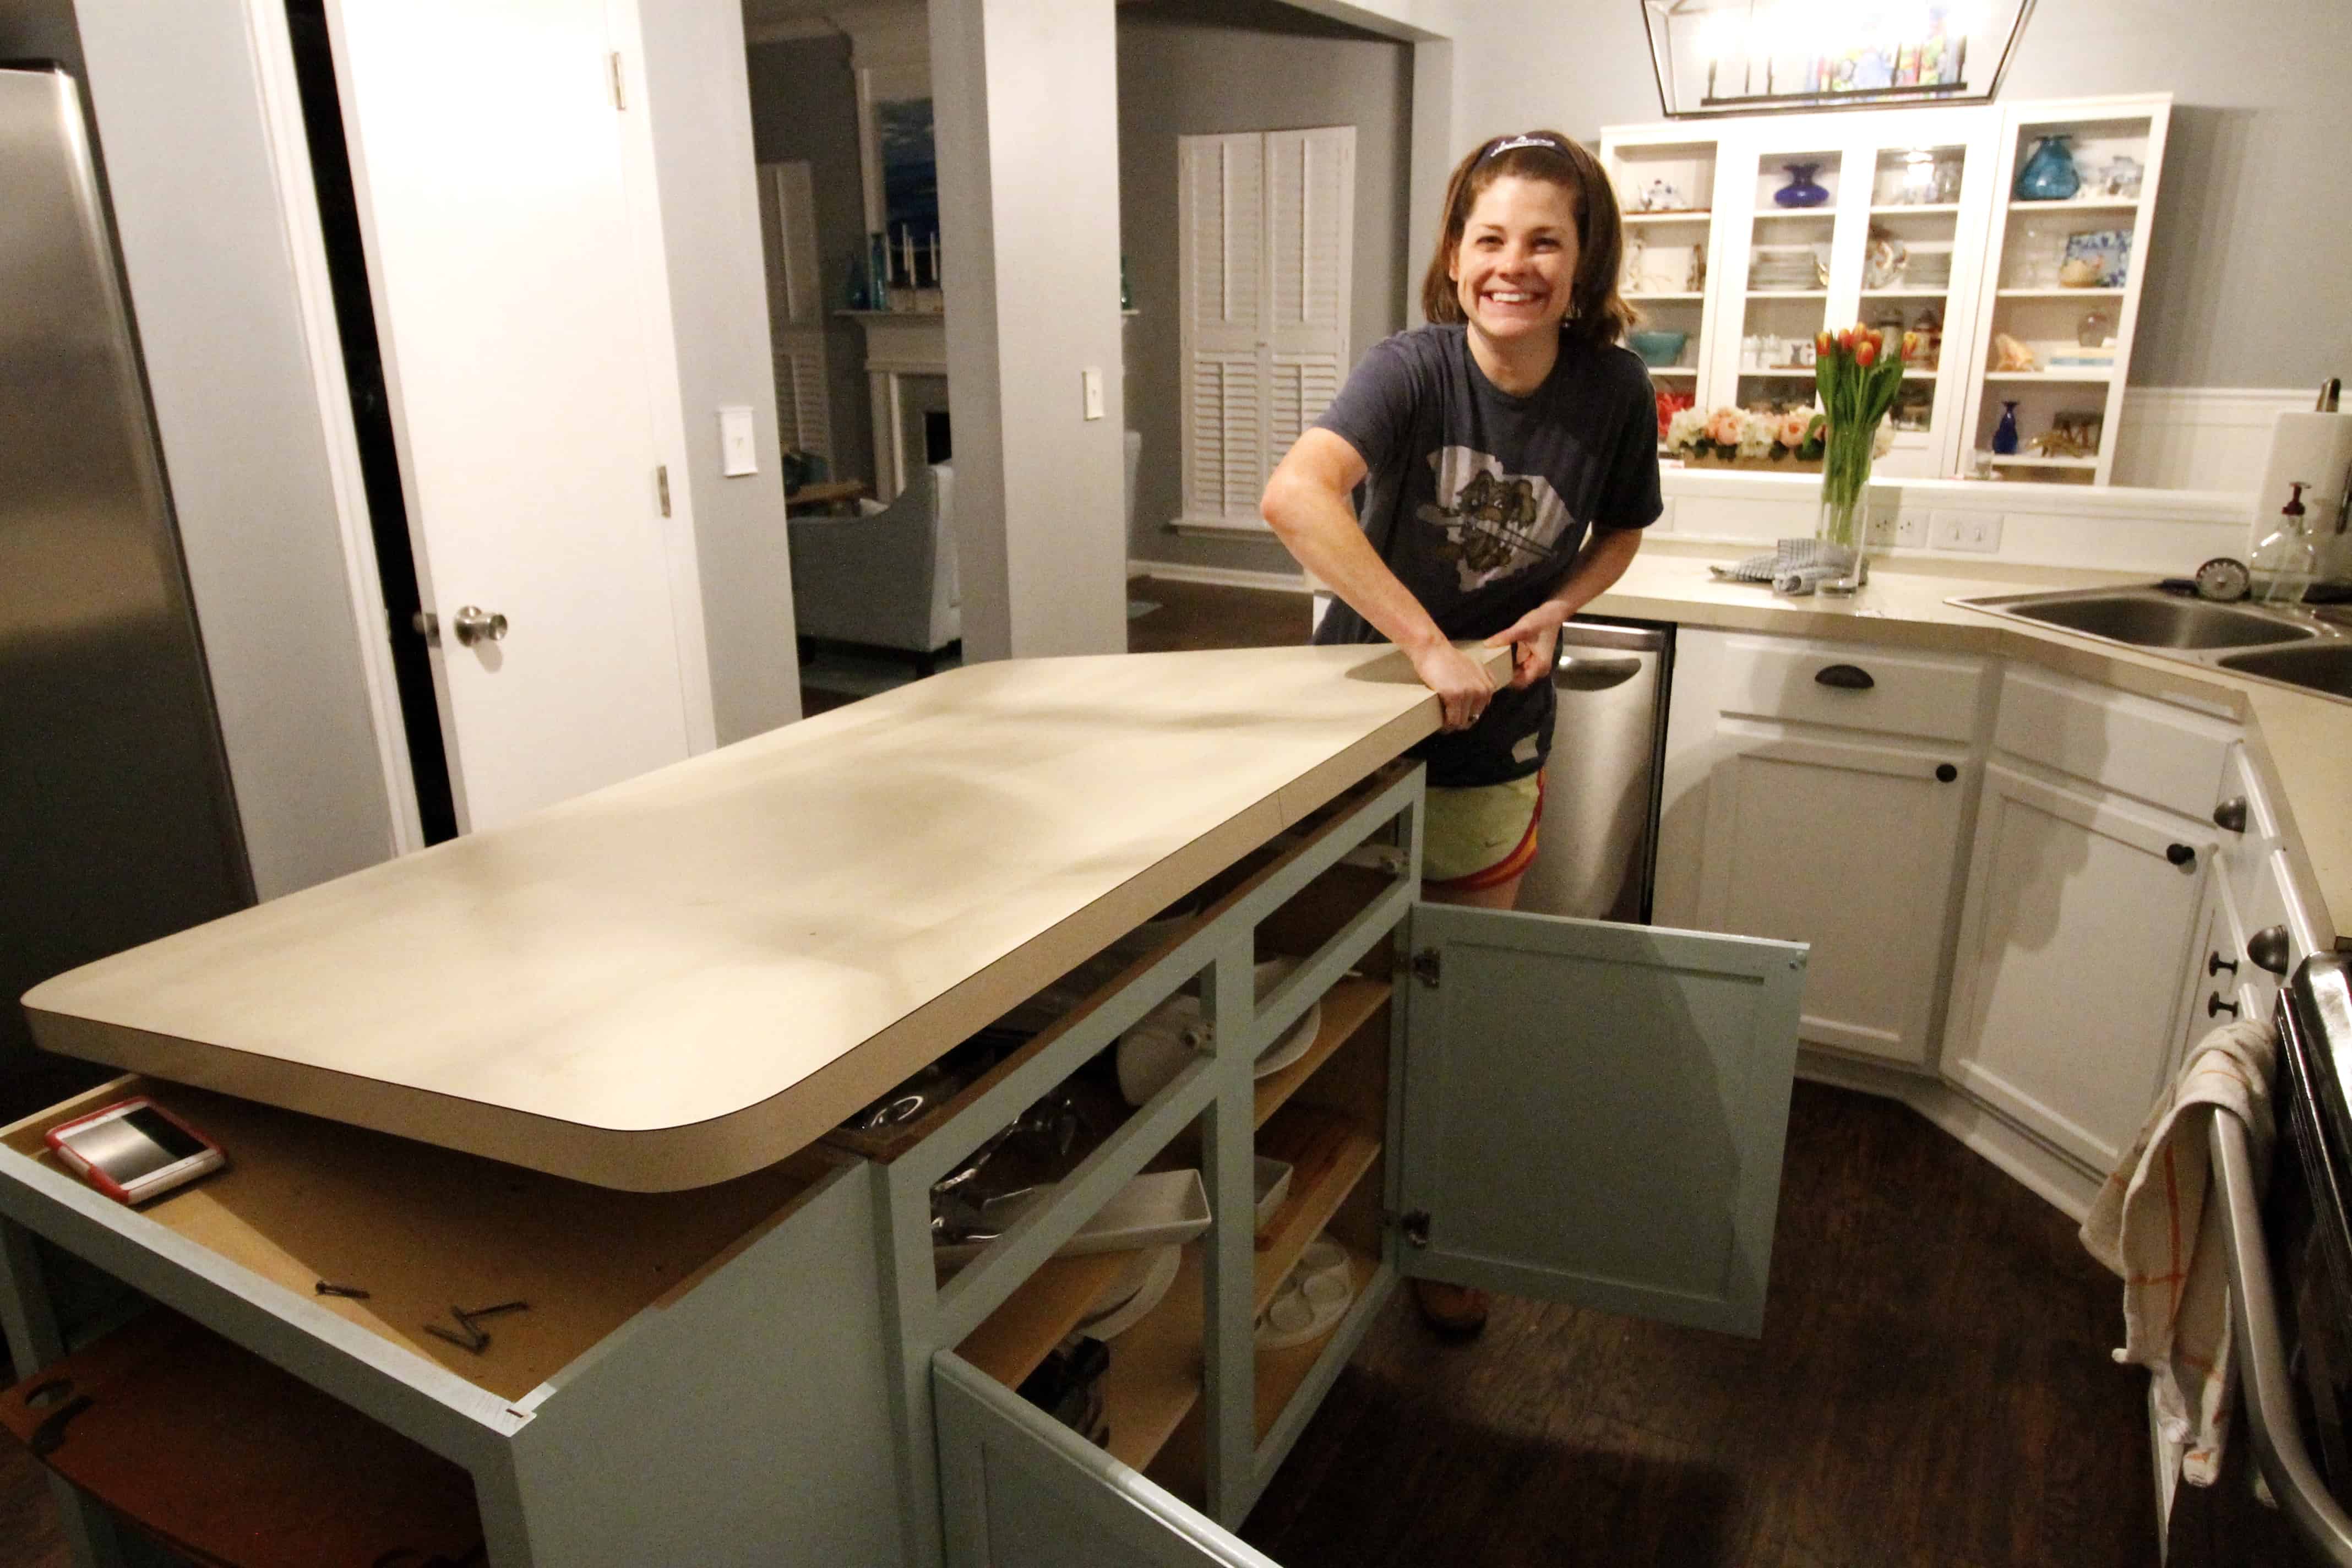
Remove Countertop and Cabinets
 Start by removing the countertop and upper cabinets from the breakfast bar. Use a screwdriver to remove any screws attaching the countertop to the cabinets. Once the countertop is removed, use the pry bar to carefully loosen and remove the cabinets from the wall.
Remove Base Cabinets
 Next, you'll need to remove the base cabinets that make up the support for the breakfast bar. Use the hammer to carefully loosen and remove any nails or screws attaching the cabinets to the wall and each other. Once the base cabinets are free, use the pry bar to gently pry them away from the wall.
Repair and Patch the Wall
 After removing the cabinets, you may be left with holes or damage in the wall where the breakfast bar was attached. Use spackle or joint compound to fill in any holes and sand the surface smooth. If necessary, you can also paint the wall to match the rest of your kitchen.
Dispose of Debris
 Once everything is removed and the wall is repaired, it's time to dispose of the debris. Use the bucket to collect any loose debris and dispose of it properly. If you have larger pieces of cabinetry or countertop, you may need to arrange for a bulk pick-up or take them to a landfill.
Removing a kitchen breakfast bar may seem like a daunting task, but with the right tools and methodical approach, it can be done in a few hours. Once the bar is removed, you'll have a blank canvas to create a new and improved kitchen design. Follow these steps and you'll be on your way to a more spacious and stylish kitchen in no time.
Once everything is removed and the wall is repaired, it's time to dispose of the debris. Use the bucket to collect any loose debris and dispose of it properly. If you have larger pieces of cabinetry or countertop, you may need to arrange for a bulk pick-up or take them to a landfill.
Removing a kitchen breakfast bar may seem like a daunting task, but with the right tools and methodical approach, it can be done in a few hours. Once the bar is removed, you'll have a blank canvas to create a new and improved kitchen design. Follow these steps and you'll be on your way to a more spacious and stylish kitchen in no time.