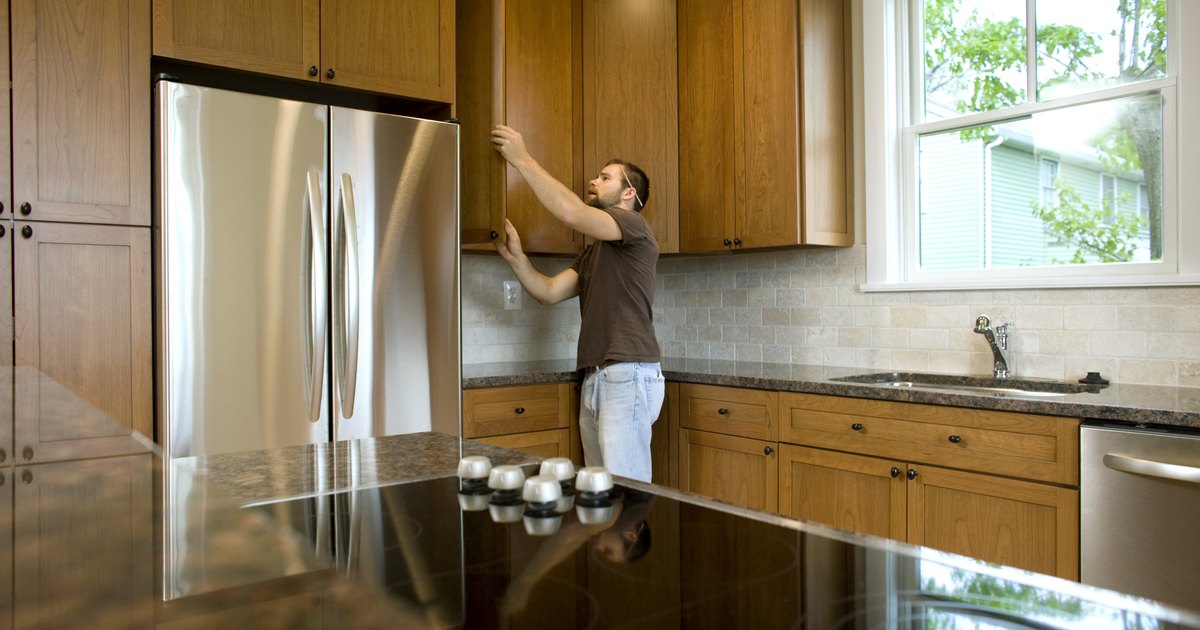
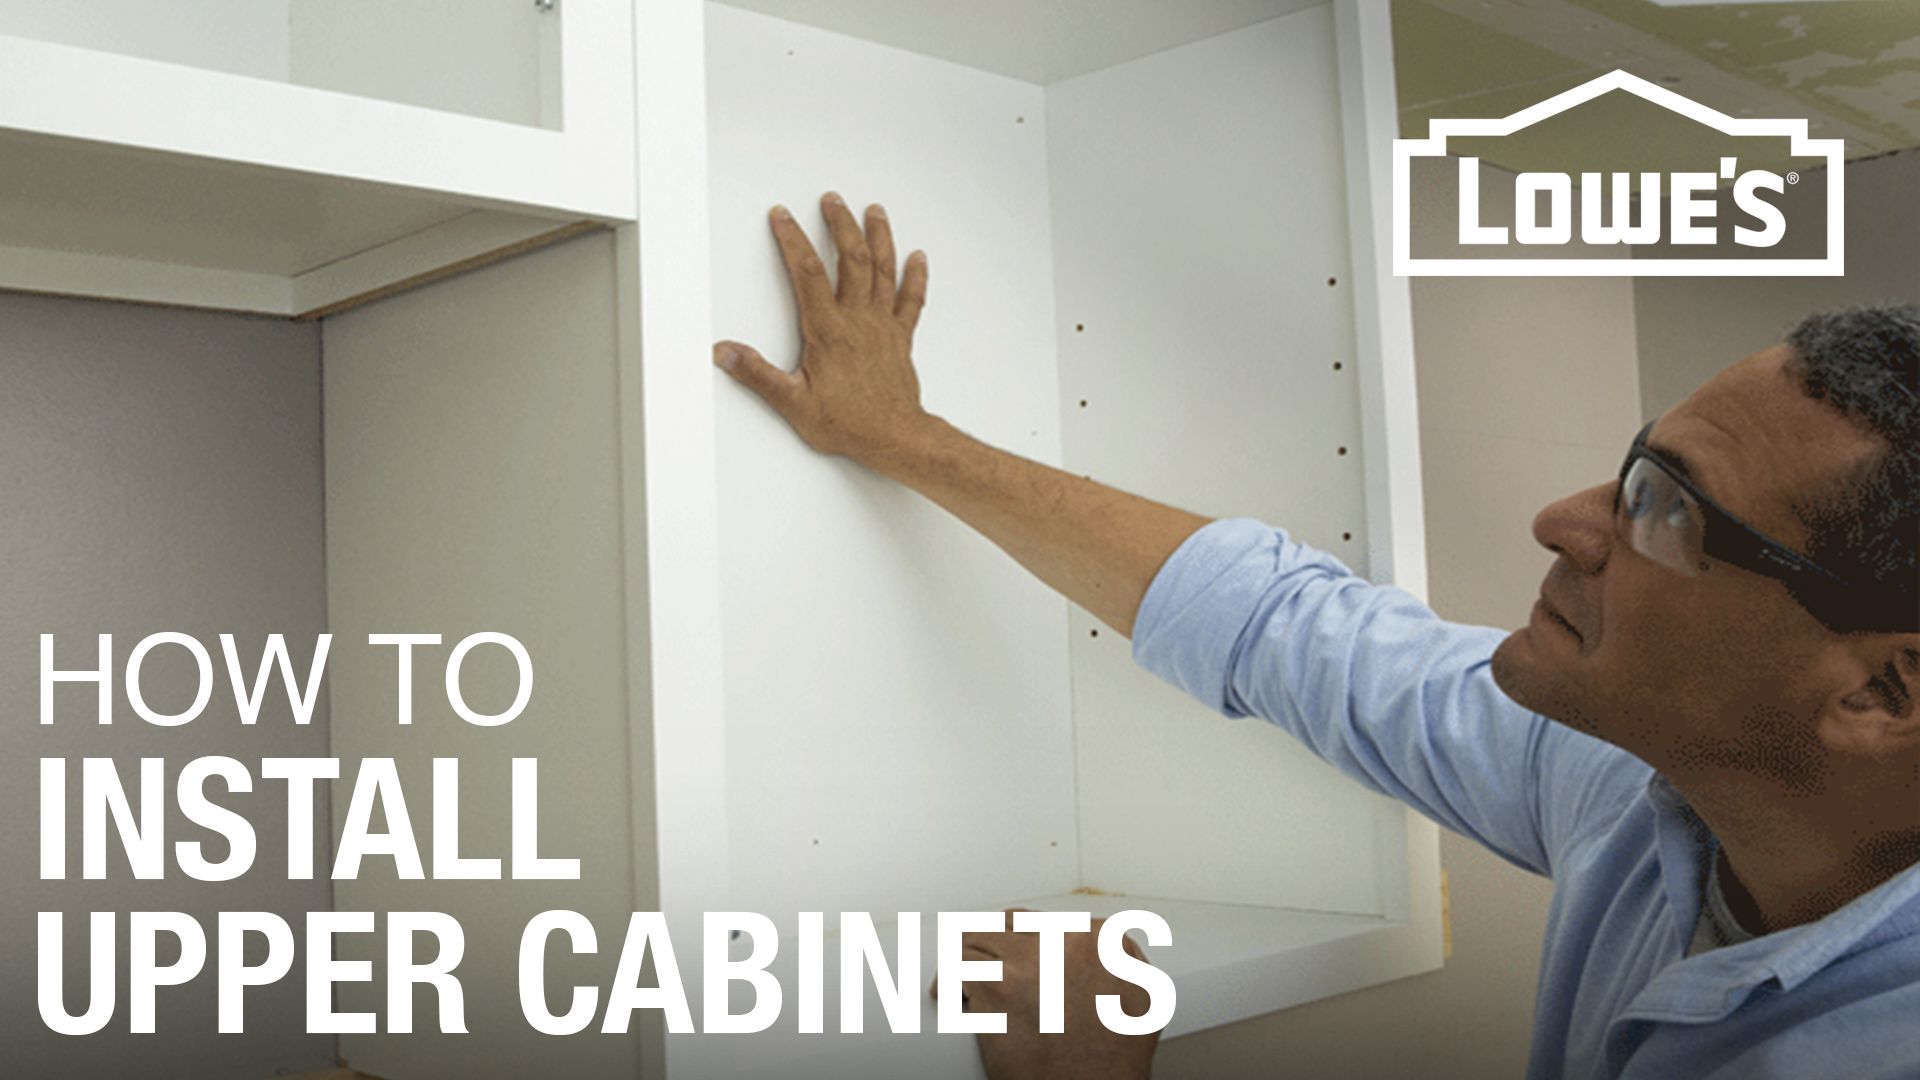
Hanging kitchen cabinets on a stud wall may seem like a daunting task, but with the right tools and techniques, it can be a relatively straightforward process. By following these steps, you can ensure a secure and sturdy installation of your kitchen units.How to Hang Kitchen Cabinets on a Stud Wall


How to Hang Kitchen Cabinets on a Stud Wall


Installing kitchen cabinets on a stud wall requires a few key steps to ensure a successful and safe installation. Step 1: Prepare the wall - Before you begin, make sure the wall is clean and free of any obstructions. Remove any existing cabinets or shelves, and patch up any holes or imperfections in the wall. Step 2: Find the studs - Use a stud finder to locate the studs in your wall. Mark them with a pencil so you know where to anchor your cabinets. Step 3: Measure and mark - Measure and mark the layout of your cabinets on the wall. Use a level to ensure your marks are straight and evenly spaced. Step 4: Install support boards - Cut and install support boards along the marked lines. These will provide additional support for your cabinets. Step 5: Hang the cabinets - With the help of a friend, carefully lift and hang your cabinets on the support boards. Use screws to secure them to the wall, making sure they are level and securely attached to the studs. Step 6: Secure the cabinets together - Once all the cabinets are hung, secure them together using screws and brackets. This will ensure they are level and stable. Step 7: Add finishing touches - Install shelves, drawers, and doors to complete your kitchen cabinet installation.How to Install Kitchen Cabinets on a Stud Wall


How to Install Kitchen Cabinets on a Stud Wall


Installing kitchen cabinets on a stud wall requires precision and attention to detail. Here are some tips to ensure a successful installation: Tip 1: Use quality materials - Invest in high-quality cabinets and hardware to ensure a long-lasting and sturdy installation. Tip 2: Use the right tools - Make sure you have all the necessary tools, including a stud finder, level, and power drill, to ensure a smooth installation process. Tip 3: Double check your measurements - Before hanging your cabinets, double check your measurements to ensure they are accurate and your cabinets will fit properly. Tip 4: Have a helper - Hanging kitchen cabinets can be a two-person job, so make sure you have a friend or family member to assist you. Tip 5: Follow manufacturer instructions - Every cabinet brand may have different installation instructions, so make sure to follow the manufacturer's guidelines for best results.Stud Wall Kitchen Cabinet Installation


Stud Wall Kitchen Cabinet Installation


Follow these steps for a successful installation of kitchen units on a stud wall: Step 1: Prepare the wall - Make sure the wall is clean and free of any obstructions. Step 2: Find the studs - Use a stud finder to locate the studs in your wall and mark them with a pencil. Step 3: Measure and mark - Measure and mark the layout of your kitchen units on the wall. Use a level to ensure your marks are straight and evenly spaced. Step 4: Install support boards - Cut and install support boards along the marked lines. Step 5: Hang the units - Lift and hang the units on the support boards, securing them to the wall with screws. Step 6: Secure the units together - Use screws and brackets to secure the units together and ensure they are level and stable. Step 7: Add finishing touches - Install shelves, drawers, and doors to complete your kitchen unit installation.Step-by-Step Guide for Hanging Kitchen Units on a Stud Wall


Step-by-Step Guide for Hanging Kitchen Units on a Stud Wall


Hanging kitchen units on a stud wall can be challenging, but with these tips, you can ensure a successful installation: Tip 1: Use a level - Make sure your units are level before securing them to the wall. Tip 2: Use long screws - Use long screws to anchor your units to the wall, making sure they are securely attached to the studs. Tip 3: Start with the upper units - It's easier to install upper units first, then use them as a guide for installing the lower units. Tip 4: Use shims - If your wall is not perfectly straight, use shims to level your units. Tip 5: Check for gaps - After installing your units, check for any gaps or unevenness and make adjustments as needed.Tips for Hanging Kitchen Units on a Stud Wall


Tips for Hanging Kitchen Units on a Stud Wall


Make sure you have these essential tools before starting your kitchen unit installation: Stud finder - To locate the studs in your wall. Level - To ensure your units are straight and level. Power drill - To attach the units to the wall. Screws - To secure the units to the wall and to each other. Brackets - To support and connect the units. Shims - To level the units if needed.Tools Needed for Hanging Kitchen Units on a Stud Wall


Tools Needed for Hanging Kitchen Units on a Stud Wall


Avoid these common mistakes when installing kitchen units on a stud wall: Mistake 1: Not finding the studs - Make sure to use a stud finder to locate the studs in your wall. Installing on drywall alone will not provide enough support. Mistake 2: Not using enough screws - Use long screws to anchor your units to the studs and ensure they are securely attached. Mistake 3: Not using a level - Make sure to use a level to ensure your units are straight and level before securing them to the wall. Mistake 4: Not measuring properly - Double check your measurements before hanging your units to ensure they fit properly. Mistake 5: Not having a helper - Installing kitchen units can be a two-person job, so make sure to have a friend or family member assist you.Common Mistakes When Hanging Kitchen Units on a Stud Wall


Common Mistakes When Hanging Kitchen Units on a Stud Wall


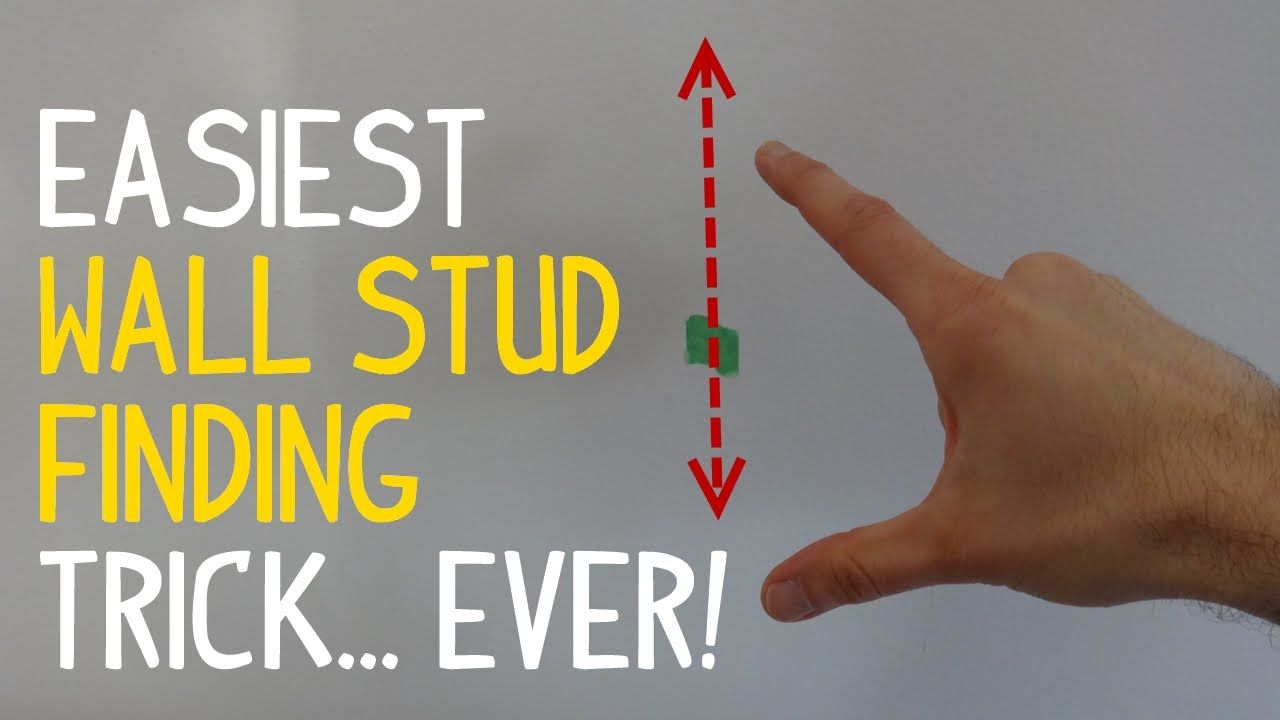
Before hanging kitchen units on a stud wall, it's crucial to find the studs for proper support. Here's how: Step 1: Use a stud finder - A stud finder is a small device that uses sensors to locate studs behind the wall. Step 2: Hold the stud finder against the wall - Hold the stud finder firmly against the wall and move it horizontally until it indicates a stud. Step 3: Mark the stud location - Mark the location of the stud with a pencil. Step 4: Repeat - Repeat this process to find and mark all the studs in the wall.How to Find Studs in a Wall for Hanging Kitchen Units


How to Find Studs in a Wall for Hanging Kitchen Units


/drywall-framing-guide-1821976-hero-4e68b24388d44969ae6c85e5e1bda1f7.jpg)


If you're not comfortable with hanging kitchen units on a stud wall, there are alternative methods you can try: Method 1: Use French cleats - French cleats are a type of bracket that allows for easy and secure hanging of cabinets on a stud wall. Method 2: Use a rail system - A rail system involves installing a horizontal support rail on the wall and hanging the cabinets from it. Method 3: Use drywall anchors - If you're not able to locate the studs, you can use drywall anchors to support the weight of the cabinets.Alternative Methods for Hanging Kitchen Units on a Stud Wall


Alternative Methods for Hanging Kitchen Units on a Stud Wall


While it is possible to install kitchen units on a stud wall yourself, it may be best to leave it to the professionals for a few reasons: Experience and expertise - Professional installers have the knowledge and experience to ensure a safe and secure installation. Tools and equipment - They also have access to specialized tools and equipment that may be needed for the job. Time and effort - Installing kitchen units on a stud wall can be time-consuming and physically demanding, so hiring a professional can save you time and effort. However, if you feel confident in your DIY skills and have the necessary tools and materials, you can certainly attempt to install kitchen units on a stud wall yourself.Professional Installation vs DIY for Hanging Kitchen Units on a Stud Wall


Professional Installation vs DIY for Hanging Kitchen Units on a Stud Wall


Hanging Kitchen Units on Stud Wall: A Practical Guide for House Design

Introduction to Hanging Kitchen Units
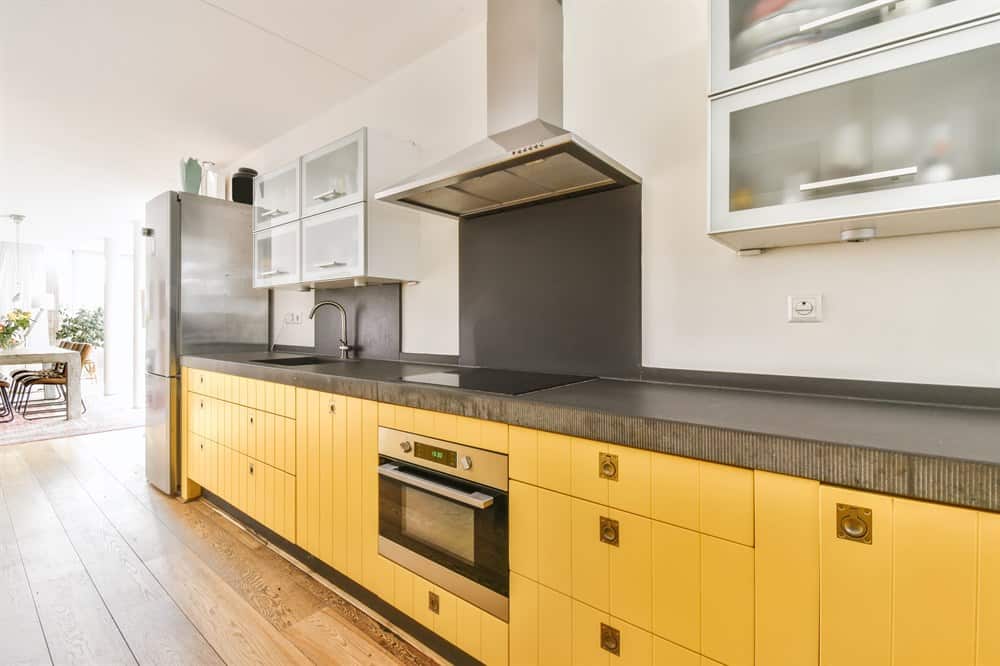
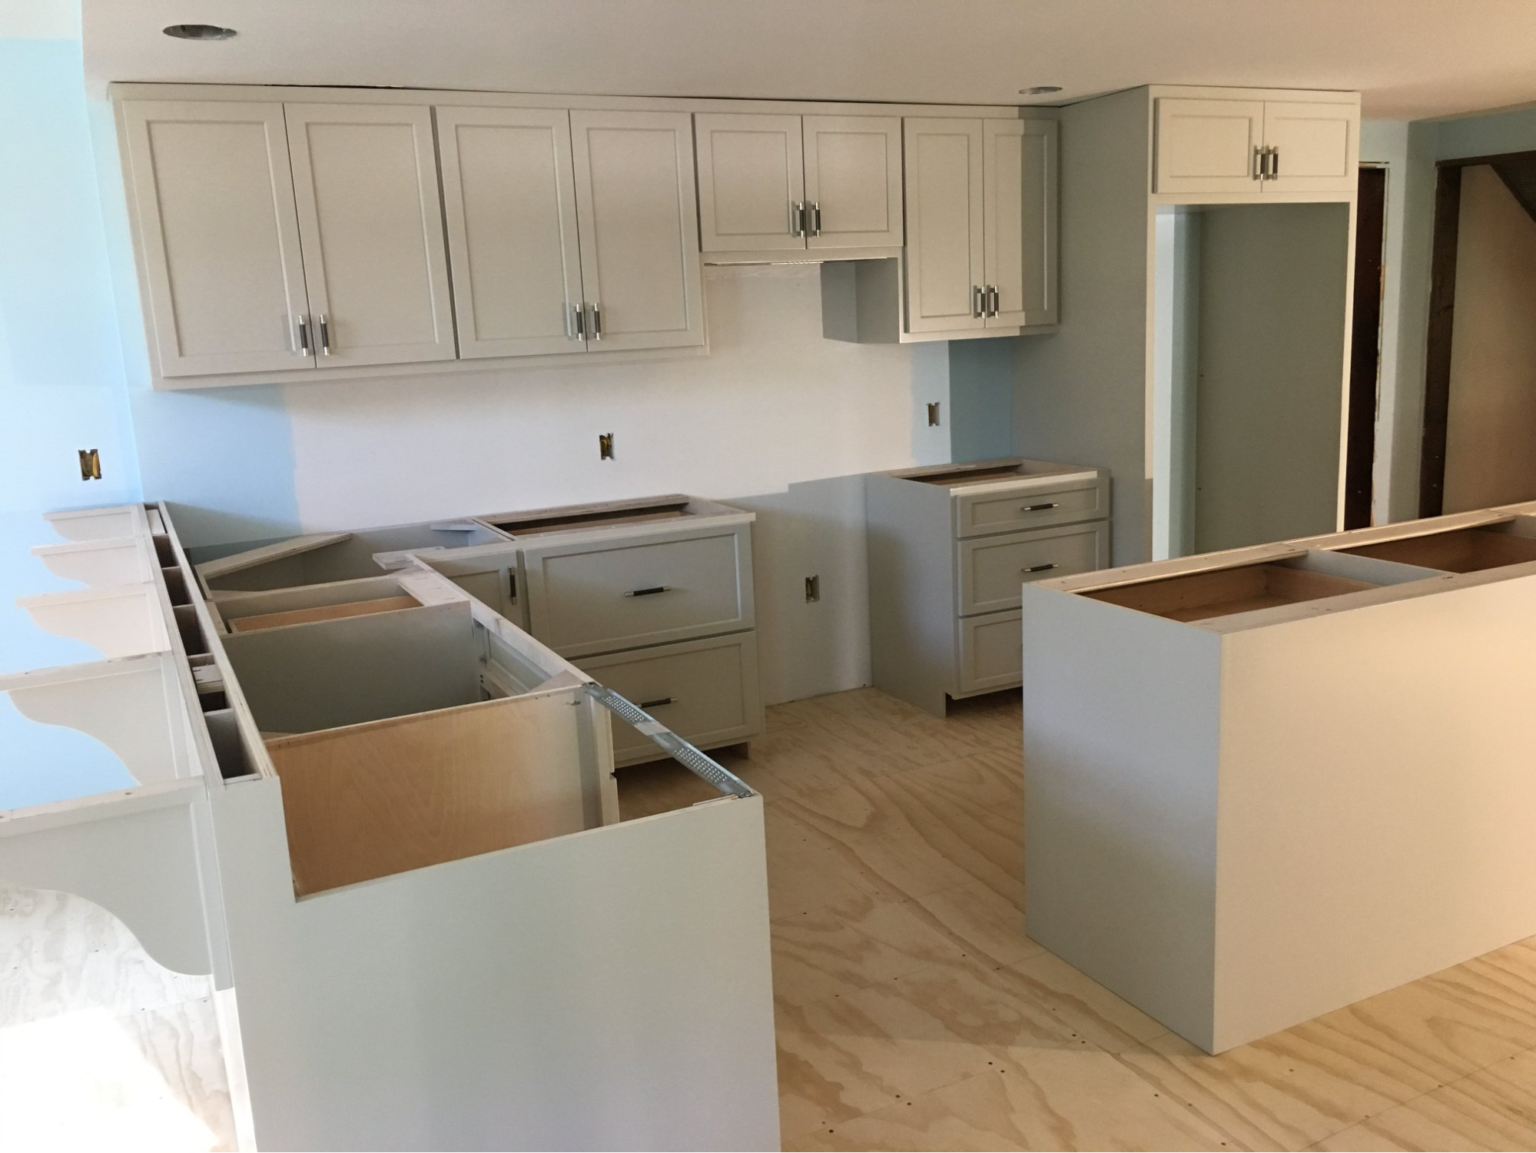
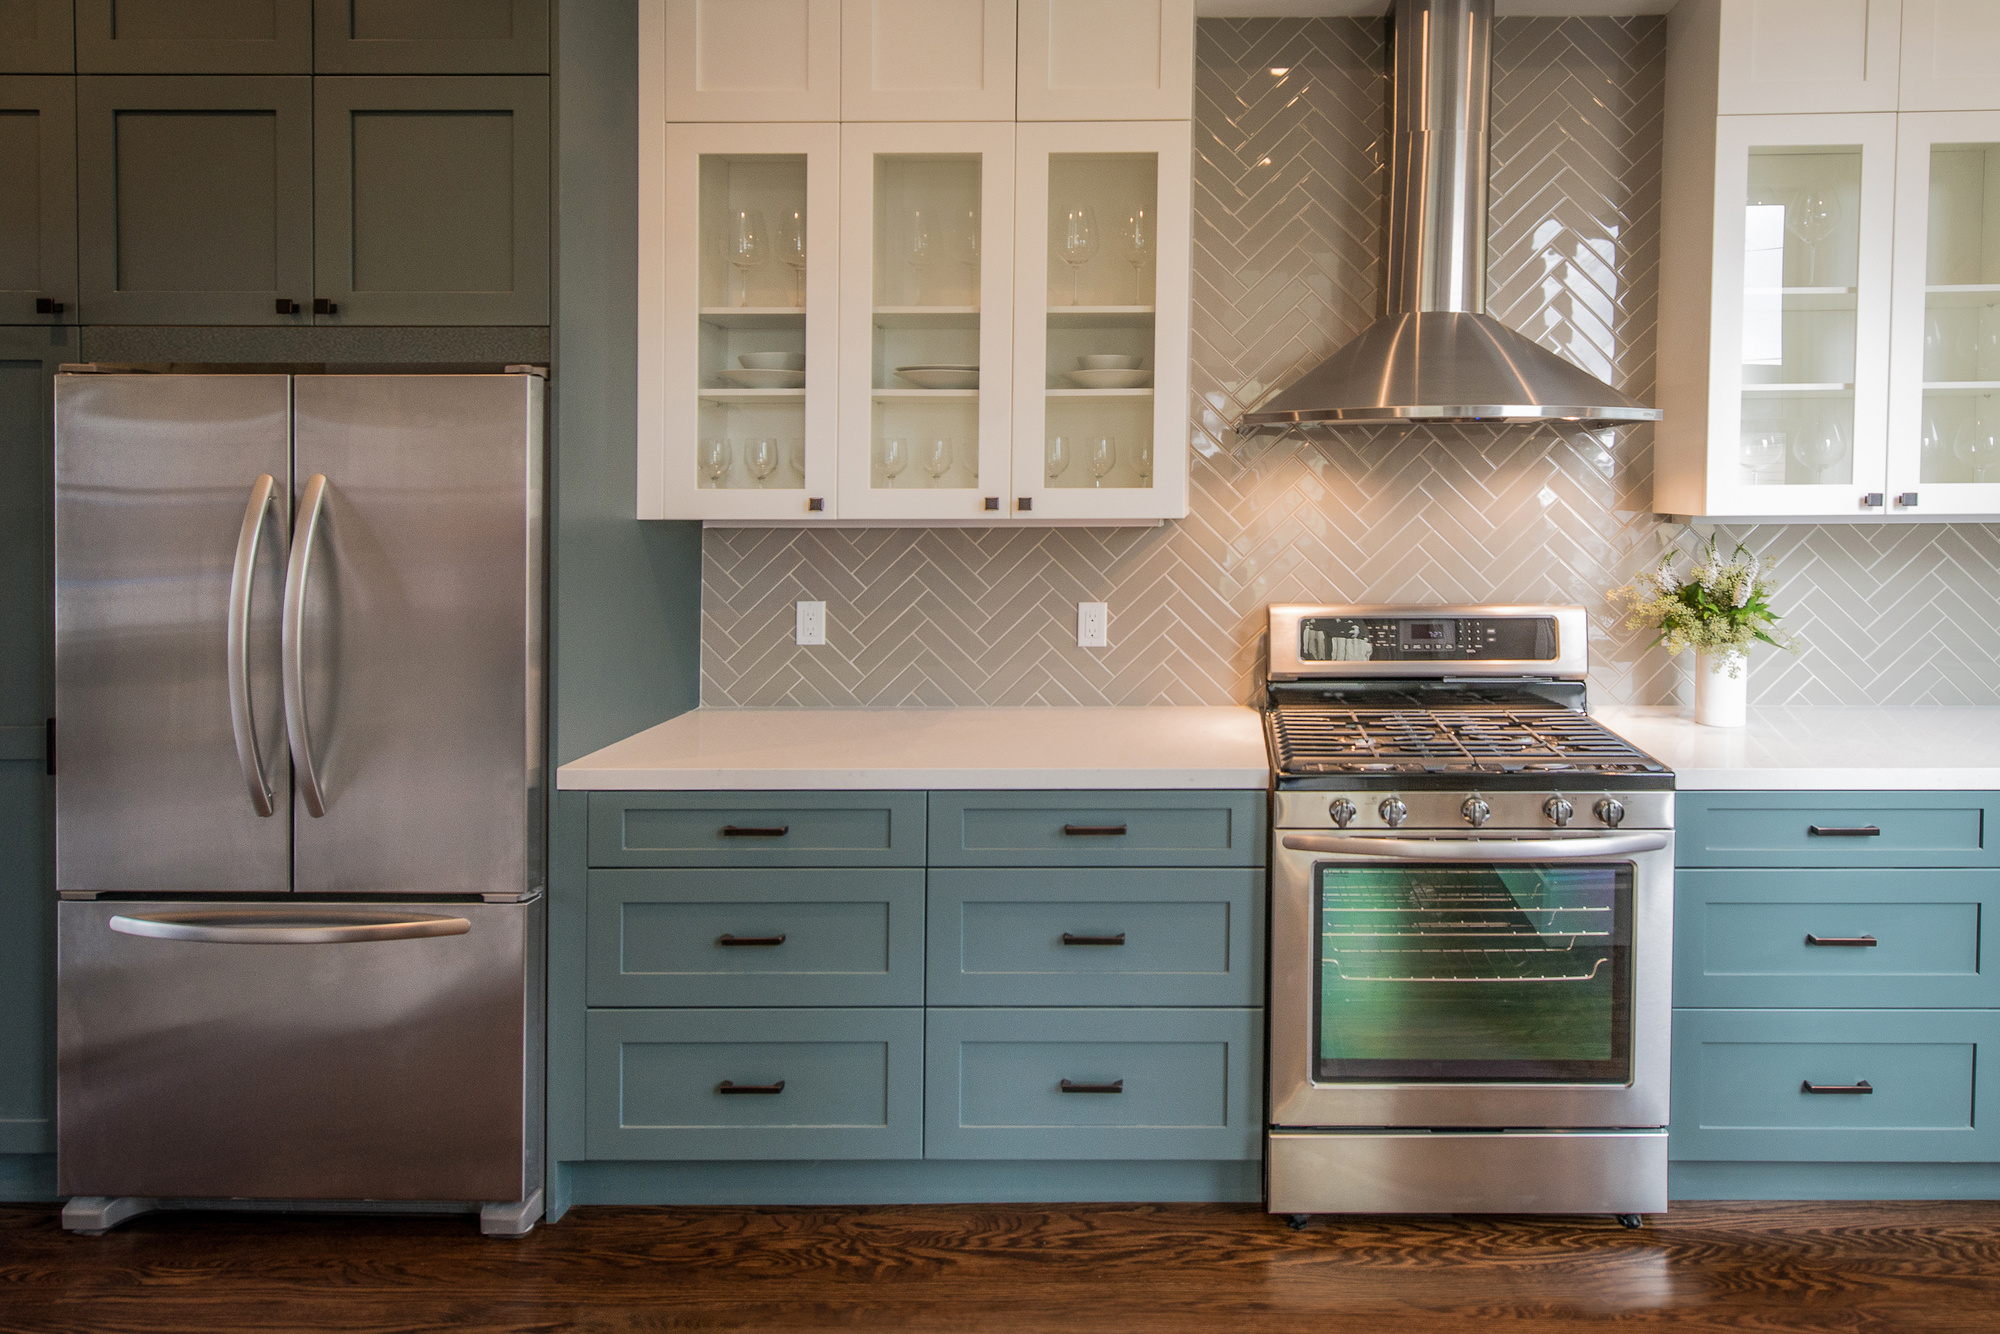
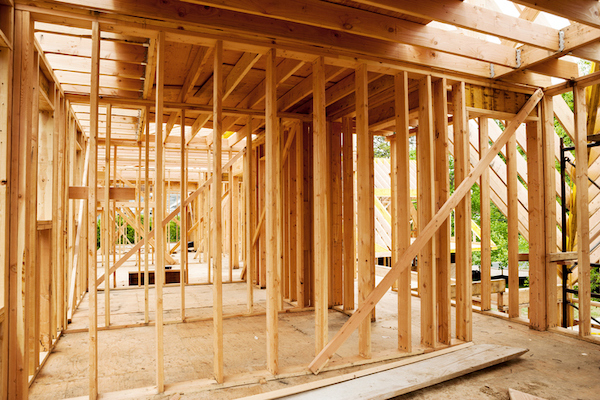
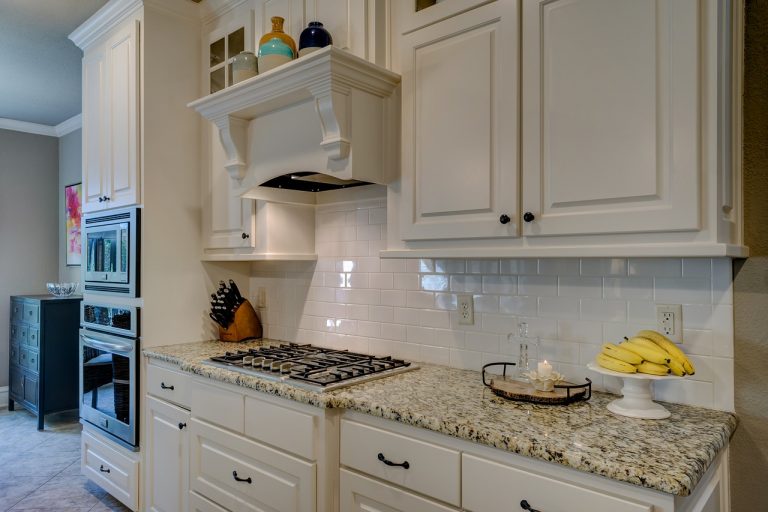
 When it comes to designing a functional and stylish kitchen, hanging units are a must-have. These units not only provide ample storage space, but also add a touch of elegance to the kitchen. However, hanging kitchen units can be a daunting task, especially if you have a stud wall. In this article, we will guide you through the process of hanging kitchen units on a stud wall, ensuring a sturdy and secure installation.
Preparing the Stud Wall
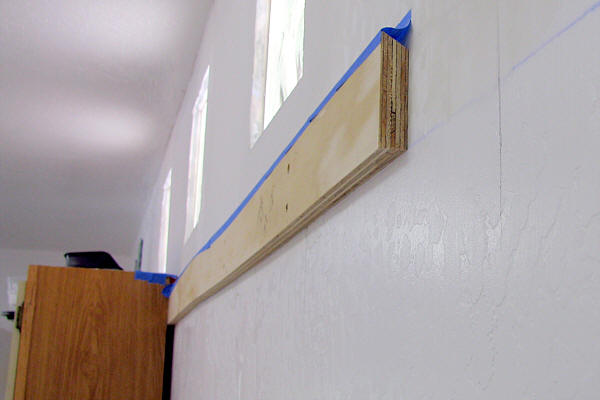
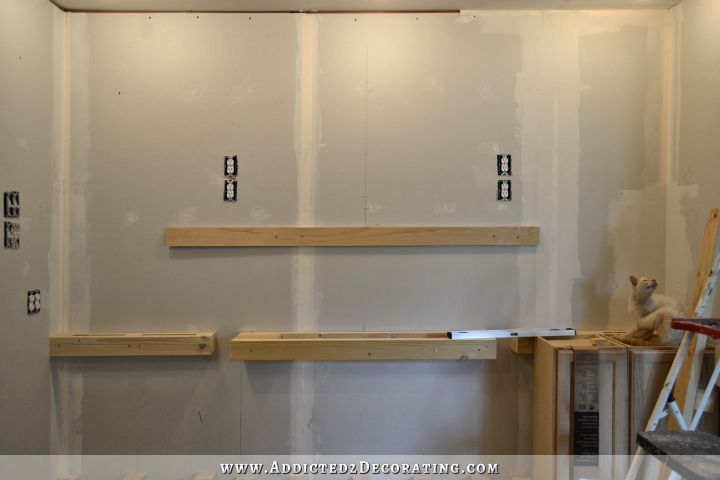
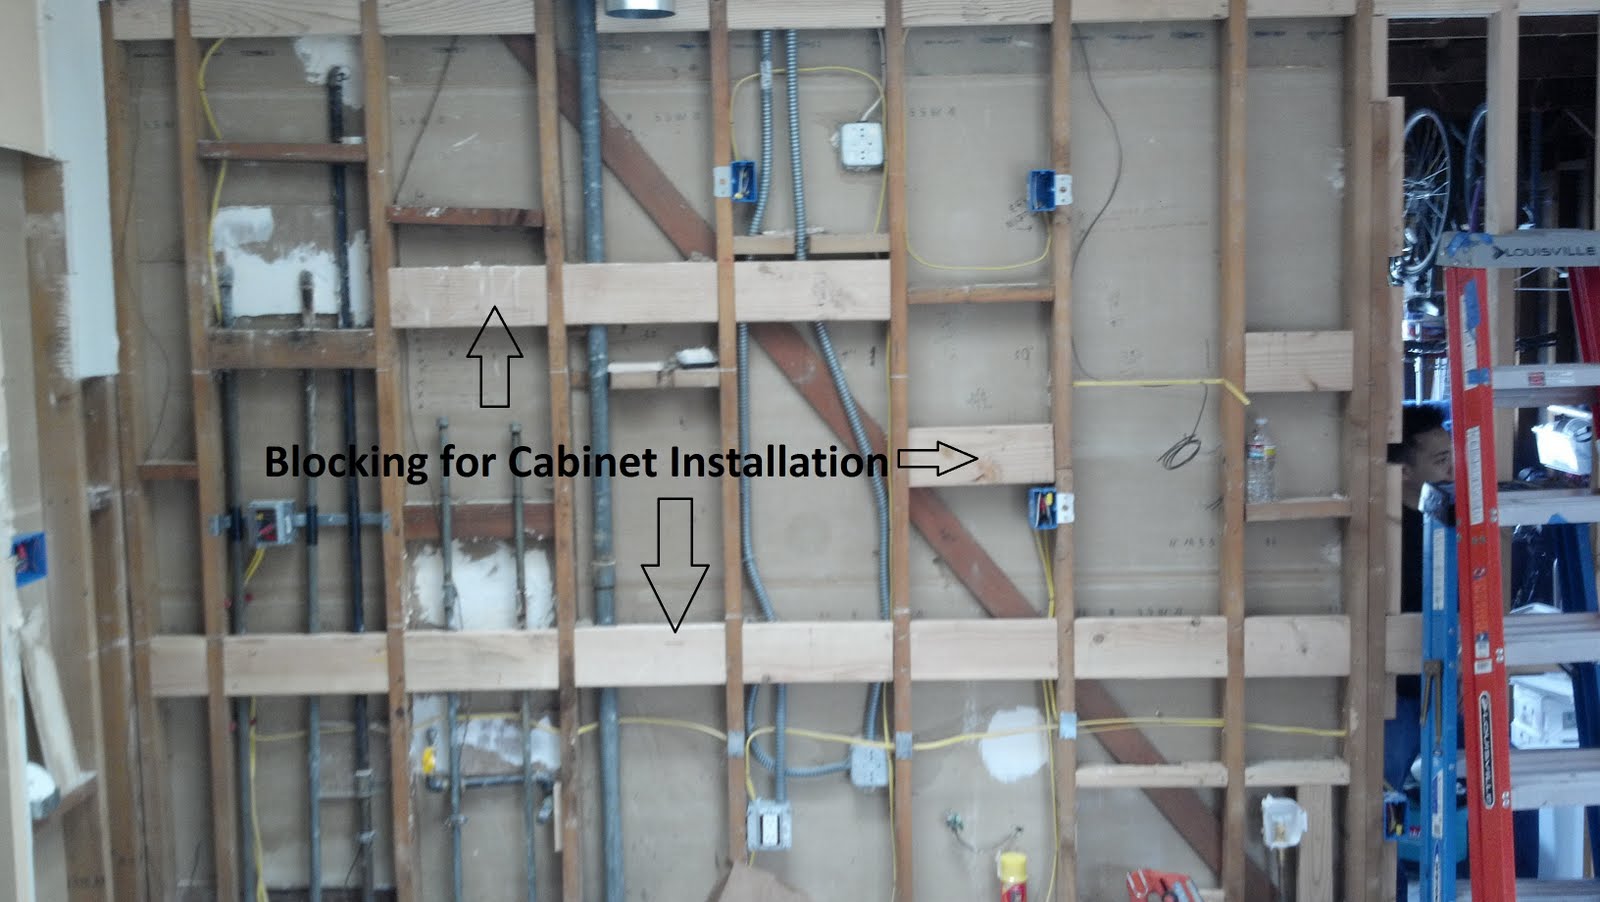
 Before you begin hanging your kitchen units, it is important to properly prepare the stud wall. Start by locating the studs using a stud finder. Once you have located the studs, mark them with a pencil. Next, use a level to draw a horizontal line where you want the bottom of your units to be. This will ensure that your units are hung evenly and straight. Lastly, drill pilot holes into the studs along the horizontal line to make it easier to screw in the units later on.
Choosing the Right Hardware
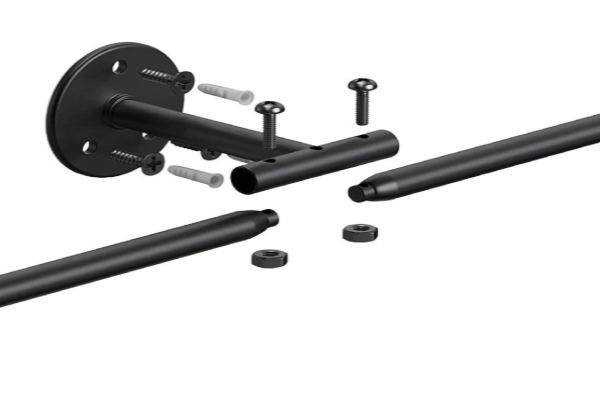 When hanging kitchen units on a stud wall, it is crucial to use the right hardware.
Heavy-duty screws and wall anchors
are essential for a secure installation. Make sure to choose screws that are long enough to go through the unit and into the stud, providing enough support for the weight of the unit and its contents.
When hanging kitchen units on a stud wall, it is crucial to use the right hardware.
Heavy-duty screws and wall anchors
are essential for a secure installation. Make sure to choose screws that are long enough to go through the unit and into the stud, providing enough support for the weight of the unit and its contents.
Installing the Units
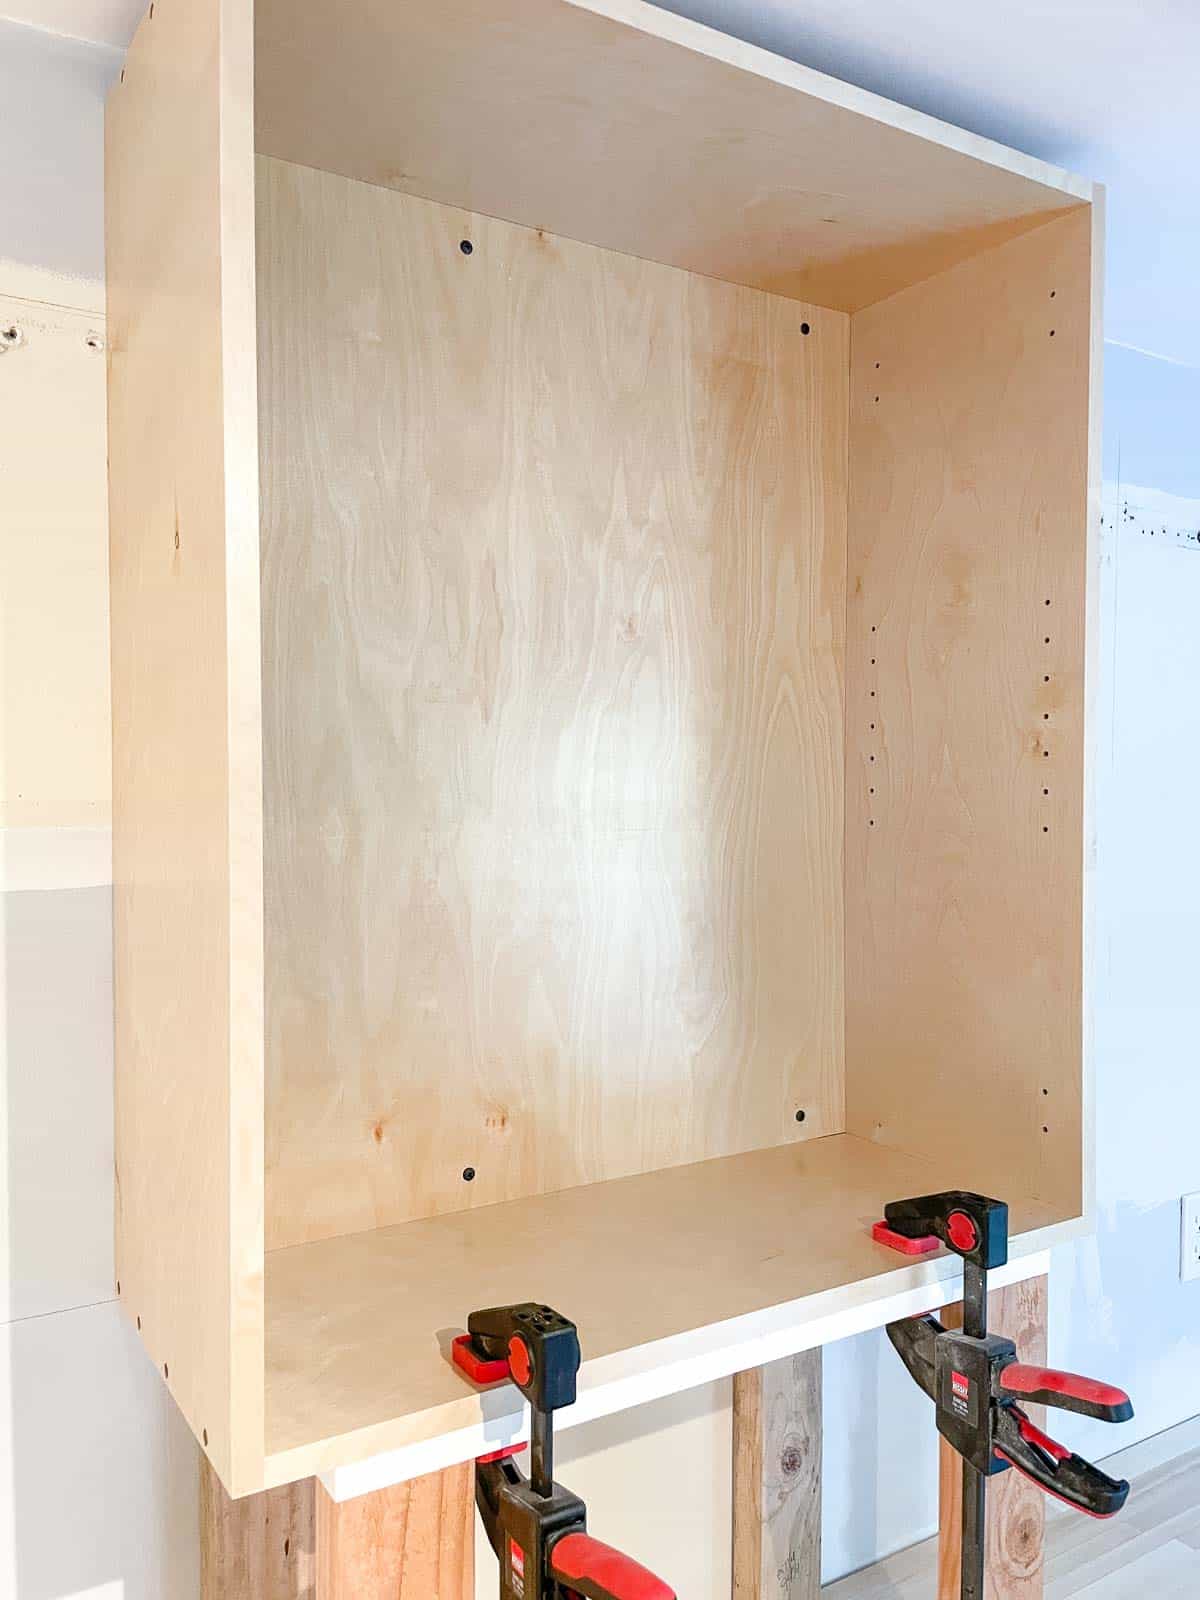
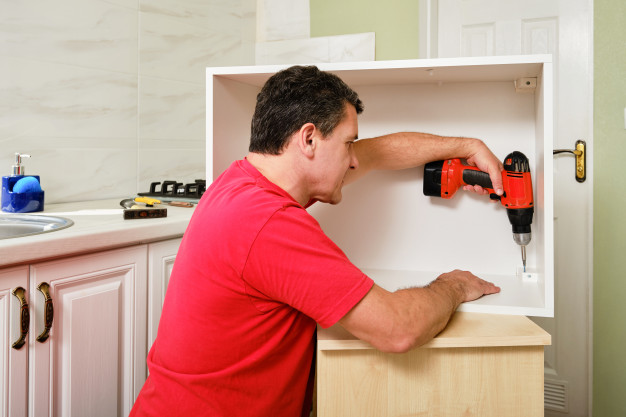
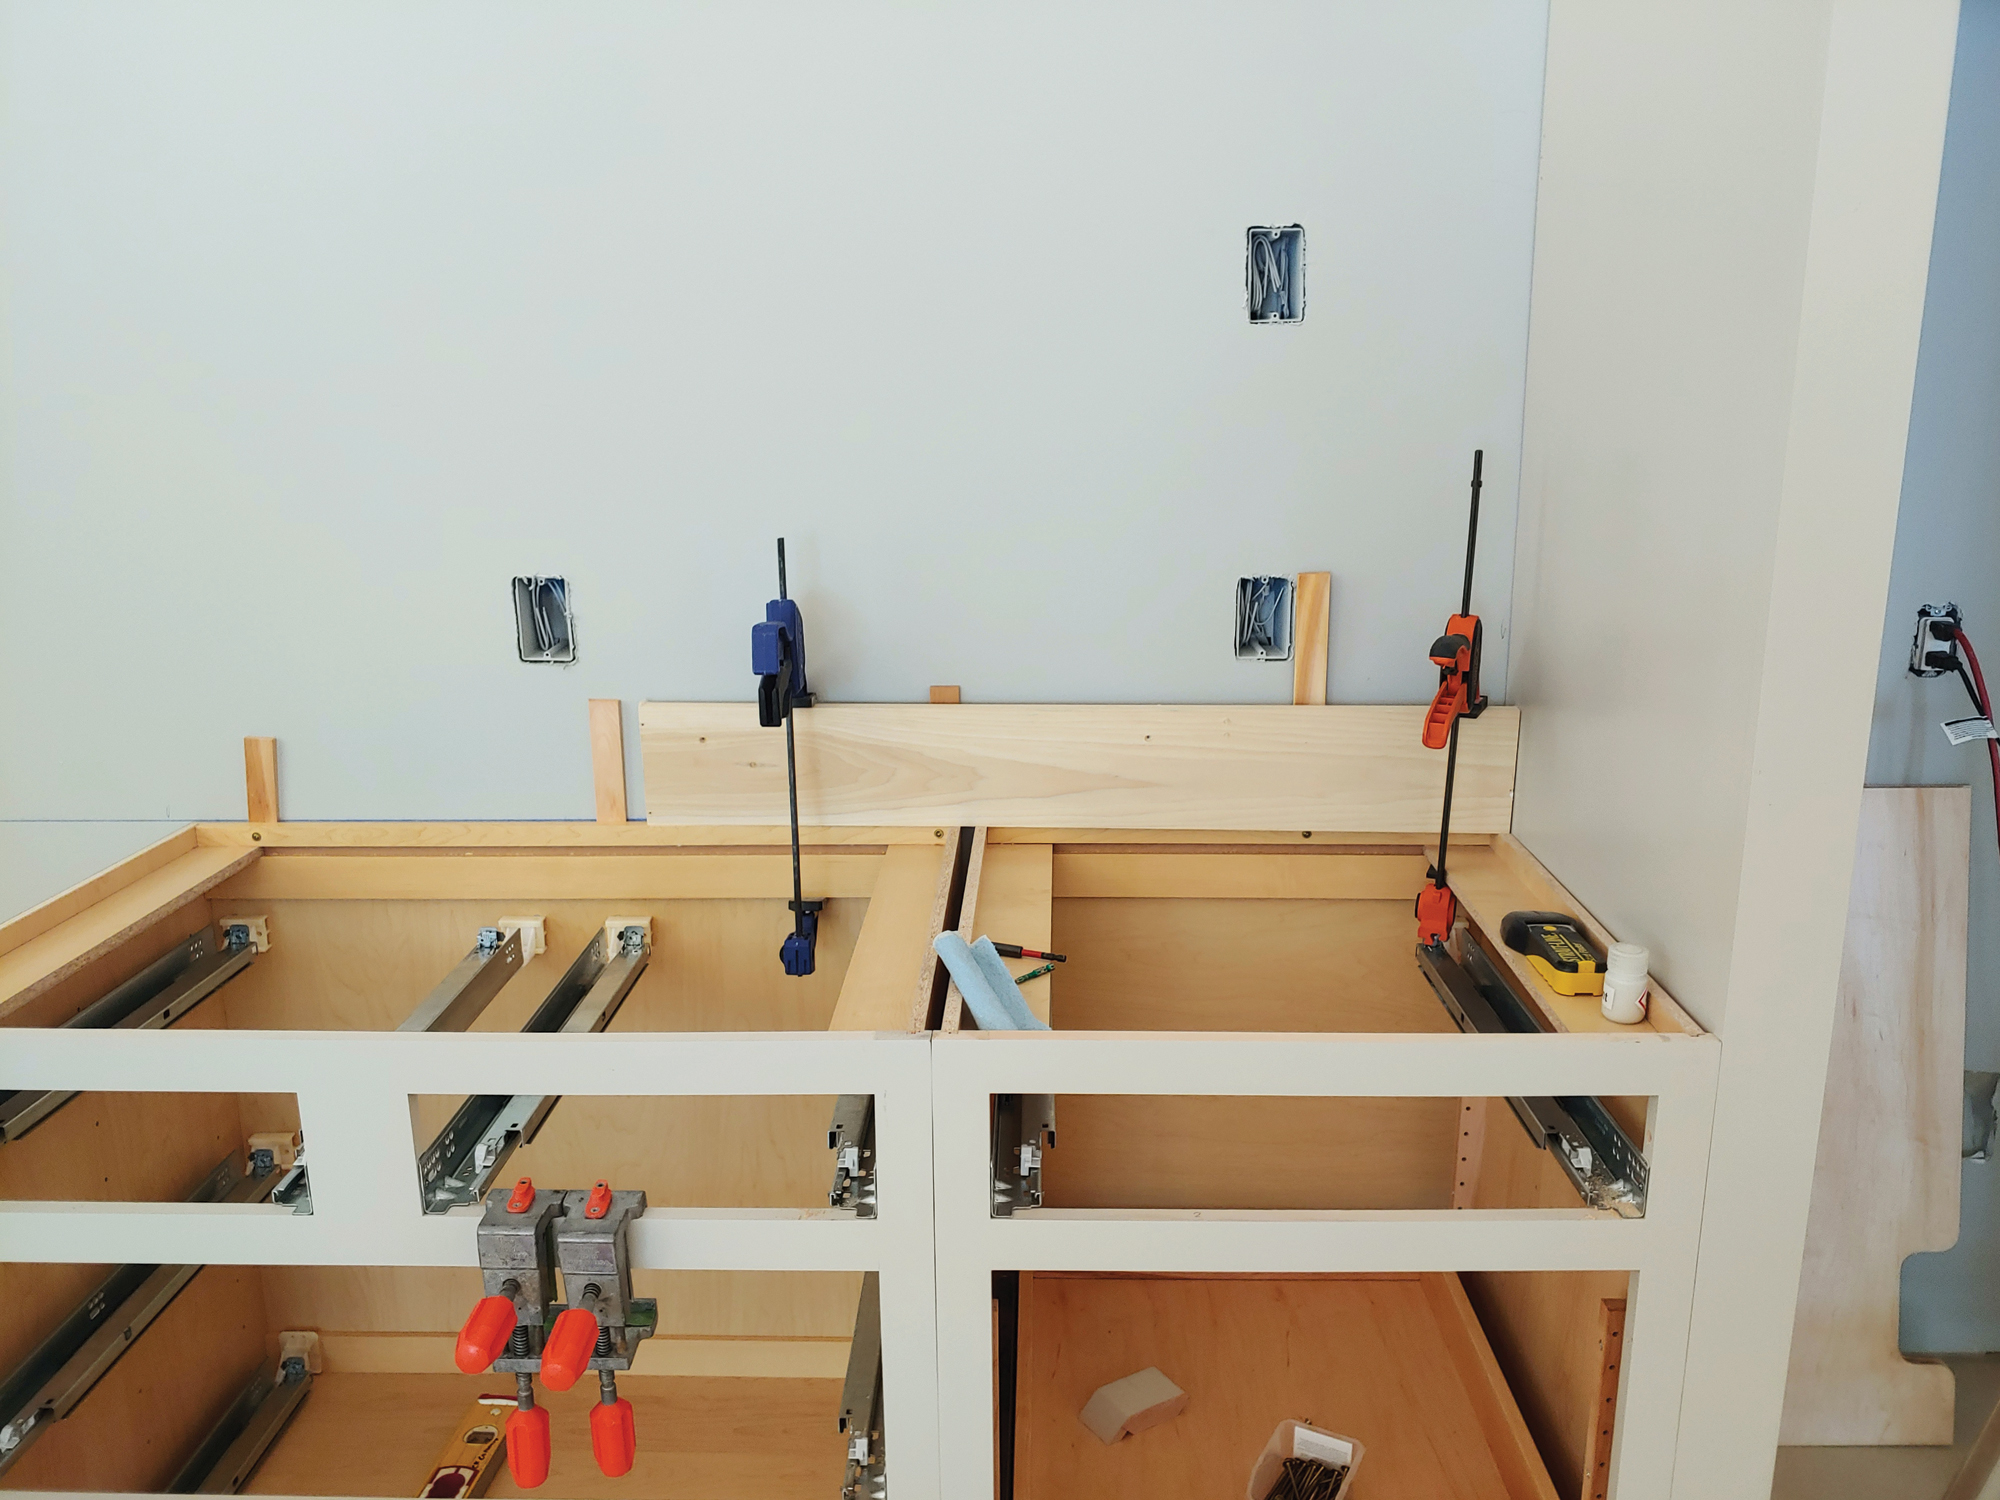
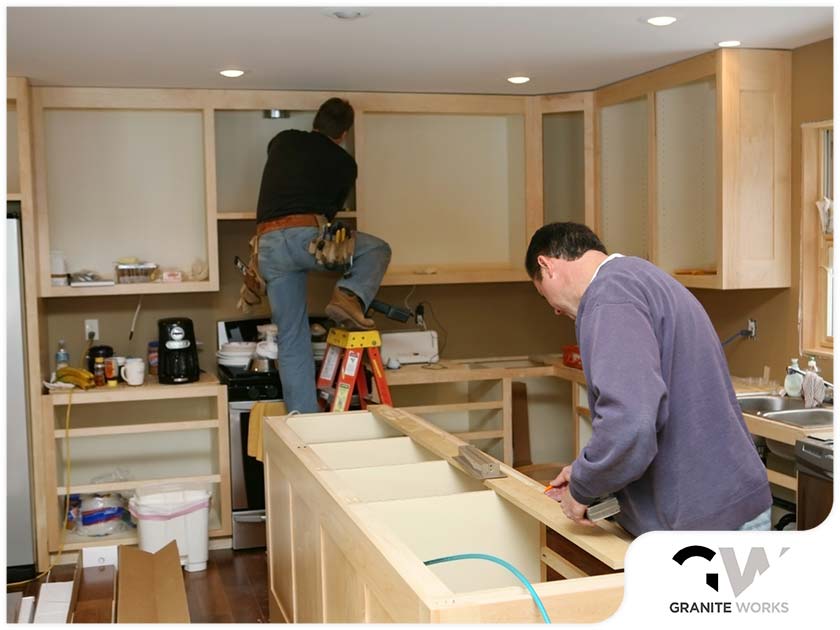
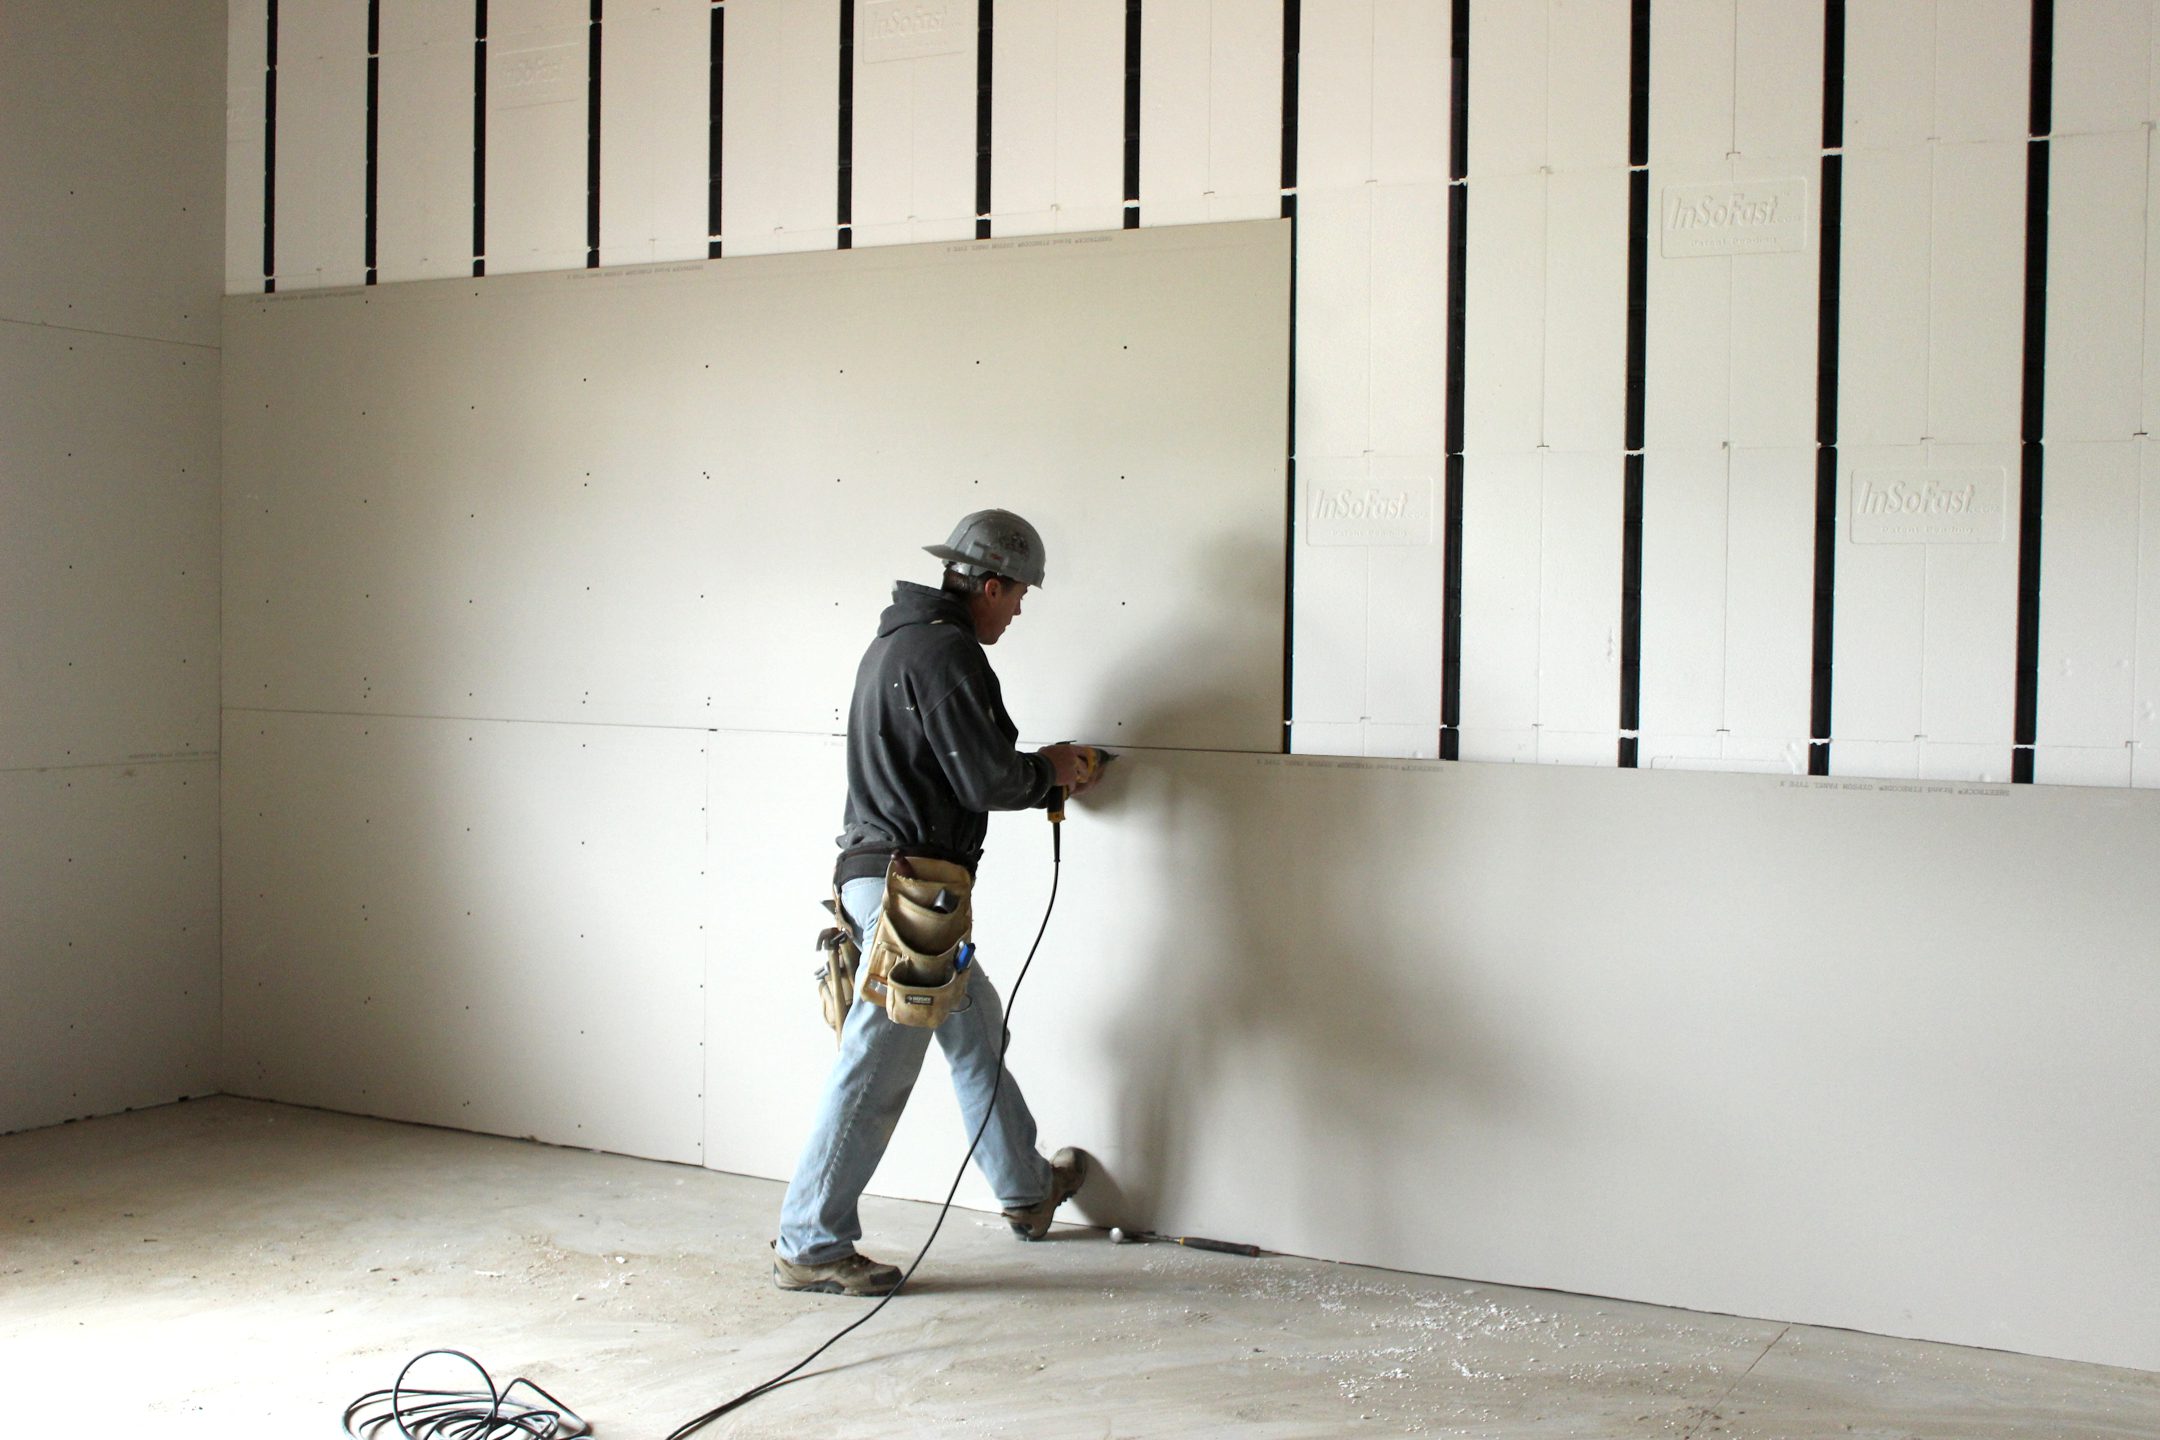
 Now that you have prepared the stud wall and have the right hardware, it's time to install the units. Begin by attaching a bracket to the back of the unit, making sure it is level with the bottom of the unit. Then, use a drill to attach the unit to the wall, making sure to screw into the pilot holes you created earlier. Repeat this process for each unit, making sure they are evenly spaced and level.
Final Tips and Considerations
 When hanging kitchen units on a stud wall, it is important to keep a few things in mind. Firstly, make sure to evenly distribute the weight of the units and their contents to avoid any sagging or damage to the wall. Additionally, if you are hanging heavy units, it may be necessary to use additional brackets for added support. Finally, always double check the levelness of each unit before securing it to the wall.
In conclusion, hanging kitchen units on a stud wall may seem like a daunting task, but with the right preparation and hardware, it can be a simple and secure process. By following these steps and considering the weight and distribution of the units, you can create a functional and stylish kitchen that will stand the test of time. So go ahead and give your kitchen a makeover by hanging those beautiful units on your stud wall.
When hanging kitchen units on a stud wall, it is important to keep a few things in mind. Firstly, make sure to evenly distribute the weight of the units and their contents to avoid any sagging or damage to the wall. Additionally, if you are hanging heavy units, it may be necessary to use additional brackets for added support. Finally, always double check the levelness of each unit before securing it to the wall.
In conclusion, hanging kitchen units on a stud wall may seem like a daunting task, but with the right preparation and hardware, it can be a simple and secure process. By following these steps and considering the weight and distribution of the units, you can create a functional and stylish kitchen that will stand the test of time. So go ahead and give your kitchen a makeover by hanging those beautiful units on your stud wall.