Are you tired of looking at your old, stained, or scratched bathroom sink? Do you want to give your bathroom a modern and updated look without breaking the bank? Look no further, because glazing your bathroom sink is the perfect solution for you. Glazing, also known as refinishing or reglazing, is a process of applying a new layer of finish to your sink, giving it a fresh and new appearance. It is a cost-effective and simple DIY project that can transform the look of your bathroom in just a few hours. In this article, we will guide you through the process of glazing a bathroom sink and provide you with all the information you need to achieve a professional and long-lasting result. Glazing a Bathroom Sink: An Easy and Affordable Upgrade for Your Bathroom


Glazing a bathroom sink:


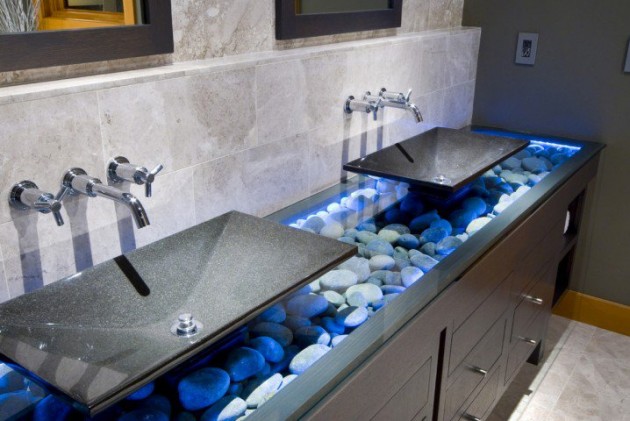
Epoxy is a popular choice for glazing a bathroom sink due to its durability and waterproof properties. It is a two-part resin that creates a strong and long-lasting bond, making it an ideal choice for high-traffic areas like the bathroom. Epoxy comes in a variety of colors and finishes, and it can be mixed to create custom shades. It is also heat-resistant, making it perfect for sinks that are exposed to hot water. Glazing a bathroom sink with epoxy is a simple process that requires minimal preparation and can be done in just a few steps. Glazing a Bathroom Sink with Epoxy: A Durable and Waterproof Finish


Glazing a bathroom sink with epoxy


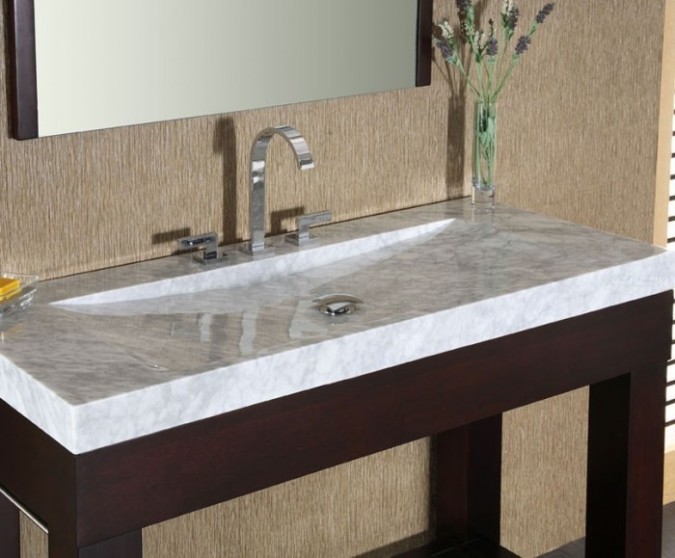
Glazing a bathroom sink yourself is not only budget-friendly but also allows you to get creative and personalize your sink. You can choose from a variety of colors and finishes, such as matte, glossy, or metallic, to achieve the desired look. You can also add patterns or designs using stencils or create a unique ombre effect by blending different shades. DIY glazing for a bathroom sink is a fun and rewarding project that can give your bathroom a personal touch. DIY Glazing for Bathroom Sink: Save Money and Get Creative


DIY glazing for bathroom sink


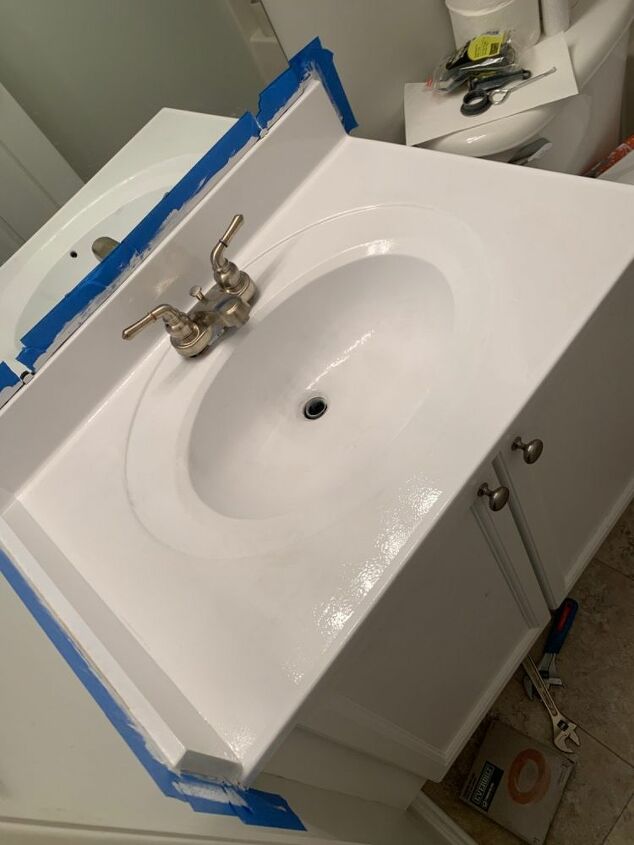
Glazing a bathroom sink is a simple process that requires a few tools and materials. Before starting, make sure to gather all the necessary items, including epoxy, paintbrush, sandpaper, and protective gear. Now, let's get into the steps of glazing a bathroom sink: Step 1: Clean and Prep – The first step is to thoroughly clean the sink with a degreaser to remove any residue or dirt. Then, lightly sand the surface with sandpaper to create a rough texture that allows the new finish to adhere better. Make sure to wear protective gear, including gloves and a mask, to avoid any contact with harmful chemicals. Step 2: Mix the Epoxy – Follow the instructions on the epoxy package to mix the resin and hardener in the correct proportions. Use a stir stick to mix them together until they are well combined. Step 3: Apply the Epoxy – Using a paintbrush, apply a thin and even layer of epoxy on the sink's surface, starting from the bottom and working your way up. Make sure to cover all areas, including the edges and corners, and smooth out any drips or bubbles. Step 4: Let it Dry – Leave the epoxy to dry for the recommended time on the package, usually 24 hours. Avoid using the sink during this time to allow the finish to cure properly. Step 5: Sand and Repeat – After the first coat is dry, lightly sand the surface with fine-grit sandpaper to remove any imperfections and create a smooth finish. Then, apply a second coat of epoxy following the same process. You can add more coats for a thicker finish or to achieve a specific color or effect. Step 6: Let it Cure – Leave the sink to cure for at least 72 hours before using it. This allows the epoxy to fully harden and provide a durable and waterproof finish. How to Glaze a Bathroom Sink: Step-by-Step Guide


How to glaze a bathroom sink


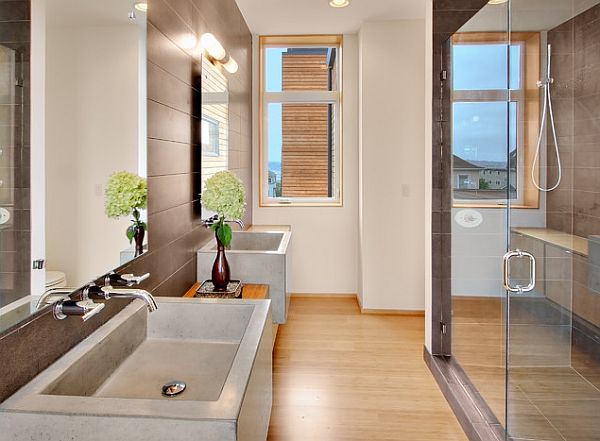
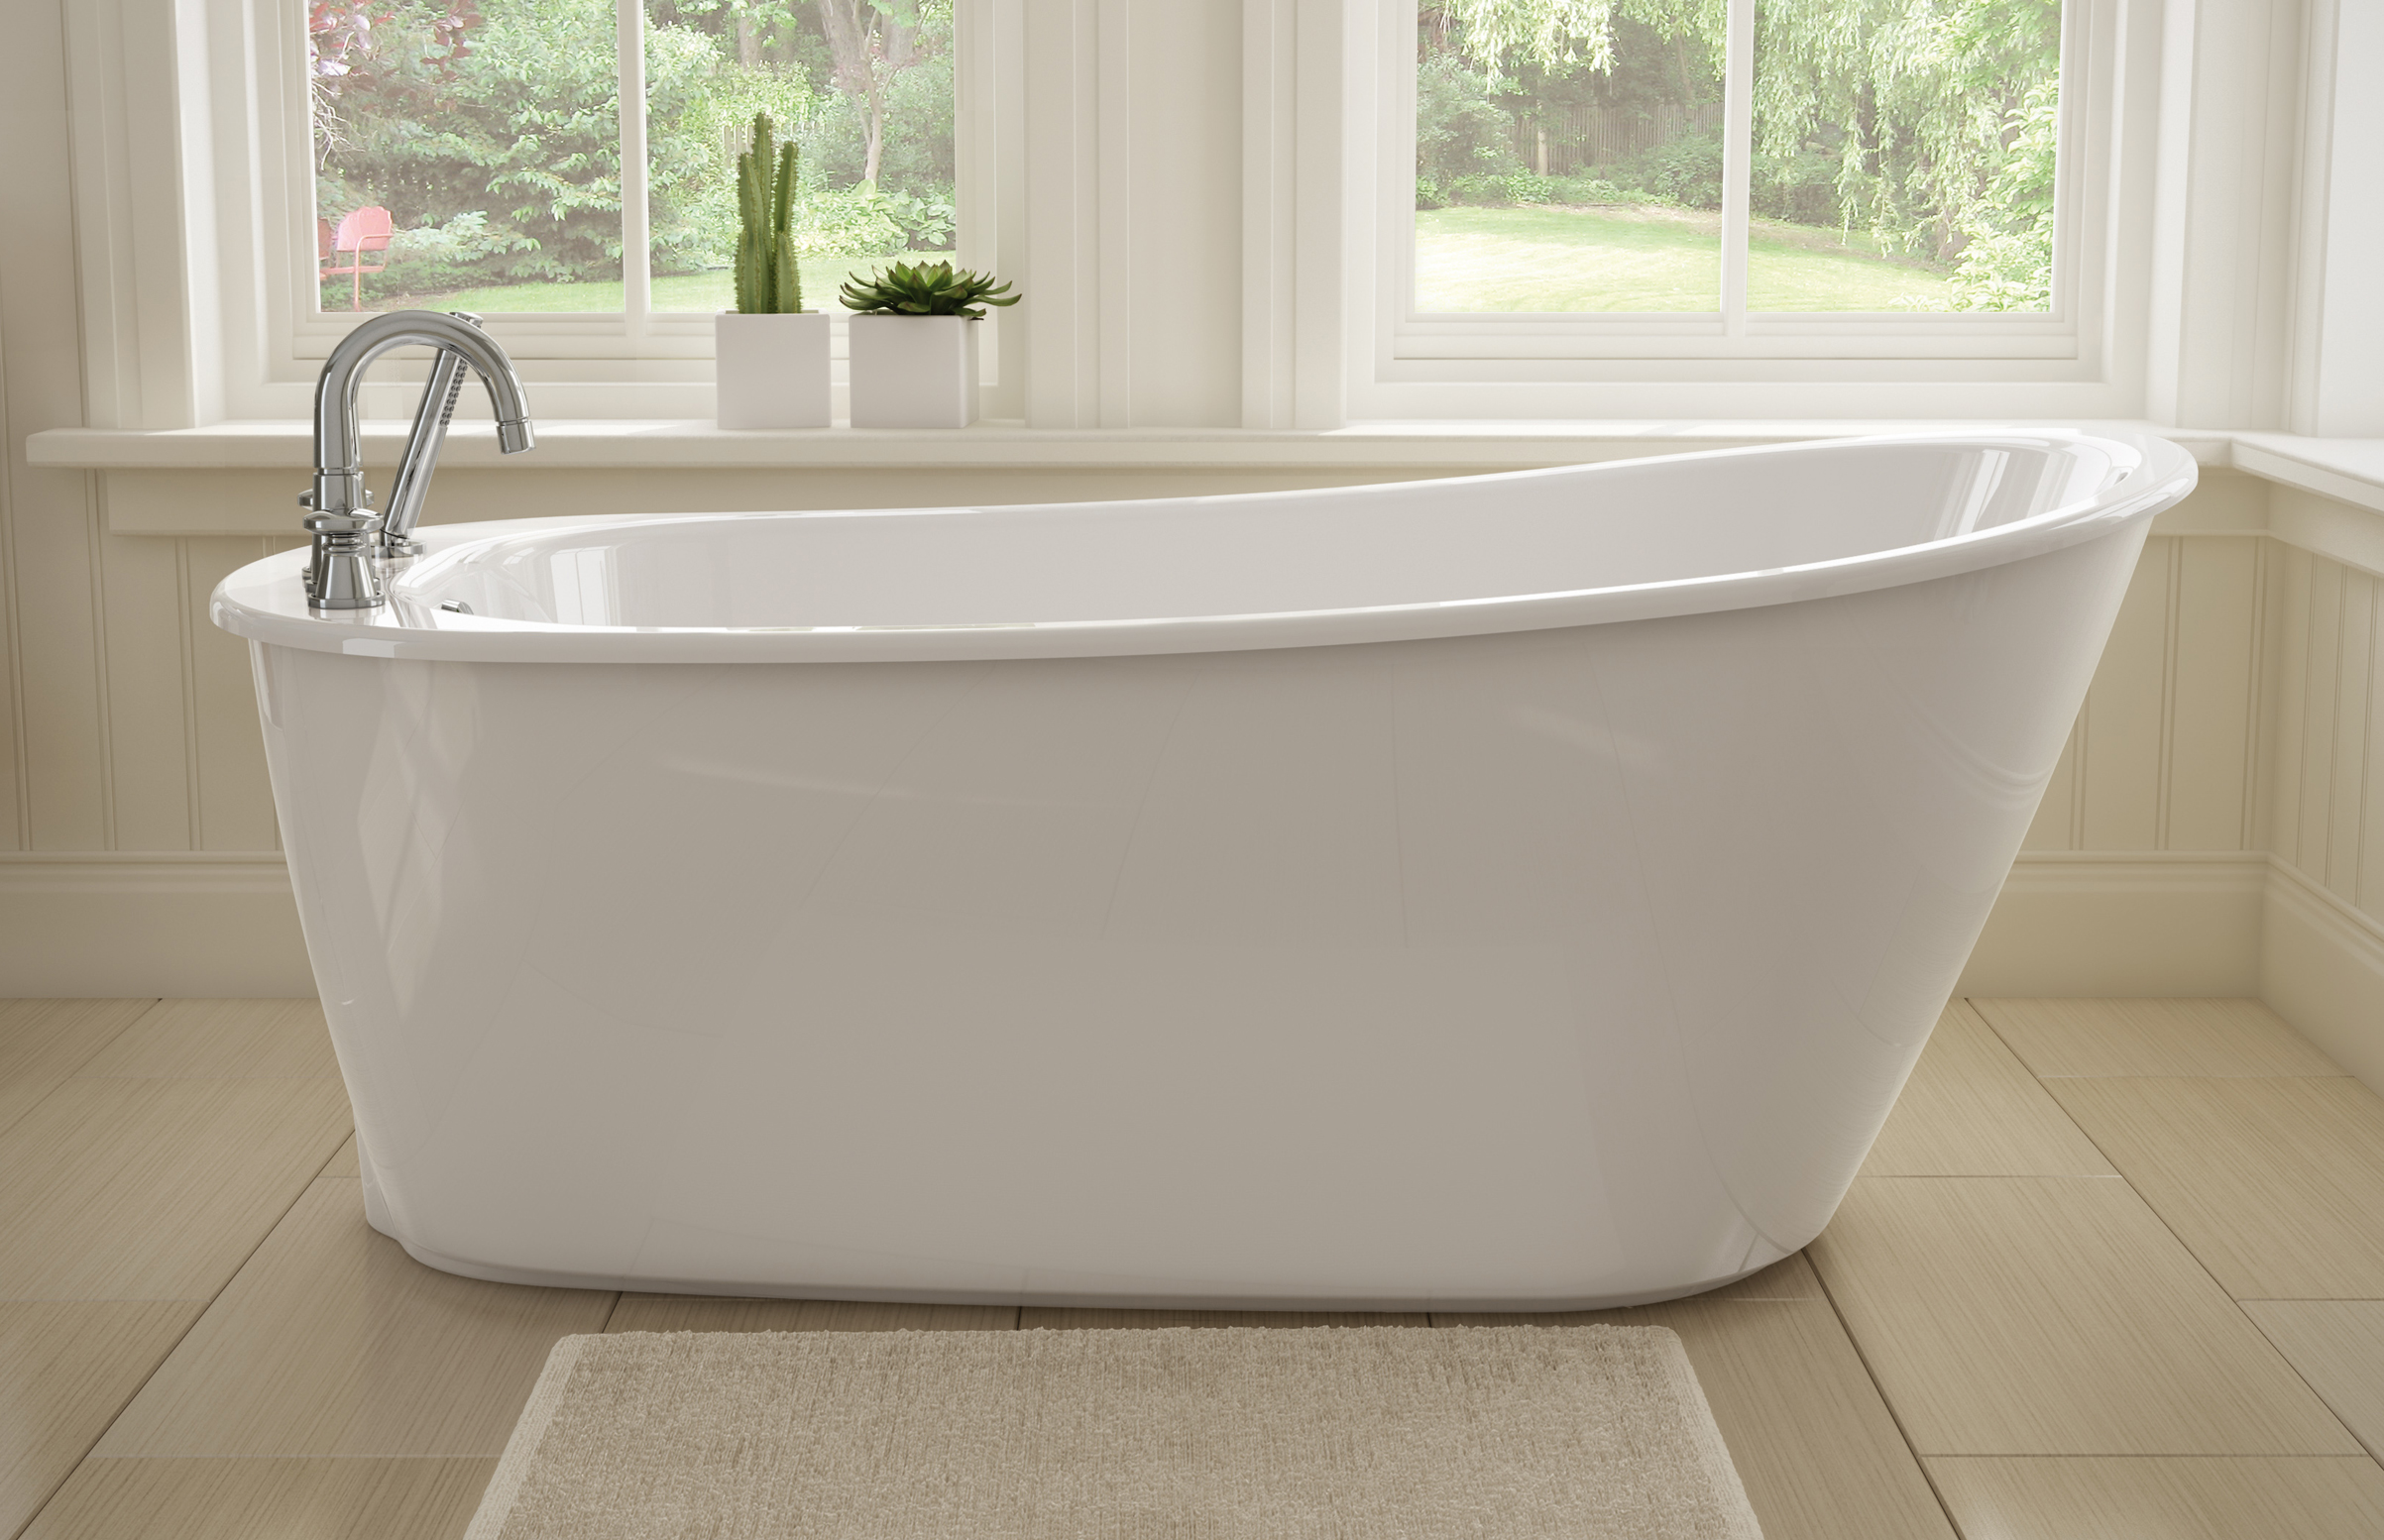
Glazing a bathroom sink is an excellent way to give your bathroom a modern and updated look without the hassle and cost of replacing it. With the wide range of colors and finishes available, you can easily match your sink to your bathroom's overall style and decor. Whether you want a sleek and minimalist look or a bold and colorful one, glazing allows you to achieve it quickly and easily. Glazing a Bathroom Sink for a Modern Look: Update Your Bathroom in a Snap


Glazing a bathroom sink for a modern look


Refinishing your bathroom sink is significantly cheaper than buying a new one, making it a budget-friendly option for updating your bathroom. Glazing a bathroom sink yourself also saves you the cost of hiring a professional, making it even more affordable. With just a few dollars, you can give your bathroom a brand new sink that looks like it cost much more. Glazing a Bathroom Sink for a Budget-Friendly Update: Save Money and Get a New Sink


Glazing a bathroom sink for a budget-friendly update


If you prefer not to use epoxy, you can also glaze your bathroom sink with ceramic paint. Ceramic paint is water-resistant, heat-resistant, and long-lasting, making it a suitable option for glazing a bathroom sink. It comes in a variety of colors and finishes and can be applied using a paintbrush or spray gun. The process is similar to glazing with epoxy, and you can achieve a professional result with a little bit of practice. Glazing a Bathroom Sink with Ceramic Paint: An Alternative to Epoxy


Glazing a bathroom sink with ceramic paint


Let's quickly recap the steps for glazing a bathroom sink: Step 1: Clean and Prep – Clean the sink and sand the surface. Step 2: Mix the Epoxy – Mix the epoxy according to the package instructions. Step 3: Apply the Epoxy – Brush on a thin and even layer of epoxy on the sink's surface. Step 4: Let it Dry – Allow the epoxy to dry for 24 hours. Step 5: Sand and Repeat – Sand the surface and apply a second coat of epoxy. Step 6: Let it Cure – Leave the sink to cure for 72 hours. Step-by-Step Guide to Glazing a Bathroom Sink: Recap


Step-by-step guide to glazing a bathroom sink


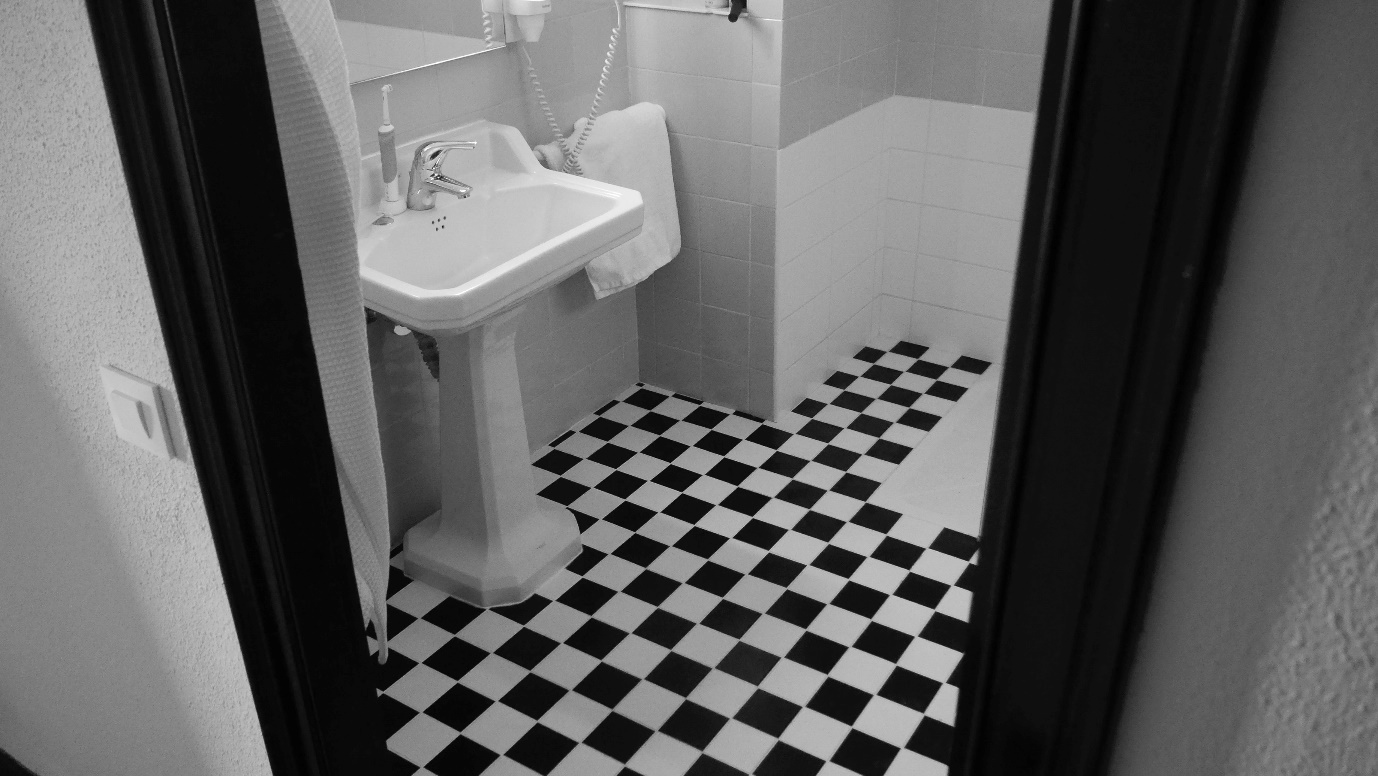
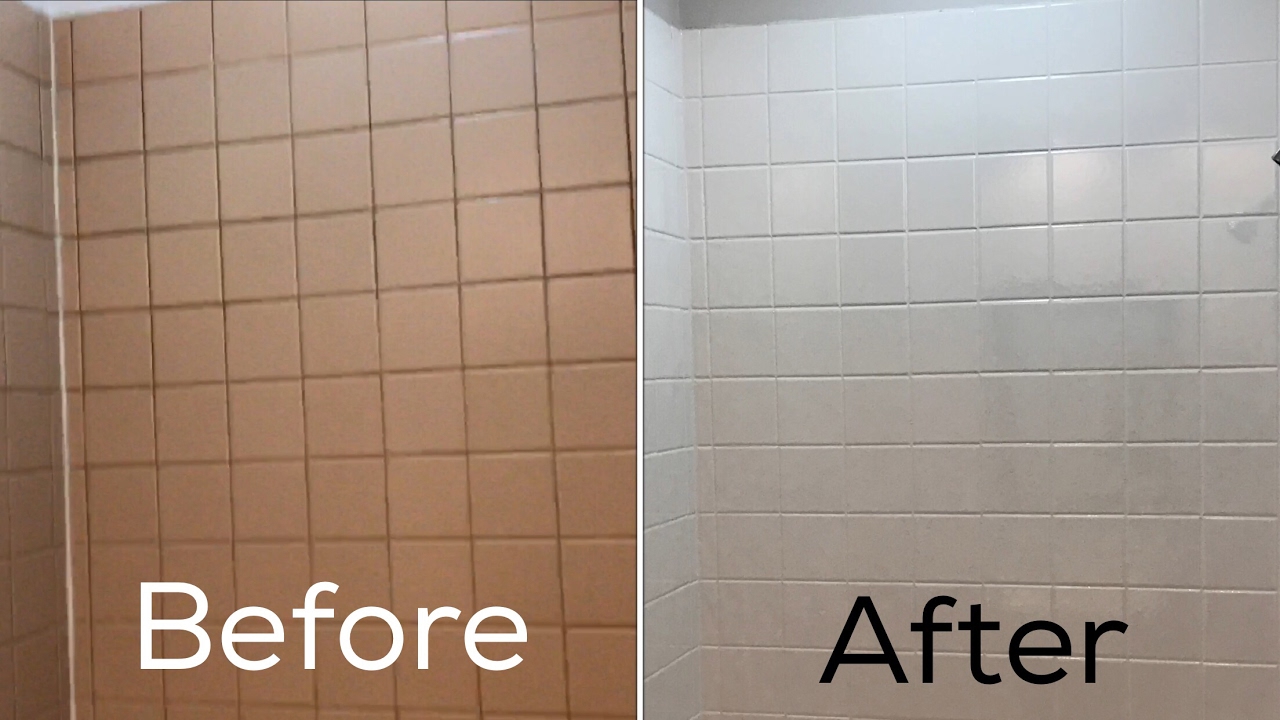
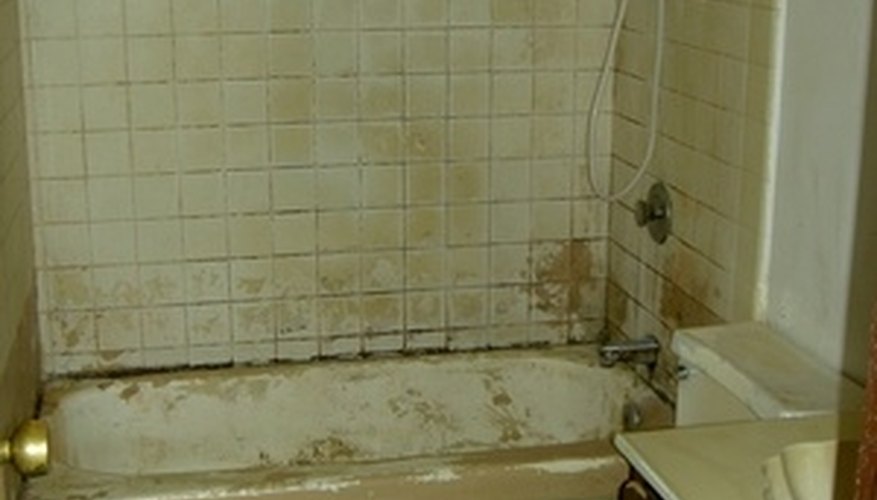
Glazing a bathroom sink is an excellent way to cover up any scratches, stains, or imperfections on your sink's surface. The new finish will create a smooth and flawless look, giving your sink a brand new appearance. This is especially useful for older or worn-out sinks that cannot be easily replaced. Glazing allows you to extend the life of your sink and make it look as good as new. Glazing a Bathroom Sink to Cover Up Scratches and Stains


Glazing a bathroom sink to cover up scratches and stains


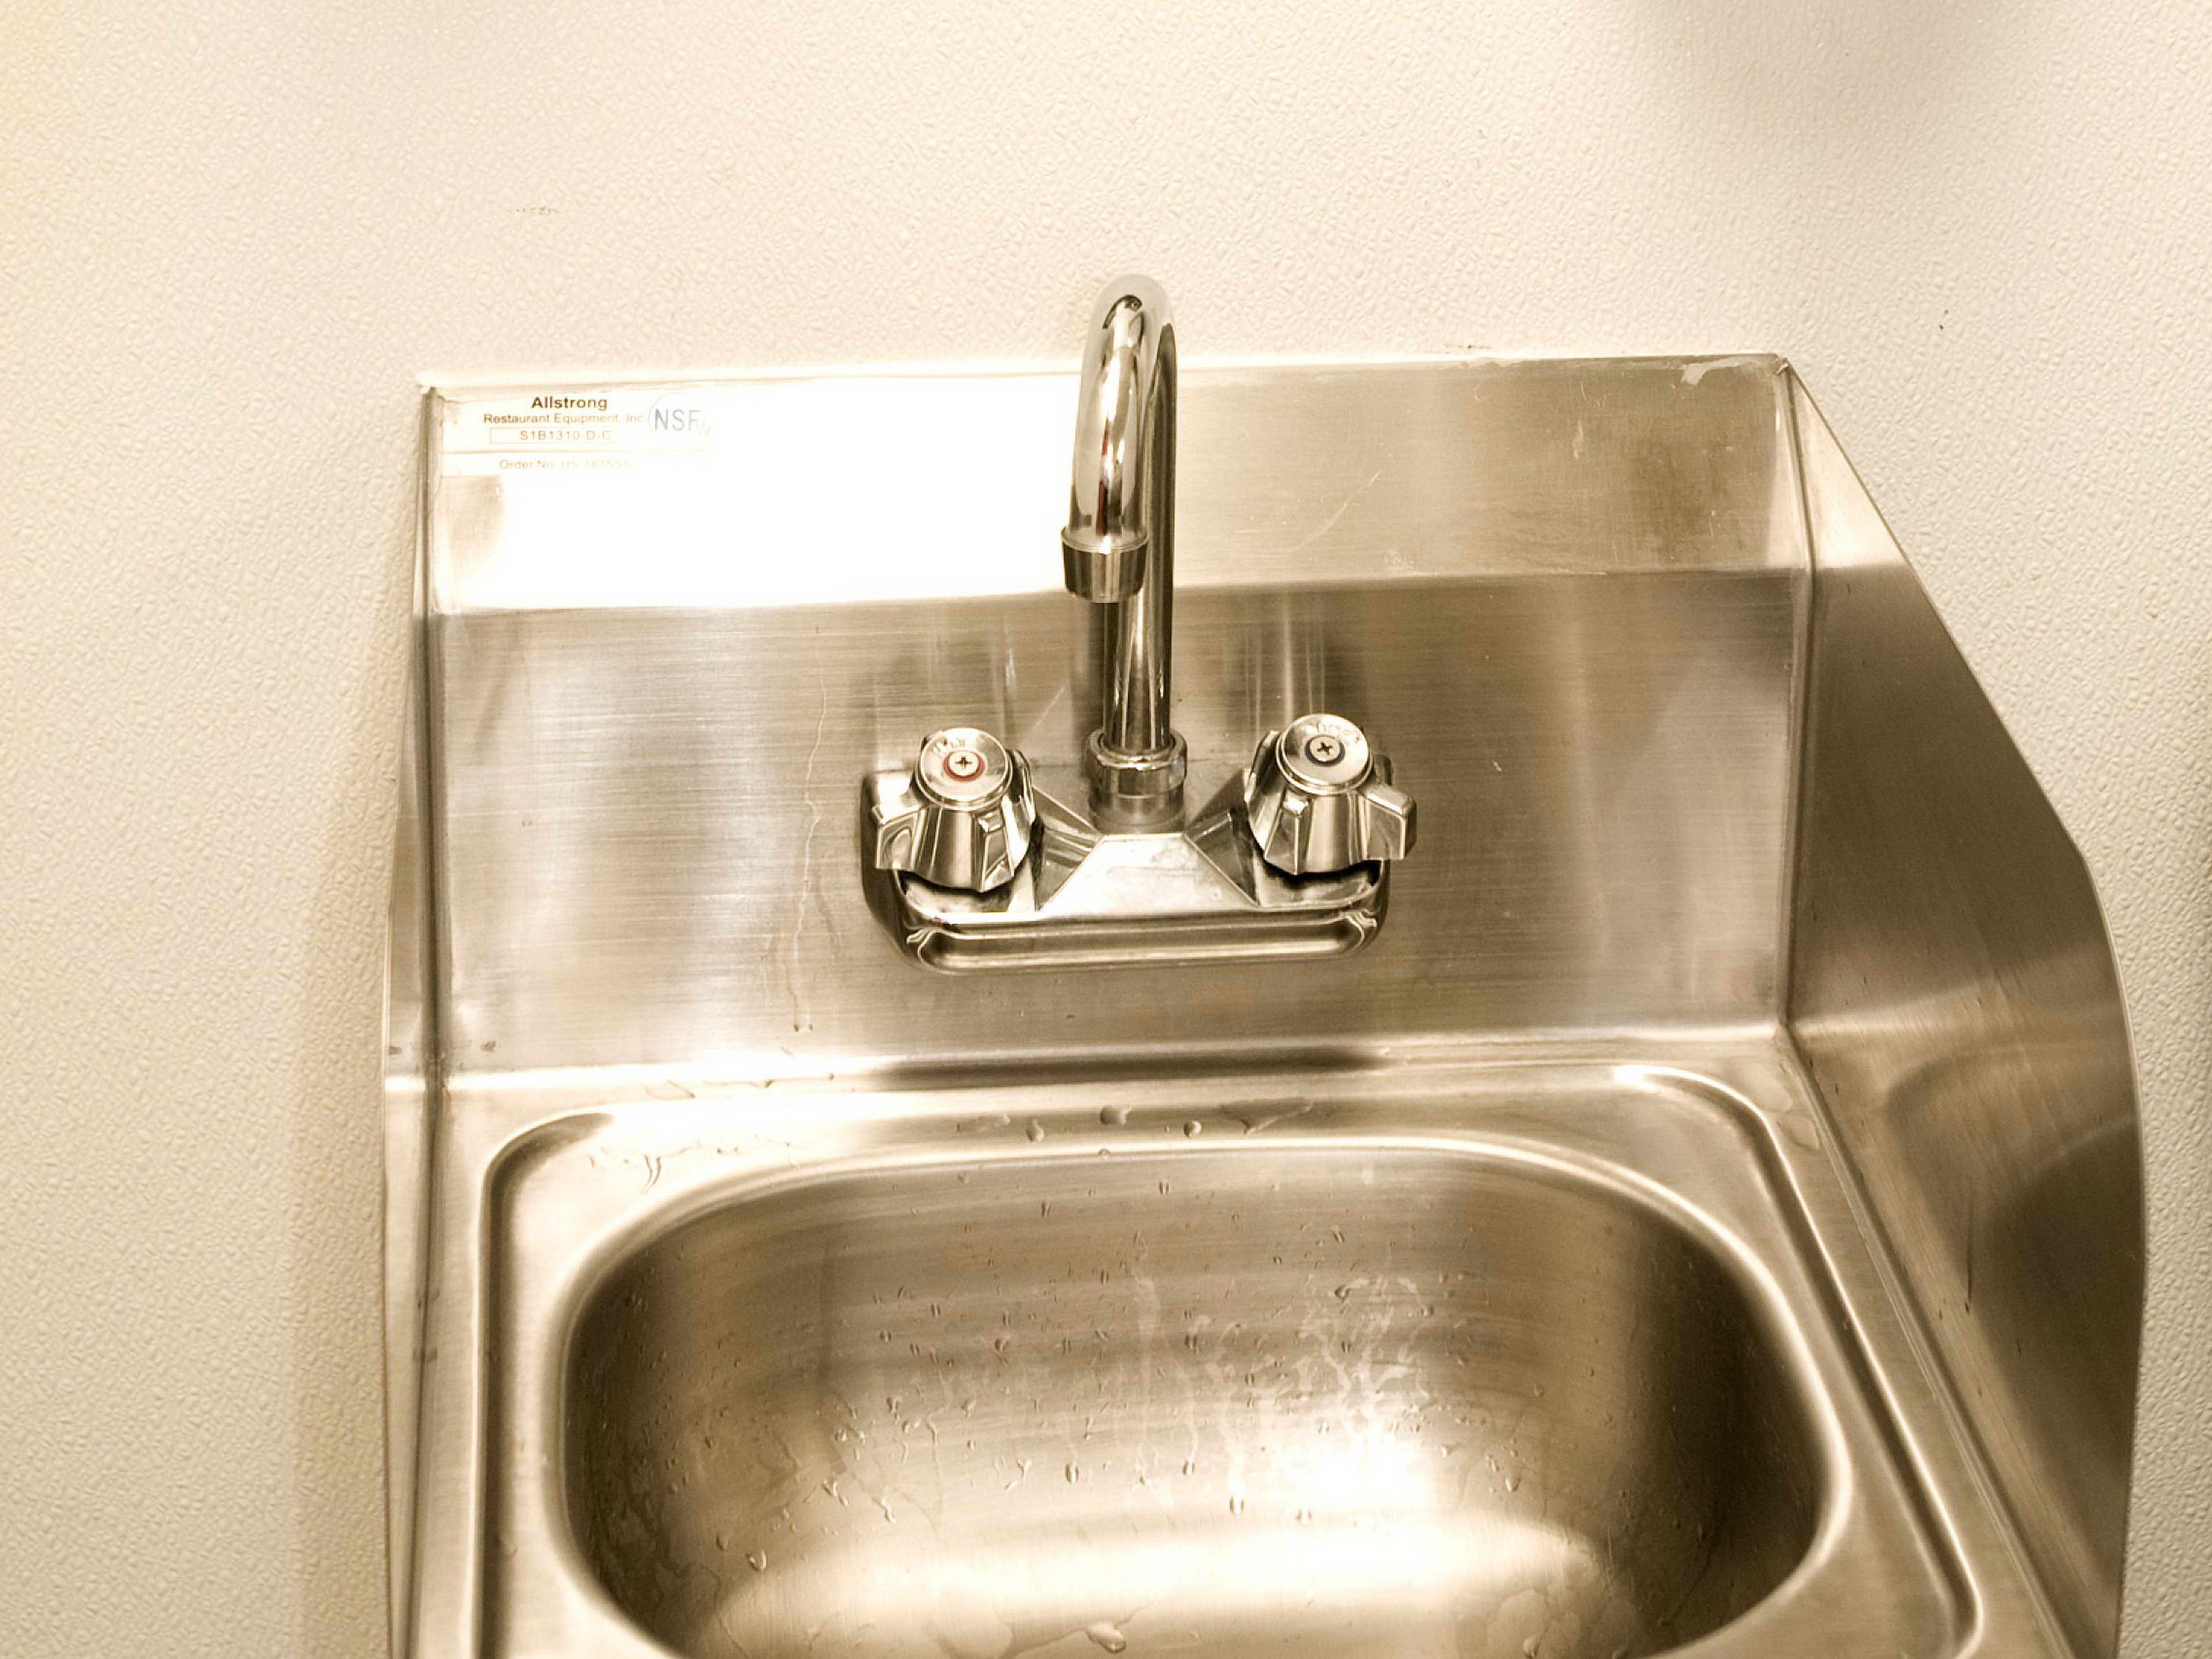
As mentioned earlier, glazing a bathroom sink with epoxy or ceramic paint provides a durable and waterproof finish. This is ideal for a bathroom sink that is constantly exposed to water, soap, and other bathroom products. The new finish will protect your sink from wear and tear, making it last longer and saving you money in the long run. Glazing a Bathroom Sink for a Durable and Waterproof Finish


Glazing a bathroom sink for a durable and waterproof finish


What is Glazing a Bathroom Sink?

Introduction
 Glazing a bathroom sink is a process of refinishing the surface of the sink with a special glaze. This involves applying a new layer of glaze over the existing surface, giving the sink a fresh and glossy finish. It is a popular technique used by homeowners and interior designers to give an old and worn out sink a new and updated look.
The Process of Glazing a Bathroom Sink
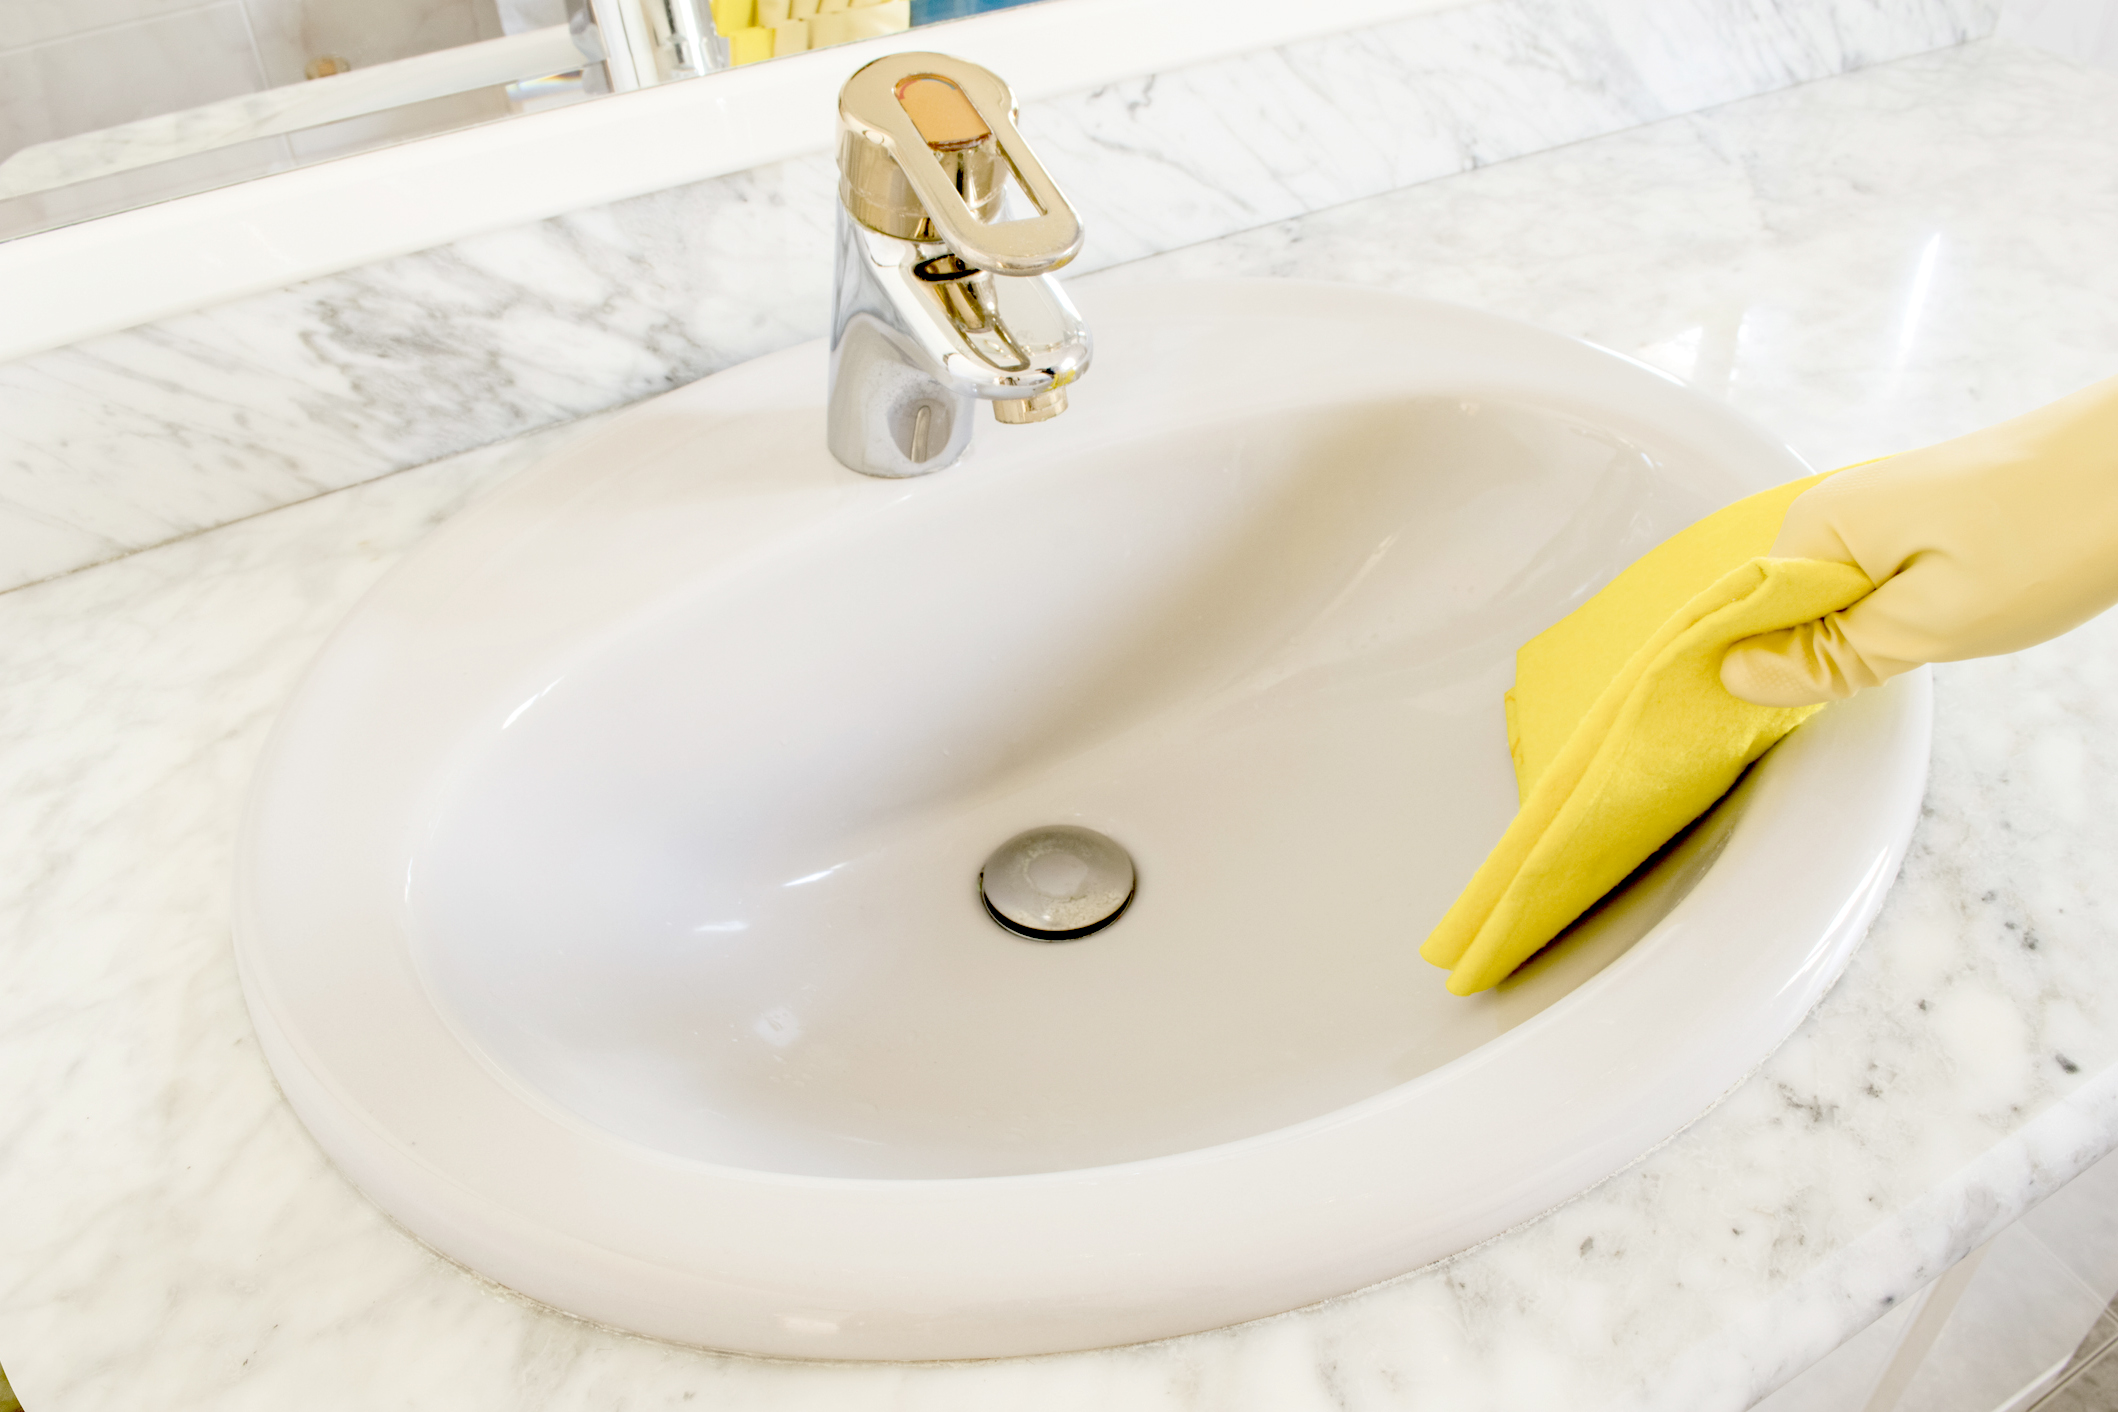
 The first step in glazing a bathroom sink is to clean and prep the surface. This includes removing any dirt, grime, or soap scum from the sink. It is important to thoroughly clean the sink to ensure that the glaze adheres properly.
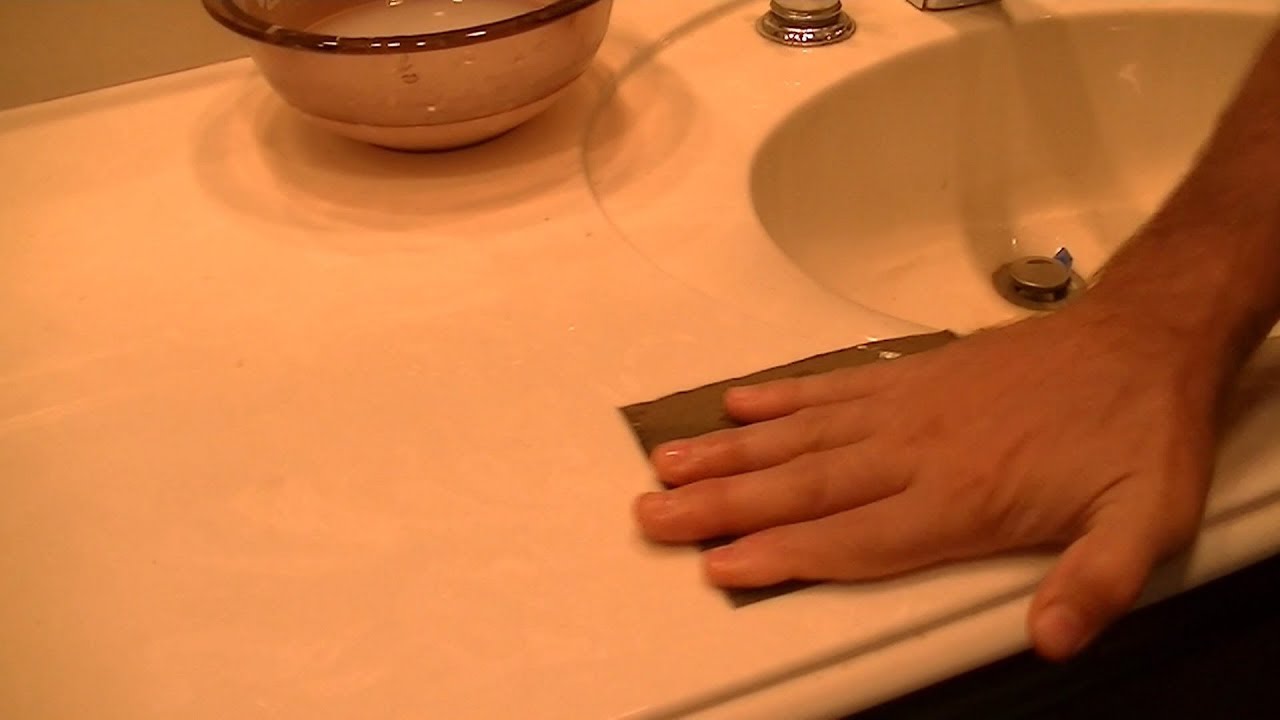
Next, any chips, cracks, or scratches on the sink should be repaired before glazing. This can be done by filling in the damaged areas with a putty or filler and sanding it down until it is smooth.
Once the sink is clean and repaired, the glaze can be applied. The glaze comes in a variety of colors and finishes, so you can choose the one that best suits your bathroom design. It is important to follow the manufacturer's instructions when applying the glaze, as it may require multiple coats and drying time in between.
After the glaze has been applied, the sink will need to cure for a period of time before it can be used again. This can take anywhere from 24 hours to a few days, depending on the type of glaze used. It is important to avoid using the sink during this time to ensure the best results.
The first step in glazing a bathroom sink is to clean and prep the surface. This includes removing any dirt, grime, or soap scum from the sink. It is important to thoroughly clean the sink to ensure that the glaze adheres properly.
Next, any chips, cracks, or scratches on the sink should be repaired before glazing. This can be done by filling in the damaged areas with a putty or filler and sanding it down until it is smooth.
Once the sink is clean and repaired, the glaze can be applied. The glaze comes in a variety of colors and finishes, so you can choose the one that best suits your bathroom design. It is important to follow the manufacturer's instructions when applying the glaze, as it may require multiple coats and drying time in between.
After the glaze has been applied, the sink will need to cure for a period of time before it can be used again. This can take anywhere from 24 hours to a few days, depending on the type of glaze used. It is important to avoid using the sink during this time to ensure the best results.
The Benefits of Glazing a Bathroom Sink
 Glazing a bathroom sink has many benefits, making it a popular choice for homeowners looking to update their bathroom design. Firstly, it is a cost-effective alternative to replacing the entire sink, which can be quite expensive. Glazing can also be done in a shorter amount of time, with less mess and disruption compared to replacing a sink.
Moreover, glazing a bathroom sink can give it a new and updated look, adding value to your home. It also provides a durable and long-lasting finish, making it a practical choice for high-traffic bathrooms.
Glazing a bathroom sink has many benefits, making it a popular choice for homeowners looking to update their bathroom design. Firstly, it is a cost-effective alternative to replacing the entire sink, which can be quite expensive. Glazing can also be done in a shorter amount of time, with less mess and disruption compared to replacing a sink.
Moreover, glazing a bathroom sink can give it a new and updated look, adding value to your home. It also provides a durable and long-lasting finish, making it a practical choice for high-traffic bathrooms.
In Conclusion
 Glazing a bathroom sink is a simple and effective way to give your bathroom a fresh and updated look. It is a cost-effective and time-saving alternative to replacing the sink, with many benefits such as durability and improved aesthetics. If you are looking to spruce up your bathroom design, consider glazing your sink for a beautiful and long-lasting finish.
:max_bytes(150000):strip_icc()/industrial-style-living-rooms-2-amy-bartlam-23-e940ba7fa1c44076be9b35efdb04730f.png)