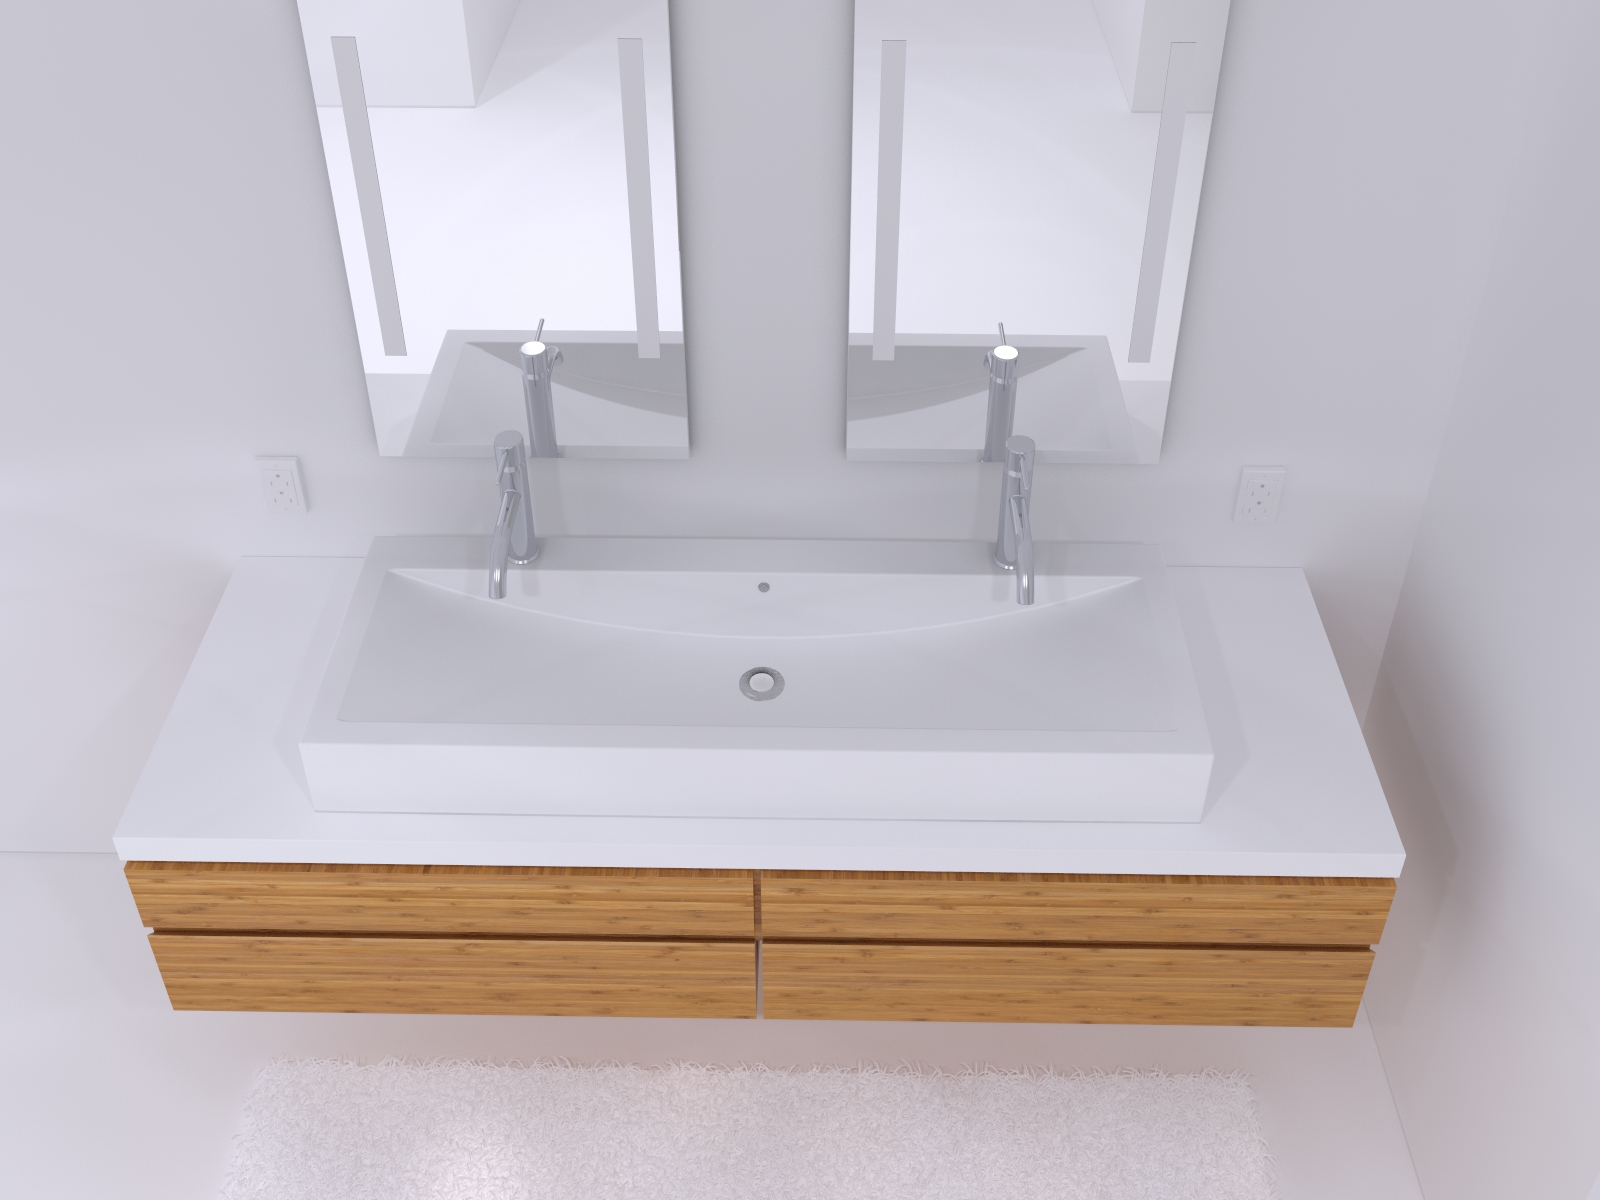
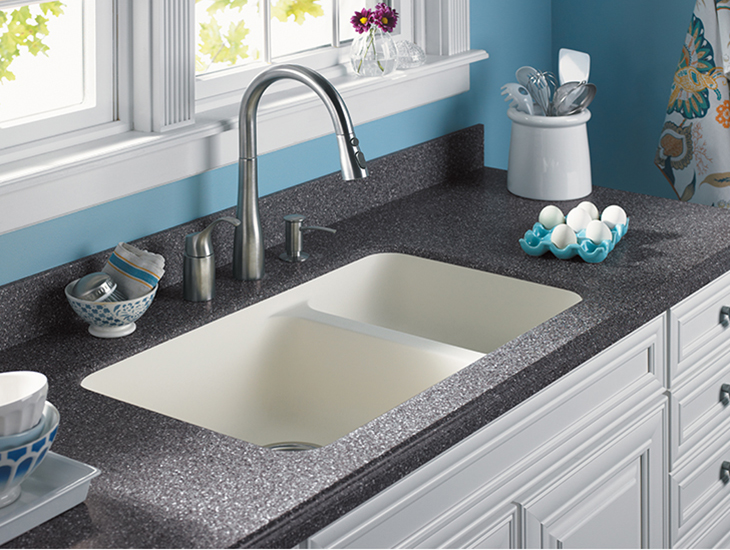
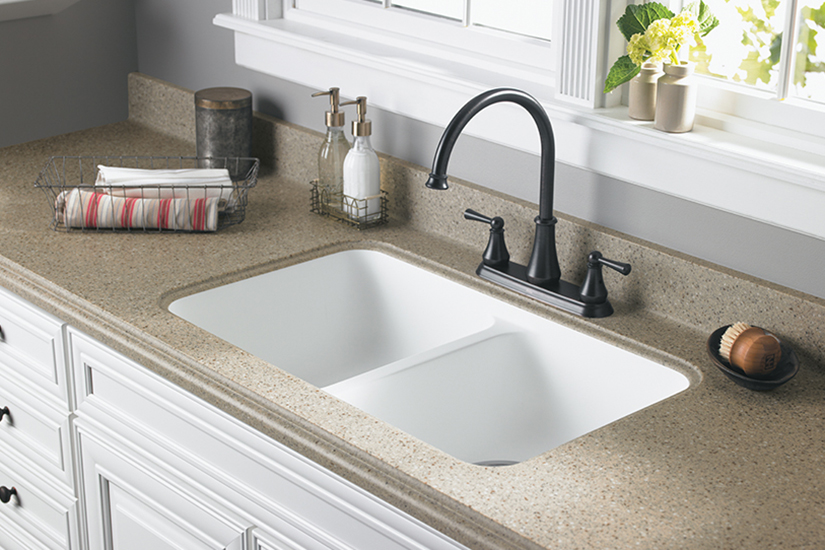
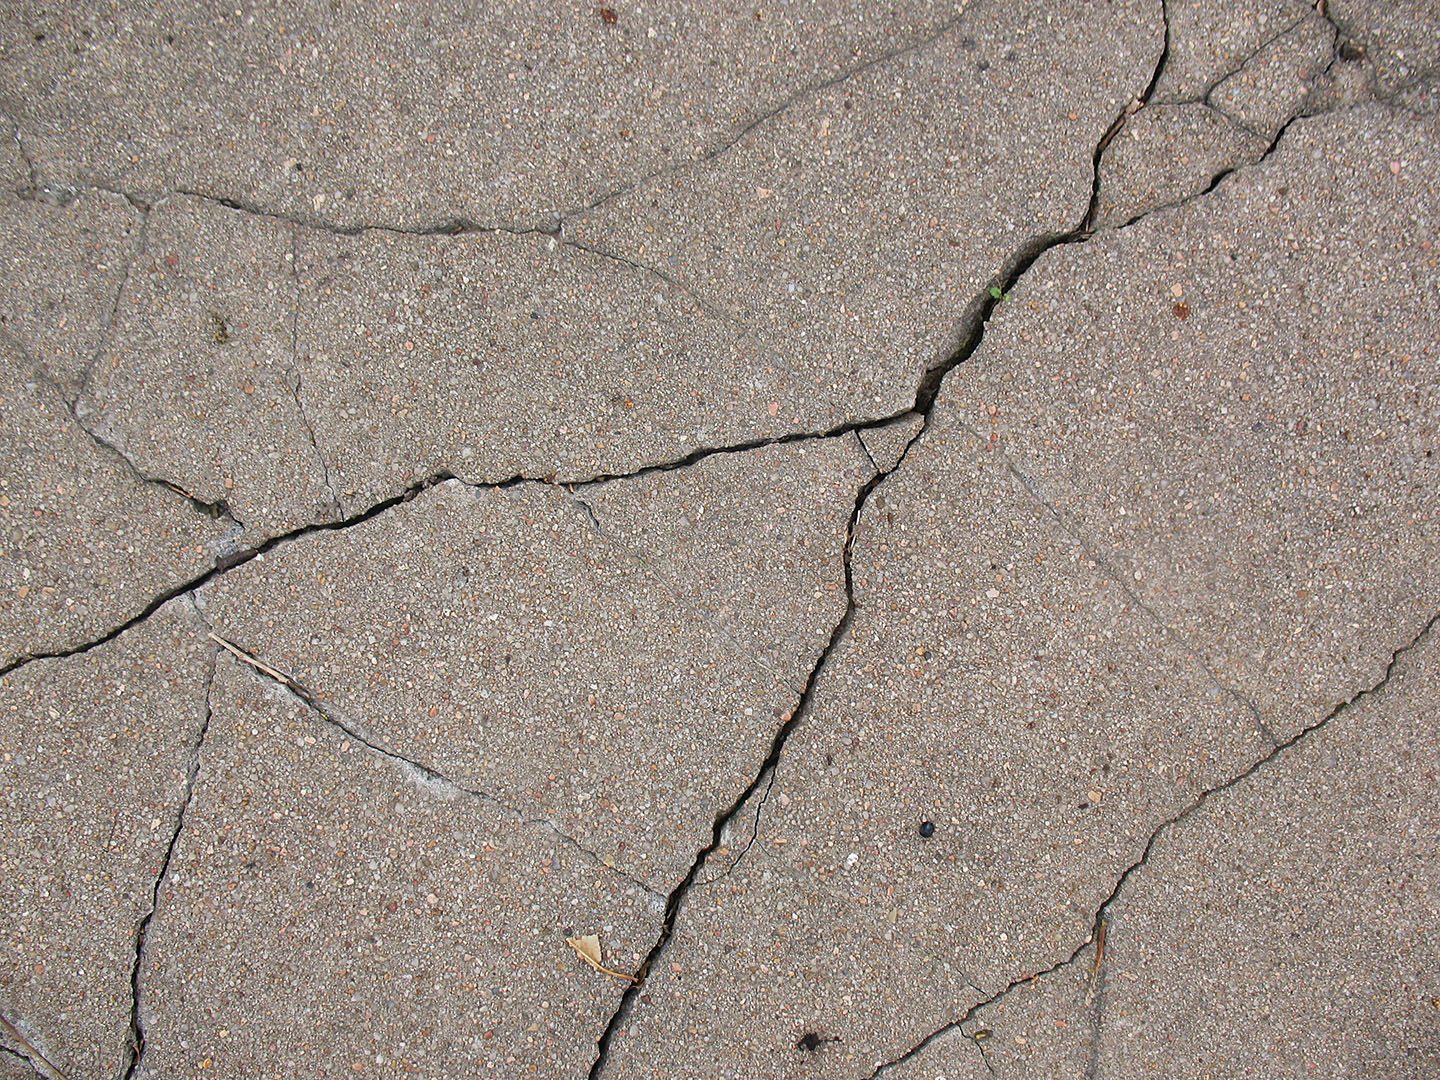
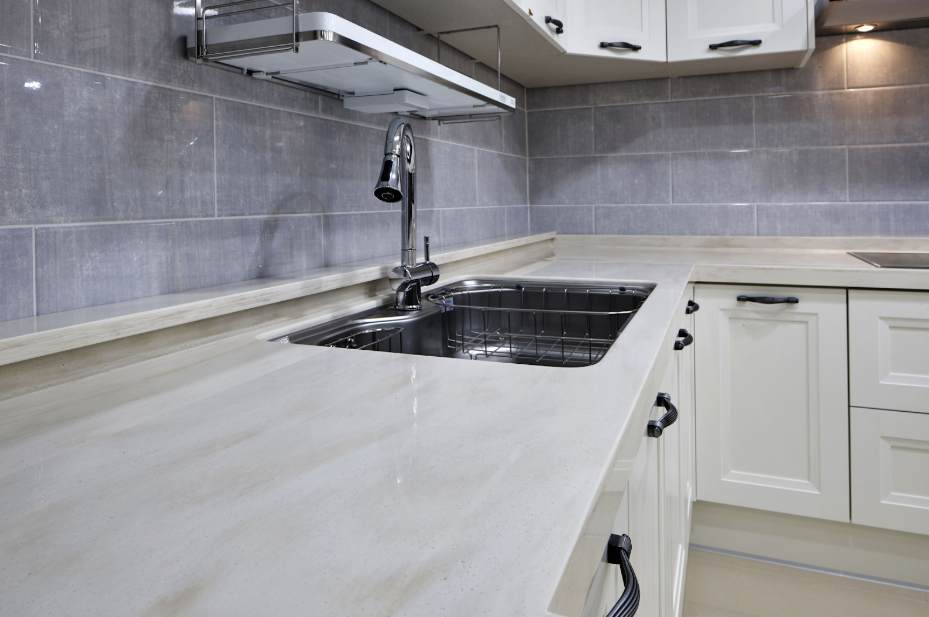
Solid surface kitchen sinks are known for their durability and low maintenance, but even the toughest materials can develop cracks over time. Whether it's due to heavy use or accidental damage, cracks in your solid surface sink can be unsightly and cause water leakage. Luckily, repairing these cracks is a relatively simple process that can be done at home with the right materials and tools. In this article, we'll guide you through the steps of repairing cracks in solid surface sinks and give you tips on how to prevent them in the future.1. Repairing Cracks in Solid Surface Sinks
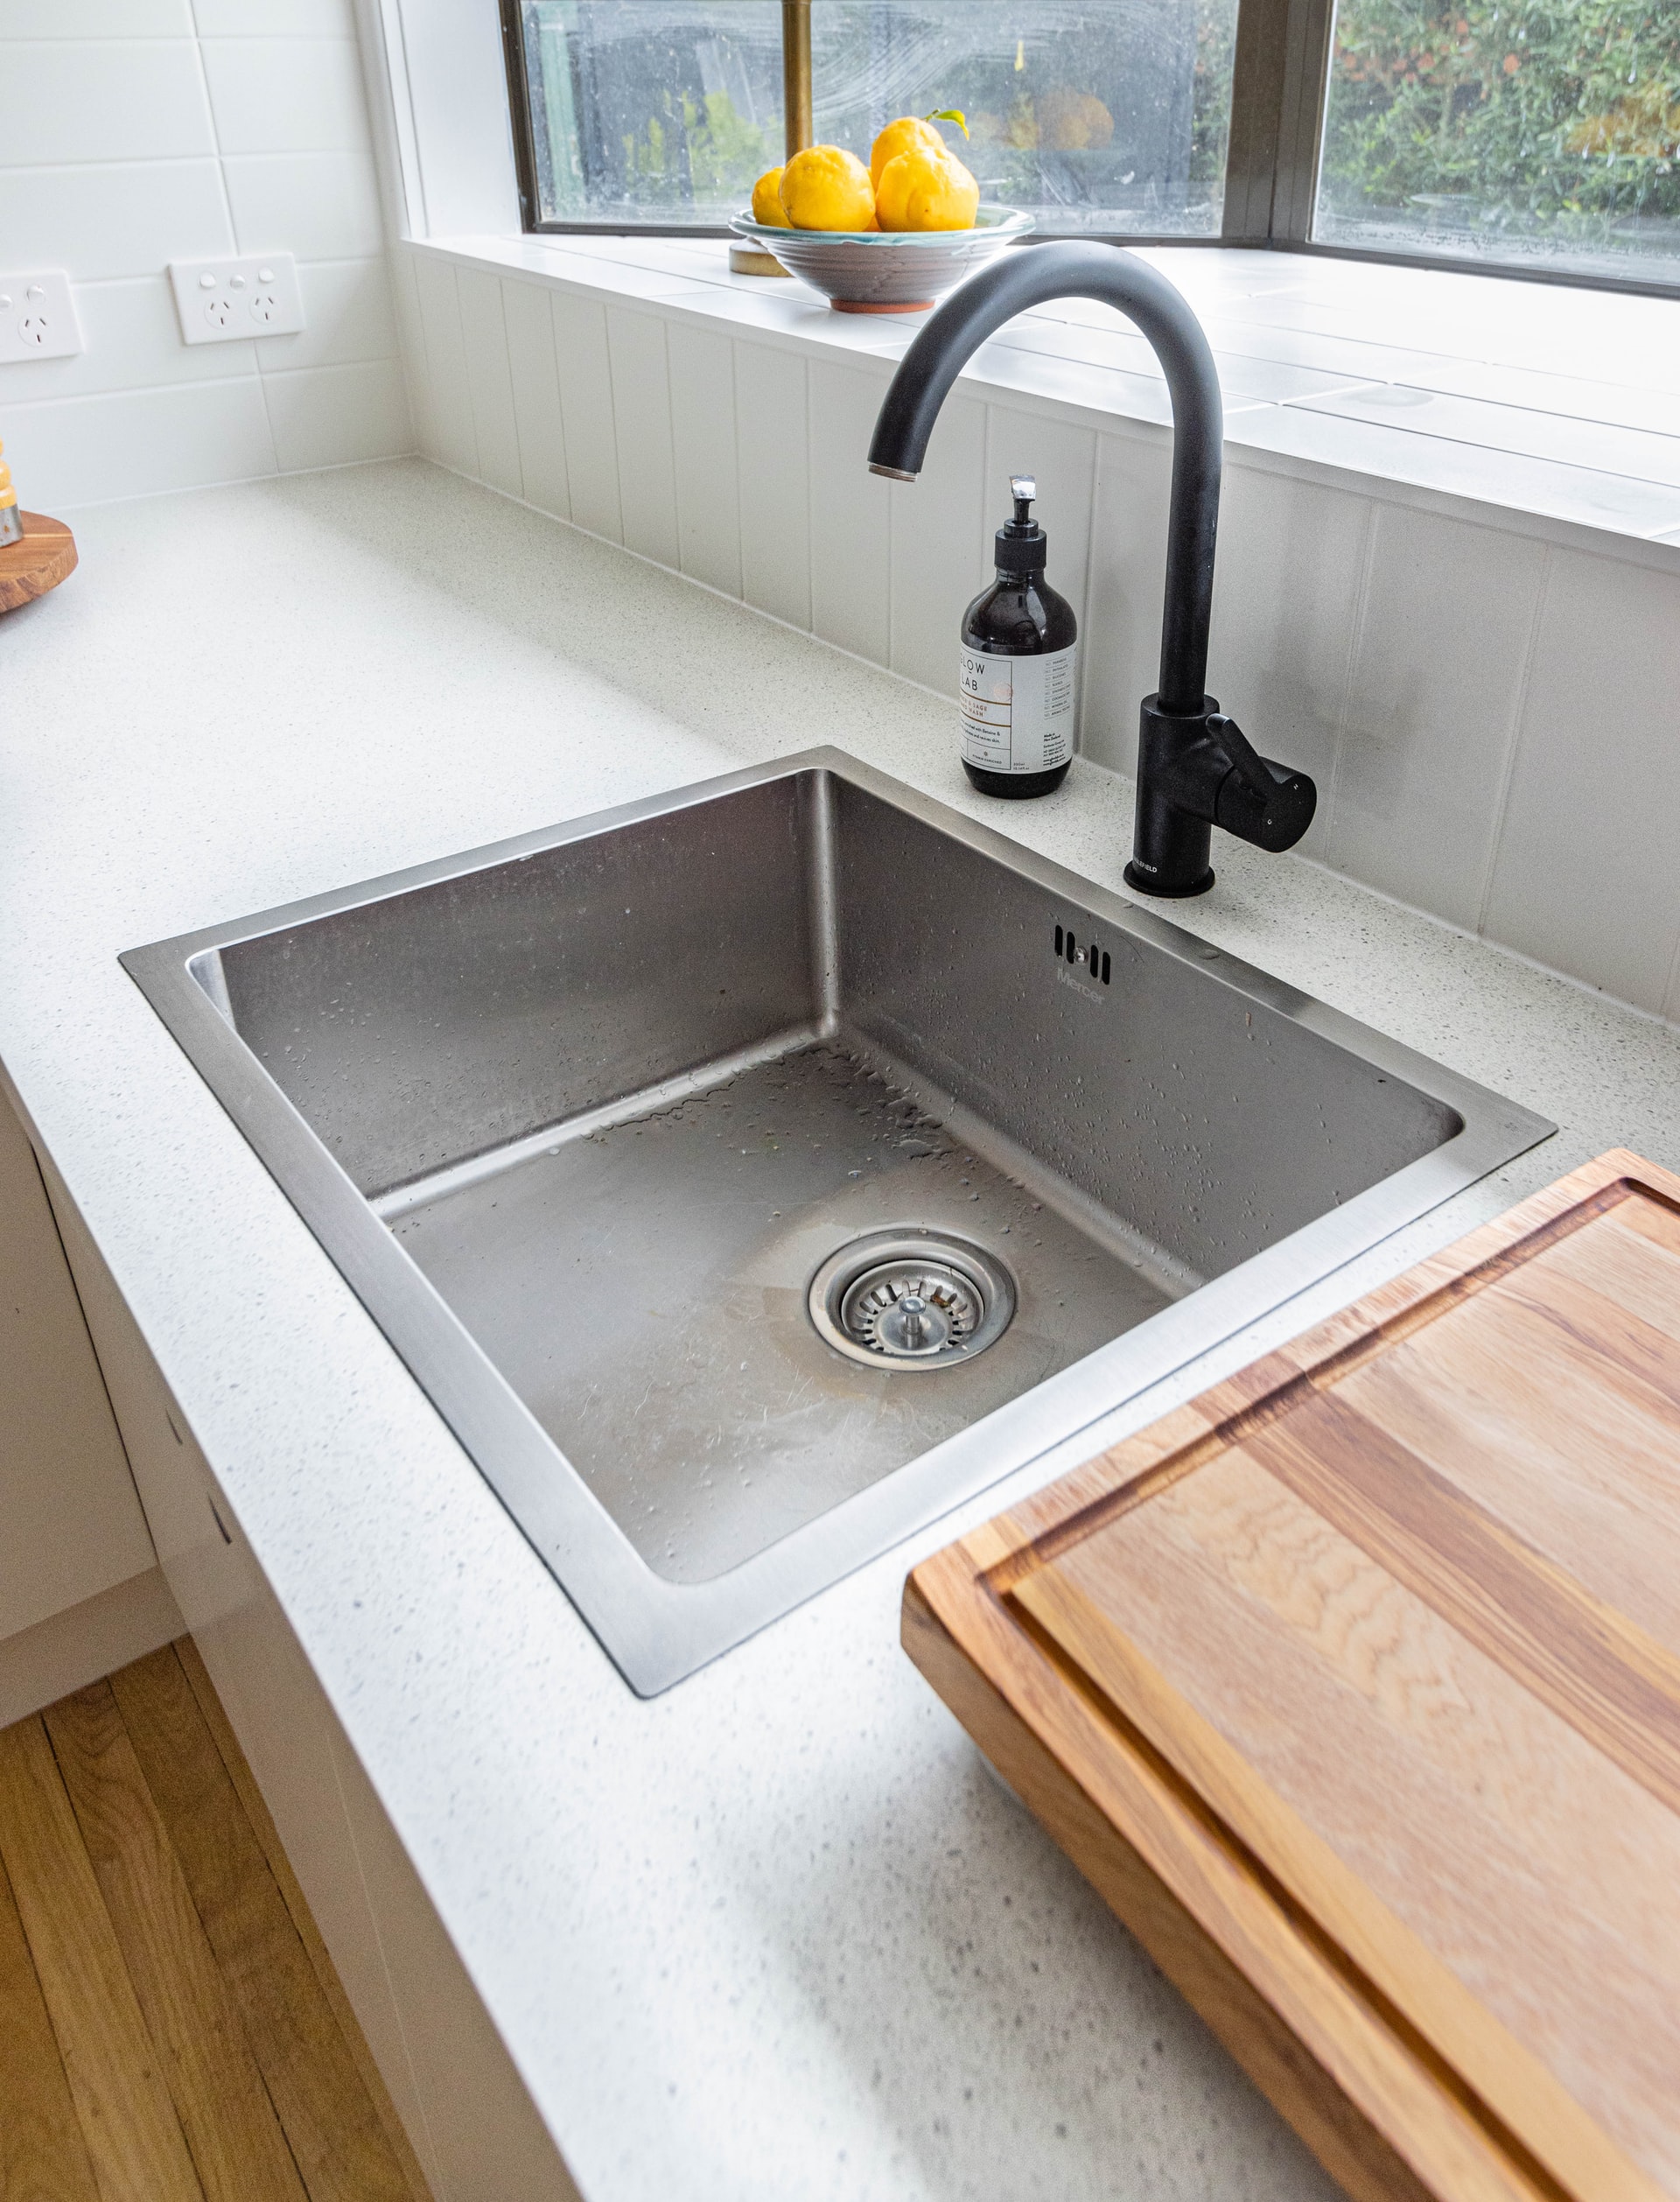


1. Repairing Cracks in Solid Surface Sinks


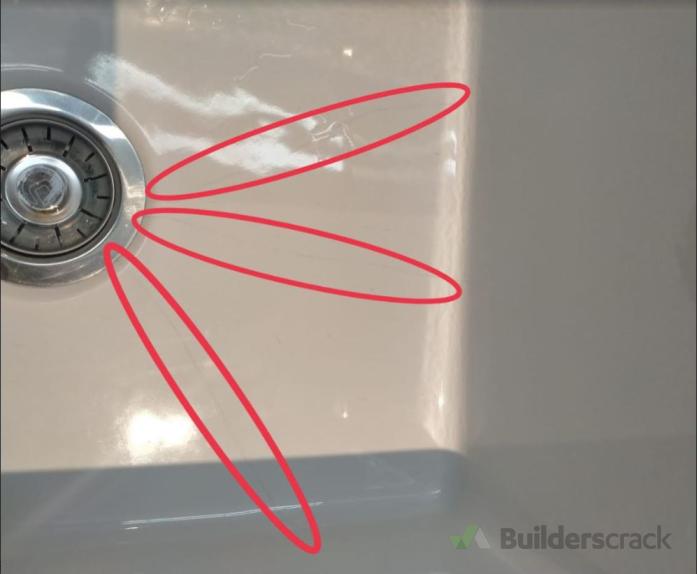


The first step in fixing a cracked solid surface sink is to assess the severity of the damage. If the crack is small and shallow, you can easily fix it with a DIY repair kit. However, if the crack is deep or extends to the edges of the sink, it may require professional repair or even replacement. Before attempting any repairs, make sure you have the right tools and materials on hand, including a repair kit specifically designed for solid surface sinks.2. How to Fix a Cracked Solid Surface Sink

2. How to Fix a Cracked Solid Surface Sink


:max_bytes(150000):strip_icc()/architecture-coffer-470086529-5ab0183d3de42300367a0cd1.jpg)

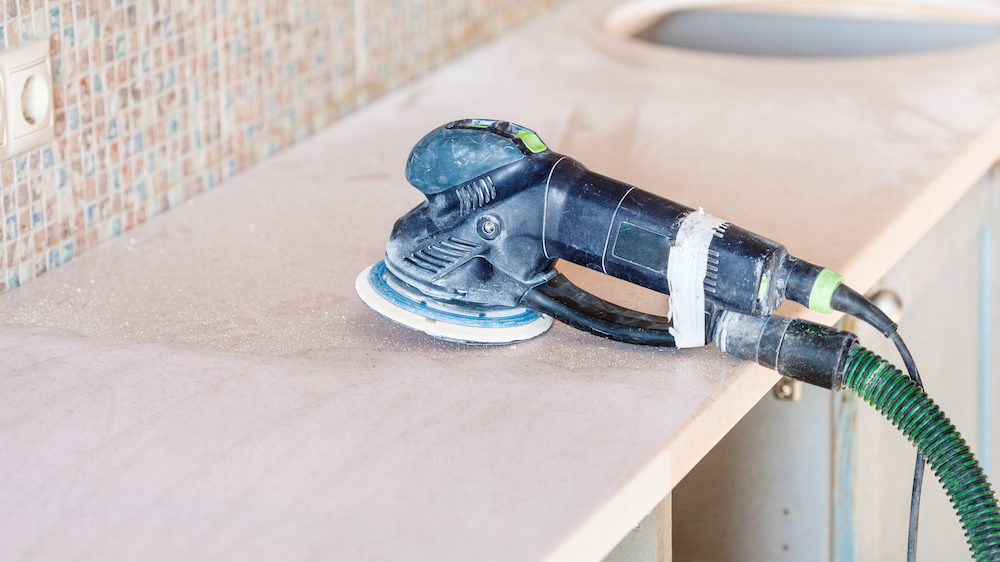
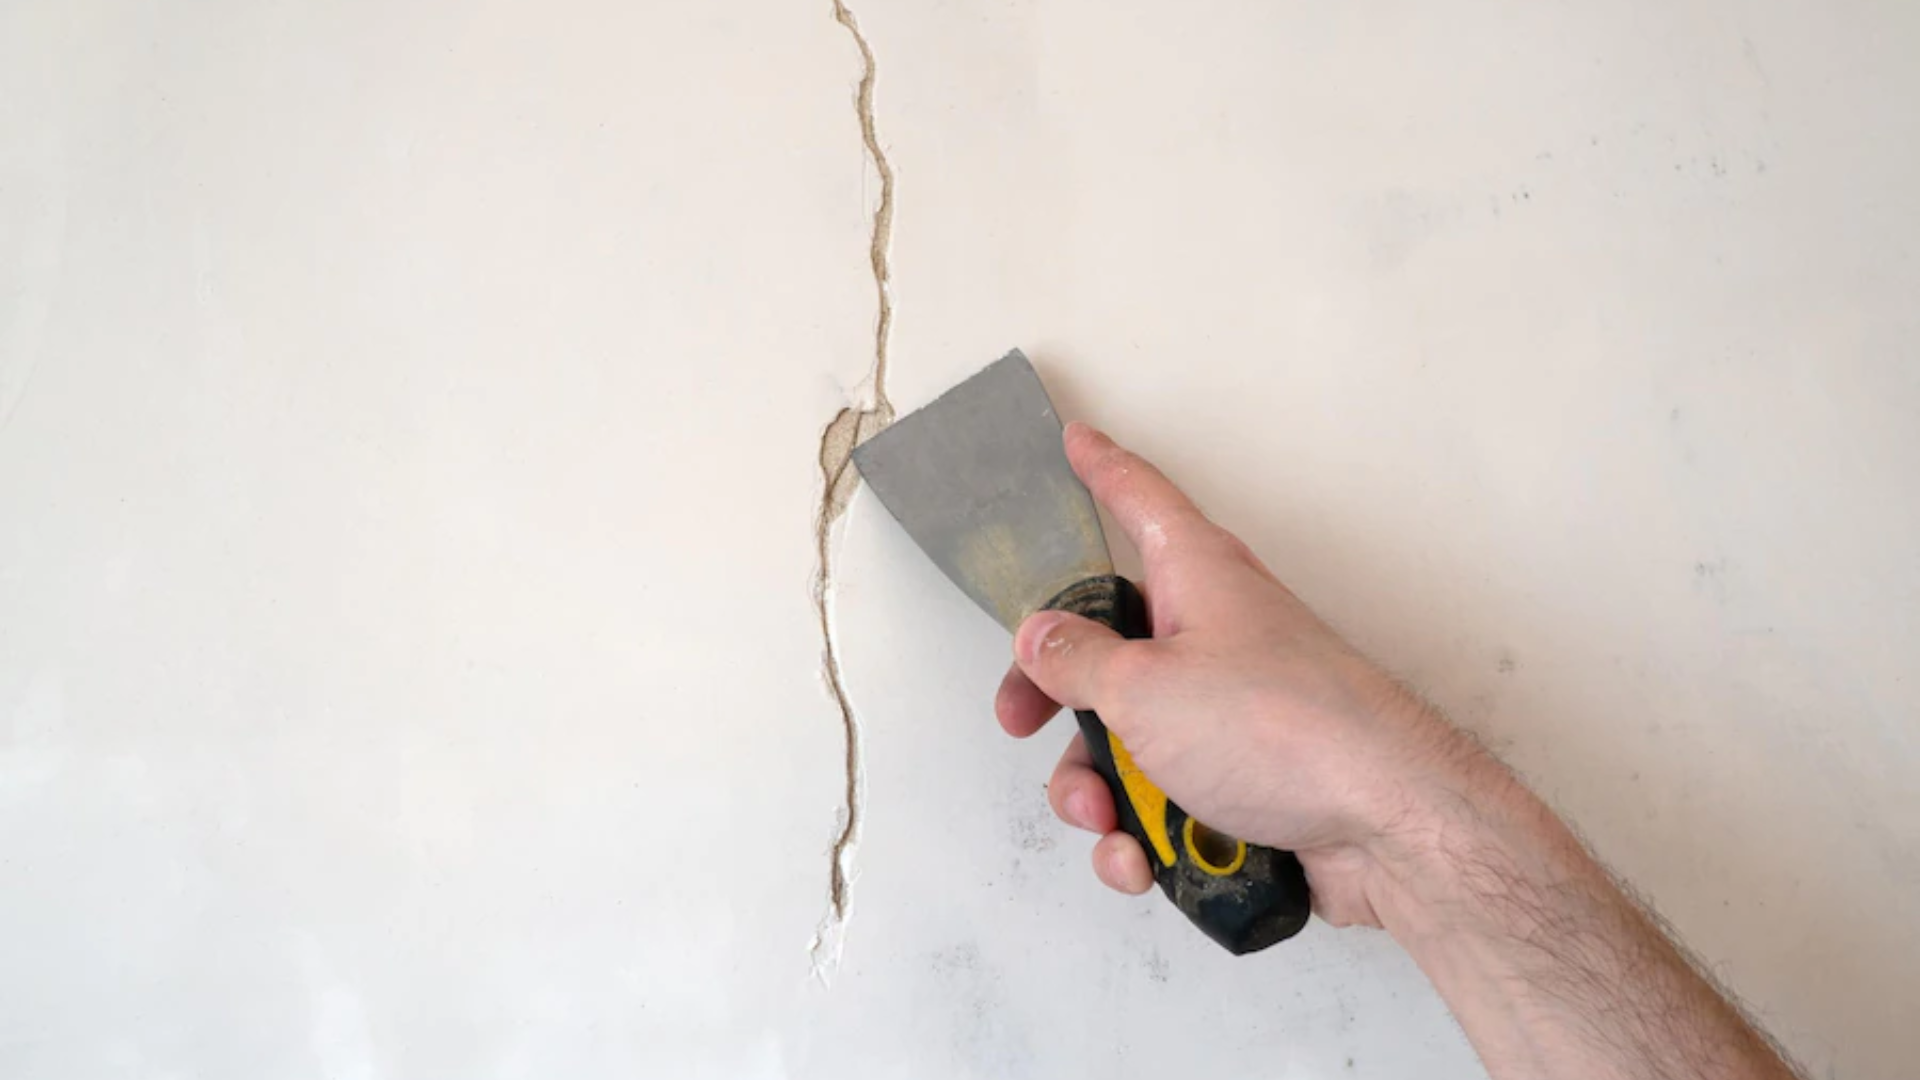
If you've decided to go the DIY route, here's a step-by-step guide for repairing cracks in your solid surface kitchen sink: Step 1: Clean the damaged area of the sink with a mild cleaner and warm water. Make sure to dry it thoroughly before proceeding to the next step. Step 2: Use a fine-grit sandpaper to gently sand the cracked area. This will help create a smooth surface for the repair compound to adhere to. Step 3: Mix the repair compound according to the instructions on the kit. Apply the compound to the crack using a putty knife or scraper, pressing it firmly into the crack to ensure it fills the entire space. Step 4: Smooth out the surface of the compound with the putty knife or scraper, making sure it is level with the rest of the sink. Let it dry completely before moving on to the next step. Step 5: Once the repair compound is dry, use the sandpaper again to smooth out any rough edges or excess compound. Wipe the area clean with a damp cloth. Step 6: Apply a coat of sealant over the repaired area and let it dry completely. This will help protect the repair and prevent future cracks from forming.3. DIY Guide for Repairing Cracks in Solid Surface Kitchen Sinks


3. DIY Guide for Repairing Cracks in Solid Surface Kitchen Sinks


Aside from using a repair kit, there are a few tips you can follow to help remove cracks from your solid surface kitchen sink: - Use a hairdryer to warm up the damaged area before applying the repair compound. This will help the compound adhere better and make the repair more effective. - If the crack is too deep, you may need to use a filler material before applying the repair compound. Consult with a professional or follow the instructions on the repair kit for the best results. - When sanding the repaired area, use a circular motion and gradually increase the pressure until the surface is smooth. This will help blend the repair with the rest of the sink.4. Tips for Removing Cracks from Solid Surface Kitchen Sinks


4. Tips for Removing Cracks from Solid Surface Kitchen Sinks

As mentioned earlier, the best method for repairing cracks in solid surface sinks depends on the severity of the damage. For small, shallow cracks, a DIY repair kit is usually sufficient. However, for larger or deeper cracks, it's best to consult with a professional to ensure the repair is done correctly and effectively. In some cases, the sink may need to be replaced if the damage is too extensive.5. Best Methods for Repairing Cracks in Solid Surface Sinks

5. Best Methods for Repairing Cracks in Solid Surface Sinks


If you're not confident in your DIY skills or the damage to your sink is too severe, it's best to hire a professional to fix the cracks. Here's a general step-by-step guide for professional repairs: Step 1: Contact a reputable repair company that specializes in solid surface sinks and explain the issue. They may ask for photos or schedule an inspection to determine the best course of action. Step 2: If the sink can be repaired, the professionals will prepare the damaged area by cleaning and sanding it, similar to the DIY method. Step 3: They will then use a specialized repair compound and fill the cracks, making sure to press it firmly into the damaged area. Step 4: The professionals will then sand the repair to smooth out any rough edges and blend it with the rest of the sink. Step 5: Finally, a sealant will be applied to protect the repair and prevent future cracks from forming.6. Step-by-Step Guide for Fixing Cracks in Solid Surface Kitchen Sinks

6. Step-by-Step Guide for Fixing Cracks in Solid Surface Kitchen Sinks
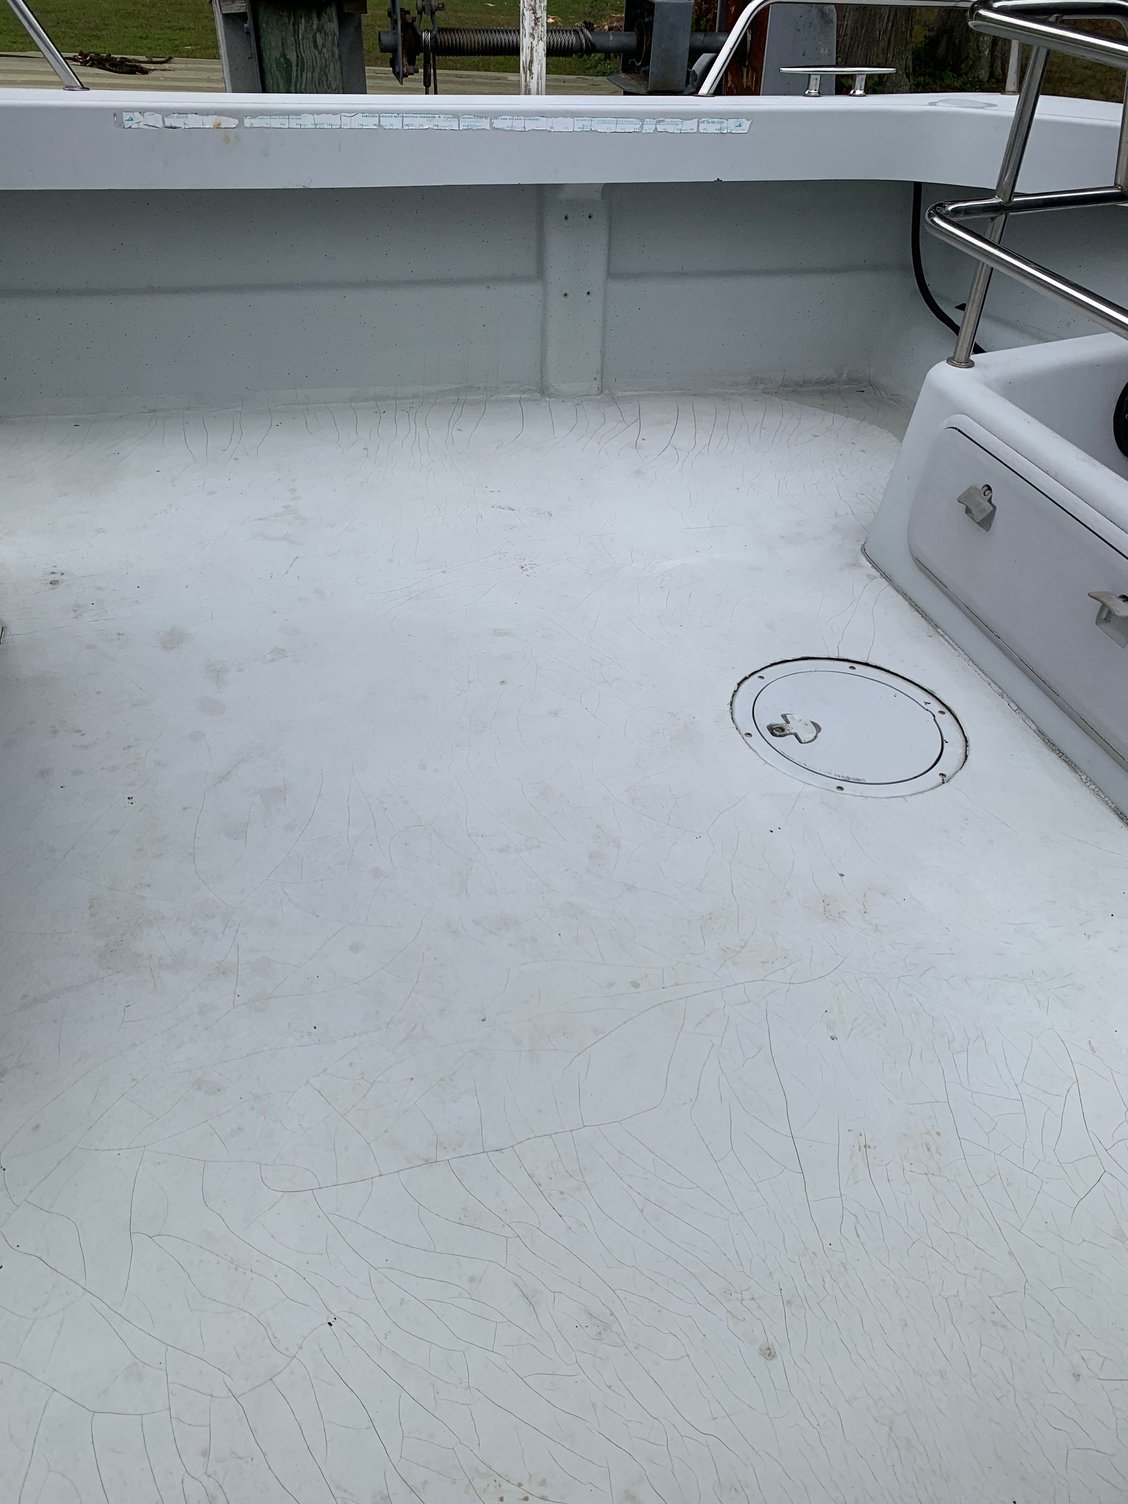
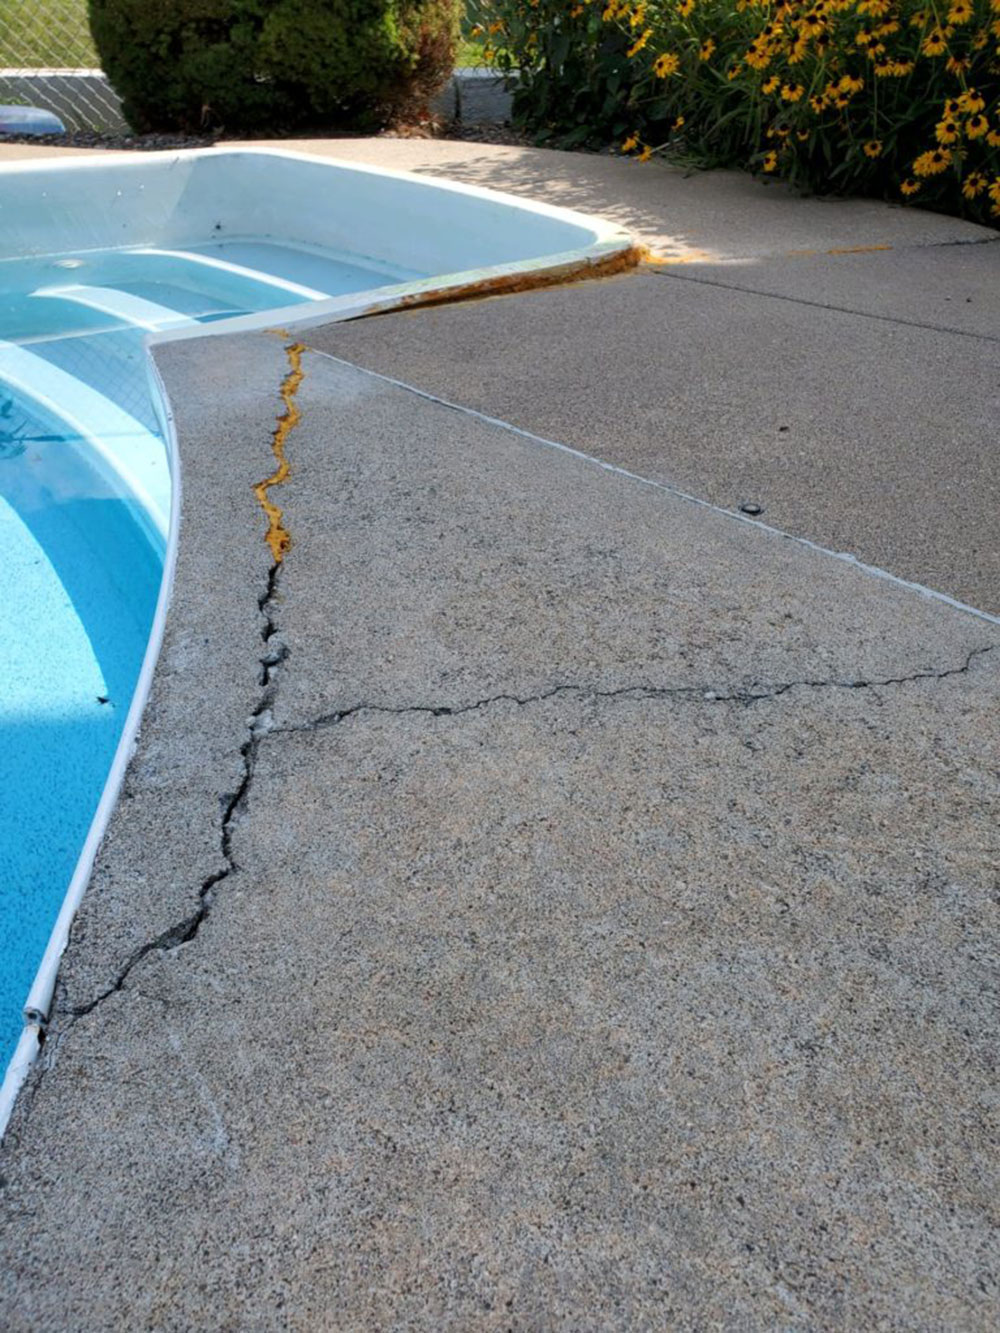
Now that you know how to repair cracks in your solid surface sink, it's important to understand the common causes of these cracks and how to prevent them in the future. Some of the most common causes include: - Impact from heavy objects or dropped items - Excessive heat or extreme temperature changes - Improper installation or poor support for the sink To prevent these issues, make sure to handle your sink with care and avoid placing hot pots or pans directly on the surface. It's also crucial to have your sink installed by a professional and ensure it has proper support to prevent any stress on the material.7. Common Causes of Cracks in Solid Surface Sinks and How to Fix Them


7. Common Causes of Cracks in Solid Surface Sinks and How to Fix Them


To further prevent cracks in your solid surface kitchen sink, here are a few additional tips to keep in mind: - Clean your sink regularly with a mild cleaner and avoid using harsh chemicals that can damage the surface. - Use a cutting board or mat when preparing food to avoid scratches and dents in the sink. - If you have a garbage disposal, make sure to run cold water while using it to prevent excessive heat from damaging the sink.8. How to Prevent Cracks in Solid Surface Kitchen Sinks

8. How to Prevent Cracks in Solid Surface Kitchen Sinks

Deciding whether to hire a professional or attempt a DIY repair for your solid surface sink ultimately depends on the severity of the damage and your own skills and comfort level. While DIY repairs can save you money, professional repairs guarantee a more thorough and long-lasting fix. If you're unsure, it's always best to consult with a professional before attempting any repairs on your own.9. Professional vs. DIY Methods for Repairing Cracks in Solid Surface Sinks


9. Professional vs. DIY Methods for Repairing Cracks in Solid Surface Sinks


To successfully repair cracks in your solid surface sink, you'll need the following products and tools: - A DIY repair kit specifically designed for solid surface sinks - A mild cleaner and warm water - Fine-grit sandpaper - A putty knife or scraper - A hairdryer (optional) - Filler material (if needed) - A sealant By following these tips and methods, you can easily repair cracks in your solid surface kitchen sink and keep it looking as good as new. Remember to take proper care of your sink to prevent future damage, and don't hesitate to seek professional help if needed. With the right tools and techniques, you can maintain the beauty and functionality of your solid surface sink for years to come.10. Products and Tools for Repairing Cracks in Solid Surface Kitchen Sinks


10. Products and Tools for Repairing Cracks in Solid Surface Kitchen Sinks
Preventing Cracks in Your Solid Surface Kitchen Sink

Why Do Cracks Happen?
 Solid surface kitchen sinks are a popular choice among homeowners due to their durability, easy maintenance, and sleek design. However, like any material, they can be prone to cracks if not properly taken care of. These cracks can be caused by a variety of factors such as heavy impact, extreme temperature changes, and improper installation. But don't worry, there are steps you can take to prevent cracks from happening and keep your sink looking like new.
Proper Cleaning and Maintenance
 One of the key ways to prevent cracks in your solid surface kitchen sink is by properly cleaning and maintaining it.
Use a non-abrasive cleaner and a soft cloth to regularly clean the surface of your sink
. Avoid using harsh chemicals or scrubbing pads as they can cause damage to the surface and lead to cracks.
Wipe down your sink after each use
to prevent any build-up of dirt, soap scum, or food particles, which can also contribute to cracks over time.
One of the key ways to prevent cracks in your solid surface kitchen sink is by properly cleaning and maintaining it.
Use a non-abrasive cleaner and a soft cloth to regularly clean the surface of your sink
. Avoid using harsh chemicals or scrubbing pads as they can cause damage to the surface and lead to cracks.
Wipe down your sink after each use
to prevent any build-up of dirt, soap scum, or food particles, which can also contribute to cracks over time.
Be Mindful of Temperature Changes
 Solid surface sinks are made of a composite material, which means they can expand and contract with extreme temperature changes.
Avoid pouring boiling water directly into your sink
, as this can cause the material to expand and potentially lead to cracks.
If you have a hot pan or dish, use a trivet or dish towel to protect the sink's surface
. Similarly, avoid exposing your sink to extreme cold temperatures, such as placing ice or frozen items directly in the sink, as this can also cause cracks.
Solid surface sinks are made of a composite material, which means they can expand and contract with extreme temperature changes.
Avoid pouring boiling water directly into your sink
, as this can cause the material to expand and potentially lead to cracks.
If you have a hot pan or dish, use a trivet or dish towel to protect the sink's surface
. Similarly, avoid exposing your sink to extreme cold temperatures, such as placing ice or frozen items directly in the sink, as this can also cause cracks.
Invest in a Protective Sink Mat
 If you regularly wash dishes in your sink, a
protective sink mat can help prevent cracks
. These mats provide a cushion between the dishes and the sink's surface, reducing the impact and potential for cracks. They also help to prevent scratching and scuffing, keeping your sink looking like new for longer.
If you regularly wash dishes in your sink, a
protective sink mat can help prevent cracks
. These mats provide a cushion between the dishes and the sink's surface, reducing the impact and potential for cracks. They also help to prevent scratching and scuffing, keeping your sink looking like new for longer.
Check for Proper Installation
 If you're experiencing cracks in your solid surface kitchen sink, it could be due to improper installation.
Make sure your sink is properly supported and sealed
to prevent any weight or stress on the sink's surface. If you notice any signs of movement or sagging, it's important to address it immediately to avoid further damage.
If you're experiencing cracks in your solid surface kitchen sink, it could be due to improper installation.
Make sure your sink is properly supported and sealed
to prevent any weight or stress on the sink's surface. If you notice any signs of movement or sagging, it's important to address it immediately to avoid further damage.
Conclusion
 In conclusion,
proper cleaning and maintenance, being mindful of temperature changes, investing in a protective sink mat, and checking for proper installation
are all key ways to prevent cracks in your solid surface kitchen sink. By following these tips, you can keep your sink looking like new and ensure its durability for years to come. Remember, prevention is always better than cure, so be proactive in taking care of your sink to avoid any potential cracks.
In conclusion,
proper cleaning and maintenance, being mindful of temperature changes, investing in a protective sink mat, and checking for proper installation
are all key ways to prevent cracks in your solid surface kitchen sink. By following these tips, you can keep your sink looking like new and ensure its durability for years to come. Remember, prevention is always better than cure, so be proactive in taking care of your sink to avoid any potential cracks.