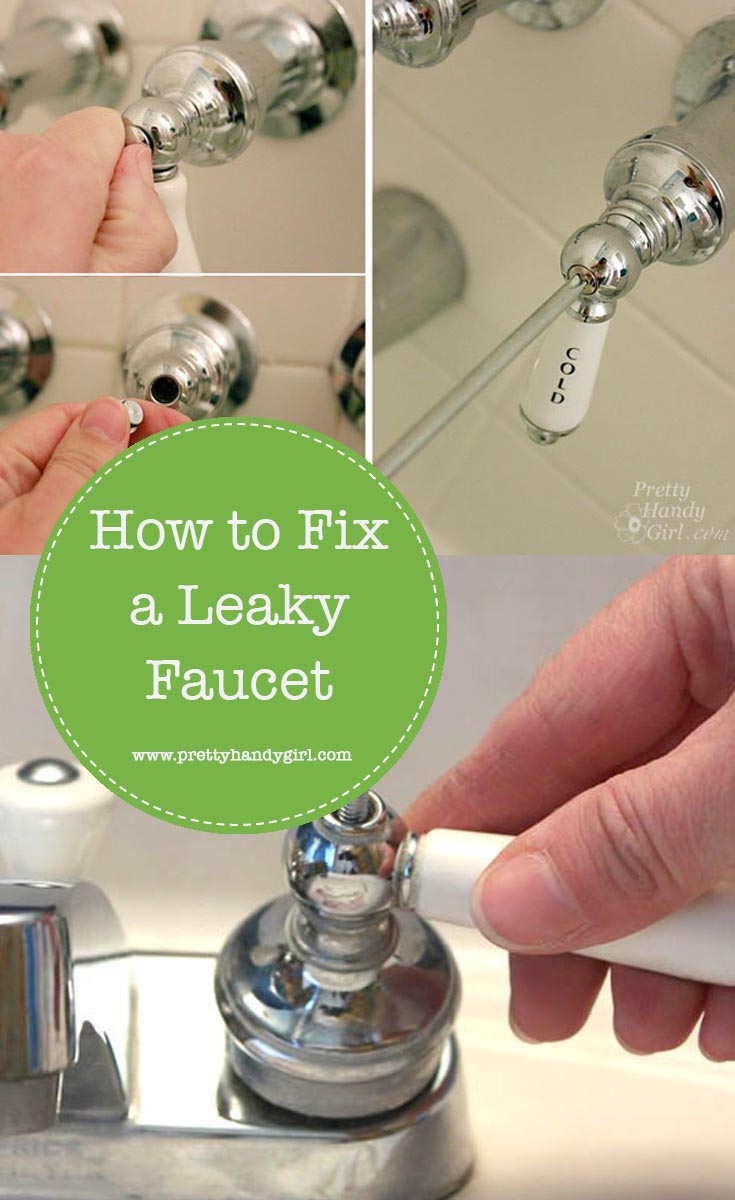
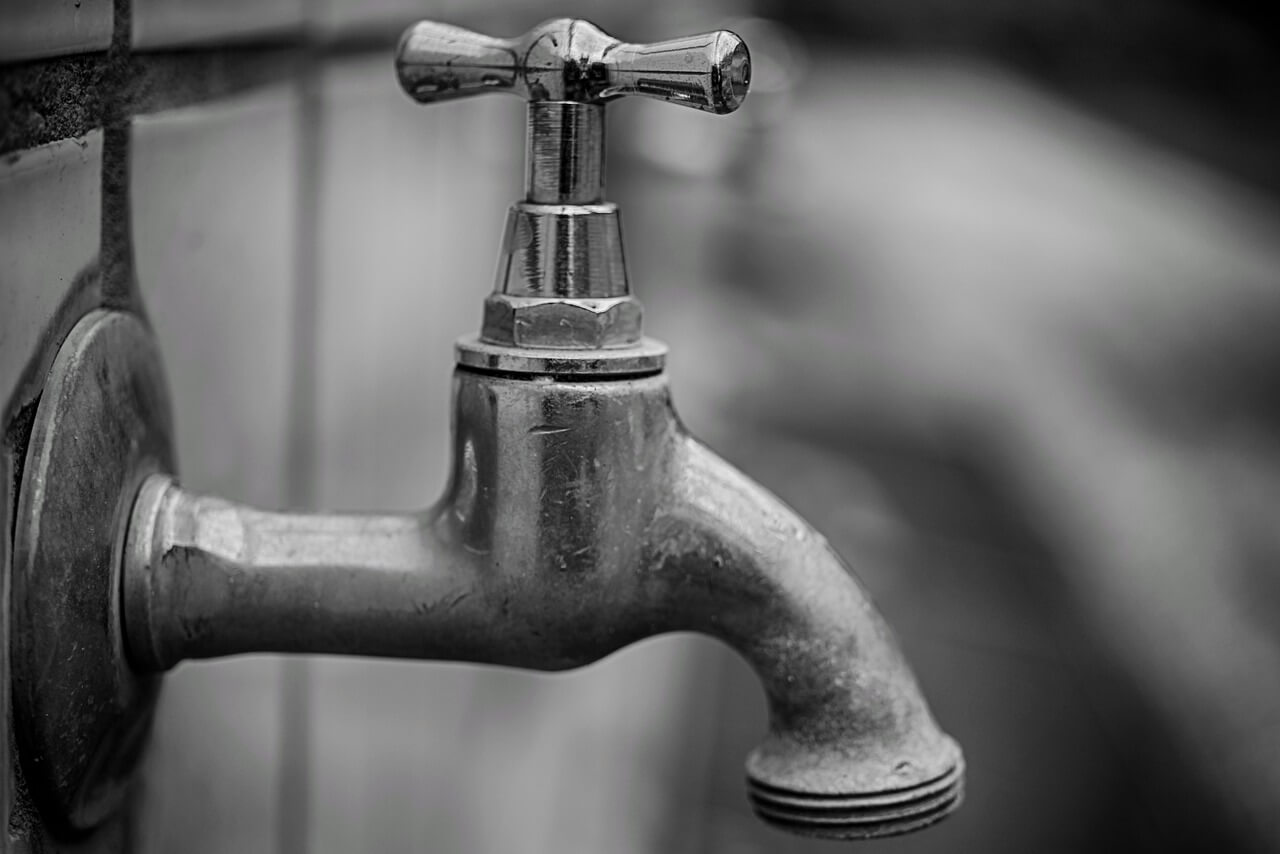
1. How to Fix a Leaky Kitchen Sink Faucet
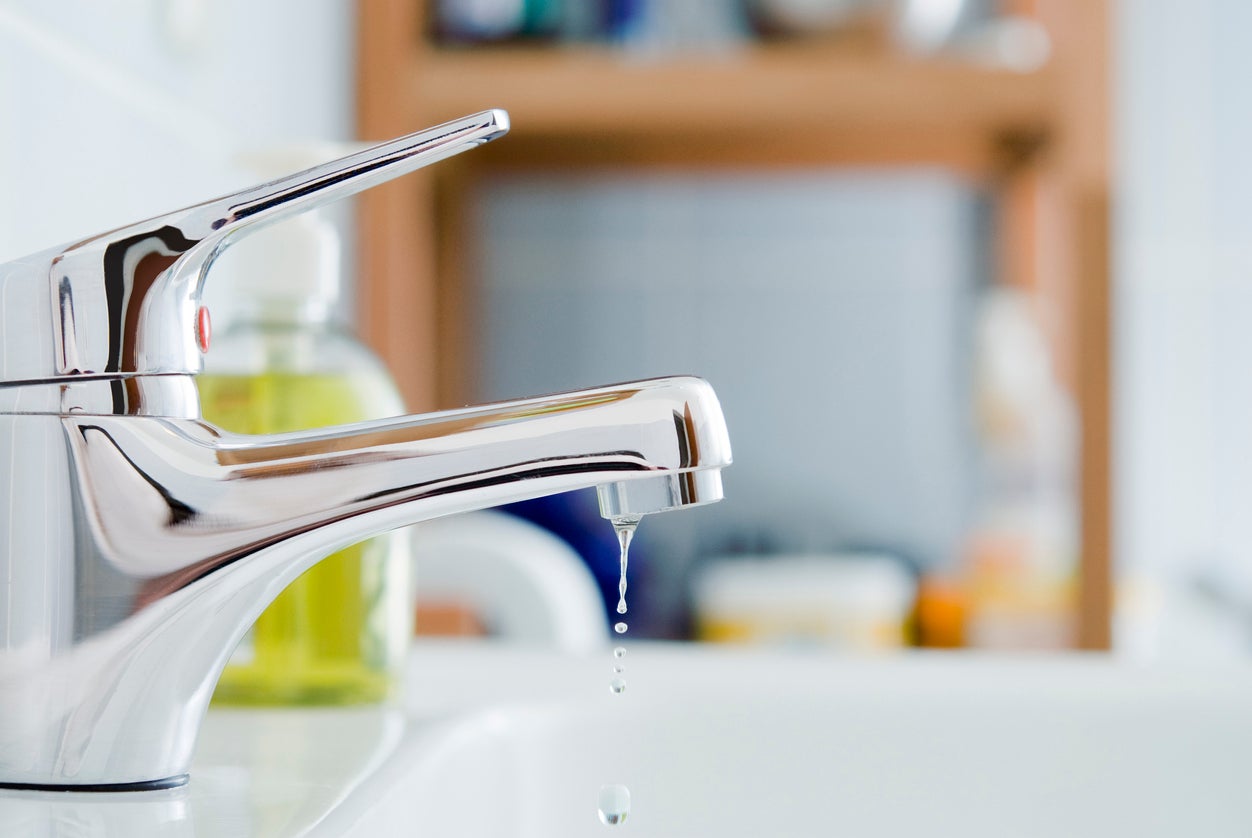
A leaky kitchen sink faucet can be a major nuisance and cause unnecessary water waste in your home. But don't panic, fixing it yourself is easier than you think. Follow these simple steps to get your faucet back to its fully functional state.
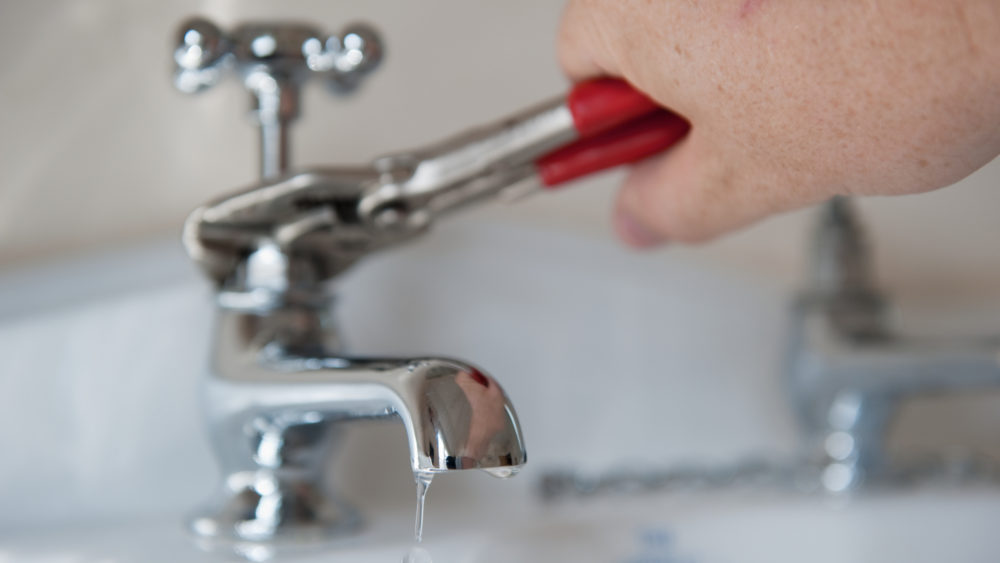
First, turn off the water supply to your faucet by locating the shutoff valves under the sink. If there are no valves, you will need to turn off the main water supply to your home.
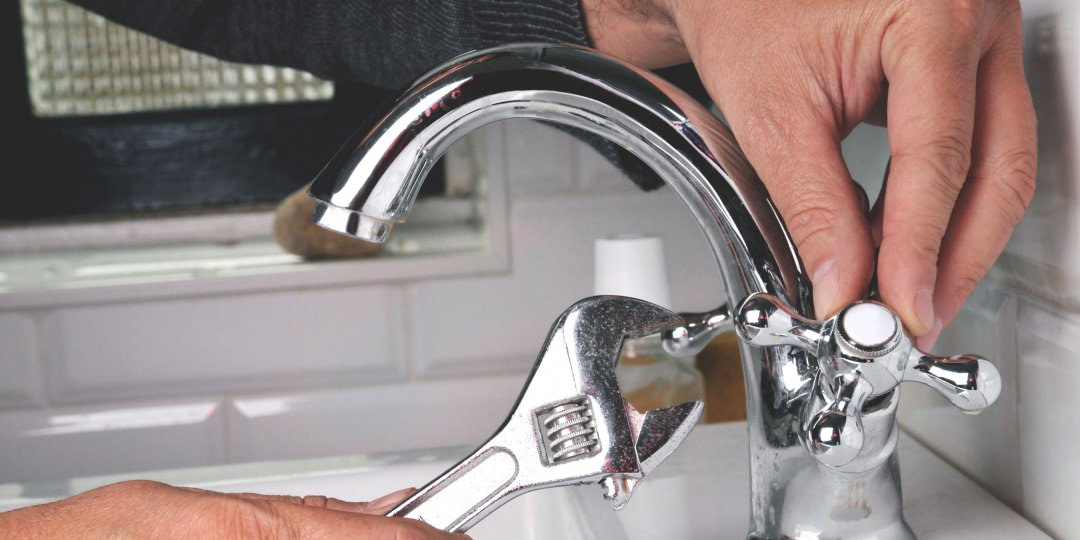
Next, remove the handle of the faucet by unscrewing the screw located under the handle. Then, use a wrench to unscrew the packing nut and remove the valve stem.
Check the O-ring and washer on the valve stem for any signs of wear or damage. If they are worn out, replace them with new ones.
If the O-ring and washer are in good condition, the problem may lie with the valve seat. Use a valve seat wrench to remove the valve seat and replace it with a new one.
Reassemble the faucet and turn the water supply back on. Your leaky kitchen sink faucet should now be fixed!


1. How to Fix a Leaky Kitchen Sink Faucet


2. DIY: Fixing a Leaky Kitchen Sink Faucet
Fixing a leaky kitchen sink faucet can save you time and money, and it's a simple task that you can do yourself. You don't need to be a plumbing expert to tackle this project, just follow these steps.
Start by gathering the necessary tools and materials, which include a screwdriver, adjustable wrench, new O-ring and washer, and a valve seat wrench. You can find these tools at your local hardware store.
Next, turn off the water supply to your faucet and remove the handle, packing nut, and valve stem, as mentioned in the first step of the previous heading.
Inspect the O-ring, washer, and valve seat for any damage and replace them if necessary. If everything looks good, clean any debris or mineral buildup from the valve seat using a brush or vinegar solution.
Reassemble the faucet, turn the water supply back on, and voila! Your leaky kitchen sink faucet is now fixed, and you did it all yourself.


2. DIY: Fixing a Leaky Kitchen Sink Faucet


3. Step-by-Step Guide for Fixing a Leaky Kitchen Sink Faucet
Fixing a leaky kitchen sink faucet doesn't have to be a daunting task. Follow this step-by-step guide to get your faucet working like new again.
Step 1: Turn off the water supply to your faucet.
Step 2: Remove the handle, packing nut, and valve stem.
Step 3: Inspect the O-ring, washer, and valve seat for any damage.
Step 4: Replace any worn out parts or clean the valve seat if necessary.
Step 5: Reassemble the faucet.
Step 6: Turn the water supply back on and test the faucet for any leaks.
Following these steps will have your leaky kitchen sink faucet fixed in no time, without the need for a professional plumber.


3. Step-by-Step Guide for Fixing a Leaky Kitchen Sink Faucet


4. Common Causes of a Leaky Kitchen Sink Faucet and How to Fix Them
There can be several reasons why your kitchen sink faucet is leaking. Here are some of the most common causes and how to fix them.
1. Worn-out O-ring or washer: As mentioned before, the O-ring and washer can wear out over time, causing leaks. Replace them with new ones to fix the problem.
2. Loose or damaged valve seat: A loose or damaged valve seat can also cause leaks. Tighten the valve seat or replace it with a new one to solve the issue.
3. Mineral buildup: Mineral buildup can block the water flow and cause leaks. Clean the valve seat and other parts of the faucet to remove any mineral deposits.
By identifying the cause of the leak, you can easily fix your kitchen sink faucet and prevent it from happening again in the future.


4. Common Causes of a Leaky Kitchen Sink Faucet and How to Fix Them


5. Troubleshooting a Leaky Kitchen Sink Faucet
If you've tried fixing your leaky kitchen sink faucet and it's still leaking, here are some troubleshooting tips to help you solve the problem.
1. Check the O-ring and washer: Make sure the O-ring and washer are properly installed and in good condition. If not, replace them with new ones.
2. Tighten the valve seat: The valve seat may have become loose, causing leaks. Use a valve seat wrench to tighten it.
3. Replace the cartridge: If your faucet has a cartridge, it may be worn out and need to be replaced. Refer to the manufacturer's instructions for the correct replacement cartridge.
By troubleshooting the issue, you can find the root cause of the leak and fix it effectively.


5. Troubleshooting a Leaky Kitchen Sink Faucet


6. Tools and Materials Needed for Fixing a Leaky Kitchen Sink Faucet
Before you start fixing your leaky kitchen sink faucet, make sure you have all the necessary tools and materials. Here's a list of what you'll need:
- Screwdriver
- Adjustable wrench
- New O-ring and washer
- Valve seat wrench
Having these tools on hand will make the process of fixing your leaky faucet much easier and more efficient.


6. Tools and Materials Needed for Fixing a Leaky Kitchen Sink Faucet
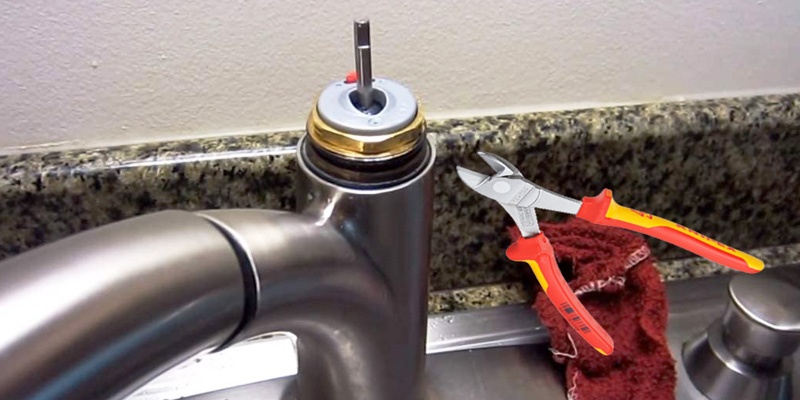
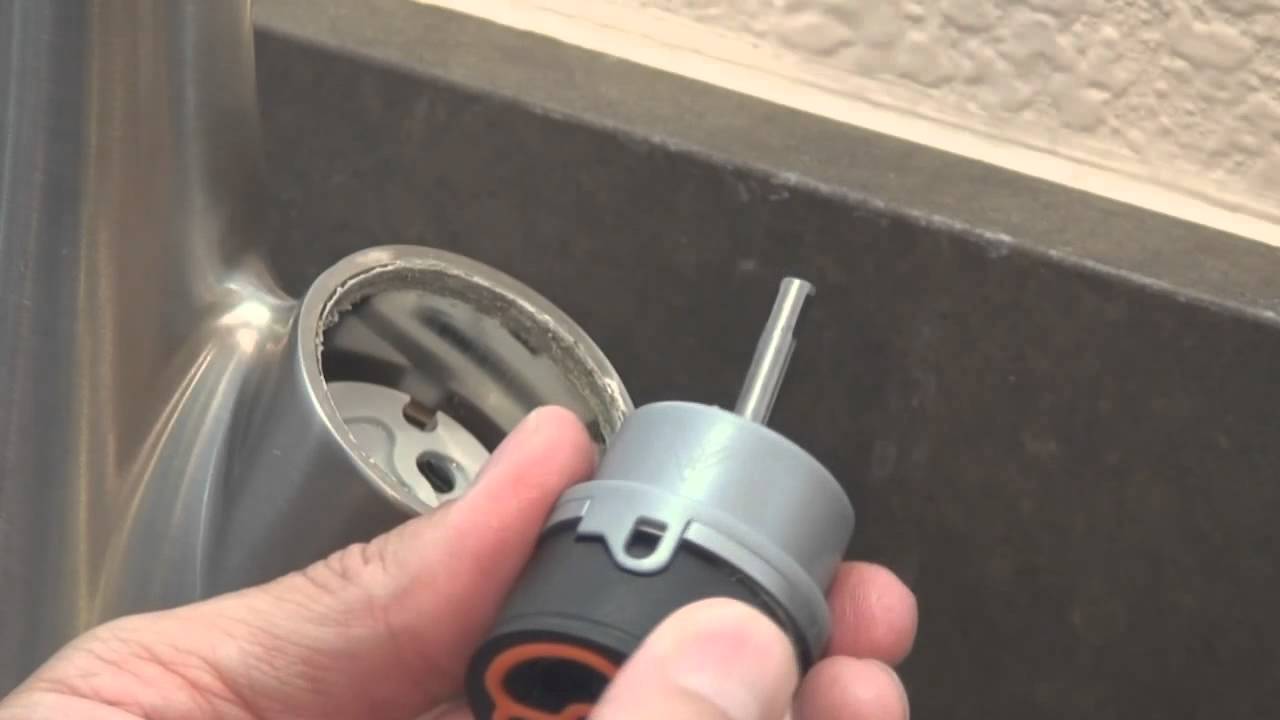
7. How to Replace a Cartridge in a Leaky Kitchen Sink Faucet
If your kitchen sink faucet has a cartridge and it's causing leaks, you may need to replace it. Here's how:
Step 1: Turn off the water supply to your faucet.
Step 2: Remove the handle and unscrew the cartridge retaining clip.
Step 3: Pull out the old cartridge and replace it with the new one.
Step 4: Reassemble the faucet and turn the water supply back on.
Replacing a cartridge can be a bit trickier than other faucet parts, so if you're unsure, it's best to call a professional plumber for help.

7. How to Replace a Cartridge in a Leaky Kitchen Sink Faucet
/repair-leaky-single-handle-cartridge-faucet-1824629-07-ace20468c6c74540b56d49454f7a491e.jpg)


8. Tips for Preventing a Leaky Kitchen Sink Faucet
The best way to deal with a leaky kitchen sink faucet is to prevent it from happening in the first place. Here are some tips to help keep your faucet in good working order:
- Regularly clean and maintain your faucet to prevent mineral buildup and wear and tear.
- Don't over-tighten the handles as this can cause damage to the faucet.
- Invest in a high-quality faucet with a warranty for added peace of mind.
By following these tips, you can prolong the life of your kitchen sink faucet and avoid the hassle of dealing with leaks.

8. Tips for Preventing a Leaky Kitchen Sink Faucet


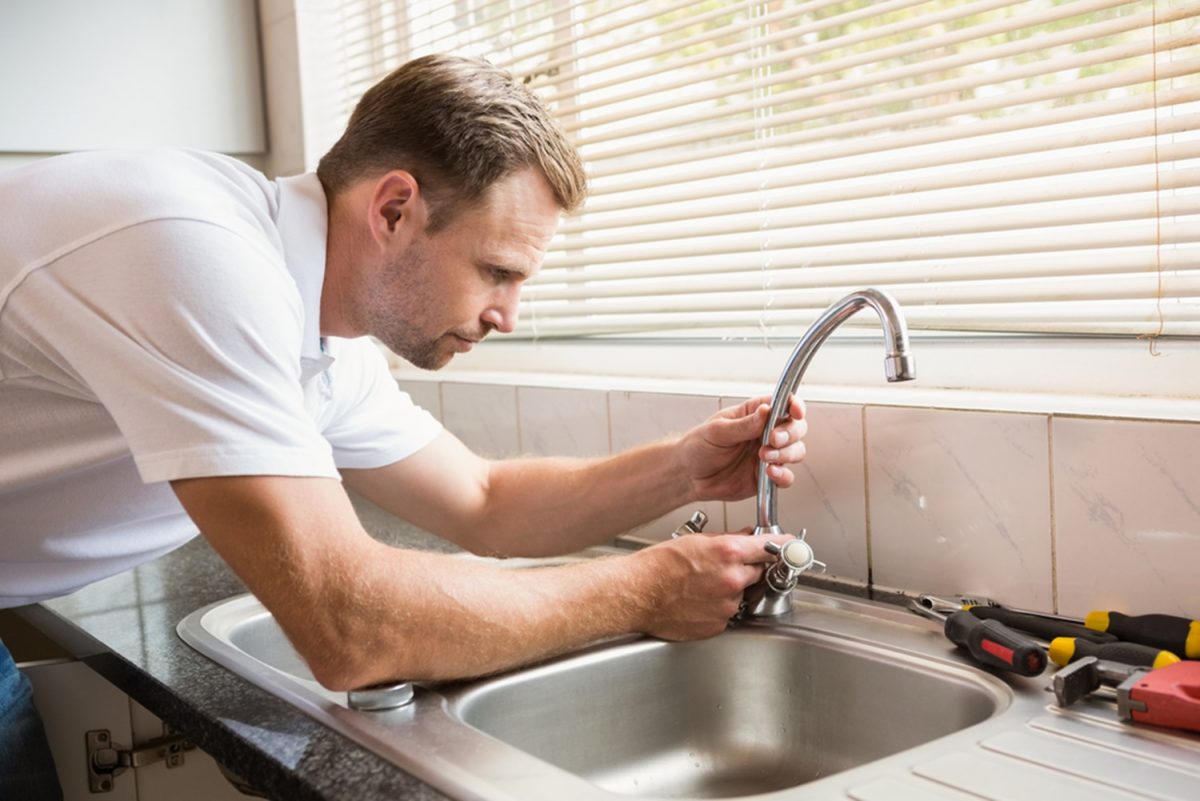
9. Professional vs. DIY: Fixing a Leaky Kitchen Sink Faucet
When faced with a leaky kitchen sink faucet, you may wonder whether to call a professional plumber or attempt to fix it yourself. Here's a breakdown of the pros and cons of each option.
Professional plumber:
Pros: Experienced and knowledgeable, can identify and fix the root cause of the leak, can handle more complex faucet issues.
Cons: Can be expensive, may have to wait for an appointment.
DIY:
Pros: Cheaper, more convenient, can be a satisfying and educational experience.
Cons: May not have the necessary skills or tools, may cause further damage if not done correctly.
Ultimately, the decision depends on your comfort level and the severity of the leak. If in doubt, it's always best to call a professional.

9. Professional vs. DIY: Fixing a Leaky Kitchen Sink Faucet


10. How to Know When It's Time to Replace Your Kitchen Sink Faucet
While fixing a leaky kitchen sink faucet can save you time and money, there may come a time when it's best to replace the entire faucet. Here are some signs that it's time for a replacement:
- Frequent leaks and repairs
- Visible wear and tear on the faucet
- Low water pressure
- Outdated or old faucet
If you're experiencing any of these issues, it may be time to invest in a new kitchen sink faucet. Consider choosing a high-quality, durable faucet that will last for years to come.


10. How to Know When It's Time to Replace Your Kitchen Sink Faucet


Additional Tips for Fixing a Leaky Kitchen Sink Faucet

Explore Different Types of Faucets
 When it comes to fixing a leaky kitchen sink faucet, the first step is to determine the type of faucet you have. There are many different types of faucets, such as ball, cartridge, and ceramic disk, and each has its own specific method for fixing leaks. It's important to familiarize yourself with the type of faucet you have before attempting any repairs.
Gather the Necessary Tools
 Before tackling the leaky faucet, make sure you have the right tools on hand. This will save you time and frustration in the long run. Some essential tools for fixing a leaky kitchen sink faucet include a set of screwdrivers, adjustable pliers, and an Allen wrench. It's also a good idea to have a bucket and some rags handy to catch any water and keep your work area clean.
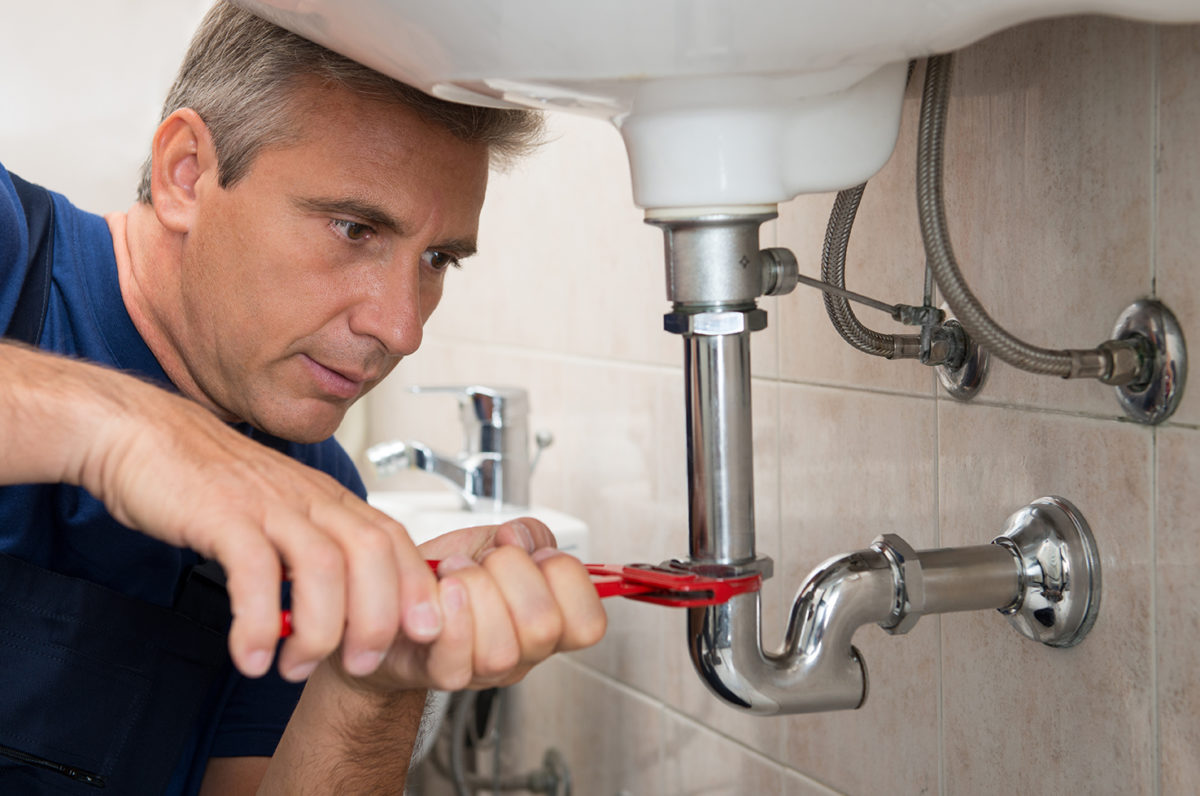
Shut Off the Water Supply
 Before you begin any repairs, it's important to turn off the water supply to the faucet. This will prevent any water from flowing while you work and avoid any potential accidents. Most faucets have a valve under the sink that can be turned off, or you can shut off the main water supply to your house.
Replace the O-Ring or Cartridge
 The most common cause of a leaky kitchen sink faucet is a worn-out O-ring or cartridge. These parts can become worn over time and start to leak. To fix this, you will need to remove the handle and replace the O-ring or cartridge with a new one. This is a fairly simple process, but make sure to follow the manufacturer's instructions for your specific faucet type.
Check for Other Issues
 If replacing the O-ring or cartridge doesn't fix the leak, there may be other issues with your faucet that need to be addressed. Check for any cracks or damage to the faucet itself, as well as any loose connections or worn out washers. If you're unsure of how to fix these issues, it's best to call a professional plumber for assistance.
Conclusion
 Fixing a leaky kitchen sink faucet may seem like a daunting task, but with the right tools and knowledge, it can be a simple and rewarding DIY project. Always remember to turn off the water supply and familiarize yourself with your faucet type before beginning any repairs. By following these tips, you can have your kitchen sink faucet working like new again in no time.