How to Fix a Leaky Air Mattress
If you're an avid camper or have house guests frequently, you know the importance of a good air mattress. But what happens when your trusty air mattress starts to leak? Don't worry, fixing a leaky air mattress is easier than you think. With the right tools and techniques, you'll have your air mattress back to full capacity in no time.
How to Patch an Air Mattress
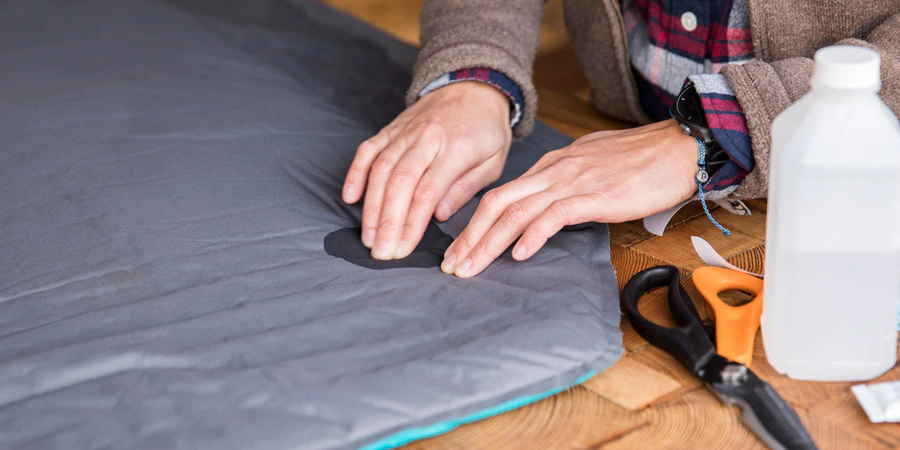
Patching an air mattress is a simple and effective way to fix a leak. First, locate the leak by inflating the mattress and listening for the sound of air escaping. Once you've found the leak, deflate the mattress and clean the area with rubbing alcohol. Next, apply a generous amount of rubber cement onto the hole and let it dry for a few minutes. Then, cut a piece of patching material from an old rubber mat or use a patch from an air mattress repair kit. Press the patch firmly onto the hole and let it dry completely before re-inflating the mattress.
DIY Air Mattress Repair
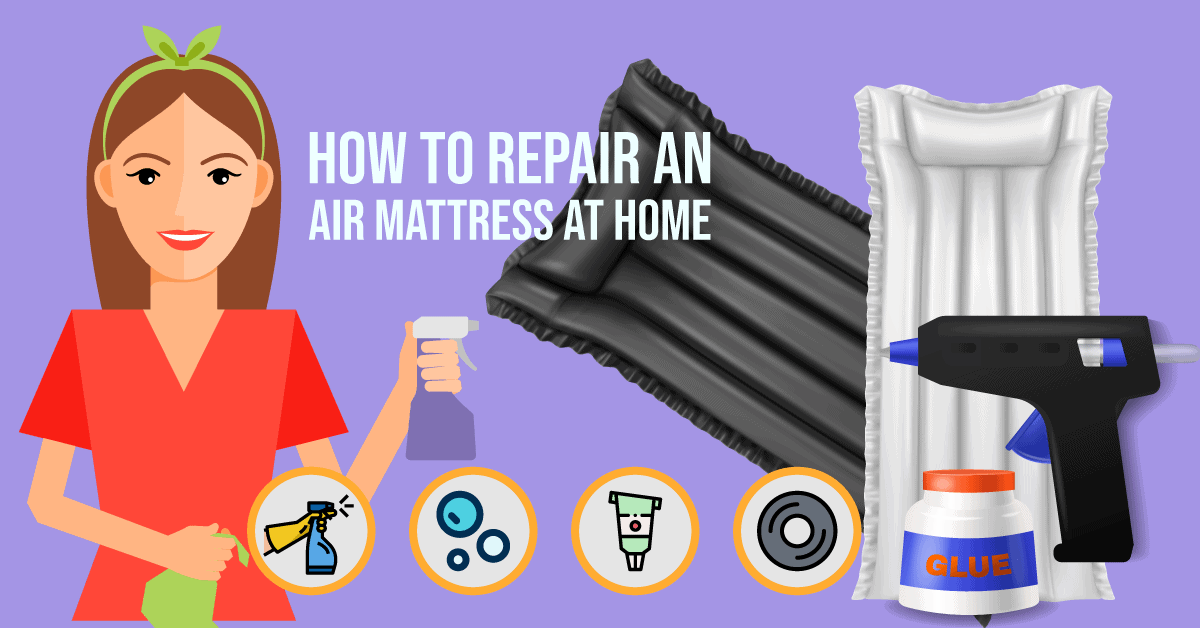
If you don't have a repair kit on hand, don't worry. You can easily create your own DIY air mattress repair kit with items you likely already have at home. Use a rubber patch or duct tape to seal the leak, and make sure to clean the area with rubbing alcohol before applying the patch. You can also use nail polish or a hot glue gun to seal small holes. Just be sure to let the patch dry completely before using the mattress again.
Quick and Easy Air Mattress Fix
If you need a quick fix for a small leak, try using petroleum jelly or lip balm. Apply a small amount of either substance onto the hole and let it sit for a few minutes before inflating the mattress. The jelly or balm will seal the leak and prevent any further air from escaping. This is a great solution for small holes or punctures that are difficult to find.
Fixing a Hole in an Air Mattress
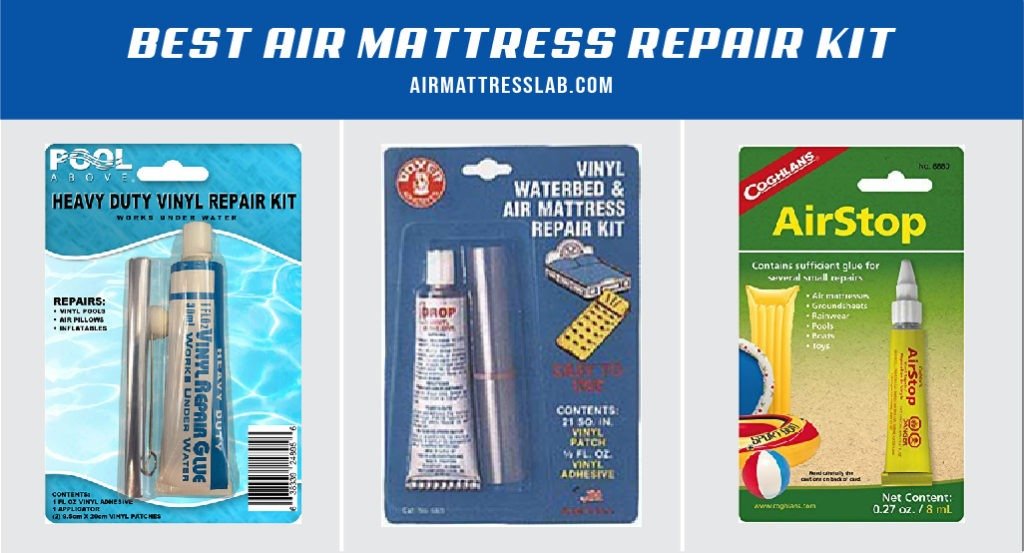
For larger holes or tears in your air mattress, you may need to use a vinyl patch or puncture repair kit. These kits typically come with a patching material and adhesive that is specifically designed for repairing air mattresses. Follow the instructions on the kit carefully for the best results. If the hole is too big to patch, you may need to consider replacing the mattress.
Air Mattress Repair Kit
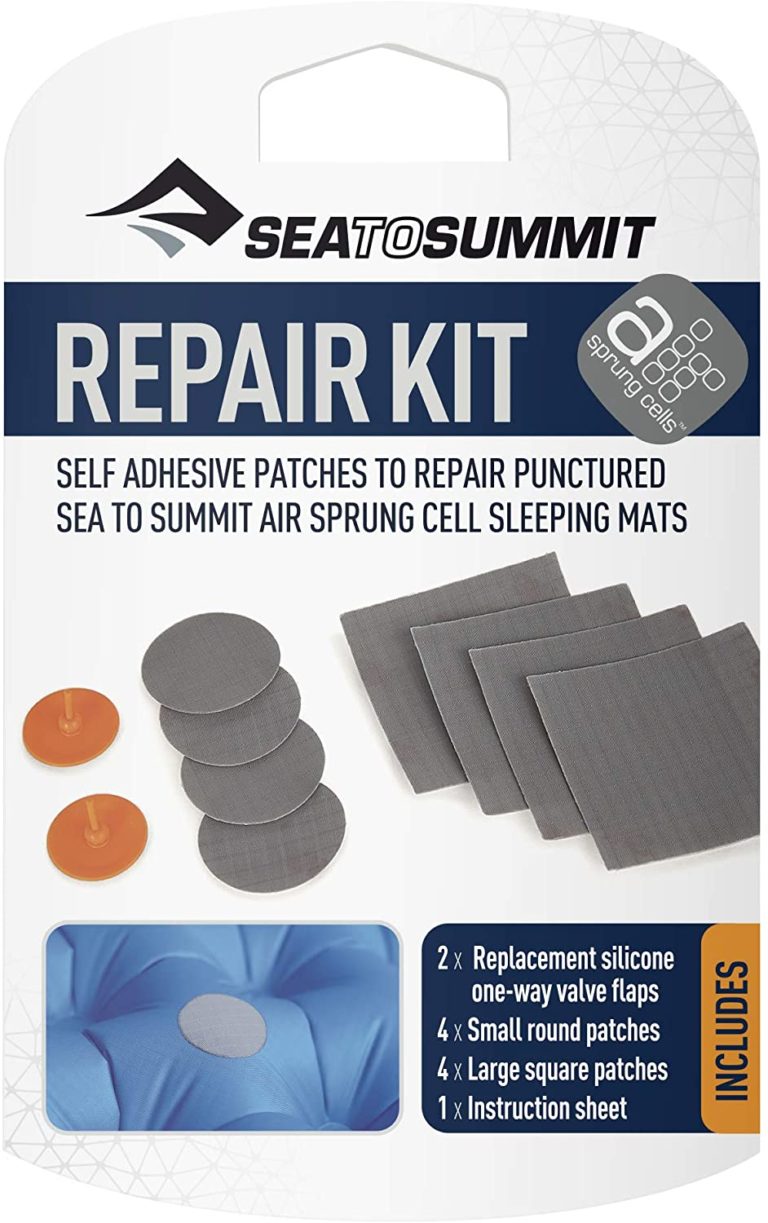
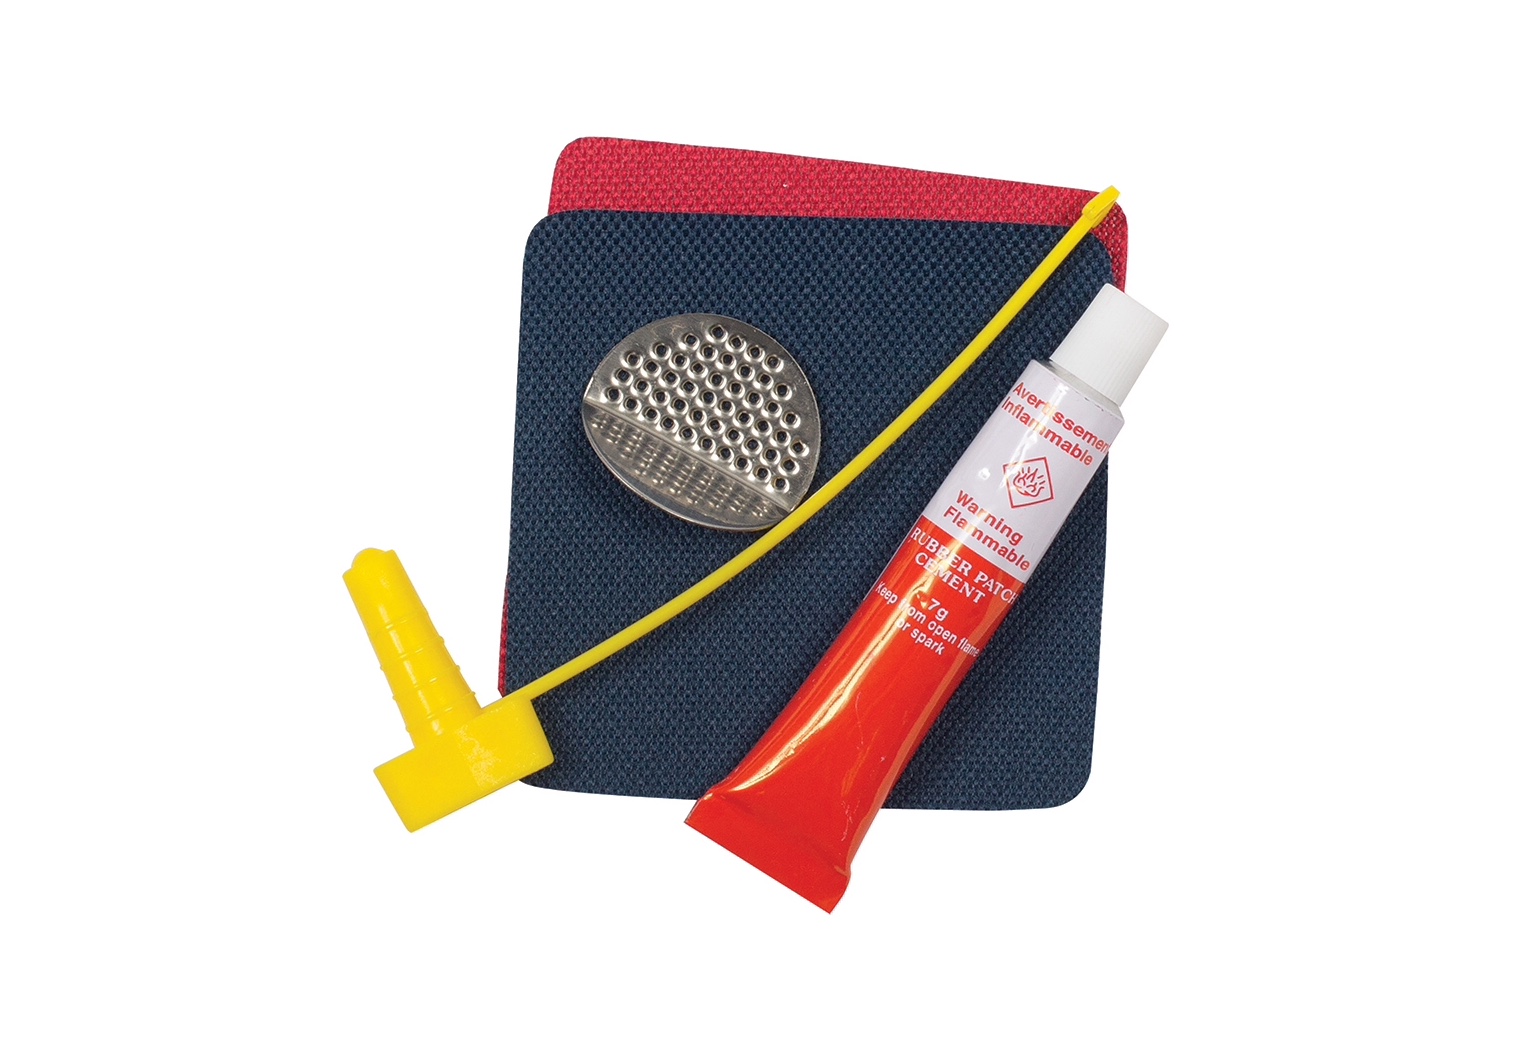
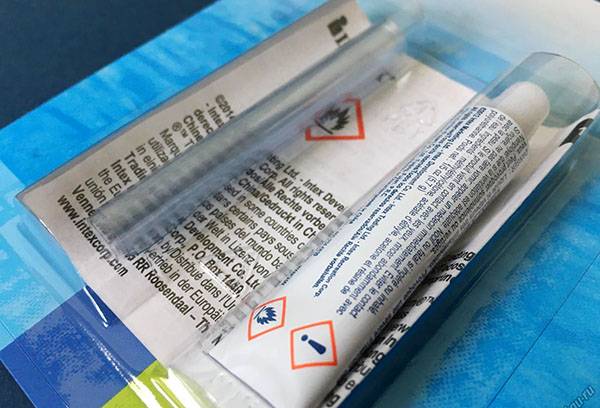
Investing in an air mattress repair kit is a smart idea for anyone who uses an air mattress regularly. These kits come with everything you need to fix small leaks and tears, and they are easy to use. Rubber cement, patching material, and adhesive are all included in most kits. Plus, they are compact and easy to store, making them a convenient addition to your camping gear or household supplies.
Sealing a Leak in an Air Mattress
Once you've located and fixed the leak, it's important to properly seal the area to prevent any further damage. Use a generous amount of rubber cement or adhesive to seal the edges of the patch or the edges of the hole. If you used a DIY method to fix the leak, make sure the patch is secure and the edges are sealed with duct tape or nail polish. Let the sealant dry completely before using the mattress again.
Air Mattress Patching Tips
To ensure your air mattress stays in good condition and lasts for multiple uses, it's important to follow some simple maintenance tips. Avoid placing the mattress on rough or sharp surfaces, and always use a tarp or groundsheet underneath the mattress when camping. Keep sharp objects away from the mattress, and make sure to clean and dry the mattress thoroughly before storing it.
Fixing a Deflated Air Mattress
If you wake up to a deflated air mattress, don't panic. First, check for any leaks or holes using the methods mentioned above. If you can't find a leak, it may just be a matter of re-inflating the mattress. Sometimes, air can escape through the valve or seams, so double check those areas and make sure they are tightly closed. If the mattress continues to deflate, it may be time to replace it.
Air Mattress Maintenance and Repair
Regular maintenance and repairs are essential for keeping your air mattress in good condition. Check for leaks and tears before each use, and make sure to properly clean and store the mattress when not in use. If you do encounter a leak or tear, follow the proper repair techniques to ensure a long-lasting fix. With the right care and maintenance, your air mattress will be a reliable and comfortable sleeping surface for years to come.
Ensuring a Properly Inflated Air Mattress for a Good Night's Sleep

Step 3: Reinforcing the Seams and Patches
 After fully inflating your air mattress, the next step is to check for any weak spots or holes in the seams and patches. These are the areas that are most prone to wear and tear and can lead to air leaking out.
Reinforcing these areas is crucial in maintaining the longevity of your air mattress and preventing future leaks.
To reinforce the seams and patches, you will need a patch repair kit, which usually comes with the air mattress or can be purchased separately.
Make sure to choose a patch that is specifically designed for air mattresses and follow the instructions carefully.
First, clean and dry the area around the seam or patch that needs reinforcement. Then, apply the patch according to the instructions provided.
It is important to press down firmly and evenly to ensure a strong bond between the patch and the mattress.
Let the patch dry completely before moving on to the next step.
Step 4: Adding Extra Support
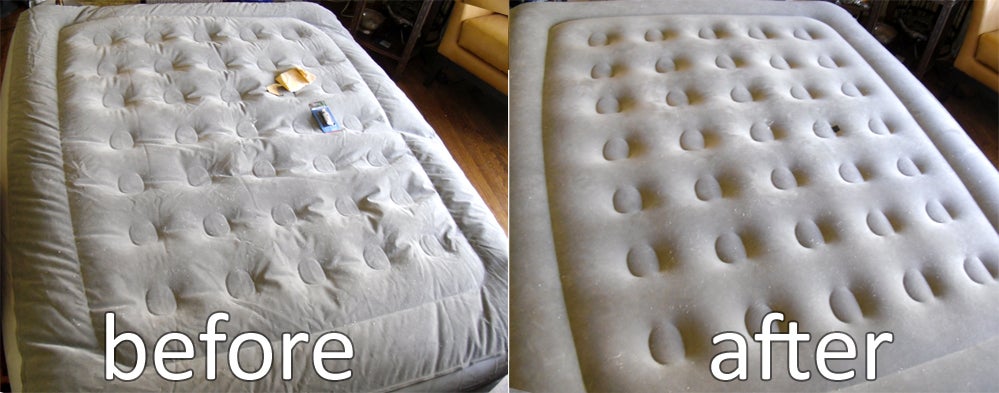 For extra support, you can add a mattress topper or a foam pad on top of your air mattress. This will not only provide additional comfort but also help distribute your body weight evenly and reduce the strain on the air mattress.
Choose a mattress topper or foam pad that is the same size as your air mattress to avoid any slipping or shifting during the night.
Another option for added support is to place a sheet of plywood or a wooden board underneath the air mattress. This will provide a solid base and prevent the mattress from sinking in too much, especially if you have a heavier weight distribution.
Just make sure to measure the size of your air mattress and cut the plywood or wooden board accordingly.
Conclusion
 A properly inflated air mattress is essential for a good night's sleep, especially if you have guests staying over or are using it for camping trips. By following these simple steps, you can easily fix any leaks or weak spots in your air mattress and ensure its longevity.
Regular maintenance and reinforcement will not only save you money from constantly buying new air mattresses but also provide a comfortable and restful sleep every time.
Remember to always follow the manufacturer's instructions for best results and enjoy a good night's sleep on your newly fixed air mattress.












:max_bytes(150000):strip_icc()/inflatable-mattress-in-an-empty-room-1165771286-cdef8878a02c456188562f33c8f66d5d.jpg)

































/how-to-install-a-sink-drain-2718789-hero-24e898006ed94c9593a2a268b57989a3.jpg)
:max_bytes(150000):strip_icc()/91V4cddMWSL._AC_SL1500_-9bbfa34a20404194b570aa8b189a47b8.jpg)


