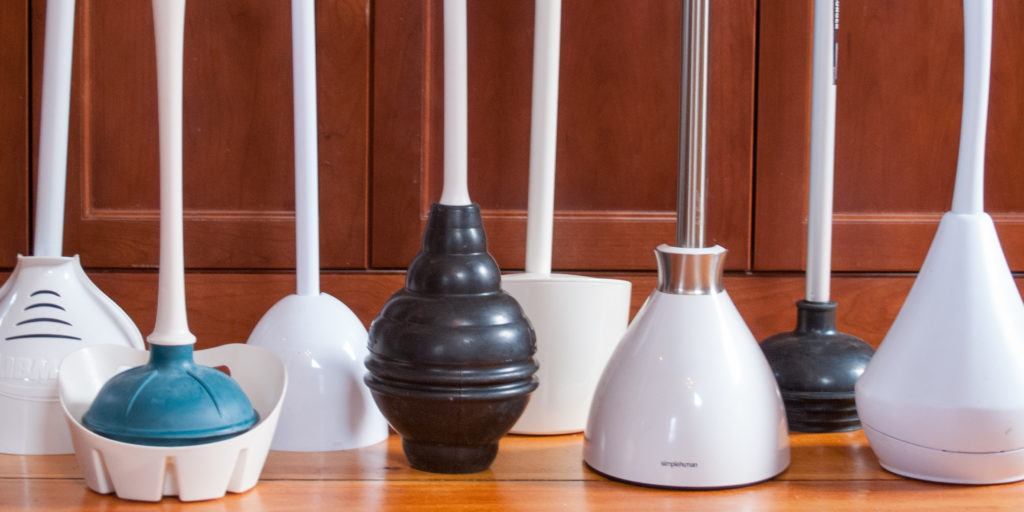
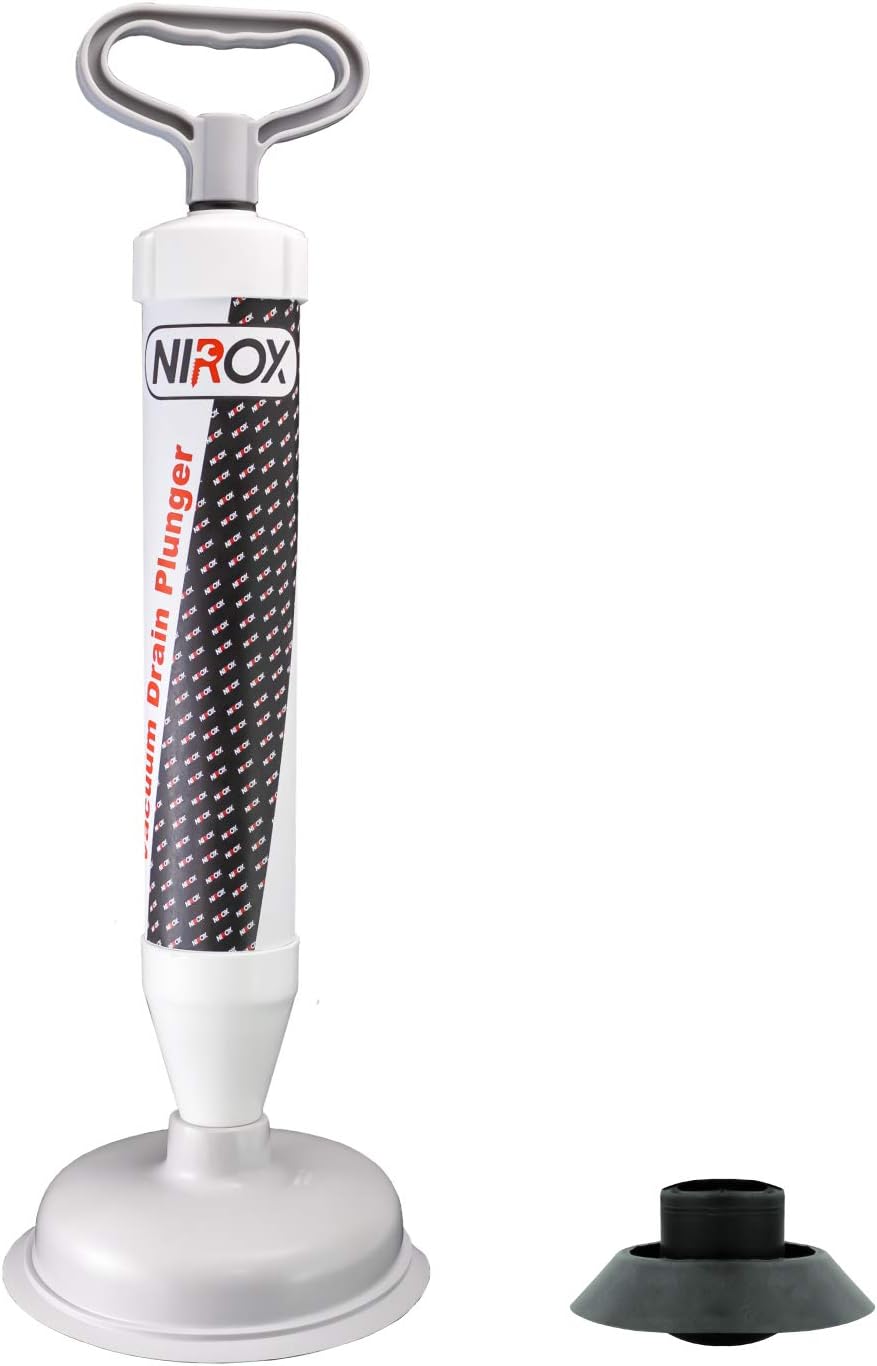
If you're experiencing a clogged bathroom sink, your first instinct may be to reach for a plunger. However, what do you do when the plunger itself needs fixing? Don't worry, you're not alone. Plungers can become damaged or worn over time, making it difficult to use them effectively. But fear not, with a few simple steps, you can fix your plunger and have it working like new again. Here's a step-by-step guide on how to fix a plunger on a bathroom sink.Fixing a Plunger on a Bathroom Sink


Fixing a Plunger on a Bathroom Sink


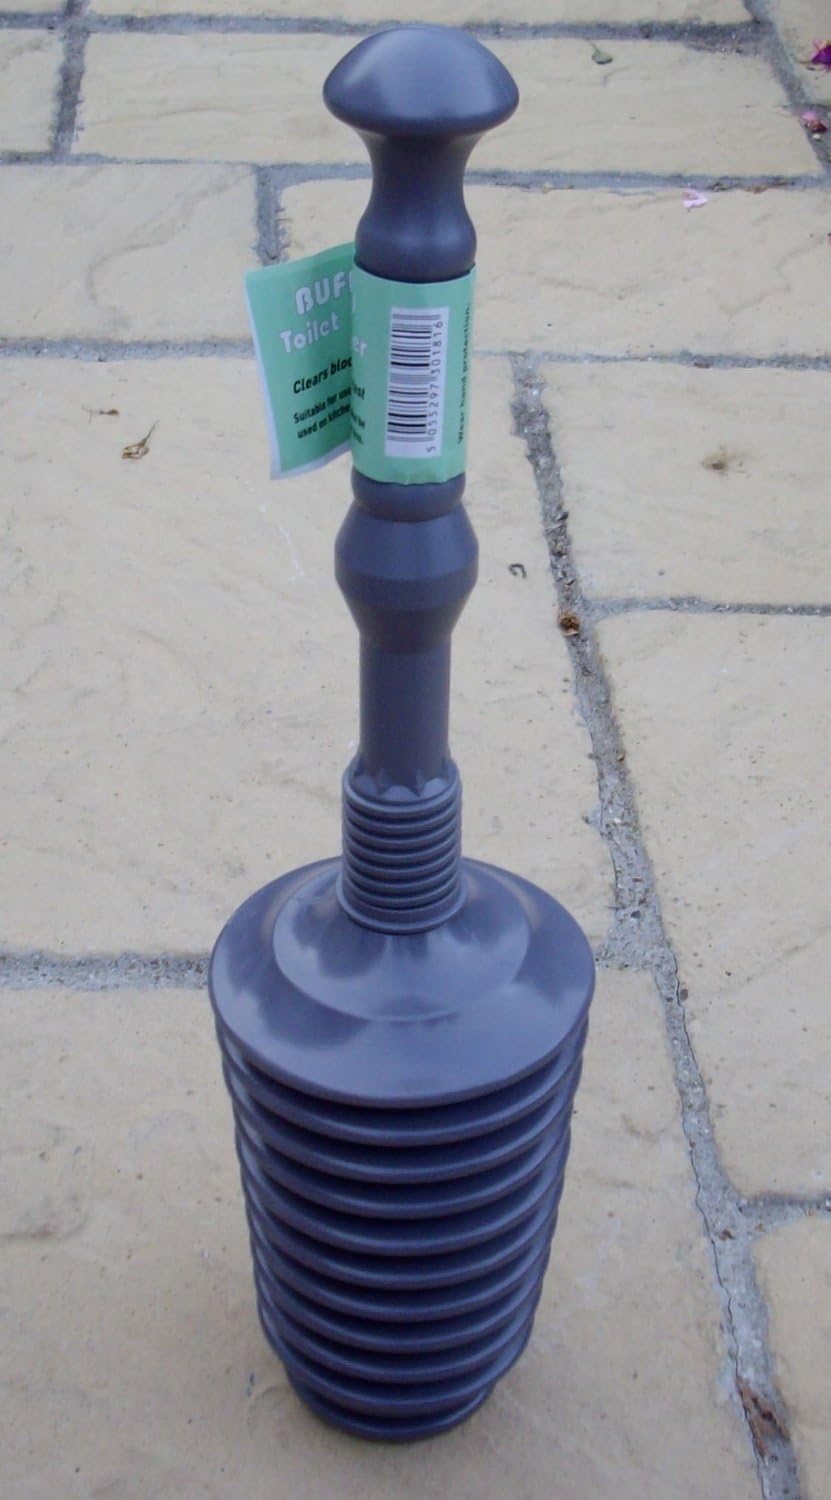
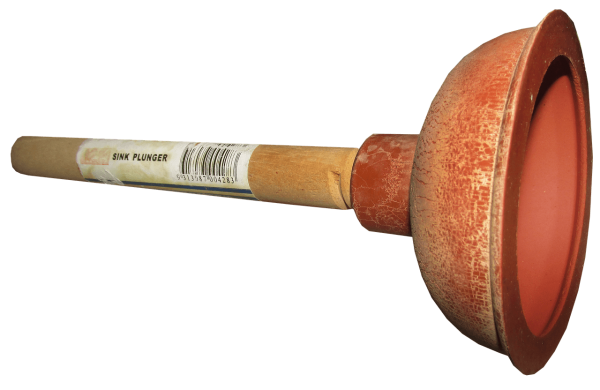
Before we dive into the steps, it's important to understand why your plunger may not be working properly. The most common issue is a worn or damaged rubber suction cup, which is the part of the plunger that creates the necessary suction to unclog the sink. Over time, the rubber can become cracked or lose its flexibility, making it difficult to create a seal. Now, let's get into the fixing process.How to Fix a Plunger on a Bathroom Sink


How to Fix a Plunger on a Bathroom Sink


The first step is to inspect your plunger and determine if the suction cup is indeed the issue. If it's visibly damaged, you'll need to replace it. You can purchase replacement suction cups at most hardware stores or online. Once you have your new suction cup, you can begin the fixing process. Note: If the suction cup appears to be in good condition, you may still need to follow these steps to ensure it's properly attached to the handle.DIY: Fixing a Plunger on a Bathroom Sink


DIY: Fixing a Plunger on a Bathroom Sink


Step 1: Remove the old suction cup from the plunger handle. You may need to use a flathead screwdriver to gently pry it off. Step 2: Clean the handle and the area where the suction cup will be attached. Any debris or residue can affect the plunger's suction power. Step 3: Apply adhesive to the back of the suction cup and firmly press it onto the handle. Make sure it's centered and securely attached. Step 4: Allow the adhesive to dry completely before using the plunger again.Plunger Repair for Bathroom Sink


Plunger Repair for Bathroom Sink


If you're in a pinch and don't have time to replace the suction cup, there's a quick fix that may do the trick. Take a plastic bag and cut it into a circle slightly larger than the suction cup. Place the bag over the suction cup and secure it with a rubber band. This makeshift seal can help create the necessary suction to unclog the sink.Quick Fix for a Bathroom Sink Plunger

Quick Fix for a Bathroom Sink Plunger


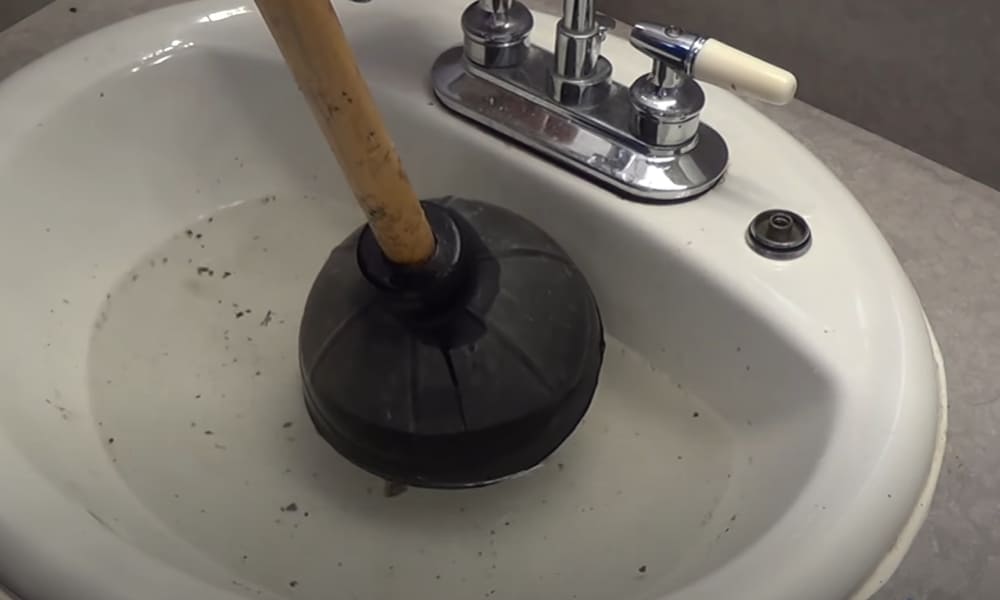
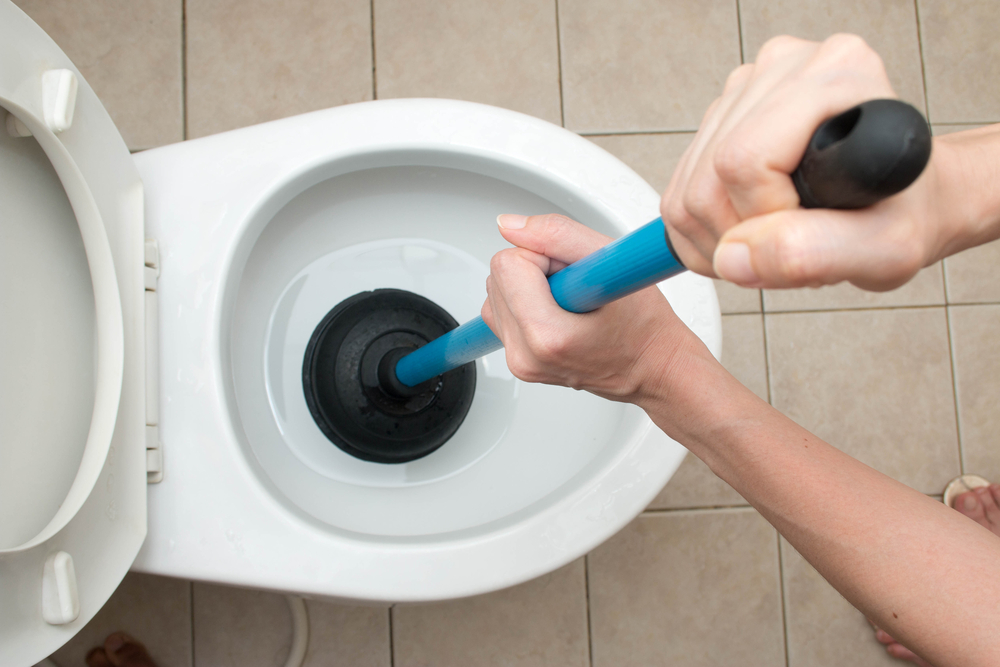
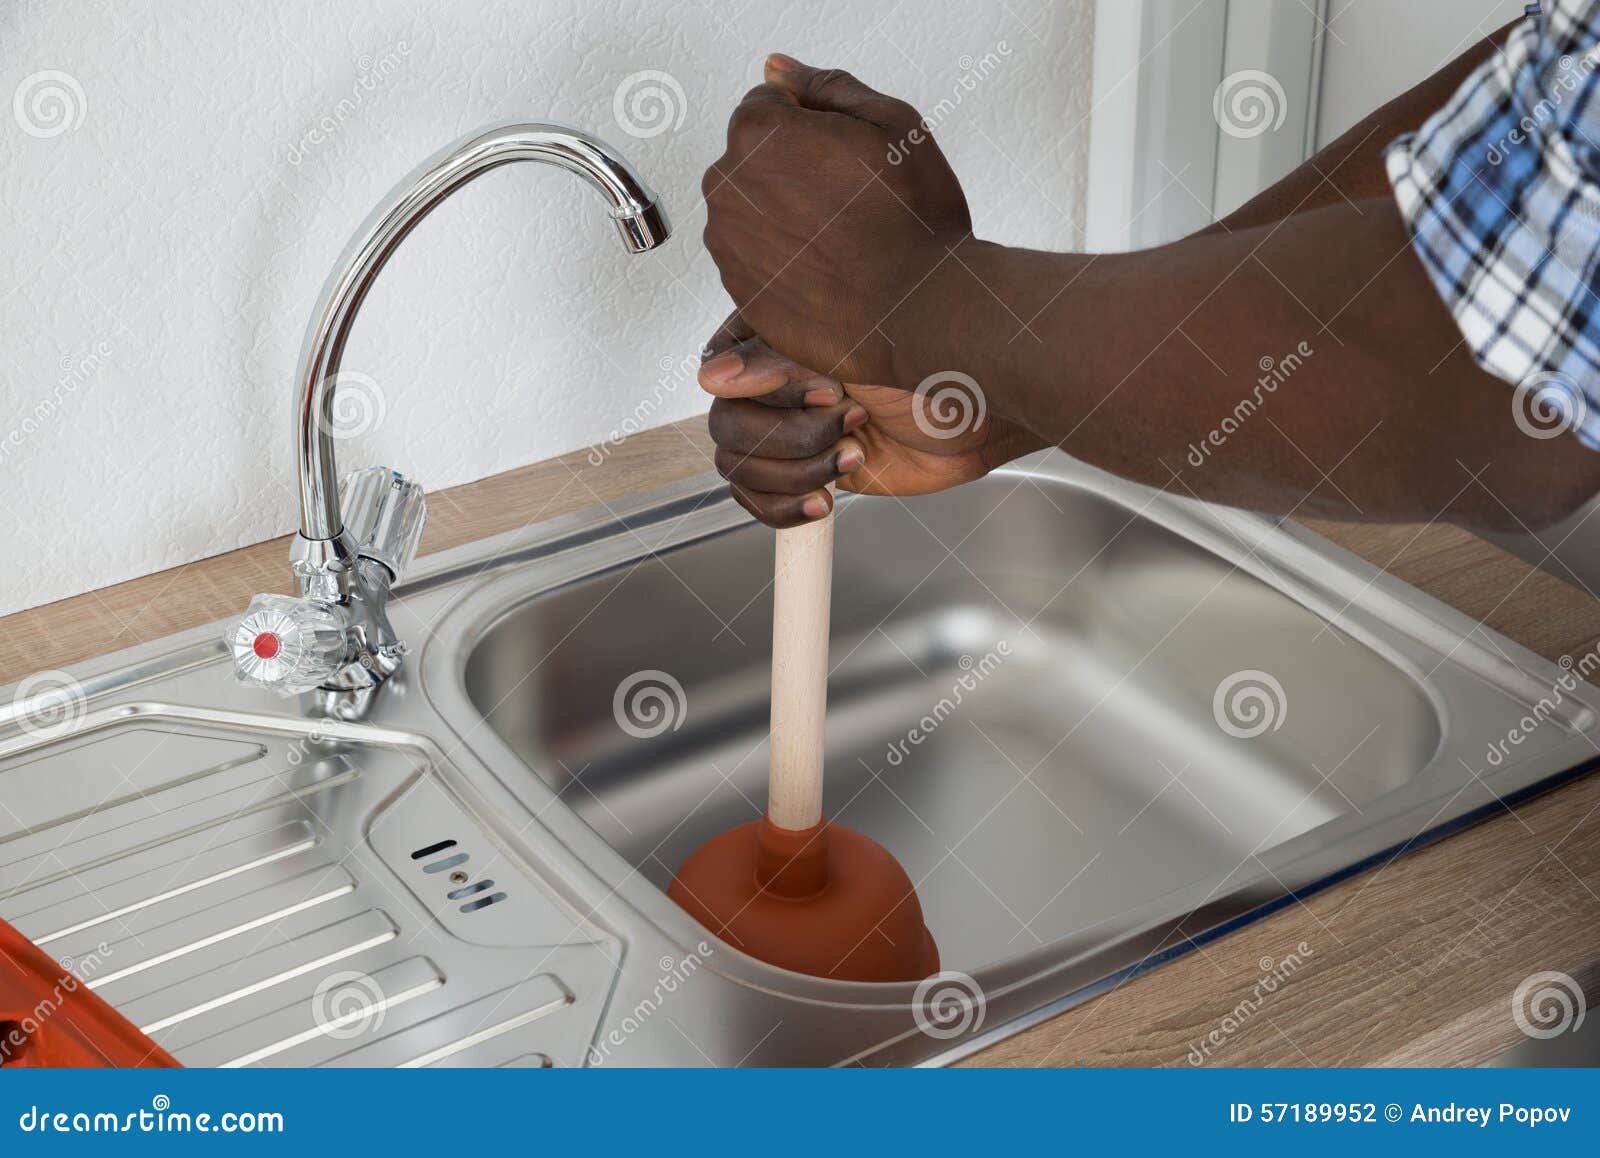
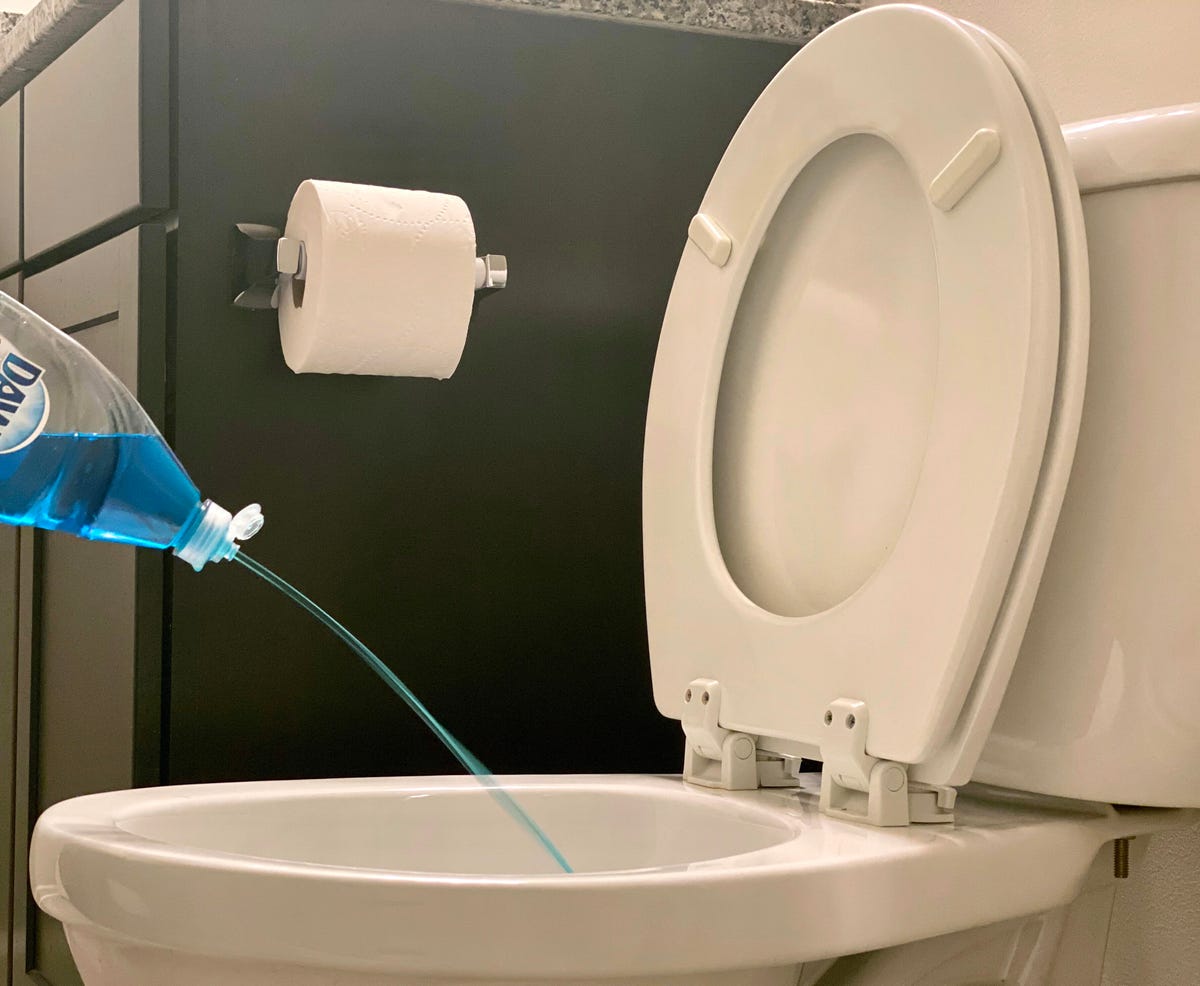
Now that your plunger is fixed, you can use it to unclog your bathroom sink. Start by filling the sink with a few inches of water, enough to cover the suction cup. Place the plunger over the drain and push down firmly. Then, quickly pull up to create suction. Repeat this motion a few times until the clog is cleared. Note: If your sink has an overflow drain, make sure to plug it with a rag or towel before using the plunger to ensure maximum suction power.Fixing a Clogged Bathroom Sink with a Plunger


Fixing a Clogged Bathroom Sink with a Plunger


To summarize, here's a step-by-step guide on how to fix a plunger on a bathroom sink: 1. Inspect the plunger and determine if the suction cup needs to be replaced. 2. Remove the old suction cup and clean the handle and area where the new suction cup will be attached. 3. Apply adhesive to the back of the new suction cup and firmly press it onto the handle. 4. Allow the adhesive to dry completely before using the plunger again. 5. If in a pinch, use a plastic bag and rubber band to create a makeshift seal over the suction cup. 6. To use the plunger, fill the sink with a few inches of water and create a seal over the drain with the plunger. 7. Push down and quickly pull up to create suction and clear the clog.Step-by-Step Guide to Fixing a Plunger on a Bathroom Sink

Step-by-Step Guide to Fixing a Plunger on a Bathroom Sink


Aside from a damaged suction cup, there are a few other issues you may encounter with a bathroom sink plunger. Here are some common problems and how to fix them: Problem: The plunger handle is cracked or broken. Solution: You'll need to replace the entire plunger or purchase a new handle if it's detachable. Problem: The plunger won't create suction. Solution: Check to make sure the suction cup is securely attached and that there are no cracks or tears in the rubber. If the cup is damaged, replace it. If not, try using the makeshift seal method with a plastic bag and rubber band.Common Issues with Bathroom Sink Plungers and How to Fix Them


Common Issues with Bathroom Sink Plungers and How to Fix Them


To avoid having to fix your plunger in the future, it's important to properly maintain it. After each use, make sure to clean the suction cup and handle to remove any debris or residue. Store the plunger in a dry place to prevent rust or damage. If you have hard water, consider using a mixture of vinegar and water to soak the plunger and remove any mineral buildup.Plunger Maintenance for a Smooth-Running Bathroom Sink


Plunger Maintenance for a Smooth-Running Bathroom Sink


If your plunger is still not working properly after following these steps, there may be a more serious issue with your sink's plumbing. In this case, it's best to call a professional plumber to assess and fix the problem. By following these simple steps, you can fix your bathroom sink plunger and have it working like new again. Remember to regularly maintain your plunger to prevent any future issues. Happy plunging!Troubleshooting Tips for Fixing a Plunger on a Bathroom Sink


Troubleshooting Tips for Fixing a Plunger on a Bathroom Sink


How to Properly Fix a Plunger on Your Bathroom Sink

Introduction
 Having a clogged bathroom sink can be a frustrating and messy experience. Luckily, a plunger is a simple and effective tool that can help clear the blockage. However, if your plunger is not working properly, it may need some fixing. In this article, we will guide you through the steps to properly fix a plunger on your bathroom sink, ensuring a smooth and hassle-free unclogging process.
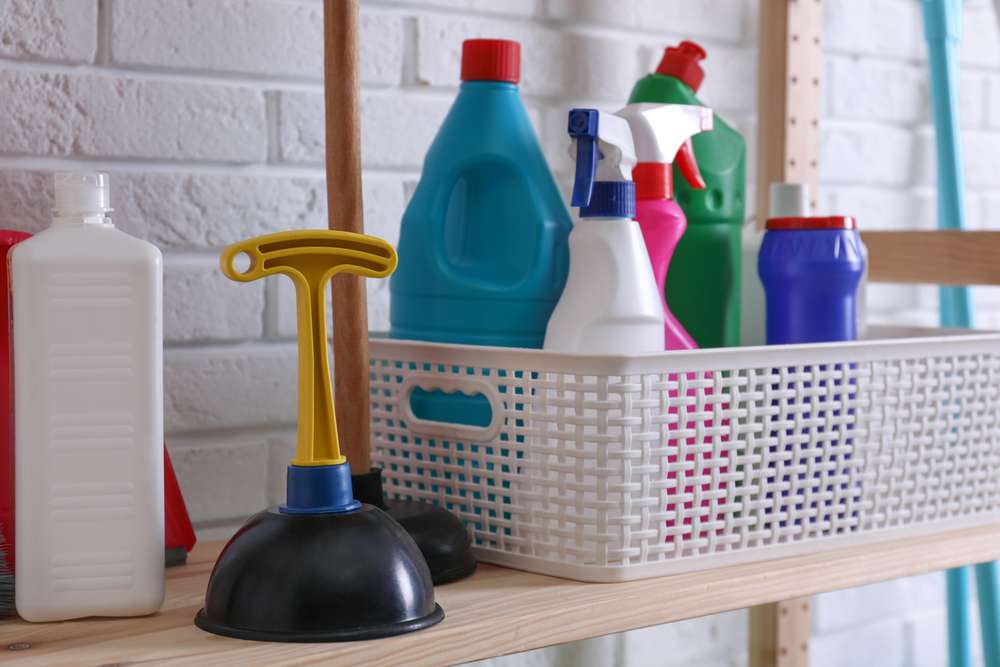
Gather the Necessary Tools
 Before beginning the process, make sure you have all the necessary tools at hand. This includes a new plunger, a pair of pliers, and a screwdriver. You may also need a towel or rag to protect your hands from any sharp edges.
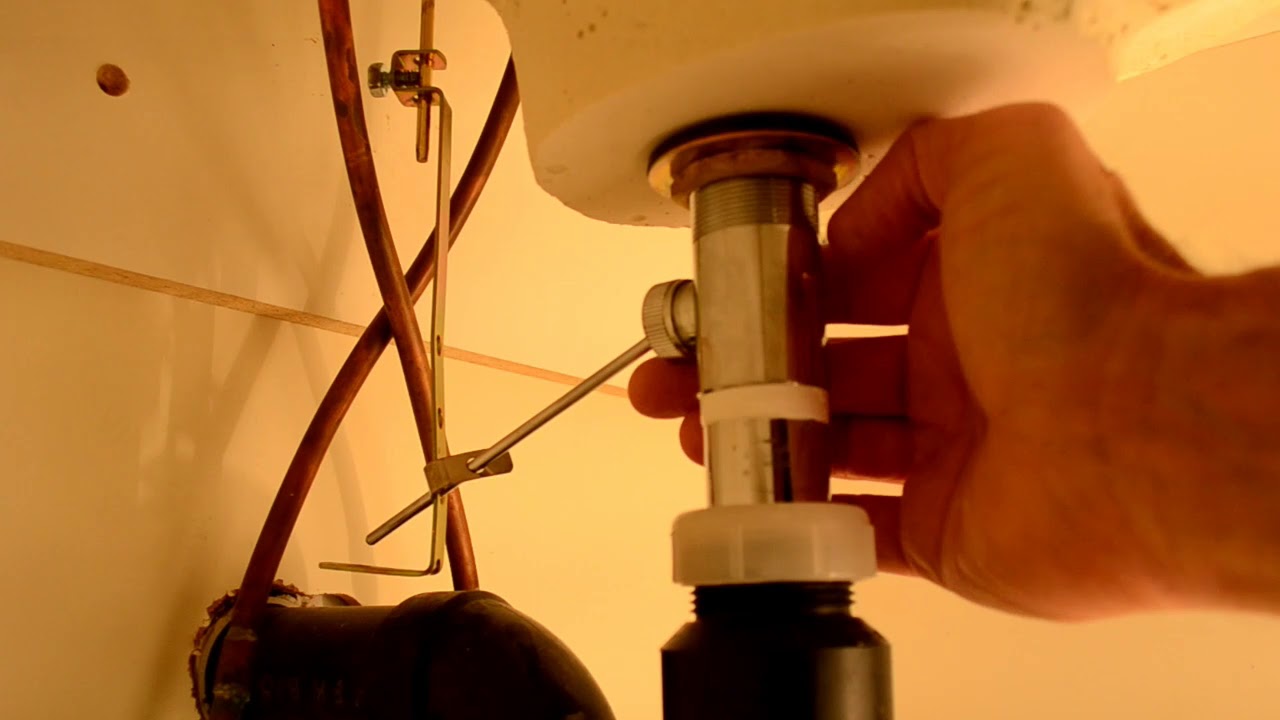
Step 1: Remove the Old Plunger
 The first step is to remove the old plunger from the sink. This can be done by unscrewing it from the drain using a pair of pliers or a screwdriver. If the plunger is stuck, you can use a lubricant to loosen it. Once removed, clean the area around the drain to ensure there is no debris or residue left behind.
Step 2: Check the Rubber Seal
 Next, inspect the rubber seal on the plunger. If it is worn out or damaged, it will not create a proper seal and will not be effective in unclogging the sink. In this case, you will need to replace the rubber seal with a new one.
Step 3: Attach the New Plunger
 Once you have a new rubber seal, attach it to the plunger by pushing it onto the end. Make sure it is securely in place before moving on to the next step.
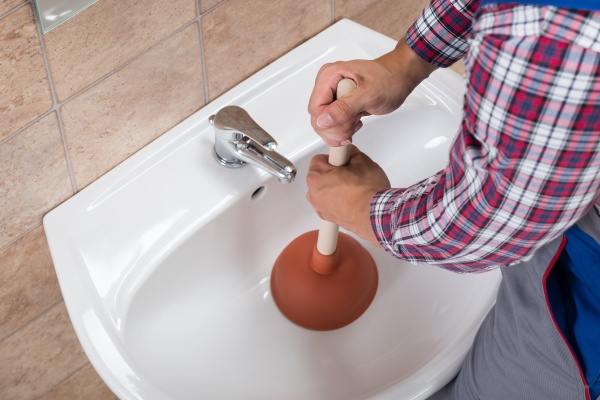
Step 4: Test the Plunger
 Before installing the plunger back into the drain, it is important to test it first. Fill the sink with a few inches of water and place the plunger over the drain. Push down firmly and then pull up to create suction. If the plunger is working properly, it should create a vacuum and remove the water from the sink.
Step 5: Install the Plunger
 Once you have determined that the plunger is working correctly, you can install it back into the drain. Screw it in tightly using the pliers or screwdriver. Make sure it is securely in place to avoid any leaks or malfunctions.
Conclusion
 A properly functioning plunger is essential for any household. By following these simple steps, you can easily fix a plunger on your bathroom sink and ensure it is working effectively. Remember to always keep your plunger clean and in good condition to avoid any future clogs. If the problem persists, it may be a sign of a more serious issue, and it is best to consult a professional plumber. Keep your bathroom sink clear and functional with a well-maintained plunger.