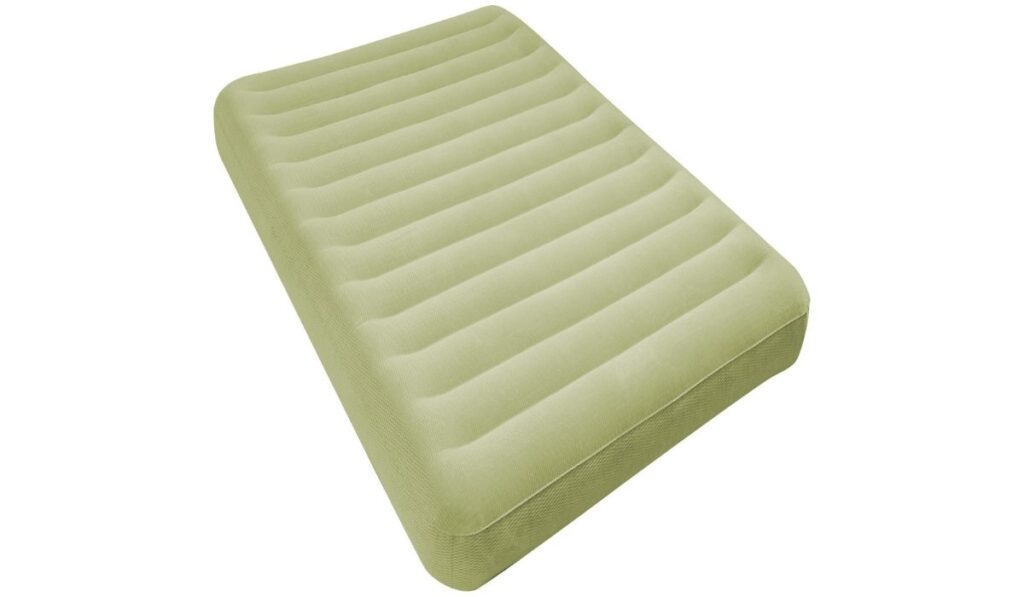
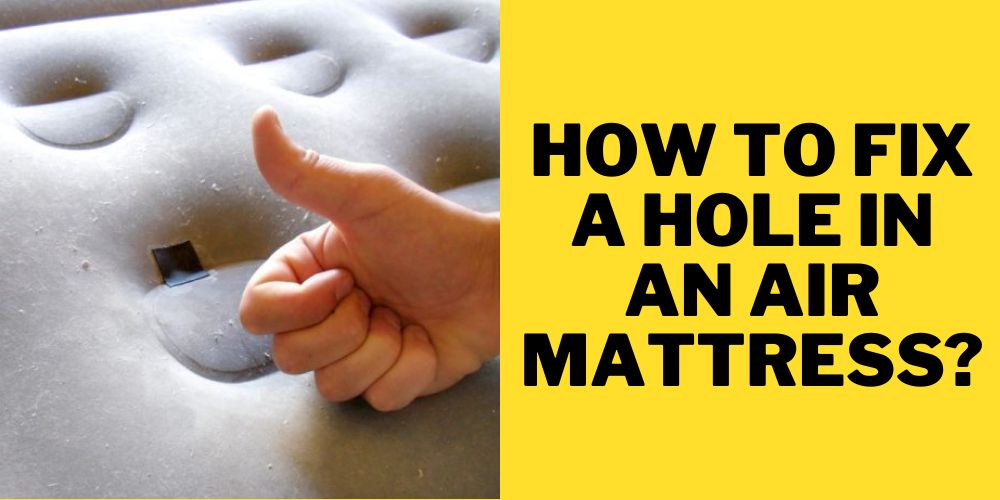
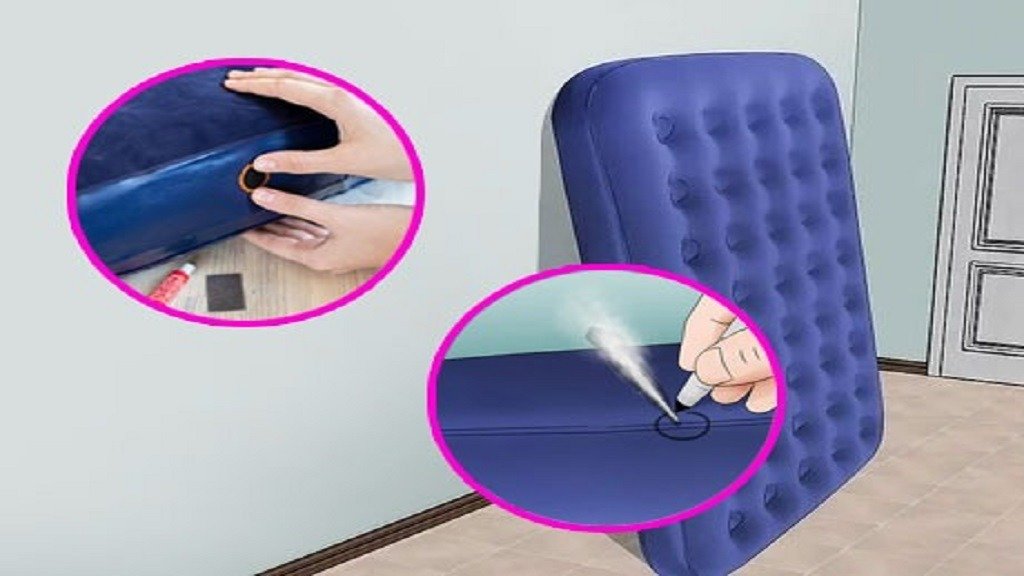
1. Patching a Hole on an Air Mattress
If you've ever woken up in the middle of the night to find yourself slowly sinking into your deflated air mattress, you know how frustrating it can be to have a leak. But don't worry, patching a hole on an air mattress is a simple and easy process that will have you back to sleeping comfortably in no time.
First, locate the hole in your air mattress. This can be done by either listening for a hissing sound or feeling for a stream of air with your hand. Once you have found the hole, mark it with a highlighter or piece of tape so you can easily find it again.
Next, deflate your air mattress completely. This will make it easier to work on and ensure that the patch will stick properly. Use a cloth or paper towel to wipe the area around the hole clean and dry.
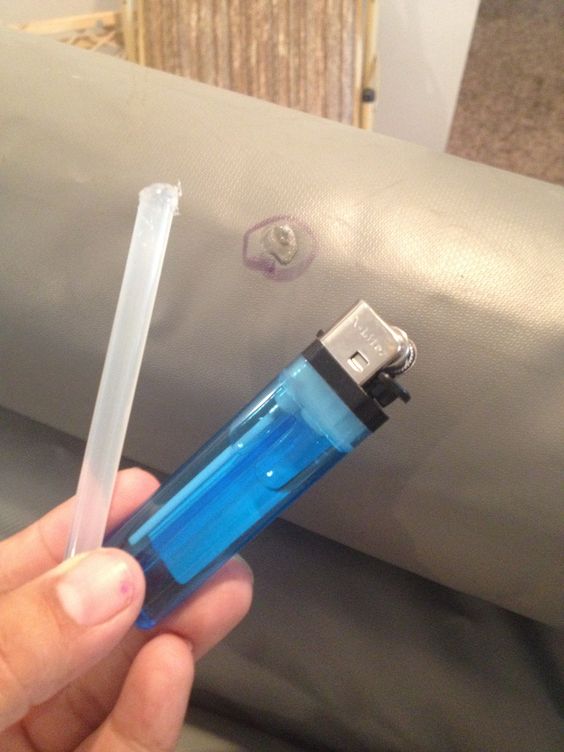
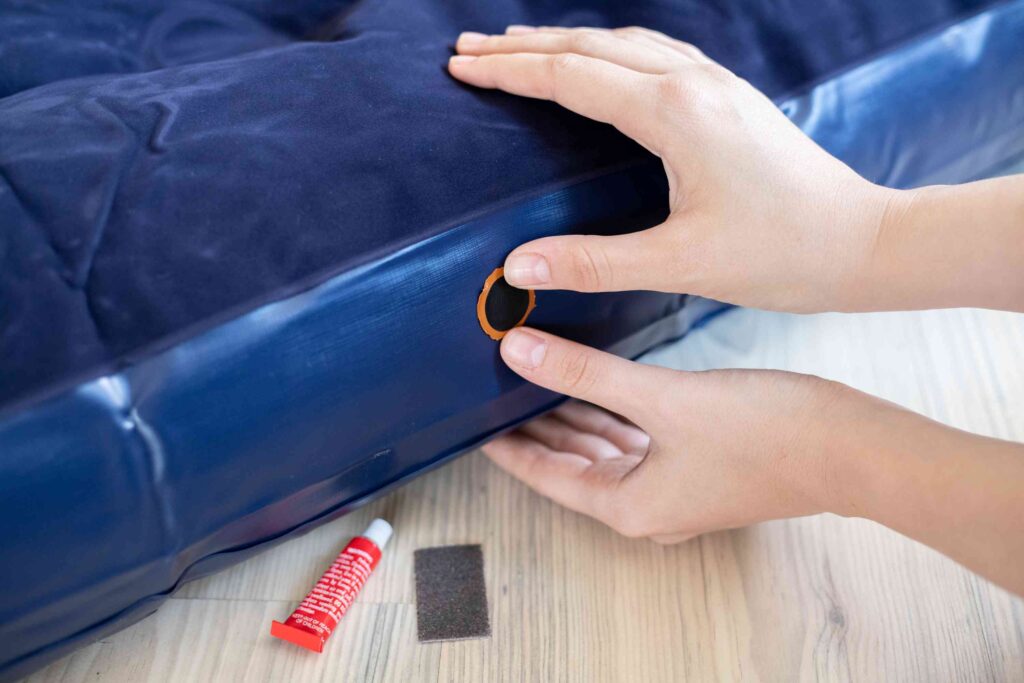
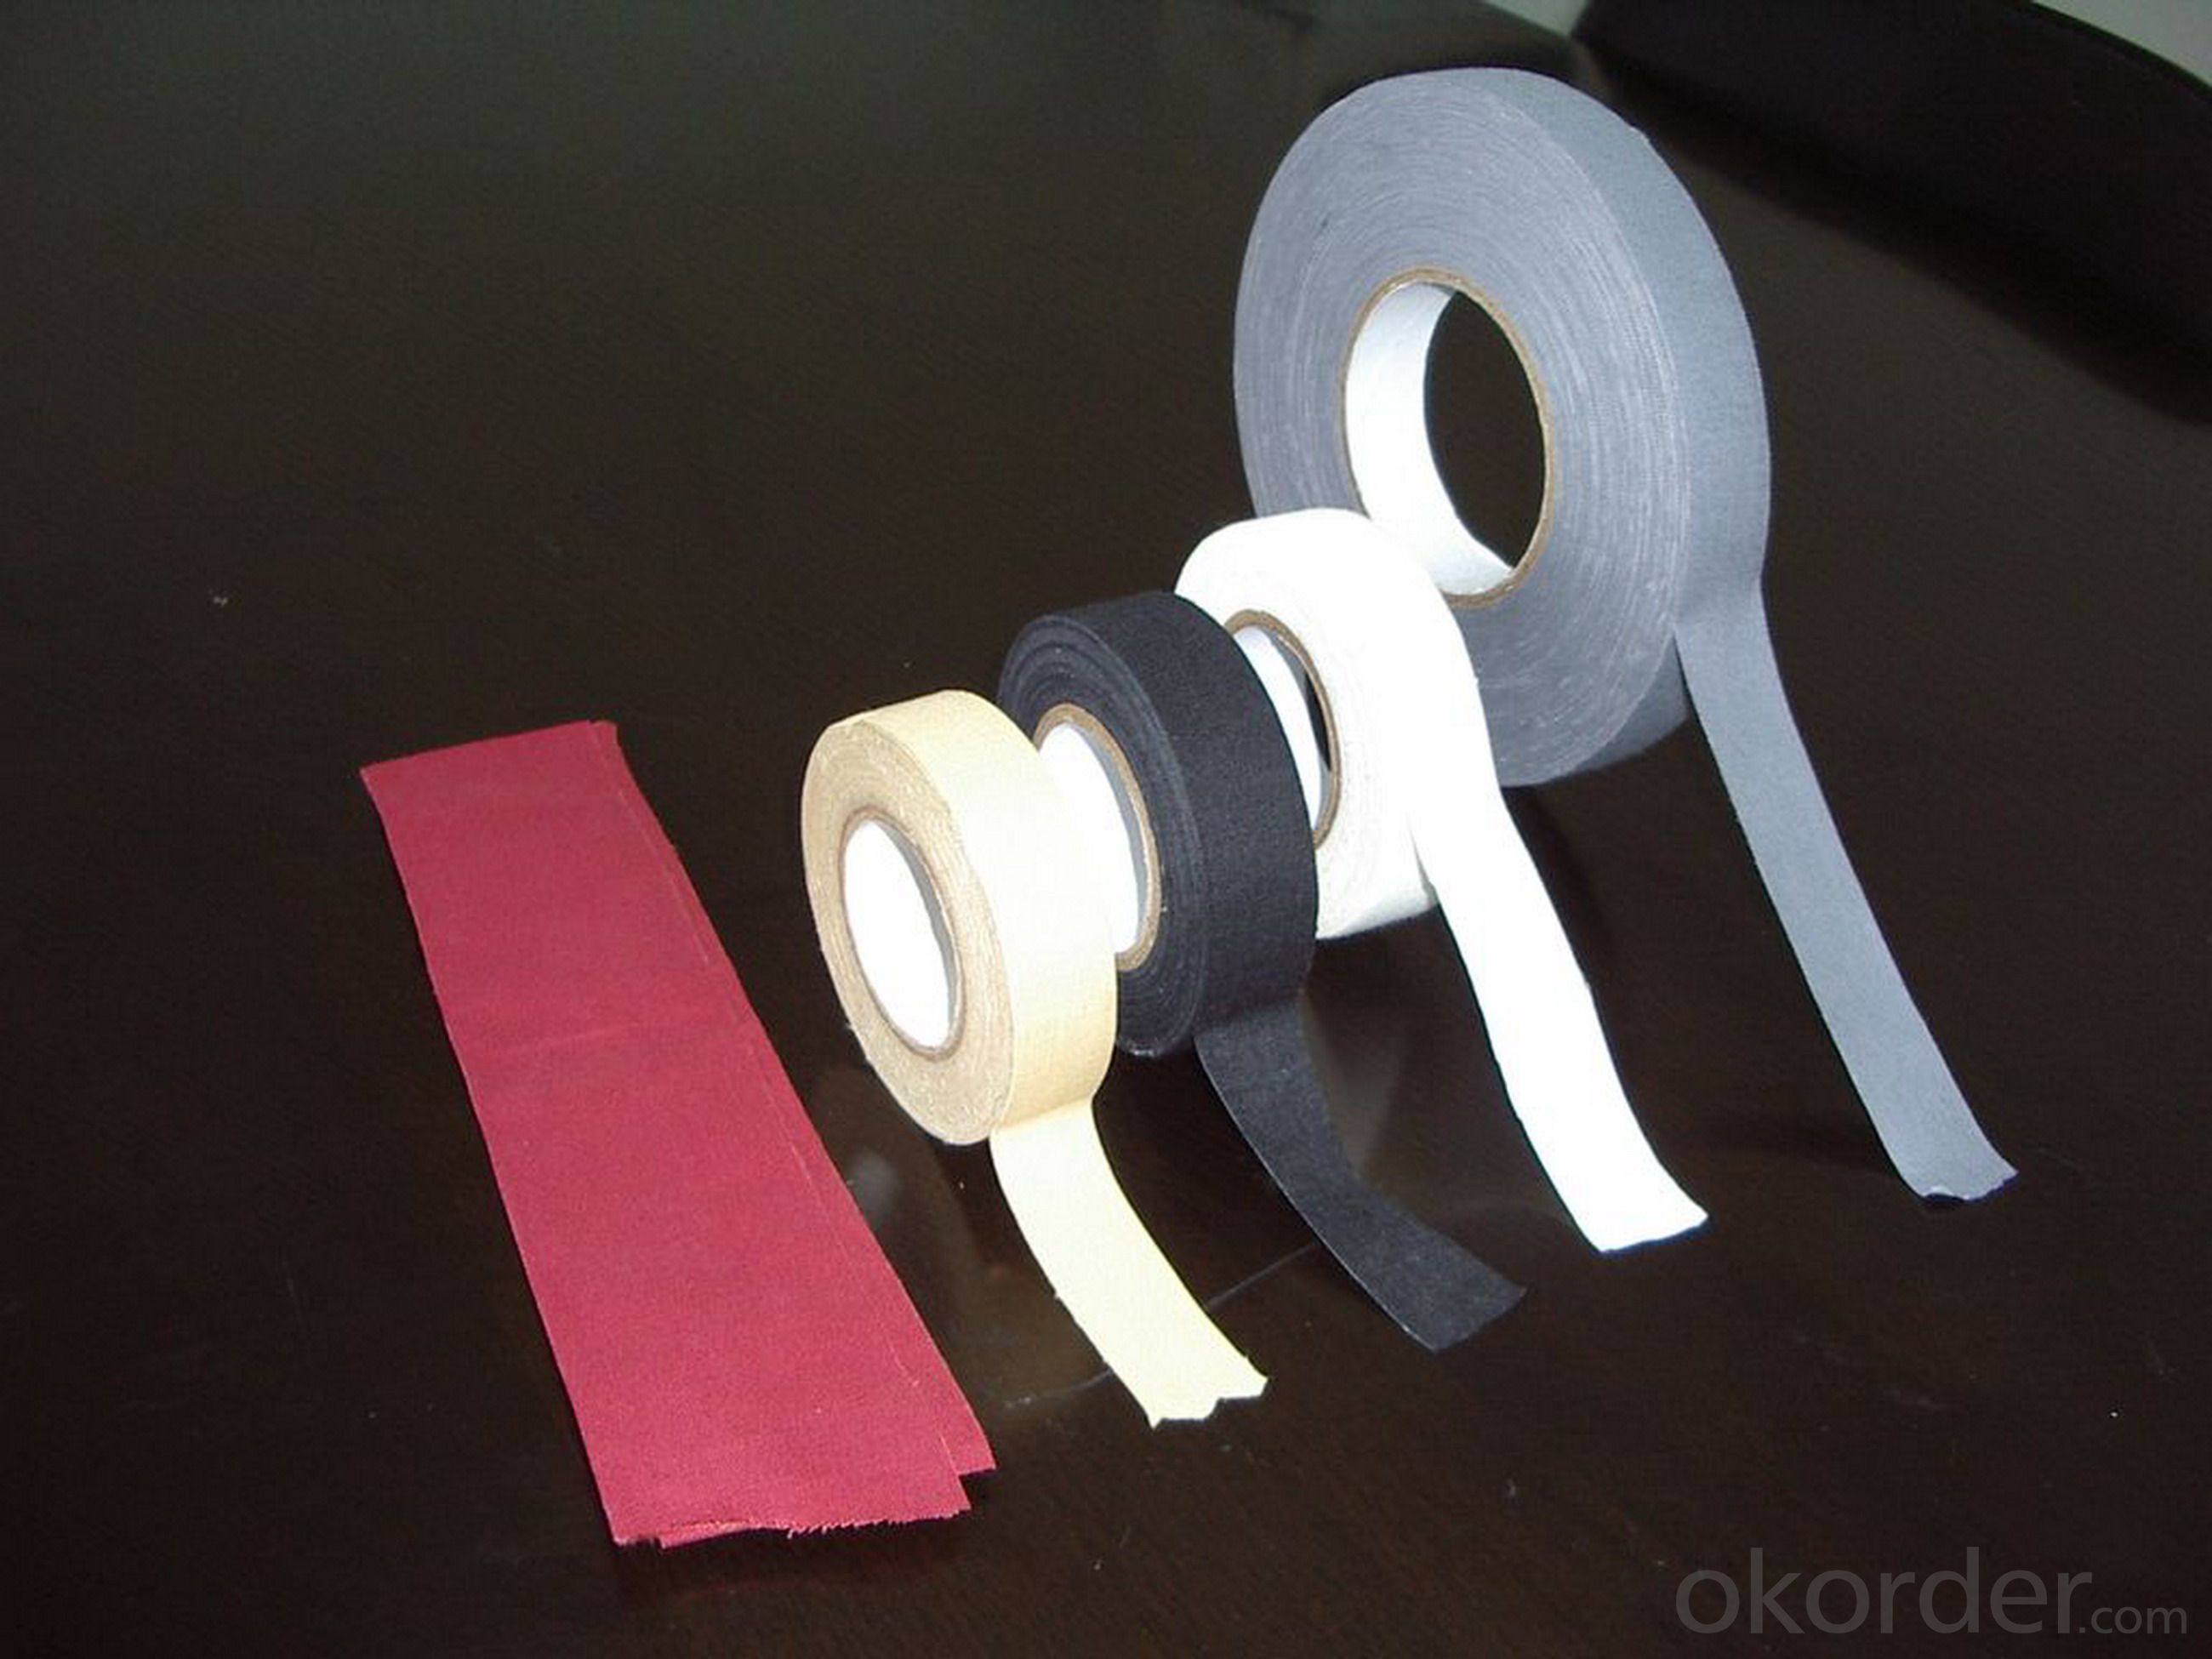
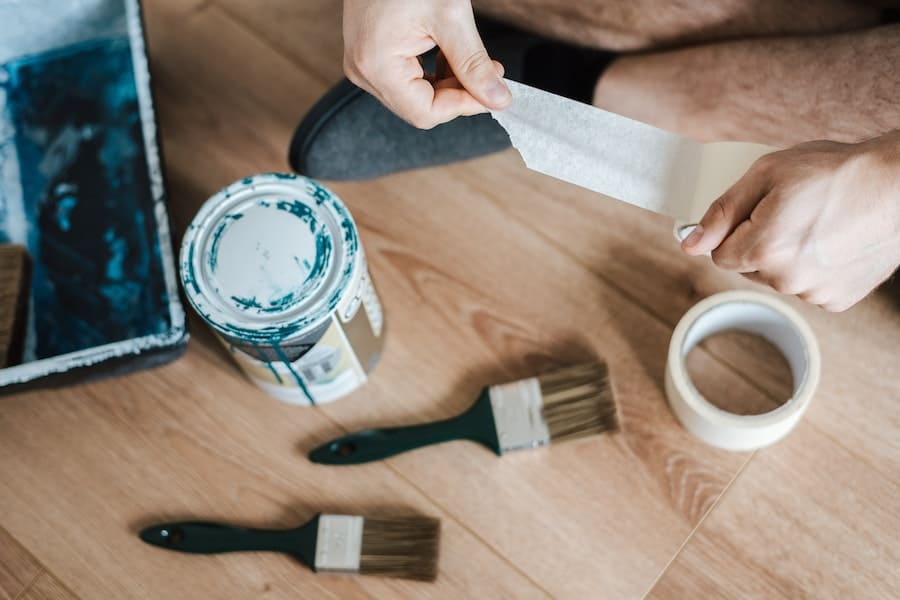
Now it's time to patch the hole. You can purchase an air mattress repair kit online or at most outdoor or camping stores. These kits usually come with a patch and adhesive, but if you don't have a kit, you can also use a piece of duct tape or a vinyl patch from a pool repair kit.
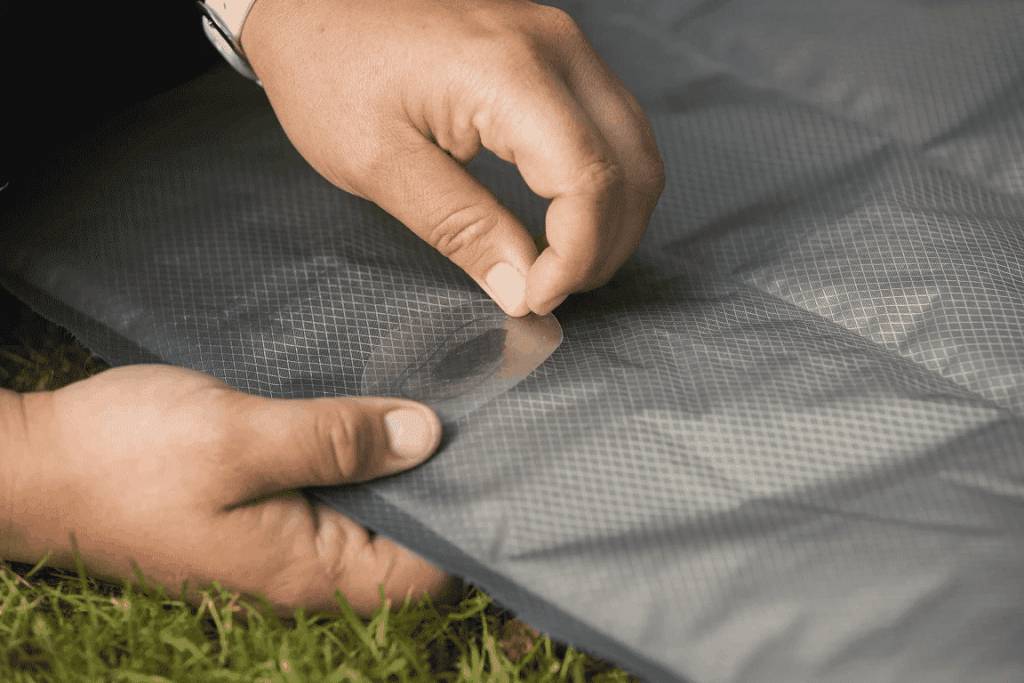
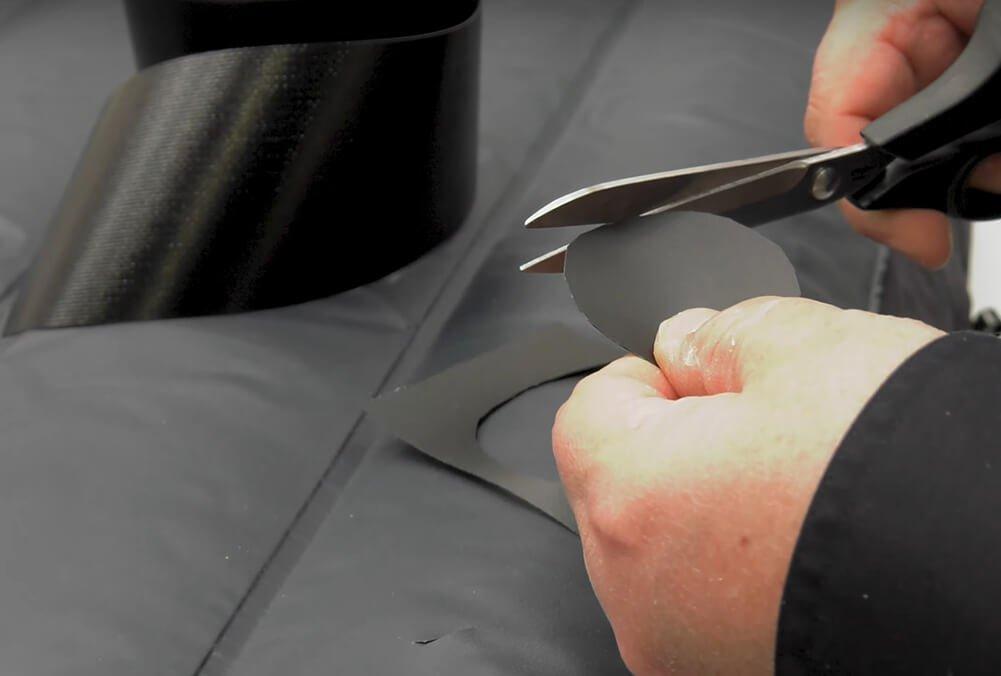
Cut the patch to a size slightly larger than the hole and round the edges to prevent them from peeling up. Apply a thin layer of adhesive to the patch and the area around the hole. Carefully place the patch over the hole and press down firmly. Make sure there are no air bubbles under the patch.
Let the adhesive dry completely before inflating your air mattress. This can take anywhere from 2-8 hours depending on the type of adhesive used. Once dry, inflate your air mattress and check for any leaks. If there are no more leaks, your air mattress is ready to use again.


1. Patching a Hole on an Air Mattress


2. How to Fix a Leak in an Air Mattress
Dealing with a leak in your air mattress can be a major inconvenience, especially if you are using it for camping or guests. But don't worry, fixing a leak in an air mattress is a simple process that can be done quickly and easily.
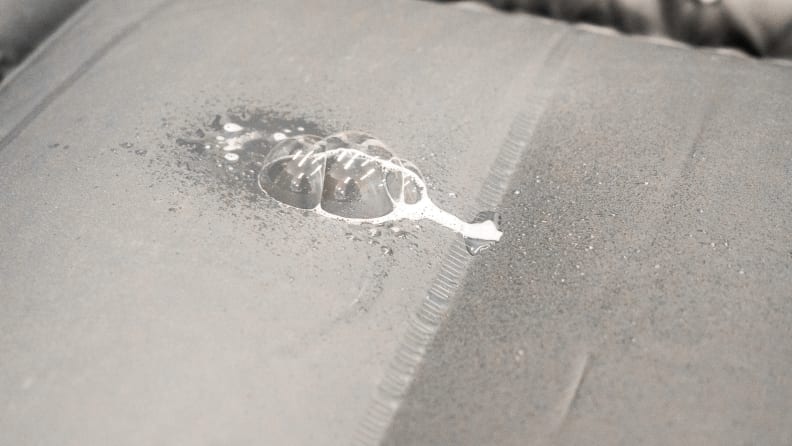
The first step is to find the leak. This can be done by inflating your air mattress and listening for a hissing sound or using soapy water to check for bubbles. Once you have located the leak, mark it with a marker or piece of tape so you can easily find it again.
If you have a small leak, you can easily fix it with a vinyl patch or duct tape. Cut the patch to a size slightly larger than the hole and round the edges. Clean and dry the area around the leak, then apply the patch and press down firmly. If using duct tape, make sure to apply it in a crisscross pattern for extra strength.
If the leak is larger, you may need to use a vinyl repair kit specifically made for air mattresses. These kits come with a patch and adhesive, similar to the process described in the previous section. Follow the instructions on the kit carefully to ensure a proper repair.
Once the patch is applied, let the adhesive dry completely before inflating your air mattress. This can take a few hours, so be patient. Once dry, inflate your air mattress and check for any remaining leaks. If there are no more leaks, your air mattress is ready to use again.


2. How to Fix a Leak in an Air Mattress


3. Repairing a Tear on an Inflatable Mattress
While air mattresses are generally durable, they can still get tears or punctures from sharp objects or heavy use. But don't worry, repairing a tear on an inflatable mattress is a simple process that will have your mattress as good as new.
First, locate the tear on your air mattress. This can be done by inflating the mattress and running your hand over the surface, feeling for any bumps or irregularities. Once you have found the tear, mark it with a marker or piece of tape so you can easily find it again.
Next, deflate your air mattress completely and clean and dry the area around the tear. Now you can use a vinyl repair kit or duct tape to fix the tear. Cut the patch to a size slightly larger than the tear and round the edges. Apply the adhesive to both the patch and the area around the tear, then place the patch over the tear and press down firmly.
If using duct tape, make sure to apply it in a crisscross pattern for extra strength. You may also want to reinforce the patch with additional layers of duct tape. Let the adhesive dry completely before inflating your air mattress.
Once the adhesive is dry, inflate your air mattress and check for any remaining leaks. If there are no more leaks, your air mattress is ready to use again.


3. Repairing a Tear on an Inflatable Mattress


4. DIY Air Mattress Repair: Step-by-Step Guide
If you're someone who likes to take matters into your own hands, you may want to try a DIY approach to repairing your air mattress. With a few simple tools and materials, you can fix most leaks and tears on your own.
The first step is to locate the leak or tear on your air mattress. This can be done by inflating the mattress and listening for a hissing sound or using soapy water to check for bubbles. Once you have found the problem area, mark it with a marker or piece of tape.
Next, deflate your air mattress and clean and dry the area around the leak or tear. If you have a small hole or tear, you can use a piece of duct tape or a vinyl patch to repair it. Cut the patch to a size slightly larger than the hole and round the edges. Apply the adhesive to both the patch and the area around the hole, then place the patch over the hole and press down firmly.
If the leak or tear is larger, you may need to use a vinyl repair kit specifically made for air mattresses. Follow the instructions on the kit carefully to ensure a proper repair. Let the adhesive dry completely before inflating your air mattress.
Once the adhesive is dry, inflate your air mattress and check for any remaining leaks. If there are no more leaks, your air mattress is ready to use again.


4. DIY Air Mattress Repair: Step-by-Step Guide


5. Quick and Easy Fixes for a Leaky Air Mattress
Dealing with a leaky air mattress can be a major inconvenience, especially if you need to use it right away. But don't worry, there are some quick and easy fixes you can try to get your air mattress back in working condition.
If you have a small leak, you can use a piece of duct tape or a vinyl patch to seal it. Cut the patch to a size slightly larger than the hole and round the edges. Clean and dry the area around the leak, then apply the patch and press down firmly. If using duct tape, make sure to apply it in a crisscross pattern for extra strength.
If the leak is larger, you may need to use a vinyl repair kit specifically made for air mattresses. These kits come with a patch and adhesive, similar to the process described in the previous section. Follow the instructions on the kit carefully to ensure a proper repair.
Once the patch is applied, let the adhesive dry completely before inflating your air mattress. This can take a few hours, so be patient. Once dry, inflate your air mattress and check for any remaining leaks. If there are no more leaks, your air mattress is ready to use again.


5. Quick and Easy Fixes for a Leaky Air Mattress


6. Using a Patch Kit to Fix a Hole in an Air Mattress
If you have a hole in your air mattress, using a patch kit specifically made for air mattresses is the best way to ensure a proper and long-lasting repair. These kits come with everything you need to patch a hole and are easy to use.
The first step is to locate the hole in your air mattress. This can be done by listening for a hissing sound or feeling for a stream of air with your hand. Once you have found the hole, mark it with a highlighter or piece of tape so you can easily find it again.
Next, deflate your air mattress completely and clean and dry the area around the hole. Follow the instructions on the patch kit carefully, as the process may vary slightly depending on the brand. Generally, you will need to apply the adhesive to both the patch and the area around the hole, then press the patch down firmly.
Let the adhesive dry completely before inflating your air mattress. This can take anywhere from 2-8 hours depending on the type of adhesive used. Once dry, inflate your air mattress and check for any leaks. If there are no more leaks, your air mattress is ready to use again.


6. Using a Patch Kit to Fix a Hole in an Air Mattress


7. Tips for Finding and Repairing a Hole in an Air Mattress
When dealing with a hole in your air mattress, it's important to find and repair it correctly to prevent any further leaks. Here are some helpful tips for finding and repairing a hole in an air mattress.
First, make sure to fully inflate your air mattress before trying to locate the hole. This will make it easier to hear or feel for any leaks. If you can't find the hole, try listening for a hissing sound or using soapy water to check for bubbles.
When repairing the hole, make sure to clean and dry the area thoroughly before applying the patch or adhesive. This will ensure that the patch sticks properly and prevents any future leaks.
If using a vinyl repair kit, make sure to follow the instructions carefully to ensure a proper repair. Some kits may require you to cut the patch to a specific shape or size, so be sure to read the instructions before applying.
Lastly, always let the adhesive dry completely before using your air mattress again. This will ensure that the patch sticks properly and will prevent any future leaks.


7. Tips for Finding and Repairing a Hole in an Air Mattress


8. How to Fix a Puncture in an Air Mattress
Dealing with a puncture in your air mattress can be a bit trickier to fix, but it's still possible to repair it on your own. A puncture is usually caused by a sharp object, such as a nail or pin, and can be harder to locate than a hole.
The first step is to inflate your air mattress and listen for a hissing sound or use soapy water to check for bubbles. Once you have located the puncture, mark it with a marker or piece of tape so you can easily find it again.
Next, deflate your air mattress and clean and dry the area around the puncture. If the puncture is small, you can use a piece of duct tape to seal it. Cut the tape to a size slightly larger than the puncture and round the edges. Apply the tape over the puncture and press down firmly.
If the puncture is larger, you may need to use a vinyl repair kit specifically made for air mattresses. Follow the instructions on the kit carefully to ensure a proper repair. Let the adhesive dry completely before using your air mattress again.
Once the adhesive is dry, inflate your air mattress and check for any remaining leaks. If there are no more leaks, your air mattress is ready to use again.


8. How to Fix a Puncture in an Air Mattress


9. Repairing an Air Mattress with Duct Tape
While using a patch or vinyl repair kit is recommended for most air mattress repairs, duct tape can also be a quick and easy solution for smaller holes or tears. Duct tape is a versatile and strong adhesive that can provide a temporary fix for your air mattress.
To repair your air mattress with duct tape, first locate the hole or tear and mark it with a marker or piece of tape. Deflate your air mattress and clean and dry the area around the hole. Cut a piece of duct tape to a size slightly larger than the hole and round the edges. Apply the tape over the hole and press down firmly.
If the hole is larger, you may need to apply multiple layers of duct tape in a crisscross pattern for extra strength. Let the adhesive dry completely before using your air mattress again.
It's important to note that duct tape is not a permanent fix and may need to be reapplied or replaced over time. It's always best to use a patch or repair kit for a more long-lasting solution.


9. Repairing an Air Mattress with Duct Tape


10. Common Causes of Holes in Air Mattresses and How to Fix Them
There are a few common causes of holes in air mattresses, but luckily they can all be easily fixed. The most common cause is punctures from sharp objects, such as rocks or pins. These can be repaired using a patch or repair kit, as described in previous sections.
Another common cause of holes in air mattresses is wear and tear from regular use. Over time, the material can become weakened and tears may occur. These can also be fixed with a patch or repair kit, or even with duct tape as a temporary solution.
Finally, over-inflating an air mattress can also cause holes or leaks. Make sure to follow the recommended inflation instructions for your specific mattress to prevent this issue. If you do over-inflate your mattress and notice a leak, you can easily fix it using a patch or repair kit.


10. Common Causes of Holes in Air Mattresses and How to Fix Them


Preventing Future Holes on Your Air Mattress

Invest in a Quality Mattress Cover
 One of the best ways to prevent
holes on your air mattress
is to invest in a high-quality
mattress cover
. These covers not only provide extra comfort and protection for your mattress, but they also act as a barrier between your body and the mattress, reducing the risk of accidental punctures. Look for covers that are made of durable materials and are specifically designed for air mattresses.
One of the best ways to prevent
holes on your air mattress
is to invest in a high-quality
mattress cover
. These covers not only provide extra comfort and protection for your mattress, but they also act as a barrier between your body and the mattress, reducing the risk of accidental punctures. Look for covers that are made of durable materials and are specifically designed for air mattresses.
Keep Sharp Objects Away
 Another important tip to
prevent holes on your air mattress
is to keep sharp objects away from it. This may seem like common sense, but it's easy to forget about small items like keys, pens, or even jewelry that can easily puncture your mattress. Make sure to thoroughly check the area around your air mattress before inflating it, and avoid placing it near any sharp objects.
Another important tip to
prevent holes on your air mattress
is to keep sharp objects away from it. This may seem like common sense, but it's easy to forget about small items like keys, pens, or even jewelry that can easily puncture your mattress. Make sure to thoroughly check the area around your air mattress before inflating it, and avoid placing it near any sharp objects.
Be Careful When Inflating
 When inflating your air mattress, it's important to be careful and gentle.
Excessive force
can cause tears and holes in the material, especially if your mattress is made of thinner or less durable materials. Use a manual pump or a low-pressure setting on an electric pump to avoid over-inflating and causing damage.
When inflating your air mattress, it's important to be careful and gentle.
Excessive force
can cause tears and holes in the material, especially if your mattress is made of thinner or less durable materials. Use a manual pump or a low-pressure setting on an electric pump to avoid over-inflating and causing damage.
Repair Small Holes Immediately
 If you do happen to notice a small hole on your air mattress, it's important to
repair it as soon as possible
. Small holes can quickly turn into larger ones, making it more difficult to fix and potentially ruining your mattress. Invest in a repair kit specifically designed for air mattresses and follow the instructions carefully to patch up any holes.
If you do happen to notice a small hole on your air mattress, it's important to
repair it as soon as possible
. Small holes can quickly turn into larger ones, making it more difficult to fix and potentially ruining your mattress. Invest in a repair kit specifically designed for air mattresses and follow the instructions carefully to patch up any holes.
Store Your Mattress Properly
 Proper storage of your air mattress can also help prevent holes and damage. When not in use, make sure to deflate your mattress and store it in a dry, clean place. Avoid storing it in areas with sharp objects or extreme temperatures, as these can cause damage to the material. Taking proper care of your air mattress will not only help prevent holes, but it will also extend its lifespan.
By following these tips, you can prevent holes on your air mattress and ensure that it stays in good condition for years to come. Remember to invest in a quality mattress cover, keep sharp objects away, be careful when inflating, repair small holes immediately, and store your mattress properly. With these precautions, you can enjoy a comfortable and hole-free sleep on your air mattress.