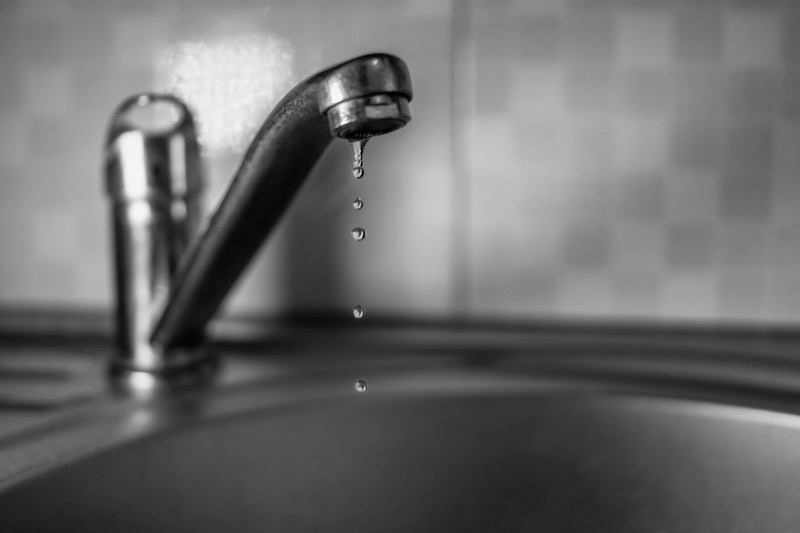
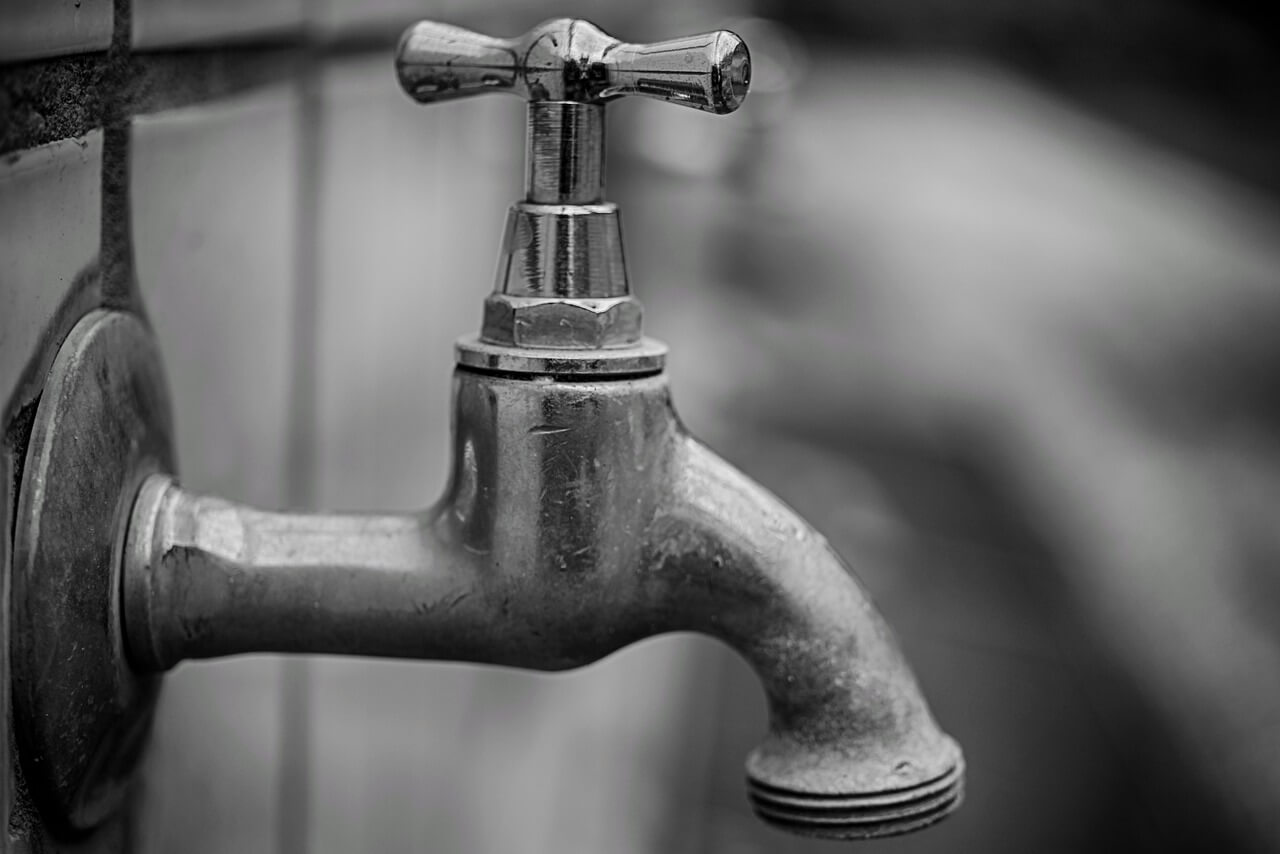
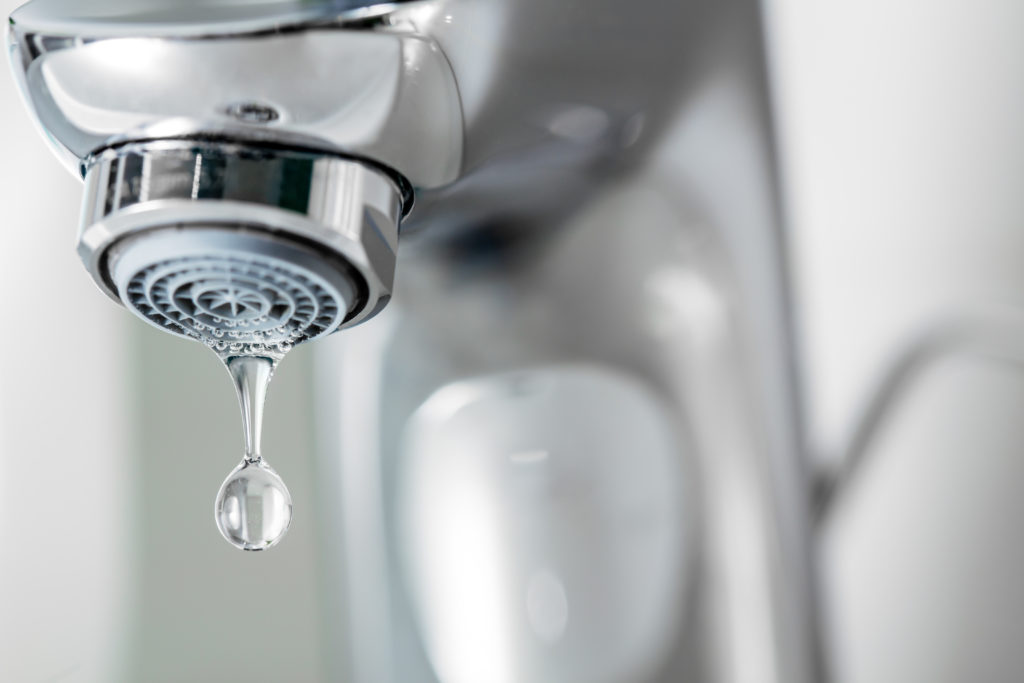
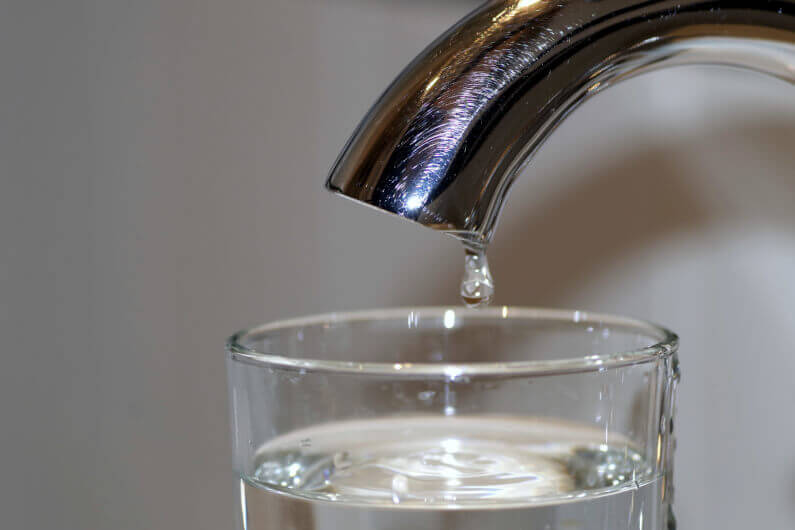
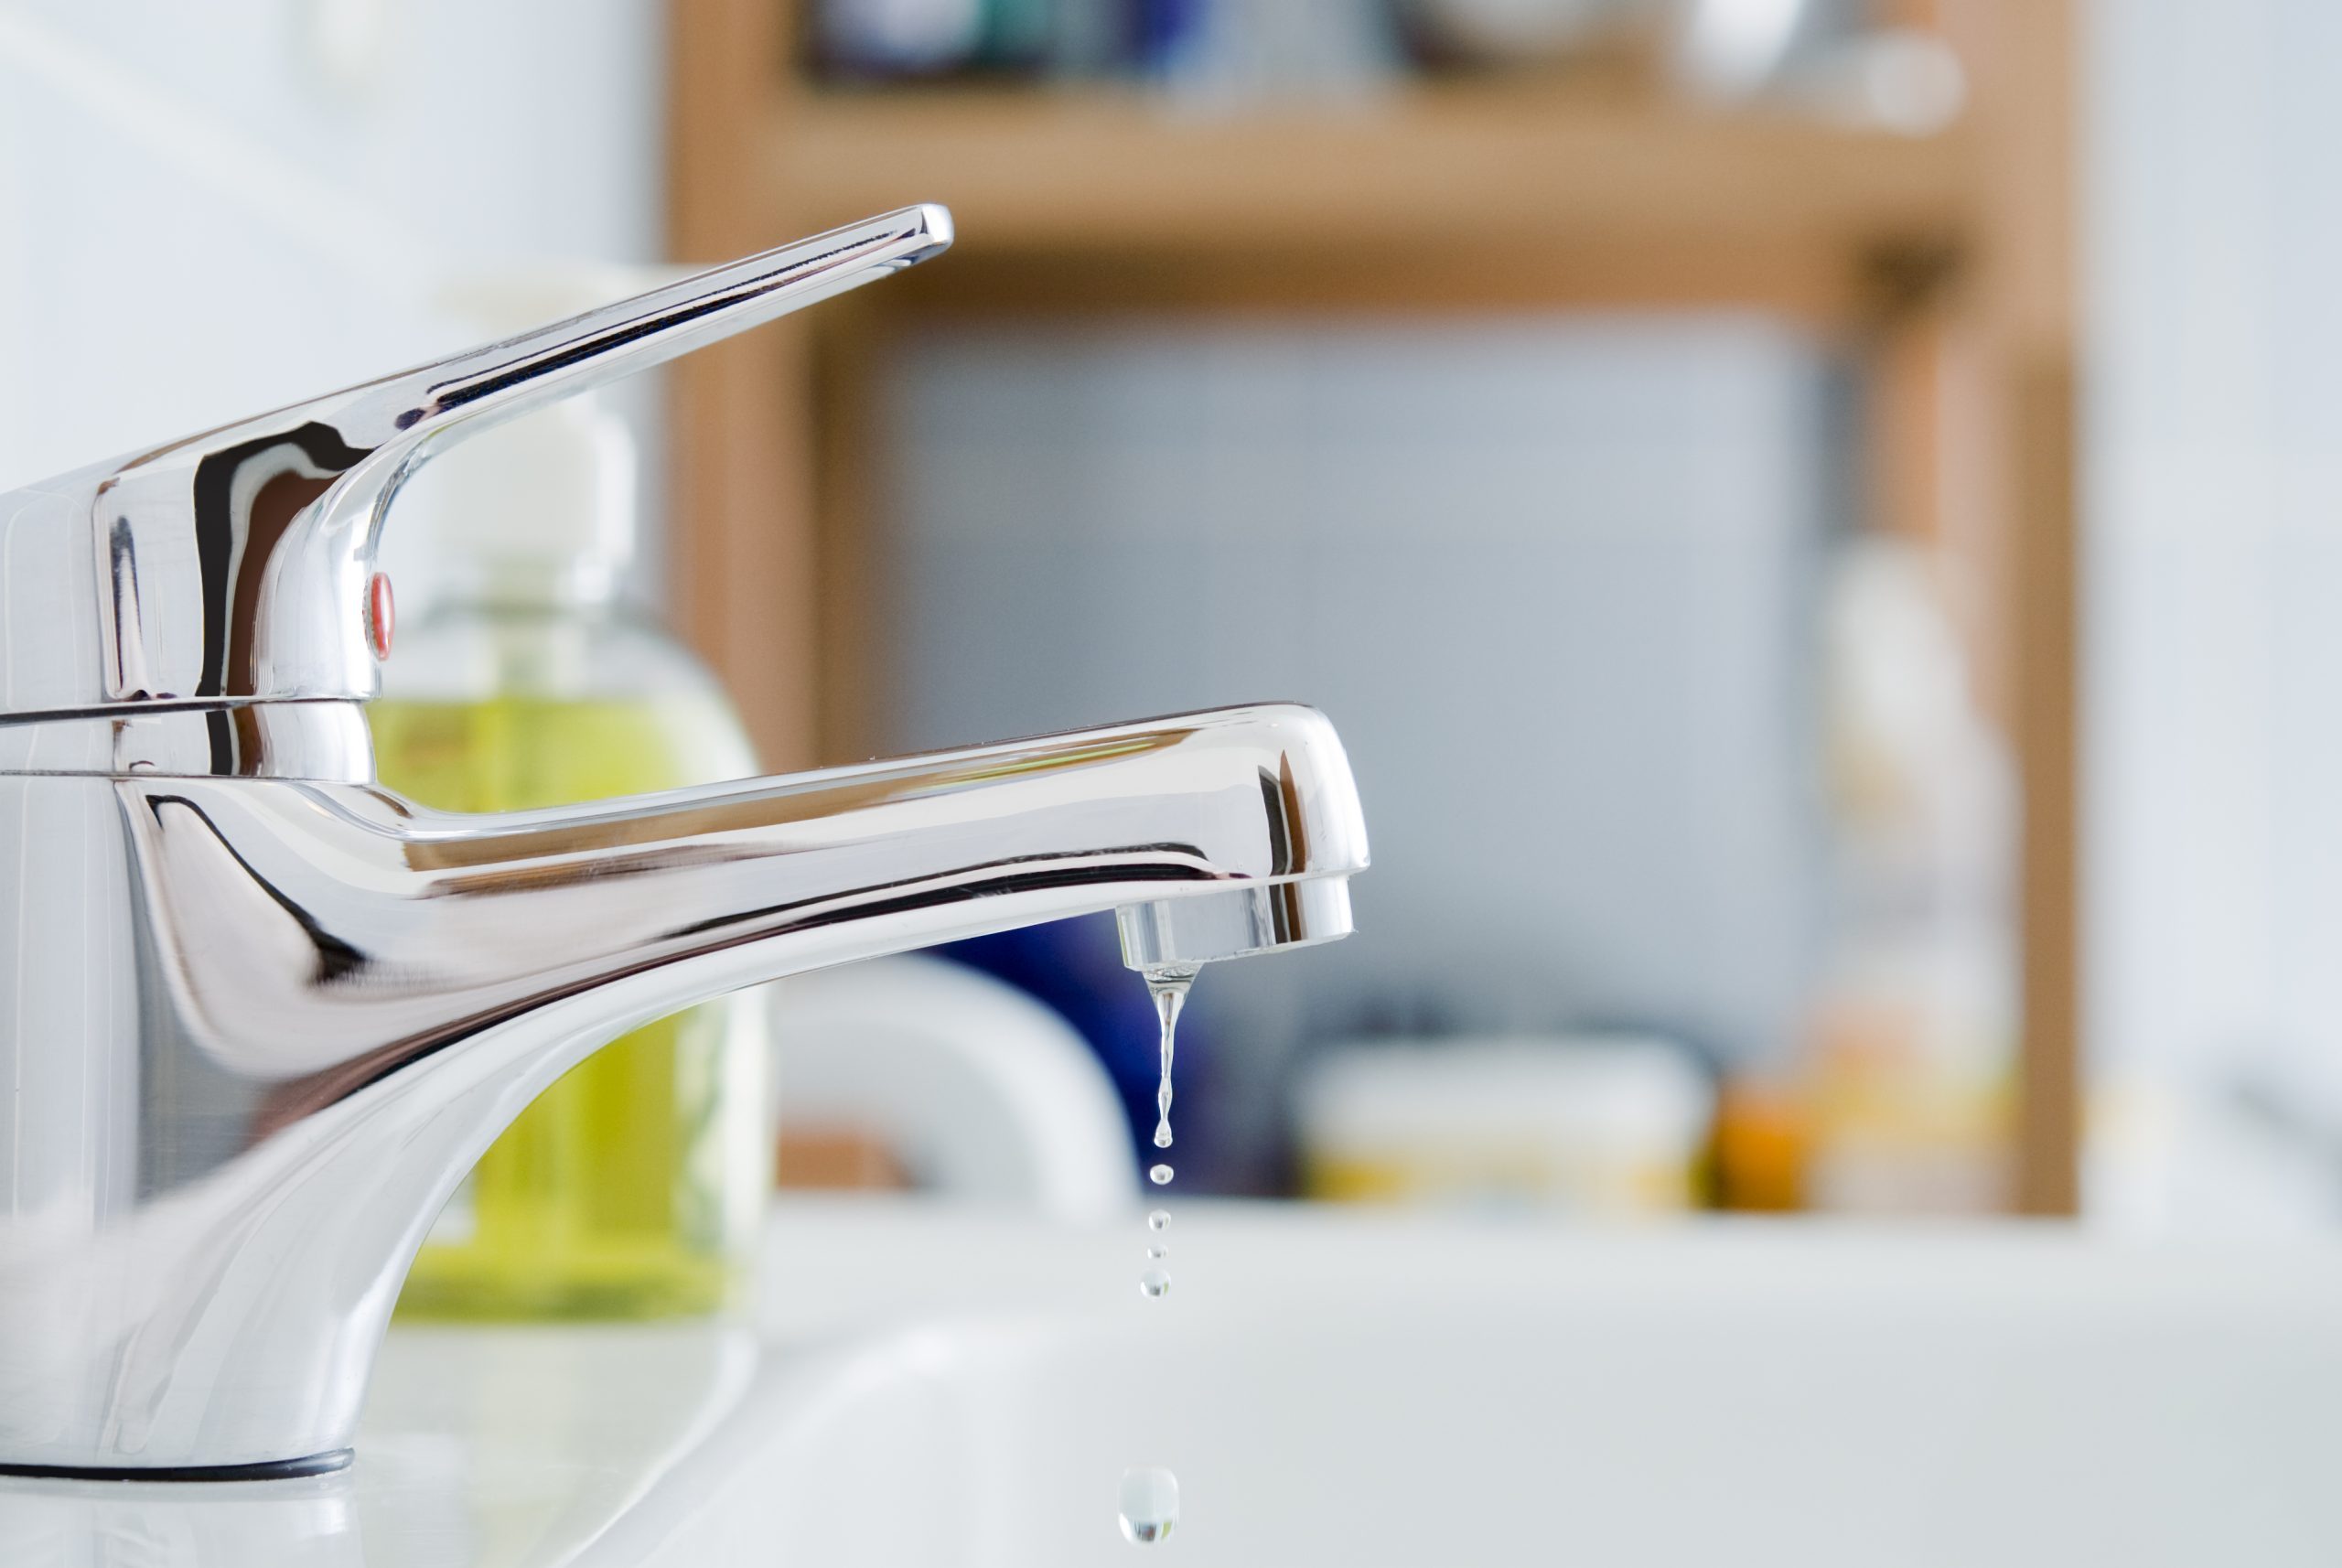
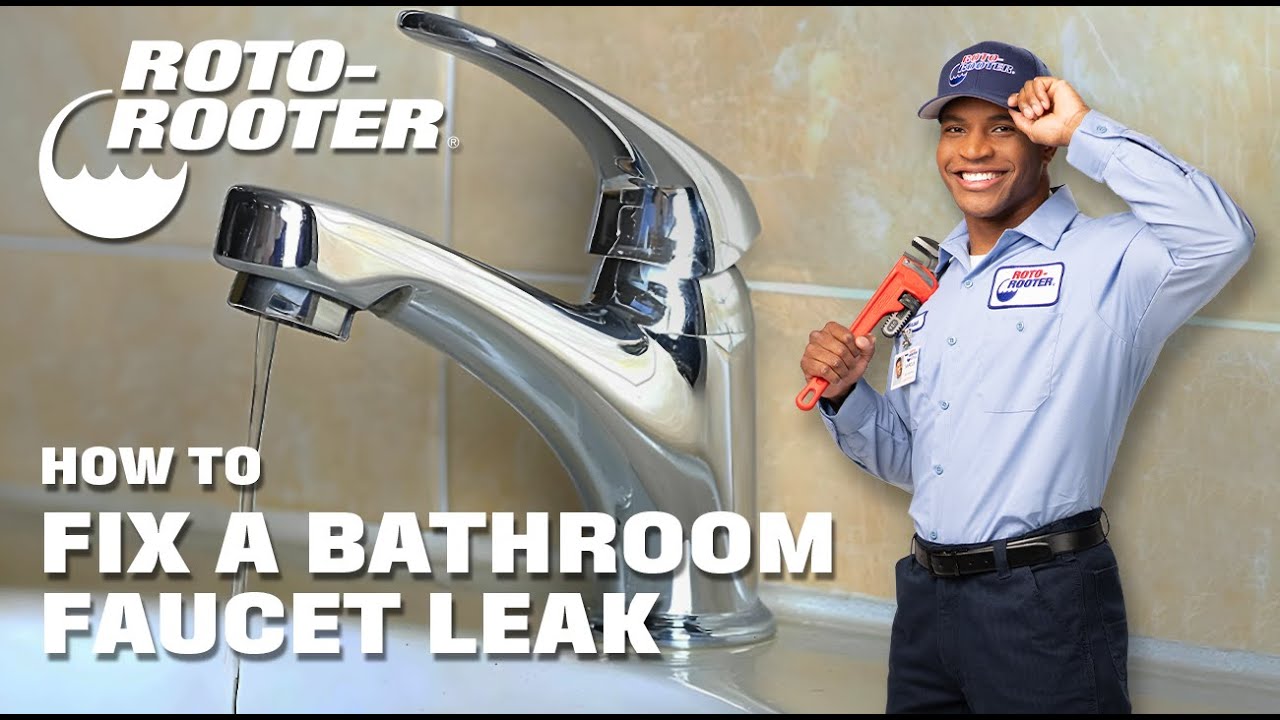
A dripping faucet in your bathroom sink can be a constant annoyance and can also lead to wasted water and higher utility bills. But fear not, fixing a dripping faucet is a relatively simple task that you can do yourself with the right tools and knowledge. In this article, we will guide you through the steps to fix a dripping faucet in your bathroom sink.Fixing a Dripping Faucet in Your Bathroom Sink


Fixing a Dripping Faucet in Your Bathroom Sink


/Bathroomfaucetleak-GettyImages-182691828-59d59e50d088c00010867f1e.jpg)


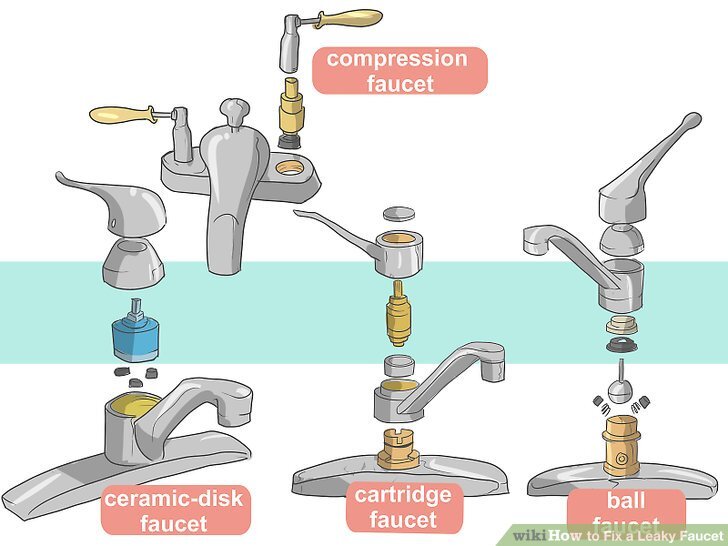
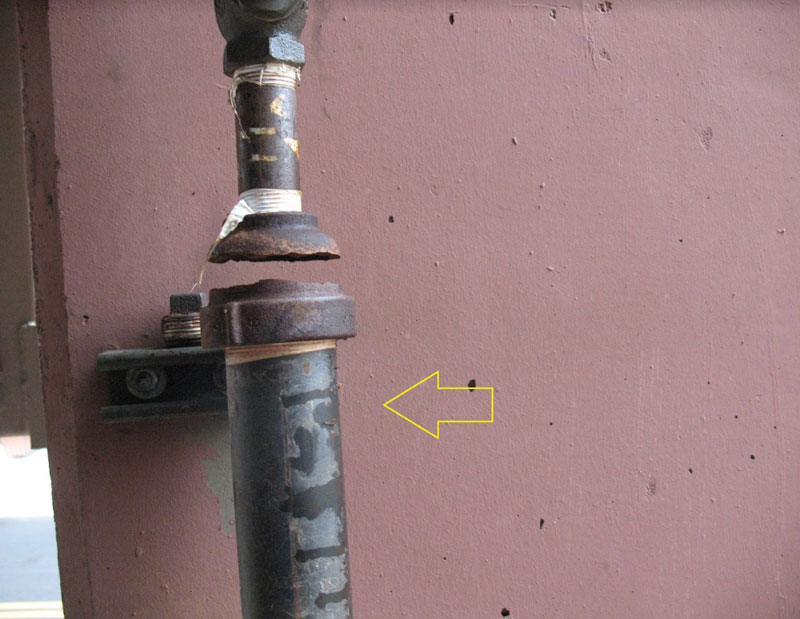
The first step in fixing a dripping faucet is to determine the cause of the leak. The most common cause of a leaky faucet is a worn-out or damaged washer. The constant friction of the washer against the valve seat can cause it to wear out over time, leading to a leak. Other possible causes of a dripping faucet include a faulty cartridge, worn-out O-rings, or a loose valve seat.How to Fix a Leaky Faucet in the Bathroom Sink


How to Fix a Leaky Faucet in the Bathroom Sink

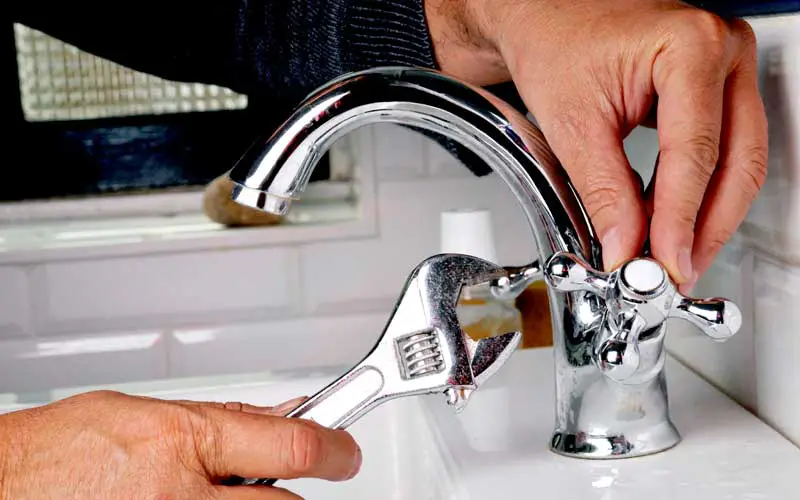


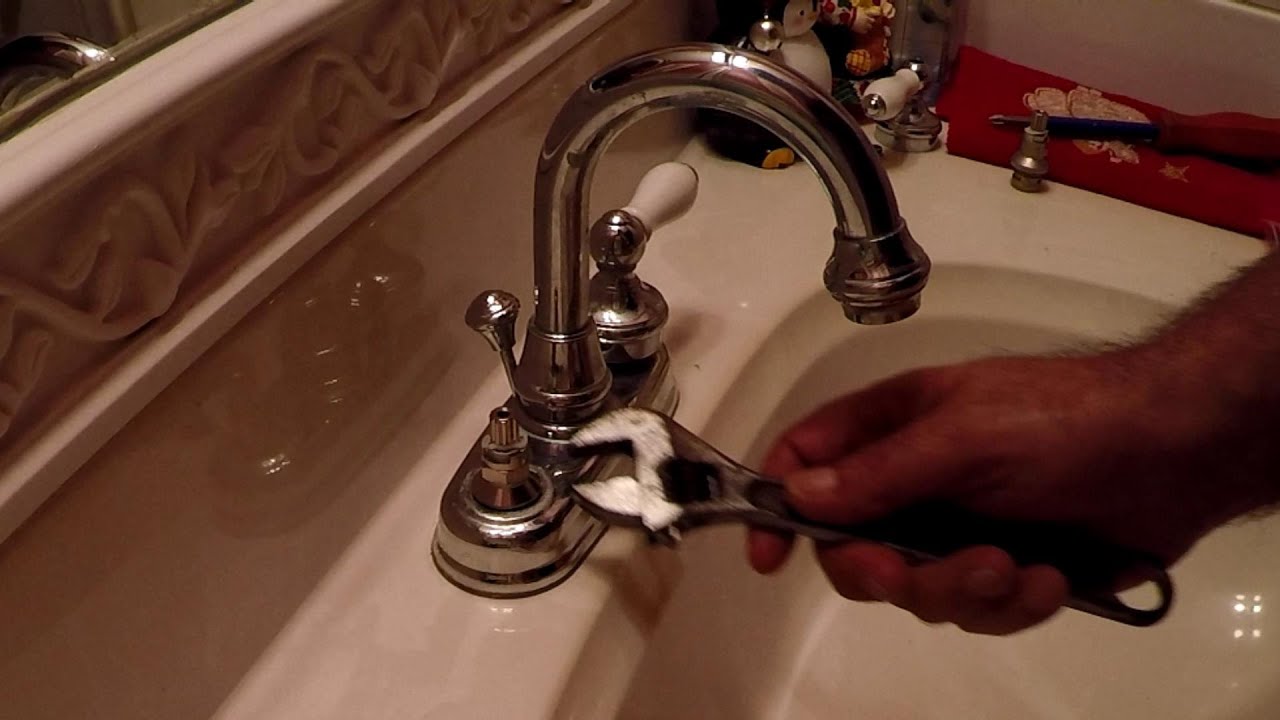
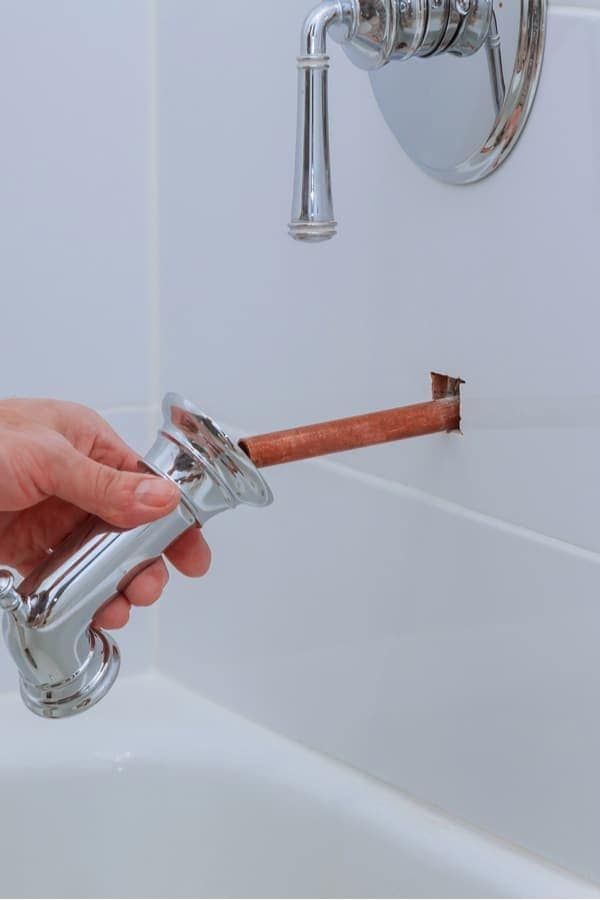
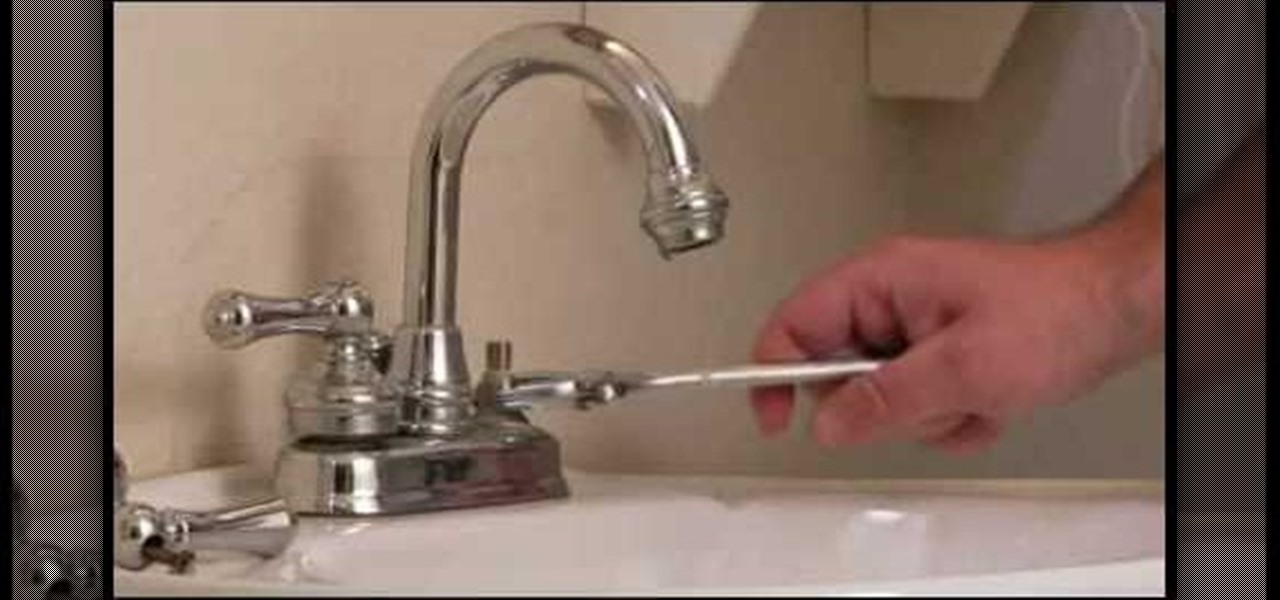
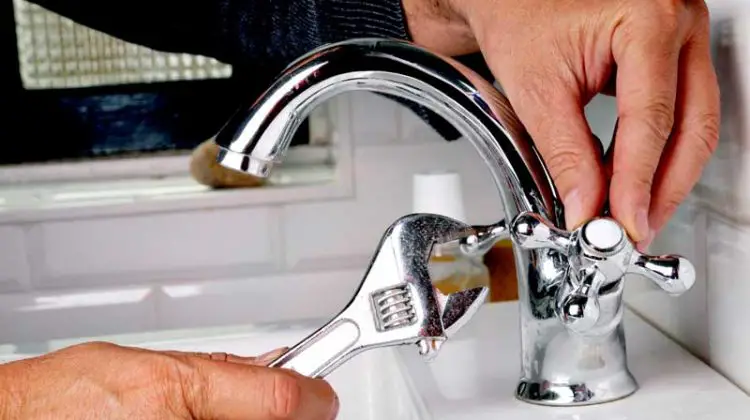
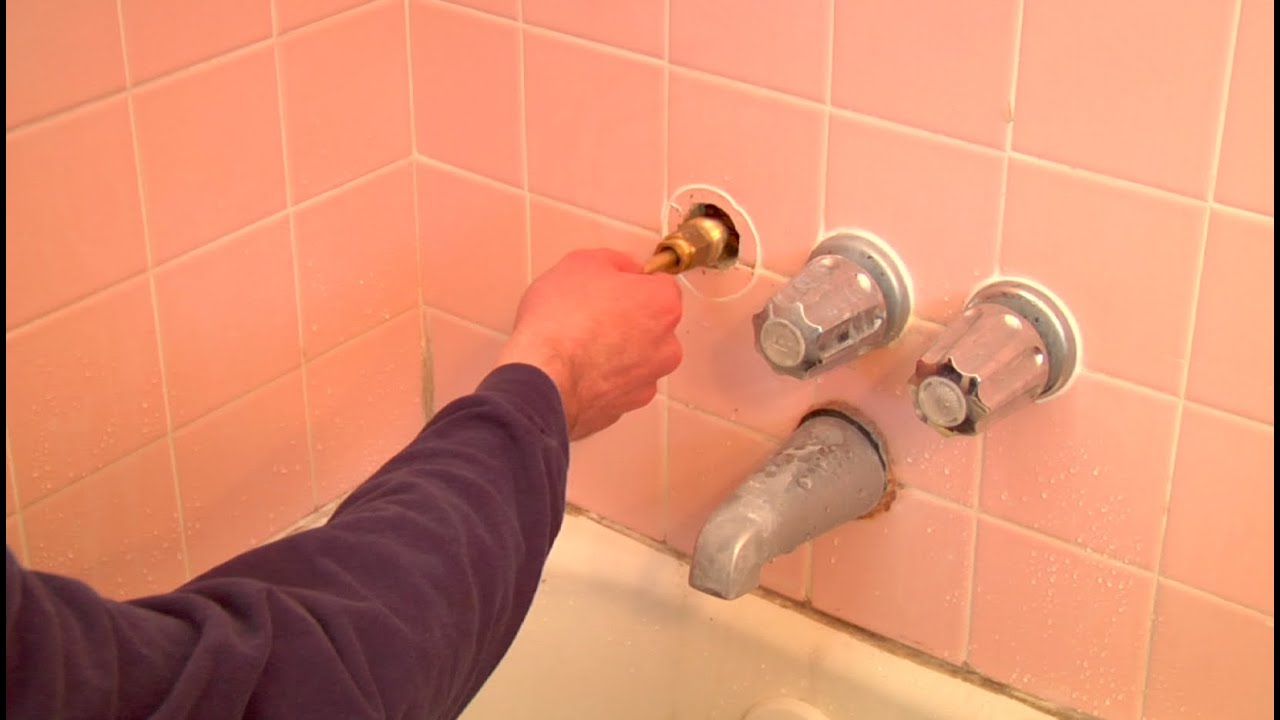
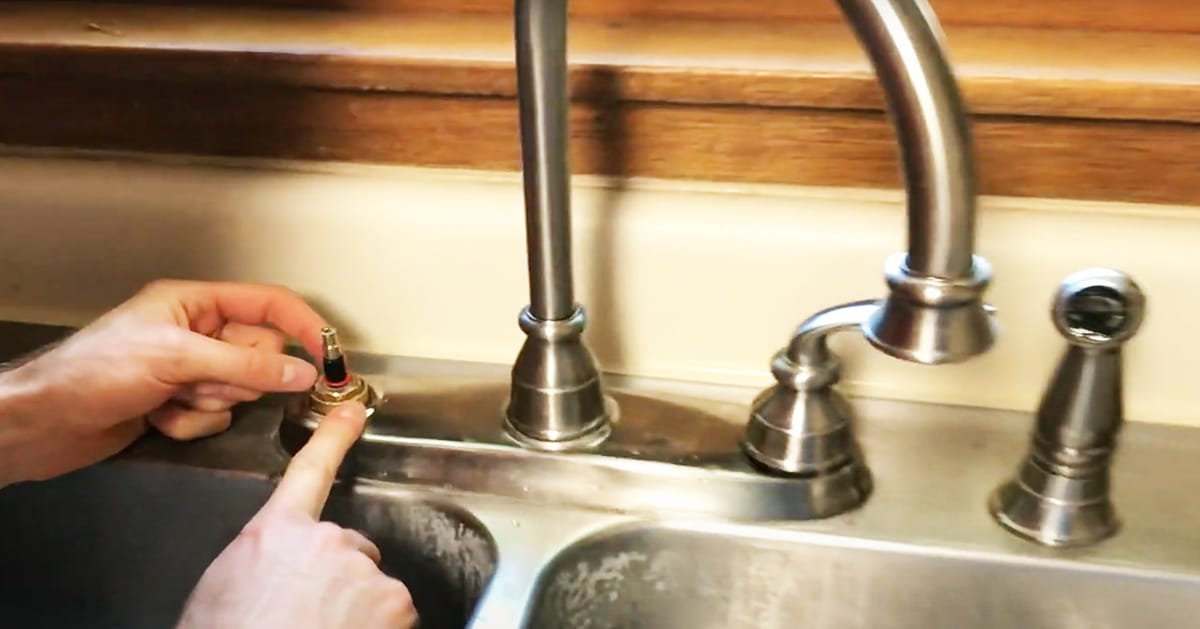
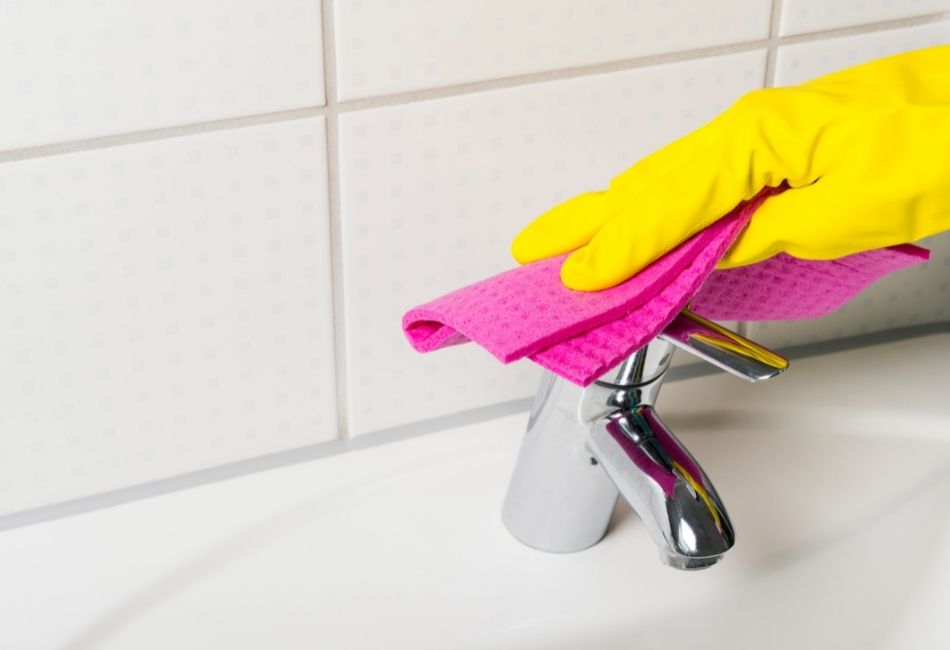
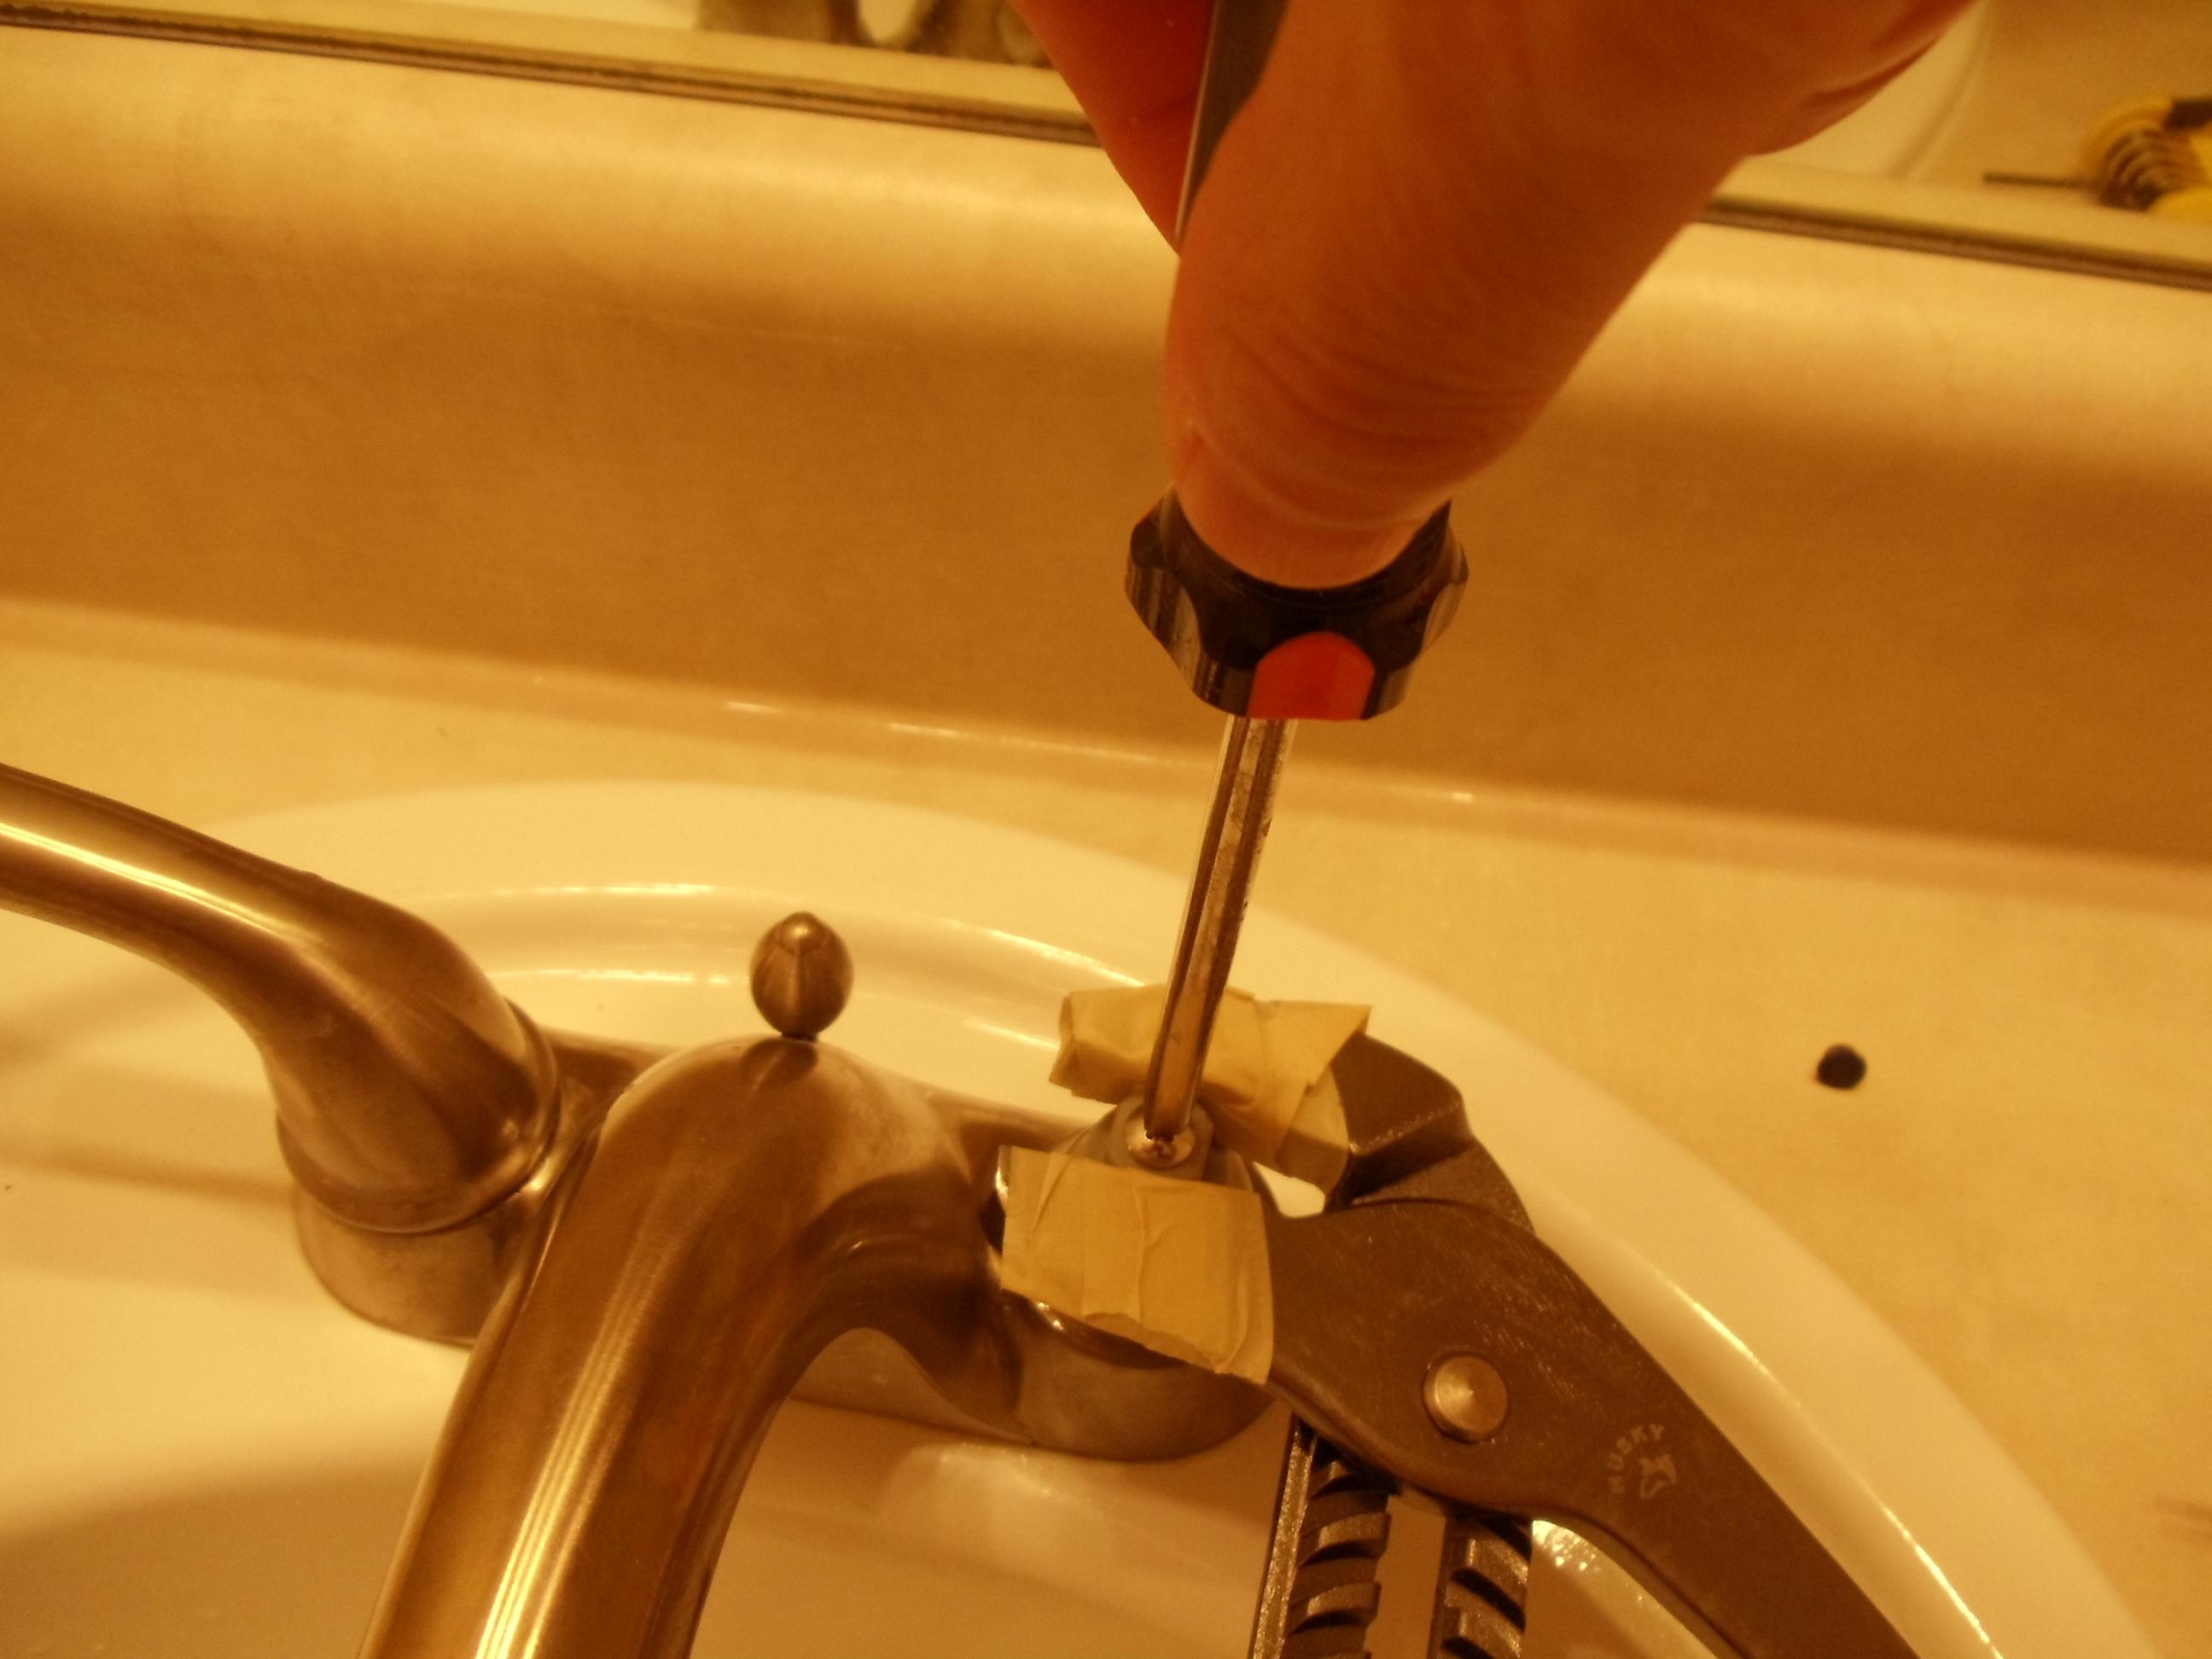
Fixing a dripping faucet in your bathroom sink is a DIY project that can save you time and money. The first step is to turn off the water supply to the faucet. You can usually do this by turning the shut-off valve located under the sink clockwise. If your sink doesn't have a shut-off valve, you will need to turn off the main water supply to your home. Next, remove the handle of the faucet by using a screwdriver or an Allen wrench, depending on the type of faucet you have. Once the handle is removed, you will have access to the valve and cartridge. Check the washer and O-rings for any signs of wear and tear. If they are damaged, replace them with new ones. If the problem persists, you may need to replace the cartridge.DIY: Fixing a Dripping Bathroom Sink Faucet


DIY: Fixing a Dripping Bathroom Sink Faucet


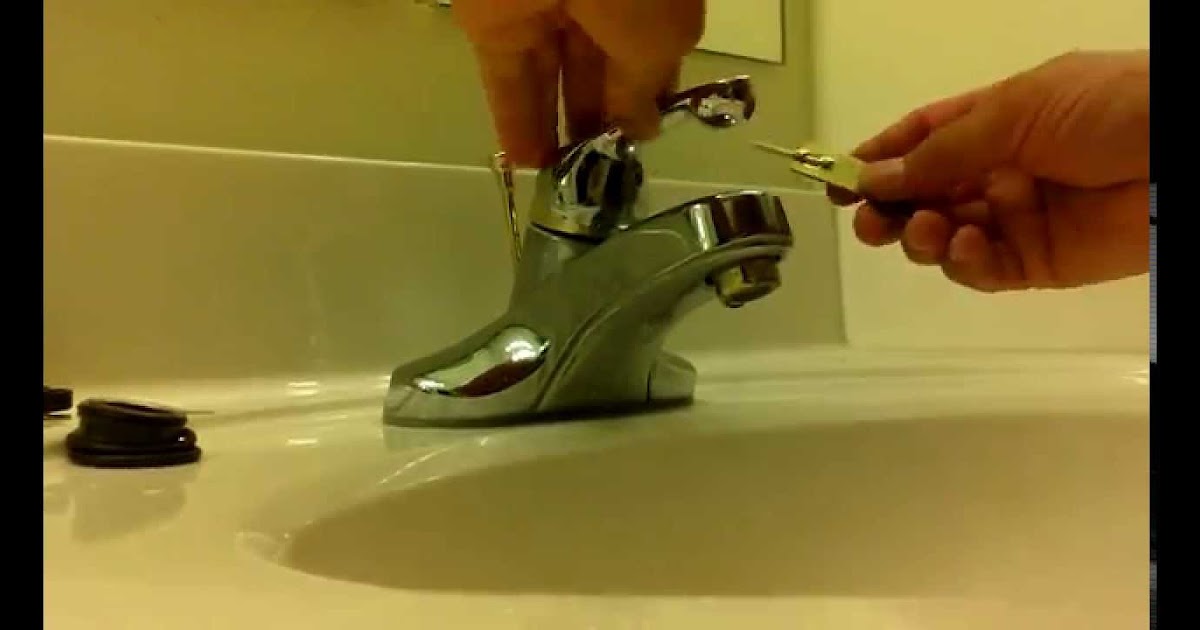

If you're not familiar with plumbing and DIY projects, fixing a dripping faucet may seem daunting. But with a step-by-step guide, it can be a breeze. Follow these steps to fix a dripping faucet in your bathroom sink: Step 1: Turn off the water supply to the faucet. Step 2: Remove the handle of the faucet. Step 3: Inspect the washer and O-rings for any signs of wear and tear. Step 4: Replace the washer and O-rings if necessary. Step 5: If the problem persists, replace the cartridge. Step 6: Reassemble the faucet and turn on the water supply. Step 7: Test the faucet to ensure it's no longer dripping.Step-by-Step Guide to Fixing a Dripping Faucet in Your Bathroom Sink

Step-by-Step Guide to Fixing a Dripping Faucet in Your Bathroom Sink


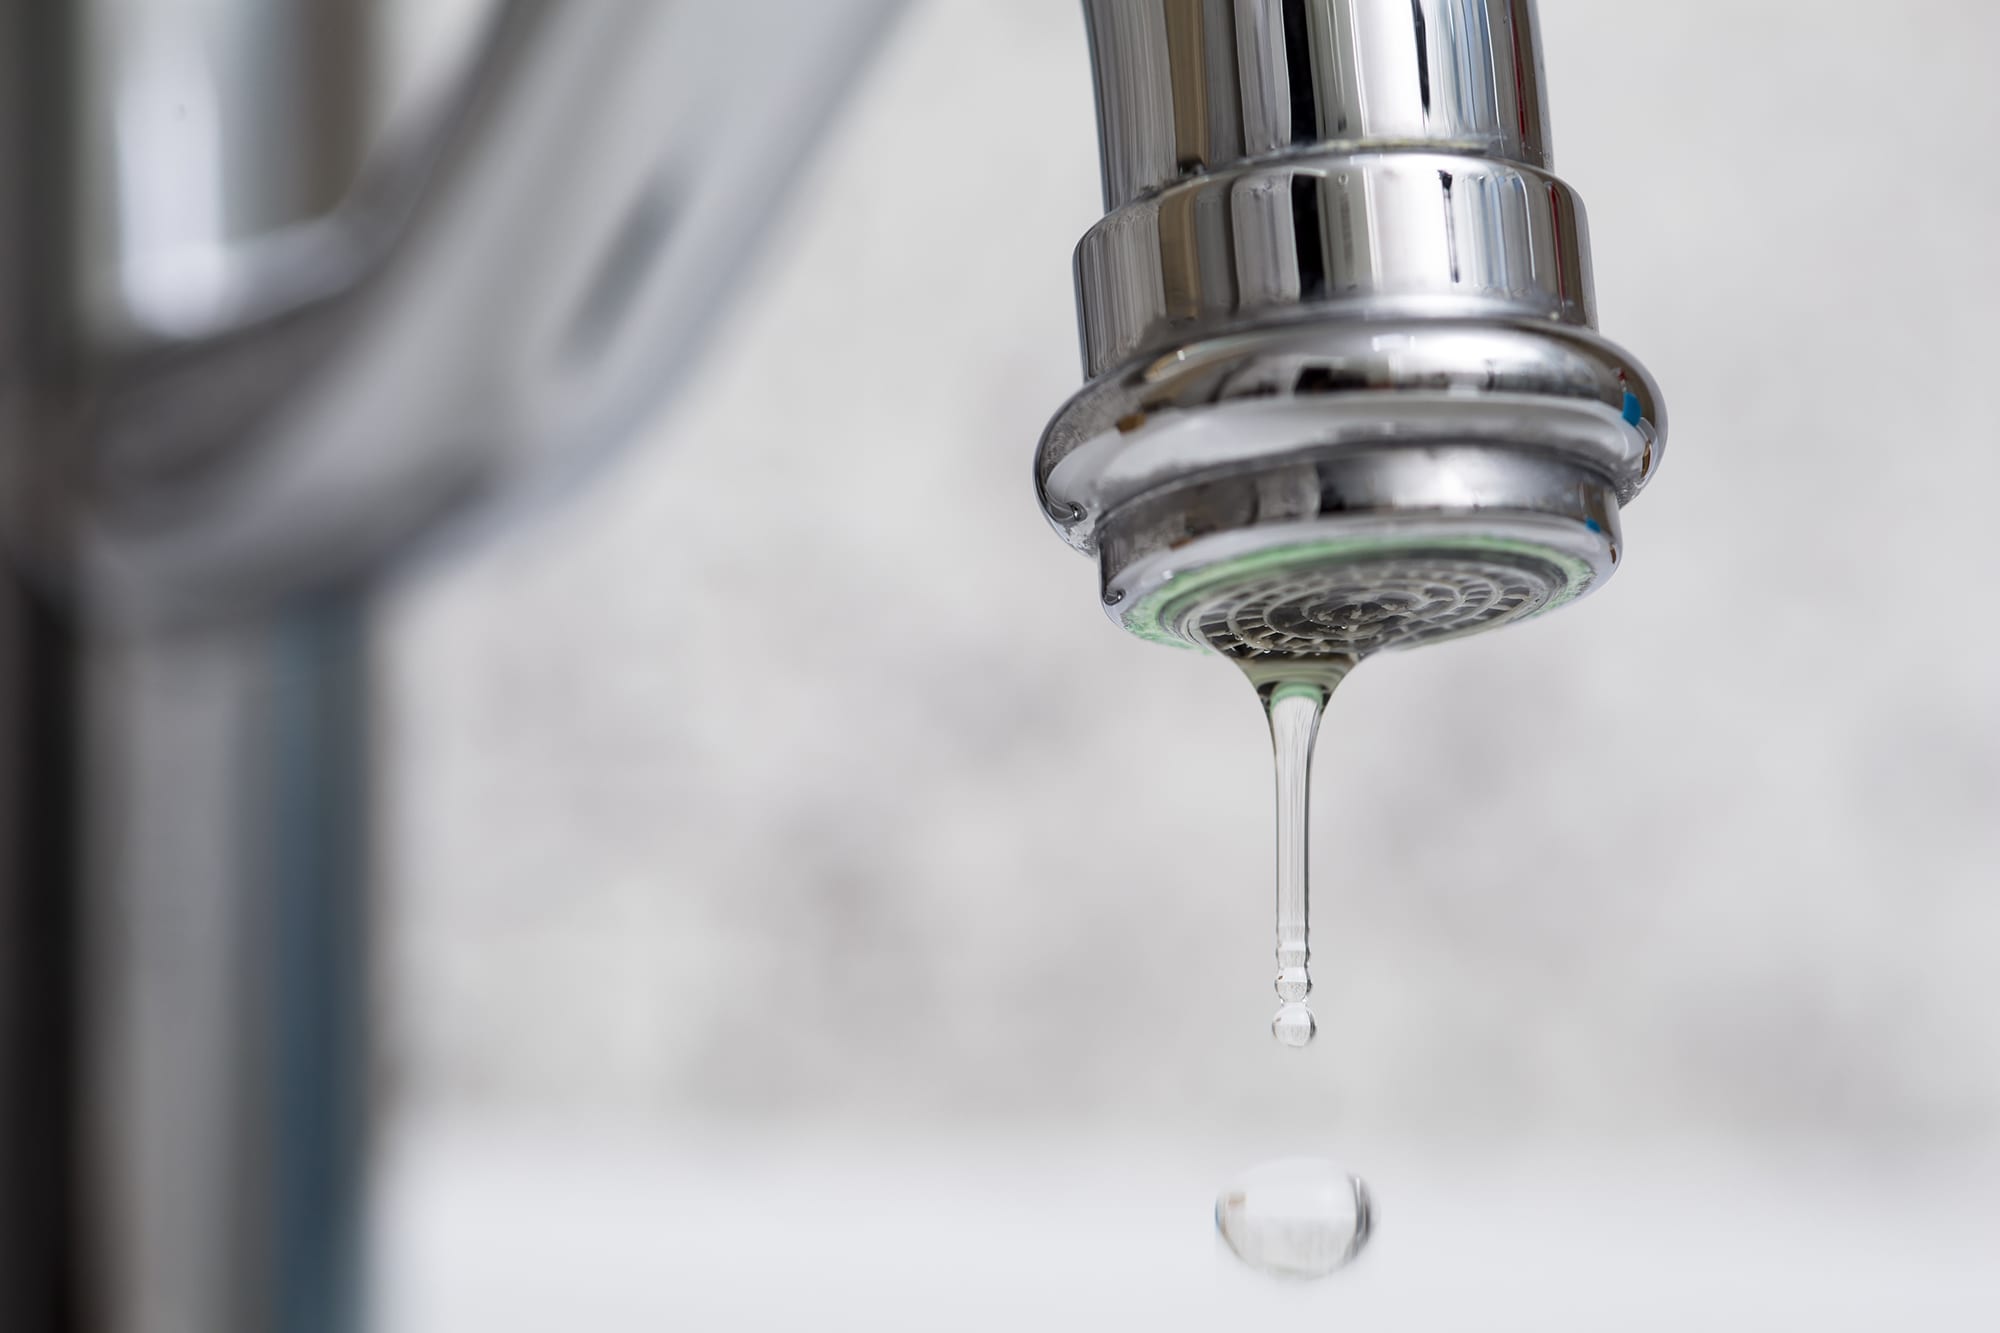

For a quick and easy fix for a dripping bathroom sink faucet, you can try tightening the valve seat. The valve seat is the part of the faucet that connects to the spout and controls the flow of water. Over time, the valve seat can become loose, causing a leak. Use a wrench to tighten the valve seat and see if that stops the dripping.Quick and Easy Fix for a Dripping Bathroom Sink Faucet


Quick and Easy Fix for a Dripping Bathroom Sink Faucet


Aside from a worn-out washer, there are other common causes of a dripping faucet in the bathroom sink. These include a faulty cartridge, worn-out O-rings, a loose valve seat, or mineral deposits in the faucet. By identifying the cause of the leak, you can determine the best course of action to fix it.Common Causes of a Dripping Faucet in the Bathroom Sink


Common Causes of a Dripping Faucet in the Bathroom Sink


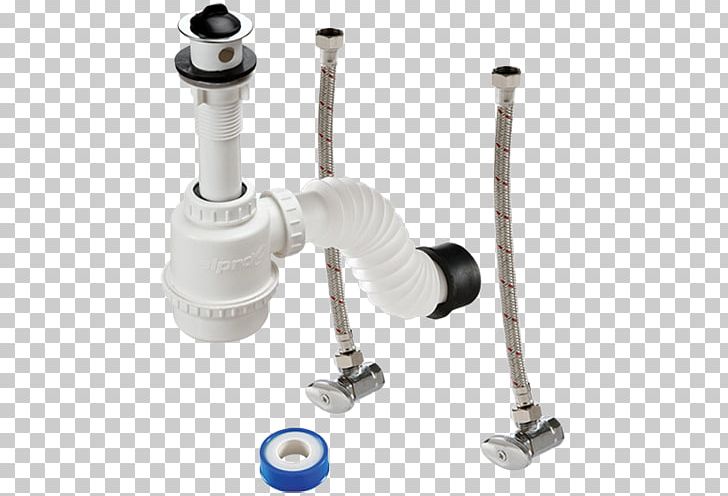
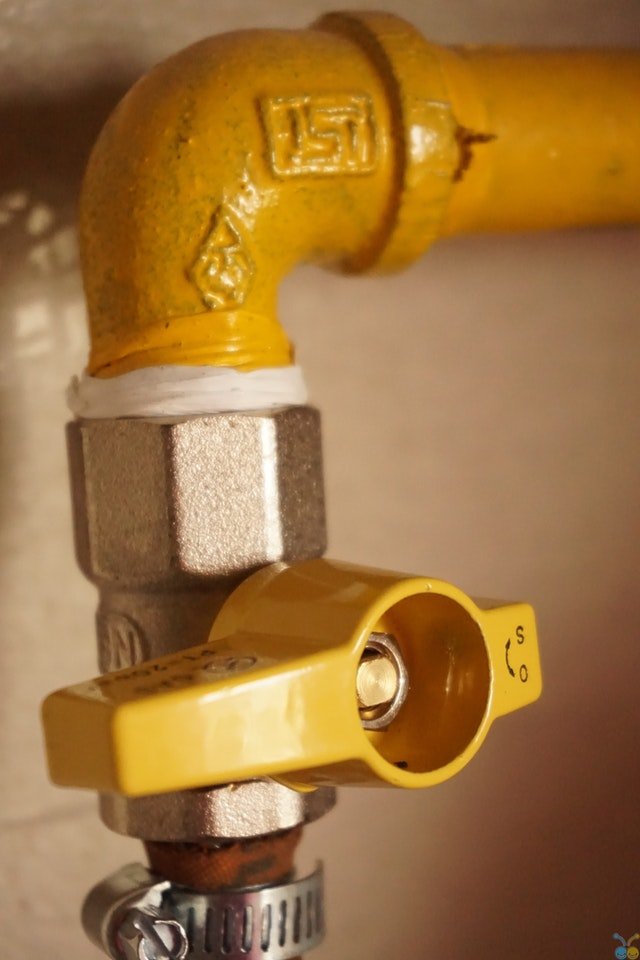
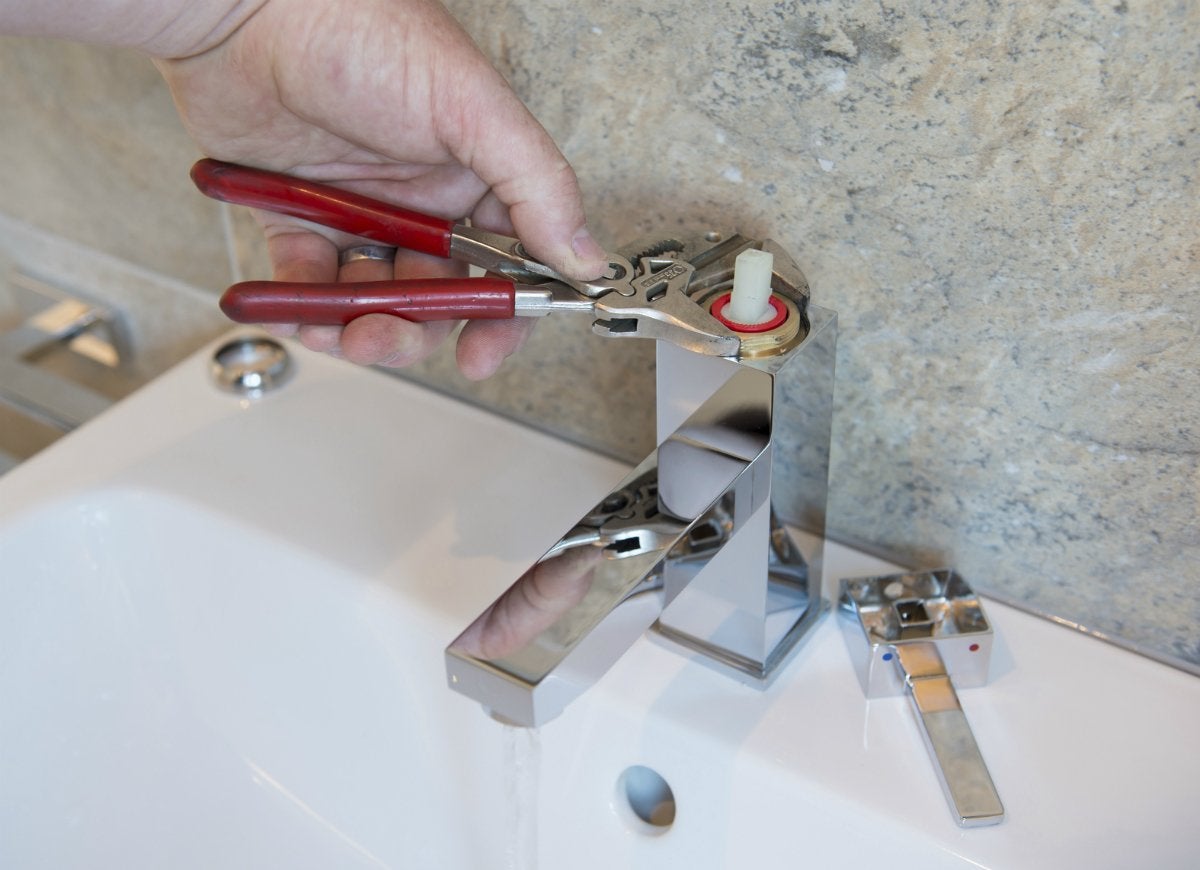
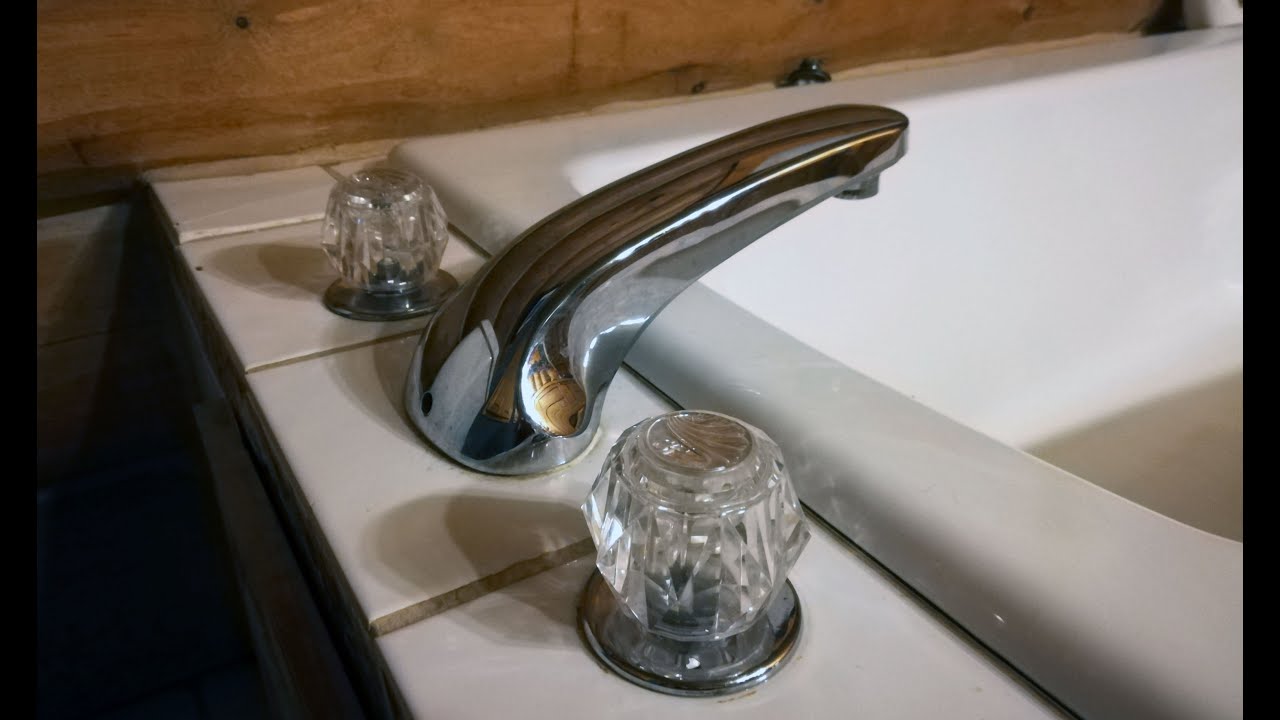
Before you start fixing a dripping faucet, make sure you have the necessary tools. These may include a screwdriver, an Allen wrench, pliers, and replacement parts such as washers and O-rings. It's also helpful to have a towel on hand to clean up any spills or drips.Tools You'll Need to Fix a Dripping Faucet in Your Bathroom Sink


Tools You'll Need to Fix a Dripping Faucet in Your Bathroom Sink

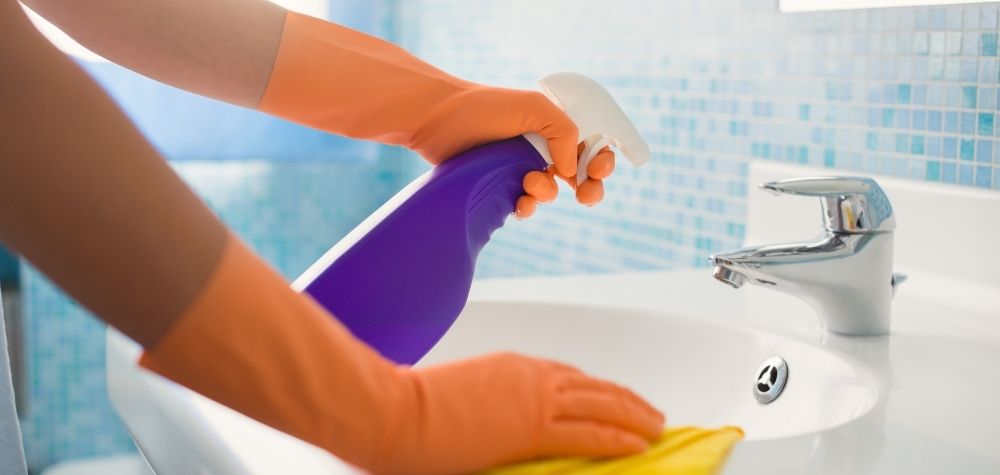
If you've followed all the steps to fix your dripping faucet and it's still not working properly, there may be other underlying issues. Here are some troubleshooting tips to help you identify the problem: 1. Check for mineral deposits: Mineral deposits can build up in the faucet and cause a leak. Use a solution of vinegar and water to clean the faucet and remove any deposits. 2. Inspect the valve seat: If tightening the valve seat didn't work, it may need to be replaced. Check for any signs of damage or wear and tear. 3. Check the water pressure: High water pressure can cause a leak. You may need to install a pressure-reducing valve or adjust the pressure on your water heater. 4. Call a professional: If all else fails, it's best to call a professional plumber who can accurately diagnose and fix the issue.Troubleshooting Tips for Fixing a Dripping Bathroom Sink Faucet


Troubleshooting Tips for Fixing a Dripping Bathroom Sink Faucet

Whether you choose to fix a dripping faucet yourself or hire a professional plumber, it ultimately depends on your skills and comfort level with DIY projects. While fixing a dripping faucet is a relatively simple task, it's always best to leave it to the professionals if you're not confident in your abilities. Hiring a professional may also save you time and frustration in the long run.Professional vs. DIY: Which is the Best Way to Fix a Dripping Faucet in Your Bathroom Sink?


Professional vs. DIY: Which is the Best Way to Fix a Dripping Faucet in Your Bathroom Sink?
Once you've successfully fixed your dripping faucet, you'll want to prevent it from happening again in the future. Here are some maintenance tips to keep your bathroom sink faucet in good working condition: 1. Regularly clean your faucet to prevent mineral deposits from building up. 2. Check for any leaks or drips and address them promptly. 3. Replace worn-out parts as needed. 4. Don't overtighten your faucet as it can cause damage. By following these tips, you can prevent future drips and ensure your bathroom sink faucet is working properly. Remember, if you encounter any major issues or are unsure of how to fix a dripping faucet, it's always best to seek the help of a professional plumber.Preventing Future Drips: Maintenance Tips for Your Bathroom Sink Faucet


Preventing Future Drips: Maintenance Tips for Your Bathroom Sink Faucet


Why Fixing a Dripping Faucet in Your Bathroom Sink is Important for Your House Design

The Impact of a Dripping Faucet on Your House Design
 A dripping faucet may seem like a minor annoyance, but it can actually have a significant impact on the overall design of your house. Not only does it waste water and increase your utility bills, but it can also affect the aesthetic appeal of your bathroom.
Water Damage:
One of the main reasons why fixing a dripping faucet is crucial for your house design is to prevent water damage. Over time, the constant dripping can corrode the sink and create water stains. This can ruin the look of your bathroom and even lead to mold growth, which can be hazardous to your health.
Noise Pollution:
A dripping faucet can also be a nuisance in terms of noise pollution. The constant sound of water dripping can be irritating and disrupt the peaceful ambiance of your bathroom. This can be especially problematic if your bathroom is connected to your bedroom, as the noise can disturb your sleep.
A dripping faucet may seem like a minor annoyance, but it can actually have a significant impact on the overall design of your house. Not only does it waste water and increase your utility bills, but it can also affect the aesthetic appeal of your bathroom.
Water Damage:
One of the main reasons why fixing a dripping faucet is crucial for your house design is to prevent water damage. Over time, the constant dripping can corrode the sink and create water stains. This can ruin the look of your bathroom and even lead to mold growth, which can be hazardous to your health.
Noise Pollution:
A dripping faucet can also be a nuisance in terms of noise pollution. The constant sound of water dripping can be irritating and disrupt the peaceful ambiance of your bathroom. This can be especially problematic if your bathroom is connected to your bedroom, as the noise can disturb your sleep.
The Benefits of Fixing a Dripping Faucet
 Fixing a dripping faucet may seem like a hassle, but the benefits far outweigh the effort. Not only will it improve the functionality of your bathroom, but it can also enhance the overall design of your house.
Save Water and Money:
A dripping faucet can waste a significant amount of water, which can significantly impact your utility bills. By fixing the leak, you can conserve water and save money in the long run.
Improve Aesthetics:
A dripping faucet can be an eyesore in an otherwise beautiful bathroom. By fixing the leak, you can restore the sleek and clean look of your sink, adding to the overall appeal of your house design.
Prevent Further Damage:
As mentioned earlier, a dripping faucet can lead to water damage and even mold growth. By fixing the leak, you can prevent these issues from occurring and save yourself from expensive repairs in the future.
Fixing a dripping faucet may seem like a hassle, but the benefits far outweigh the effort. Not only will it improve the functionality of your bathroom, but it can also enhance the overall design of your house.
Save Water and Money:
A dripping faucet can waste a significant amount of water, which can significantly impact your utility bills. By fixing the leak, you can conserve water and save money in the long run.
Improve Aesthetics:
A dripping faucet can be an eyesore in an otherwise beautiful bathroom. By fixing the leak, you can restore the sleek and clean look of your sink, adding to the overall appeal of your house design.
Prevent Further Damage:
As mentioned earlier, a dripping faucet can lead to water damage and even mold growth. By fixing the leak, you can prevent these issues from occurring and save yourself from expensive repairs in the future.
Conclusion
 In conclusion, fixing a dripping faucet in your bathroom sink is crucial for the overall design of your house. Not only does it prevent water damage and noise pollution, but it also helps you save water and money while improving the aesthetic appeal of your bathroom. Don't let a small leak turn into a big problem; take care of it as soon as possible to maintain the beauty and functionality of your house.