If you have a Moen single handle faucet in your bathroom, chances are you may have experienced a leak at some point. Not only is a leaky faucet annoying, but it can also lead to wasted water and a higher water bill. But don't worry, fixing a leaky Moen single handle faucet is a relatively simple task that you can do yourself. All you need is some basic tools and a replacement cartridge. In this article, we will guide you through the process of fixing a leaky Moen single handle faucet in 10 easy steps.How to Fix a Leaky Moen Single Handle Faucet
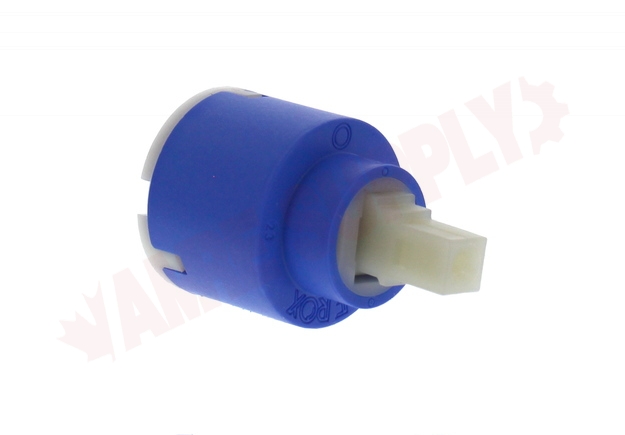
The most common cause of a leaky Moen single handle faucet is a faulty cartridge. Over time, the cartridge can wear out and cause water to leak from the faucet. To fix this issue, you will need to replace the cartridge. Here's how:How to Replace a Moen Single Handle Faucet Cartridge
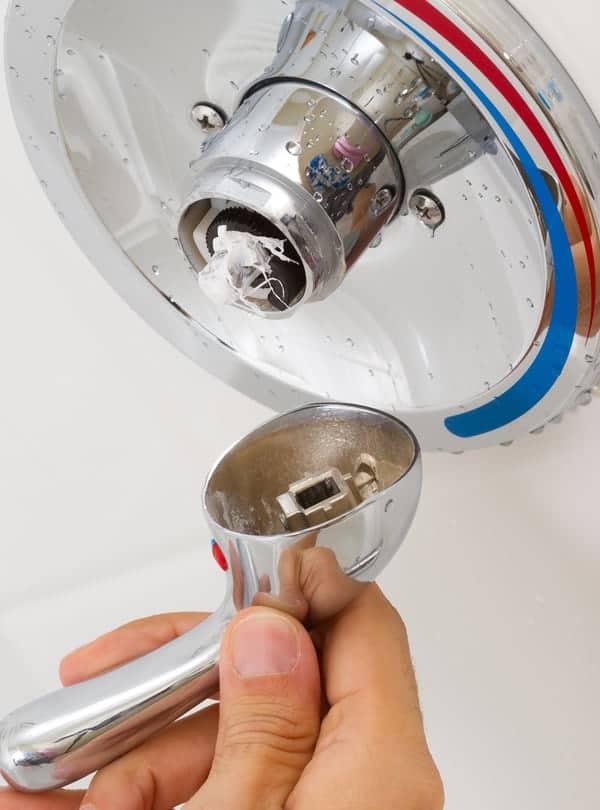
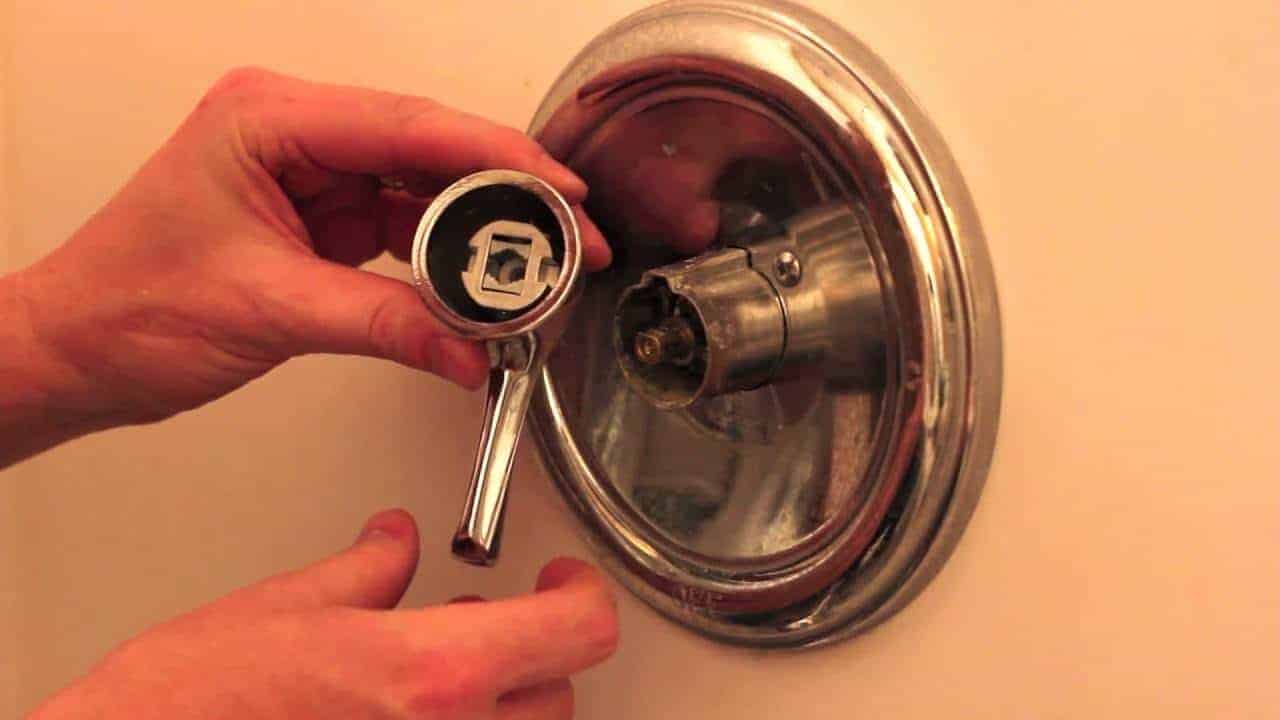
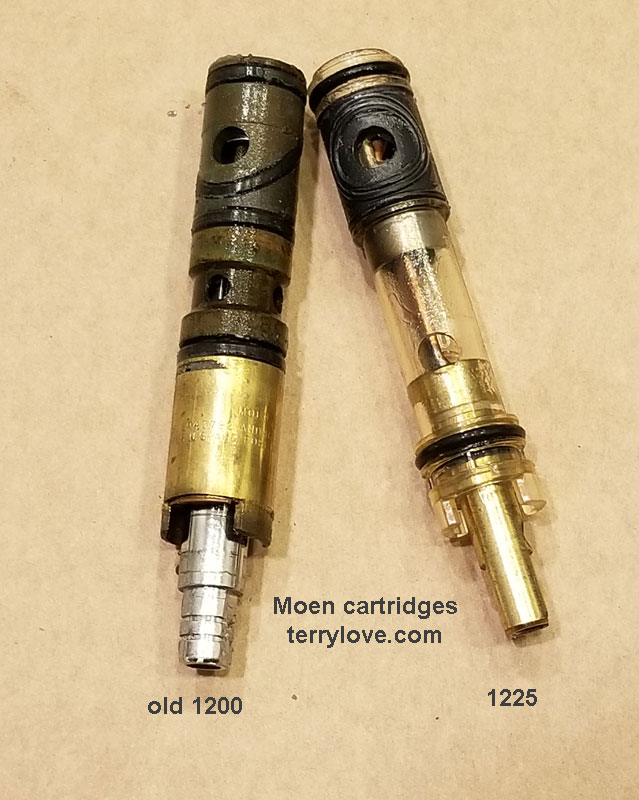
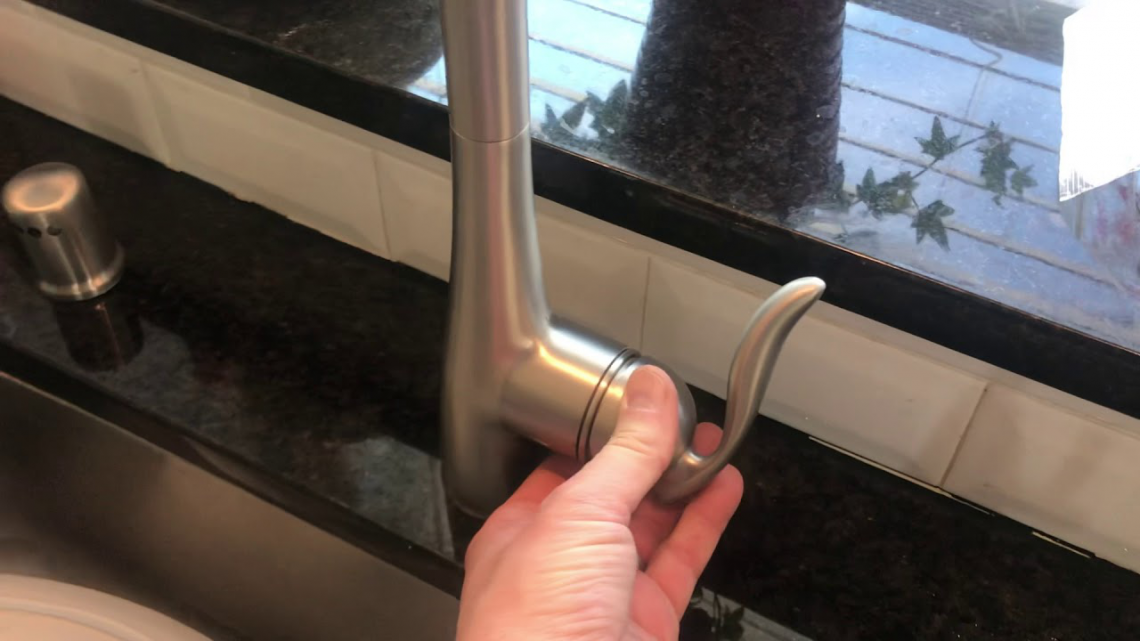
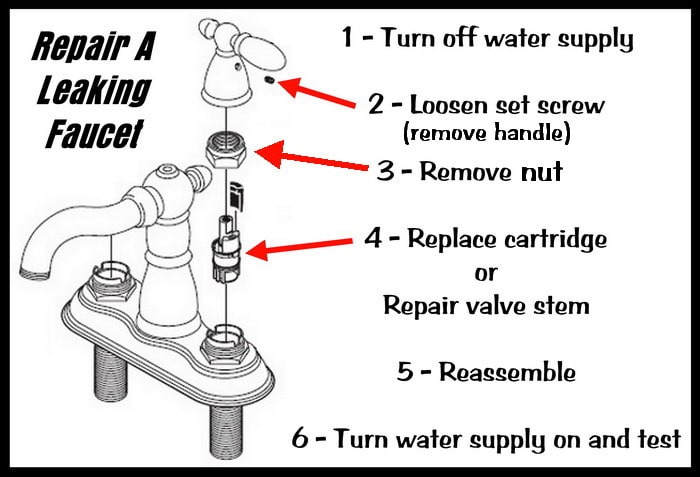
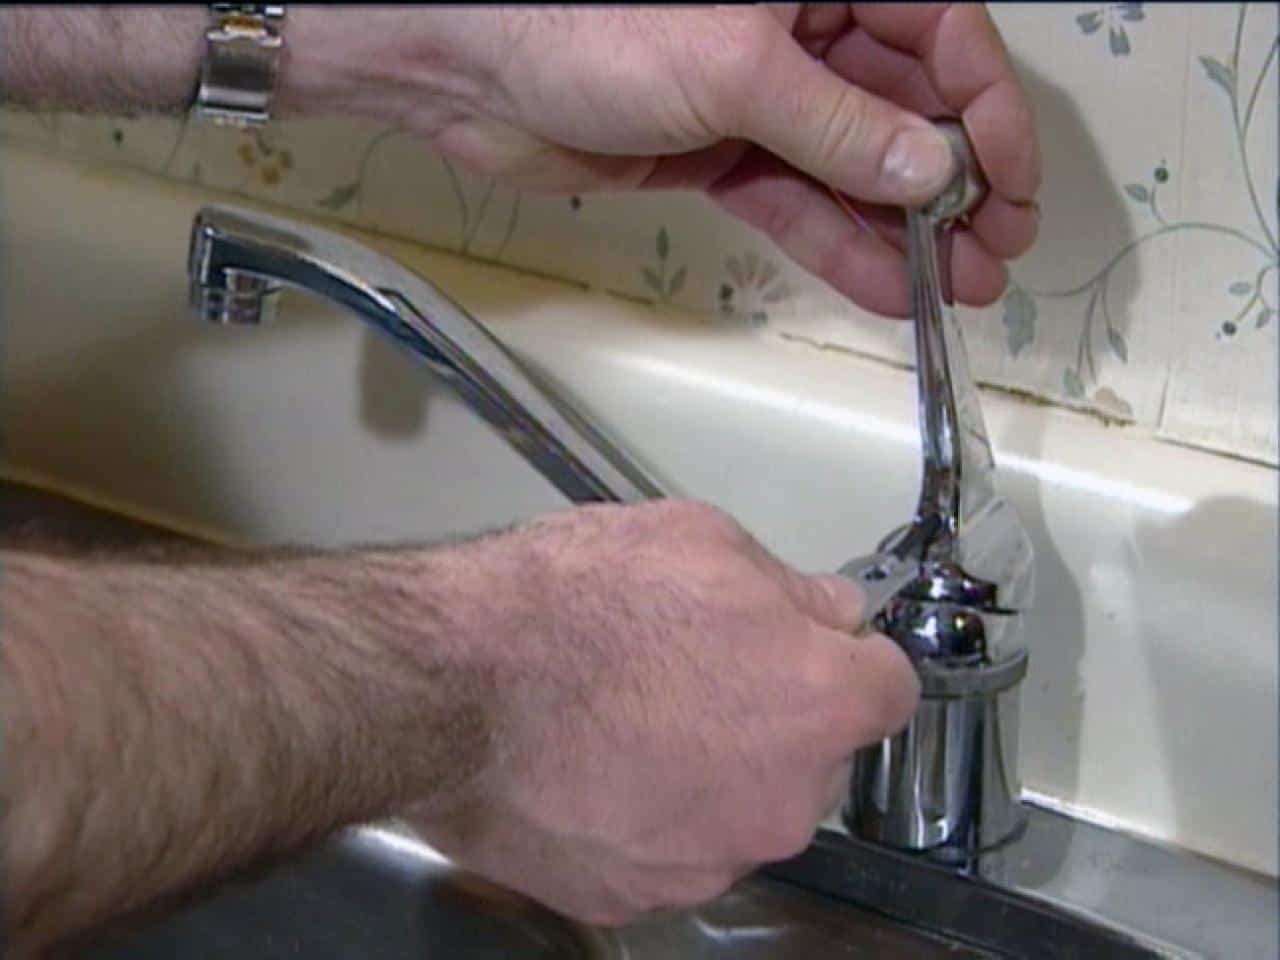
Step 1: Shut off the water supply to the faucet. Look for the shut-off valves under the sink and turn them off. Step 2: Remove the handle of the Moen faucet. Depending on the model, you may need to unscrew the handle or use a flathead screwdriver to pop off the cap and reveal the screw underneath. Step 3: Once the handle is removed, you will see the cartridge. Use a pair of pliers to remove the retaining clip and pull out the cartridge. Step 4: Clean the area where the old cartridge was removed. Use a cloth to wipe away any debris or build-up. Step 5: Take your new cartridge and apply some plumber's grease to the O-rings on the cartridge. Step 6: Insert the new cartridge into the faucet body, making sure it is properly aligned. Step 7: Secure the cartridge with the retaining clip. Step 8: Replace the handle and tighten any screws or reattach the cap. Step 9: Turn the water supply back on and test the faucet to make sure the leak is fixed. Step 10: If the faucet is still leaking, you may need to replace the O-rings or the entire faucet itself.Step-by-Step Guide for Fixing a Moen Single Handle Faucet
If you are having trouble with your Moen single handle faucet, here are some troubleshooting tips that may help: 1. Low water pressure: If you are experiencing low water pressure, the aerator on the faucet may be clogged. Remove the aerator and clean it with a mixture of water and vinegar. 2. Dripping faucet: If your faucet is still dripping after replacing the cartridge, the problem may be with the O-rings. Try replacing them to see if that solves the issue. 3. Noisy faucet: If your faucet is making a loud noise when turned on, it may be due to air in the water lines. Turn the faucet on and off a few times to release the air.Troubleshooting Tips for Moen Single Handle Faucet Cartridge
Aside from a leaky faucet, there are a few other common problems that you may encounter with a Moen single handle faucet. Here's how to fix them: 1. Loose handle: If the handle on your Moen faucet is loose, you may need to tighten the screw underneath the cap. If that doesn't work, you may need to replace the handle altogether. 2. Water temperature issues: If the water temperature is not consistent, the temperature limiter may need to be adjusted. This can be done by removing the handle and adjusting the limiter using pliers. 3. No hot water: If you are not getting hot water from your Moen faucet, the hot water shut-off valve may be closed. Make sure it is open and try again.Common Problems with Moen Single Handle Faucets and How to Fix Them
Fixing a leaky Moen single handle faucet is a simple DIY task that can save you time and money. With the right tools and a replacement cartridge, you can easily fix your faucet in no time. Just follow the steps outlined in this article and your faucet will be as good as new.DIY: Fixing a Moen Single Handle Faucet Cartridge
If you are short on time or don't feel comfortable fixing your Moen single handle faucet yourself, here are some quick and easy solutions: 1. Call a plumber: If you are not confident in your plumbing skills, it's always best to call a professional. They have the expertise and tools to quickly fix your faucet. 2. Use a temporary fix: You can also use a temporary fix, such as a faucet repair kit or tape, to stop the leak until you can get a permanent solution.Quick and Easy Solutions for a Leaky Moen Single Handle Faucet
If you need to replace the cartridge on your Moen single handle faucet, here's a quick and easy guide: Step 1: Shut off the water supply to the faucet. Step 2: Remove the handle and retaining clip. Step 3: Take out the old cartridge and clean the area. Step 4: Apply plumber's grease to the new cartridge and insert it into the faucet. Step 5: Reattach the handle and turn the water supply back on.Replacing a Moen Single Handle Faucet Cartridge in 5 Simple Steps
Repairing a Moen single handle faucet can usually be done in less than an hour. With the right tools and a bit of know-how, you can save yourself the time and money of calling a plumber. And with our step-by-step guide, you'll have your faucet working like new in no time.How to Repair a Moen Single Handle Faucet in Less Than an Hour
A dripping Moen single handle faucet can be a nuisance, but with our step-by-step guide, you can easily fix the issue yourself. From troubleshooting tips to replacing the cartridge, we've got you covered. So say goodbye to that annoying drip and hello to a perfectly functioning faucet.Fixing a Dripping Moen Single Handle Faucet: A Step-by-Step Guide
How to Fix a Moen Single Handle Faucet Cartridge for Your Bathroom Sink
Introduction
 Having a beautiful and functional bathroom is essential for any homeowner. One of the most used fixtures in the bathroom is the sink, and the faucet is its most crucial component. When your Moen single handle faucet cartridge starts to malfunction, it can be frustrating and disrupt your daily routine. However, fixing it doesn't have to be a daunting task. With the right tools and a little bit of know-how, you can easily fix your bathroom sink's Moen single handle faucet cartridge.
Identifying the Problem
 If you're experiencing issues with your Moen single handle faucet, the first step is to identify the problem. Some common signs of a malfunctioning cartridge include leaking or dripping water, low water pressure, or difficulty in turning the handle. Once you've identified the issue, you can move on to fixing it.
Gather Your Tools
 Before you start any repair work, make sure you have all the necessary tools. You will need an adjustable wrench, a Phillips head screwdriver, and a Moen single handle faucet cartridge replacement kit. You can find these kits at your local hardware store or order them online.
Shut Off the Water Supply
 To avoid any accidents, turn off the water supply to your faucet before you begin any repairs. You can usually find the shut-off valve under the sink, but if you can't locate it, you can turn off the main water supply to your house.
Replacing the Cartridge
 Now that you have everything you need and the water supply is turned off, you can start replacing the cartridge. Remove the faucet handle by unscrewing the set screw at the base of the handle. Then, use your adjustable wrench to remove the retaining nut and pull out the cartridge. Replace it with the new one from your repair kit and reassemble the faucet handle.
Testing and Troubleshooting
 After you've completed the replacement, turn the water supply back on and test the faucet. If you're still experiencing any issues, there may be other underlying problems, such as a clogged aerator or a worn-out O-ring. You can troubleshoot these problems by following the manufacturer's instructions or seeking professional help.
Conclusion
 Fixing your Moen single handle faucet cartridge is a simple and cost-effective solution that can save you from the hassle of replacing the entire faucet. With the right tools and a little bit of patience, you can have your bathroom sink running smoothly again in no time. Remember to always turn off the water supply before making any repairs and seek professional help if you encounter any difficulties.


:max_bytes(150000):strip_icc()/repairing-a-single-handle-disk-faucet-1824878-hero-b3daee9af5174d8f9b9cb4a2582e7140.jpg)


