If you're tired of the constant drip, drip, drip of your kitchen sink faucet, it's time to take action and fix the issue. A leaky faucet not only wastes water and increases your water bill, but it can also be a nuisance and lead to further damage if left untreated. Don't worry, fixing a leaky kitchen sink faucet is easier than you might think. Follow these simple steps to get your faucet back to its fully functioning state.How to Fix a Leaky Kitchen Sink Faucet
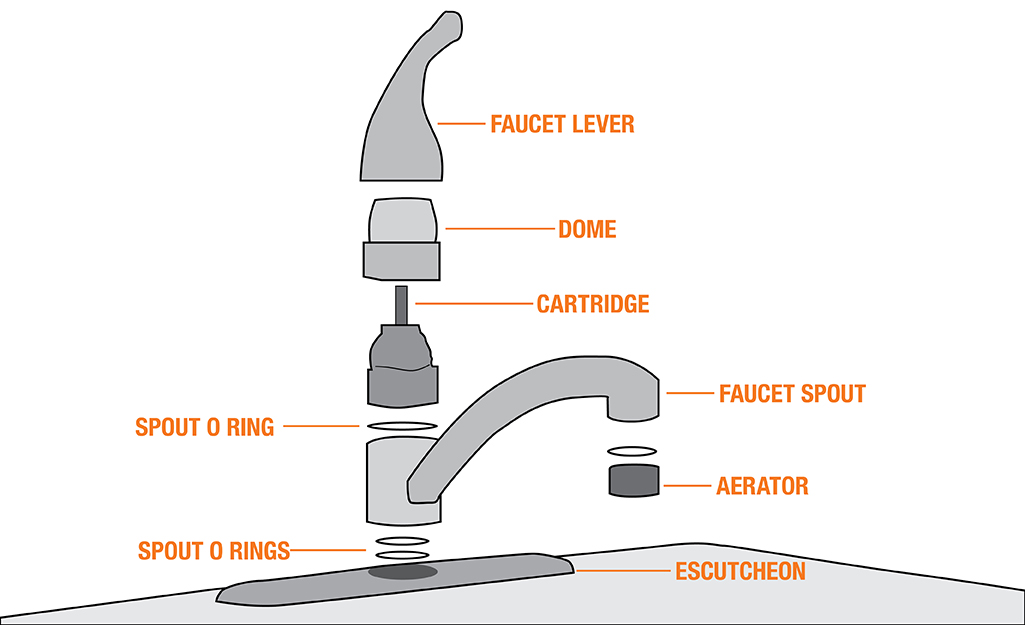
Before you begin any repairs, it's important to identify and understand the type of faucet you have. There are several different types of kitchen sink faucets, including compression, cartridge, ball, and ceramic disc. Each type has its own unique method of repair, so make sure you do your research and gather the necessary tools before starting the repair process.How to Repair a Kitchen Sink Faucet
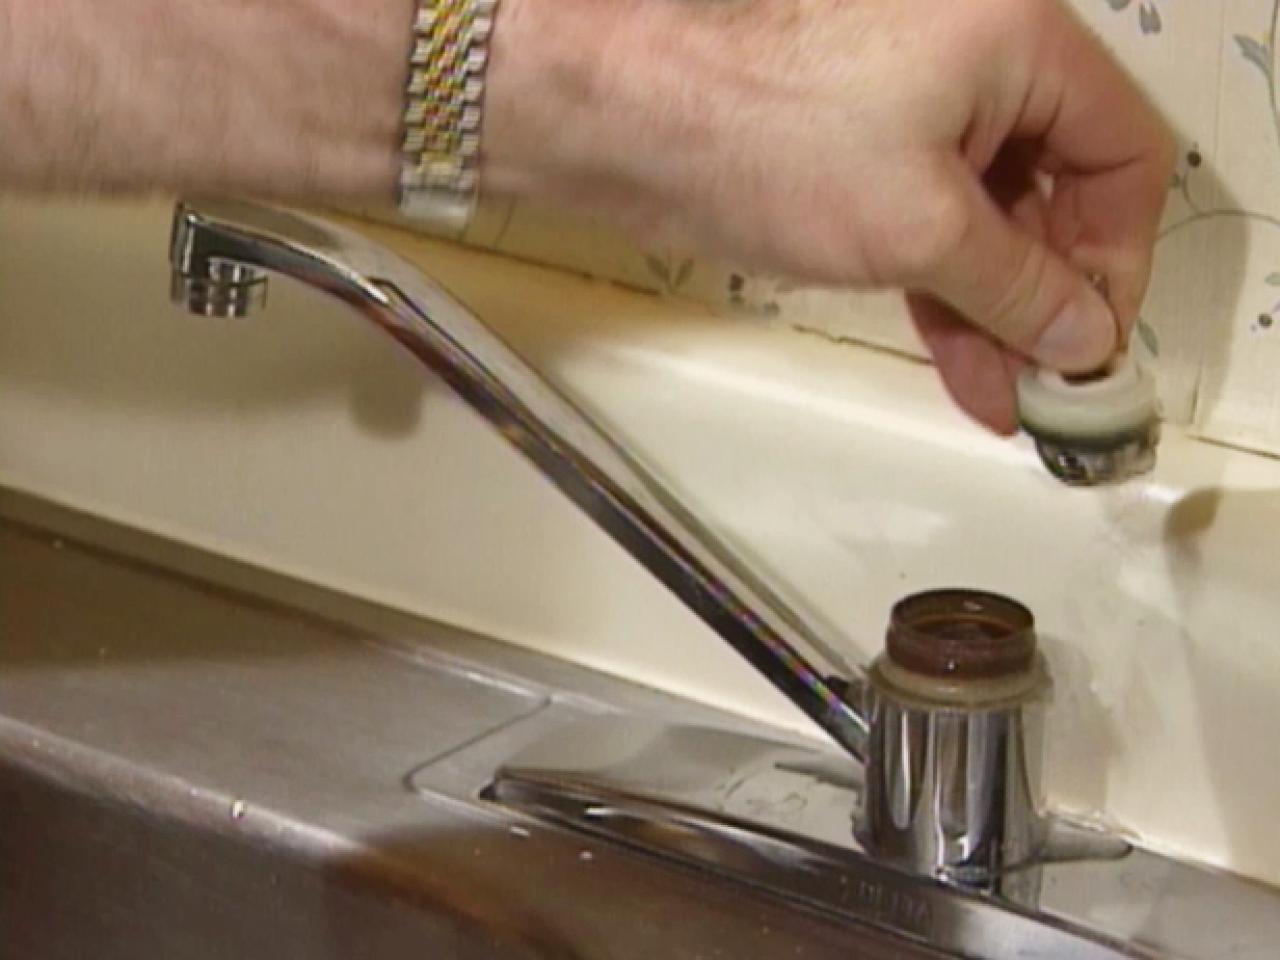
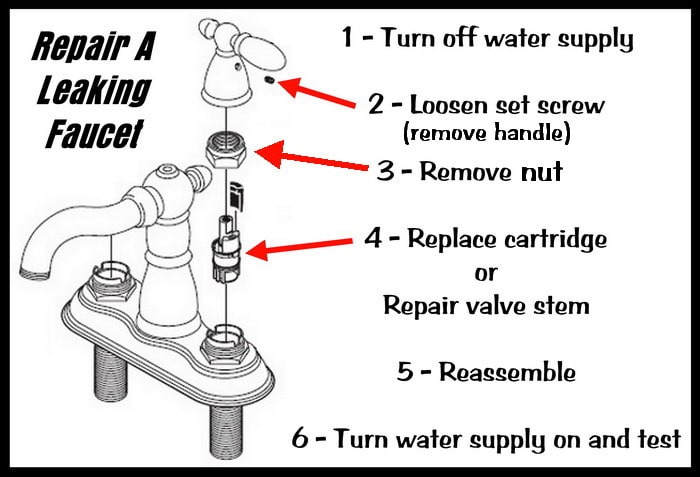
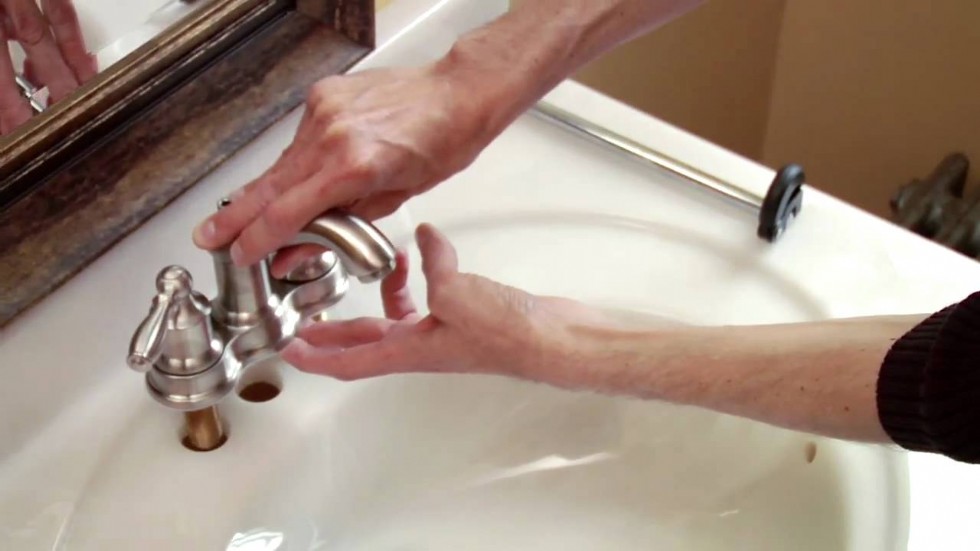
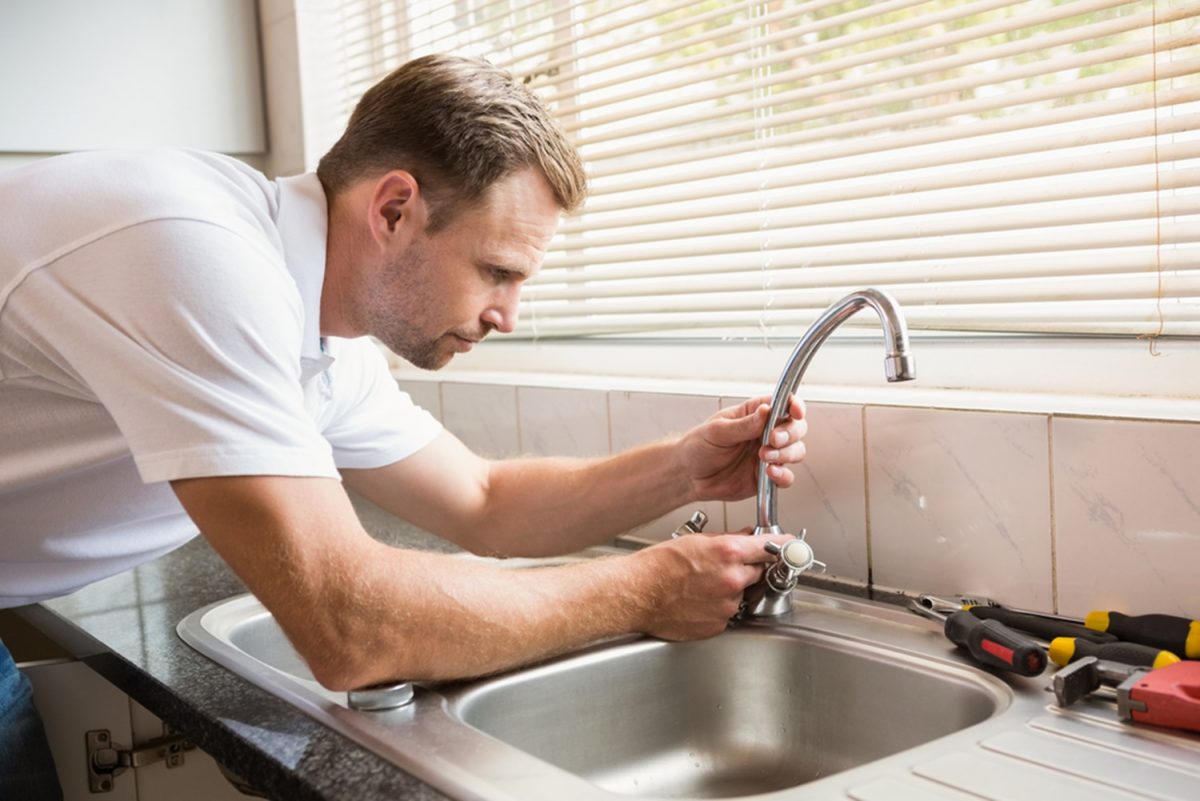
If you consider yourself handy and have some experience with DIY projects, you may be able to fix your kitchen sink faucet on your own. The first step is to turn off the water supply to the sink. This can usually be done by turning off the shut-off valves located under the sink. Next, disassemble the faucet by removing the handle and any other components. Inspect the parts for any damage or wear and tear, and replace any necessary parts. Reassemble the faucet and turn the water back on to test if the leak has been fixed.DIY Kitchen Sink Faucet Repair
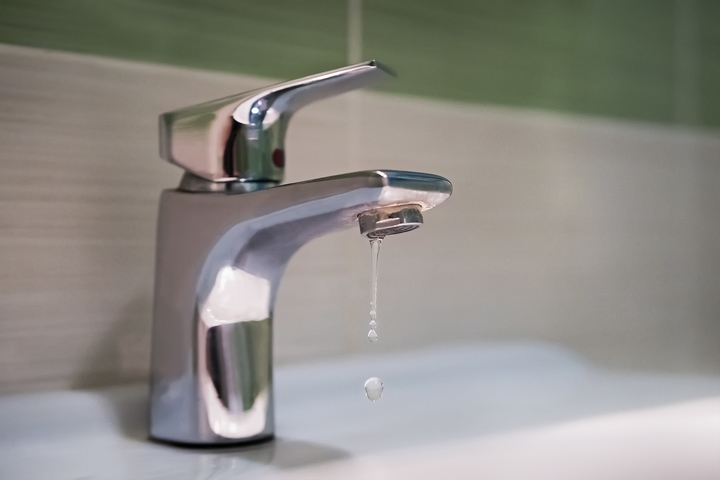
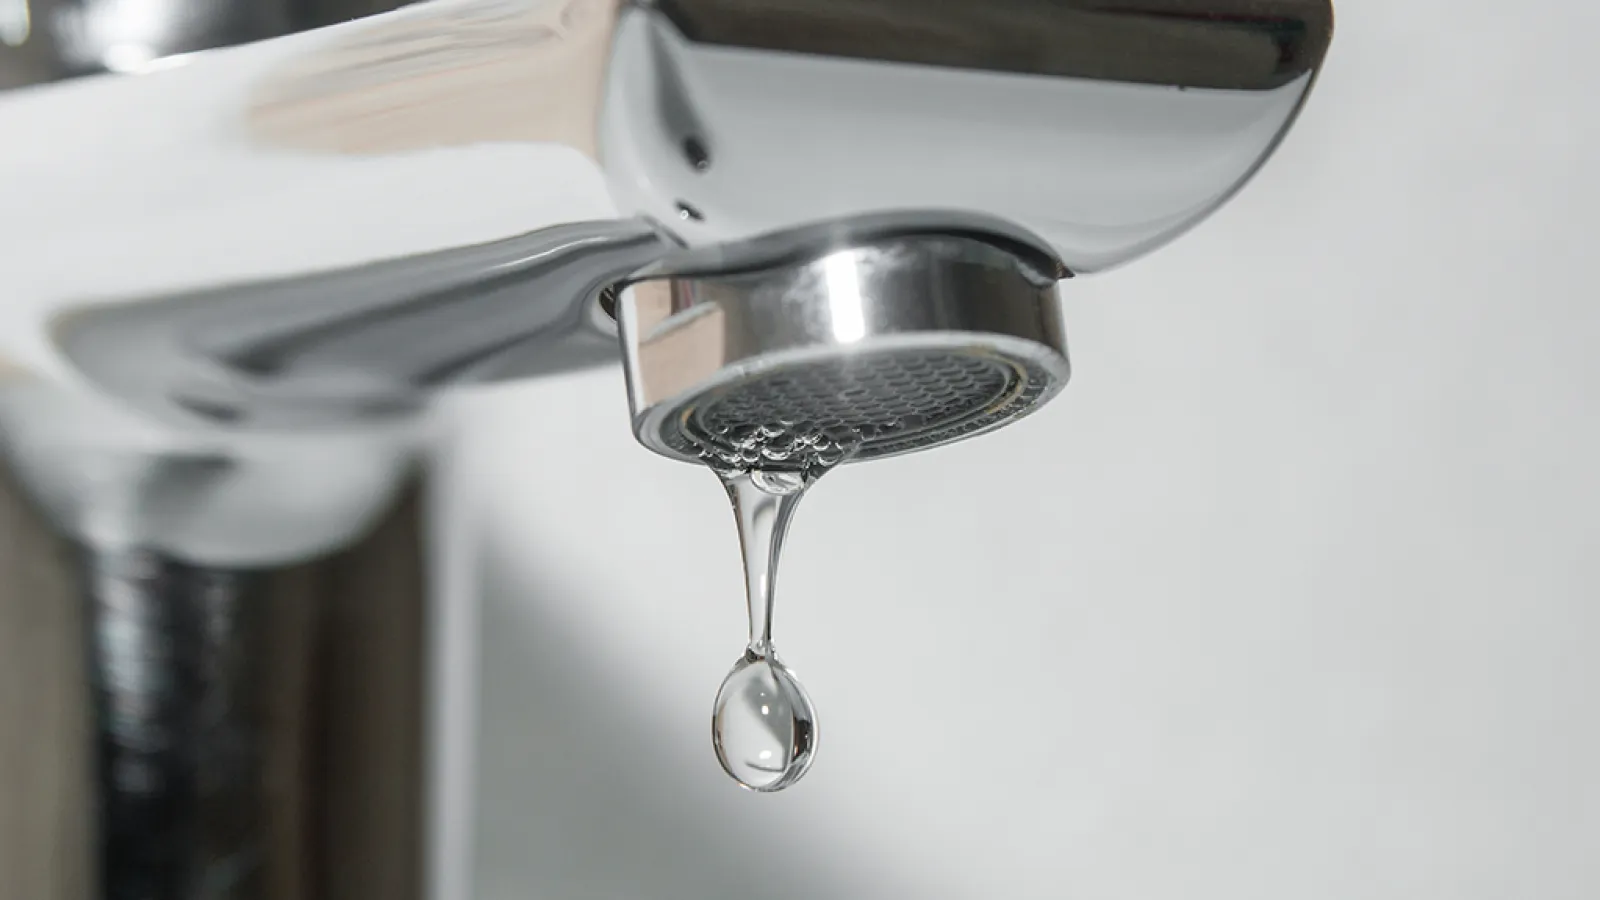
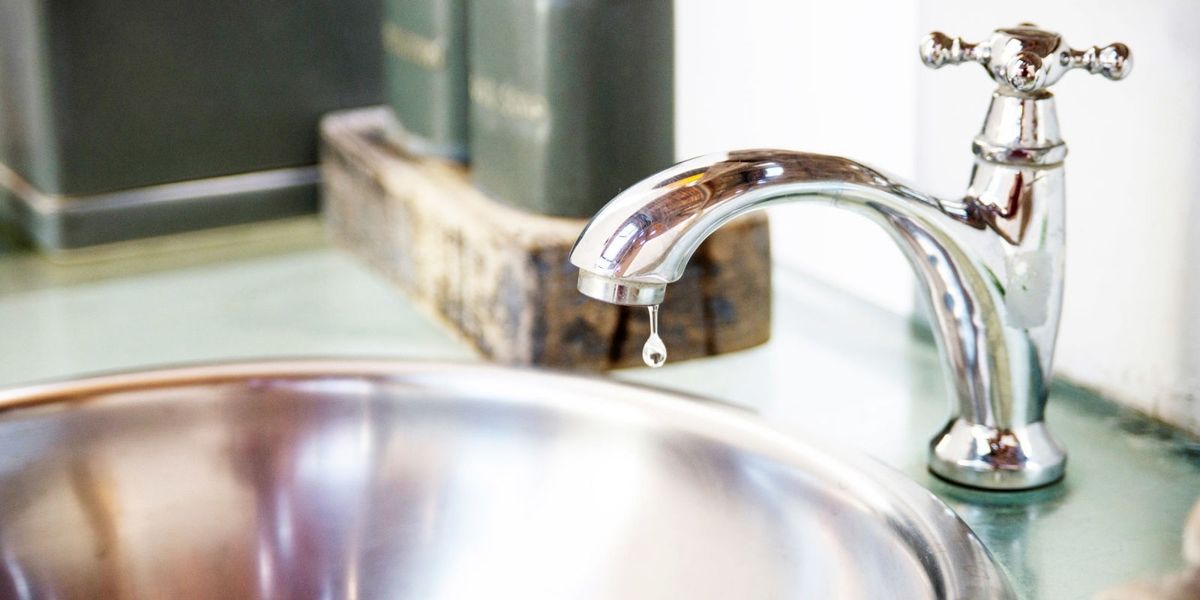
If you're dealing with a constant drip, the issue may be a worn out seat washer or O-ring. These small rubber pieces can become worn over time and cause leaks. To replace them, follow the same steps as a DIY repair, but make sure to replace the worn out parts with new ones. This should fix the dripping issue and stop the constant noise of a leaky faucet.Steps to Fix a Dripping Kitchen Sink Faucet
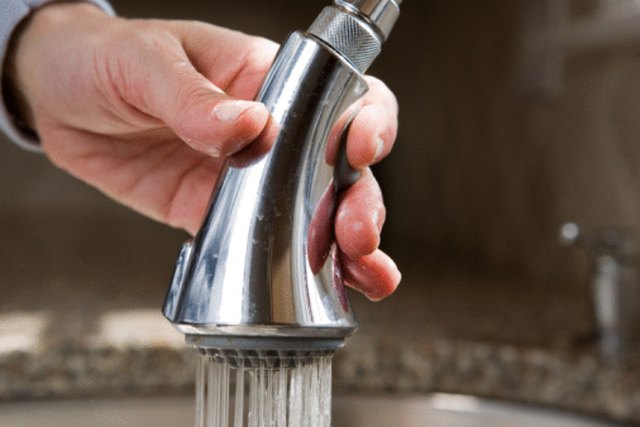
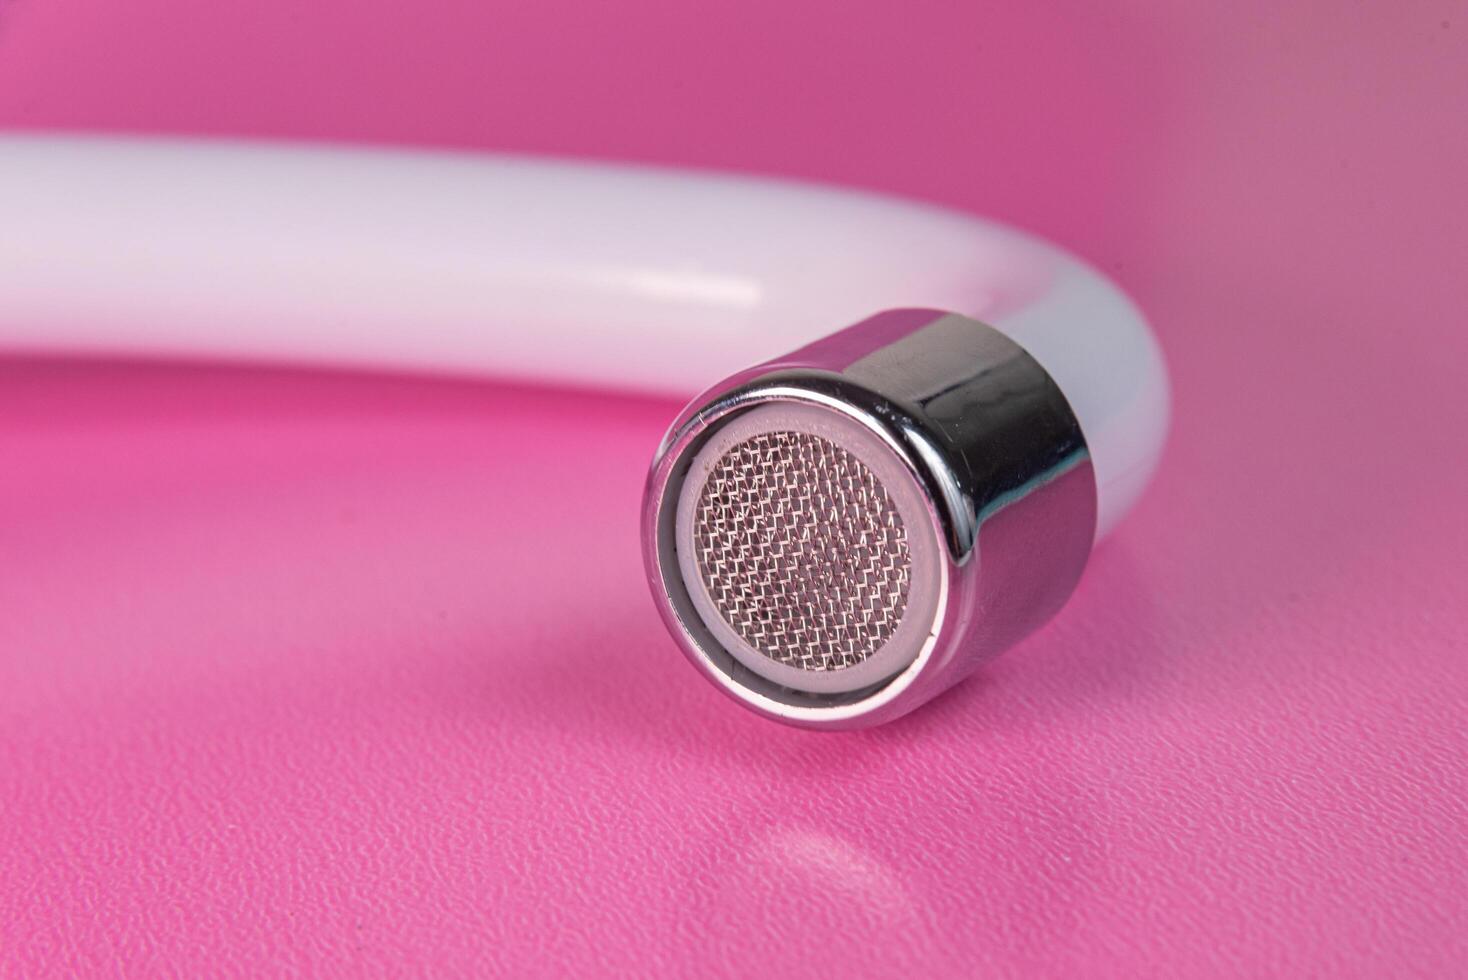
In addition to leaks, there are other common problems that can occur with kitchen sink faucets. These include low water pressure, a loose faucet, or a clogged aerator. Low water pressure can be caused by a buildup of sediment and debris in the faucet, which can be easily cleaned with a mixture of vinegar and water. A loose faucet can be fixed by tightening the mounting nut underneath the sink. And a clogged aerator can be cleaned with a toothbrush and some water.Common Kitchen Sink Faucet Problems and Solutions
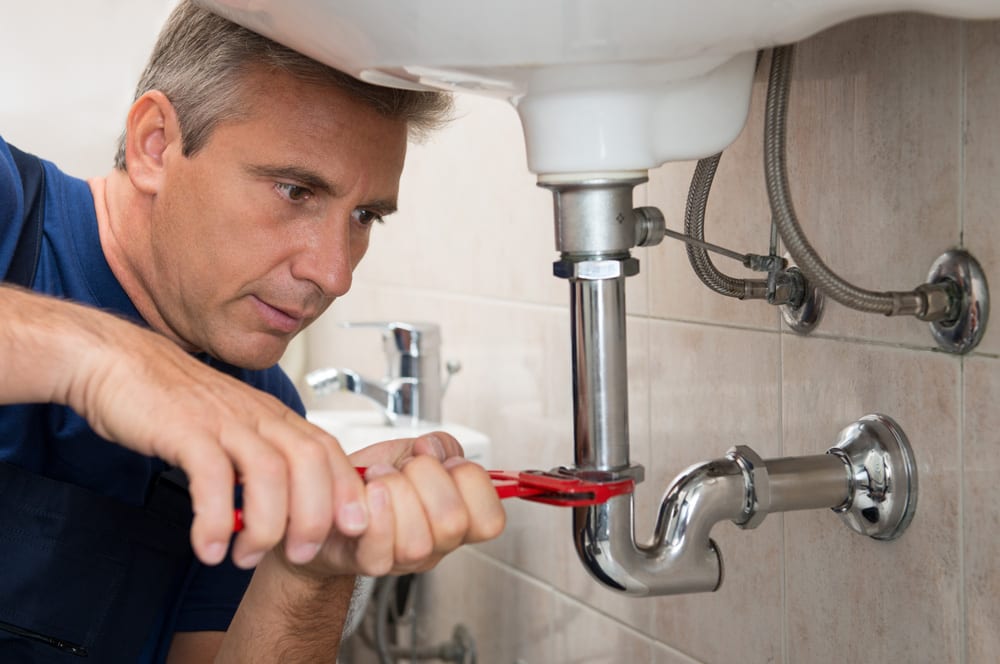
If you're not comfortable with DIY repairs or don't have the time, you can always call a professional plumber to fix your kitchen sink faucet. They have the experience and tools necessary to quickly diagnose and repair any issues. While it may cost more than a DIY approach, it can save you time and hassle in the long run.Quick and Easy Kitchen Sink Faucet Repair
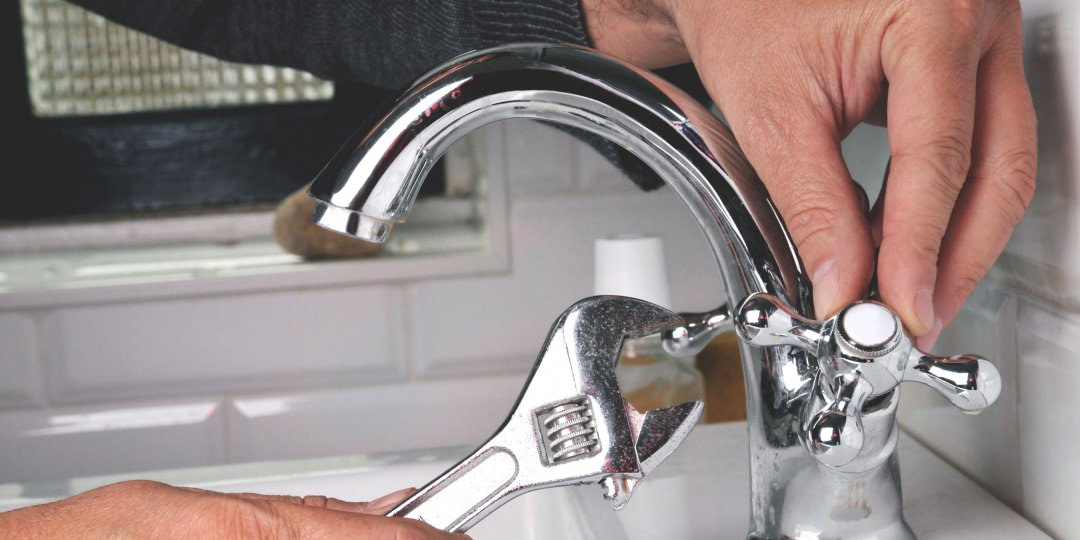
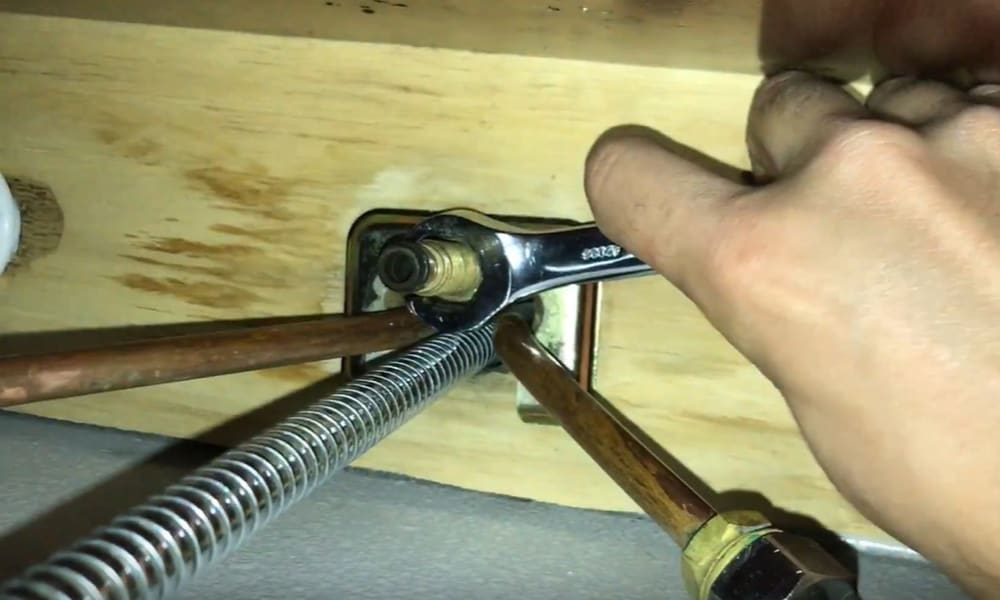
A loose kitchen sink faucet not only looks unappealing, but it can also be a safety hazard. If left untreated, it can lead to further damage and even cause the faucet to break off completely. To fix a loose faucet, turn off the water supply and use a wrench to tighten the mounting nut. If the faucet continues to feel loose, you may need to replace the mounting nut or even the entire faucet.Fixing a Loose Kitchen Sink Faucet
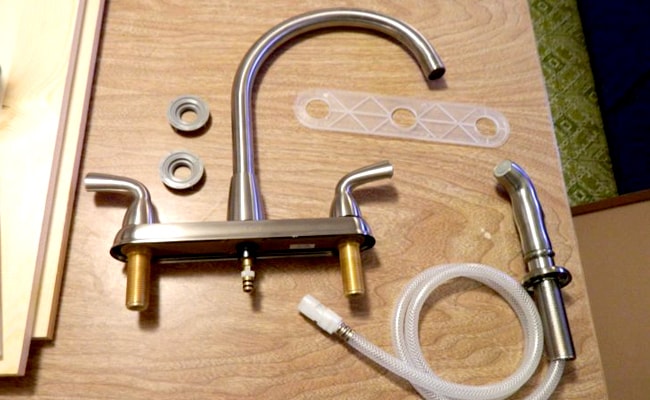
If your kitchen sink faucet is beyond repair, it may be time to replace it altogether. When choosing a new faucet, make sure to measure the distance between the faucet holes on your sink to ensure a proper fit. You may also want to consider the style and finish of the faucet to match your kitchen's aesthetic. Once you have the new faucet, follow the manufacturer's instructions for installation.Replacing a Kitchen Sink Faucet
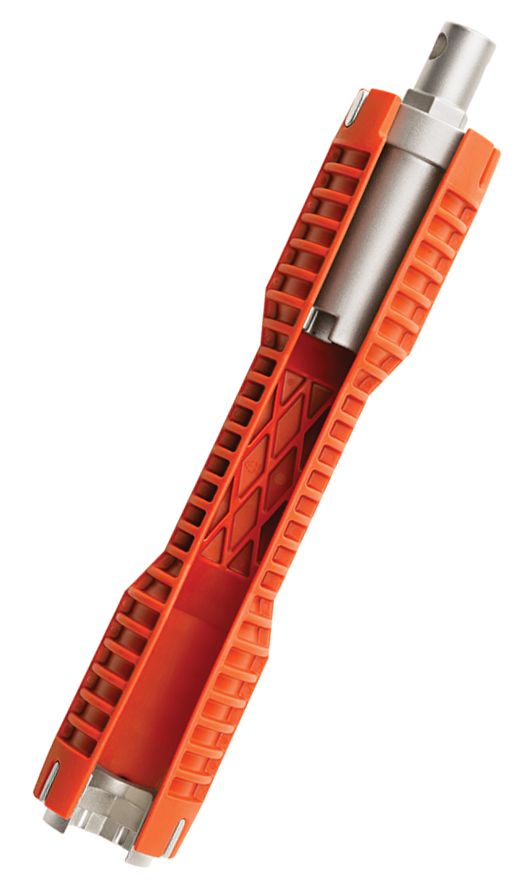
No matter which repair method you choose, there are a few essential tools you'll need to have on hand. These include an adjustable wrench, pliers, screwdriver, and a replacement cartridge or O-ring if necessary. It's also helpful to have some plumber's tape and a toothbrush for cleaning out any clogs.Tools Needed for Fixing a Kitchen Sink Faucet
To avoid dealing with a leaky kitchen sink faucet in the future, there are a few preventative measures you can take. Regularly clean your faucet to prevent buildup of sediment and debris. Also, be gentle when turning the faucet on and off, as excessive force can damage the internal components. If you notice any small leaks or issues, address them immediately before they become bigger problems. With these tips and tricks, you can easily fix a kitchen sink faucet and save yourself from the annoyance and cost of a leaky faucet. Whether you choose to tackle the repair yourself or call in a professional, addressing the issue promptly will ensure a fully functioning and efficient kitchen sink faucet.Tips for Preventing Kitchen Sink Faucet Issues
Proper Maintenance for a Kitchen Sink Faucet
Why Proper Maintenance is Essential
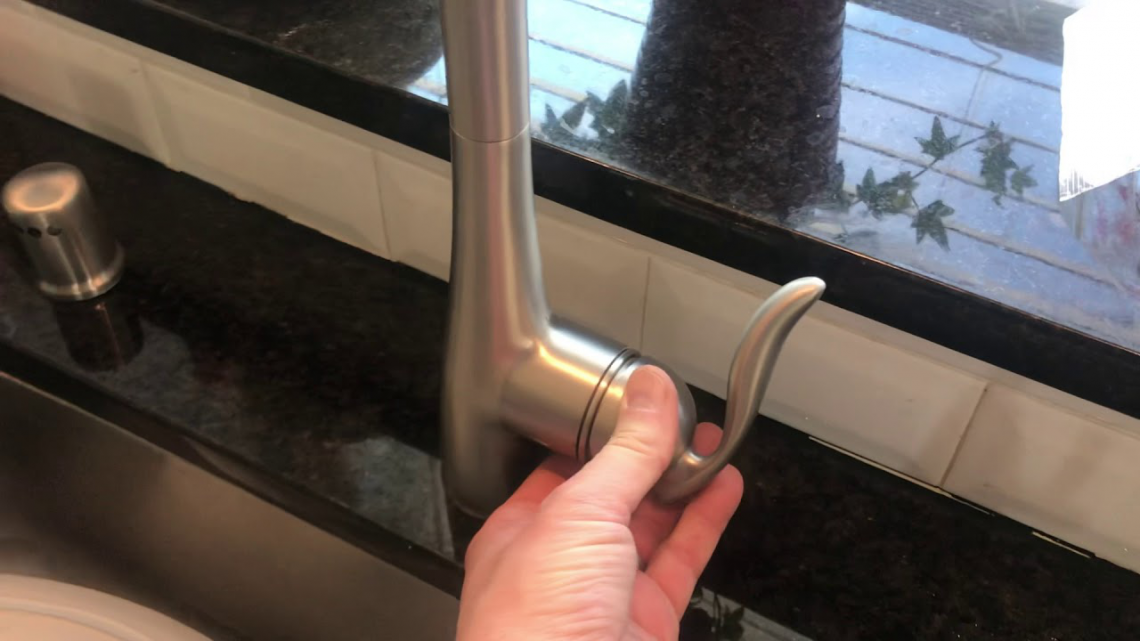
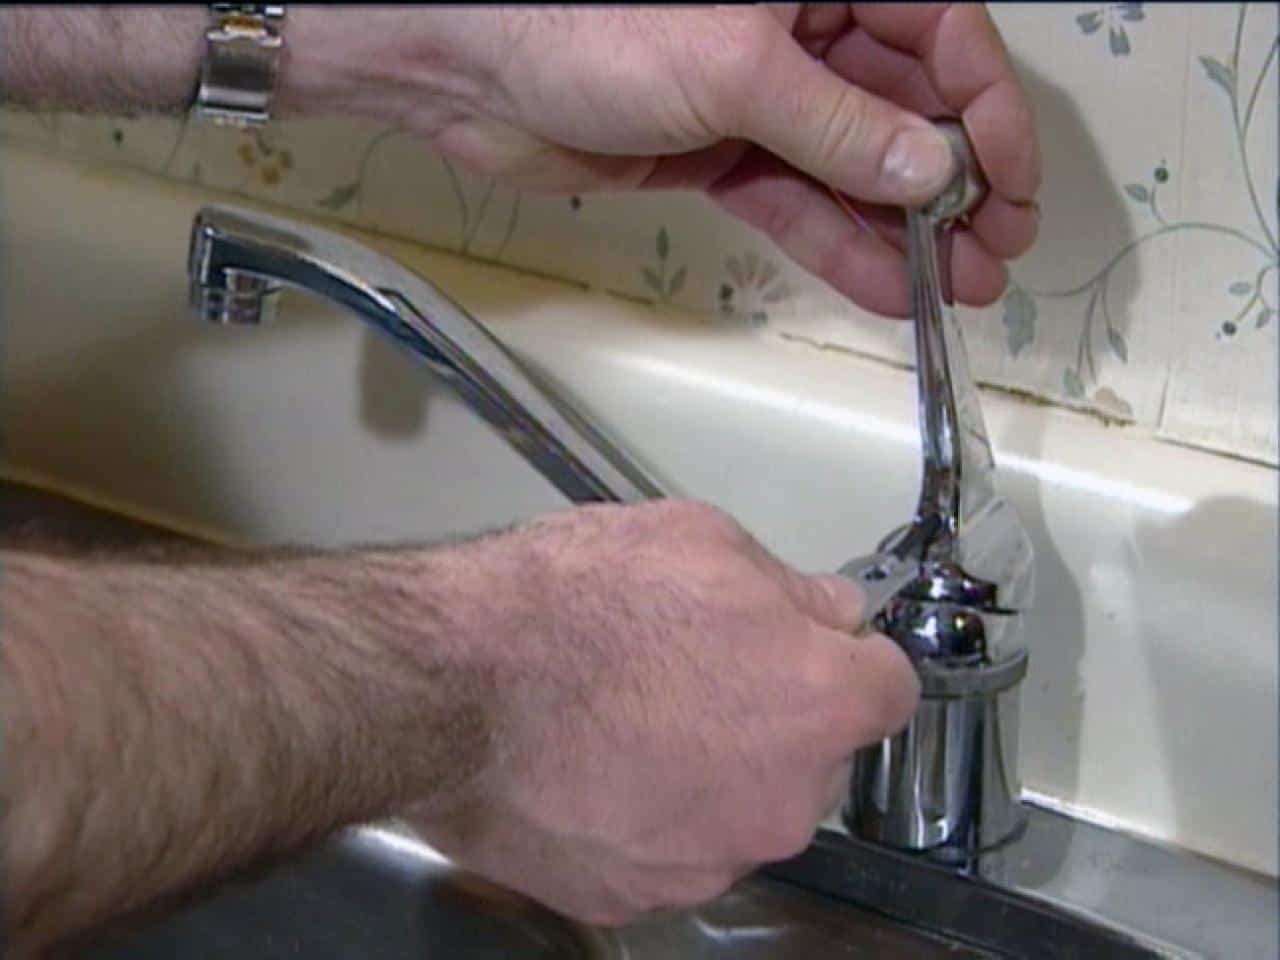 Proper maintenance of your kitchen sink faucet is crucial to ensure its longevity and efficient functioning. A faulty faucet can disrupt your daily chores and even cause water damage to your kitchen. Regular maintenance can also save you from costly repairs or replacements in the long run. Additionally, a well-maintained faucet not only improves the aesthetic appeal of your kitchen but also adds value to your home. In this article, we will discuss the necessary steps to
fix a kitchen sink faucet
and keep it in top condition.
Step 1: Identify the Issue
 The first step in fixing a kitchen sink faucet is to identify the problem. Common issues with faucets include leaks, low water pressure, and a loose handle. If the issue is a leak, check for any visible cracks or damage to the faucet. If the water pressure is low, it could be due to mineral buildup in the aerator or a clogged valve. A loose handle can also be caused by a worn-out cartridge or a loose screw. Identifying the issue will help you determine the necessary steps to fix it.
Step 2: Gather the Necessary Tools
 Before you start fixing the faucet, make sure you have all the necessary tools. These may include an adjustable wrench, pliers, screwdriver, and plumber's tape. Having these tools on hand will save you time and make the process more efficient.
Step 3: Turn Off the Water Supply
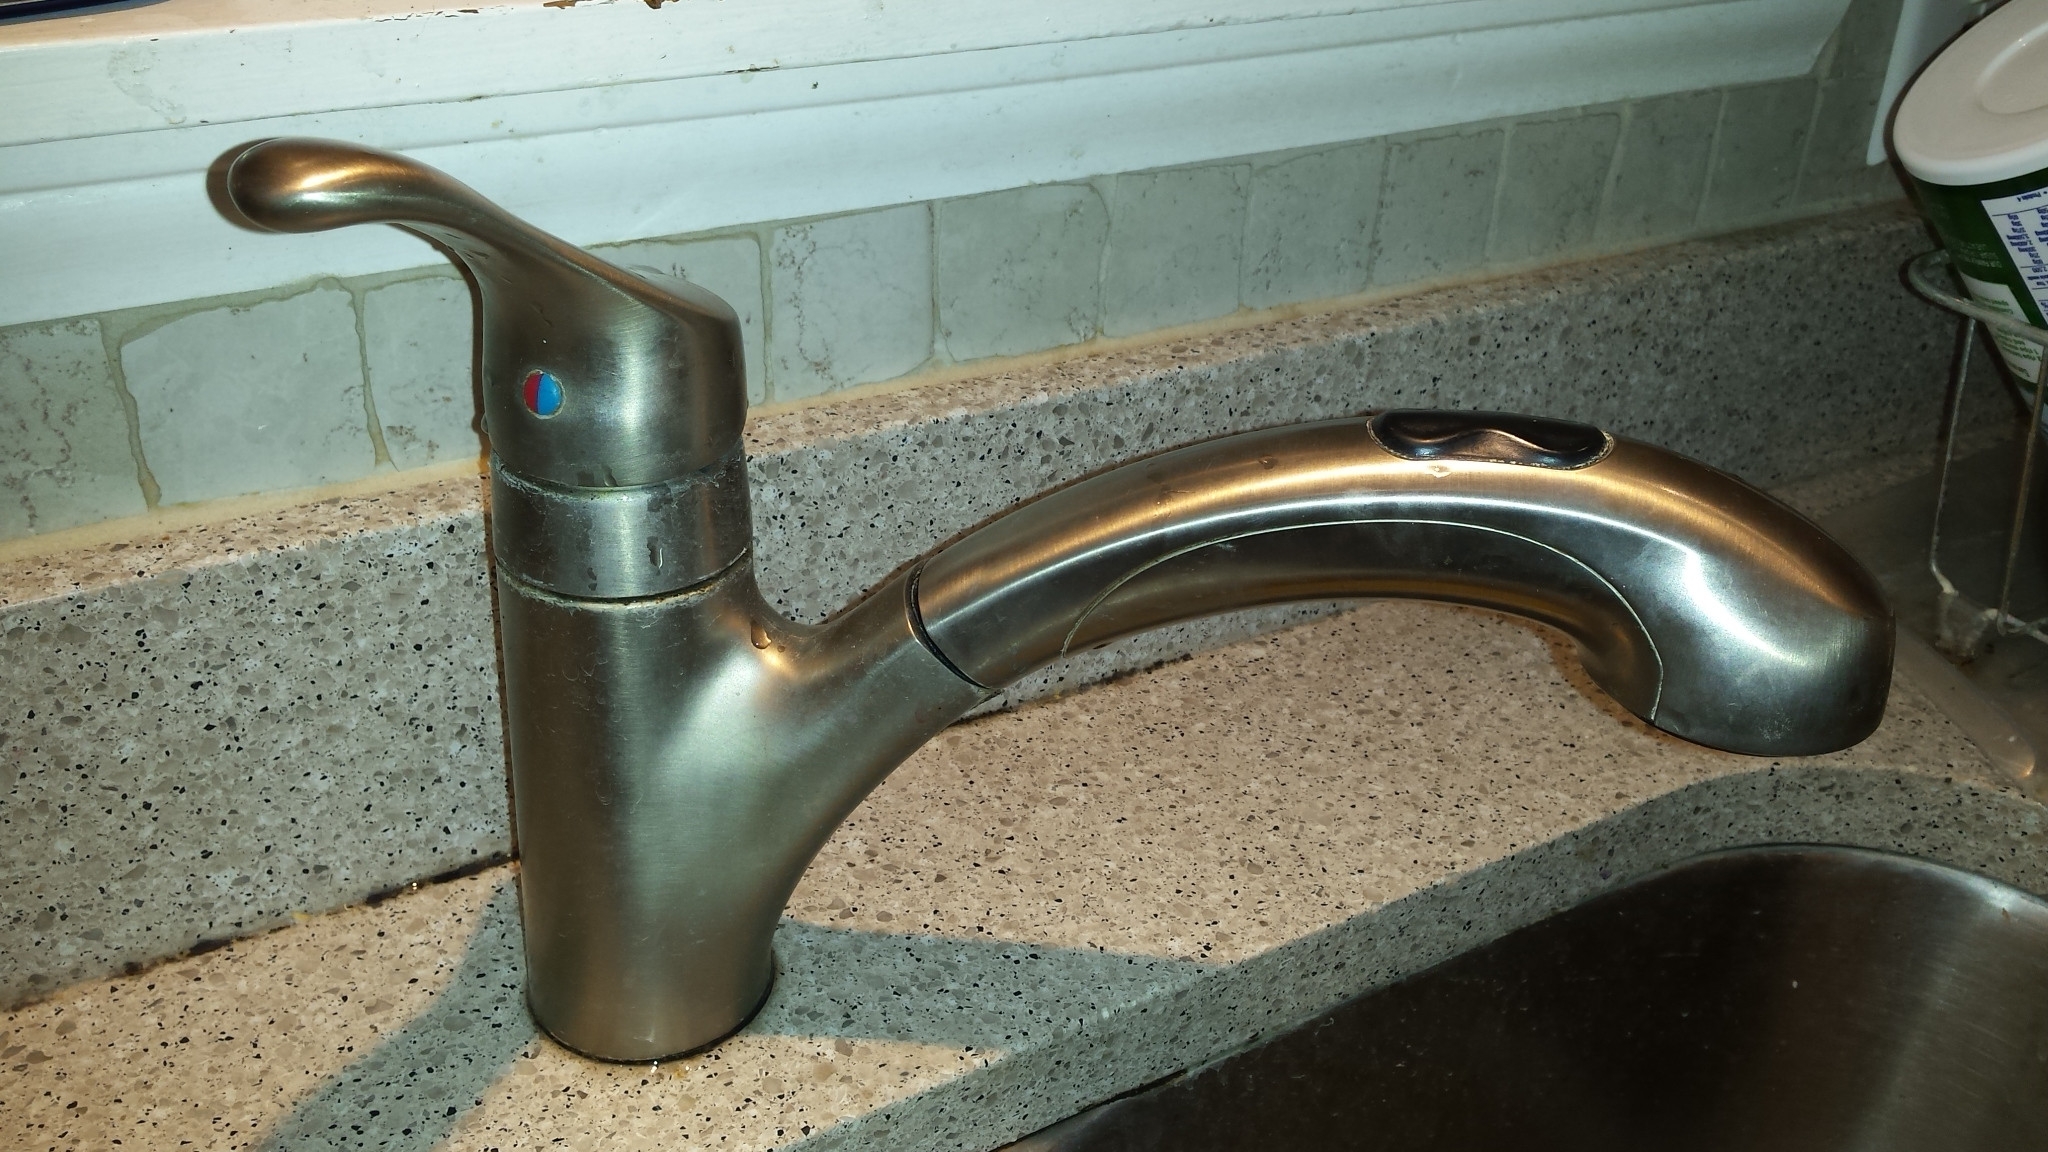 Before you start working on the faucet, make sure to turn off the water supply. This will prevent any water from leaking and making a mess. You can usually find the water shut-off valve under the sink. If you cannot locate it, turn off the main water supply to your home.
Step 4: Disassemble the Faucet
 Using the appropriate tools, carefully disassemble the faucet. Take note of the order in which the parts are removed, as this will help you when reassembling the faucet. Clean all the parts thoroughly with a mild cleaner to remove any buildup or debris.
Step 5: Replace or Repair Damaged Parts
 If you have identified any damaged parts, it is recommended to replace them with new ones. This will ensure the proper functioning of your faucet. If the issue is a leak, use plumber's tape to seal any cracks or gaps. For low water pressure, soak the aerator in vinegar to remove any mineral buildup.
Step 6: Reassemble and Test
 Once all the necessary repairs or replacements have been made, reassemble the faucet in the reverse order of disassembly. Turn the water supply back on and test the faucet for any leaks or issues. If everything is in working order, congratulations, you have successfully fixed your kitchen sink faucet!
In conclusion, proper maintenance for a kitchen sink faucet is crucial to ensure its efficient functioning and longevity. By following these steps and regularly performing maintenance tasks, you can avoid costly repairs and keep your faucet looking and working like new. Remember to also check for any manufacturer's instructions or warranty before making any repairs. A well-maintained faucet not only adds value to your home but also makes your daily chores a breeze.


