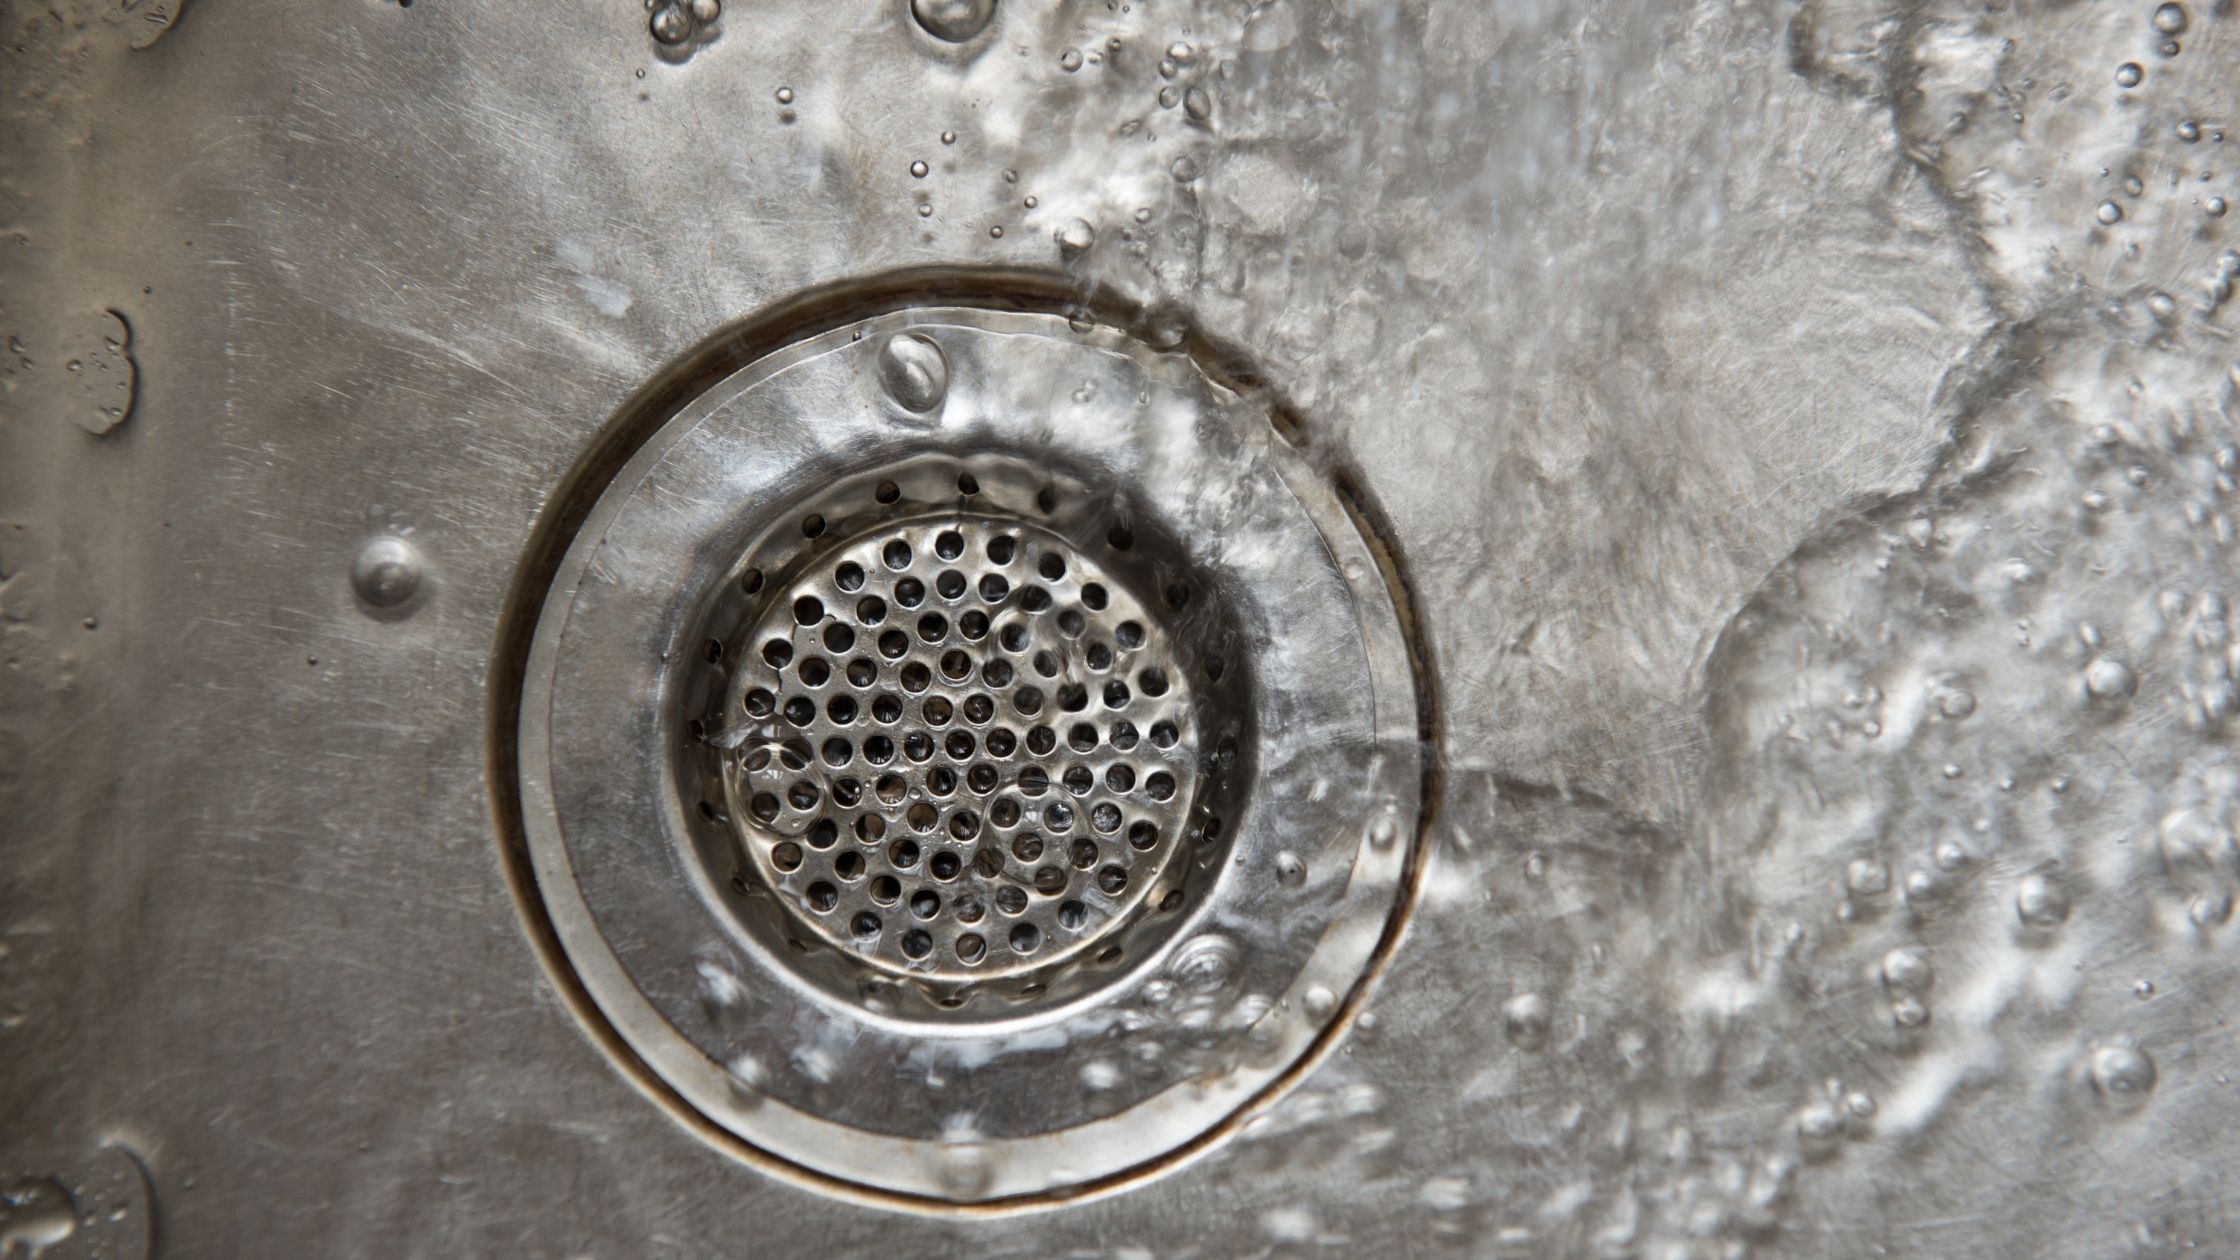
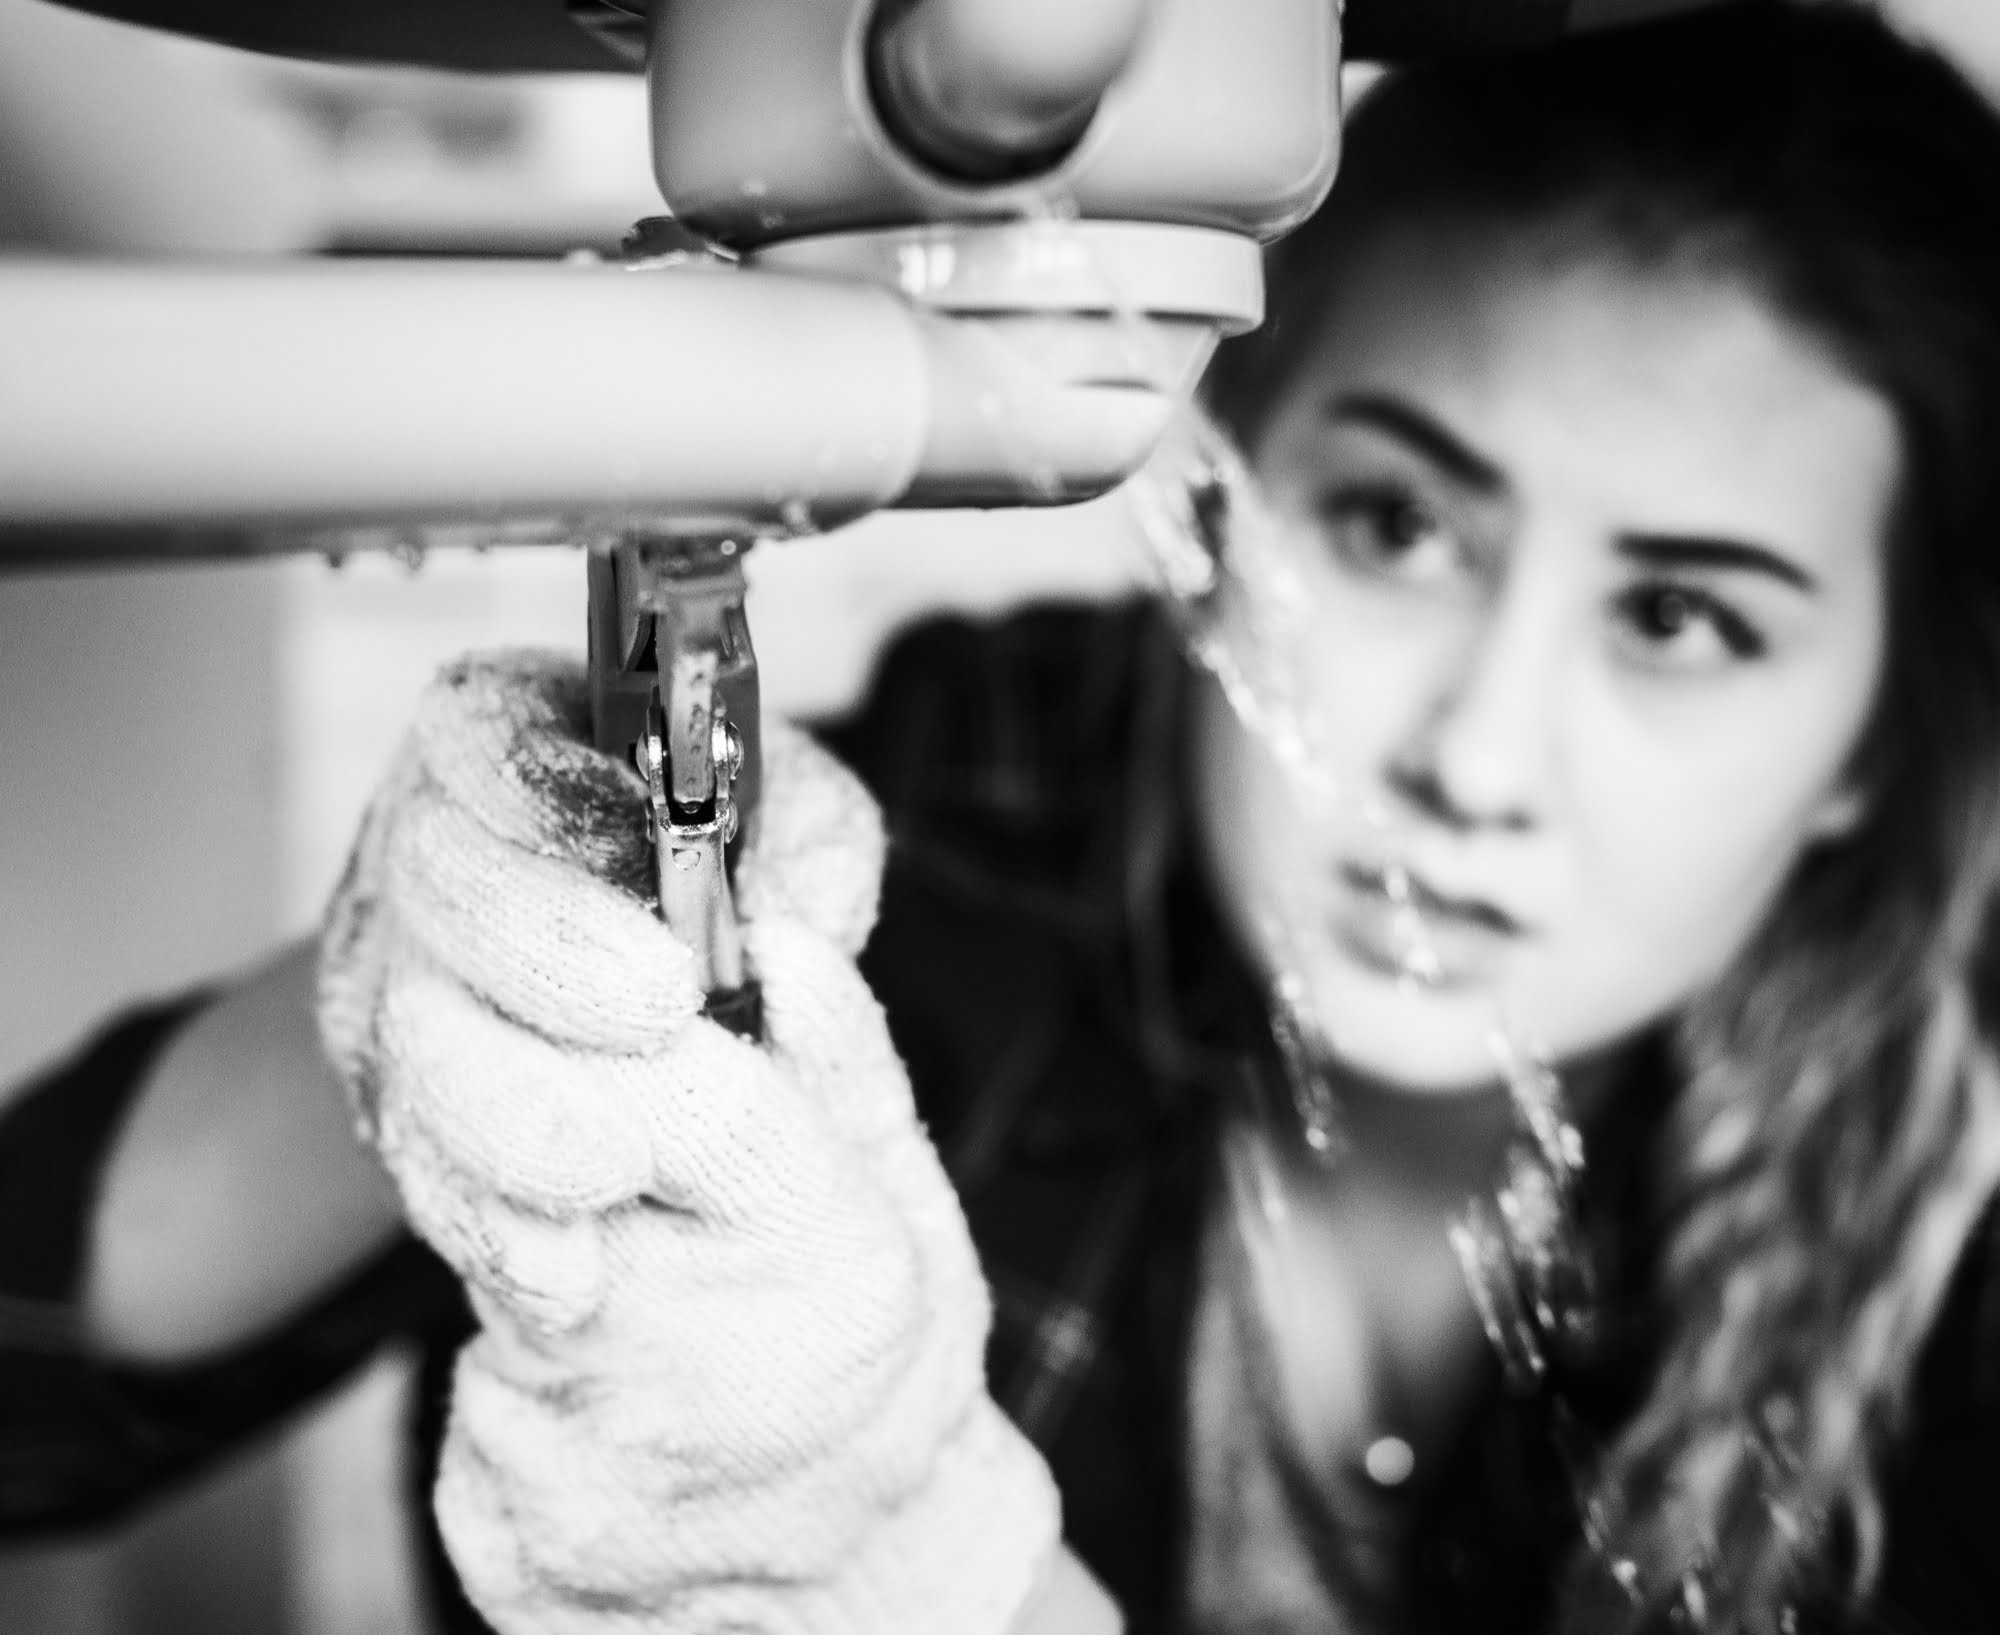
If you've noticed a constant drip coming from your kitchen faucet, it's important to address the issue as soon as possible. Not only is the sound annoying, but a dripping faucet can also waste a significant amount of water and lead to an increase in your water bill. The good news is that fixing a dripping kitchen faucet is a relatively simple DIY project that can save you time and money in the long run.1. How to Fix a Dripping Kitchen Faucet
The first step in fixing a dripping kitchen faucet is to determine the source of the leak. In most cases, the problem can be traced back to a worn out or faulty washer or O-ring. These parts can become worn over time due to regular use and may need to be replaced to stop the dripping. You can purchase replacement parts at your local hardware store or online.2. DIY: Fixing a Leaky Kitchen Faucet
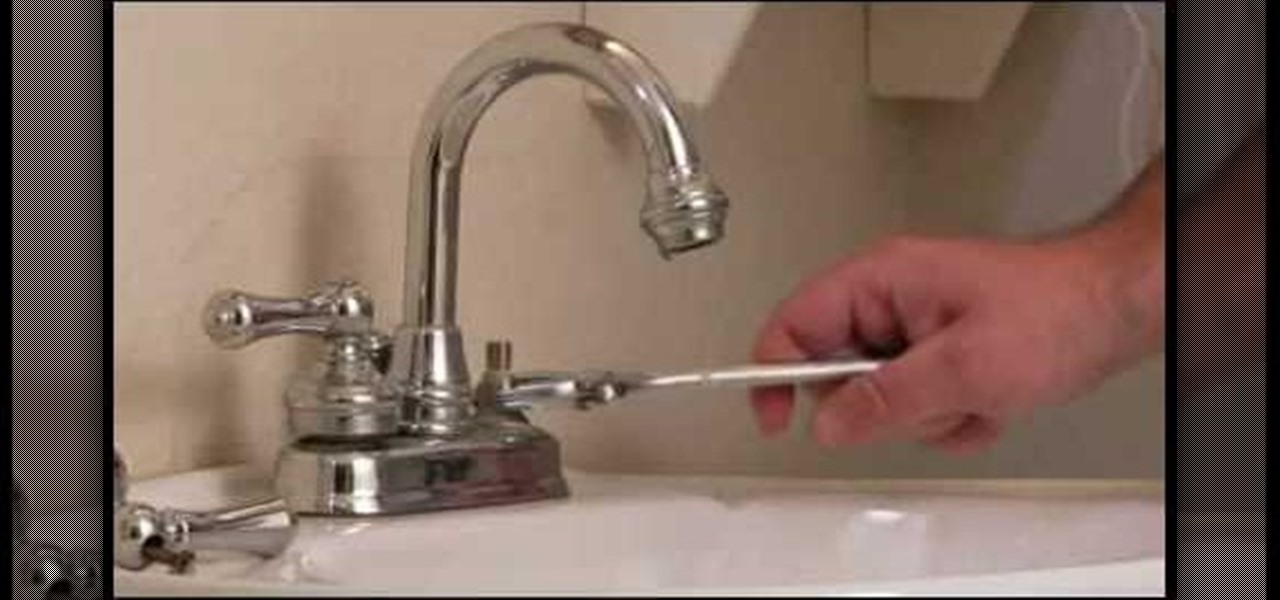
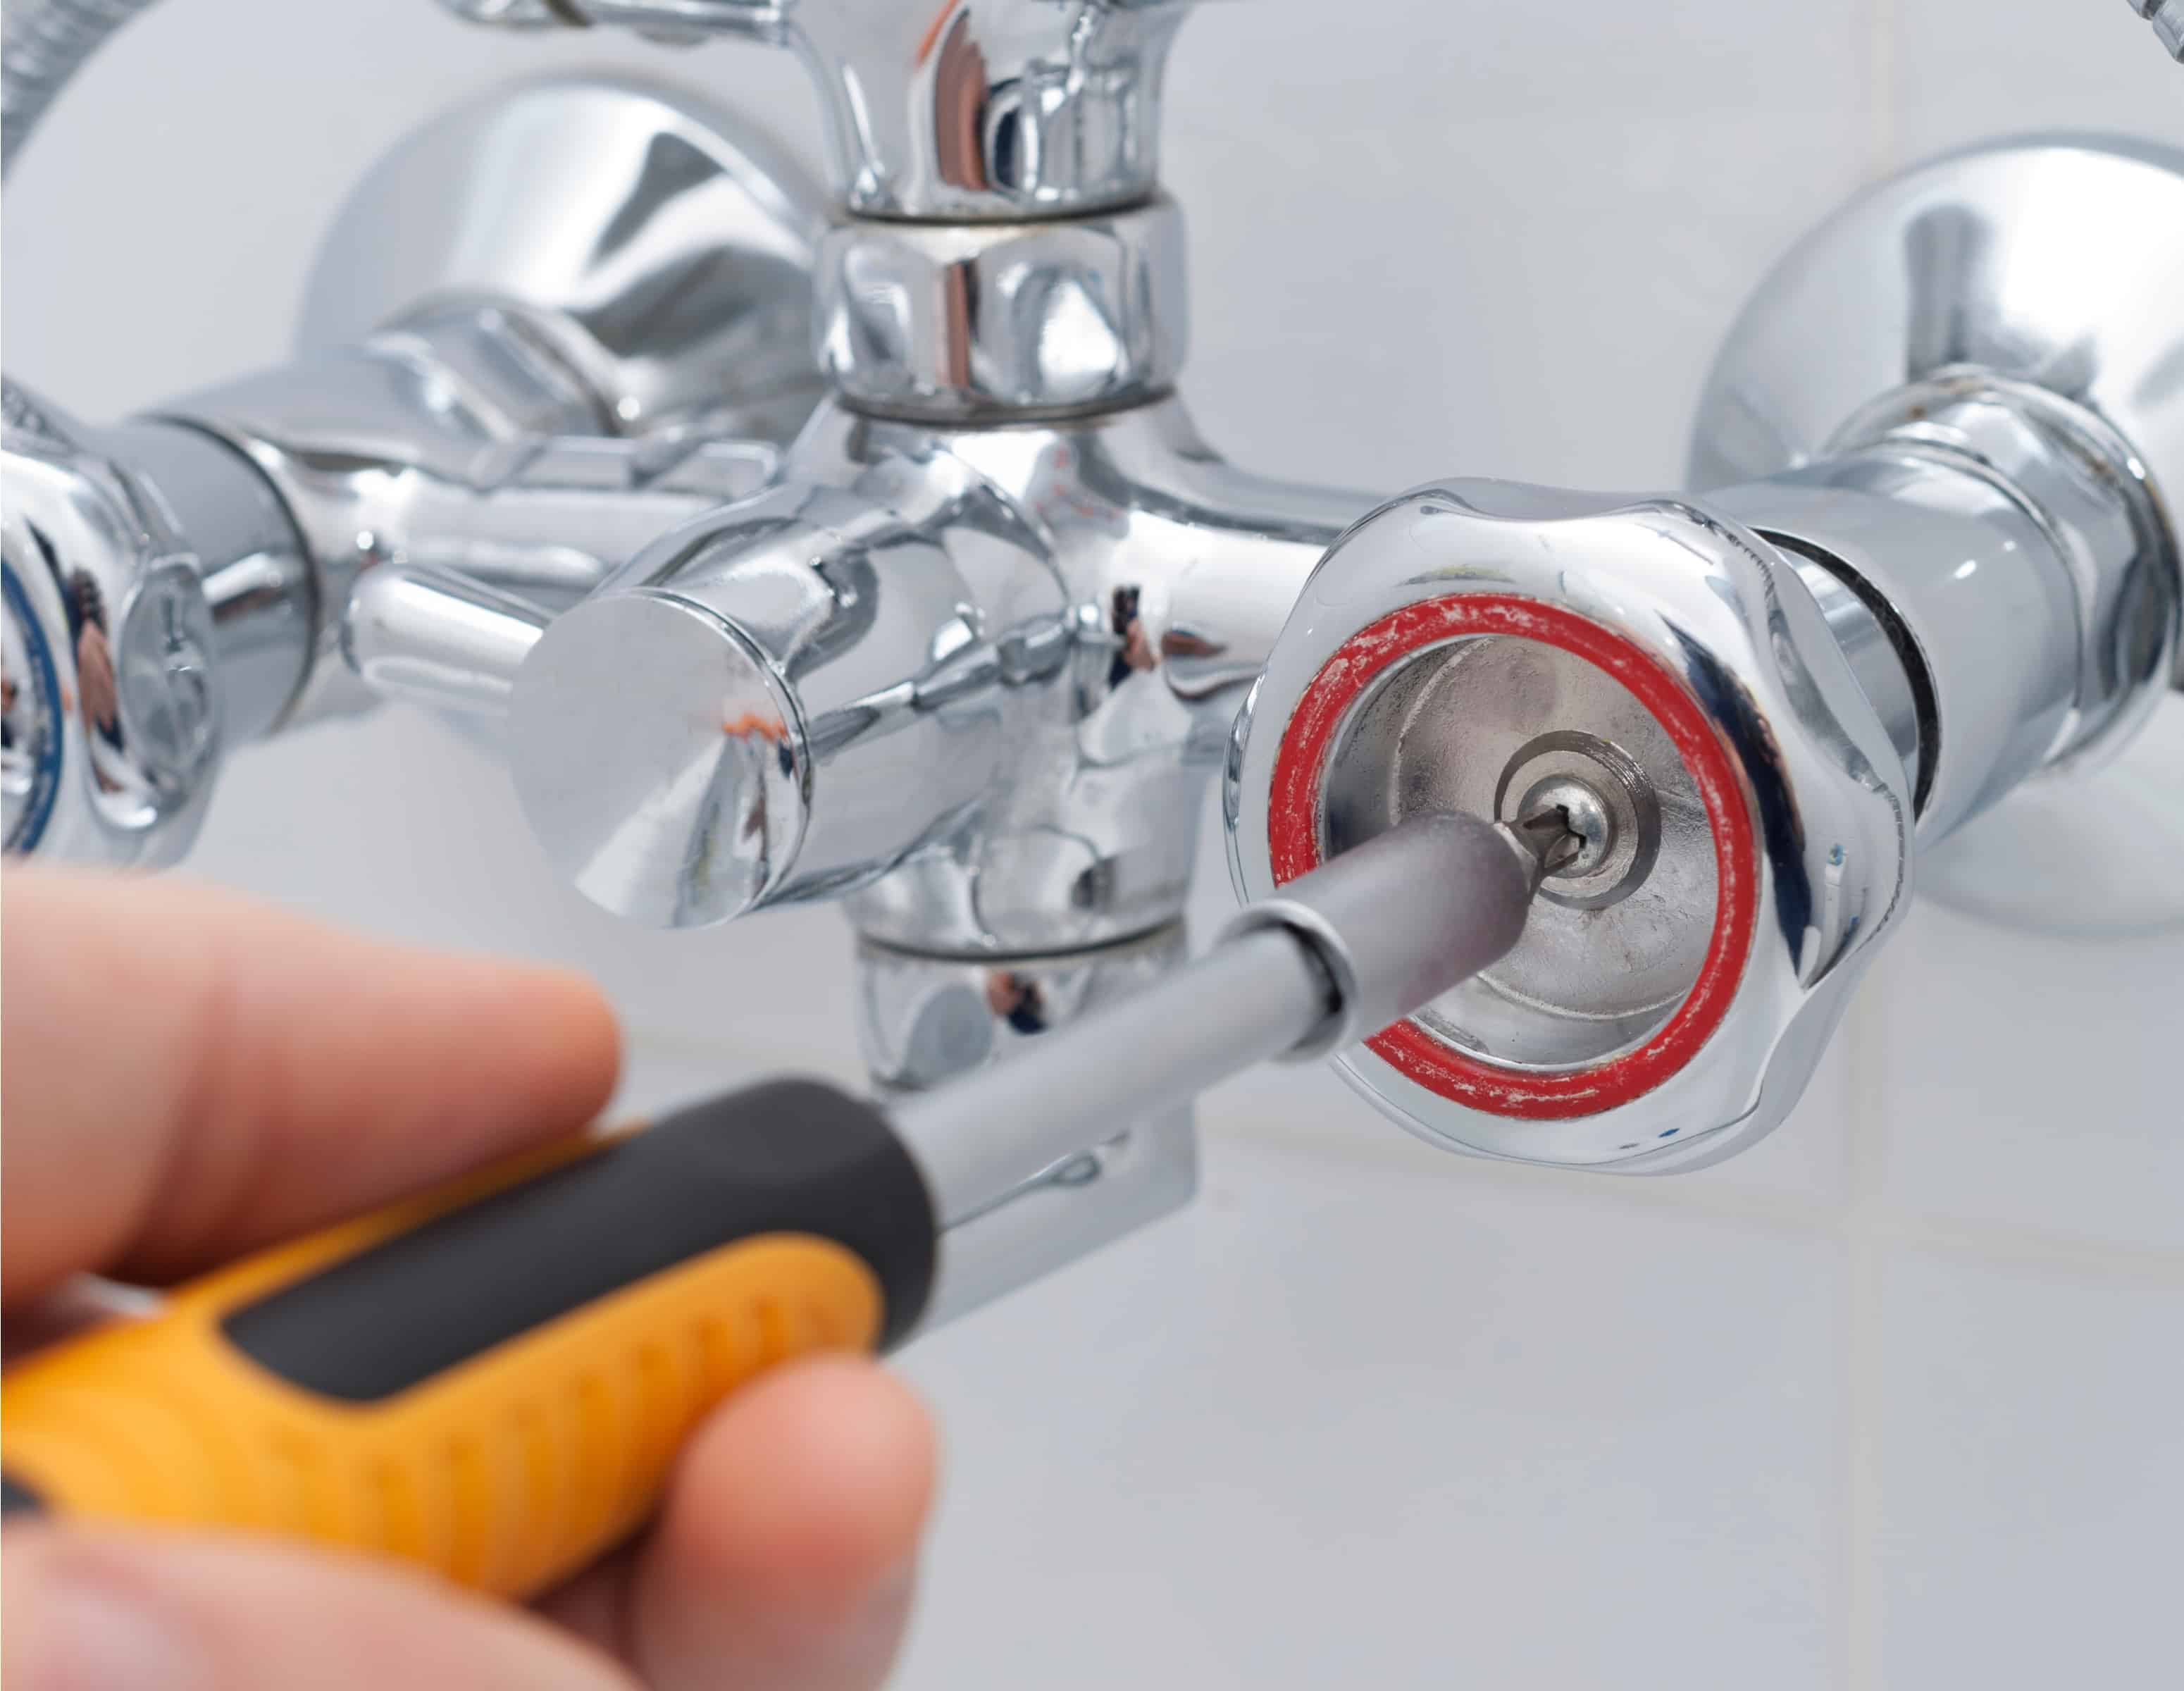
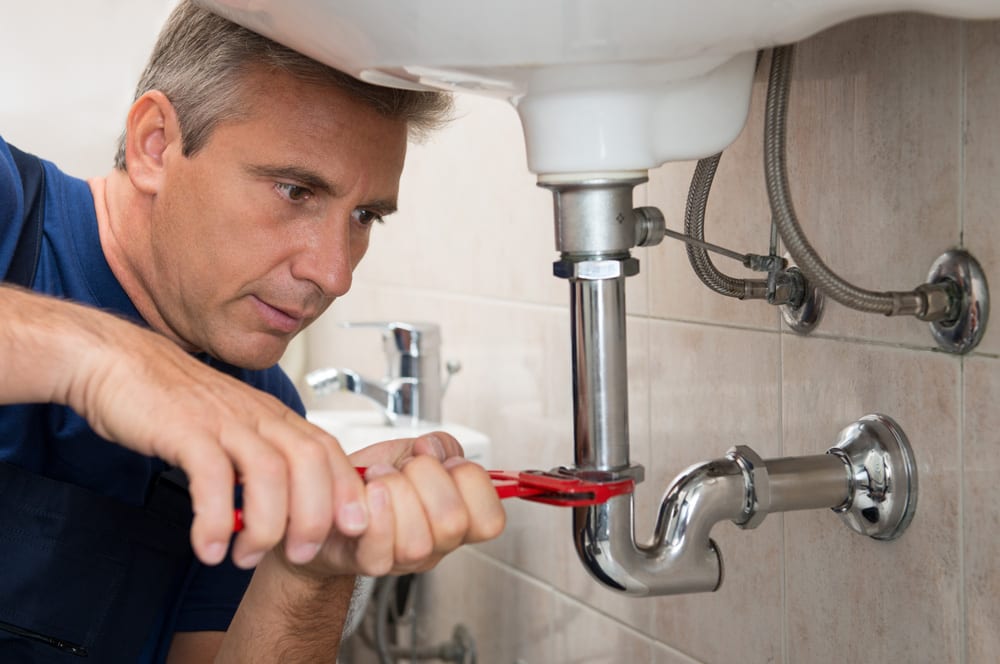
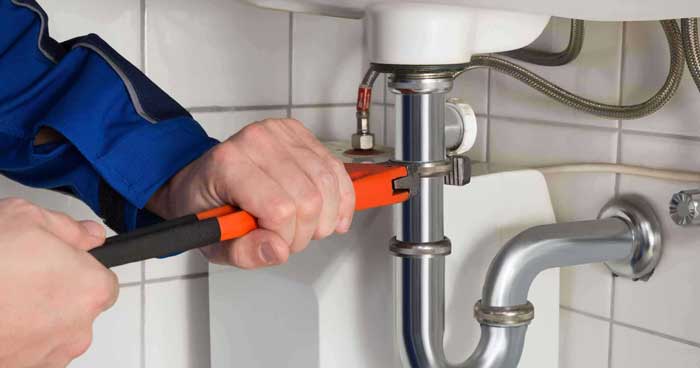
Before you begin the repair, it's important to gather all the necessary tools and materials. You'll need an adjustable wrench, pliers, a screwdriver, and the replacement parts for your specific faucet model. Once you have everything you need, follow these steps to fix the drip: Step 1: Turn off the water supply to your kitchen sink. This can usually be done by turning off the shut-off valves located under the sink. Step 2: Close the sink drain to prevent any small parts from falling into it. Step 3: Use the adjustable wrench to loosen and remove the handle of the faucet. Step 4: Use the pliers to remove the retaining nut and pull out the valve stem. Step 5: Check the washer and O-ring for signs of wear or damage. If necessary, replace them with the new parts. Step 6: Reassemble the faucet by following the steps in reverse order. Step 7: Turn the water supply back on and test the faucet to ensure the drip has stopped.3. Step-by-Step Guide to Fixing a Drip in Your Kitchen Sink
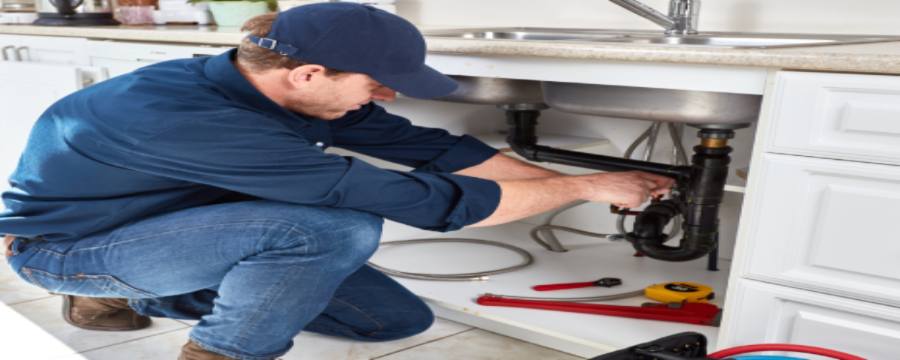
If you've followed the above steps and your faucet is still dripping, there may be another issue at play. Some other common causes of a dripping kitchen sink include a loose or damaged cartridge, a corroded valve seat, or a worn out inlet or outlet seal. If you're unsure of how to address these issues, it's best to consult a professional plumber for assistance.4. Troubleshooting a Dripping Kitchen Sink
If you're in a hurry and need a quick fix for your dripping kitchen sink, there is a temporary solution that may provide some relief. You can use a small piece of electrical tape or plumber's tape to wrap around the valve stem and create a tighter seal. While this may stop the dripping temporarily, it's important to still address the underlying issue for a long-term solution.5. Quick and Easy Fix for a Dripping Kitchen Sink
In addition to worn out washers and O-rings, there are a few other common causes of a dripping kitchen sink that may require further repairs. These include a cracked or damaged valve body, a faulty diverter valve, or a malfunctioning water pressure regulator. If you suspect any of these issues may be the cause of your drip, it's best to contact a professional plumber for assistance.6. Common Causes of a Dripping Kitchen Sink and How to Fix Them
As mentioned before, it's important to gather all the necessary tools and materials before attempting to fix a dripping kitchen sink. Here is a list of items you'll need to successfully complete the repair: - Adjustable wrench - Pliers - Screwdriver - Replacement parts (washer, O-ring, etc.) - Plumber's tape or electrical tape (for temporary fix)7. Fixing a Drip in Your Kitchen Sink: Tools and Materials You'll Need
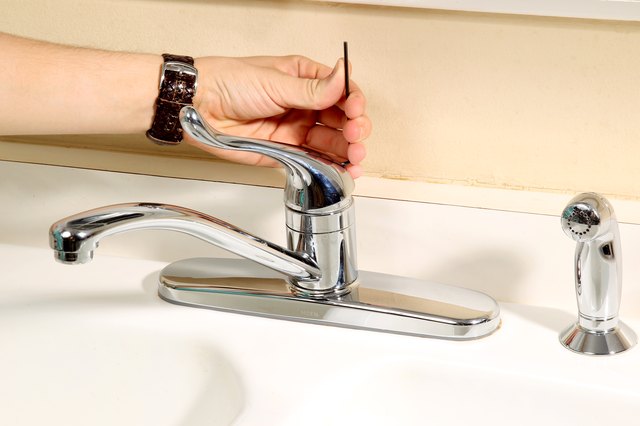
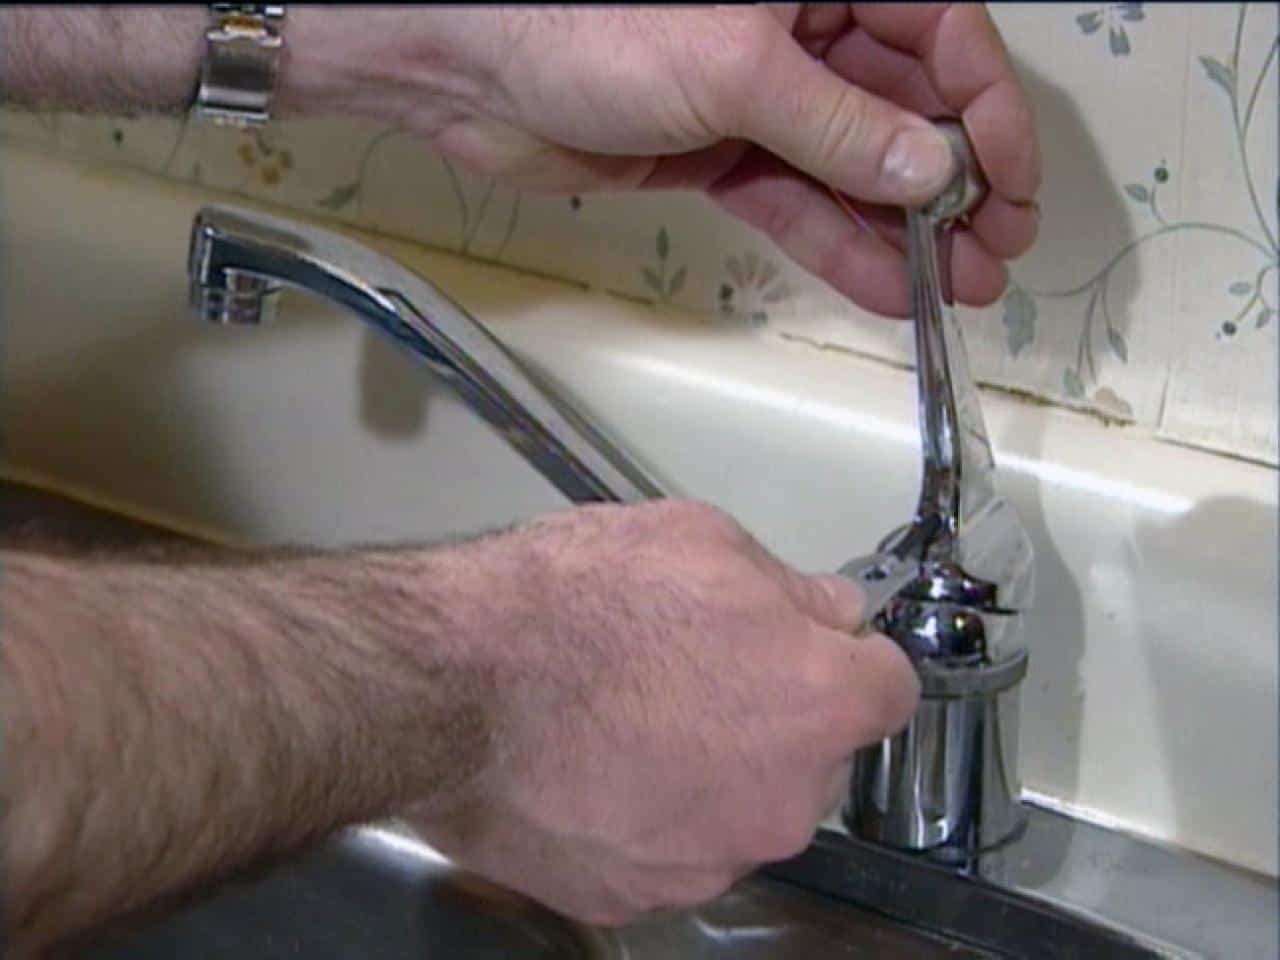
If you have a single handle faucet in your kitchen sink, the steps to fix a drip are slightly different. Here's how to address the issue: Step 1: Turn off the water supply to your kitchen sink. Step 2: Remove the handle of the faucet by unscrewing the set screw located on the side or back of the handle. Step 3: Use pliers to remove the retaining clip and pull out the ball valve. Step 4: Check the O-rings and inlet seals for any signs of wear or damage. If necessary, replace them with new parts. Step 5: Reassemble the faucet and turn the water supply back on to test for any more dripping.8. How to Fix a Drip in a Kitchen Sink with a Single Handle Faucet
For those with a double handle faucet, the steps to fix a drip are similar to those for a single handle faucet. Here's what you'll need to do: Step 1: Turn off the water supply to your kitchen sink. Step 2: Remove the handles by unscrewing the set screws located on the top or back of each handle. Step 3: Use pliers to remove the retaining nut and pull out the valve stems. Step 4: Check the washers and O-rings for any signs of wear or damage. If necessary, replace them with new parts. Step 5: Reassemble the faucet and turn the water supply back on to test for any more dripping.9. Step-by-Step Guide to Fixing a Drip in a Kitchen Sink with a Double Handle Faucet
Once you've successfully fixed a dripping kitchen sink faucet, you'll want to make sure it doesn't happen again in the future. Here are a few tips to help prevent drips from occurring: - Regularly clean and maintain your faucet to prevent buildup and wear. - Don't use excessive force when turning off the faucet, as this can cause damage to the internal parts. - If you notice any signs of a leak or drip, address it immediately before it becomes a larger issue. - Consider investing in a high-quality, durable faucet to prevent frequent repairs. With these tips and techniques, you should be able to successfully fix a drip in your kitchen sink faucet. Remember to always take your time and be careful when working with plumbing fixtures, and don't hesitate to seek professional help if needed. By addressing a dripping faucet promptly, you can save yourself time, money, and frustration in the long run.10. Tips for Preventing Drips in Your Kitchen Sink Faucet
Why Fixing a Drip in Your Kitchen Sink is Essential for a Well-Designed Home

Water Wastage and Increased Utility Bills
 When it comes to designing a house, every detail matters. This includes the functionality and efficiency of your plumbing system. A leaky faucet may seem like a minor issue, but it can lead to significant water wastage. A
drip in your kitchen sink
can waste up to 3,000 gallons of water per year, which not only harms the environment but also results in higher utility bills. By taking the time to
fix a drip in your kitchen sink
, you are not only saving water but also saving money in the long run.
Preventing Costly Water Damage
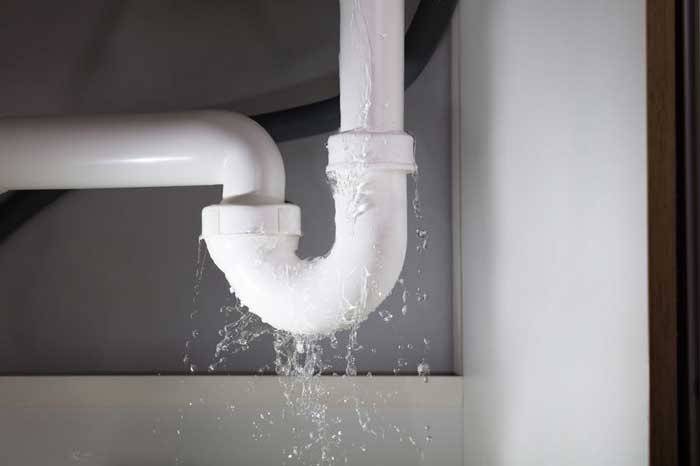
 Aside from the financial impact, a leaky faucet can also cause damage to your home. The constant dripping of water can lead to mold and mildew growth, which can cause structural damage and health hazards. The moisture from the leak can also damage your cabinets and countertops, leading to costly repairs or replacements. By
fixing a drip in your kitchen sink
, you are not only preventing water wastage, but also protecting your home from potential water damage.
Aesthetic and Functionality of Your Kitchen
 A well-designed kitchen is not just about the aesthetics, but also about functionality. A
drip in your kitchen sink
can be more than just an annoyance; it can also disrupt the flow and functionality of your kitchen. The constant sound of dripping water can be distracting and affect your cooking experience. By
fixing a drip in your kitchen sink
, you can create a more peaceful and functional kitchen space.
Easy and Cost-Effective Fix
 Fortunately,
fixing a drip in your kitchen sink
is a relatively simple and cost-effective task. In most cases, the cause of the leak can be traced back to a worn-out washer or O-ring, which can easily be replaced. If the issue is more complex, it is best to call a professional plumber to ensure the problem is resolved correctly. But in either case, the cost of fixing a drip is minimal compared to the potential costs of water damage and wastage.
In conclusion, a
drip in your kitchen sink
may seem like a small issue, but it can have significant consequences for both your wallet and your home. By taking the time to
fix the drip
, you are not only creating a more efficient and functional kitchen, but also contributing to a sustainable and well-designed home. So, don't wait any longer and take care of that leaky faucet today!

