How to Install a Kitchen Sink Mixer Tap
Installing a new kitchen sink mixer tap is a simple and cost-effective way to upgrade your kitchen. With the right tools and a little bit of know-how, you can easily install a new tap yourself. Here's a step-by-step guide on how to install a kitchen sink mixer tap:
Step 1: Gather Your Tools and Materials
Before you begin, make sure you have all the necessary tools and materials. You'll need a basin wrench, adjustable wrench, plumber's tape, and a new mixer tap. It's also a good idea to have a bucket or towels on hand to catch any water that may spill during the installation process.
Step 2: Shut Off the Water Supply
Before you can start installing the new tap, you'll need to shut off the water supply. You can usually do this by turning off the valve under the sink or at the main water shut-off valve. Once the water is off, turn on the tap to release any remaining water in the pipes.
Step 3: Remove the Old Tap
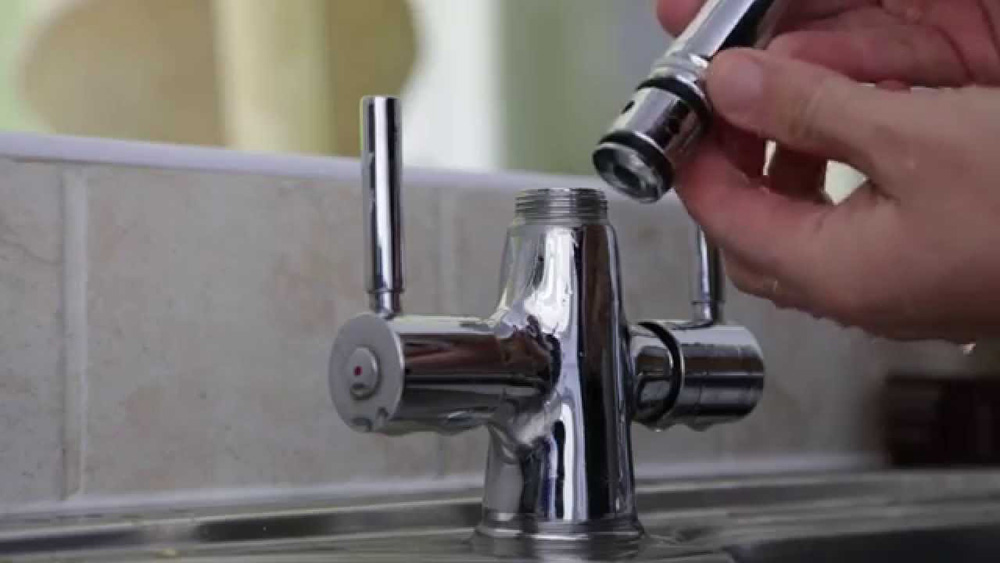
Using the basin wrench, loosen and remove the nuts that hold the old tap in place. Once the tap is loose, carefully lift it out of the sink. You may need to use a bit of force to remove any old caulk or putty that was used to seal the tap to the sink.
Step 4: Prepare the Sink and New Tap
Before installing the new tap, clean the area where the old tap was removed. Apply plumber's tape to the threads of the new tap to create a watertight seal. Make sure the tap is in the "off" position and the hot and cold water lines are properly labeled.
Step 5: Install the New Tap
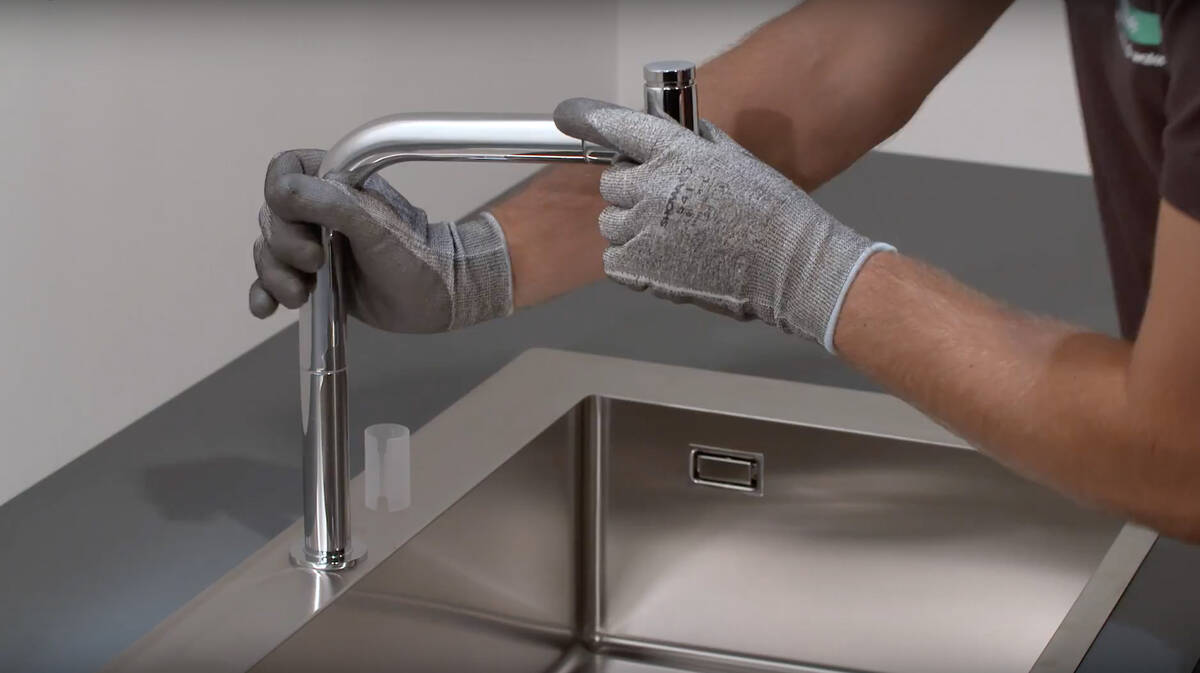
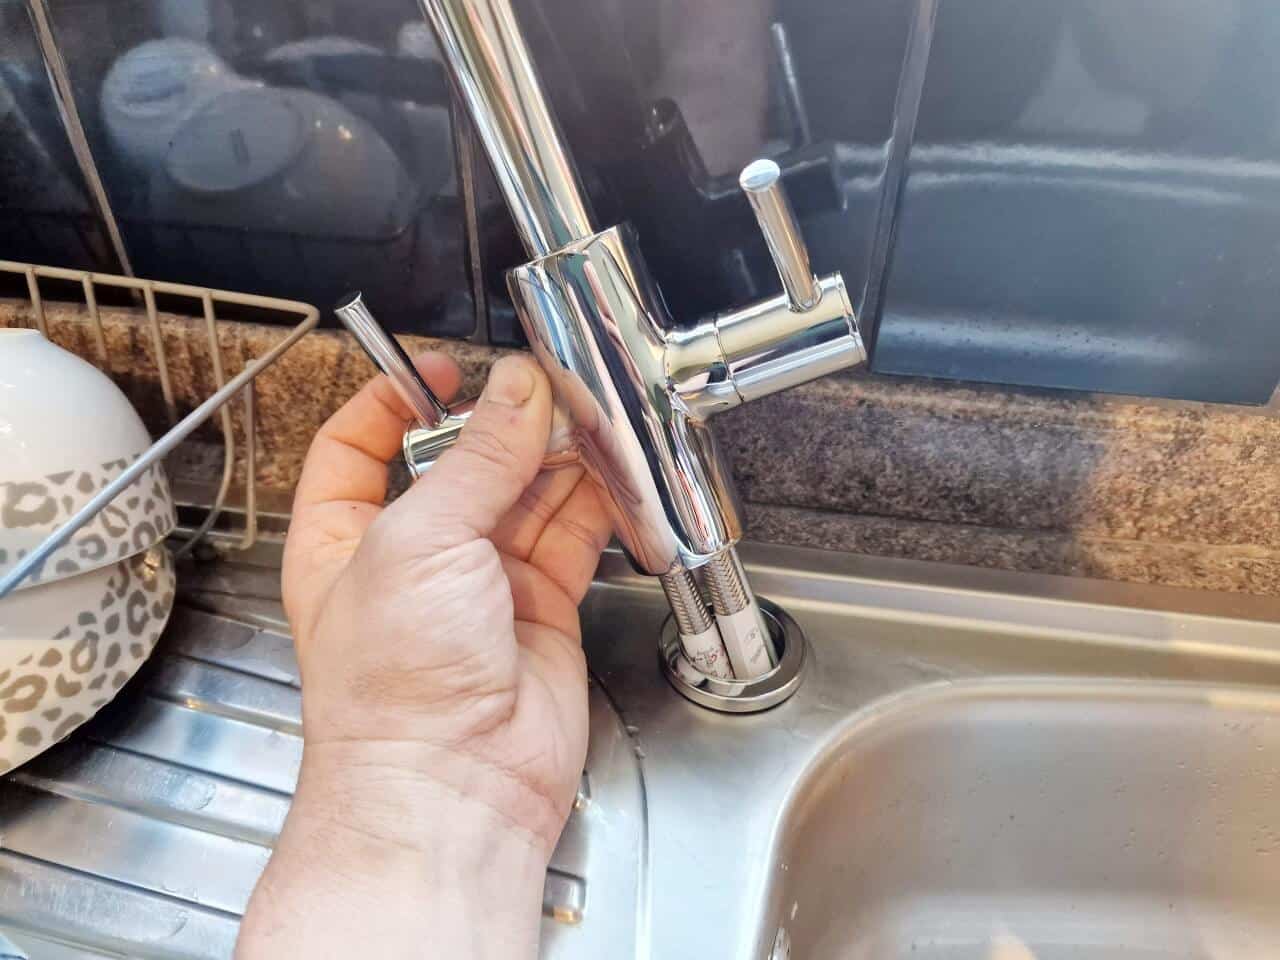
Place the new tap in the hole on the sink and secure it in place by tightening the mounting nuts with the basin wrench. Make sure the tap is straight and level before fully tightening the nuts. Then, connect the hot and cold water supply lines to the corresponding valves under the sink.
Step 6: Turn the Water Supply Back On
Once the tap is securely in place, turn the water supply back on and check for any leaks. If there are any leaks, tighten the connections with an adjustable wrench as needed.
Step 7: Enjoy Your New Kitchen Sink Mixer Tap
Congratulations, you have successfully installed your new kitchen sink mixer tap! Turn on the tap and test the hot and cold water to make sure everything is working properly. Now you can enjoy the convenience and style of your new tap.
How to Replace a Kitchen Sink Mixer Tap
Over time, your kitchen sink mixer tap may start to show signs of wear and tear, such as leaks or difficulty turning the handles. In these cases, it may be necessary to replace the tap. Here's how to replace a kitchen sink mixer tap:
Step 1: Gather Your Tools and Materials
Before you begin, make sure you have all the necessary tools and materials. You'll need a basin wrench, adjustable wrench, plumber's tape, and a new mixer tap. It's also a good idea to have a bucket or towels on hand to catch any water that may spill during the replacement process.
Step 2: Shut Off the Water Supply
Before you can start replacing the tap, you'll need to shut off the water supply. You can usually do this by turning off the valve under the sink or at the main water shut-off valve. Once the water is off, turn on the tap to release any remaining water in the pipes.
Step 3: Remove the Old Tap
Using the basin wrench, loosen and remove the nuts that hold the old tap in place. Once the tap is loose, carefully lift it out of the sink. You may need to use a bit of force to remove any old caulk or putty that was used to seal the tap to the sink.
Step 4: Prepare the Sink and New Tap
Before installing the new tap, clean the area where the old tap was removed. Apply plumber's tape to the threads of the new tap to create a watertight seal. Make sure the tap is in the "off" position and the hot and cold water lines are properly labeled.
Step 5: Install the New Tap
Place the new tap in the hole on the sink and secure it in place by tightening the mounting nuts with the basin wrench. Make sure the tap is straight and level before fully tightening the nuts. Then, connect the hot and cold water supply lines to the corresponding valves under the sink.
Step 6: Turn the Water Supply Back On
Once the tap is securely in place, turn the water supply back on and check for any leaks. If there are any leaks, tighten the connections with an adjustable wrench as needed.
Step 7: Enjoy Your New Kitchen Sink Mixer Tap
Congratulations, you have successfully replaced your old kitchen sink mixer tap! Turn on the tap and test the hot and cold water to make sure everything is working properly. Now you can enjoy the convenience and style of your new tap.
Best Kitchen Sink Mixer Taps
When it comes to choosing the best kitchen sink mixer tap, there are a few key factors to consider:
Design and Style
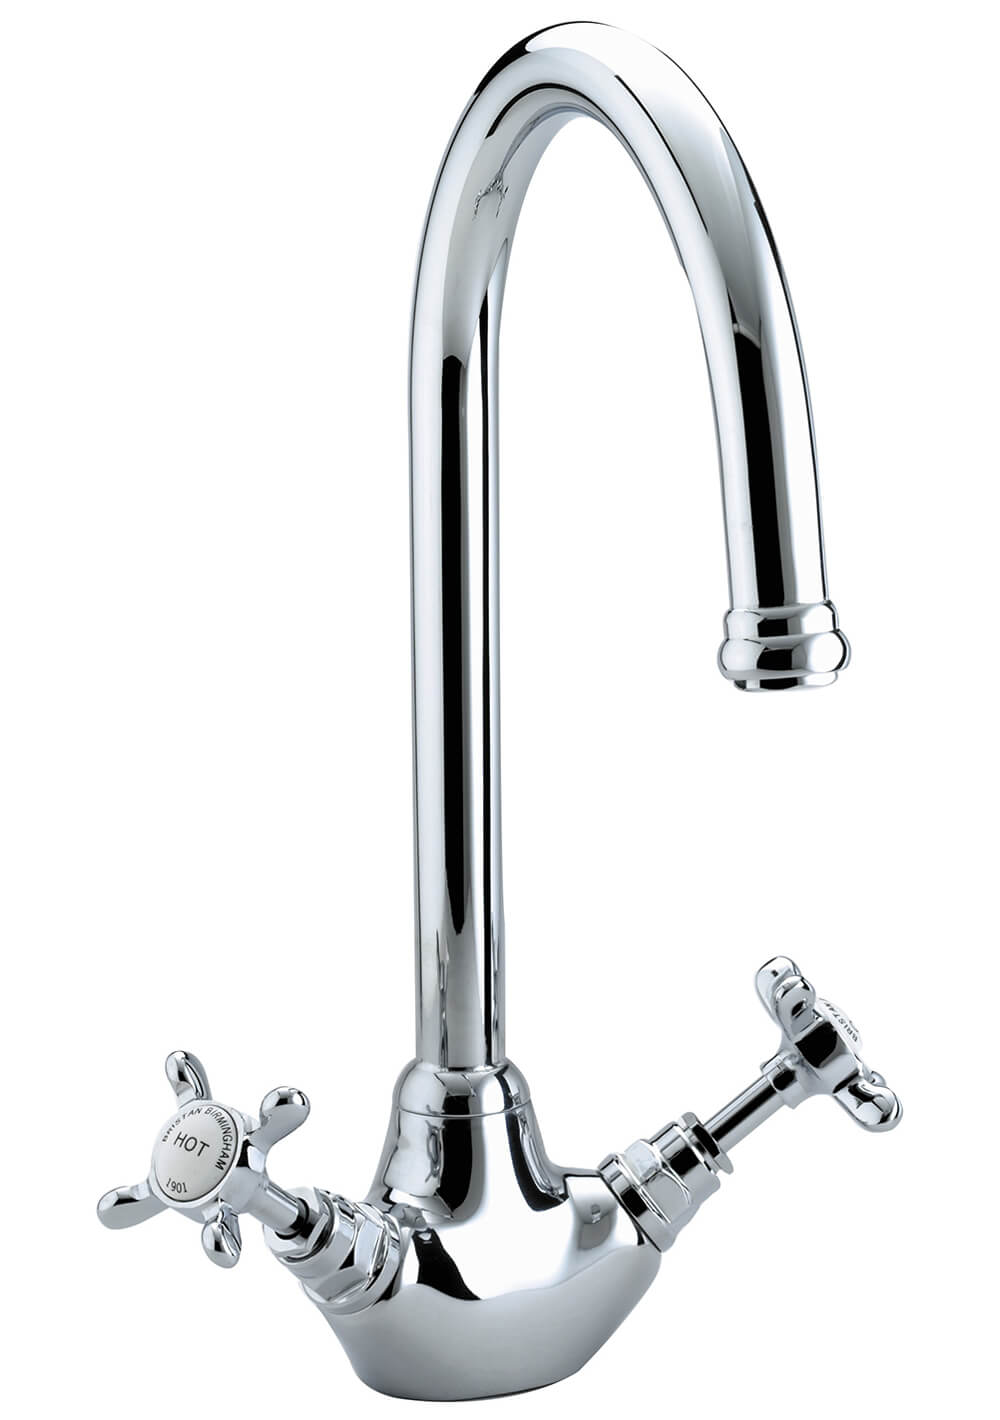
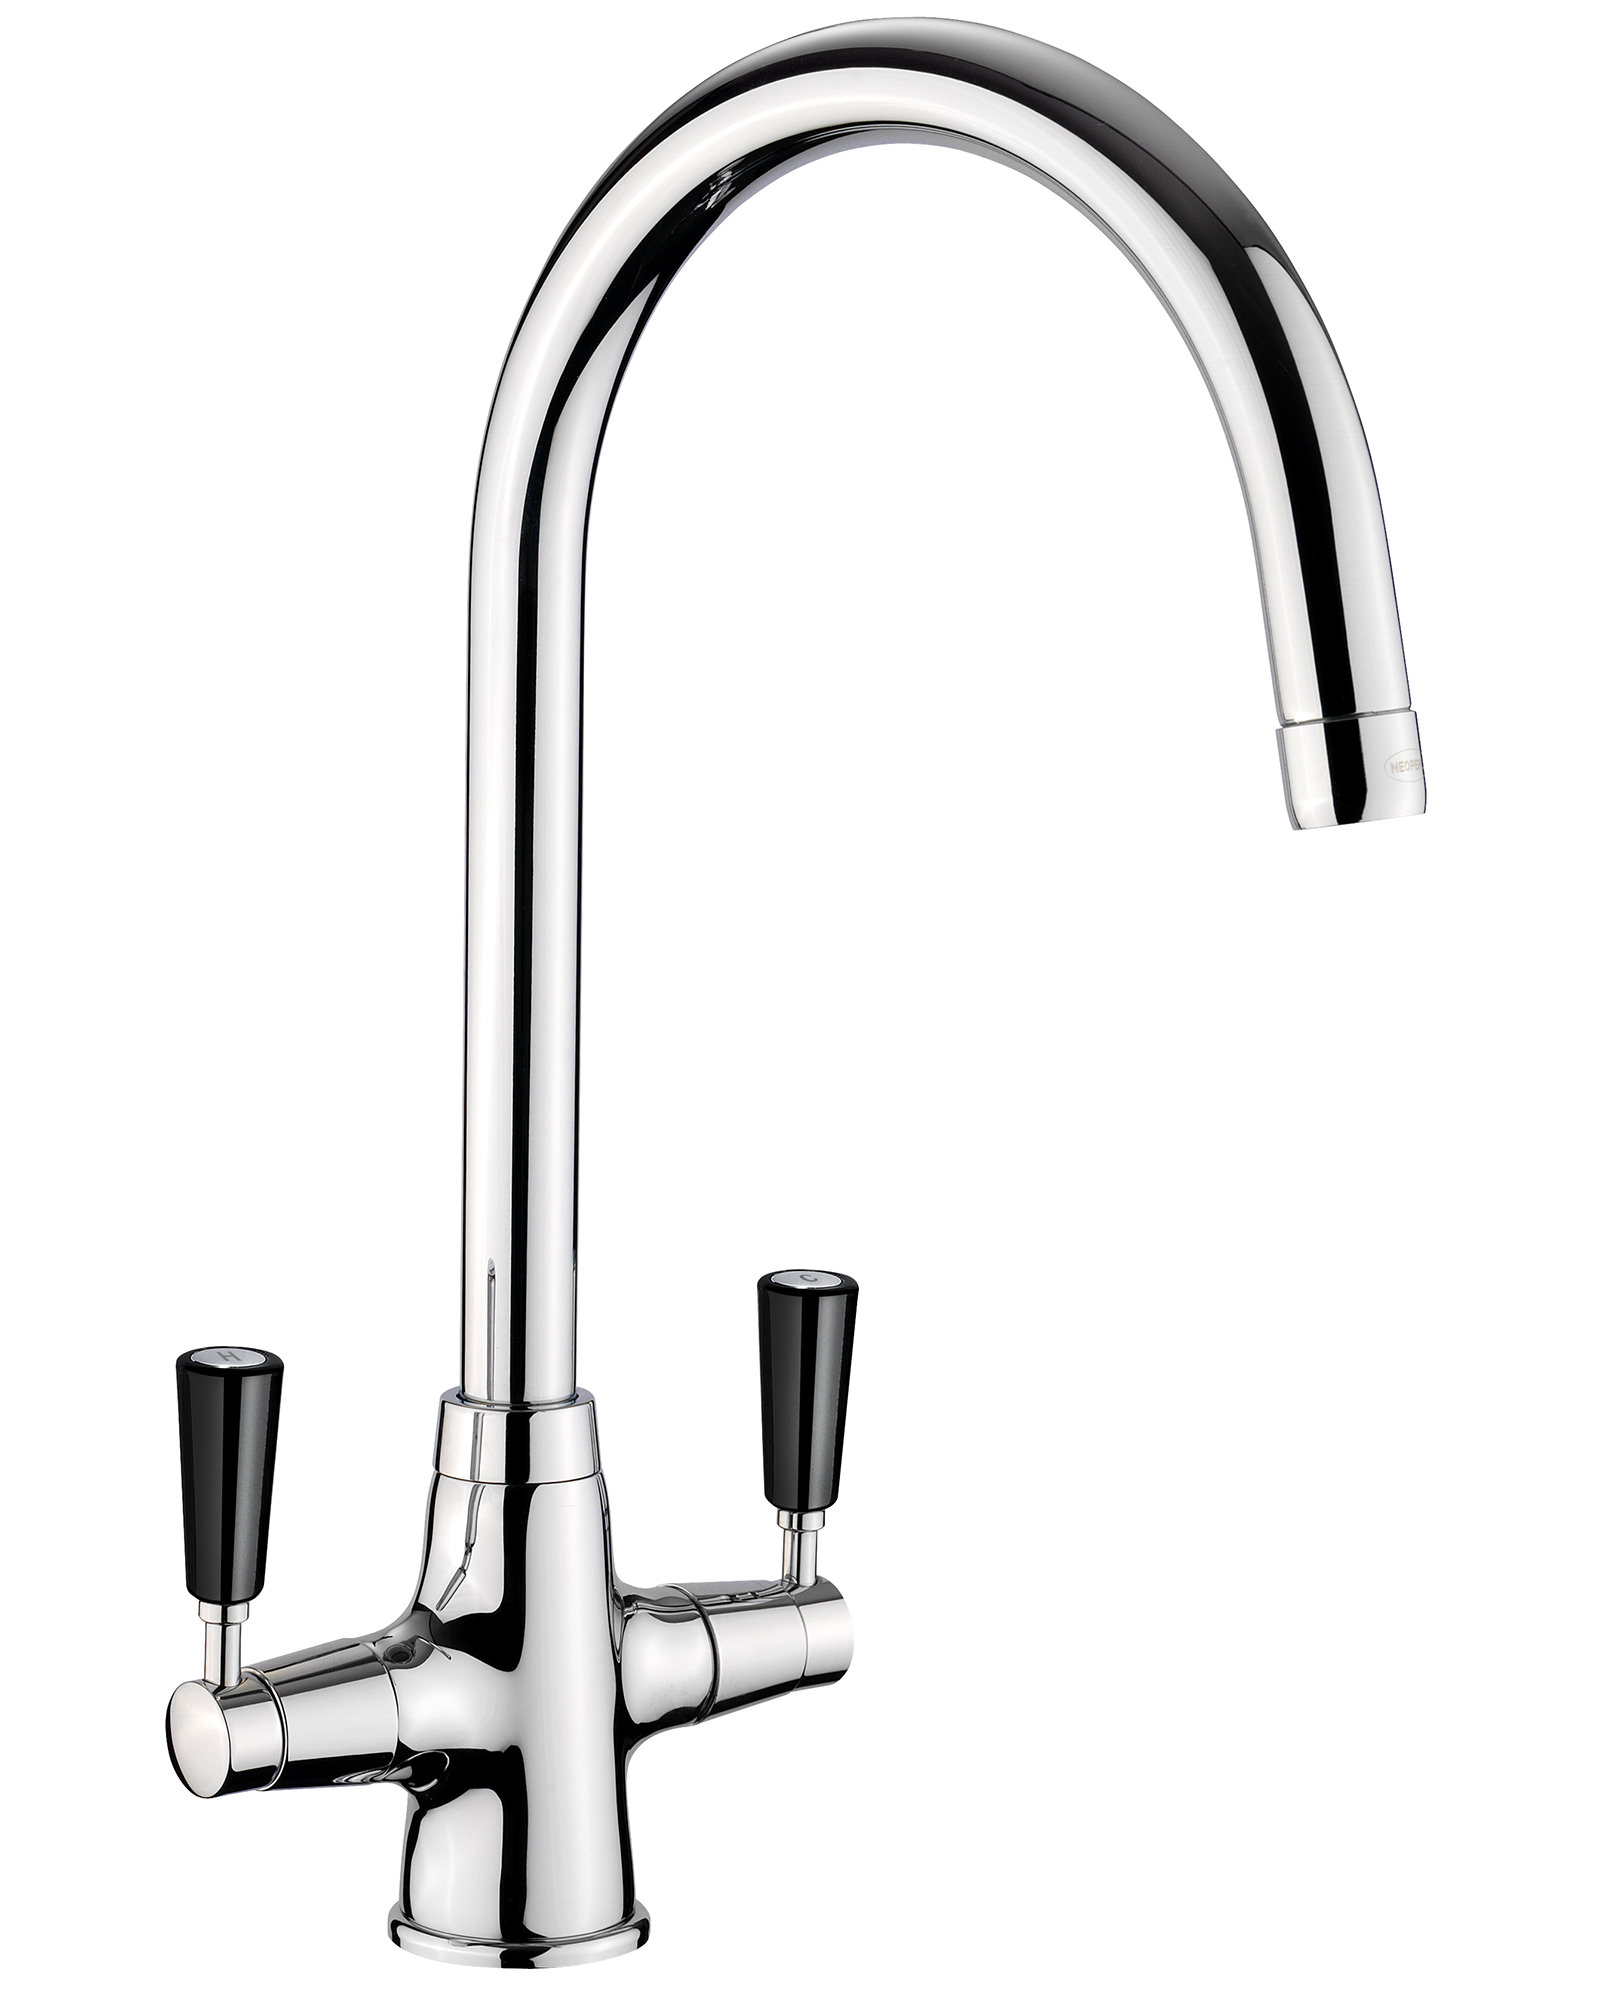
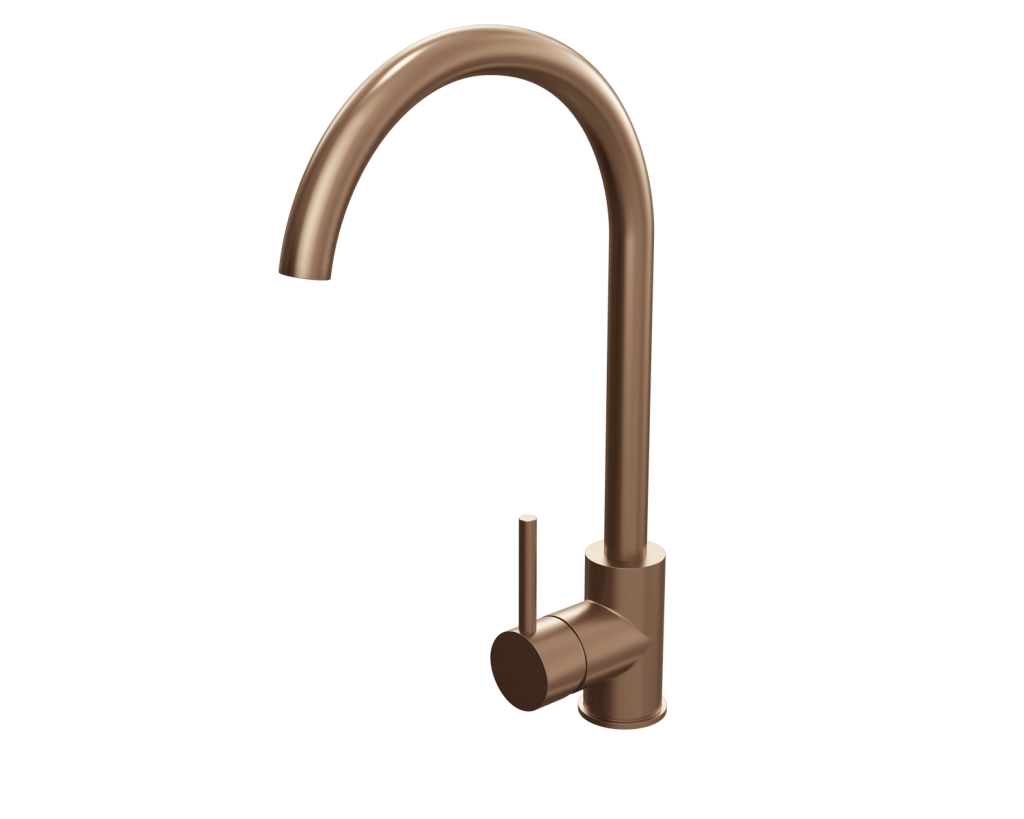
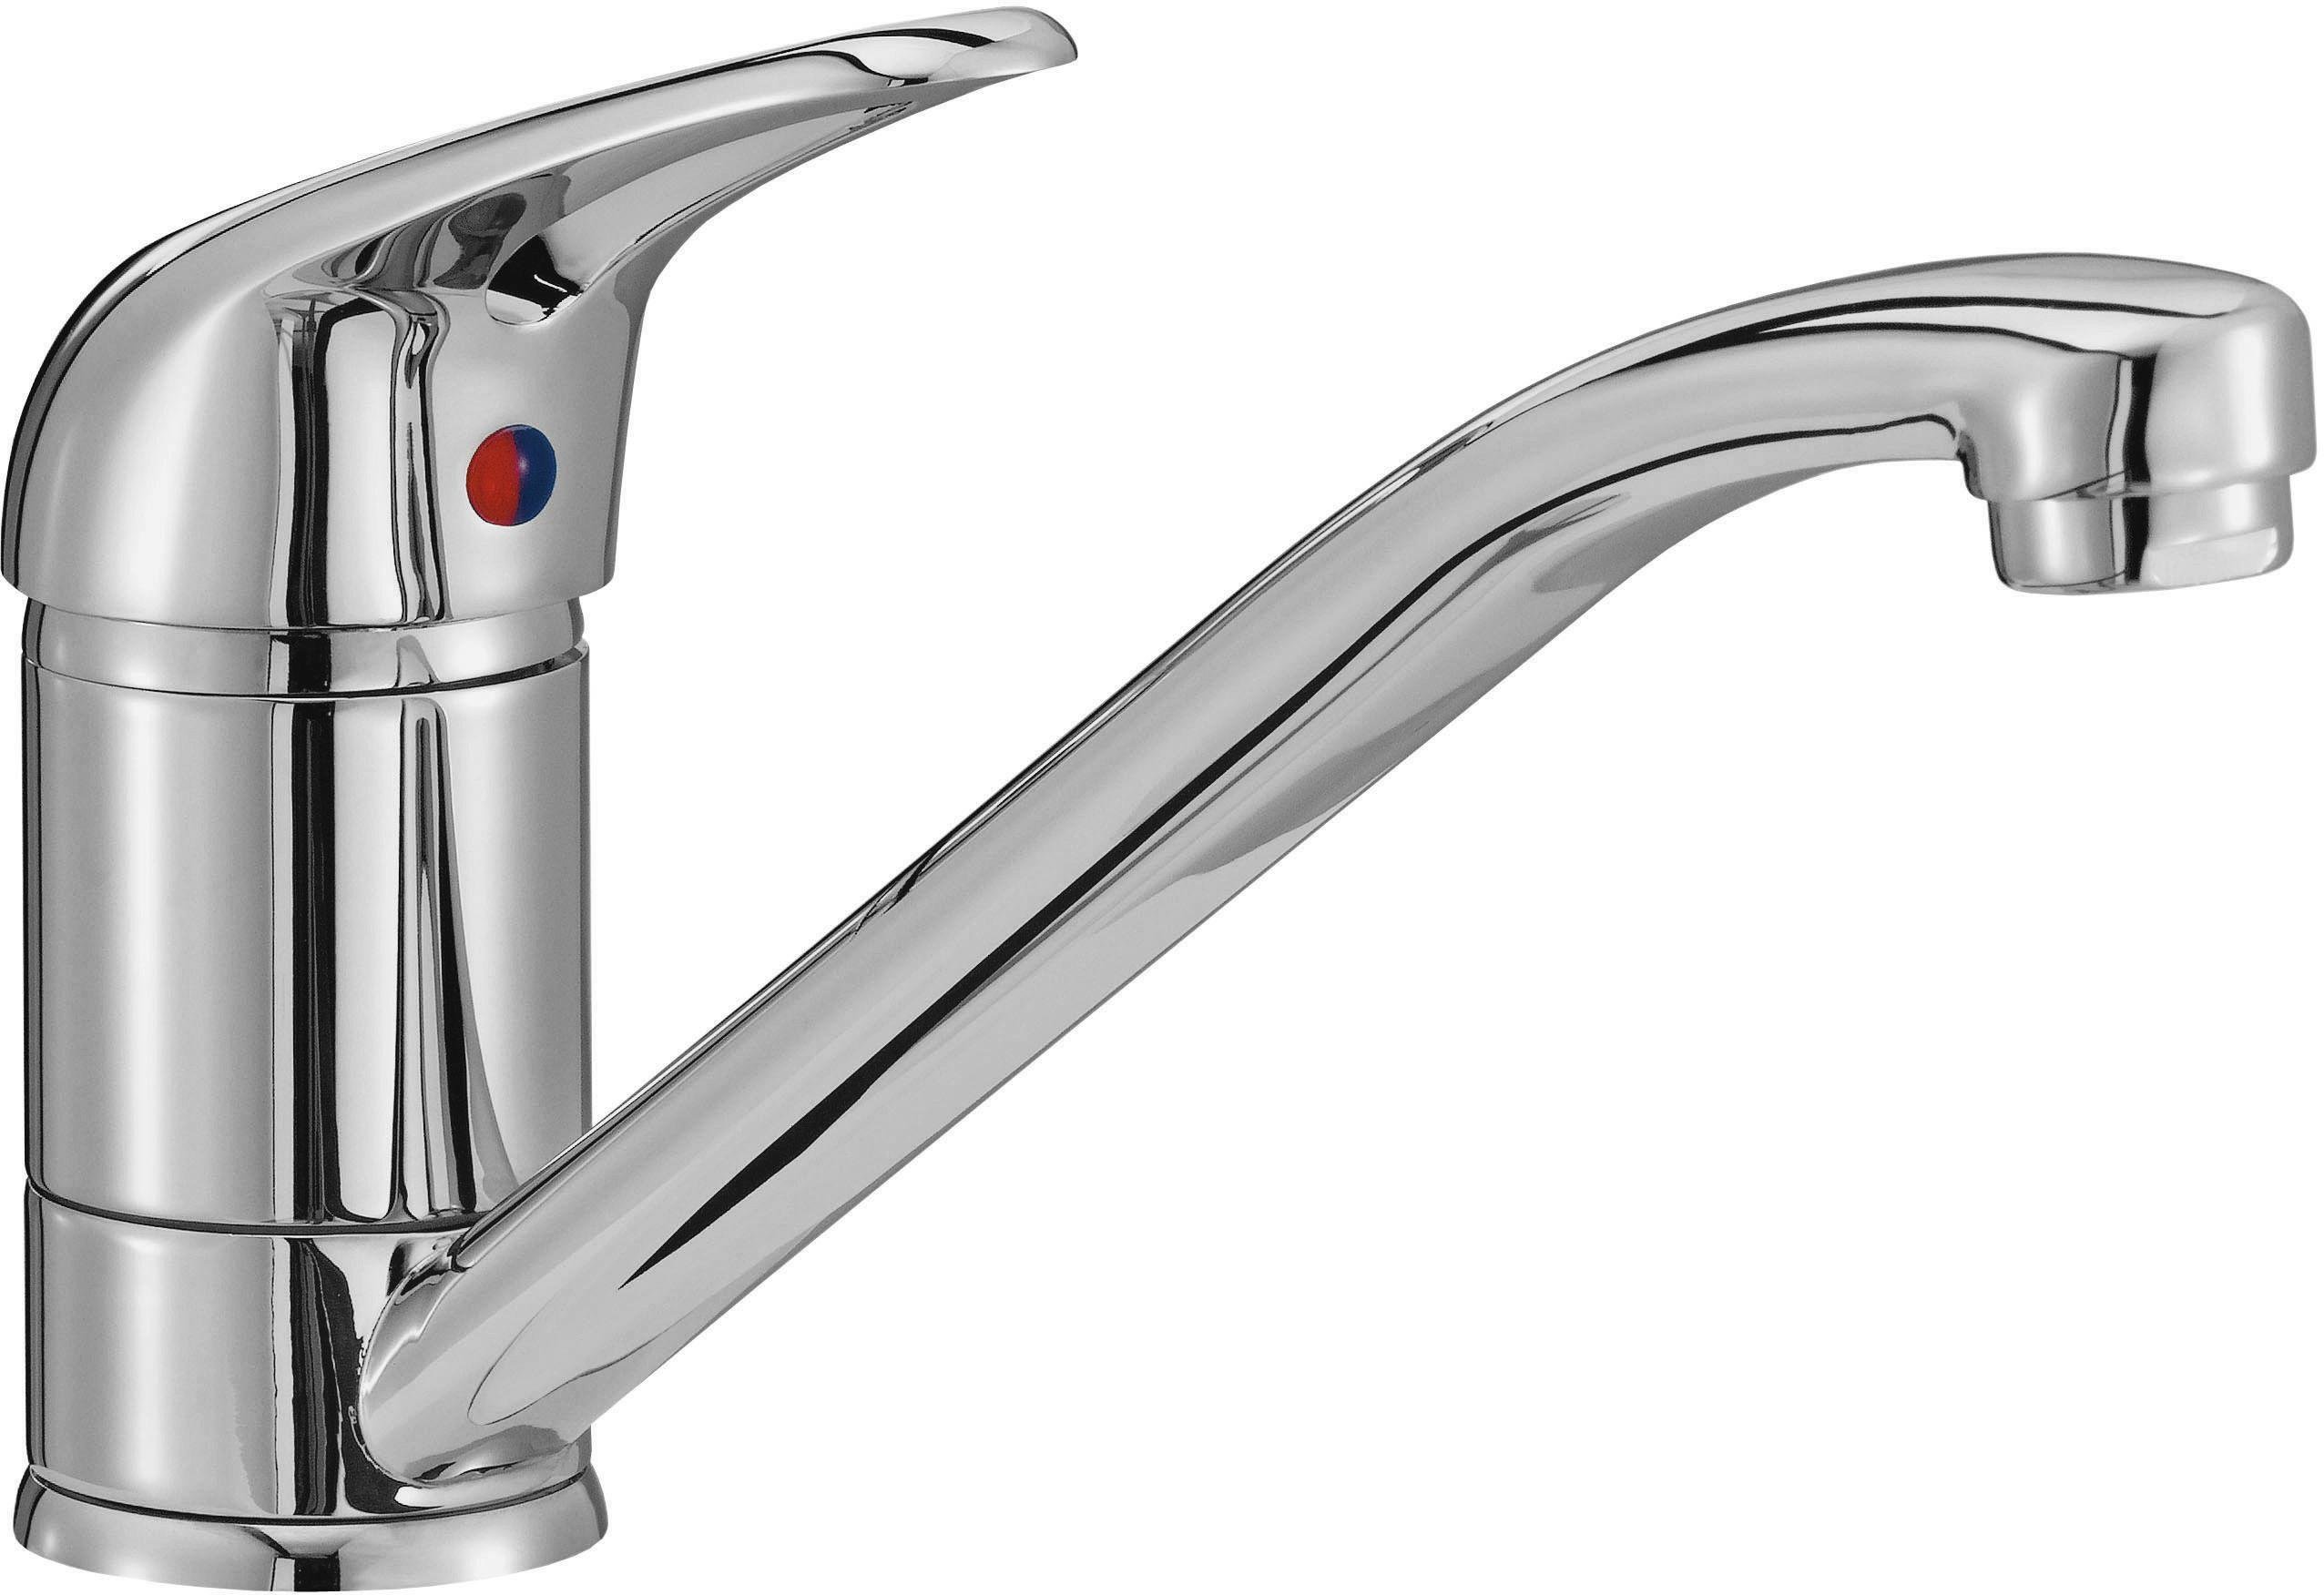
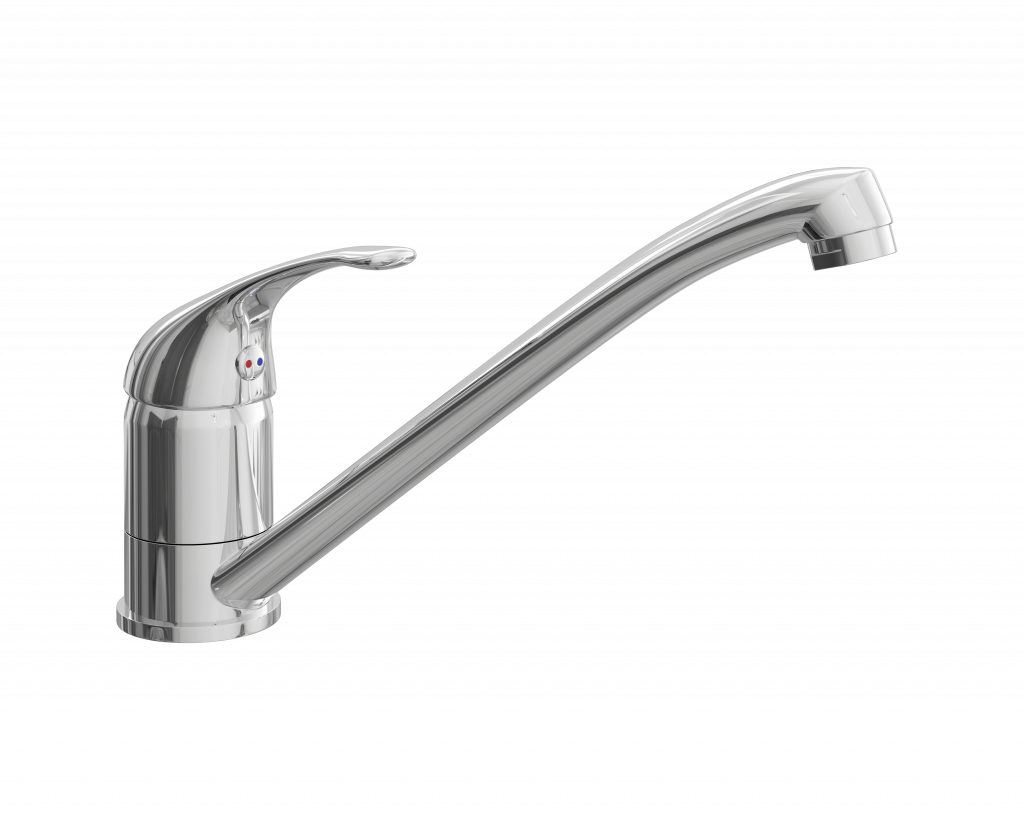
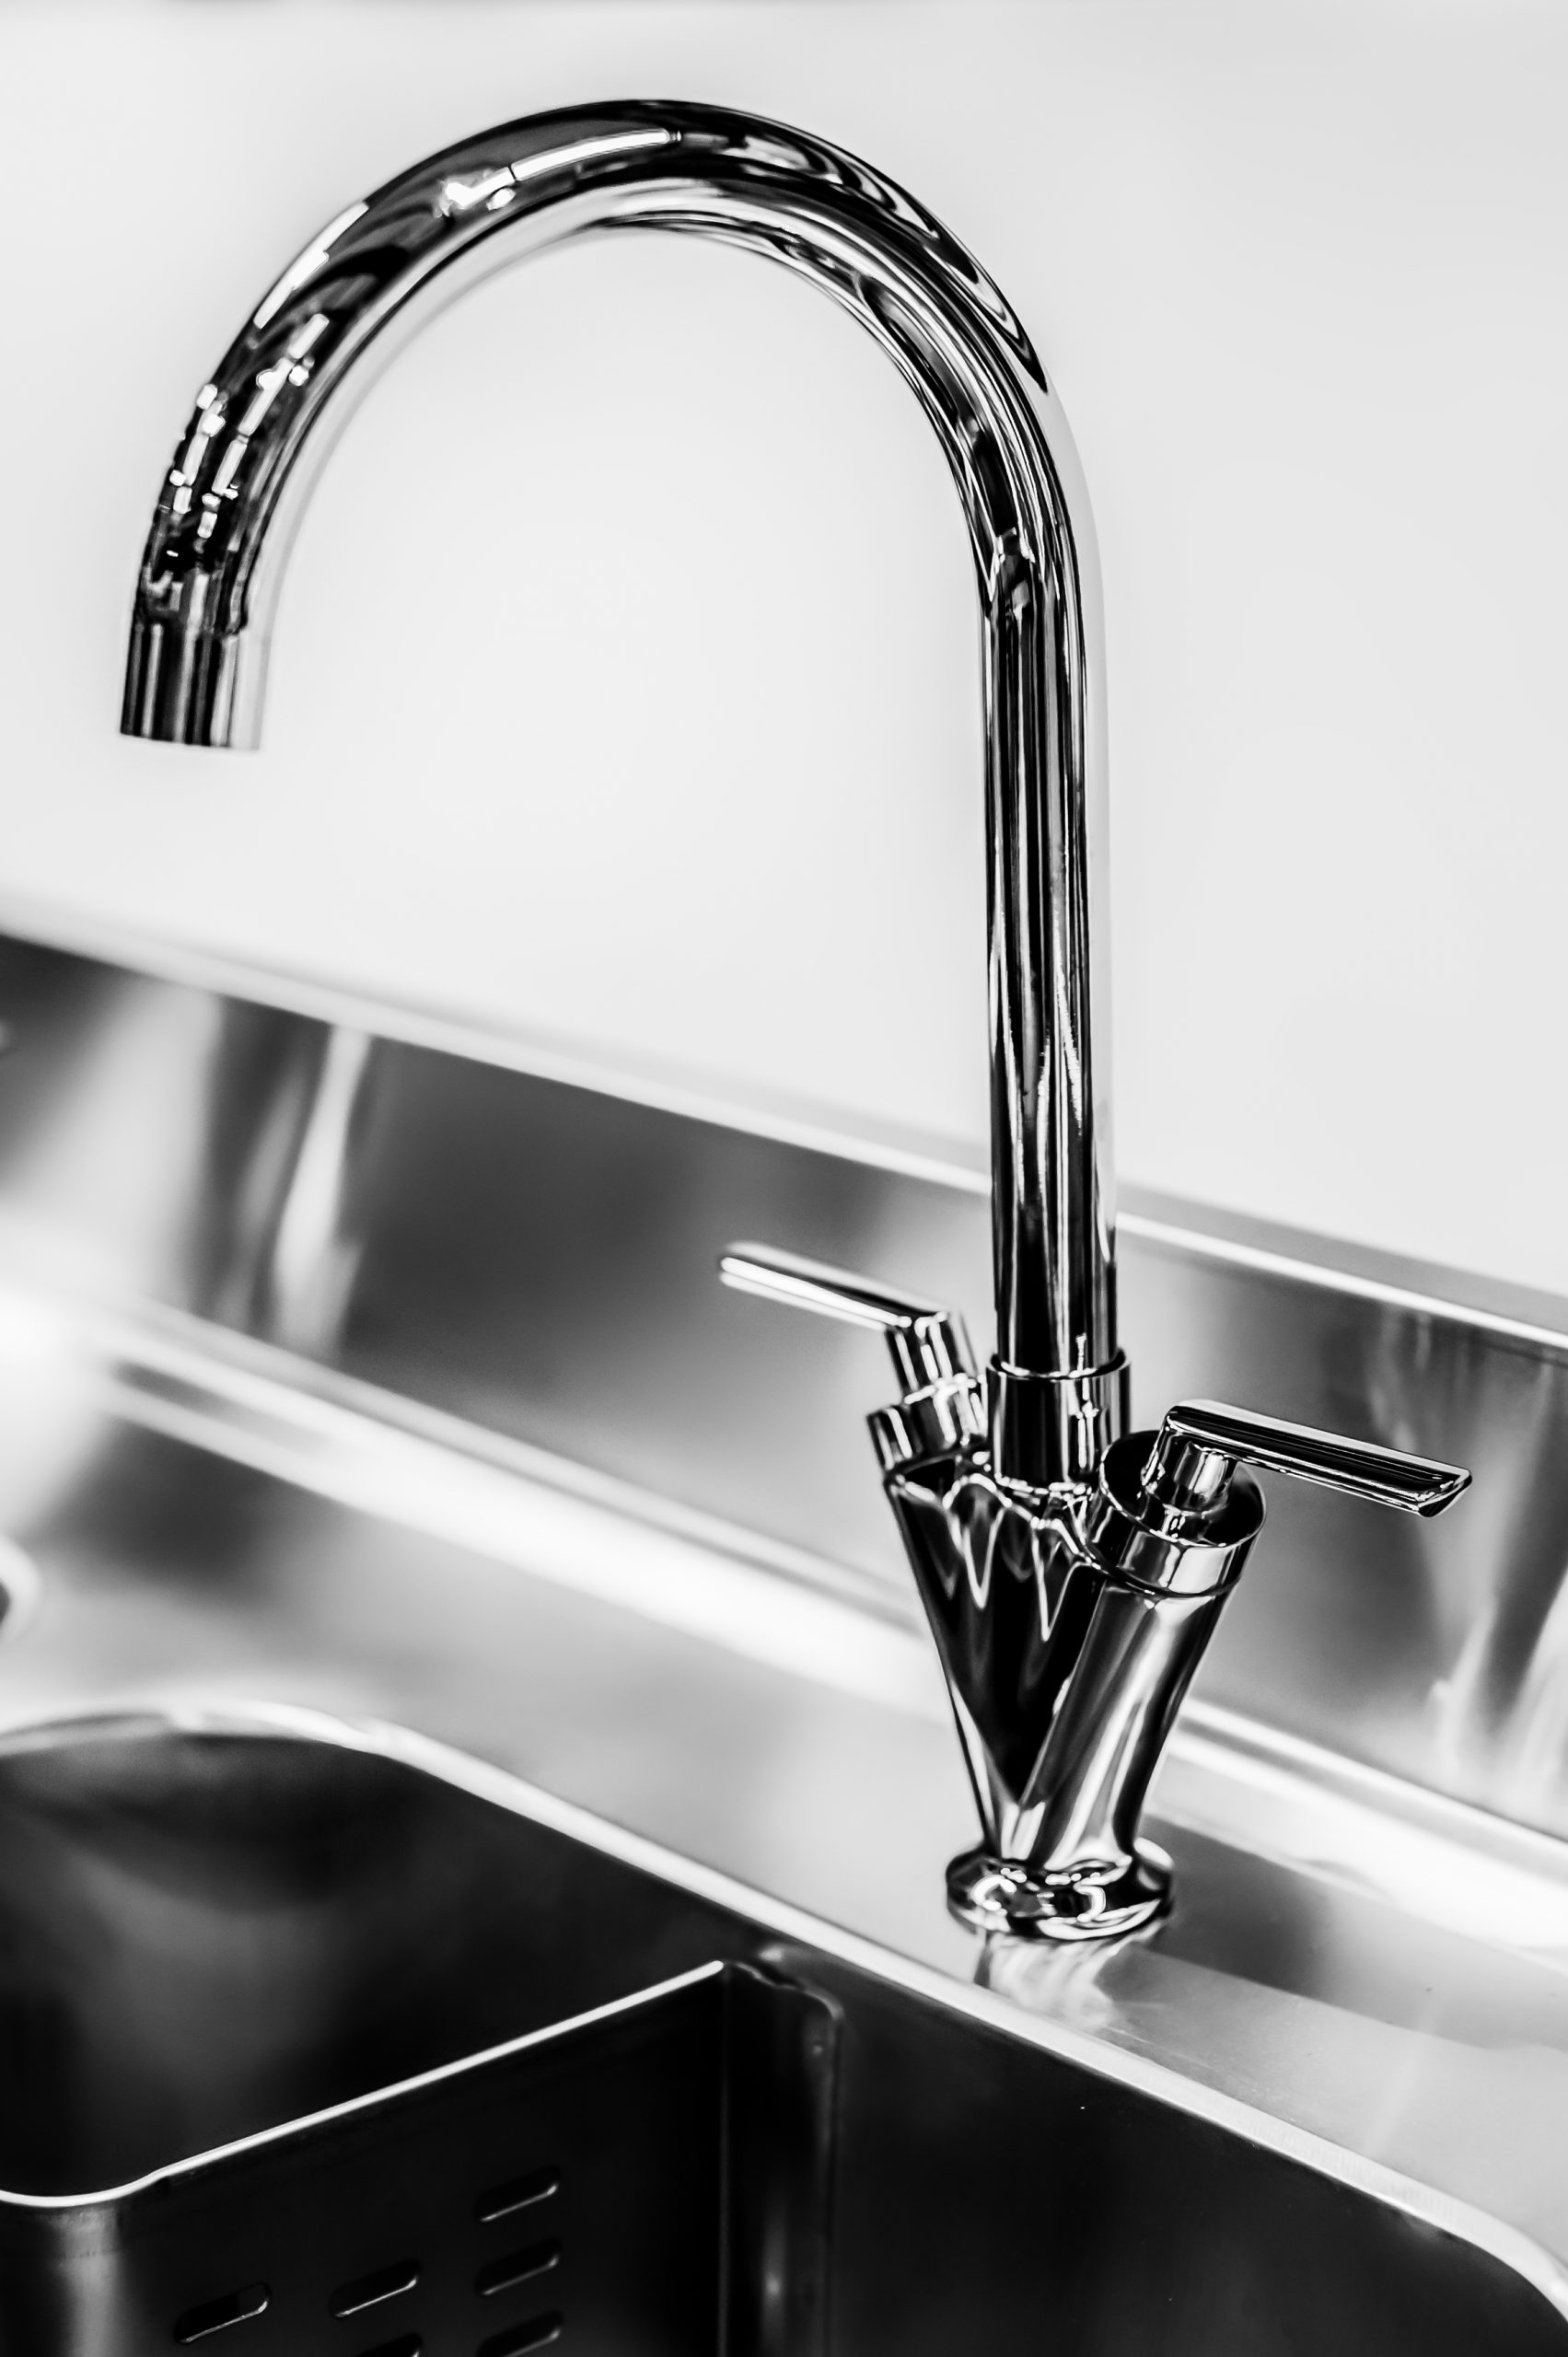
The design and style of the tap should complement your kitchen's aesthetic. You can choose from traditional, contemporary, or modern designs, as well as a variety of finishes such as chrome, stainless steel, or brushed nickel.
Functionality
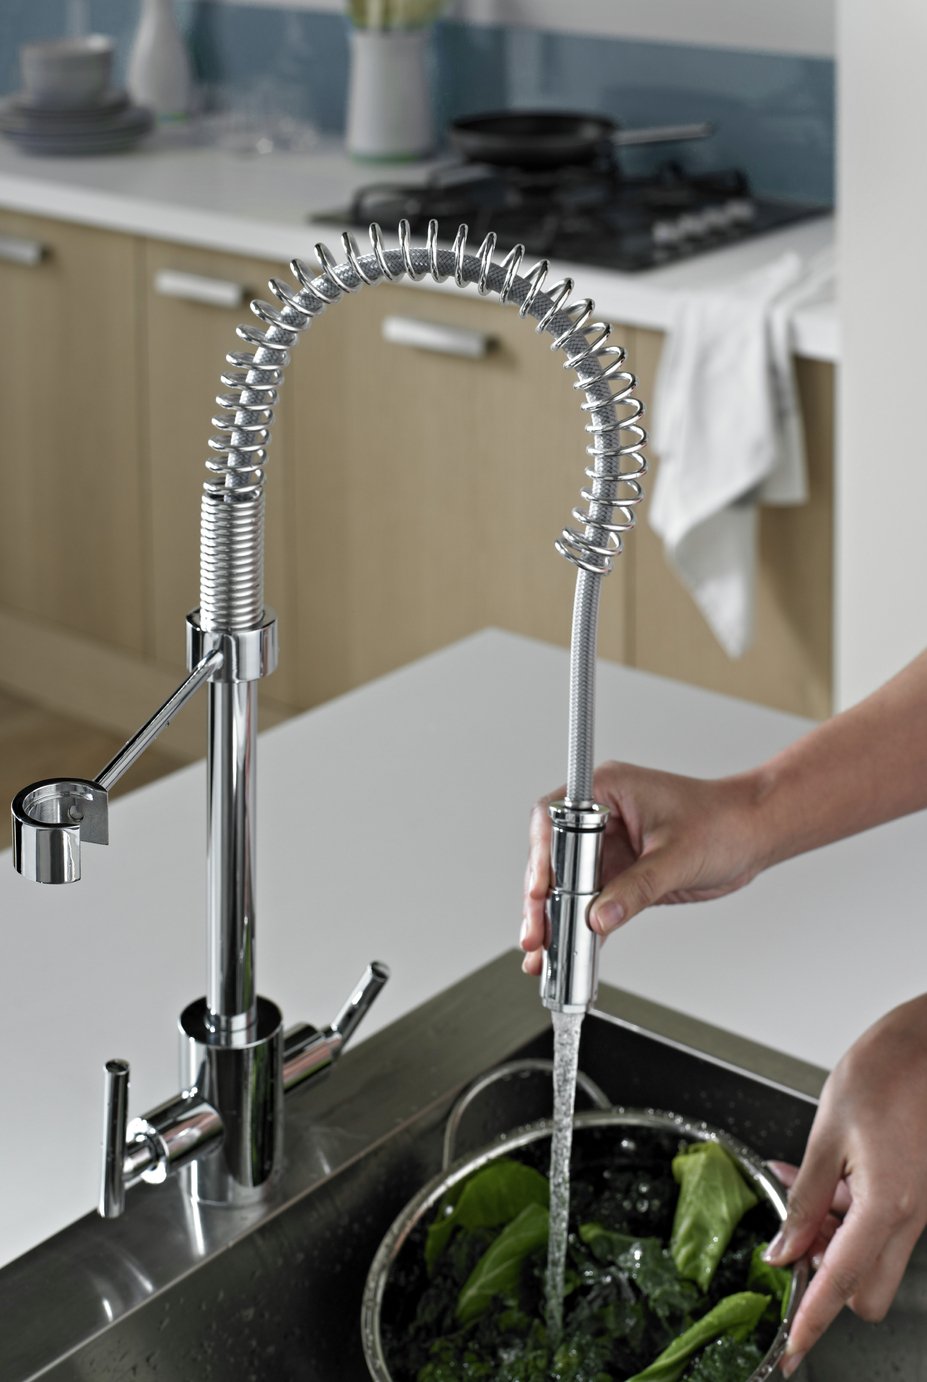
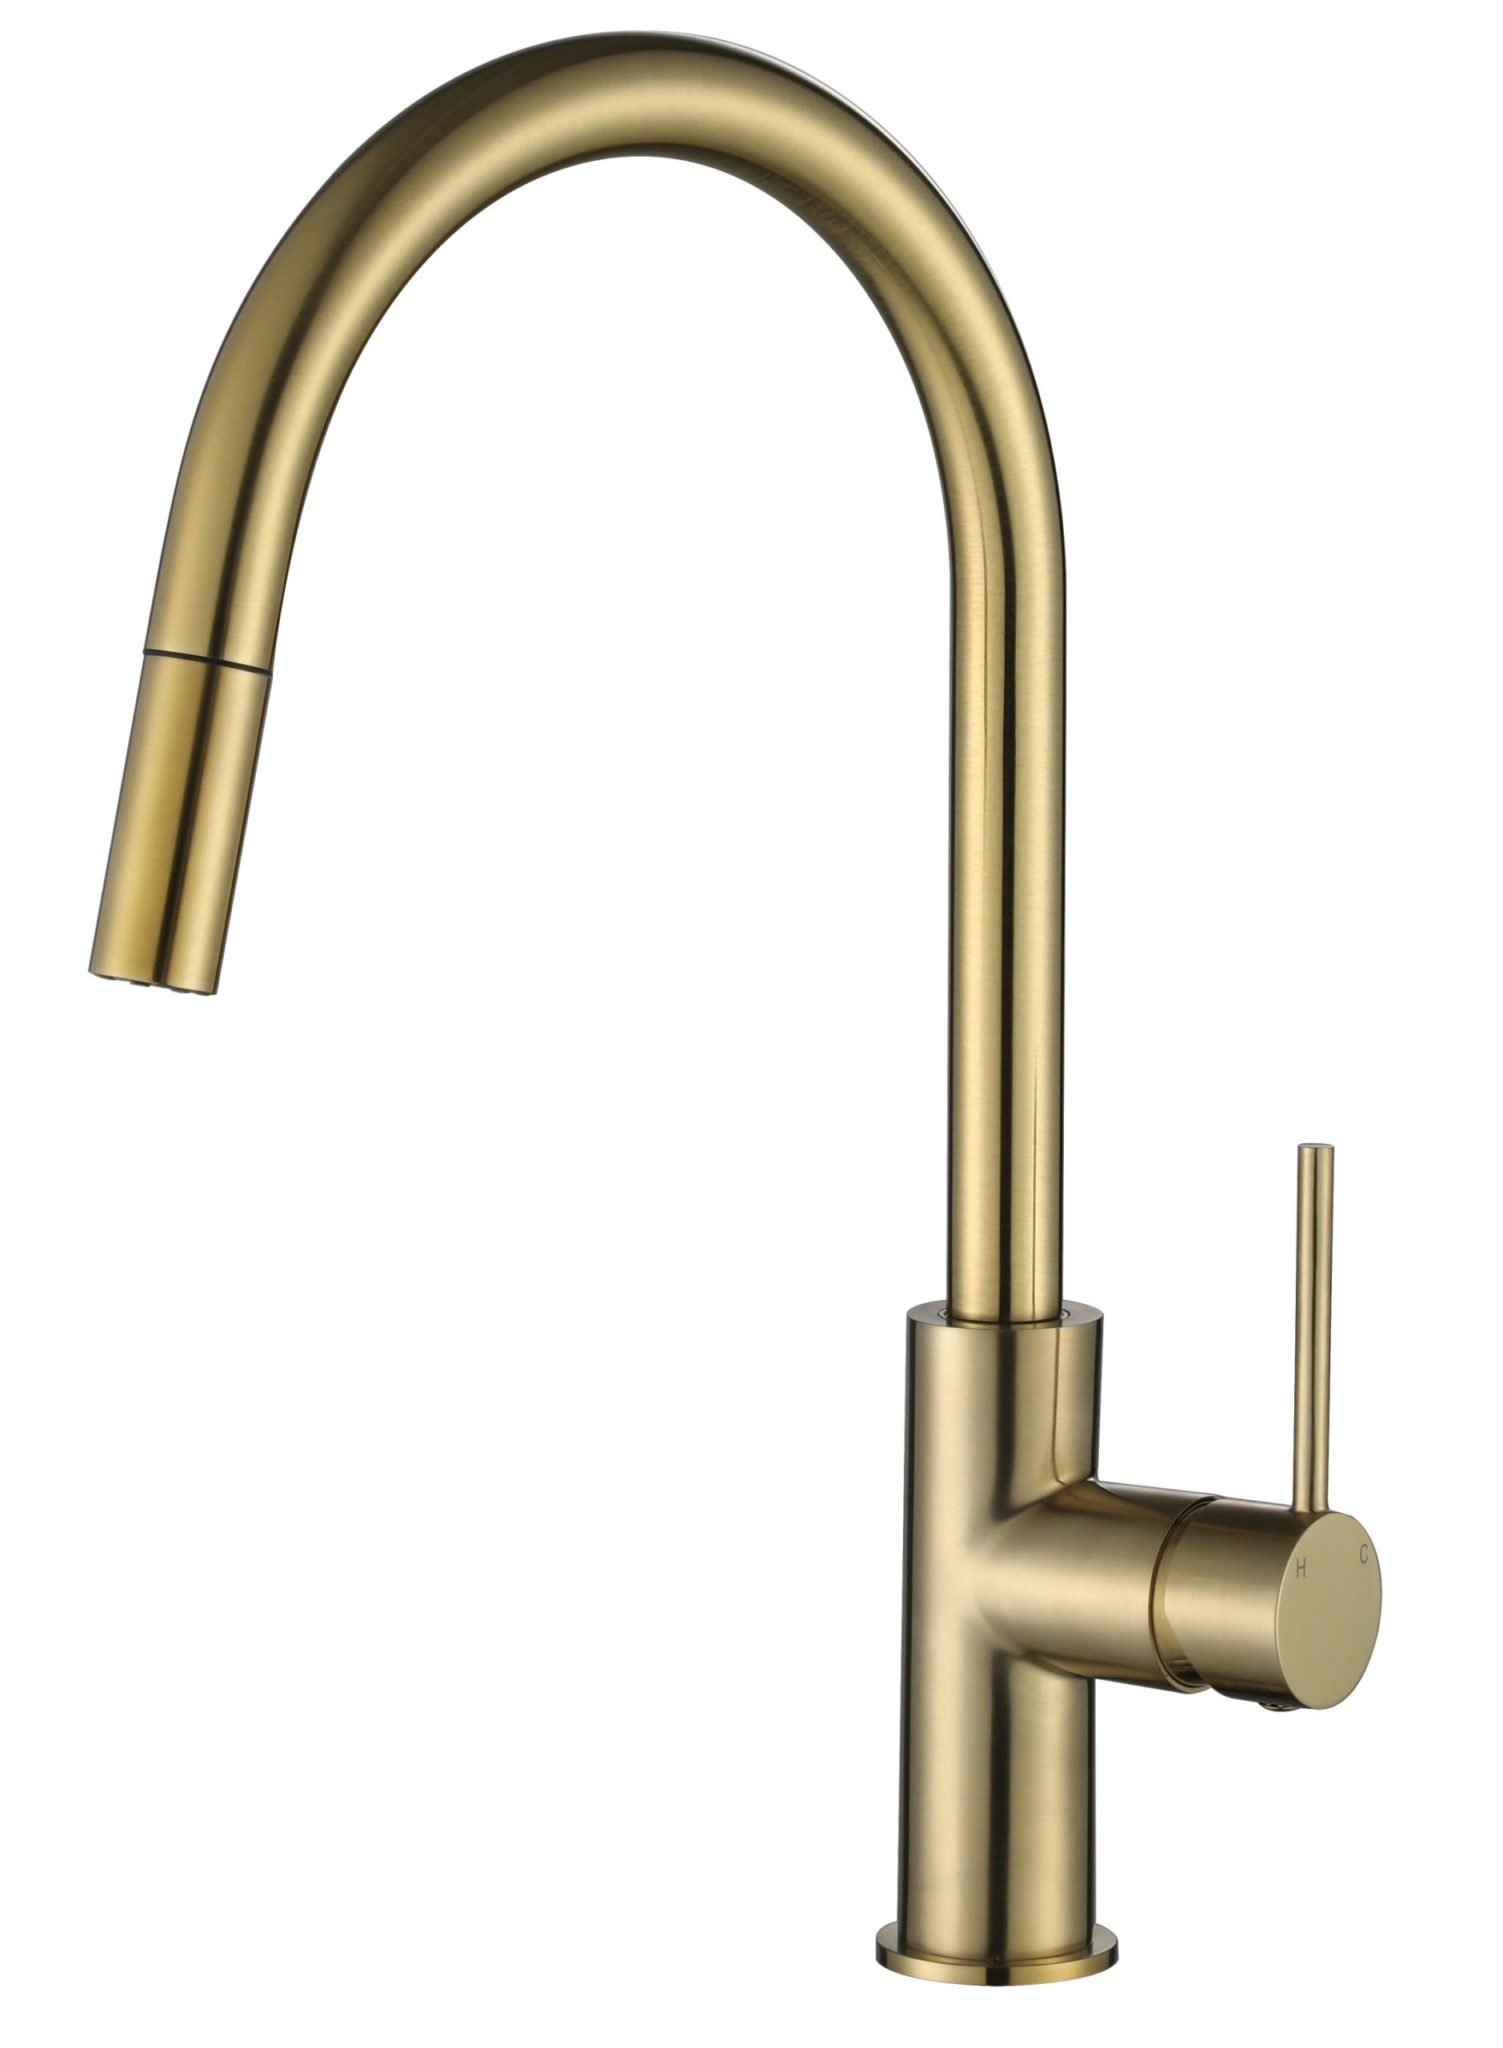
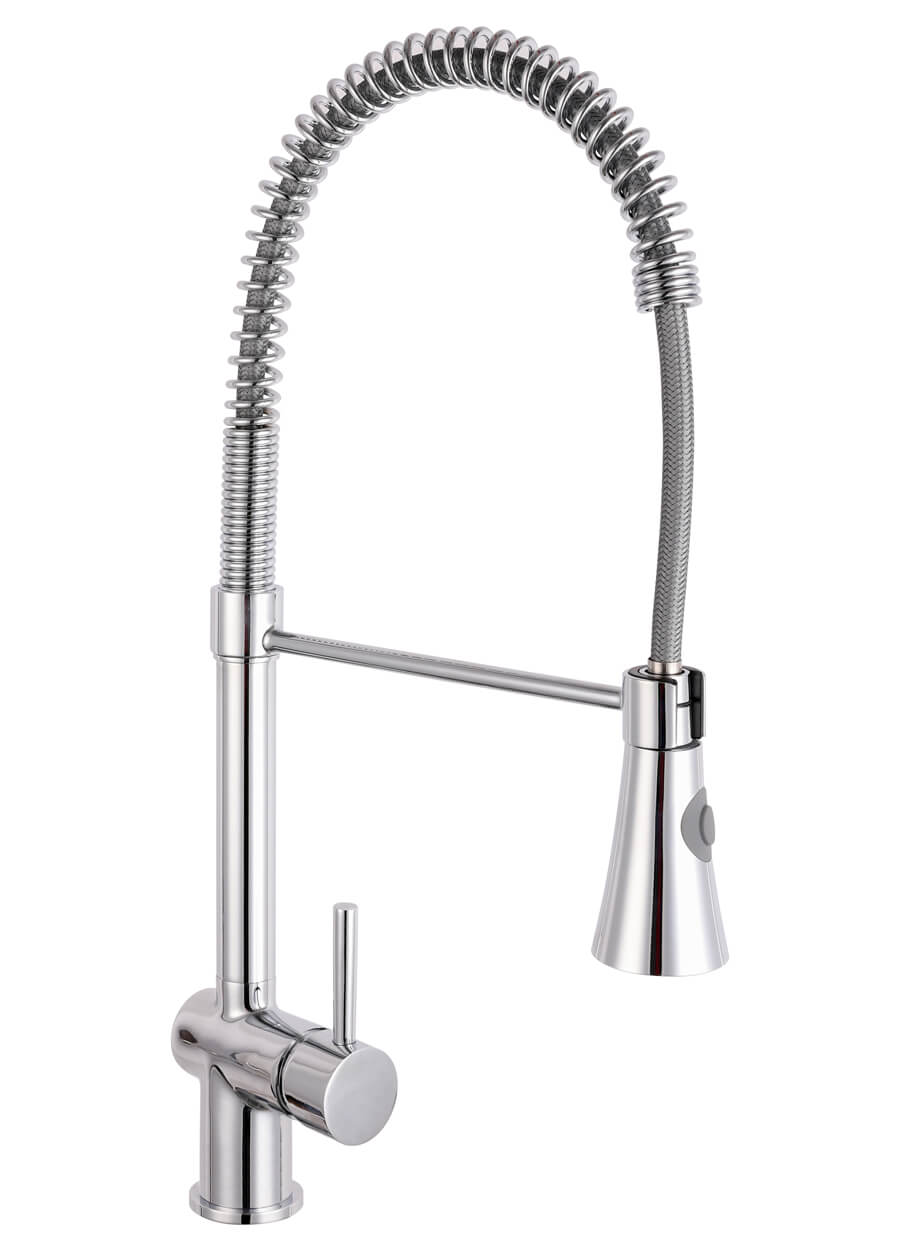
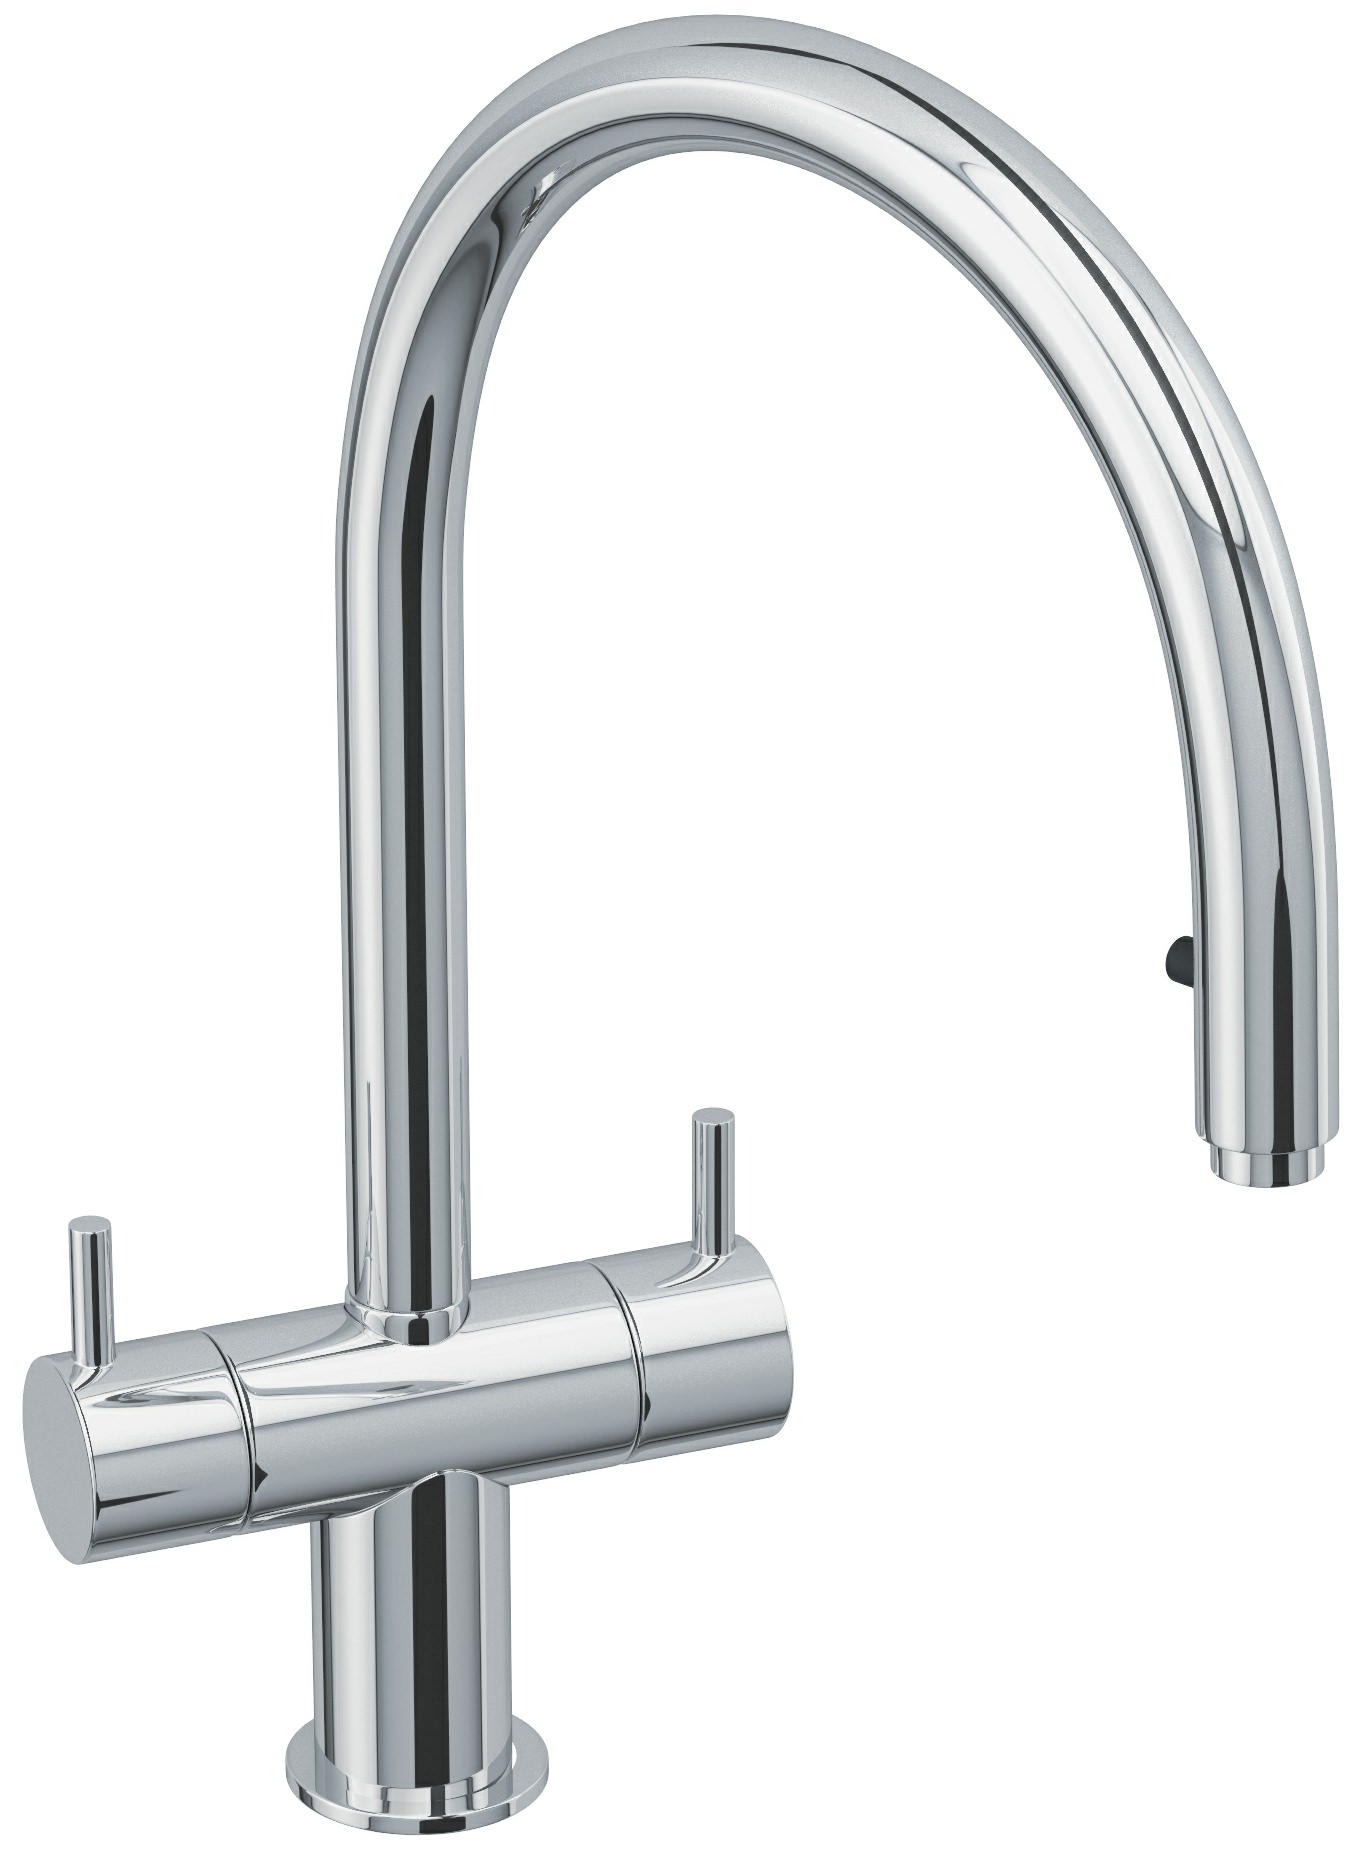
The tap should be functional and easy to use. Look for features such as a pull-out spray head, swivel spout, and single or dual handles for hot and cold water control.
Durability
A high-quality tap should be durable and able to withstand daily use. Look for taps made from solid brass or stainless steel for long-lasting performance.
Brand Reputation
Choose a tap from a reputable brand that offers good customer service and warranty options. Some top brands for kitchen sink mixer taps include Kohler, Delta, and Moen.
Overall, the best kitchen sink mixer tap for you will depend on your personal preferences and needs. Consider the above factors and read reviews from other customers to make an informed decision.
How to Fix a Leaking Kitchen Sink Mixer Tap
Dealing with a leaking kitchen sink mixer tap can be frustrating and wasteful. Here's how to fix a leaking tap:
Step 1: Shut Off the Water Supply
Before you can start fixing the leak, you'll need to shut off the water supply. You can usually do this by turning off the valve under the sink or at the main water shut-off valve.
Step 2: Identify the Source of the Leak
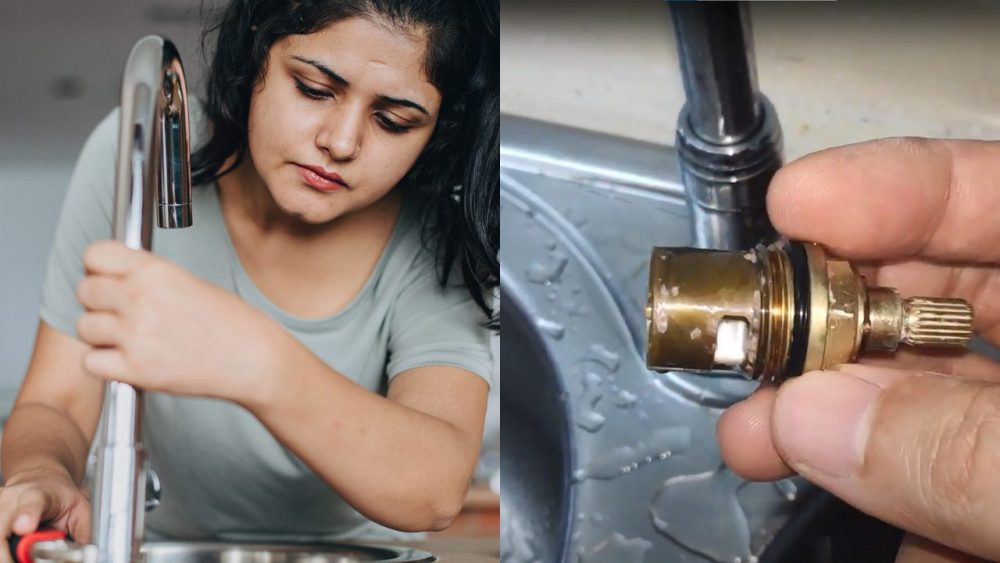
Determine where the leak is coming from. It could be from the handle, the spout, or the base of the tap. Once you have identified the source, you can move on to fixing the issue.
Step 3: Tighten Loose Connections
If the leak is coming from a loose connection, use an adjustable wrench to tighten the connections. Be careful not to overtighten as this can cause damage to the tap.
Step 4: Replace Faulty Parts
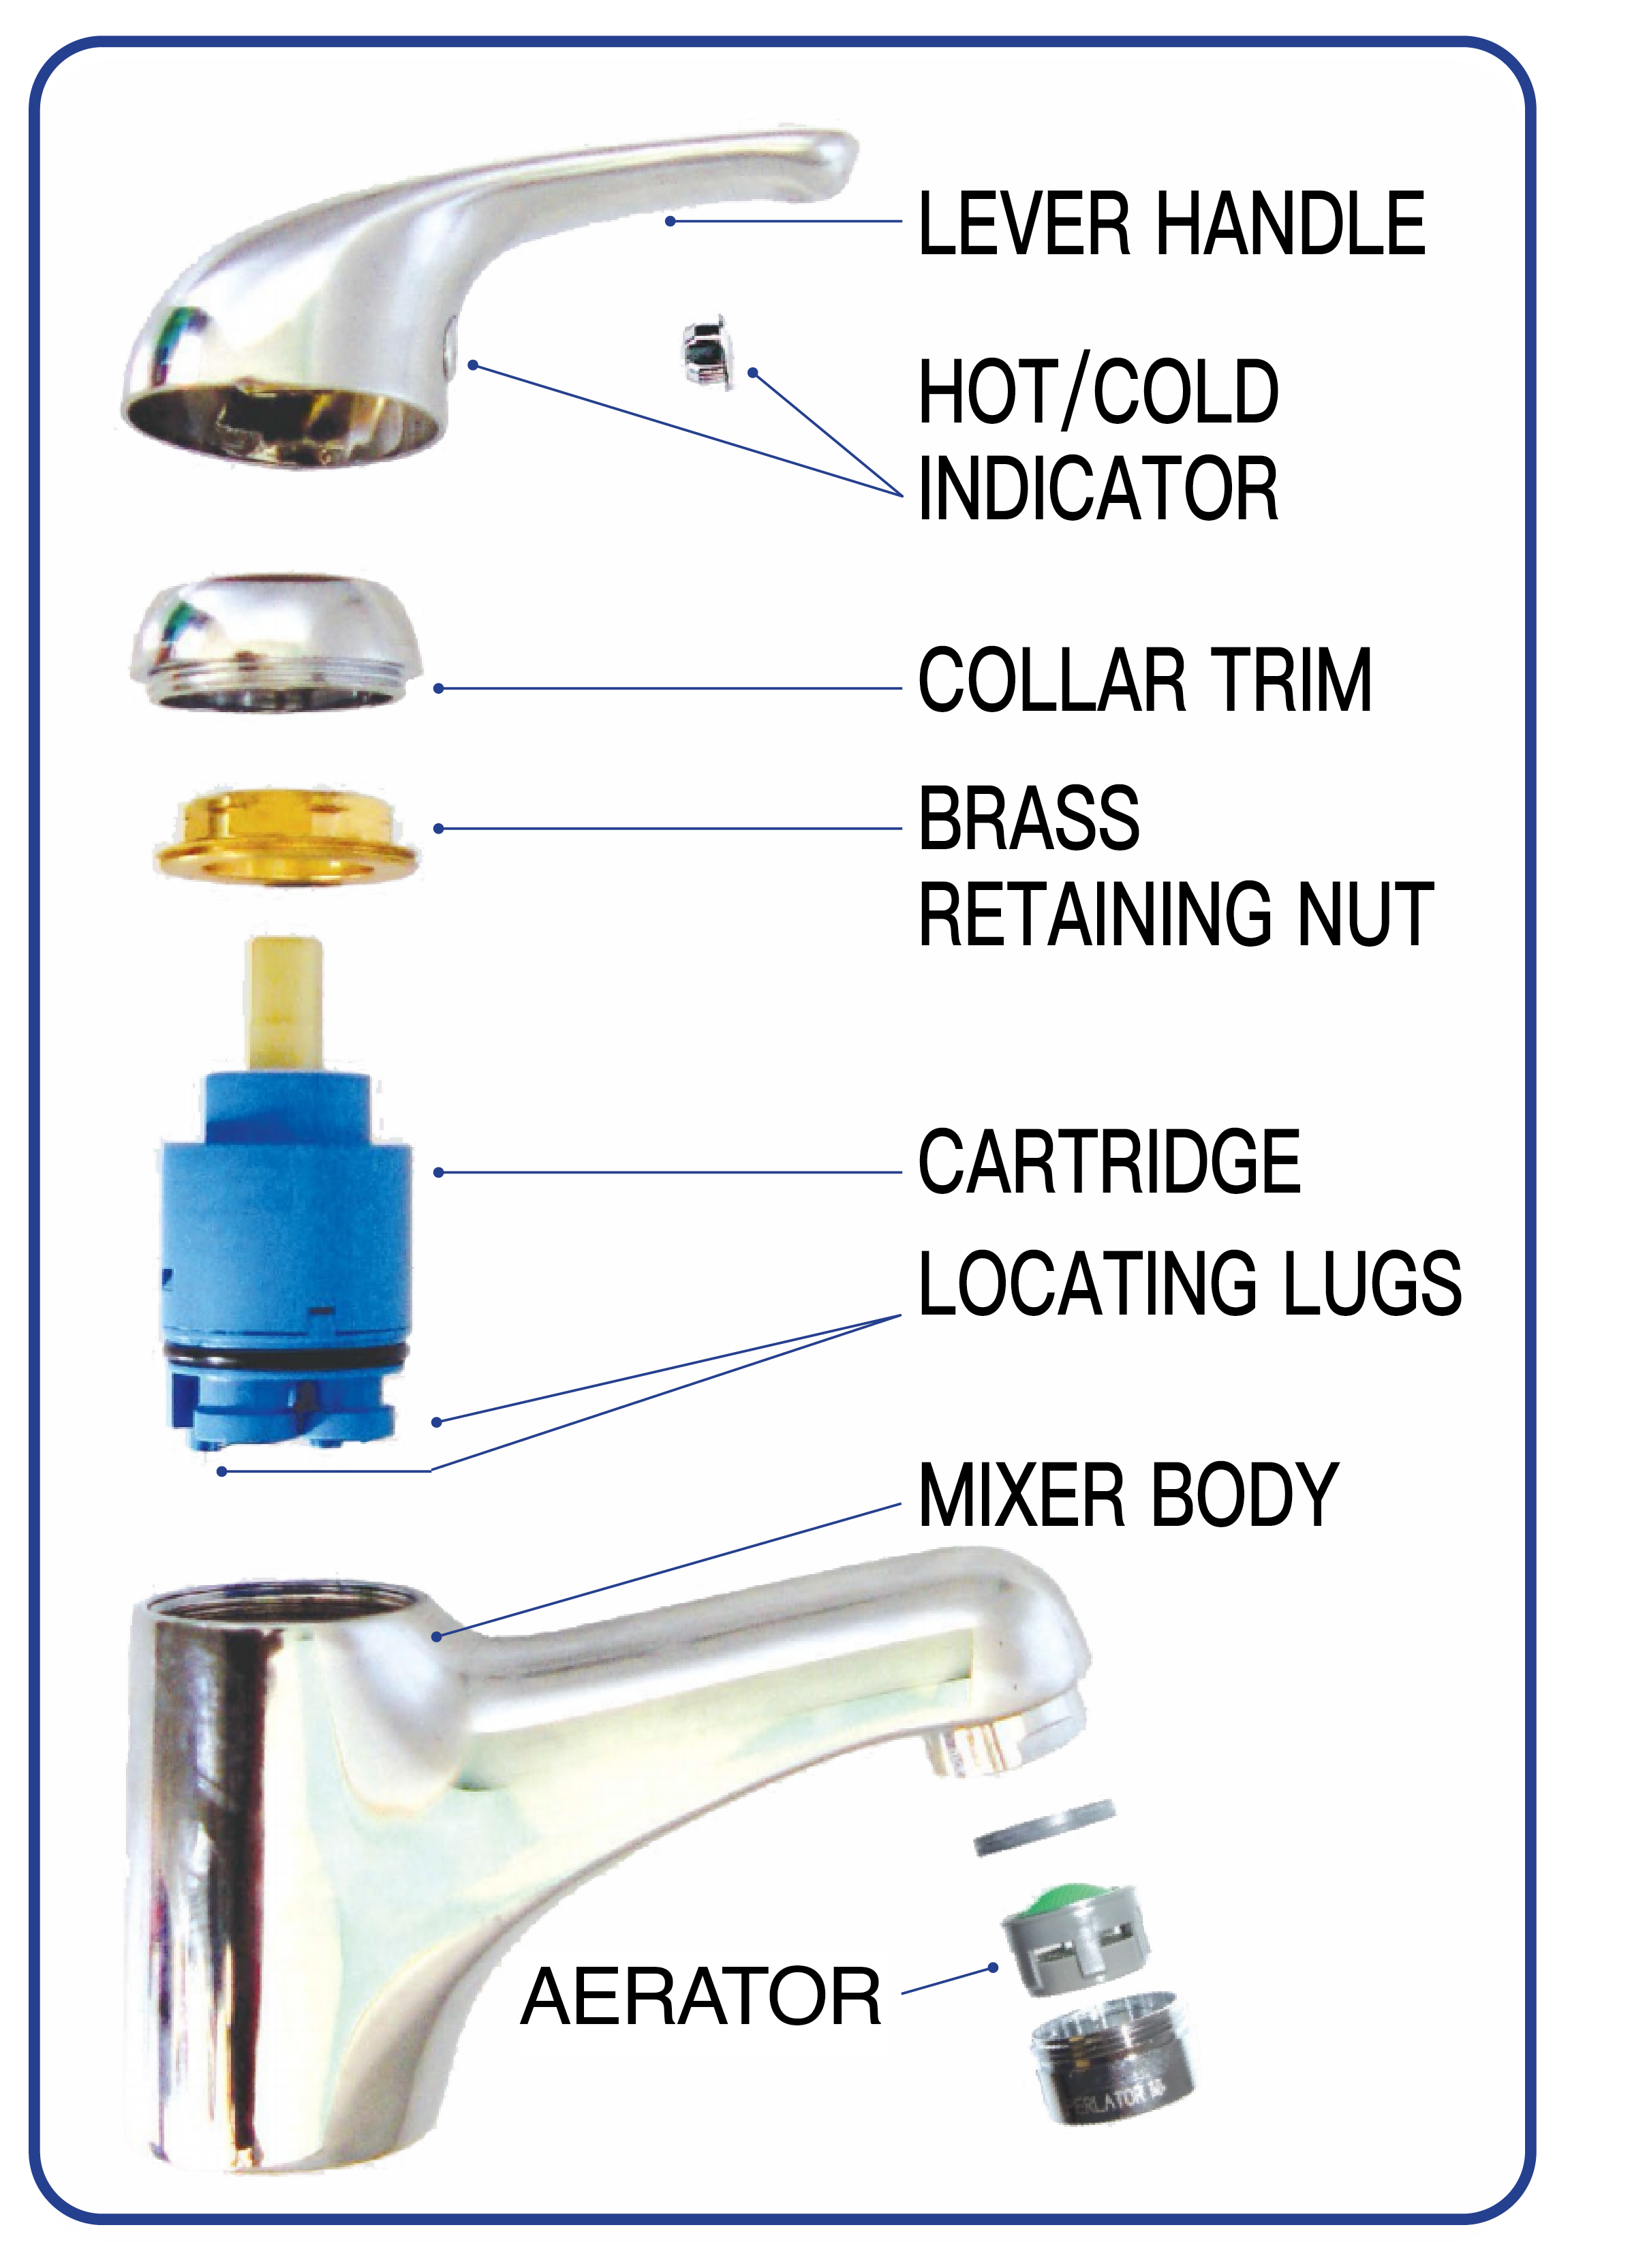
If the leak is coming from a faulty part, such as a worn out washer or O-ring, you'll need to replace the part. You can find replacement parts at most hardware or home improvement stores.
Step 5: Turn the Water Supply Back On
Once you have fixed the leak, turn the water supply back on and check for any remaining leaks. If there are no more leaks, you have successfully fixed the problem.
If the leak persists or you are not comfortable fixing it yourself, it's best to call a professional plumber for assistance.
Choosing the Right Kitchen Sink Mixer Tap
Choosing the right kitchen sink mixer tap can make a big difference in the functionality and style of your kitchen. Here are some tips to help you make the right decision:
Consider Your Kitchen's Layout
The layout of your kitchen will play a big role in the type of tap you choose. If you have a large sink or a double sink, a pull-out spray head or swivel spout may be a convenient option. If you have limited space, a compact tap with a single handle may be a better choice.
Think About Your Water Pressure
If you have low water pressure, you may want to choose a tap with a built-in aerator to help increase the water flow. On the other hand, if you have high water pressure, a tap with a water-saving feature may be a good option.
Consider Your Budget
Kitchen sink mixer taps can range in price from as low as $50 to over $500. Consider your budget and look for a tap that offers the features and style you want within your price range.
By taking into account your kitchen's layout, water pressure, and budget, you can choose a tap that meets your needs and fits seamlessly into your kitchen design.
Installing a Pull-Out Kitchen Sink Mixer Tap
Installing a pull-out kitchen sink mixer tap is similar to installing a regular tap, with a few additional steps. Here's how to install a pull-out tap:
Step 1: Gather Your Tools and Materials
Before you begin, make sure you have all the necessary tools and materials. You'll need a basin wrench, adjustable wrench, plumber's tape, and a new pull-out tap. It's also a good idea to have a bucket or towels on hand to catch any water that may spill during the installation process.
Step 2: Shut Off the Water Supply
Before you can start installing the new tap, you'll need to shut off the water supply. You can usually do this by turning off the valve under the sink or at the main water shut-off valve. Once the water is off, turn on the tap to release any remaining water in the pipes.
Step 3: Remove the Old Tap
Using the basin wrench, loosen and remove the nuts that hold the old tap in place. Once the tap is loose, carefully lift it out of the sink. You may need to use a bit of force to remove any old caulk or putty that was used to seal the tap to the sink.
Step 4: Prepare the Sink and New Tap
Before installing the new tap, clean the area where the old tap was removed. Apply plumber's tape to the threads of the new tap to create a watertight seal. Make sure the tap is in the "off" position and the hot and cold water lines are properly labeled.
Step 5: Install the New Tap
Place the new tap in the hole on the sink and secure it in place by tightening the mounting nuts with the basin wrench. Make sure the tap is straight and level before fully tightening the nuts. Then, connect the hot and cold water supply lines to the corresponding valves under the sink.
Step 6: Attach the Pull-Out Hose
Thread the pull-out hose through the tap and connect it to the water supply line. Make sure the hose is securely attached and not twisted or kinked.
Step 7: Turn the Water Supply Back On
Once the tap is securely in place, turn the water supply back on and check for any leaks. If there are any leaks, tighten the connections with an adjustable wrench as needed.
Step 8: Enjoy Your New Pull-Out Kitchen Sink Mixer Tap
Congratulations, you have successfully installed your new pull-out kitchen sink mixer tap! Test out the pull-out feature and make sure everything is working properly. Now you can enjoy the added functionality and convenience of your new tap.
How to Clean a Kitchen Sink Mixer Tap
To keep your kitchen sink mixer tap looking and functioning its best, it's important to regularly clean it. Here's how to clean your tap:
Step 1: Gather Your Supplies
You'll need a few basic supplies to clean your tap, including a soft cloth, mild soap or dish detergent, and white vinegar.
Step 2: Remove Any Debris
Before you start cleaning, remove any debris or food particles from the tap. You can use a toothbrush or a small brush to get into hard-to-reach areas.
Step 3: Wipe Down the Tap
The Importance of Choosing the Right Mixer Tap for Your Kitchen Sink
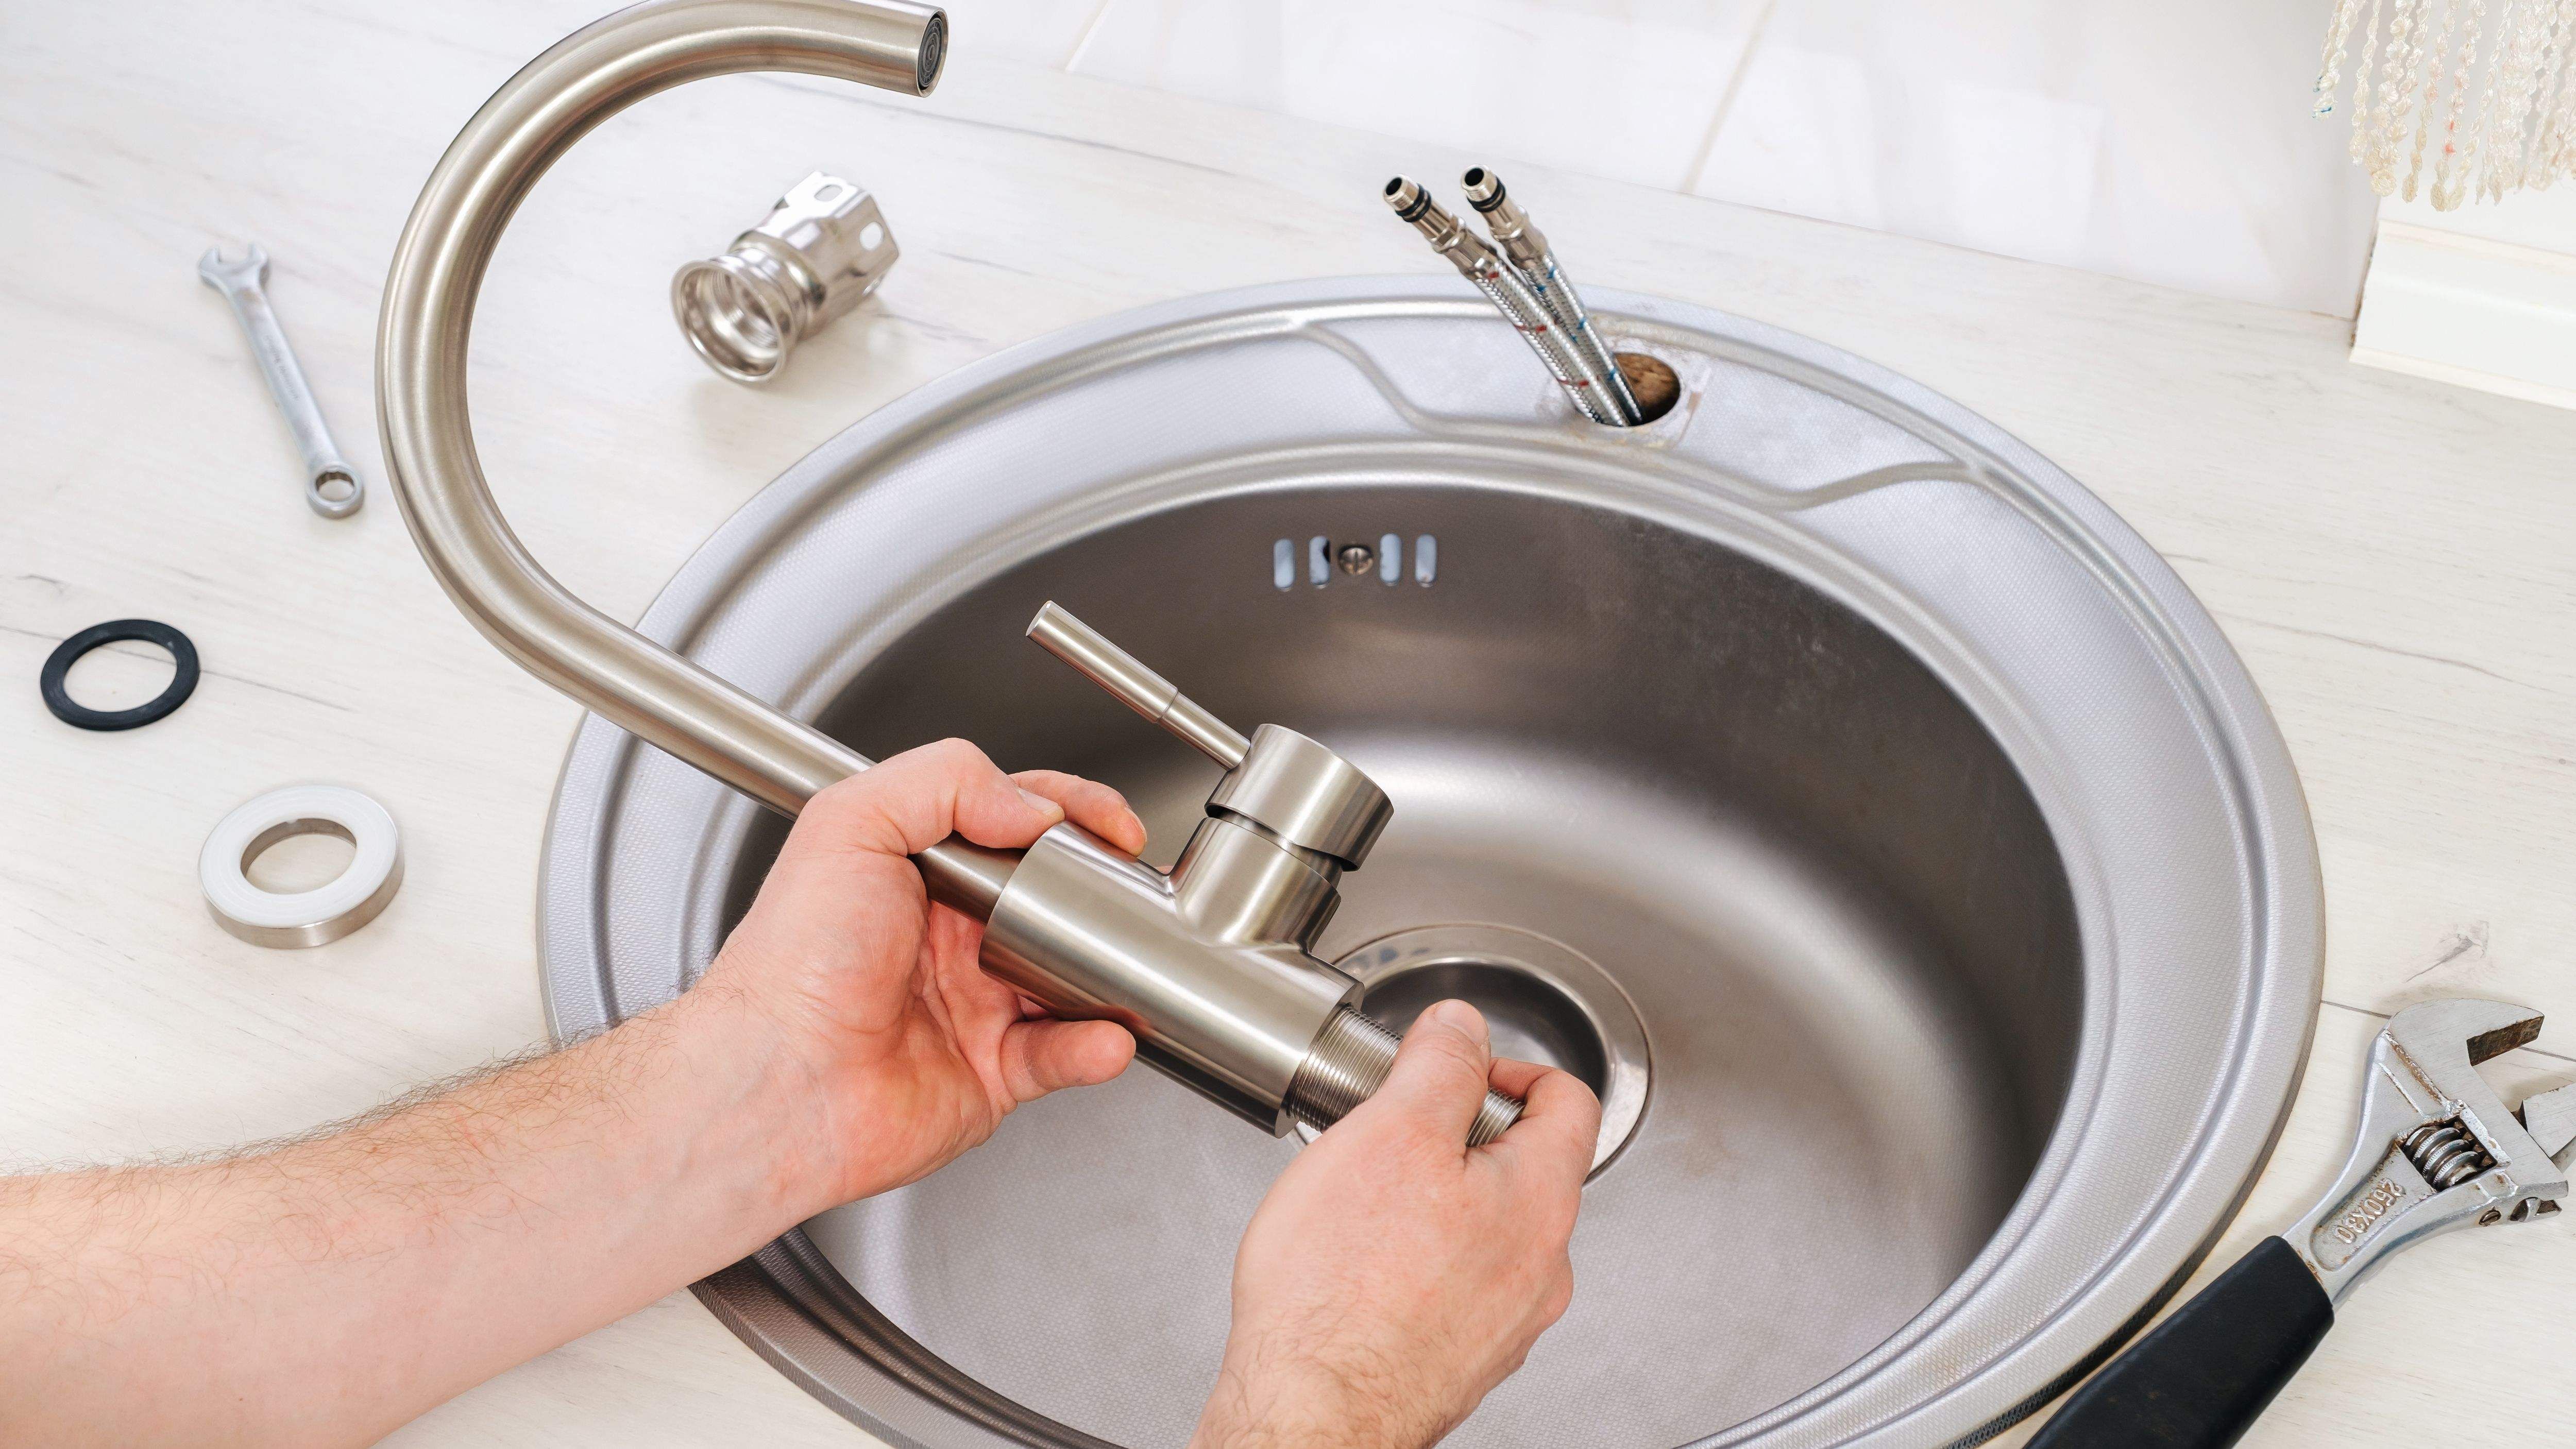
Choosing the perfect mixer tap for your kitchen sink can make a big difference in the overall design and functionality of your kitchen. A mixer tap is a combination of both hot and cold water, allowing for easier and more precise control over water temperature and flow. But with so many options available, it can be overwhelming to find the right one that fits your kitchen's style and needs.
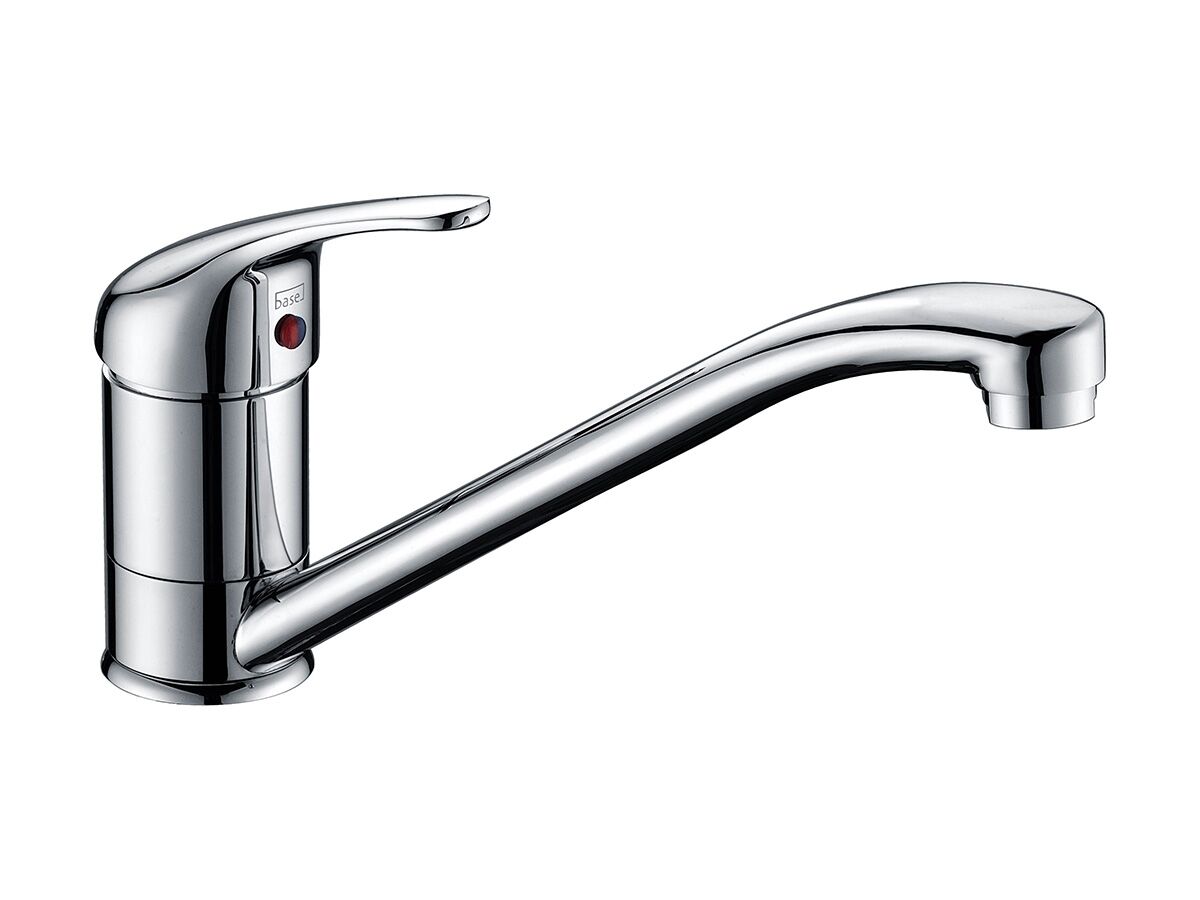
When it comes to fitting a mixer tap in your kitchen sink, one of the main considerations is the design and style of the tap. The tap should not only complement the overall design of your kitchen but also be practical and functional. For instance, if you have a modern, minimalist kitchen, a sleek and simple mixer tap would be a great fit. On the other hand, if you have a more traditional or farmhouse-style kitchen, a mixer tap with a classic design and intricate details would be more suitable.
Another important factor to consider is the size of your kitchen sink and the space available for the tap. You want to make sure that the tap is proportionate to the sink and that there is enough room for it to function properly. A tap that is too big for the sink can cause splashing and make it difficult to wash larger pots and pans. Conversely, a tap that is too small may not provide enough water flow and can be inconvenient to use.
In addition to design and size, it is essential to consider the material and finish of the mixer tap. The most common materials used for taps are stainless steel, chrome, and brass. Stainless steel is durable and resistant to corrosion, making it a popular choice for kitchen taps. Chrome, on the other hand, is sleek and modern, but it may be prone to scratches and water spots. Brass is a more traditional material that adds a touch of elegance to a kitchen, but it requires regular maintenance to prevent tarnishing.
Lastly, think about the features and functionality that you want in a mixer tap. Some taps come with additional features like pull-out sprays, water filters, and different spray patterns. These can be useful and convenient, but they also add to the cost. Consider your needs and budget before deciding on any extra features for your mixer tap.
In conclusion, choosing the right mixer tap for your kitchen sink is crucial for both the design and functionality of your kitchen. Keep in mind the design, size, material, and features when making your decision. With the right mixer tap, you can elevate the look of your kitchen and make everyday tasks easier and more enjoyable.

