If you're looking to update your kitchen with stylish and budget-friendly cabinets, IKEA is a great option. Their flat-pack cabinets are easy to assemble and can be customized to fit your space. But before you start, it's important to know how to properly install them to ensure a functional and beautiful kitchen. Here's a step-by-step guide on how to install IKEA kitchen cabinets.How to Install IKEA Kitchen Cabinets
The first step to installing any cabinets is to measure your space and plan out the layout. IKEA provides detailed instructions and planning tools to help you create a design that fits your needs. Make sure to measure the height, width, and depth of your space to determine the size of cabinets you'll need.Step 1: Measure and Plan
Before you start the installation process, make sure you have all the necessary tools and supplies. This includes a drill, level, measuring tape, screws, and any additional hardware that may be needed for your specific cabinet style. It's also helpful to have a friend or family member to assist with the installation.Step 2: Gather Tools and Supplies
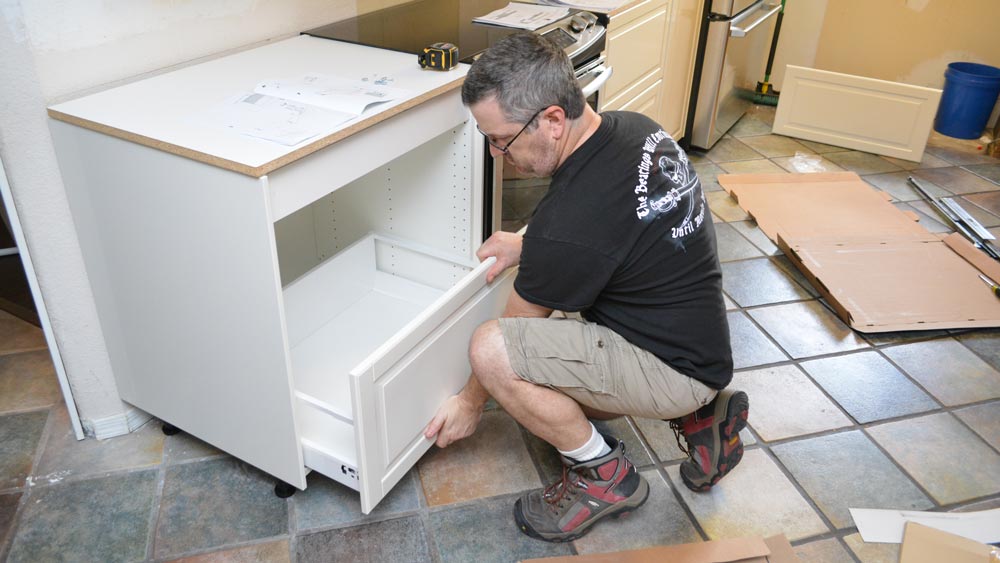
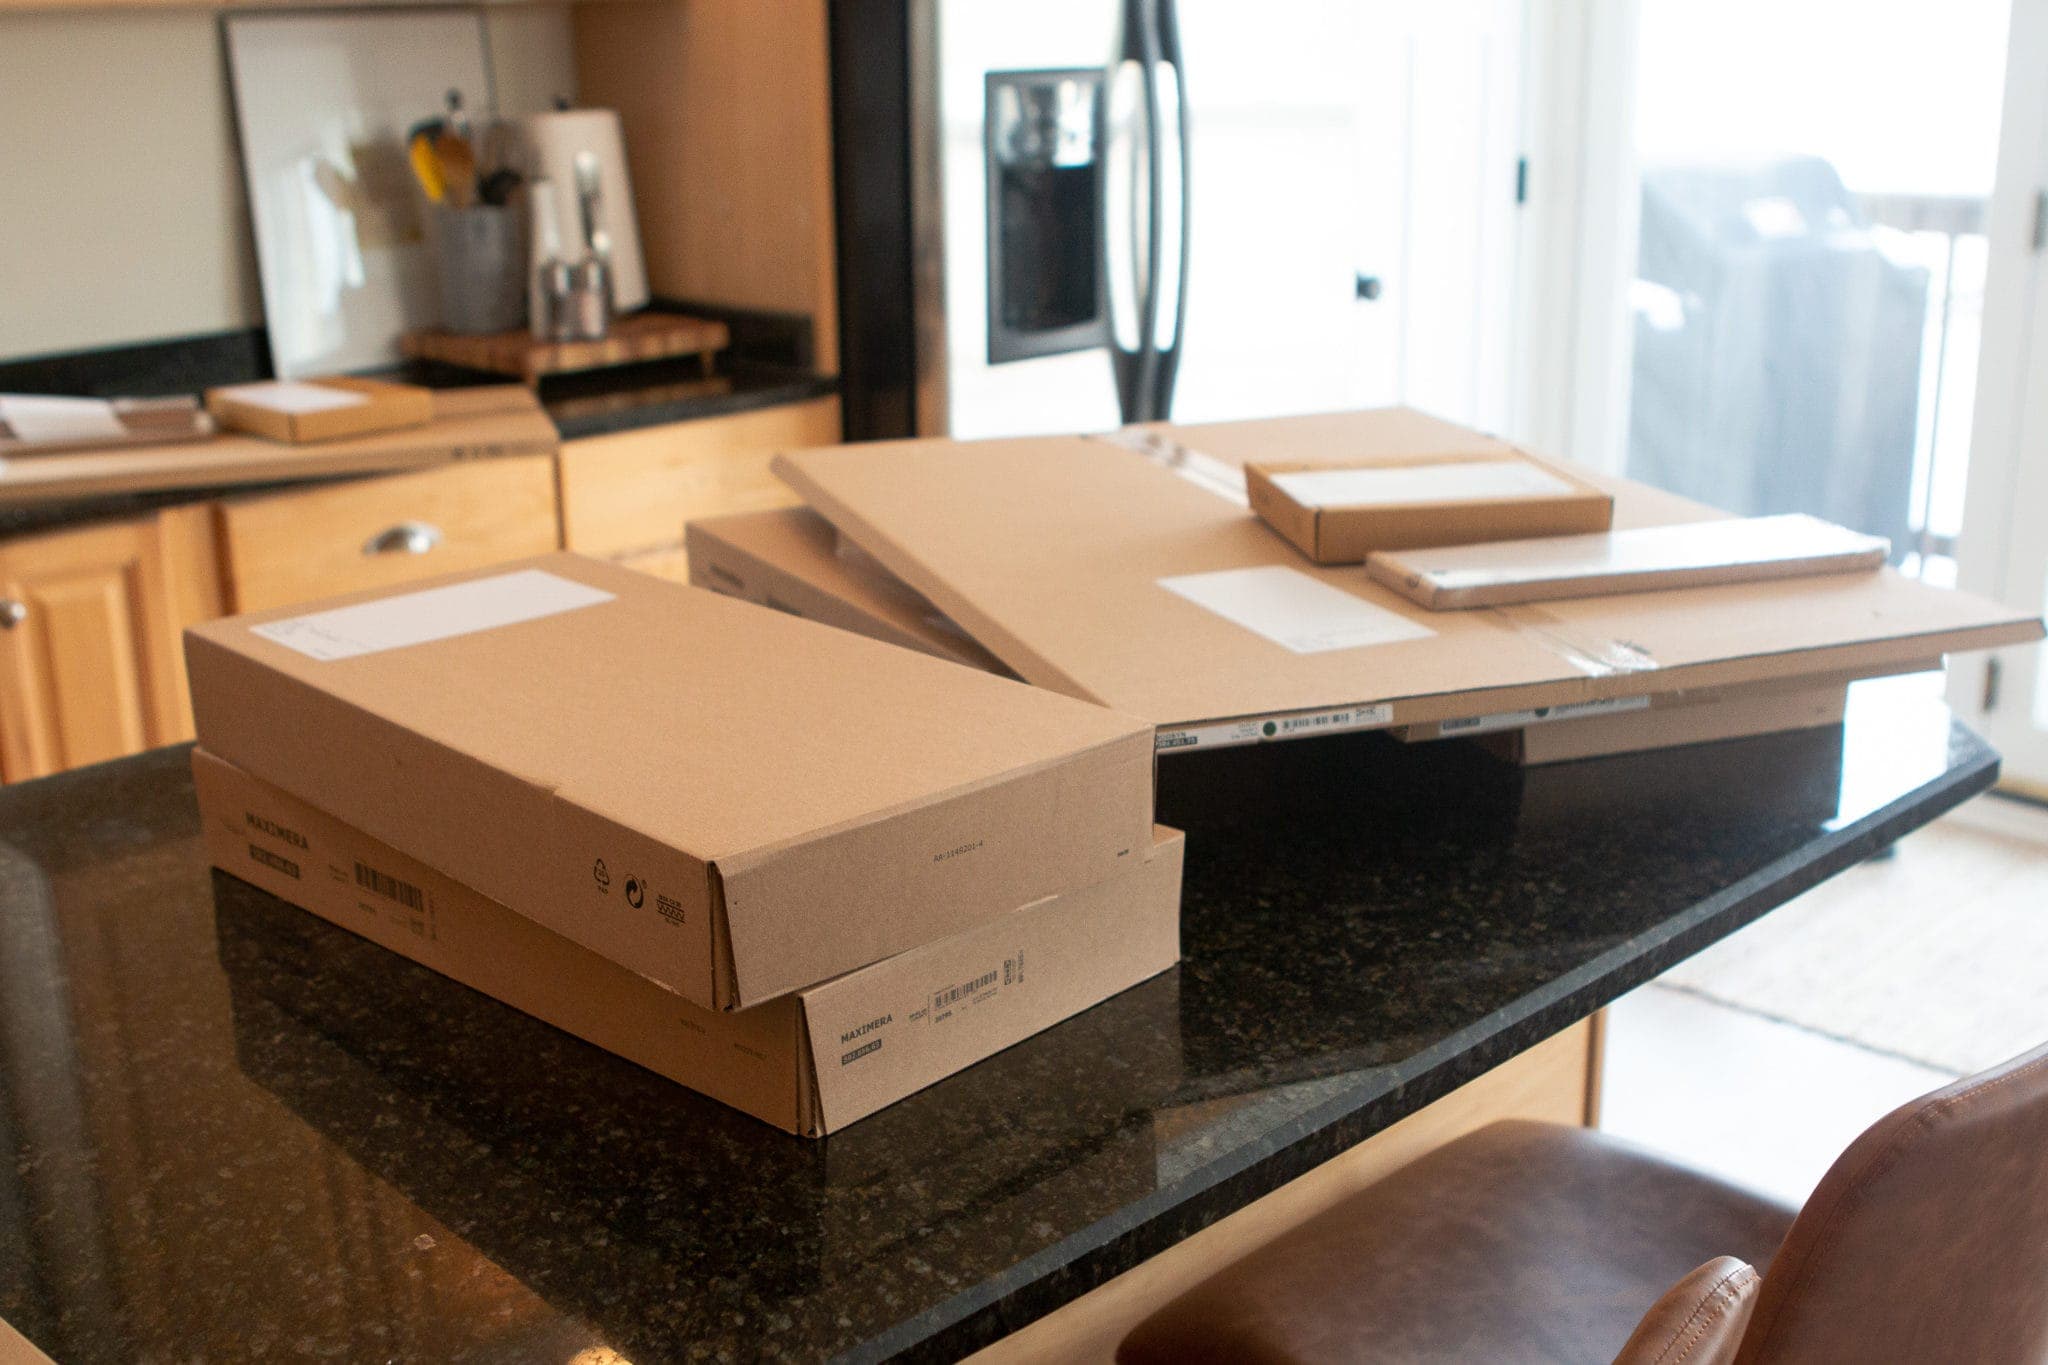
IKEA cabinets come in flat-pack boxes and require assembly before installation. Follow the instructions provided to put together each cabinet, making sure to tighten all screws and attach any necessary hardware.Step 3: Assemble the Cabinets
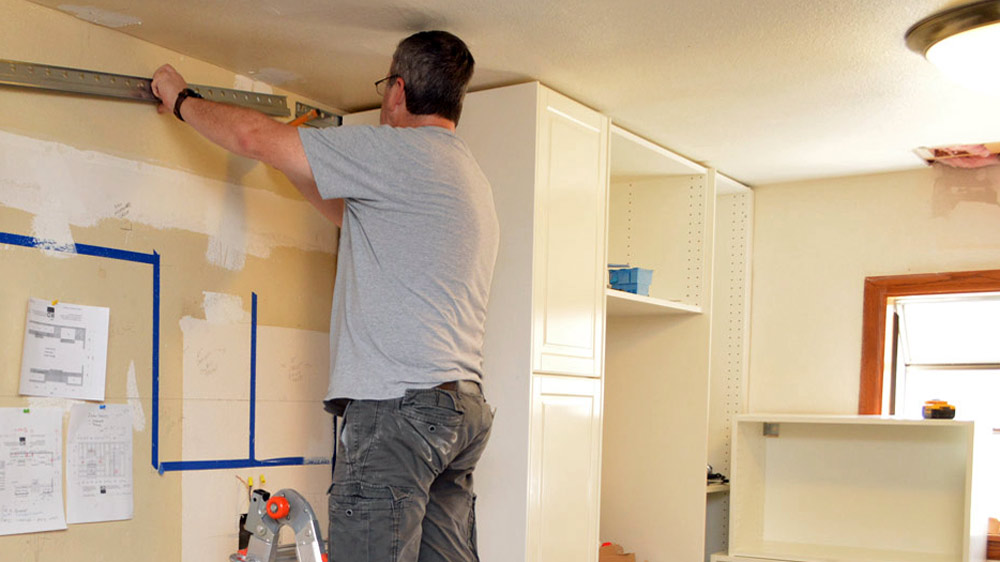
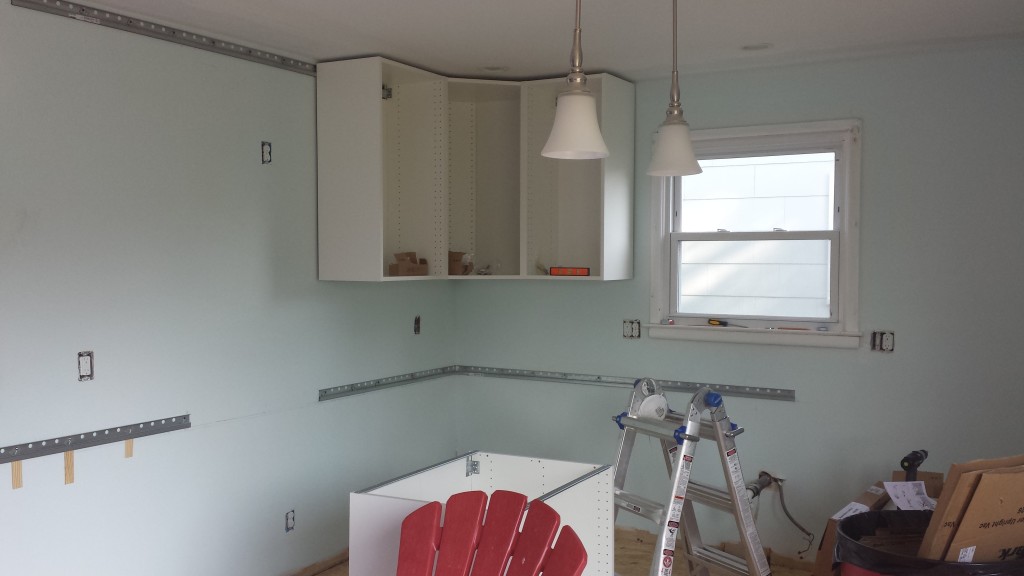
The suspension rail is the key to securely installing your cabinets. It is a metal bar that is attached to the wall and supports the weight of the cabinets. Make sure to use a level to ensure the rail is straight and securely attached to the wall.Step 4: Install the Suspension Rail
Once the suspension rail is installed, it's time to hang the upper cabinets. Start by attaching the cabinets to each other and then to the rail. Use a level to make sure they are straight and adjust as needed. Secure the cabinets to each other and the wall using screws.Step 5: Hang the Upper Cabinets
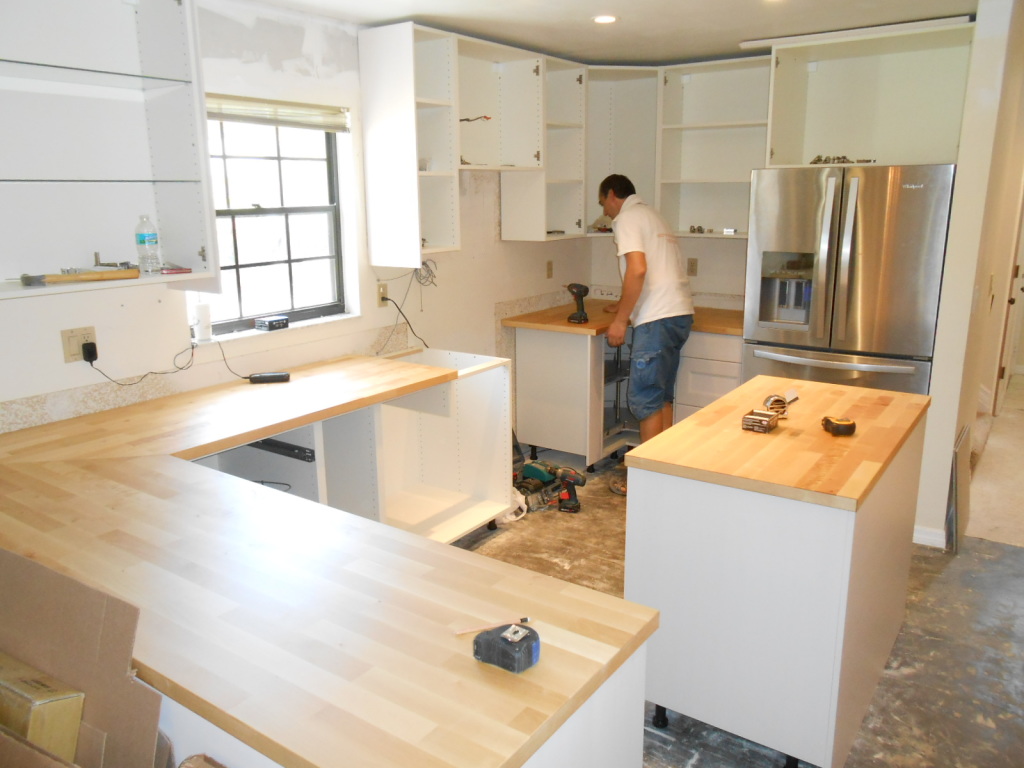
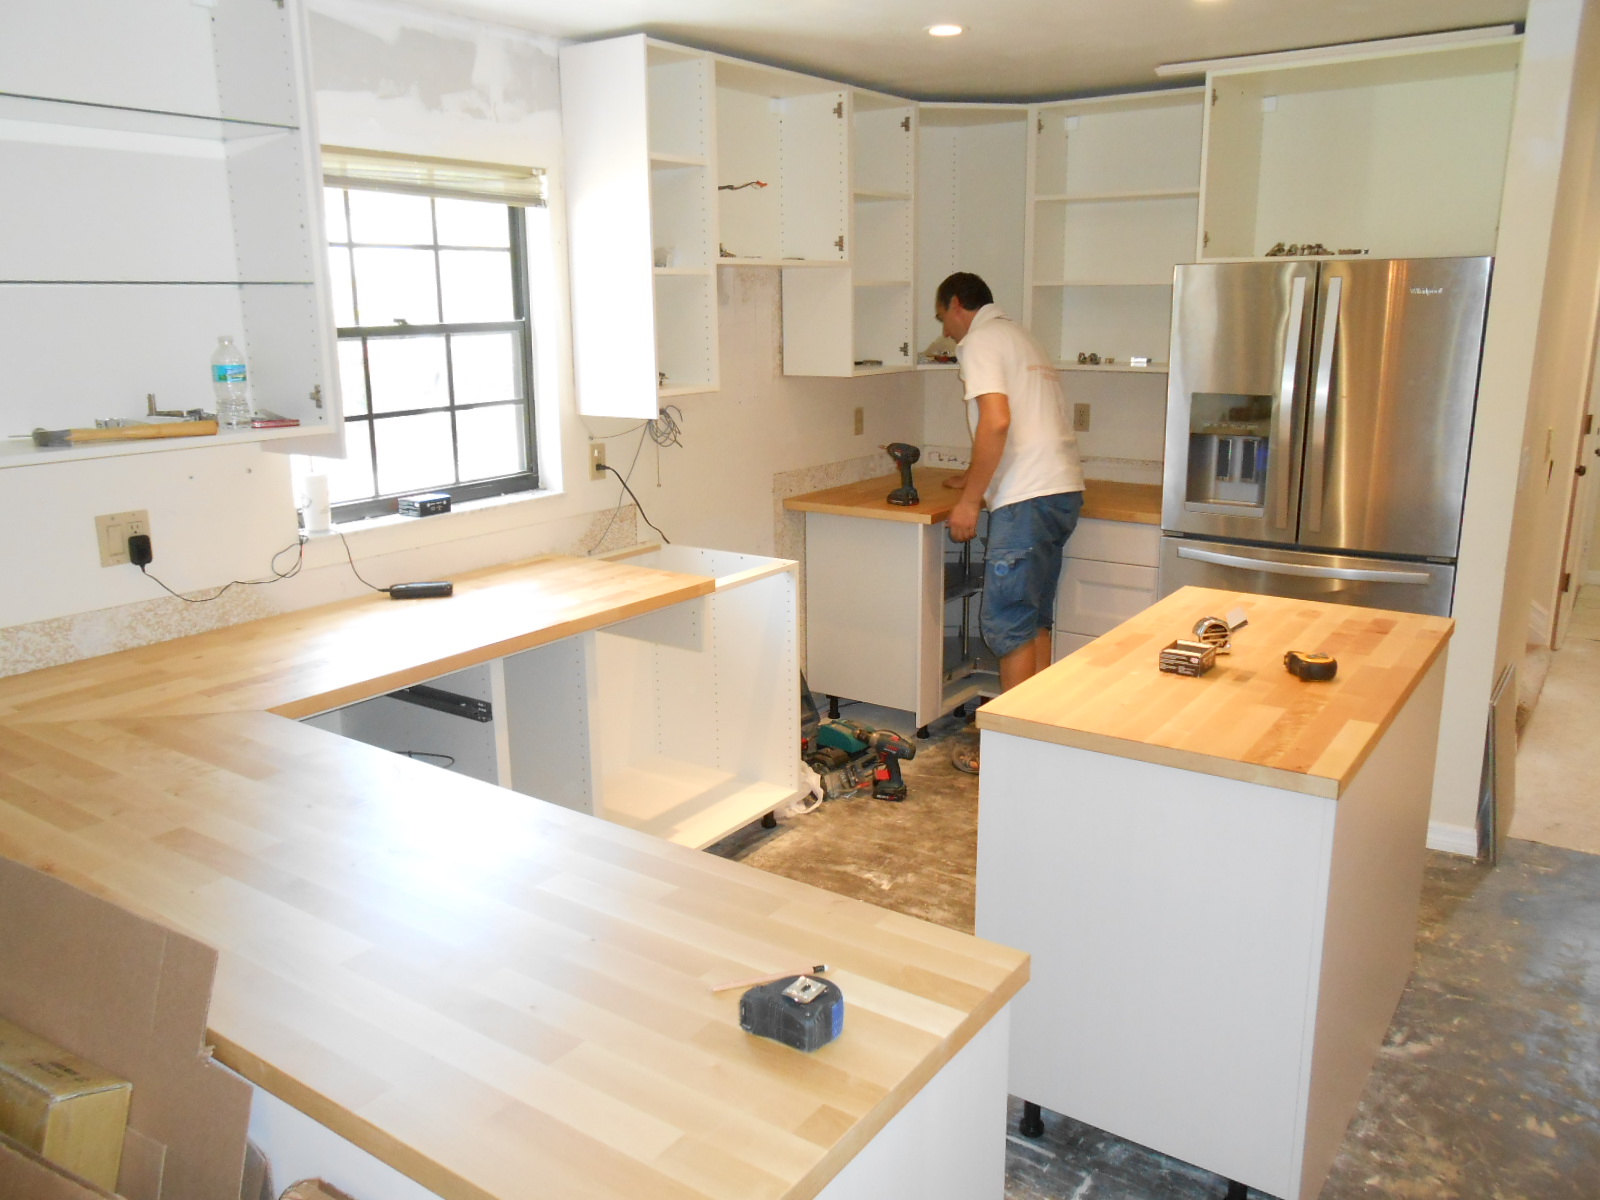
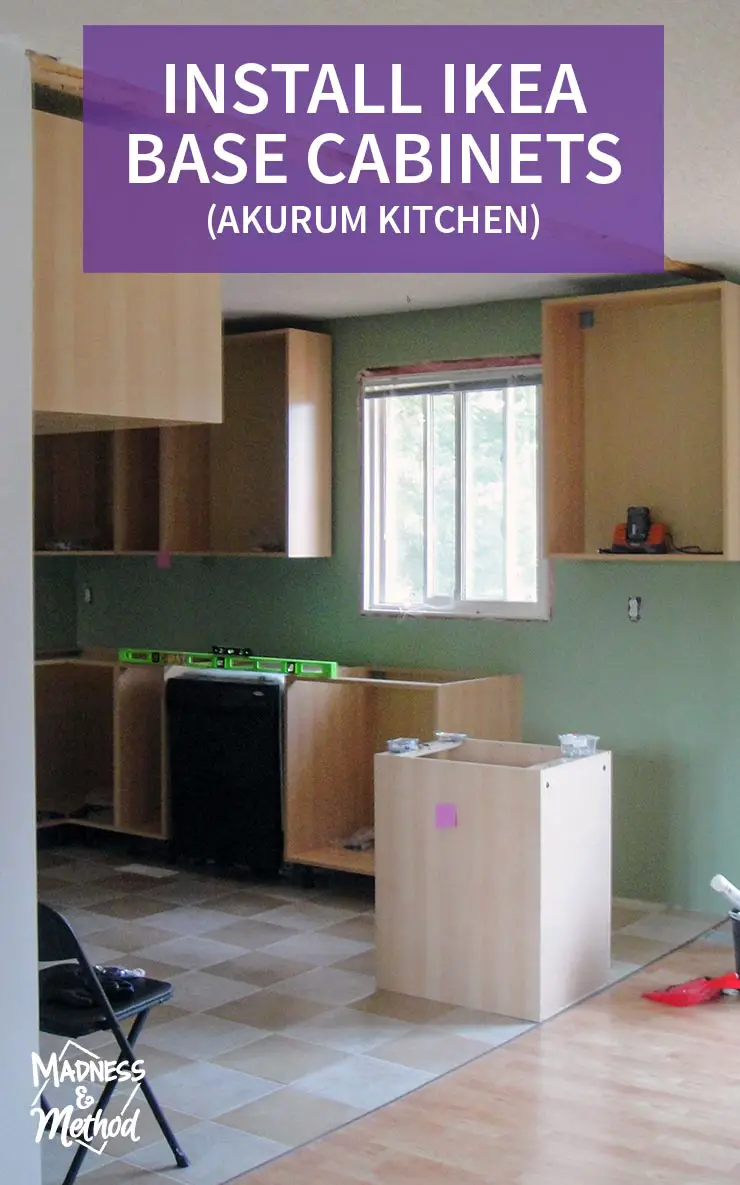
Next, install the base cabinets following the same process. Make sure to use shims to level the cabinets and attach them to the wall using screws. You can also add feet or a toe kick to elevate the cabinets off the ground for a more finished look.Step 6: Install the Base Cabinets
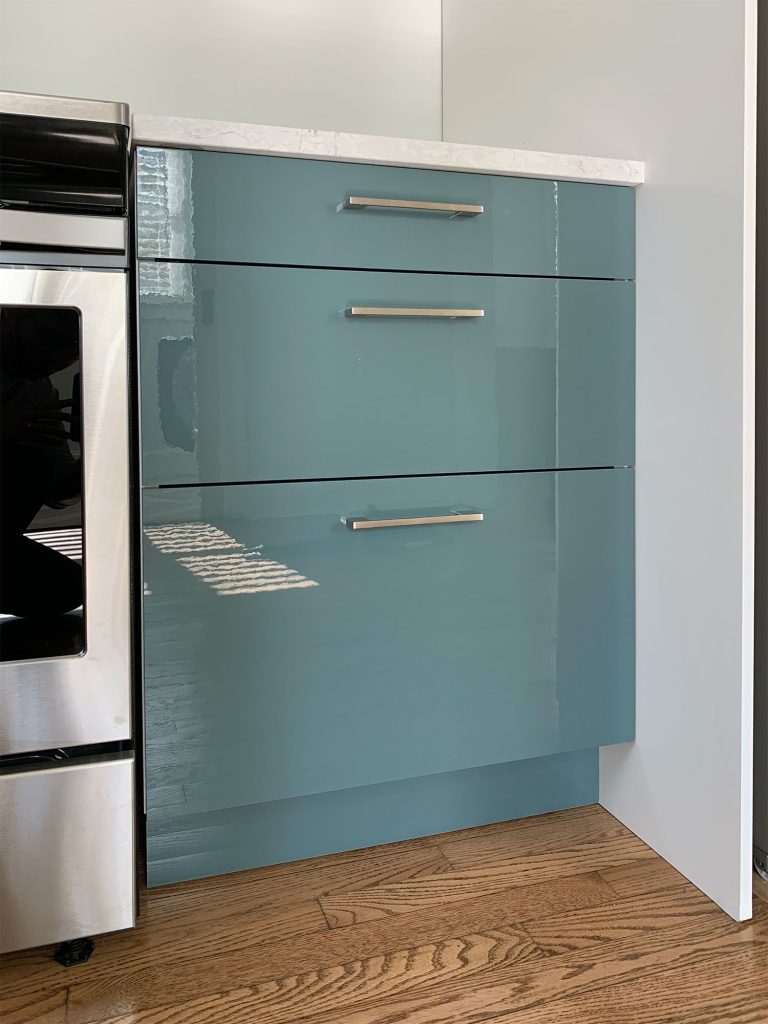
Once all the cabinets are installed, it's time to add the finishing touches. Attach doors and drawers according to the instructions provided and install any hardware, such as knobs or handles. This is where you can get creative and add your own personal touch to the cabinets.Step 7: Add Doors, Drawers, and Hardware
With the cabinets installed, it's time to add the final elements to your kitchen. Install your chosen countertops and add a backsplash for a polished look. This step may require some professional help, so make sure to do your research and hire a reputable company.Step 8: Finish with Countertops and Backsplash
Congratulations, you have successfully installed your IKEA kitchen cabinets! Take a step back and admire your hard work. Not only did you save money by installing the cabinets yourself, but you also have a completely customized kitchen that fits your style and needs.Step 9: Enjoy Your New Kitchen
Why Fitting IKEA Kitchen Wall Cupboards is the Perfect Choice for Your Home
The Benefits of IKEA Kitchen Wall Cupboards
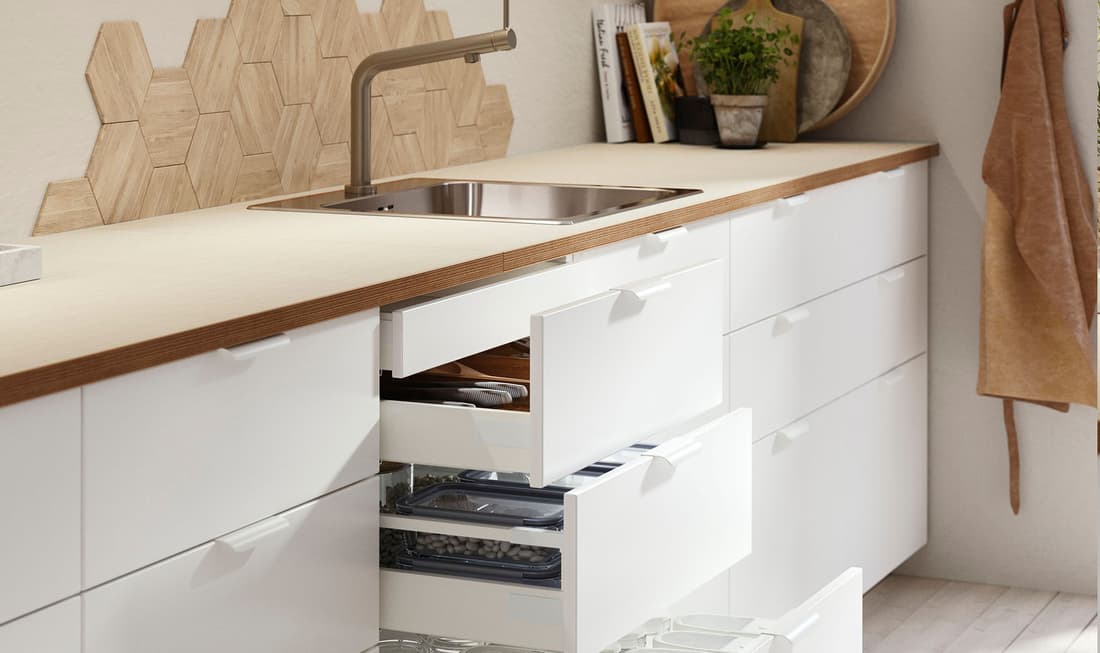
 IKEA kitchen wall cupboards are a popular choice among homeowners looking to design their dream kitchen. These versatile, stylish and affordable cabinets are not only functional but also add a touch of modernity to any kitchen design. The main keyword, "fitting IKEA kitchen wall cupboards," is a crucial aspect of creating a well-organized and efficient kitchen space. So, let's take a look at why choosing IKEA kitchen wall cupboards is the perfect choice for your home.
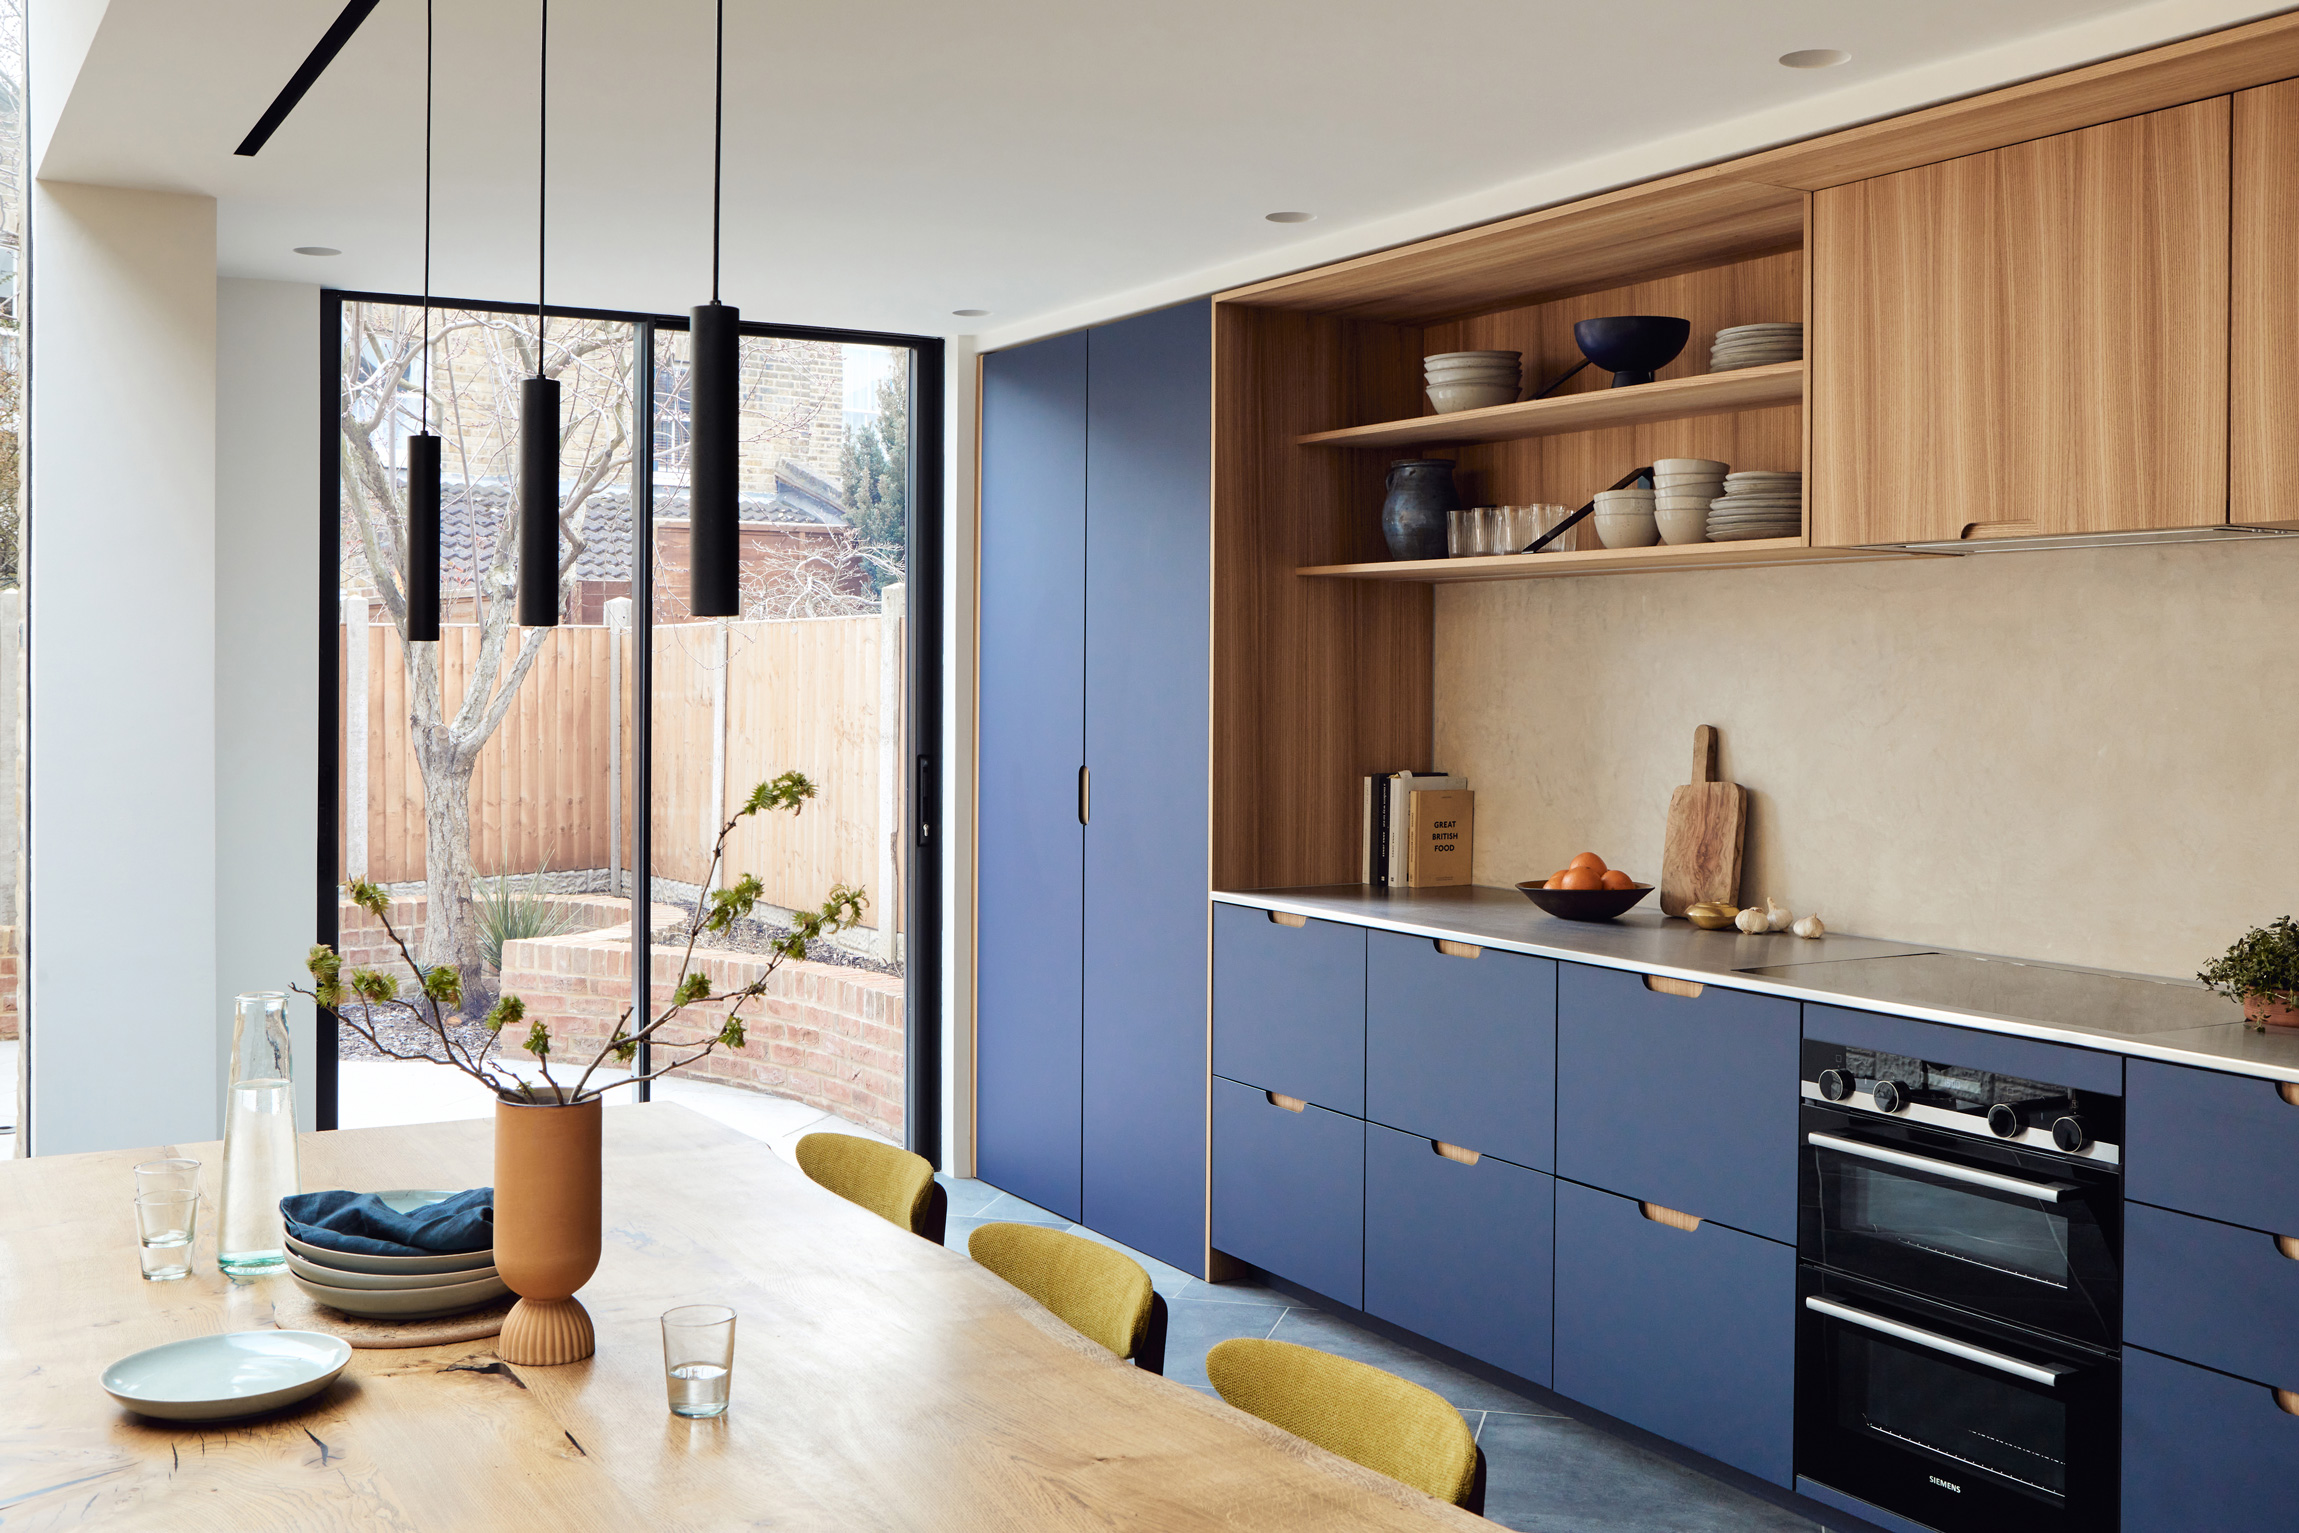
Sleek and Modern Design
Space-Saving Solution
 Another significant advantage of fitting IKEA kitchen wall cupboards is the space-saving solution they provide. In a small or compact kitchen, wall cupboards are a great way to utilize vertical space and free up precious counter space. This is particularly helpful for those who have limited kitchen space but still want to make the most out of their design. With IKEA wall cupboards, you can store all your kitchen essentials in an organized and accessible manner, without sacrificing valuable space.
Easy to Assemble
 One of the standout features of IKEA furniture is its easy assembly process. The same goes for their kitchen wall cupboards. With detailed instructions and a user-friendly design, you can easily assemble them yourself, saving time and money on professional installation services. Additionally, the cabinets come with adjustable shelves, making it easier to customize the storage space according to your needs.
Affordable and Durable
 Last but not least, IKEA kitchen wall cupboards are an affordable and durable option for any homeowner. With their high-quality materials and sturdy construction, these cabinets can withstand daily wear and tear, making them a long-term investment for your home. Moreover, the affordability factor allows you to revamp your kitchen without breaking the bank.
In conclusion, fitting IKEA kitchen wall cupboards is not only a practical choice for your kitchen but also a stylish and budget-friendly one. With their sleek design, space-saving solution, easy assembly and durability, it's no wonder why they are a top choice among homeowners. So, if you're looking to design your dream kitchen, consider incorporating IKEA kitchen wall cupboards for a functional and modern space.


