If you're looking to update your bathroom or simply want to replace an old sink, fitting a new bathroom sink is a great DIY project that can make a big impact. With the right tools and materials, you can easily install a new sink in a few simple steps. In this guide, we'll walk you through the process of fitting a bathroom sink and give you some tips to ensure a successful installation.How to Fit a Bathroom Sink


How to Fit a Bathroom Sink


Installing a new bathroom sink yourself can save you money and give you a sense of accomplishment. However, it's important to have some basic plumbing knowledge and experience with DIY projects before attempting this task. If you're new to DIY or have any doubts about your abilities, it's best to hire a professional plumber to ensure the job is done correctly.DIY Bathroom Sink Installation


DIY Bathroom Sink Installation


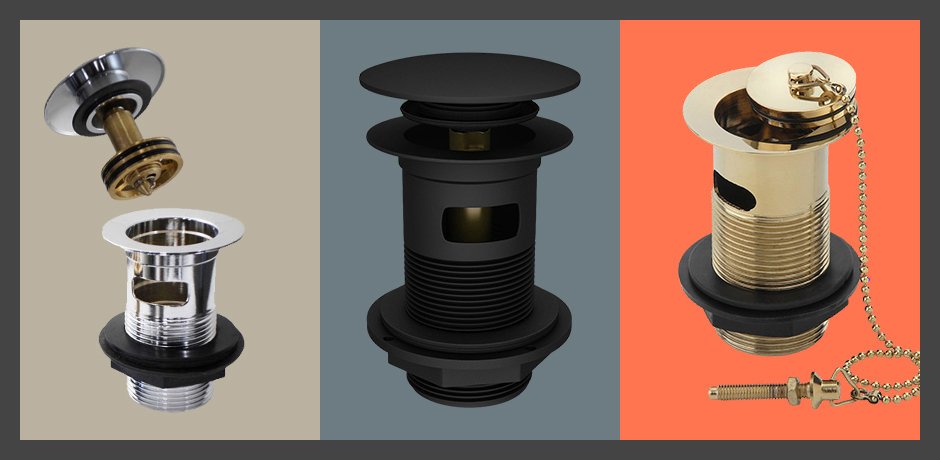
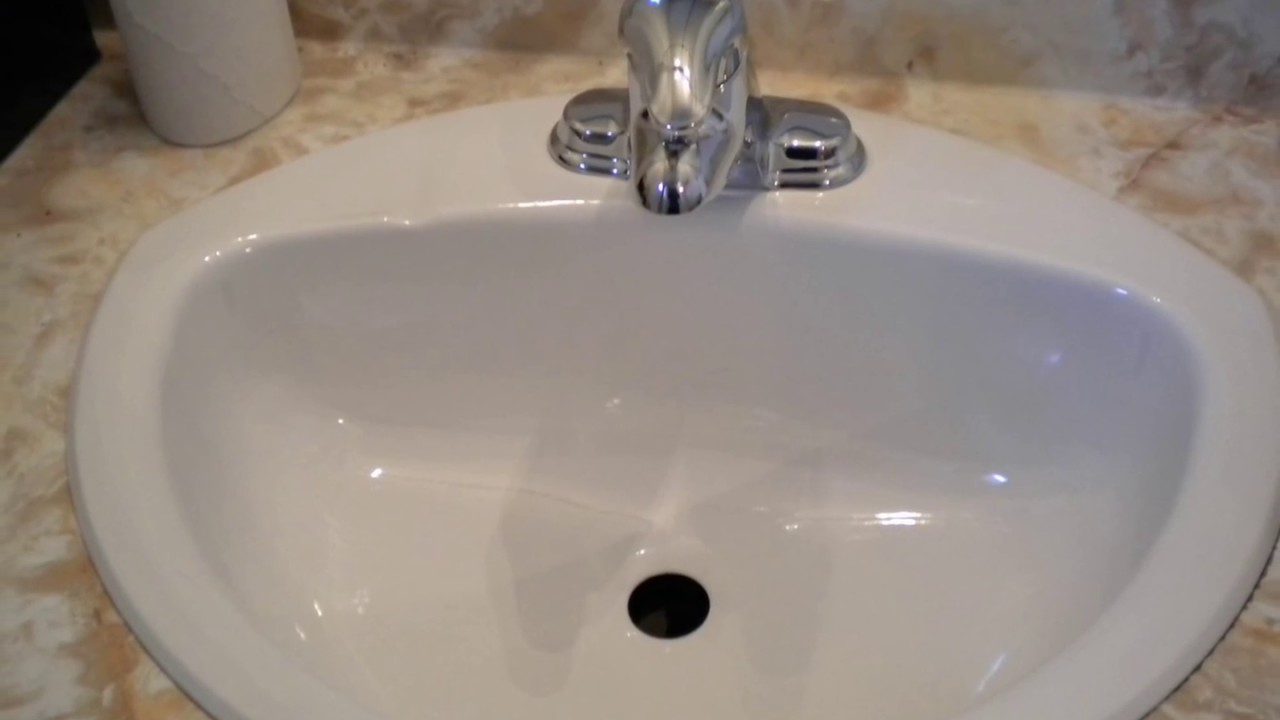
Before you begin the installation process, make sure you have all the necessary tools and materials. This may include a wrench, pliers, screwdriver, silicone sealant, and the new sink and faucet. Now, let's get started on fitting your new bathroom sink. Step 1: Turn off the water supply to your sink and remove the old sink and faucet. Make sure to place a bucket underneath the pipes to catch any water that may leak out. Step 2: Measure the space where your new sink will be installed and mark the placement of the sink and faucet holes. If your sink is a different size or shape than the old one, you may need to make adjustments to the plumbing and countertop. Step 3: Apply plumber's putty or silicone sealant around the edge of the sink and carefully place it into the hole, making sure it is level. Step 4: Install the faucet according to the manufacturer's instructions, making sure to tighten all connections and test for any leaks. Step 5: Connect the water supply lines to the faucet, making sure the hot and cold lines are correctly connected. Step 6: Install the drain assembly by connecting it to the bottom of the sink and then attaching it to the drain pipe in the wall. Step 7: Turn the water supply back on and test the sink for any leaks. If everything looks good, you're ready to use your new bathroom sink!Step-by-Step Guide for Installing a Bathroom Sink


Step-by-Step Guide for Installing a Bathroom Sink


Tip 1: Before installing the new sink, make sure the countertop is clean and free of any old sealant or debris. Tip 2: If your new sink doesn't come with a template, create one by tracing the outline of the sink onto a piece of cardboard or paper. This will help ensure a precise fit. Tip 3: Always turn off the water supply before starting any plumbing work. Tip 4: Use a towel or rag to prevent scratches while tightening or connecting plumbing parts. Tip 5: Allow the silicone sealant to dry completely before using the sink.Bathroom Sink Installation Tips


Bathroom Sink Installation Tips


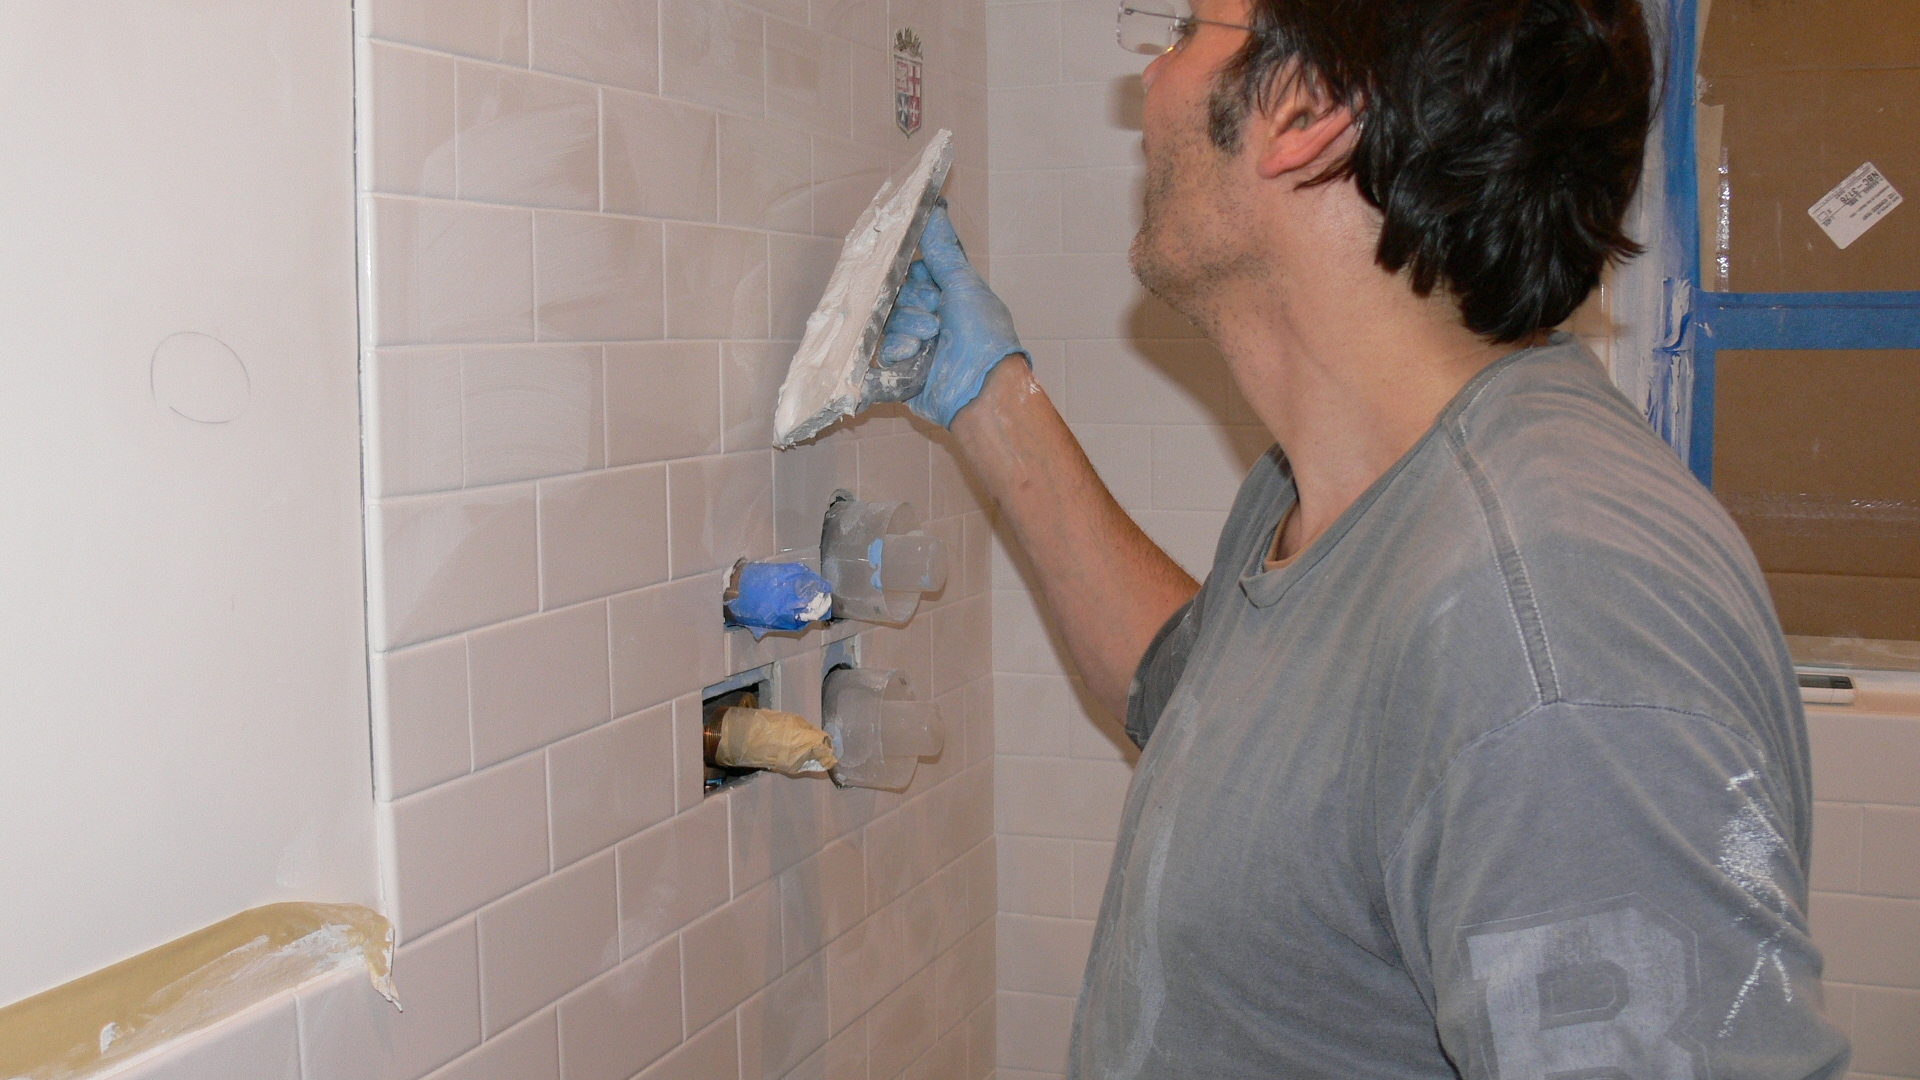
If you're installing a new sink in a bathroom that didn't previously have one, the process may be a bit more involved. In addition to the steps mentioned above, you may need to install new plumbing lines and make adjustments to the countertop to accommodate the sink. It's best to consult a professional plumber for this type of installation to ensure it is done correctly and safely.Installing a New Bathroom Sink


Installing a New Bathroom Sink
:max_bytes(150000):strip_icc()/8_IMG_3767-56a4a2753df78cf772835b72.JPG)


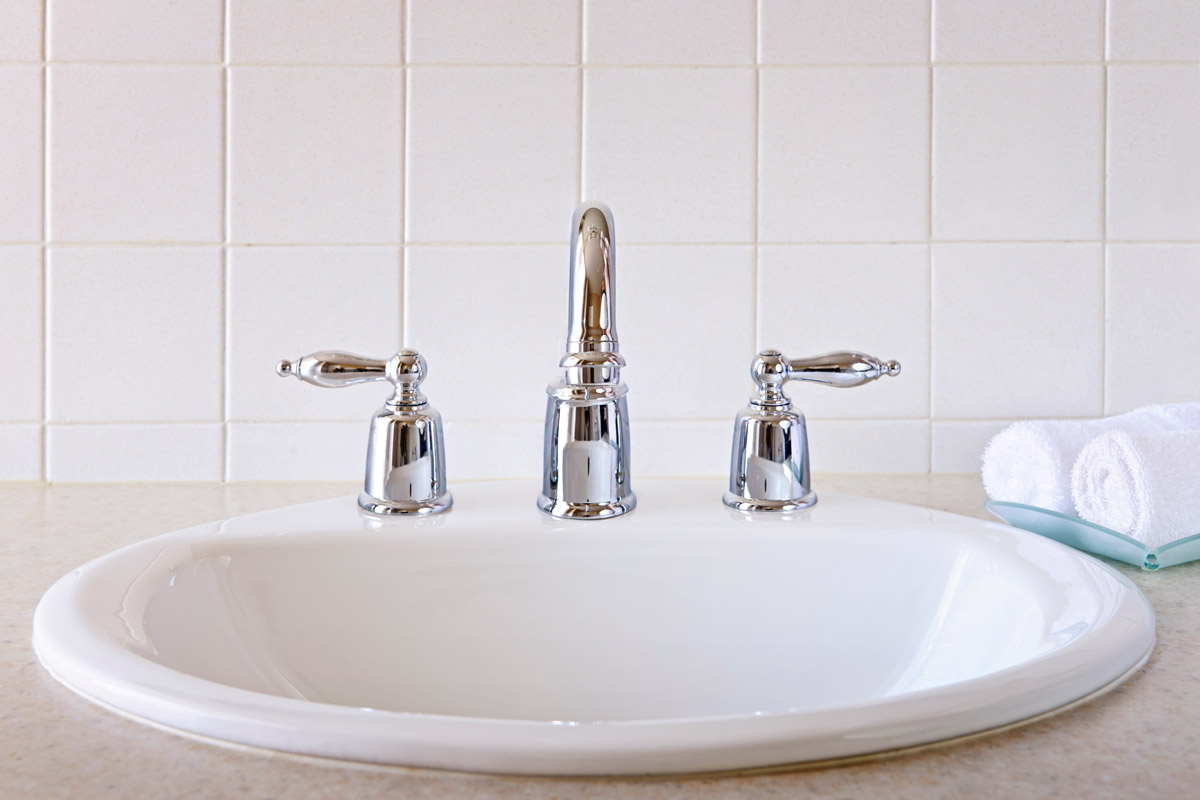
Replacing a bathroom sink can make a huge difference in the overall look and functionality of your bathroom. If your sink is old, damaged, or simply doesn't fit your style anymore, it may be time for a replacement. Remember to carefully measure the space and choose a sink that fits your needs and complements your bathroom design.Bathroom Sink Replacement Guide


Bathroom Sink Replacement Guide


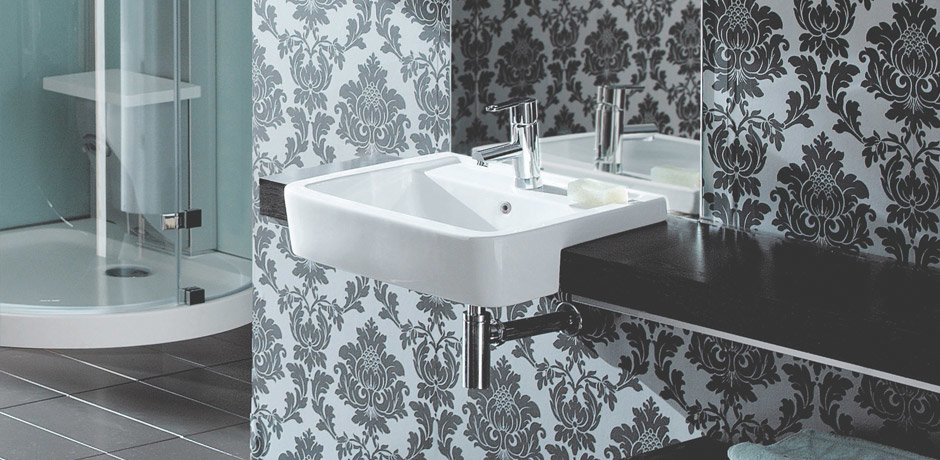
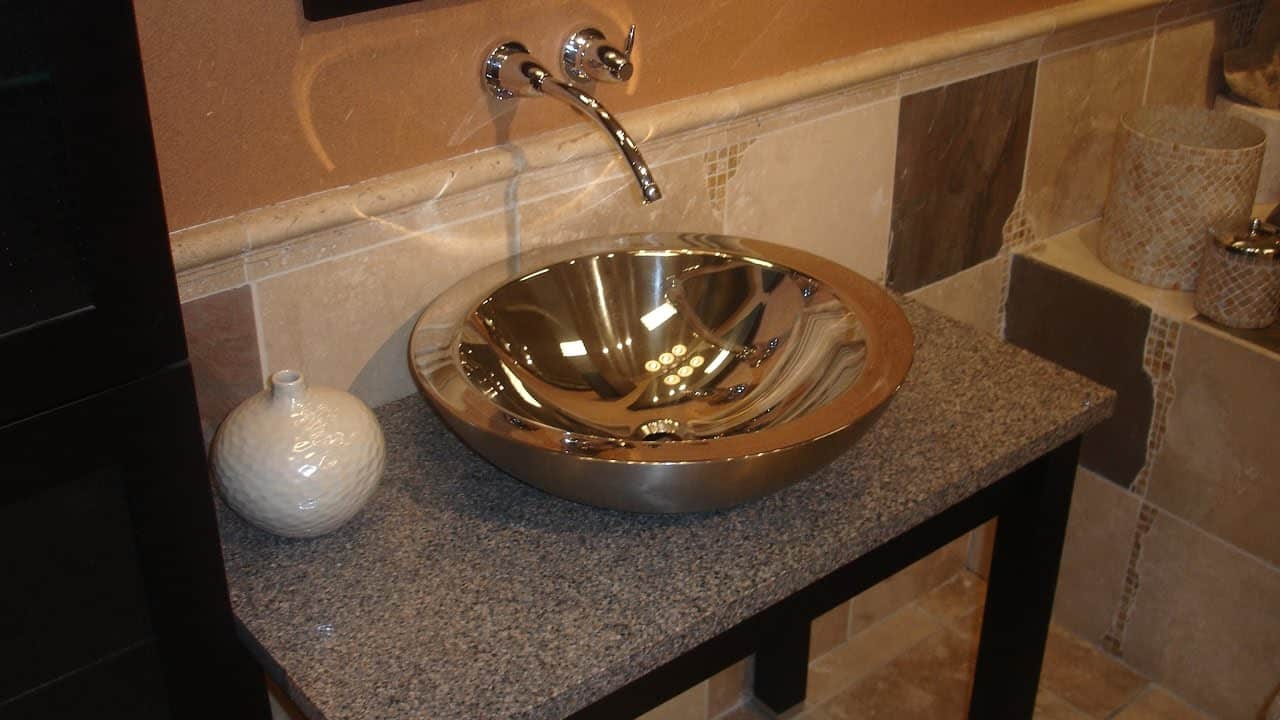
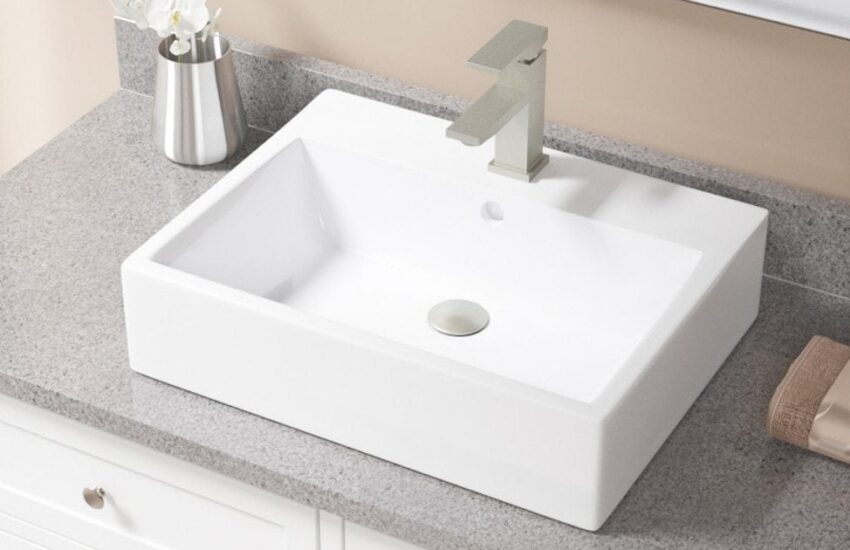
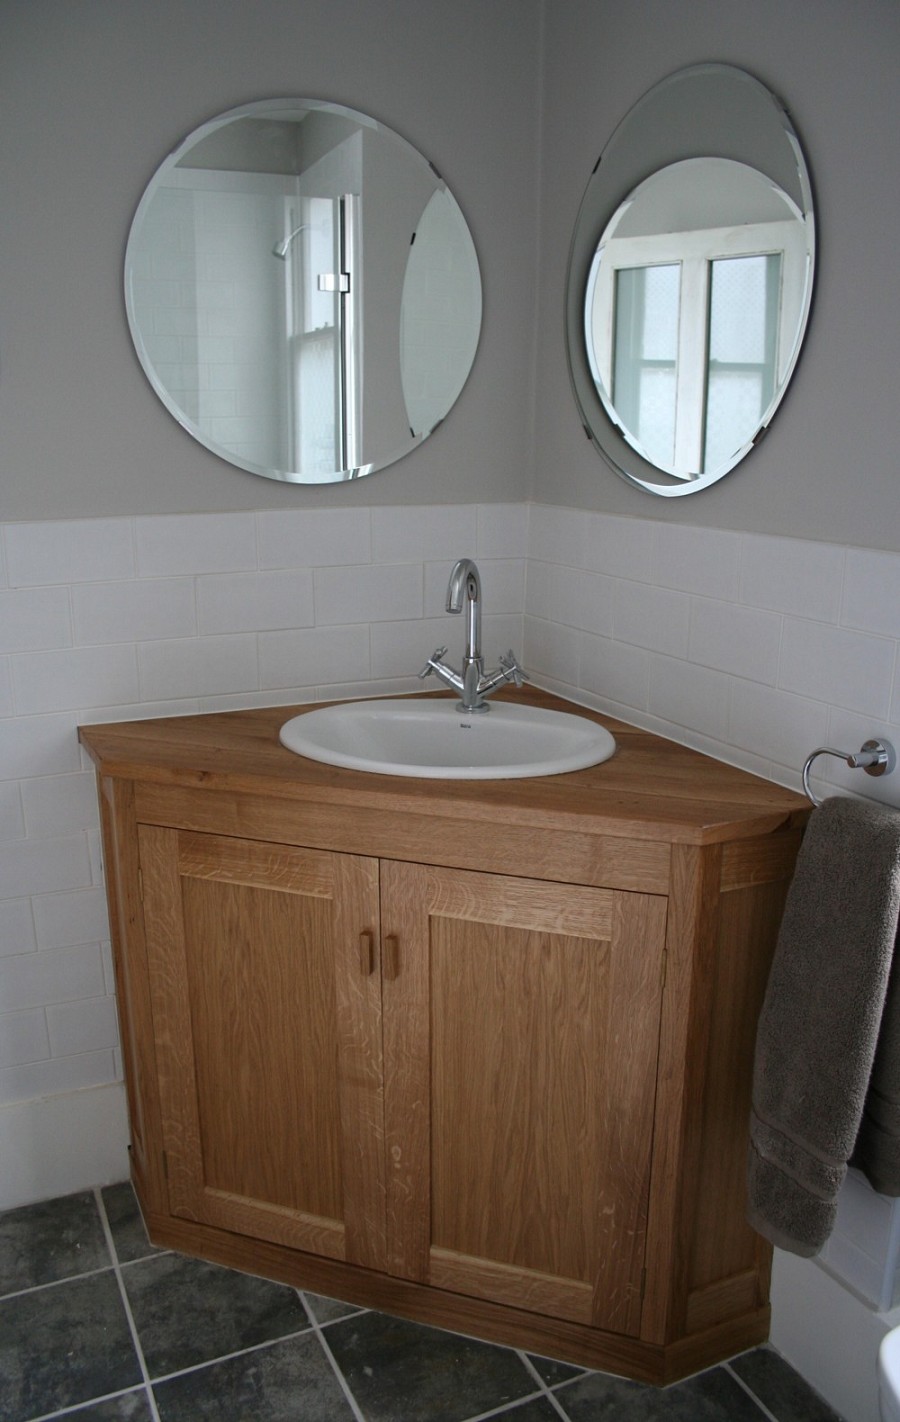
When selecting a new bathroom sink, consider the size and layout of your bathroom, as well as your personal preferences and needs. There are many types of sinks available, including pedestal, drop-in, undermount, and vessel sinks. Think about the style and functionality you want and choose a sink that fits your budget and complements your bathroom's overall design.Choosing the Right Bathroom Sink for Your Space


Choosing the Right Bathroom Sink for Your Space


While fitting a bathroom sink may seem like a simple task, there are some common mistakes that can lead to a less-than-perfect result. These include not turning off the water supply, using the wrong tools or materials, and not properly sealing the sink. To avoid any issues, make sure to follow the instructions carefully and double-check your work before turning the water back on.Common Mistakes to Avoid When Installing a Bathroom Sink


Common Mistakes to Avoid When Installing a Bathroom Sink


As mentioned earlier, having the right tools and materials is crucial for a successful bathroom sink installation. Some of the essential items you'll need include a wrench, pliers, screwdriver, silicone sealant, and the new sink and faucet. It's also a good idea to have a bucket and towel handy to catch any water and prevent scratches.Tools and Materials Needed for Fitting a Bathroom Sink


Tools and Materials Needed for Fitting a Bathroom Sink


Deciding whether to hire a professional or do a DIY bathroom sink installation ultimately depends on your skills, knowledge, and comfort level with plumbing work. If you're experienced with DIY projects and feel confident in your abilities, then installing a bathroom sink yourself can save you money. However, if you're unsure or don't have much experience, it's best to hire a professional plumber to ensure the job is done correctly and safely.Professional vs. DIY Bathroom Sink Installation: Which is Right for You?


Professional vs. DIY Bathroom Sink Installation: Which is Right for You?


:max_bytes(150000):strip_icc()/steam-cleaning-professional-vs-diy-2908776-hero-24ffd77737924bca908036dabcdcbbad.jpg)


Fitting a Bathroom Sink: A Step-by-Step Guide

Introduction
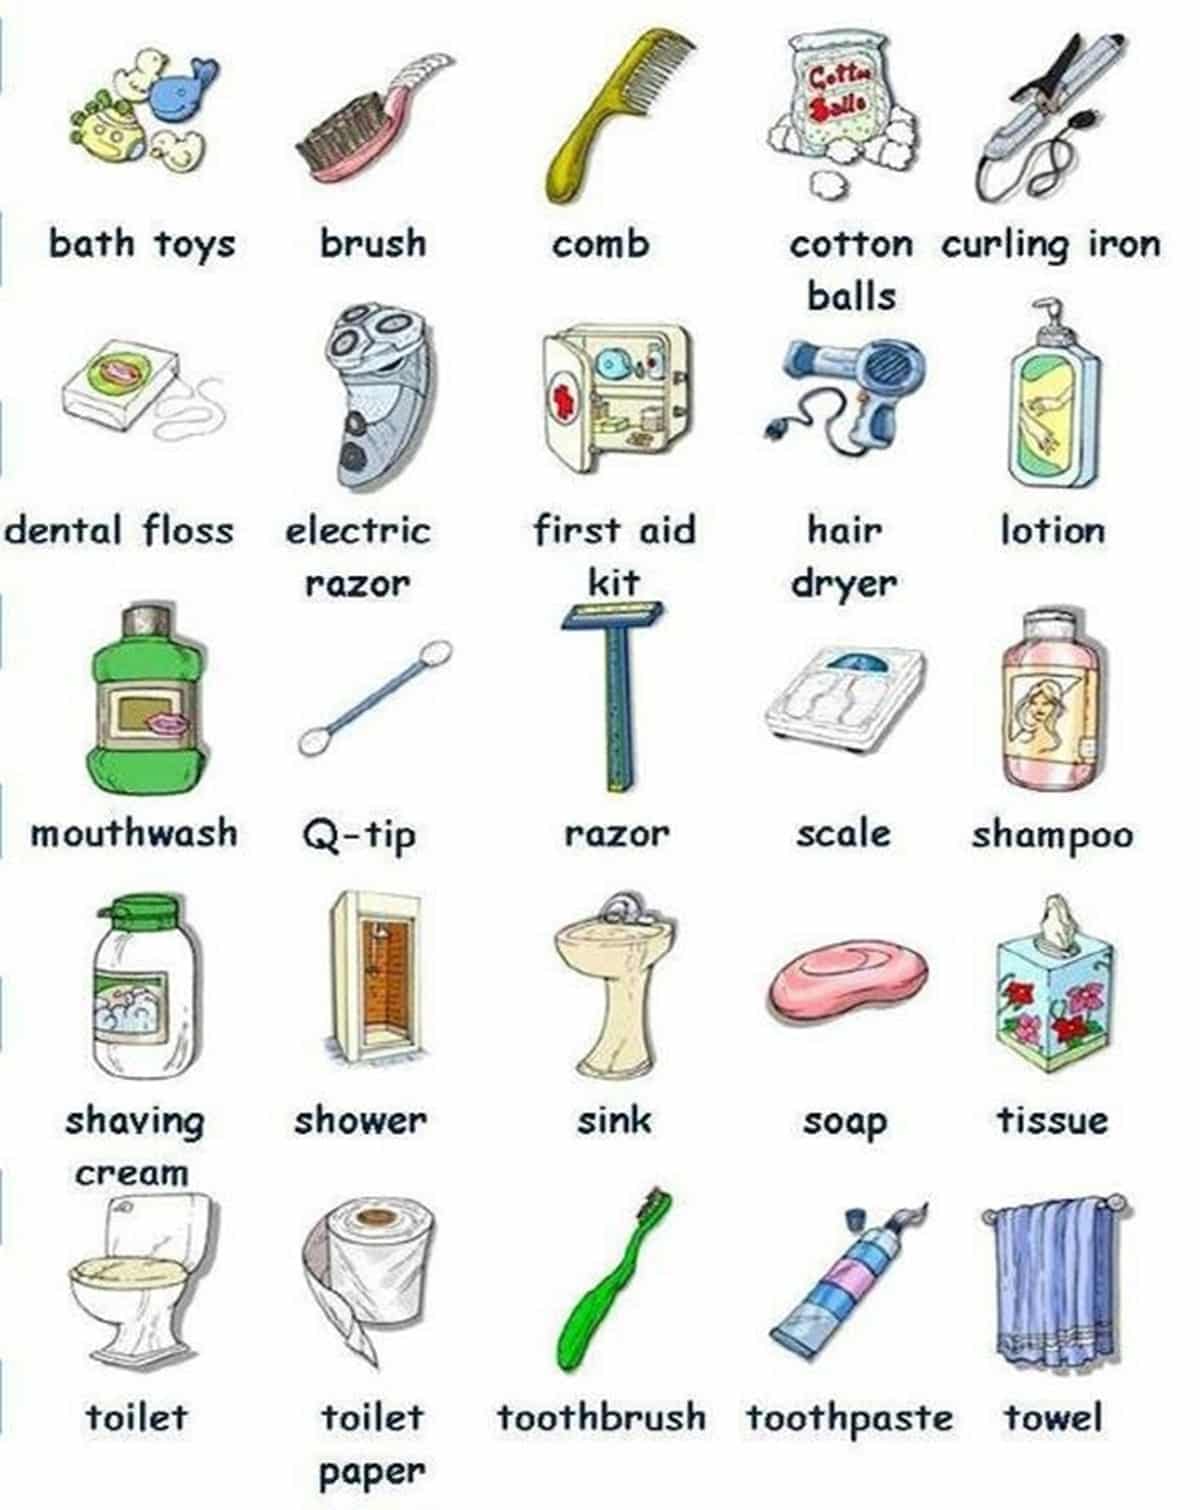
 When it comes to designing a new house or renovating an existing one, one of the most important spaces to consider is the bathroom. A well-designed bathroom not only adds value to your home, but it also plays a crucial role in your daily routine. One of the key elements in a bathroom is the sink, as it is used for various purposes such as washing your hands, brushing your teeth, and even doing your skincare routine. In this article, we will guide you through the process of fitting a bathroom sink, so you can have a functional and stylish addition to your bathroom.
Step 1: Choose the Right Sink
 The first step in fitting a bathroom sink is to choose the right one for your space. There are various types of sinks available in the market, such as pedestal, wall-mounted, and vanity sinks. Consider the size of your bathroom and the overall design aesthetic when making your decision.
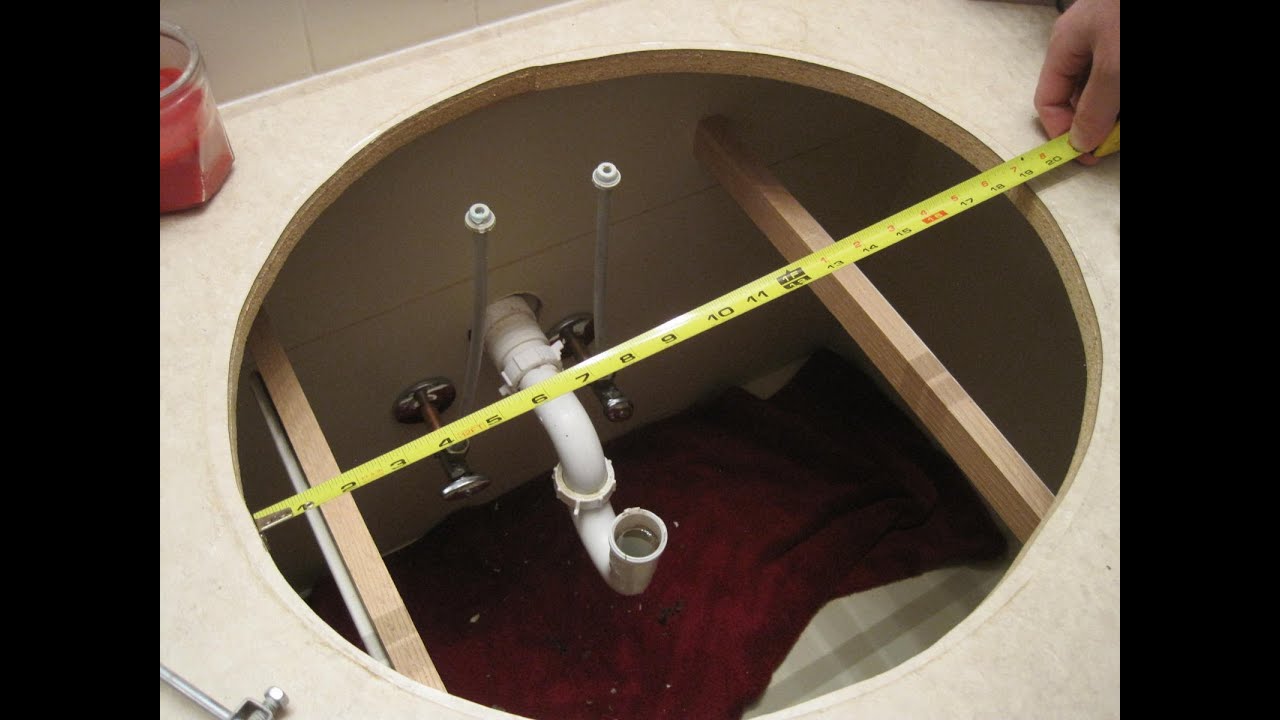
Make sure to measure the space where the sink will be installed to ensure a perfect fit.
The first step in fitting a bathroom sink is to choose the right one for your space. There are various types of sinks available in the market, such as pedestal, wall-mounted, and vanity sinks. Consider the size of your bathroom and the overall design aesthetic when making your decision.
Make sure to measure the space where the sink will be installed to ensure a perfect fit.
Step 2: Gather Your Tools and Materials
 Before starting the installation process, gather all the necessary tools and materials. This may include a wrench, screwdriver, plumber's putty, silicone caulk, and a level.
Having all the tools and materials ready beforehand will make the process smoother and more efficient.
Before starting the installation process, gather all the necessary tools and materials. This may include a wrench, screwdriver, plumber's putty, silicone caulk, and a level.
Having all the tools and materials ready beforehand will make the process smoother and more efficient.
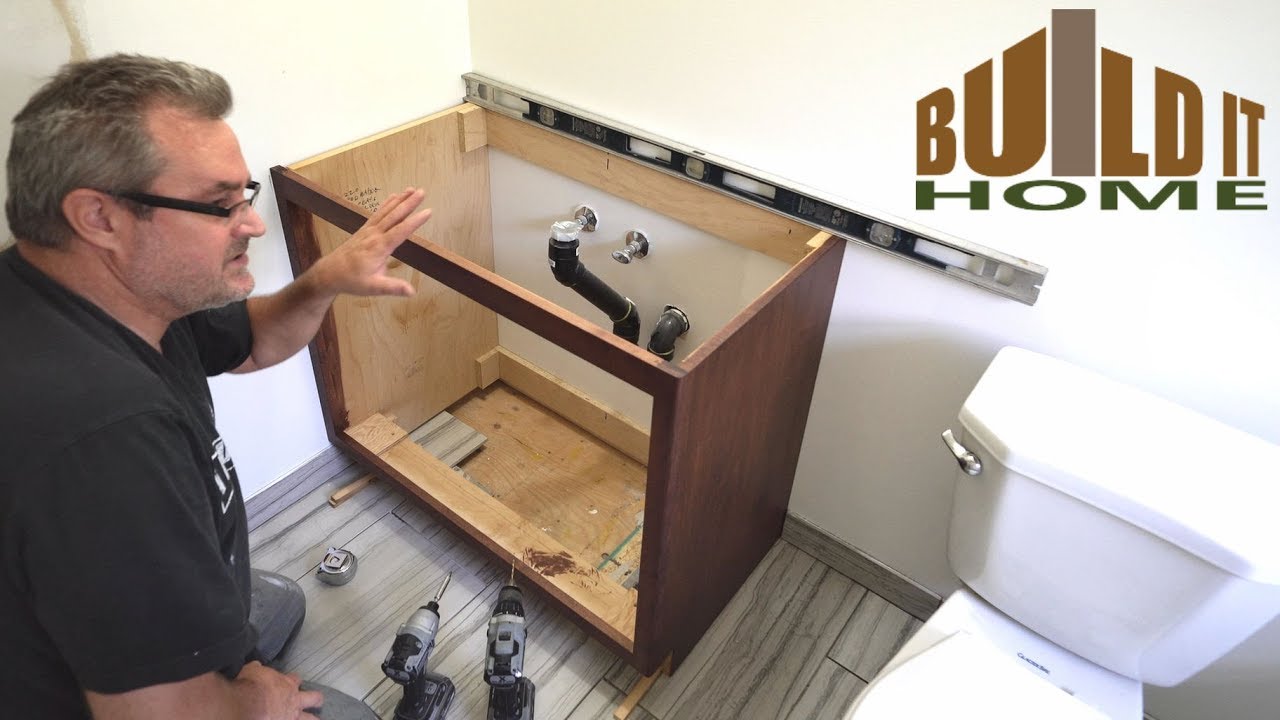
Step 3: Prep the Area
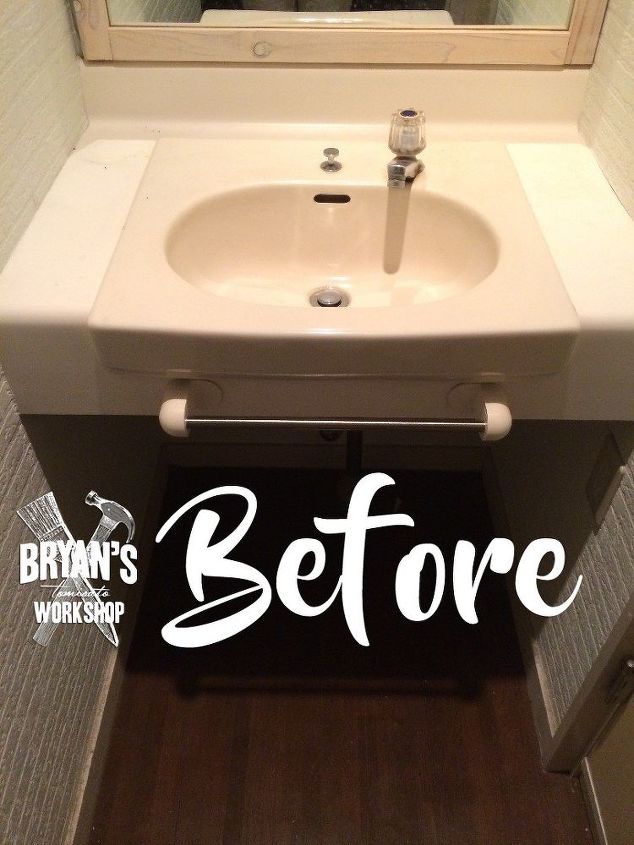
 Before installing the sink, prepare the area by turning off the water supply and removing the old sink if necessary.
It's important to turn off the water supply to avoid any leaks or accidents during the installation process.
Also, clean the area thoroughly to ensure a clean and smooth surface for the new sink.
Before installing the sink, prepare the area by turning off the water supply and removing the old sink if necessary.
It's important to turn off the water supply to avoid any leaks or accidents during the installation process.
Also, clean the area thoroughly to ensure a clean and smooth surface for the new sink.
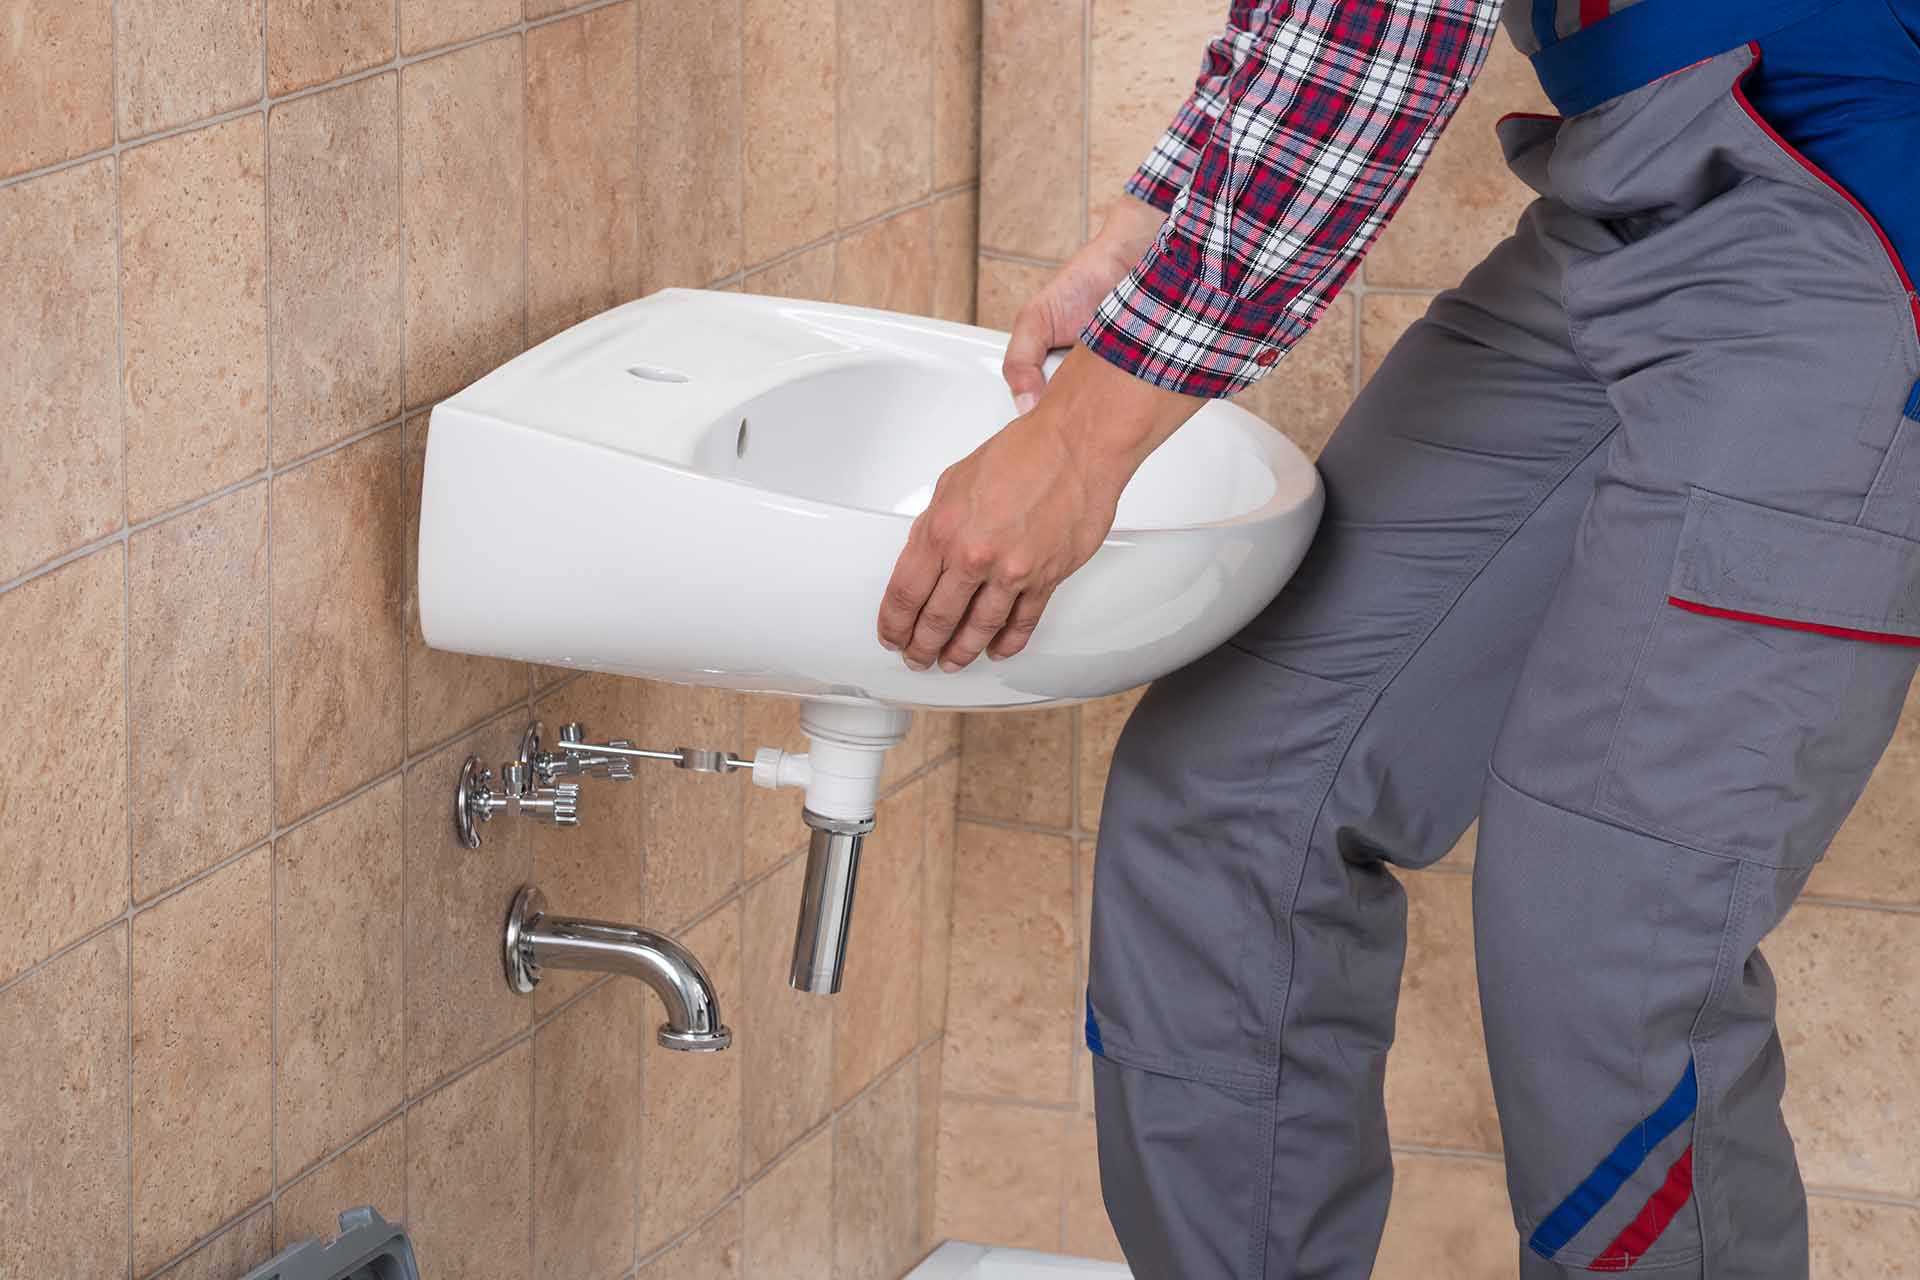
Step 4: Install the Sink
 Now it's time to install the sink. Follow the manufacturer's instructions carefully, as the installation process may vary depending on the type of sink you have chosen.
Make sure to use a level to ensure the sink is straight and properly aligned.
Once the sink is in place, secure it with the appropriate mounting hardware.
Now it's time to install the sink. Follow the manufacturer's instructions carefully, as the installation process may vary depending on the type of sink you have chosen.
Make sure to use a level to ensure the sink is straight and properly aligned.
Once the sink is in place, secure it with the appropriate mounting hardware.
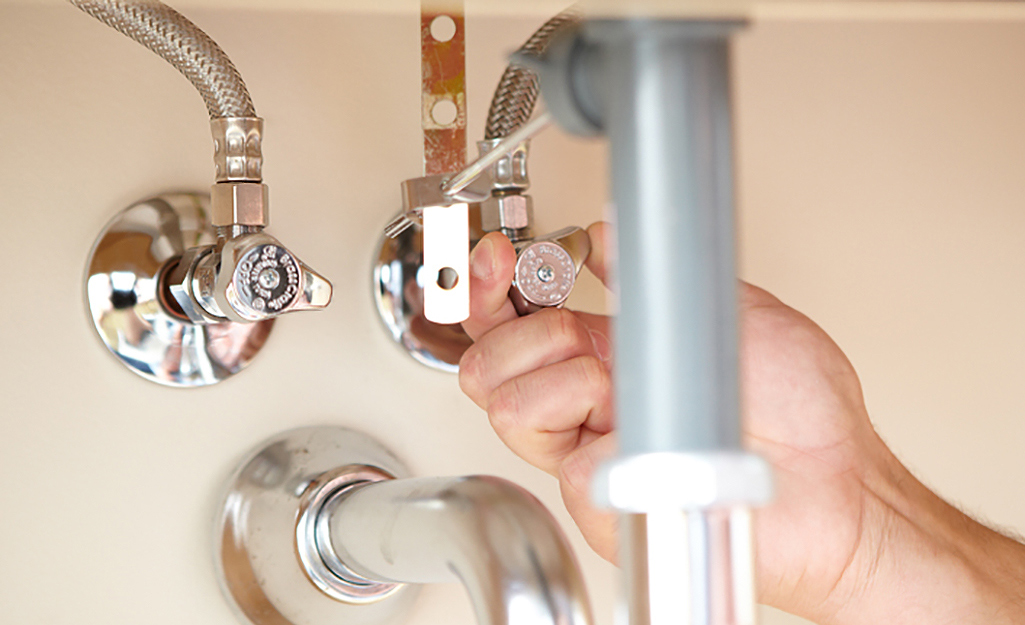
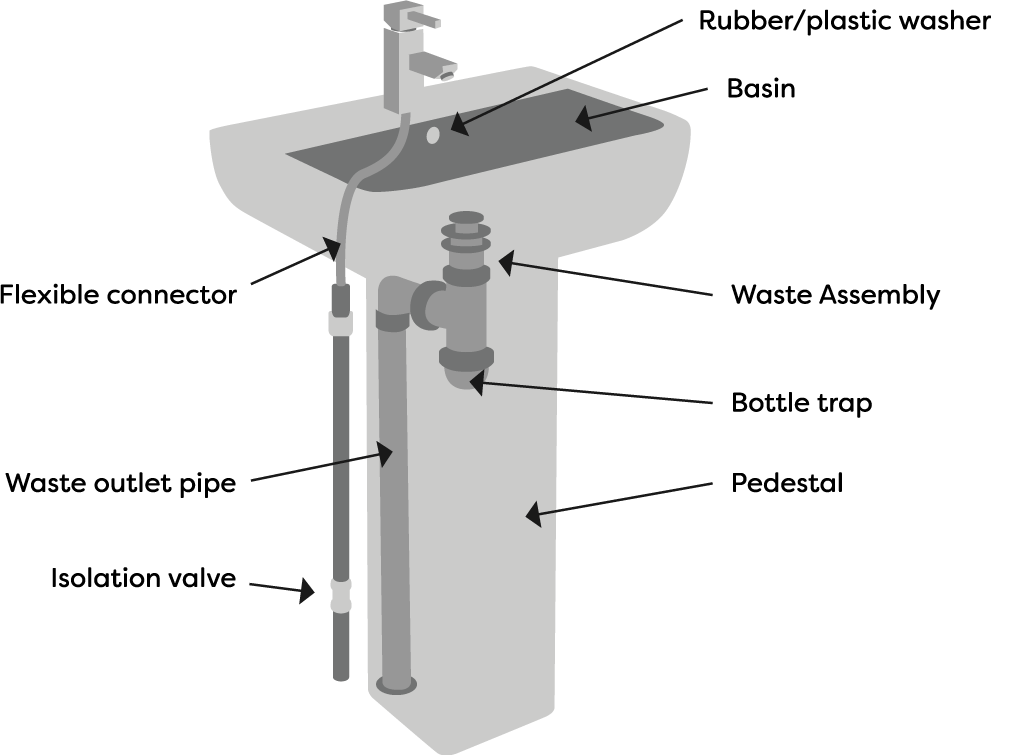
Step 5: Connect the Plumbing
 After the sink is installed, you can now connect the plumbing. This may involve connecting the faucet, drain, and water supply lines.
Make sure all connections are tight and secure to avoid any leaks.
After the sink is installed, you can now connect the plumbing. This may involve connecting the faucet, drain, and water supply lines.
Make sure all connections are tight and secure to avoid any leaks.
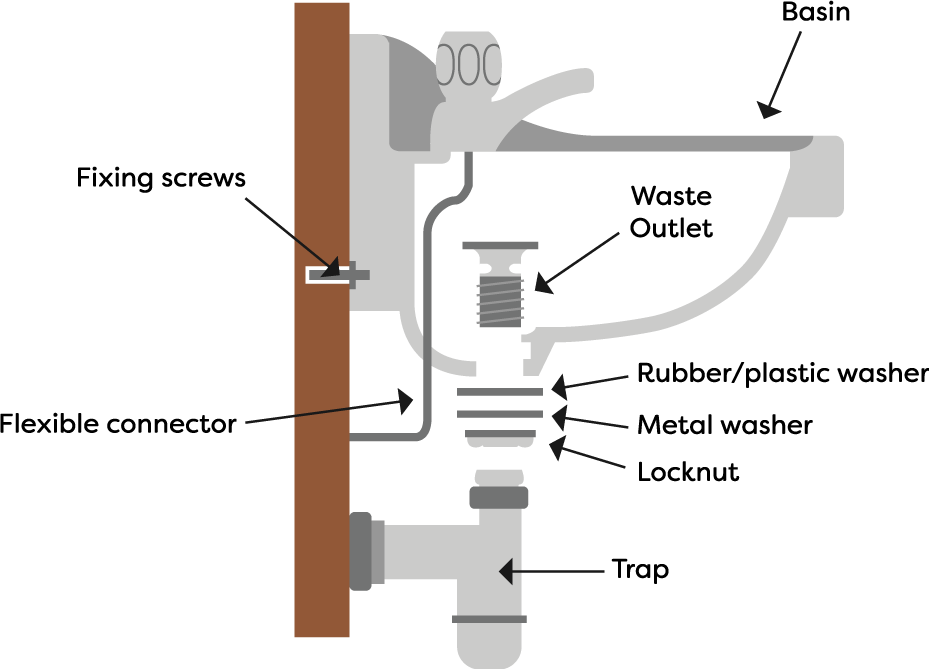
Step 6: Seal the Sink
 To prevent any water from leaking between the sink and the countertop, use a bead of silicone caulk around the edges of the sink.
Smooth out the caulk with your finger or a caulk tool for a clean and professional finish.
Let the caulk dry completely before using the sink.
To prevent any water from leaking between the sink and the countertop, use a bead of silicone caulk around the edges of the sink.
Smooth out the caulk with your finger or a caulk tool for a clean and professional finish.
Let the caulk dry completely before using the sink.
Step 7: Test and Adjust
 Once the sink is fully installed, turn the water supply back on and test the sink for any leaks. If you notice any leaks, tighten the connections or reapply the caulk as needed.
Conclusion
 Fitting a bathroom sink may seem like a daunting task, but with the right tools and knowledge, it can be a simple and rewarding project. By following these steps, you can have a functional and stylish sink in your bathroom in no time.
Remember to always measure, prep, and use the appropriate tools and materials for a successful installation.
Now that you know how to fit a bathroom sink, you can confidently tackle any bathroom renovation project.
Fitting a bathroom sink may seem like a daunting task, but with the right tools and knowledge, it can be a simple and rewarding project. By following these steps, you can have a functional and stylish sink in your bathroom in no time.
Remember to always measure, prep, and use the appropriate tools and materials for a successful installation.
Now that you know how to fit a bathroom sink, you can confidently tackle any bathroom renovation project.