How to Find and Fix a Leak on an Air Mattress
Having an air mattress is great for accommodating guests or for camping trips, but nothing is more frustrating than waking up in the middle of the night to a deflated mattress. The culprit? A leak. Don't panic, finding and fixing a leak on an air mattress is easier than you think. Here are 5 easy steps to get your air mattress back to its fully inflated glory.
Step 1: Check the Valve
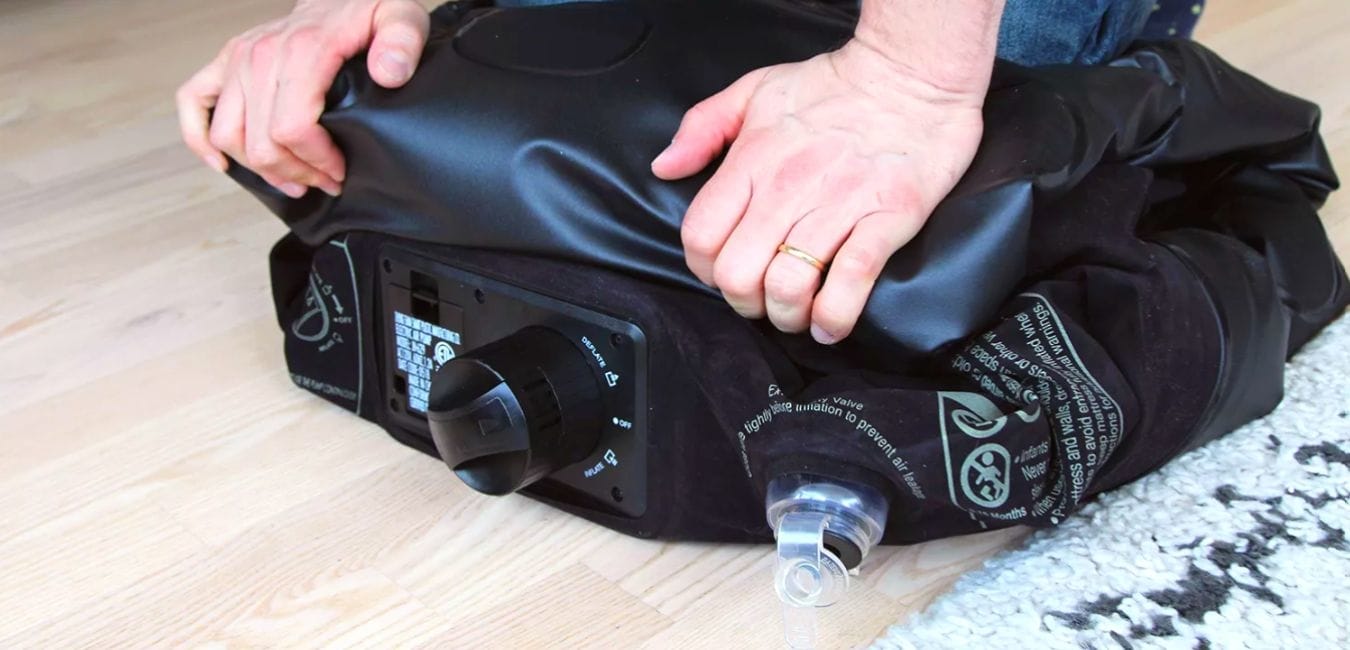
The first step is to check the valve. This is a common area for leaks to occur. Make sure the valve is tightly closed and not damaged. If it is damaged, you may need to replace it. You can find replacement valves at most outdoor or camping stores.
Step 2: Inflate the Mattress
Inflate the mattress to its maximum capacity and listen for any hissing sounds. If you hear a hissing sound, it is an indication of a leak. Run your hands over the mattress to feel for any escaping air. If you can't hear or feel anything, move on to the next step.
Step 3: Apply Soapy Water
Mix water and dish soap in a spray bottle and spray it all over the mattress. If there is a leak, you will see bubbles forming where the air is escaping. Be sure to check the seams and edges of the mattress as these are common areas for leaks.
Step 4: Mark the Leak
Once you have located the leak, mark it with a piece of tape or a marker. This will make it easier to find when you are ready to fix it. Deflate the mattress and dry it off before moving on to the next step.
Step 5: Patch the Leak
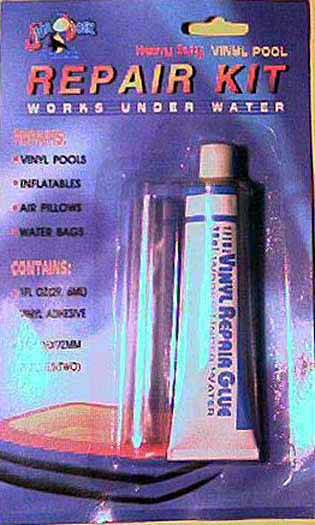
There are a few options for patching a leak on an air mattress. You can use a patch kit specifically designed for air mattresses, or you can use a piece of duct tape. If using a patch kit, follow the instructions on the package. If using duct tape, cut a piece slightly larger than the leak and smooth it over the area. Make sure the patch is secure and airtight.
Conclusion
Finding and fixing a leak on an air mattress is a simple process that can save you from having to buy a new one. Remember to check the valve, inflate the mattress, apply soapy water, mark the leak, and patch it up. With these steps, you can easily restore your air mattress to its fully inflated state and get a good night's sleep.
Top Tips for Finding and Repairing a Leak on an Air Mattress
1. Always check the valve first, as this is a common area for leaks to occur.
2. Use a spray bottle with soapy water to locate the leak.
3. Make sure the mattress is fully inflated before searching for a leak.
4. Mark the leak for easy identification when it's time to patch it up.
5. Consider investing in a patch kit specifically designed for air mattresses.
6. Duct tape can also be a quick and easy fix for a leak.
7. Dry off the mattress before patching the leak.
8. Test the mattress after patching to ensure the leak is completely sealed.
9. Store your air mattress properly to prevent future leaks.
10. If the leak is too large to be patched, it may be time to replace the mattress.
How to Effectively Find and Fix a Leak on an Air Mattress
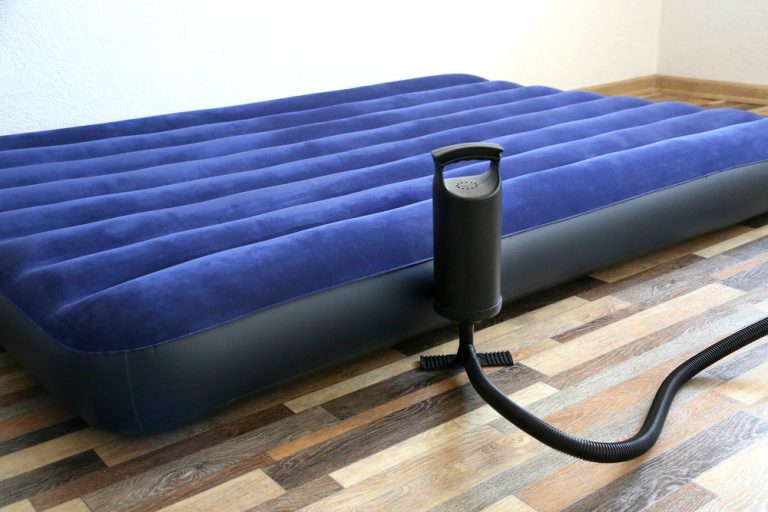
Having an air mattress can be a convenient and comfortable addition to your home. However, just like any other inflatable item, air mattresses are prone to developing leaks over time. This can be frustrating and inconvenient, especially if you have guests staying over or are planning to use the air mattress for a camping trip. In this article, we will guide you on how to effectively find and fix a leak on an air mattress, ensuring that you can continue to enjoy its benefits for a long time to come.
Step 1: Identify the Leak

The first step in fixing a leak on an air mattress is to identify its location. The most common way to do this is by using soapy water . Mix a small amount of dish soap with water and apply it to the surface of the air mattress with a sponge or cloth. Then, inflate the mattress and look for any bubbles forming on the surface. This is a sign of a leak and will help you pinpoint its location.
Step 2: Patch up the Leak

Once you have identified the leak, it's time to patch it up. You can purchase patch kits specifically designed for air mattresses at most hardware or camping stores. These kits usually come with a strong adhesive and a patch that you can cut to the desired size. Clean and dry the area around the leak, then apply the patch and press down firmly. Leave it to dry for at least 24 hours before inflating the mattress again.
Step 3: Use Duct Tape as a Temporary Fix

If you are in a pinch and don't have access to a patch kit, duct tape can serve as a temporary fix for small leaks. Clean and dry the area around the leak, then cut a piece of duct tape and place it over the hole. Make sure to press down firmly to ensure a good seal. However, keep in mind that duct tape is not a permanent solution and may need to be replaced after a few uses.
Step 4: Prevent Future Leaks

To prevent future leaks on your air mattress, there are a few things you can do. First, avoid placing sharp or heavy objects on the mattress. If using it outdoors, place a tarp or blanket underneath to protect it from rocks or twigs. Additionally, make sure to properly inflate and deflate the mattress to avoid putting too much pressure on the seams.
By following these steps, you can effectively find and fix a leak on an air mattress and ensure its longevity. Remember to always have a patch kit on hand for any unexpected leaks and to take preventive measures to avoid future leaks. With proper care, your air mattress can continue to provide a comfortable and convenient sleeping option for years to come.


