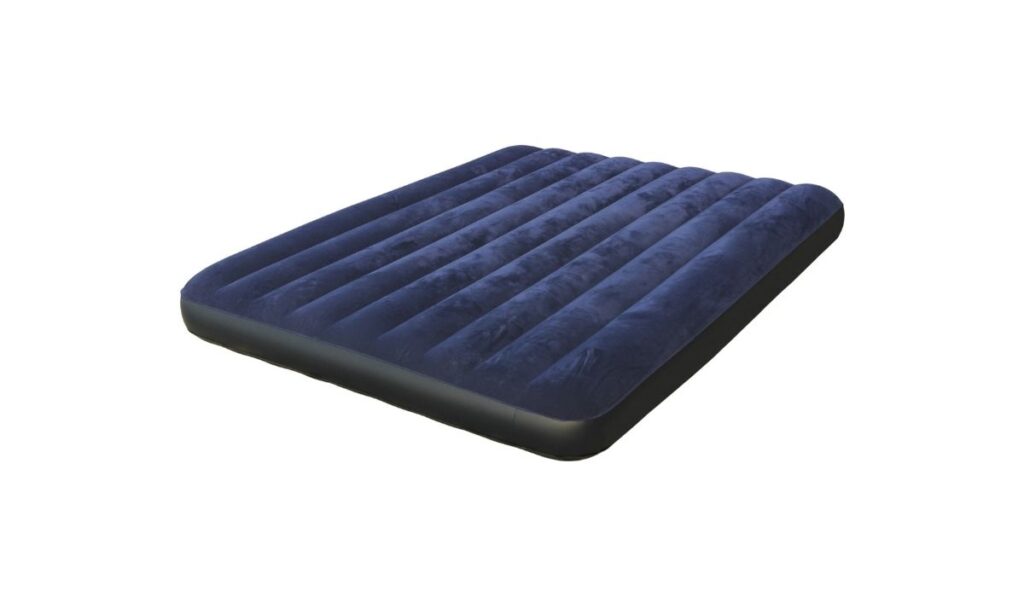
1. How to Find and Fix a Leak in an Air Mattress
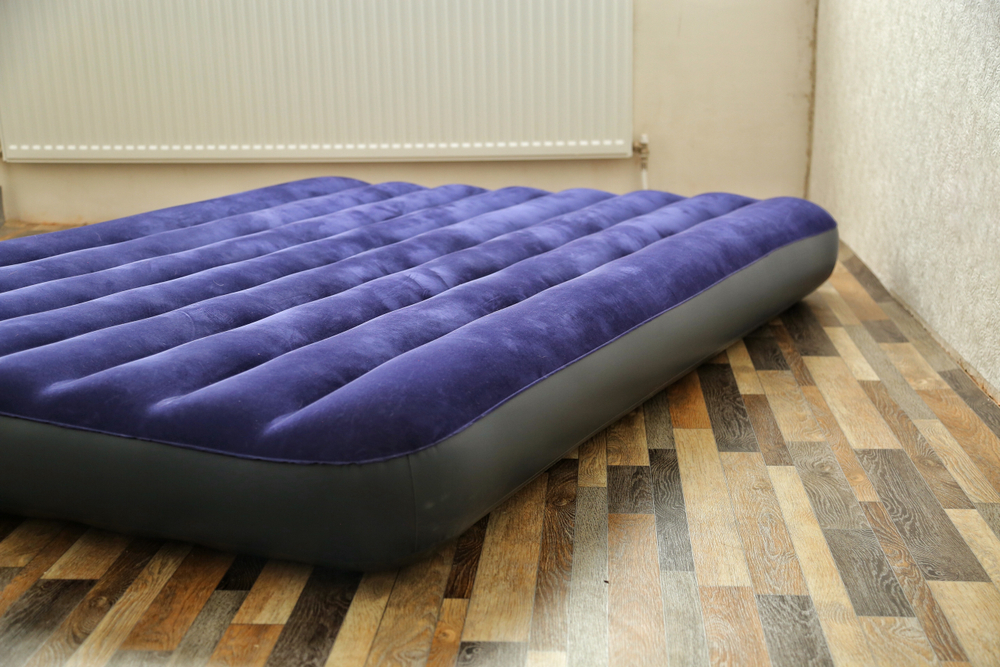
If you have ever slept on an air mattress, you know how comfortable and convenient they can be. However, one of the most frustrating things that can happen is when you wake up in the morning and find that your air mattress has deflated during the night. The culprit? A pesky leak. But don't worry, finding and fixing a leak in an air mattress is easier than you think.


1. How to Find and Fix a Leak in an Air Mattress


2. 5 Easy Steps to Locate and Repair an Air Mattress Leak
Step 1: Inspect the mattress - The first thing you should do is inspect your air mattress for any visible signs of damage. Look for holes, tears, or punctures in the material. If you can't find any, move on to the next step.
Step 2: Inflate the mattress - Using a pump or blowing it up manually, fully inflate the air mattress. This will make it easier to locate the leak by listening for the sound of escaping air or feeling for the air coming out.
Step 3: Apply soapy water - Mix some dish soap or liquid soap with water and use a sponge or cloth to apply it to the surface of the air mattress. The soap will create bubbles at the site of the leak, making it easier to locate.
Step 4: Seal the leak - Once you have found the leak, mark it with a piece of tape or a marker. Then, use a patch kit specifically designed for air mattresses to seal the hole. Follow the instructions on the kit carefully to ensure a proper seal.
Step 5: Test the mattress - After the patch has been applied, wait for it to dry completely before inflating the mattress again. Test it by lying on it for a while to see if it holds air. If it does, congratulations, you have successfully fixed the leak in your air mattress!


2. 5 Easy Steps to Locate and Repair an Air Mattress Leak


3. The Best Way to Find a Leak in an Air Mattress
So, you've tried the above steps and still can't seem to find the leak in your air mattress. Don't worry, there is another method that may work for you. Here's what you can do:
Step 1: Fill the bathtub - Fill your bathtub with water deep enough to submerge the air mattress.
Step 2: Submerge the mattress - Fully inflate the air mattress and carefully submerge it in the water. Watch for any bubbles forming on the surface of the mattress, as this indicates the location of the leak.
Step 3: Seal the leak - Once you have found the leak, dry off the mattress and follow the same steps as above to seal it.

3. The Best Way to Find a Leak in an Air Mattress


4. Tips for Finding and Fixing Leaks in Air Mattresses
Here are a few additional tips to keep in mind when trying to locate and repair a leak in your air mattress:
- Always keep a patch kit on hand for quick and easy repairs.
- Use a flashlight to help you locate the leak in case it is difficult to see.
- If the leak is near a seam, it may be more difficult to repair. In this case, consider investing in a new air mattress.


4. Tips for Finding and Fixing Leaks in Air Mattresses


5. Common Methods for Locating and Repairing Air Mattress Leaks
Aside from the methods mentioned above, there are a few other common ways to find and fix leaks in air mattresses. These include:
- Using a leak detection spray that will react with the escaping air and create bubbles at the site of the leak.
- Using a handheld infrared thermometer to scan the surface of the mattress for a temperature difference, which may indicate the location of a leak.
- Submerging the mattress in a pool or lake to find the leak, similar to the bathtub method.


5. Common Methods for Locating and Repairing Air Mattress Leaks


6. How to Detect and Patch a Leak in an Air Mattress
If you are looking for a more high-tech solution, there are air mattresses available that come with built-in sensors and pumps that will automatically adjust the air pressure to maintain a desired level of firmness. These sensors can also detect leaks and alert you to their location.
If your air mattress does not have this feature, you can purchase an external leak detection sensor that can be attached to the mattress to perform the same function.


6. How to Detect and Patch a Leak in an Air Mattress


7. Troubleshooting: How to Find and Fix a Leak in an Air Mattress
If you have followed all the steps and methods listed above and still cannot find or fix the leak in your air mattress, here are a few troubleshooting tips to consider:
- Check the valve or cap - Sometimes, the leak may not be in the actual mattress, but in the valve or cap that seals the air inside. Make sure these are tightened properly.
- Check for hidden damage - If your air mattress has been in storage for a long time, there may be hidden damage such as dry rot or mold that can cause leaks. Inspect the mattress carefully for any signs of this.
- Consider the age of the mattress - If your air mattress is old and has been used frequently, it may be time to replace it with a new one.


7. Troubleshooting: How to Find and Fix a Leak in an Air Mattress


8. The Importance of Finding and Repairing Leaks in Air Mattresses
It may seem like a small inconvenience to deal with a leaky air mattress, but it is important to find and fix leaks as soon as possible. Not only does it affect the comfort and support of the mattress, but it can also lead to further damage and make the mattress unusable in the long run.
By regularly checking for and repairing leaks, you can extend the lifespan of your air mattress and ensure a comfortable night's sleep every time.


8. The Importance of Finding and Repairing Leaks in Air Mattresses


9. DIY: How to Find and Fix a Leak in an Air Mattress
If you are someone who enjoys DIY projects and wants to save money on repairs, finding and fixing a leak in an air mattress is a perfect task for you. With the right tools and techniques, you can easily locate and patch the leak on your own, without having to spend money on professional services.
Remember to always follow the instructions on the patch kit carefully and take your time to ensure a proper seal. With a little effort and patience, you can have your air mattress back to its fully functional state in no time.


9. DIY: How to Find and Fix a Leak in an Air Mattress


10. The Quickest and Easiest Way to Locate and Fix an Air Mattress Leak
If you need a quick and easy solution to locate and fix a leak in your air mattress, here's a tried and tested method that has been used by many people:
Step 1: Apply pressure - Fully inflate your air mattress and then place a heavy object on top of it, such as a stack of books or a few weights. This will help to create more pressure inside the mattress, making it easier to detect the leak.
Step 2: Listen and feel - Carefully listen for the sound of escaping air and feel for any air coming out of the mattress. If you are unable to find the leak this way, try applying a bit of pressure to different areas of the mattress and repeat the process until you find the leak.
Step 3: Seal the leak - Once you have located the leak, use a patch kit to seal it following the instructions provided. Test the mattress to make sure the repair was successful.
With this method, you can quickly and easily find and fix a leak in your air mattress without the need for any special tools or equipment.
In conclusion, finding and fixing a leak in an air mattress may seem like a daunting task, but with the right methods and tools, it can be a simple and easy process. Remember to regularly inspect and maintain your air mattress to avoid any future leaks, and always follow the instructions carefully when repairing a leak. With these tips and techniques, you can enjoy a comfortable and uninterrupted night's sleep on your air mattress for years to come.


10. The Quickest and Easiest Way to Locate and Fix an Air Mattress Leak


Finding a Leak in an Air Mattress: A Simple Guide

Introduction
 Air mattresses are a convenient and comfortable option for sleeping arrangements, whether for guests or for camping trips. However, one of the most frustrating things that can happen with an air mattress is finding a leak. With a leak, your once-comfortable bed becomes a deflated, uncomfortable mess. But fear not, because finding and fixing a leak in an air mattress is easier than you may think.
Locating the Leak
 The first step in fixing a leak in an air mattress is, of course, finding the leak. This can be done with a few simple tools and a bit of patience. Start by inflating the air mattress and placing it in a quiet, flat area. Next, run your hand over the surface of the mattress, feeling for any areas that may be losing air.
Use a flashlight to help you see better
, as some leaks may be small and difficult to spot with just your hands. Another method is to
use a mixture of water and dish soap
, and apply it to the surface of the mattress.
Look for any bubbles forming, as this indicates a leak
. Once you have located the leak, mark it with a piece of tape or a marker.
The first step in fixing a leak in an air mattress is, of course, finding the leak. This can be done with a few simple tools and a bit of patience. Start by inflating the air mattress and placing it in a quiet, flat area. Next, run your hand over the surface of the mattress, feeling for any areas that may be losing air.
Use a flashlight to help you see better
, as some leaks may be small and difficult to spot with just your hands. Another method is to
use a mixture of water and dish soap
, and apply it to the surface of the mattress.
Look for any bubbles forming, as this indicates a leak
. Once you have located the leak, mark it with a piece of tape or a marker.
Fixing the Leak
 Now that you have found the leak, it's time to fix it.
Start by deflating the air mattress completely
, and
clean and dry the area around the leak
. Next,
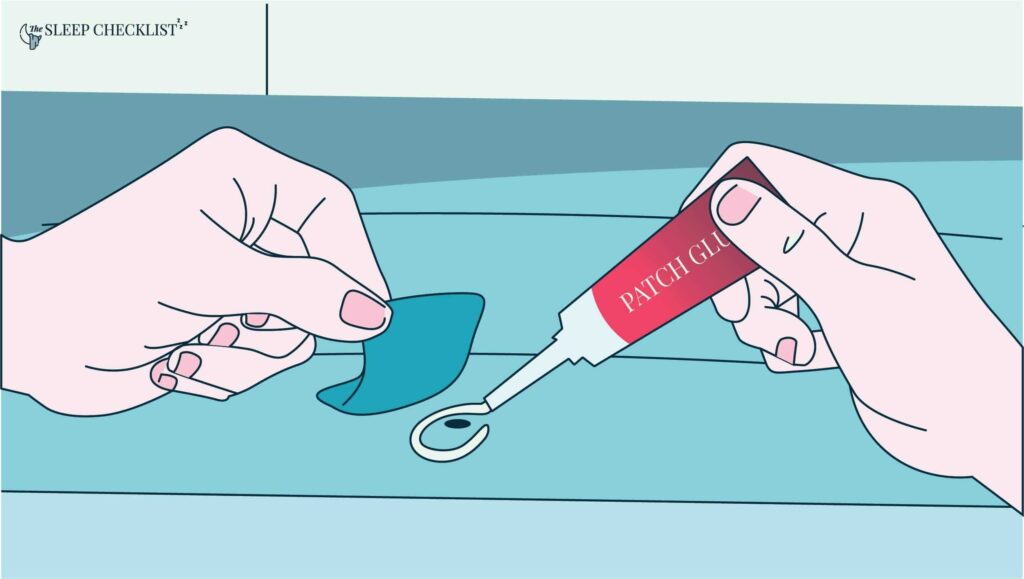
cut a small piece of patching material
, such as a bike tire patch or a piece of duct tape, and
apply a small amount of glue to one side
.
Place the patch over the leak and press firmly
to ensure it adheres properly. Let the glue dry completely before inflating the mattress again.
Now that you have found the leak, it's time to fix it.
Start by deflating the air mattress completely
, and
clean and dry the area around the leak
. Next,
cut a small piece of patching material
, such as a bike tire patch or a piece of duct tape, and
apply a small amount of glue to one side
.
Place the patch over the leak and press firmly
to ensure it adheres properly. Let the glue dry completely before inflating the mattress again.
Preventing Future Leaks
 To prevent future leaks in your air mattress,
make sure to properly store and handle it
. When not in use,
store the mattress in a dry, cool place
, and avoid placing it near sharp objects or rough surfaces. When inflating and deflating,
be gentle and avoid overfilling
, as this can put unnecessary strain on the mattress and cause leaks. It's also a good idea to
regularly check for leaks and patch them as soon as they are found
, to prevent them from becoming bigger and more difficult to fix.
To prevent future leaks in your air mattress,
make sure to properly store and handle it
. When not in use,
store the mattress in a dry, cool place
, and avoid placing it near sharp objects or rough surfaces. When inflating and deflating,
be gentle and avoid overfilling
, as this can put unnecessary strain on the mattress and cause leaks. It's also a good idea to
regularly check for leaks and patch them as soon as they are found
, to prevent them from becoming bigger and more difficult to fix.
In Conclusion
 With these simple steps, you can easily find and fix a leak in your air mattress. Remember to take your time and be gentle, and
you'll have your air mattress back to its comfortable self in no time
.
Proper storage and handling
will also help prevent future leaks,
keeping your air mattress in top condition for many uses to come
. Now that you know how to find and fix a leak, you can rest easy on your air mattress without worrying about any unwanted deflation.
With these simple steps, you can easily find and fix a leak in your air mattress. Remember to take your time and be gentle, and
you'll have your air mattress back to its comfortable self in no time
.
Proper storage and handling
will also help prevent future leaks,
keeping your air mattress in top condition for many uses to come
. Now that you know how to find and fix a leak, you can rest easy on your air mattress without worrying about any unwanted deflation.