If you have ever woken up in the middle of the night to find yourself sinking into your deflated air mattress, you know how frustrating it can be. Air mattresses are a convenient and comfortable bedding option for guests or camping trips, but they are not immune to leaks. If you find yourself in this situation, don't worry, we have got you covered. In this article, we will guide you through the process of finding and fixing a leak in an air mattress in just five easy steps. So, let's dive in!How to Find a Leak in an Air Mattress


How to Find a Leak in an Air Mattress


Step 1: Identify the Leak Step 2: Mark the Leak Step 3: Prepare the Surface Step 4: Apply the Patch Step 5: Test the Repair5 Easy Steps to Find and Fix an Air Mattress Leak
The first step to fixing an air mattress leak is to identify where the leak is coming from. Inflate the mattress and sit on it to distribute your weight evenly. Then, use your hands to press down on different areas of the mattress to see if you can feel any air escaping. You can also use a spray bottle with soapy water and spray it on the surface of the mattress. If you see bubbles forming, that is the area where the leak is located.
Once you have identified the leak, use a pencil or a piece of tape to mark the area. This will make it easier for you to find it again when you start the repair process. If the leak is too small to be seen or felt, you can also use a piece of tissue paper to find the spot where the air is escaping.
Before you start repairing the leak, make sure to clean and dry the area around it. Use a damp cloth to wipe away any dirt or debris, and then dry it thoroughly. This will ensure that the patch adheres properly and forms a strong bond with the surface of the mattress.
There are several options for patches that you can use to fix an air mattress leak. You can purchase a repair kit specifically designed for air mattresses or use household items such as duct tape, adhesive patches, or even a bicycle tire patch. Cut the patch into a size slightly larger than the marked area and apply it over the leak, pressing down firmly to ensure it sticks.
After applying the patch, wait for a few minutes and then inflate the mattress to check if the leak has been fixed. If the mattress remains inflated, congratulations, you have successfully repaired the leak. If the mattress still deflates, you may need to apply another patch or try a different repair method.


5 Easy Steps to Find and Fix an Air Mattress Leak


If you prefer a more DIY approach, here are a few tips for locating and repairing a leak in your air mattress: Use a Soap-and-Water Solution Submerge the Mattress Use a Candle FlameDIY: How to Locate and Repair an Air Mattress Leak
Mix some dish soap and water in a spray bottle and spray the solution on the surface of the mattress. The soap will create bubbles where the leak is located, making it easier to find.
If the leak is difficult to locate, you can try submerging the mattress in a bathtub filled with water. Look for bubbles forming on the surface of the mattress, which will indicate the location of the leak.
This method is best for pinpointing small leaks. Inflate the mattress and hold a lit candle or lighter close to the surface. The flame will flicker when it comes in contact with the escaping air, helping you locate the leak.


DIY: How to Locate and Repair an Air Mattress Leak


Now that you know how to locate and repair a leak in your air mattress, here are a few additional tips to make the process even easier: Check the Valve Use an Air Mattress Repair Kit Prevent Future LeaksQuick and Easy Ways to Find and Fix an Air Mattress Leak
Sometimes, the leak may not be in the actual mattress, but in the valve or the cap that holds the air in. Make sure to check these areas and tighten them if necessary.
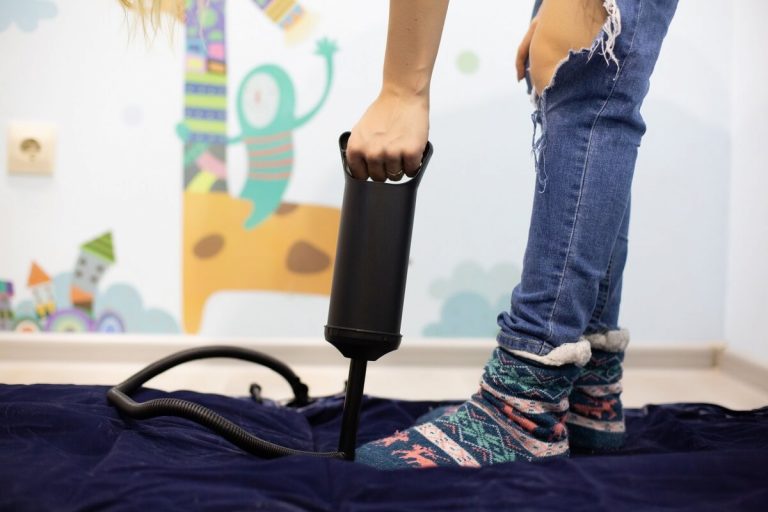
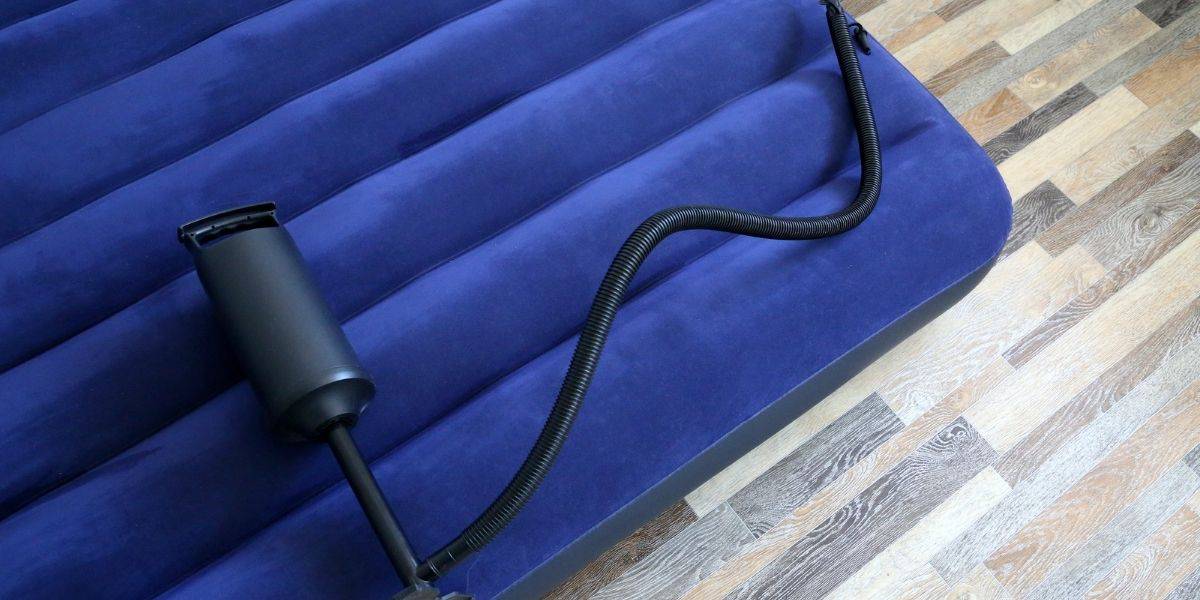
If you frequently use air mattresses, it may be a good idea to invest in a repair kit. These kits usually come with adhesive patches, sealant, and other tools that can help you repair leaks quickly and easily.
To avoid dealing with leaks in the future, make sure to use your air mattress on a smooth surface and avoid placing it near sharp objects. You can also use a protective cover or a tarp to prevent tears and punctures.

Quick and Easy Ways to Find and Fix an Air Mattress Leak
Now that you have all the information you need, here is a step-by-step guide to help you find and fix an air mattress leak: Step 1: Identify the Leak Locating and Repairing an Air Mattress Leak: A Step-by-Step Guide
Step 2: Mark the Leak
Step 3: Prepare the Surface
Step 4: Apply the Patch
Step 5: Test the Repair
Step 6: Use a Soap-and-Water Solution
Step 7: Submerge the Mattress
Step 8: Use a Candle Flame
Step 9: Check the Valve
Step 10: Prevent Future Leaks


Locating and Repairing an Air Mattress Leak: A Step-by-Step Guide


Here are a few more tips to keep in mind when dealing with an air mattress leak: Be Patient Use a Good-Quality Air Mattress Check for Manufacturer WarrantyTop Tips for Finding and Fixing an Air Mattress Leak
Finding and fixing a leak may take some time and patience, so don't get frustrated if it doesn't work on the first try.
Investing in a good-quality air mattress will reduce the chances of dealing with leaks and make it easier to repair them if they do occur.
If your air mattress is still under warranty, check with the manufacturer to see if they can provide a replacement or repair the leak for you.


Top Tips for Finding and Fixing an Air Mattress Leak
In conclusion, finding and fixing a leak in an air mattress is not as daunting as it may seem. With these tips and tricks, you can easily locate and repair a leak in just a few simple steps. Remember to be patient, use the right tools, and take preventive measures to avoid leaks in the future. Happy camping and sweet dreams!How to Detect and Repair a Leak in Your Air Mattress


How to Detect and Repair a Leak in Your Air Mattress


Finding and Fixing Leaks in Your Air Mattress

Introduction
 A comfortable and supportive mattress is essential for a good night's sleep. Air mattresses have become a popular choice for many people due to their convenience and portability. However, just like any other mattress, air mattresses are prone to developing leaks over time. A leaky air mattress can disrupt your sleep and make your camping trip or overnight guests' stay uncomfortable. But before you throw out your air mattress and invest in a new one, try finding and fixing the leak using these simple steps.
Step 1: Locate the Leak
 The first step to fixing a leak in your air mattress is to locate the source of the leak. Carefully inspect the surface of your mattress for any visible punctures or tears. If you cannot find a visible leak, fill the mattress with air and listen for the sound of escaping air. You can also run your hand over the surface of the mattress, feeling for any areas that seem to be losing air.
Step 2: Use Soapy Water
 Once you have located the leak, clean the area around it with a damp cloth. Then, mix a small amount of dish soap with water and apply it to the suspected area using a sponge or cloth. If there is a leak, you will see bubbles forming where the air is escaping. Mark the area with a pen or sticker so you can easily find it again.
Step 3: Repair the Leak
 Now that you have identified the leak, it's time to repair it. If the hole is small, you can use a patch kit specifically designed for air mattresses. Simply cut a piece of patch from the kit and apply it to the marked area, following the instructions on the kit. If the hole is larger, you may need to use a vinyl repair kit. These kits come with a patch and adhesive that can be used to seal larger tears or holes in your air mattress.
Step 4: Reinforce the Area
 To prevent future leaks, it's important to reinforce the area where the leak occurred. You can do this by applying a layer of clear nail polish or silicone sealant around the edges of the patch. This will create a strong barrier and prevent the patch from peeling off.
Step 5: Test the Repair
 After the repair is complete, let the adhesive dry completely before inflating the mattress. Once inflated, apply pressure to the repaired area and listen for any signs of air escaping. If the leak has been fixed, your mattress should hold air without any issues.
Conclusion:
By following these simple steps, you can easily find and fix leaks in your air mattress, saving you the hassle and expense of buying a new one. Regularly inspecting and maintaining your air mattress can also help prevent future leaks. So, the next time you find yourself sleeping on a deflated air mattress, remember these tips and enjoy a comfortable and uninterrupted night's sleep.
After the repair is complete, let the adhesive dry completely before inflating the mattress. Once inflated, apply pressure to the repaired area and listen for any signs of air escaping. If the leak has been fixed, your mattress should hold air without any issues.
Conclusion:
By following these simple steps, you can easily find and fix leaks in your air mattress, saving you the hassle and expense of buying a new one. Regularly inspecting and maintaining your air mattress can also help prevent future leaks. So, the next time you find yourself sleeping on a deflated air mattress, remember these tips and enjoy a comfortable and uninterrupted night's sleep.