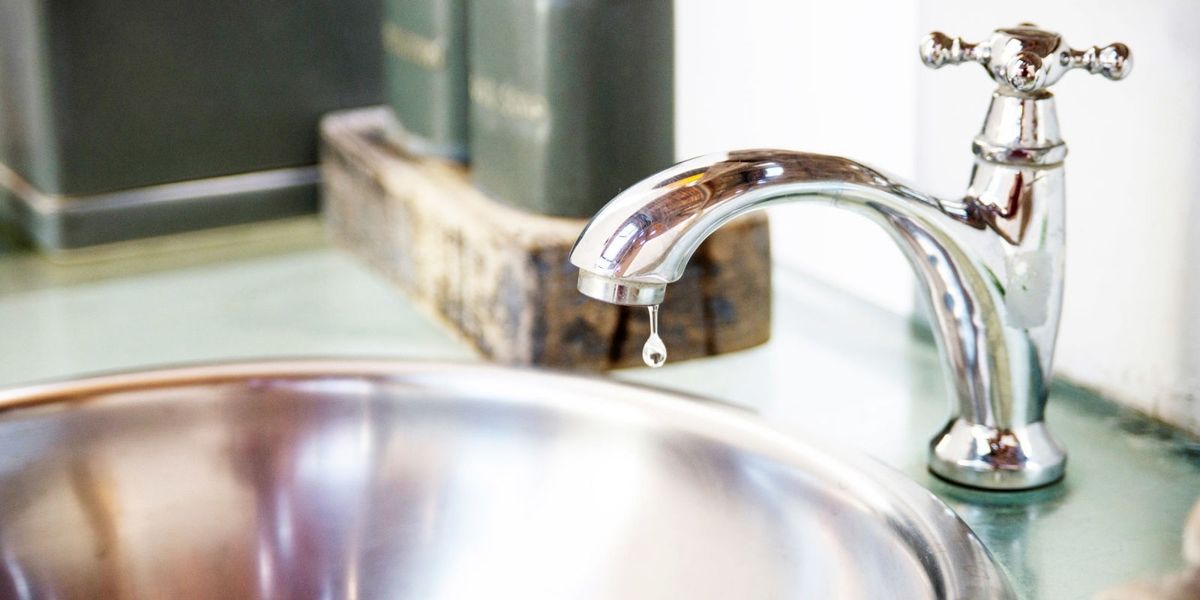
If you've noticed that your faucet handle under the bathroom sink is leaking, it's important not to ignore it. Even a small leak can waste a significant amount of water and lead to higher water bills. Plus, a leaky faucet handle can also cause damage to your sink and surrounding areas if left untreated. So, it's best to address the issue as soon as possible.1. Don't Ignore a Leaky Faucet Handle
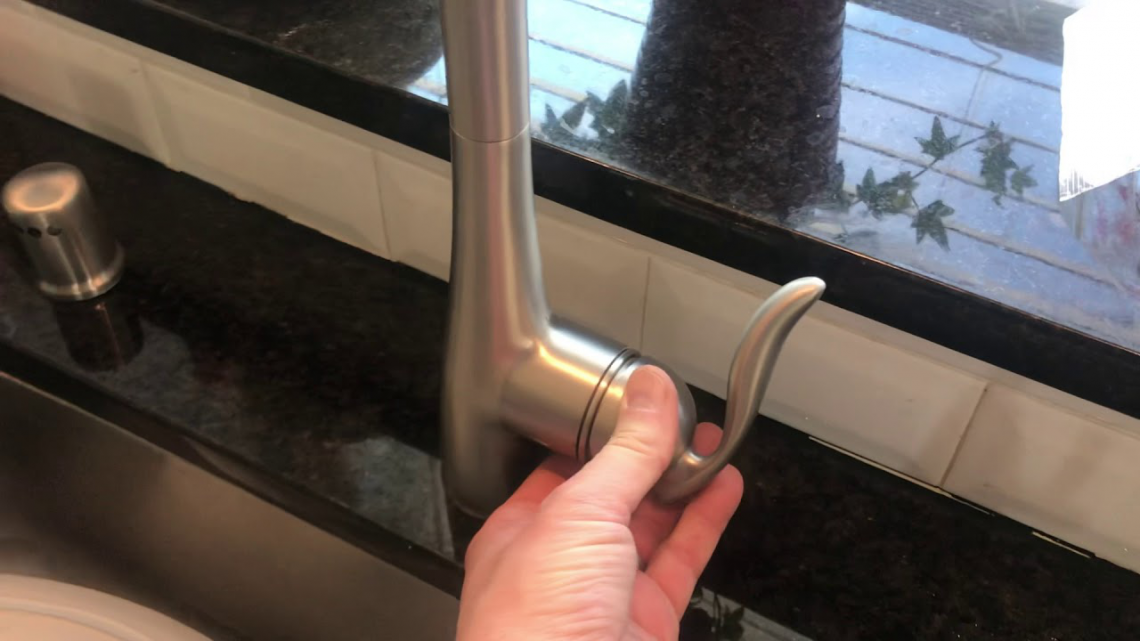
The first step in fixing a leaky faucet handle is to identify where the leak is coming from. In most cases, the leak is caused by a worn or damaged washer or O-ring. These small parts can wear out over time and cause water to leak from the handle. It's important to identify the source of the leak so you can determine the best course of action for repairing it.2. Identify the Source of the Leak
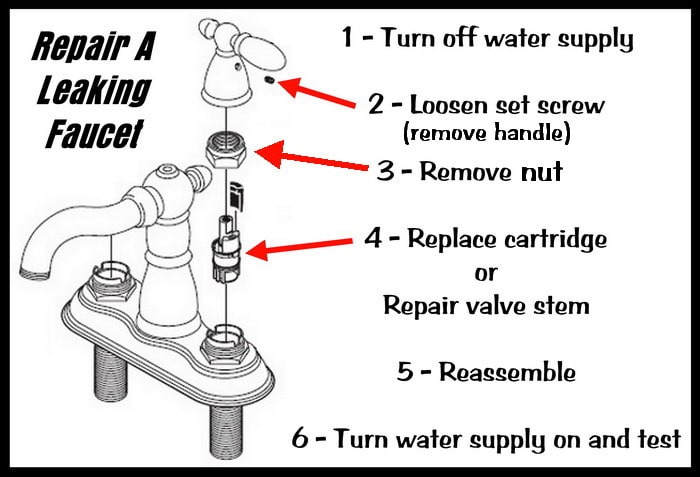
Before attempting any repairs, be sure to turn off the water supply to your bathroom sink. This will prevent any water from flowing while you work on the faucet handle. You can usually find the water shut-off valve under the sink or near the main water supply for your house.3. Turn Off the Water Supply
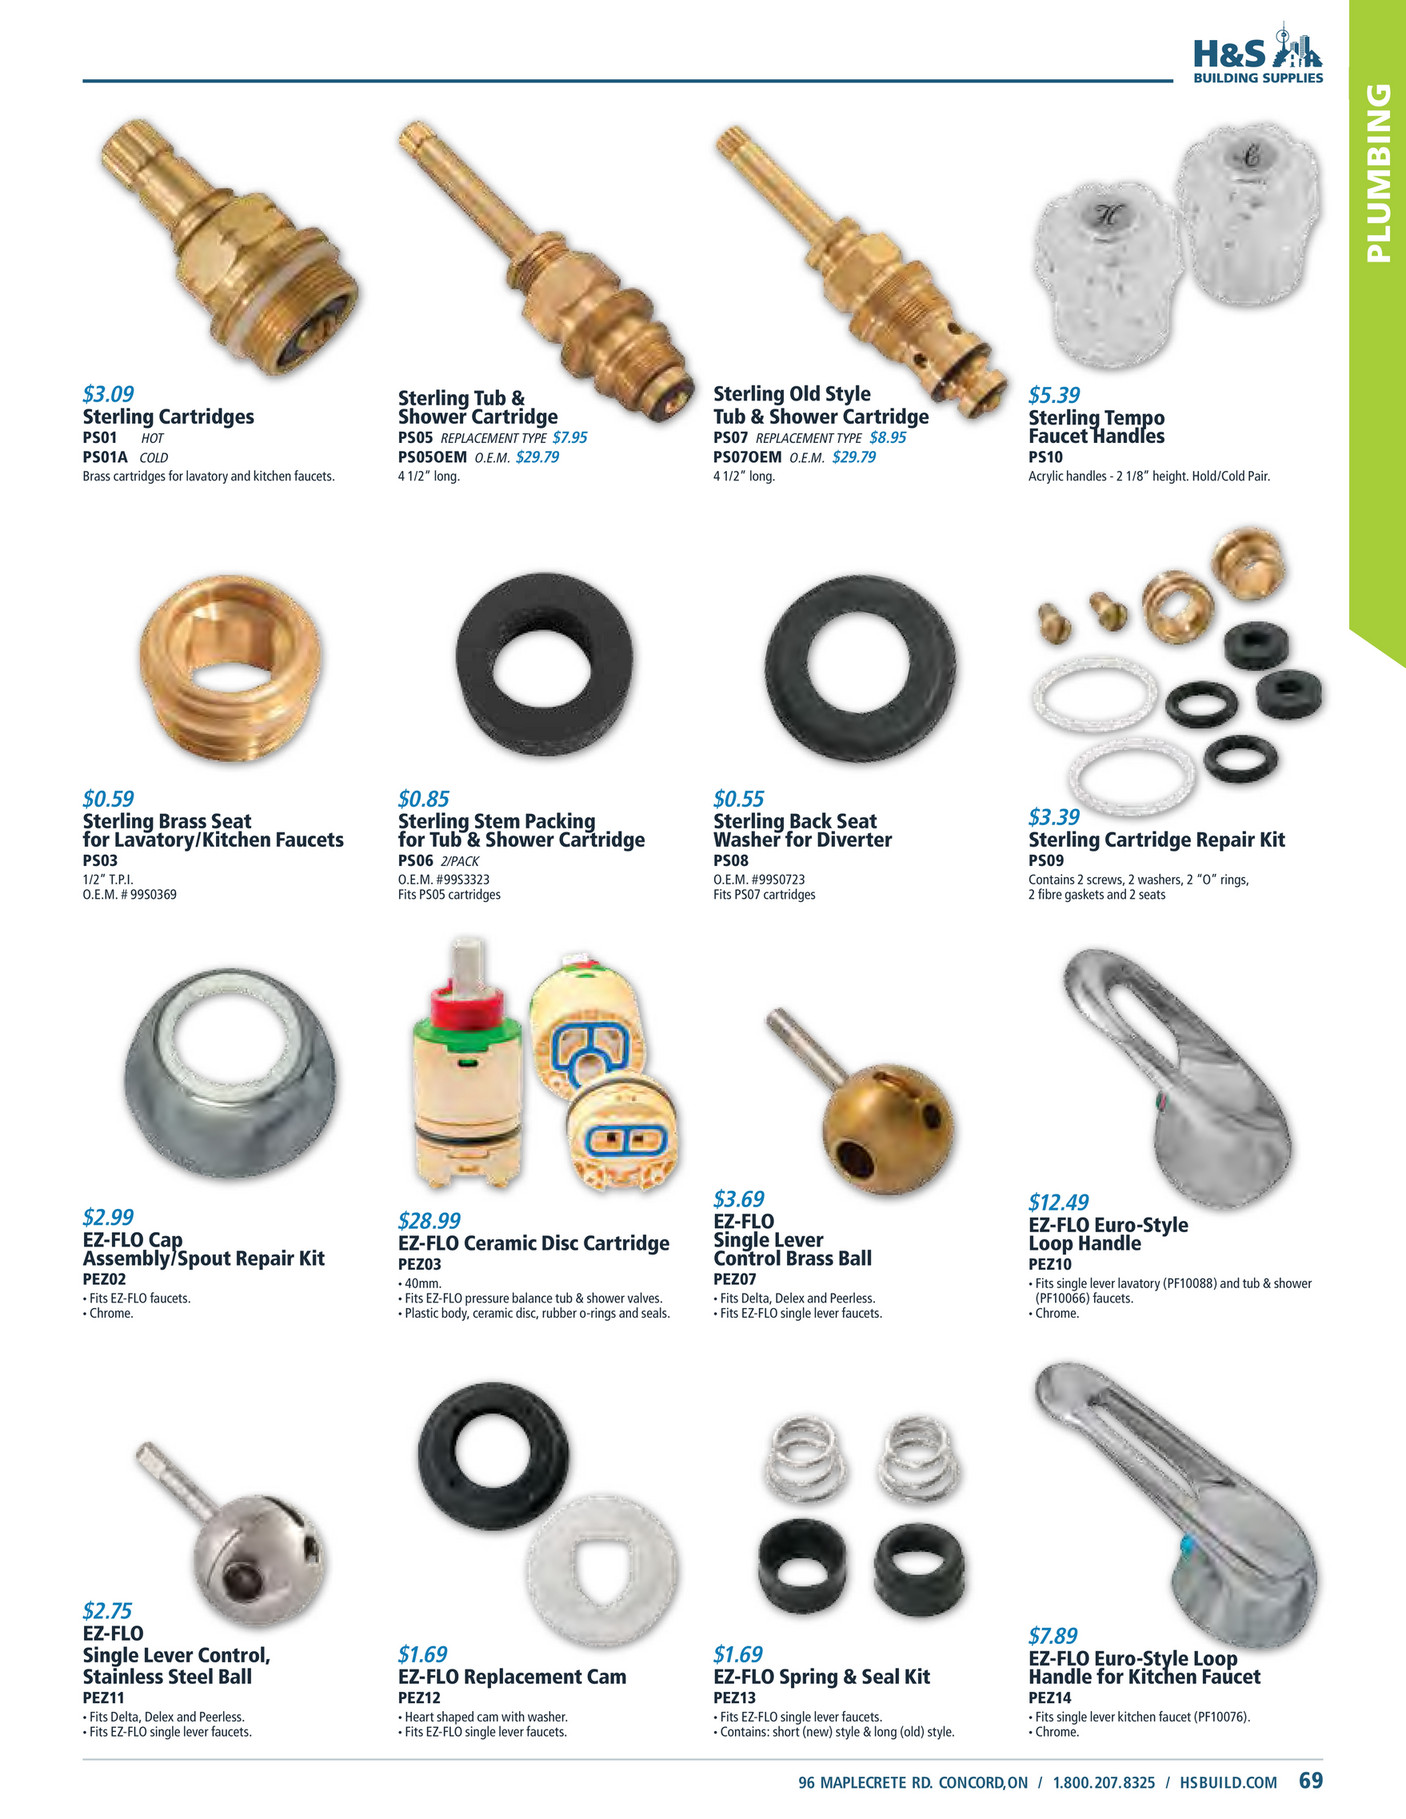
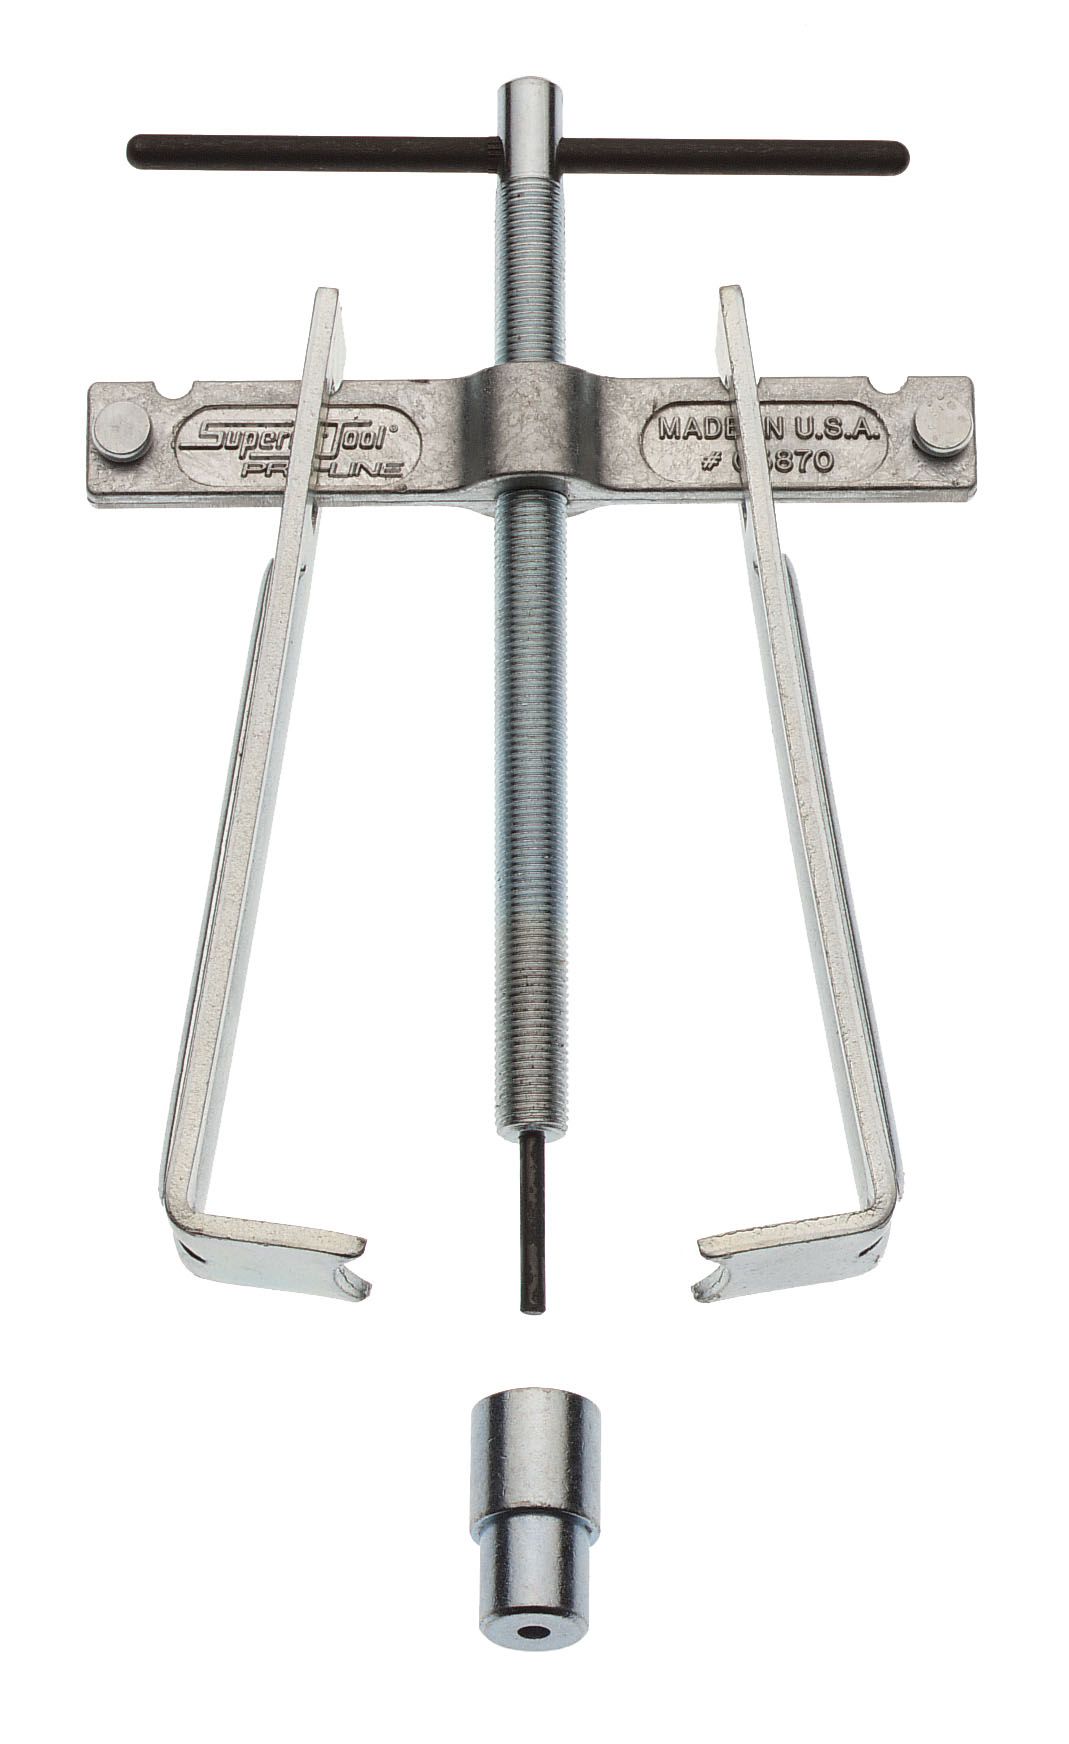
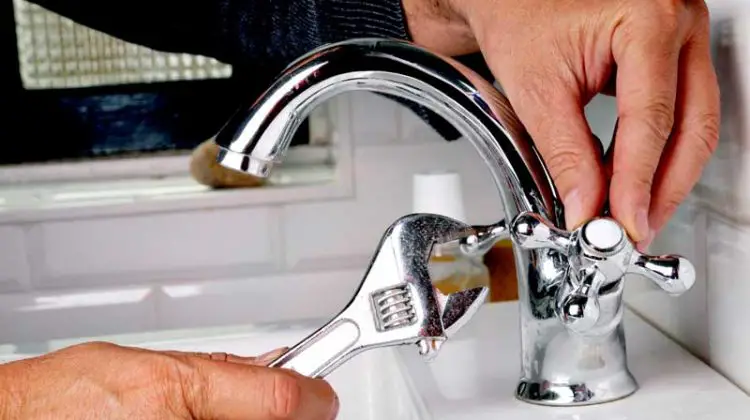
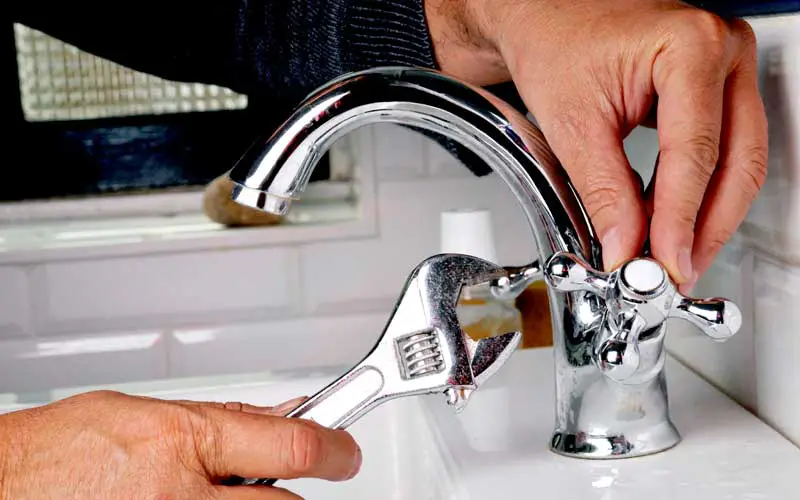
To repair a leaky faucet handle, you will need a few basic tools including an adjustable wrench, pliers, and a screwdriver. You may also need to purchase replacement parts, such as a new washer or O-ring, depending on the source of the leak.4. Gather Your Tools
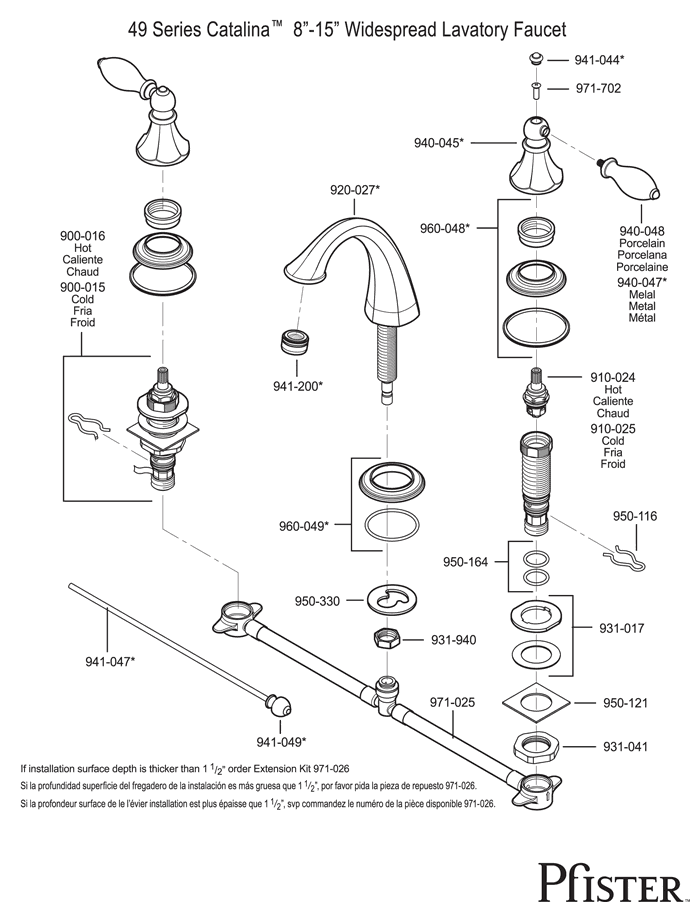
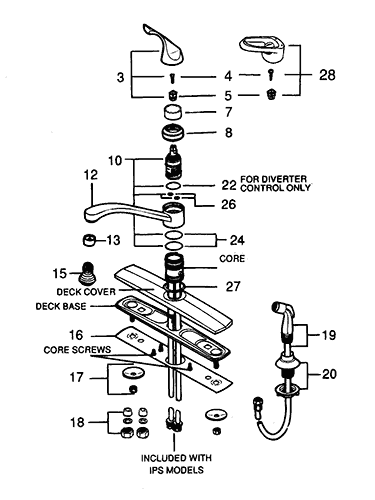
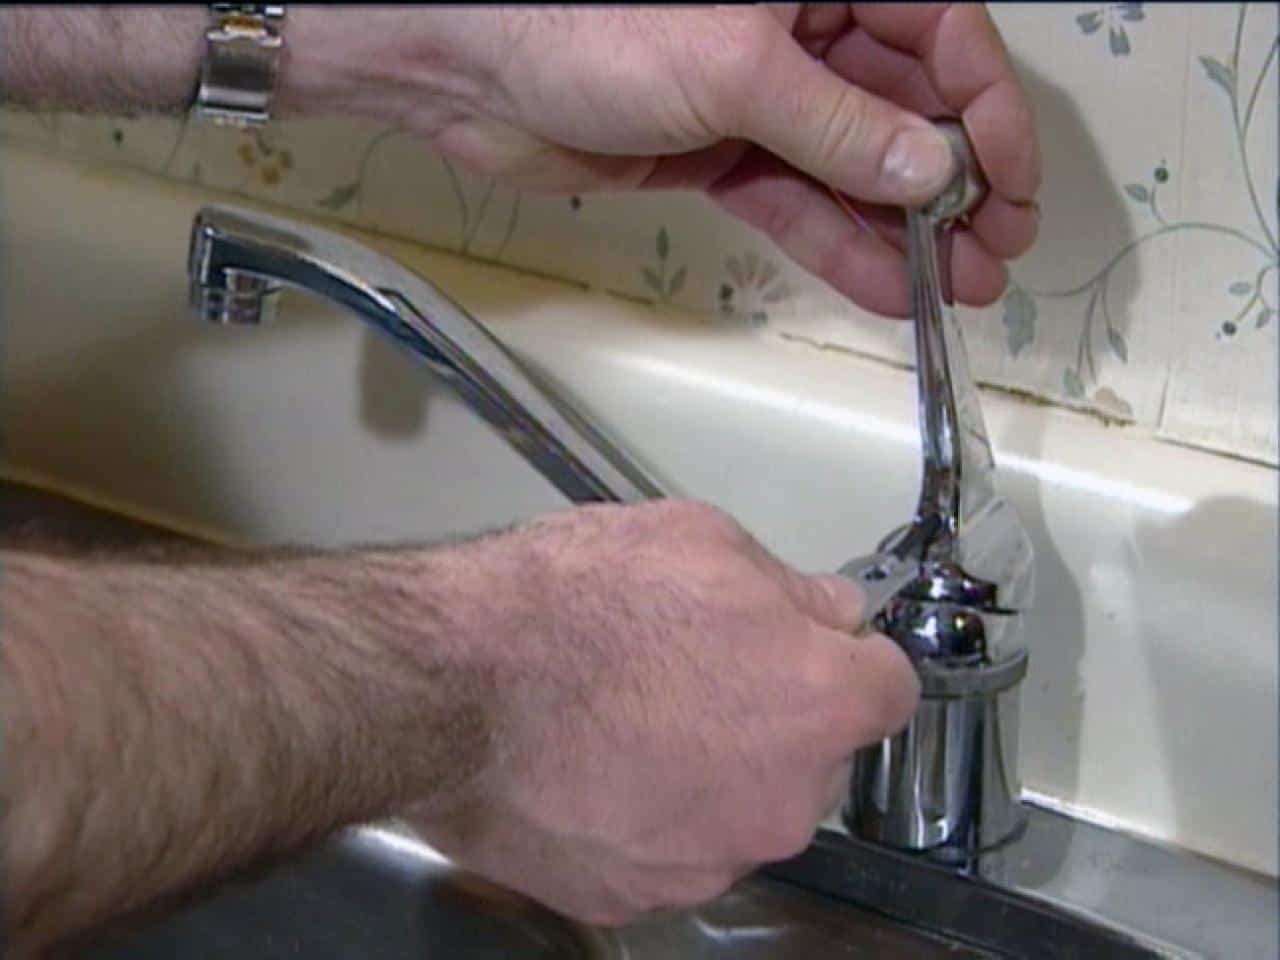
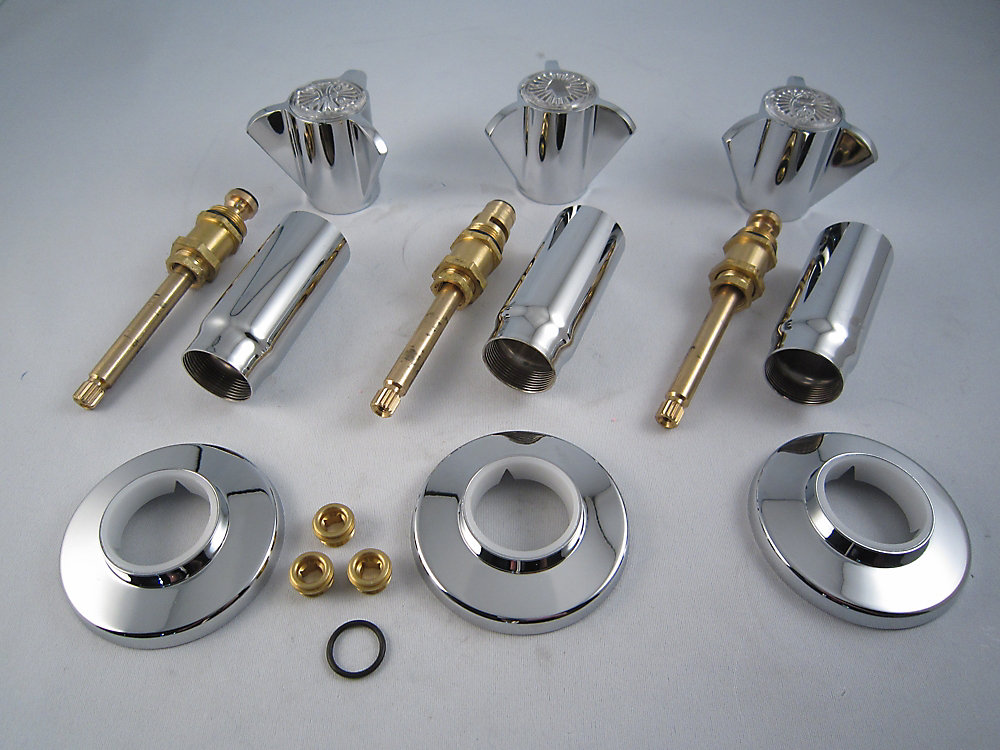
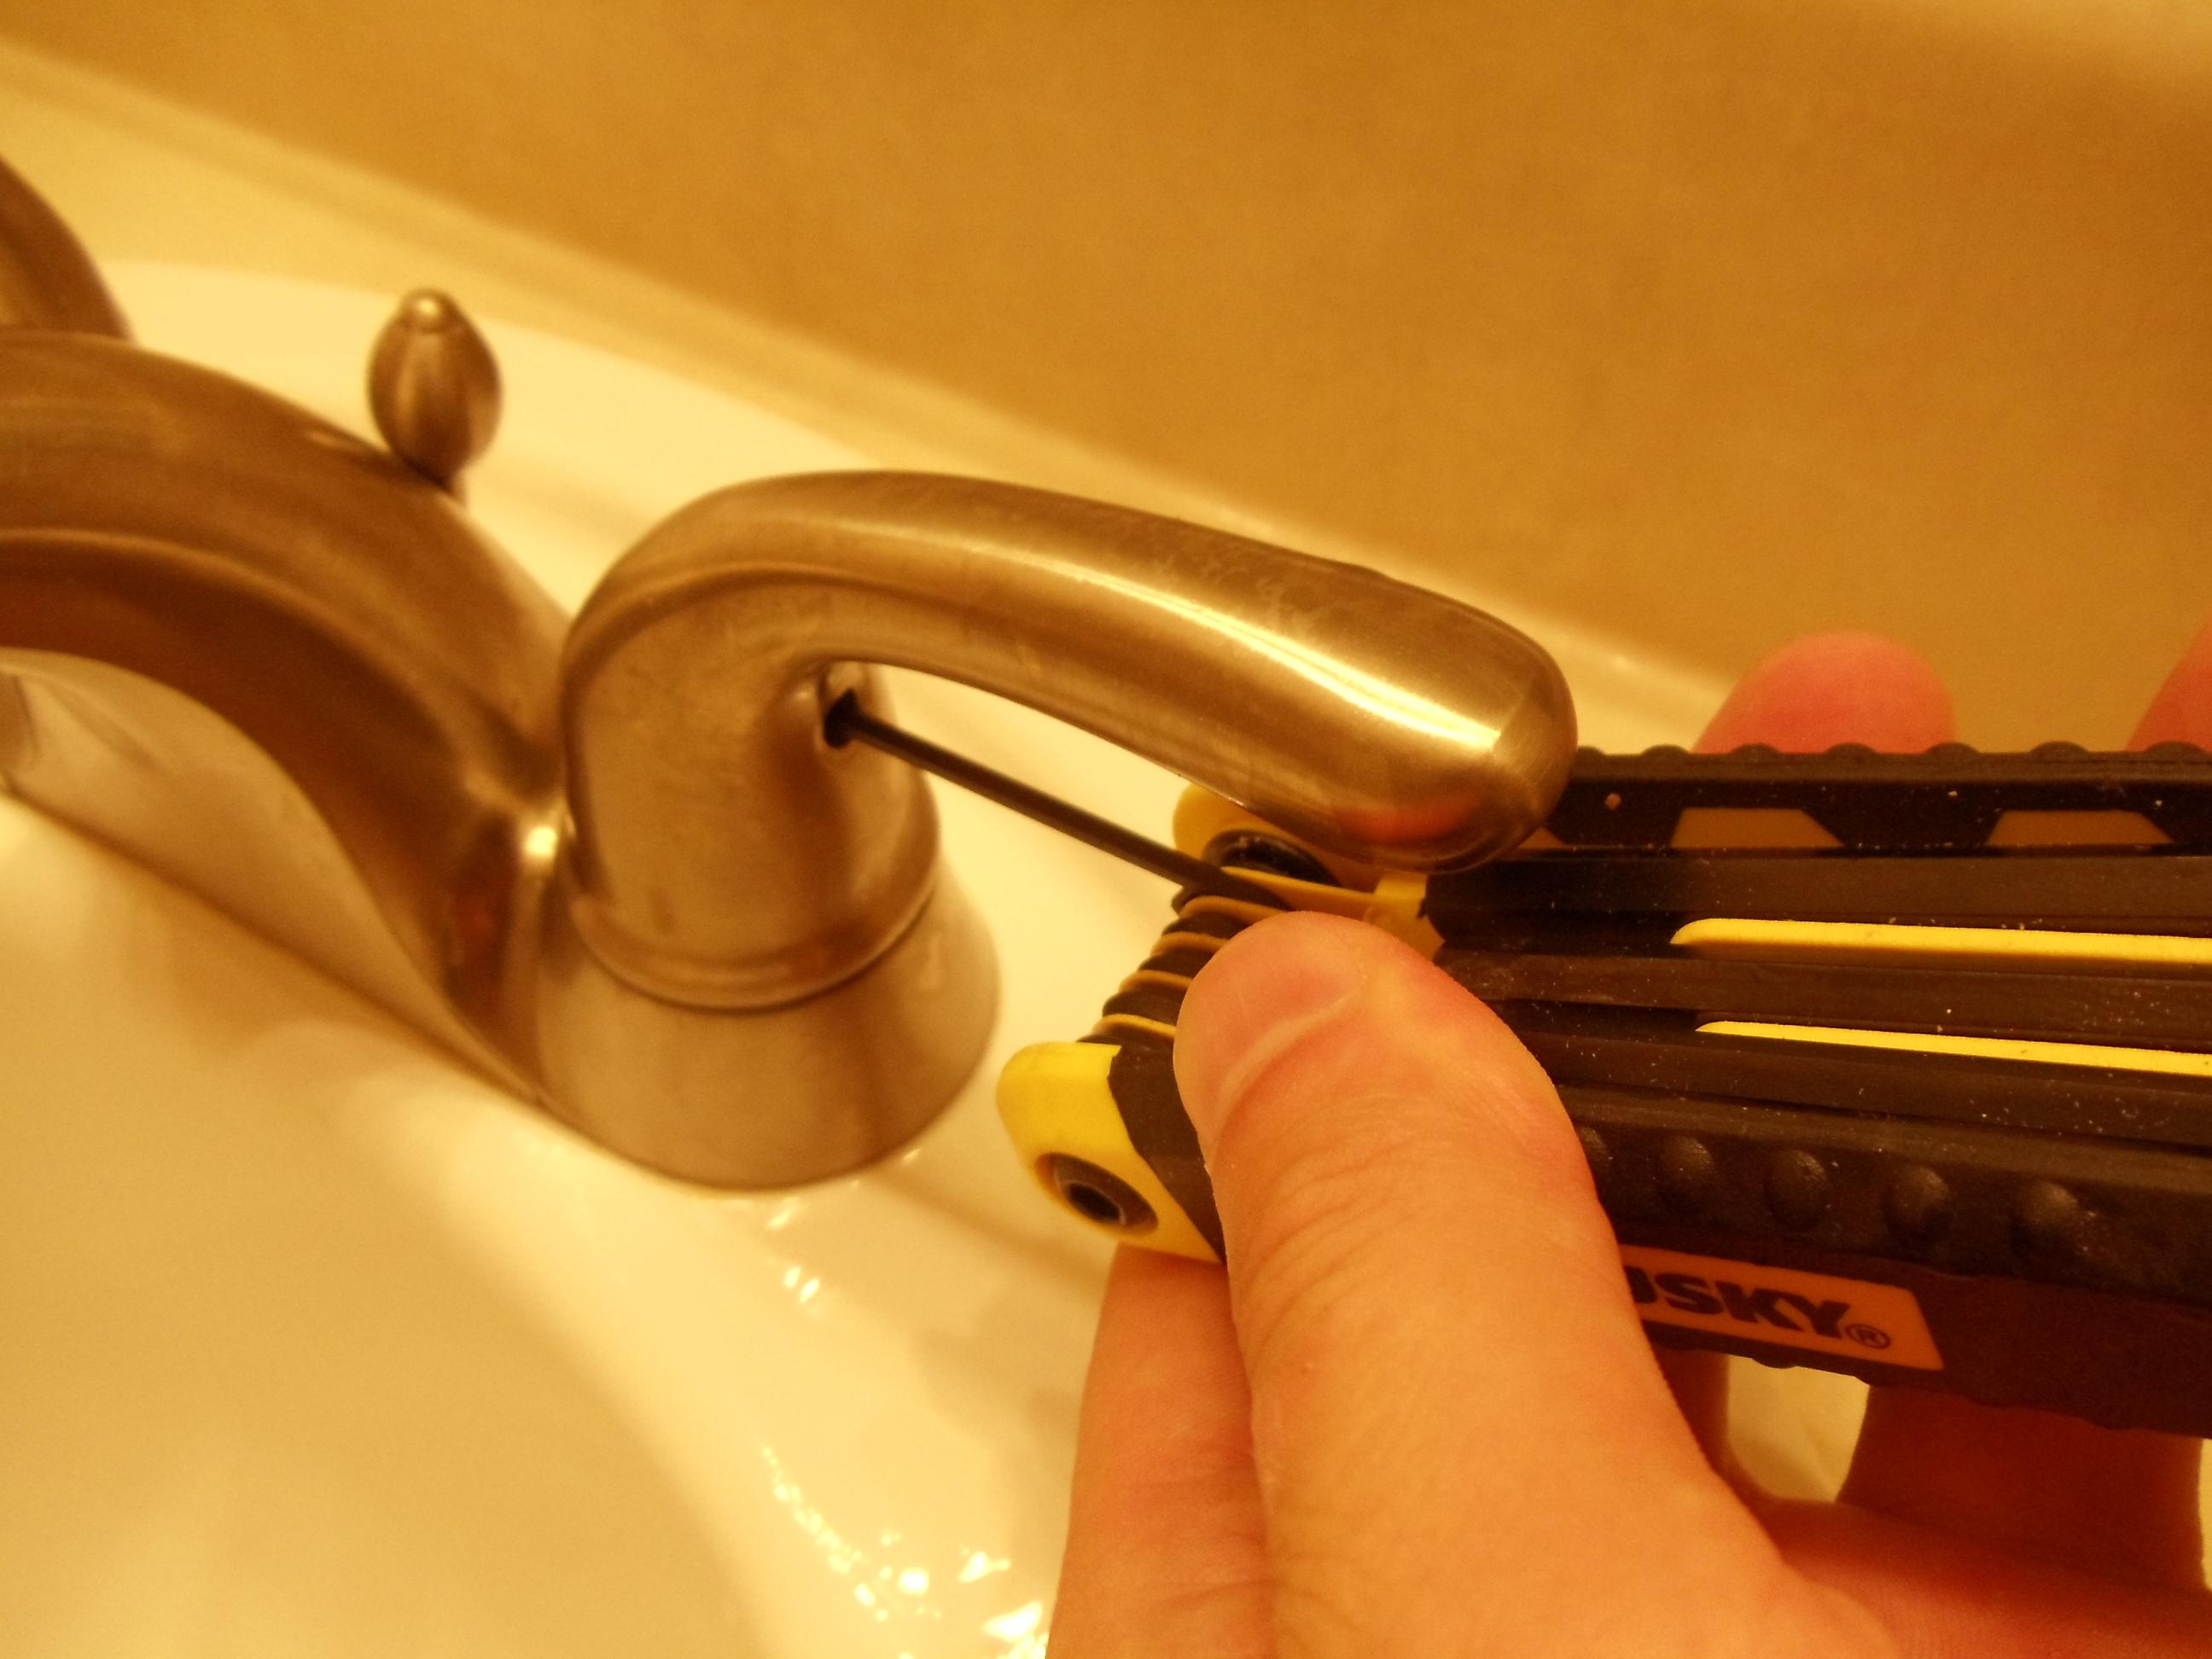
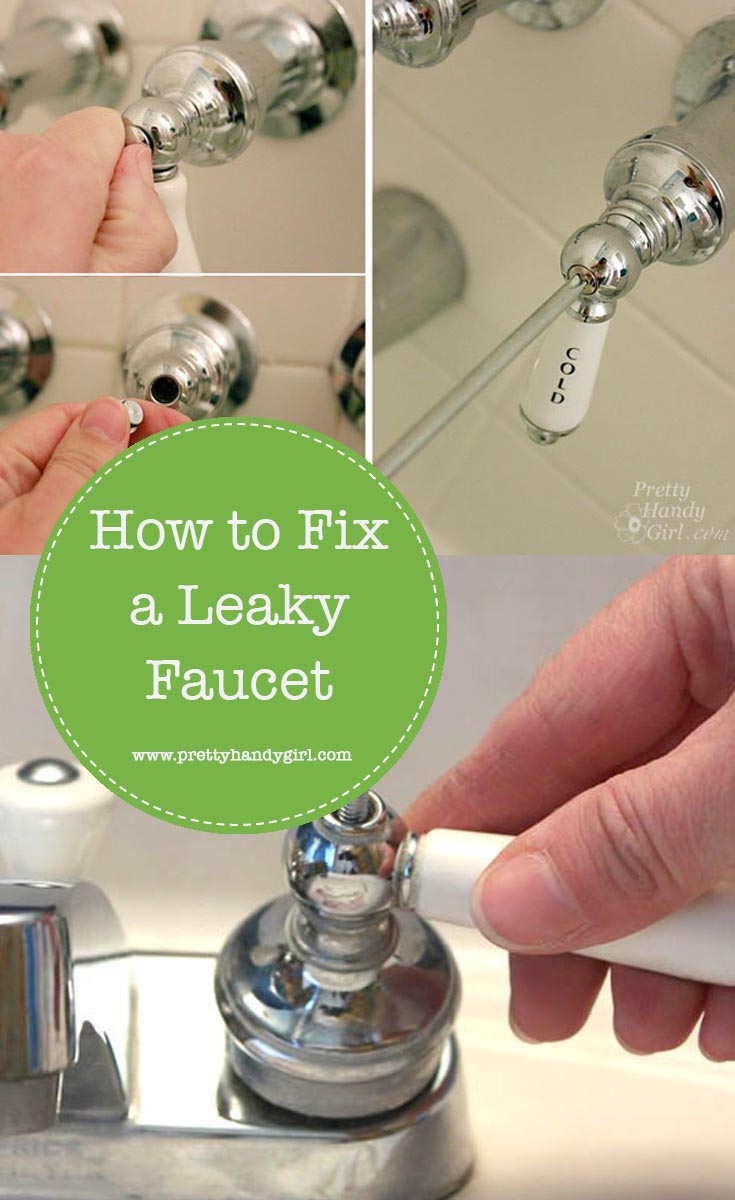
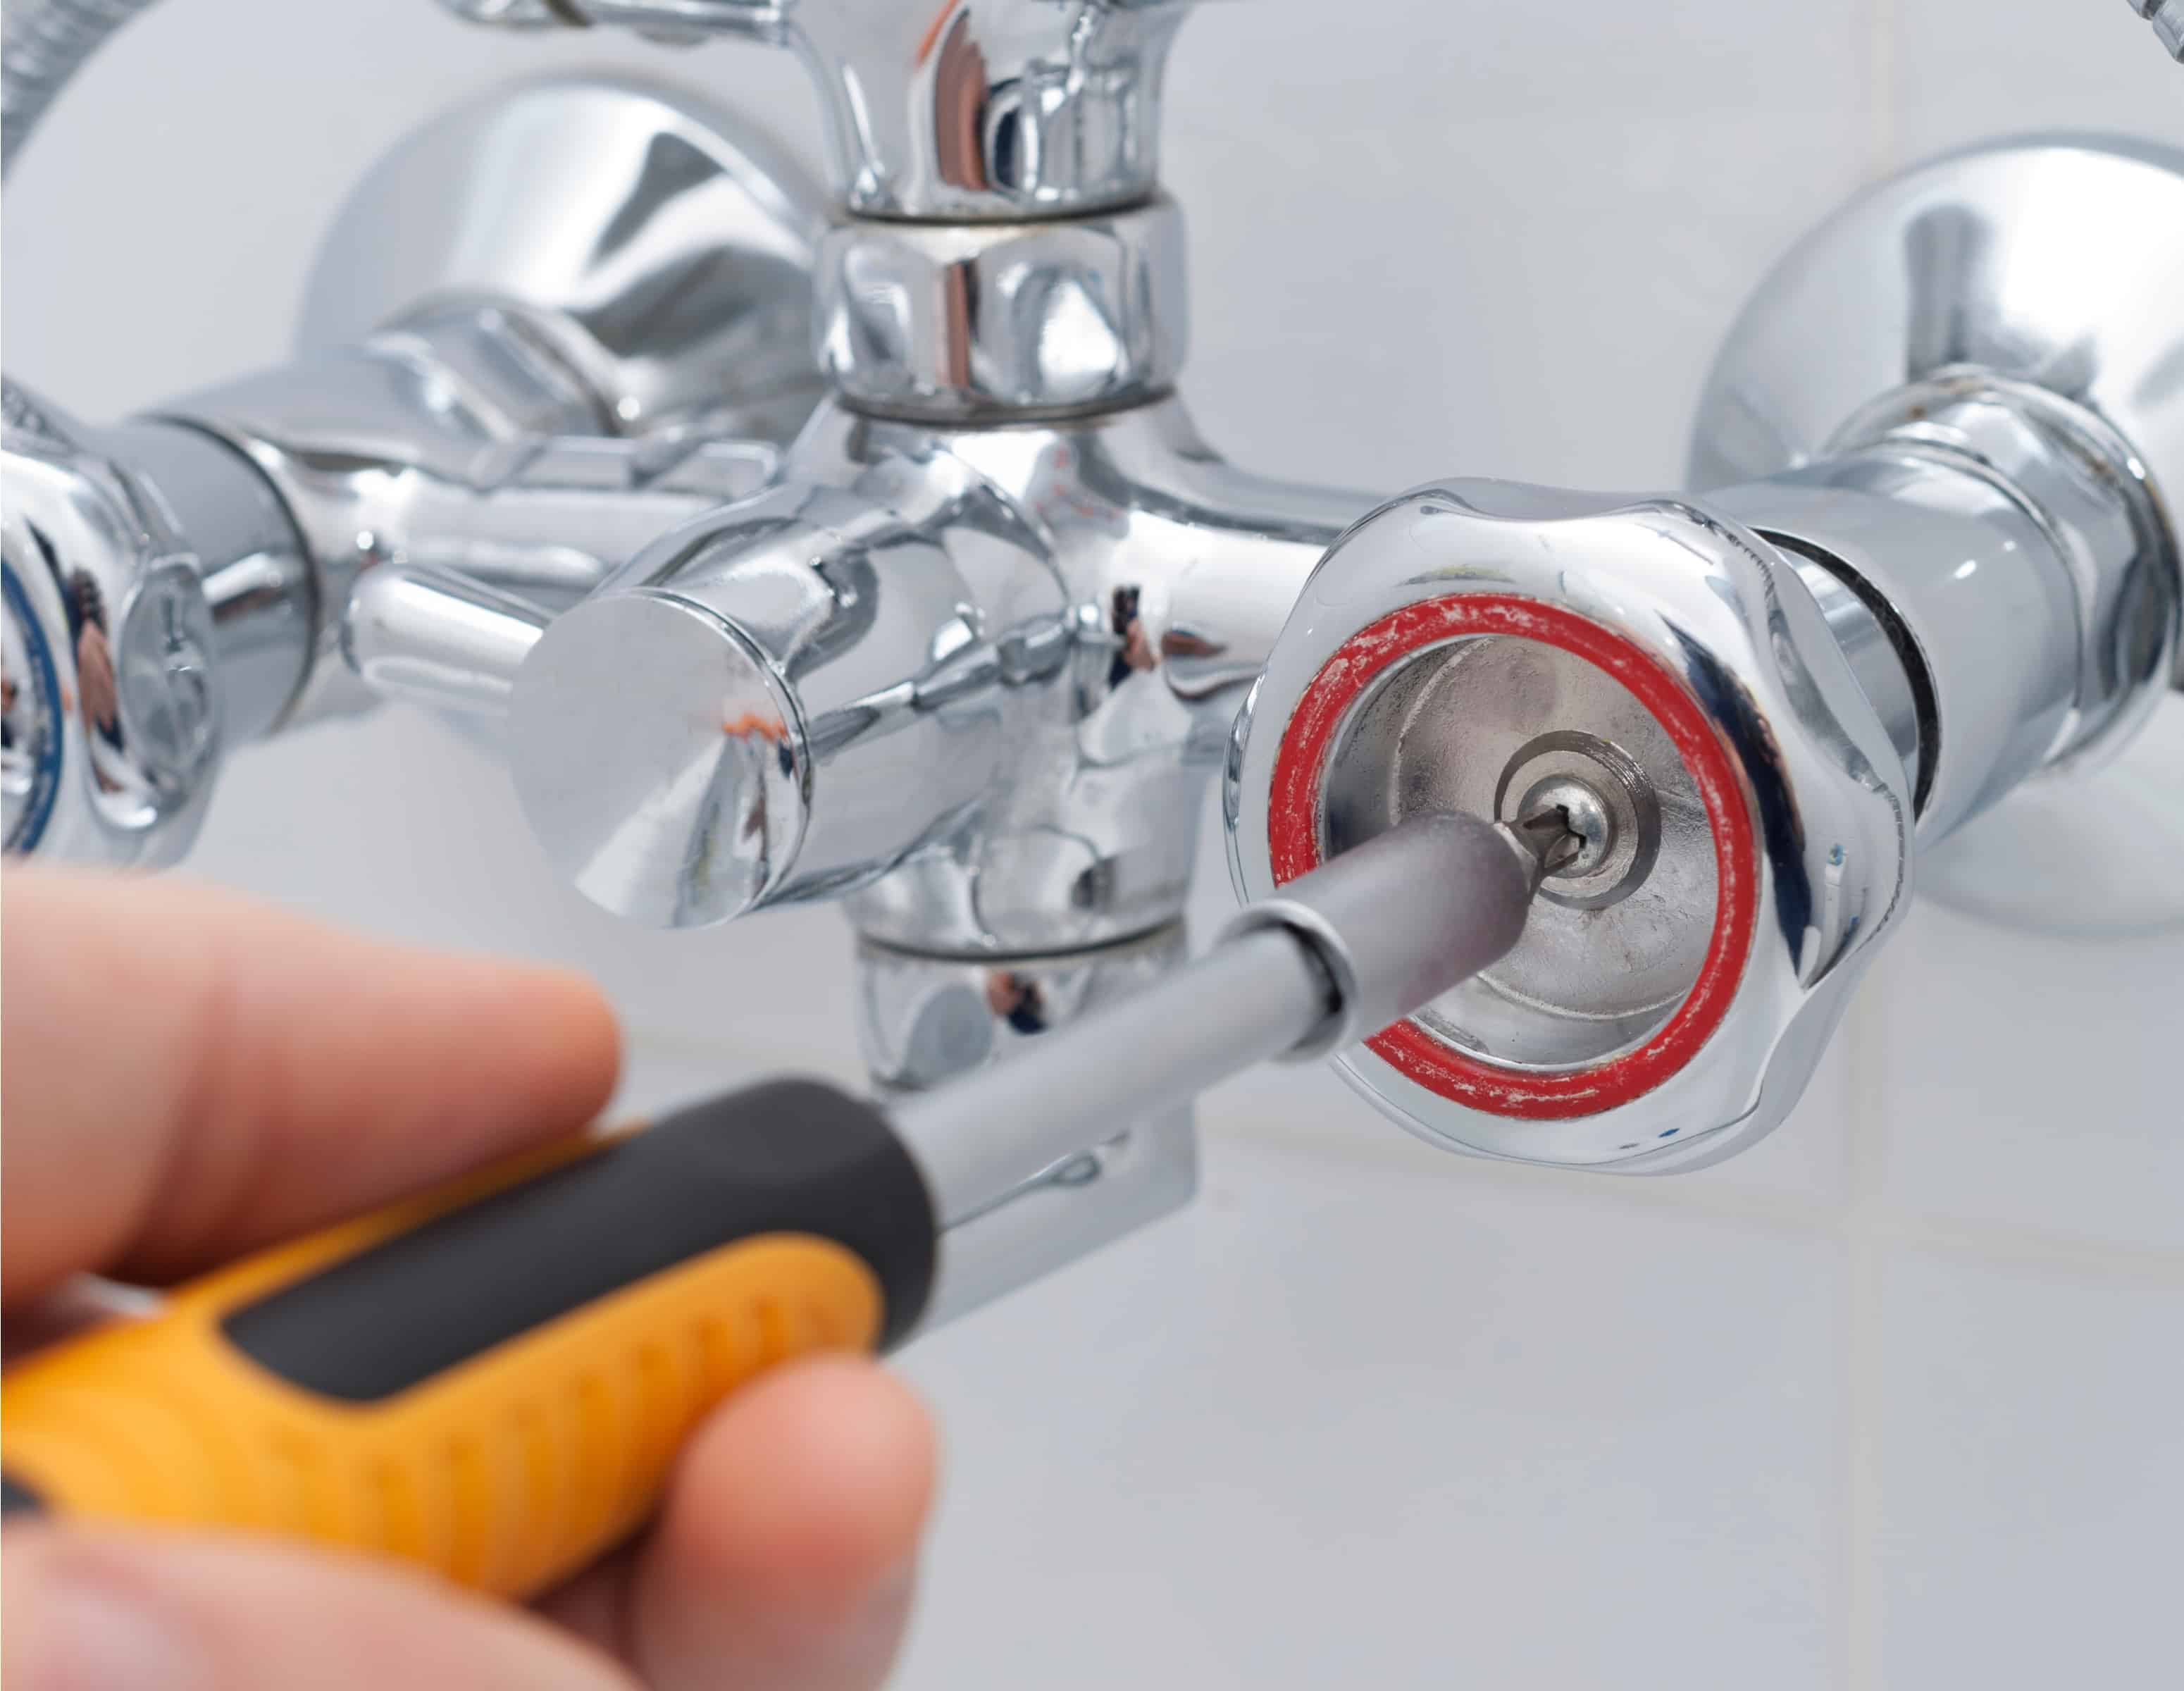
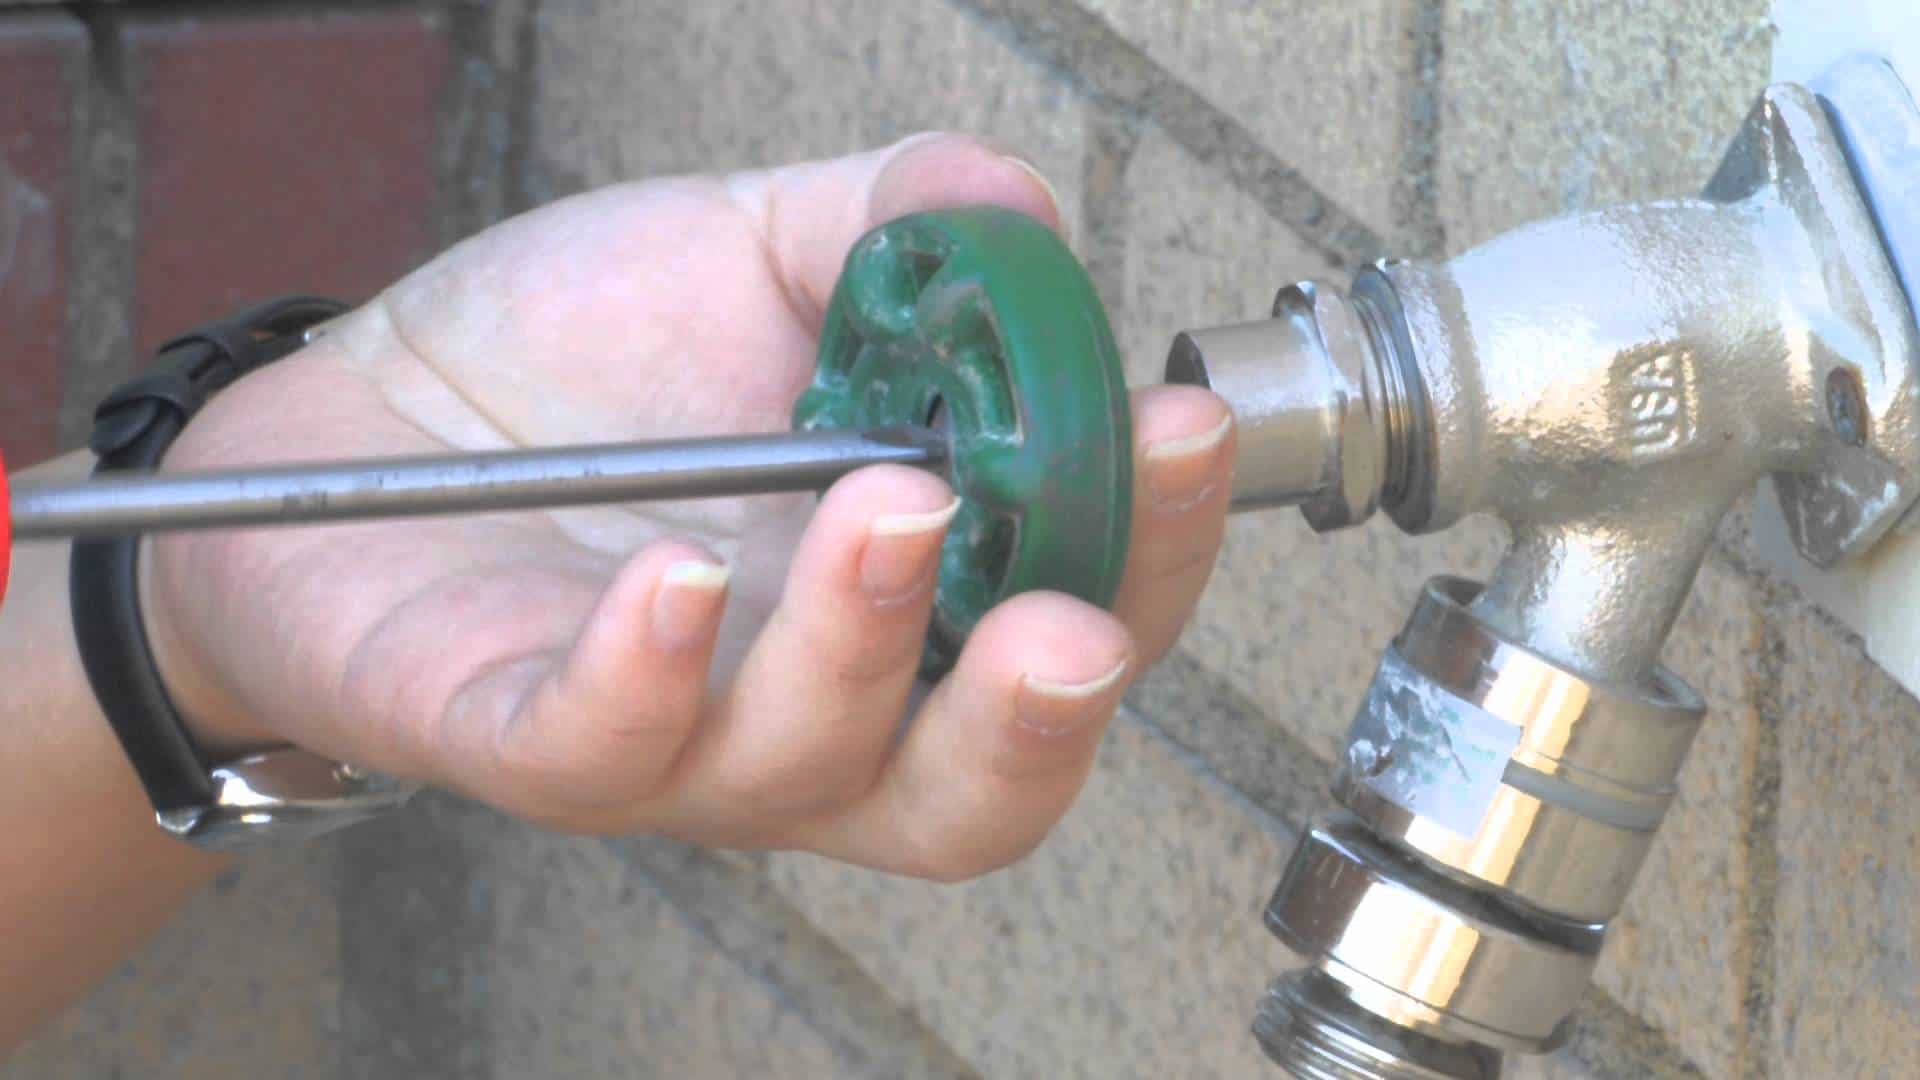
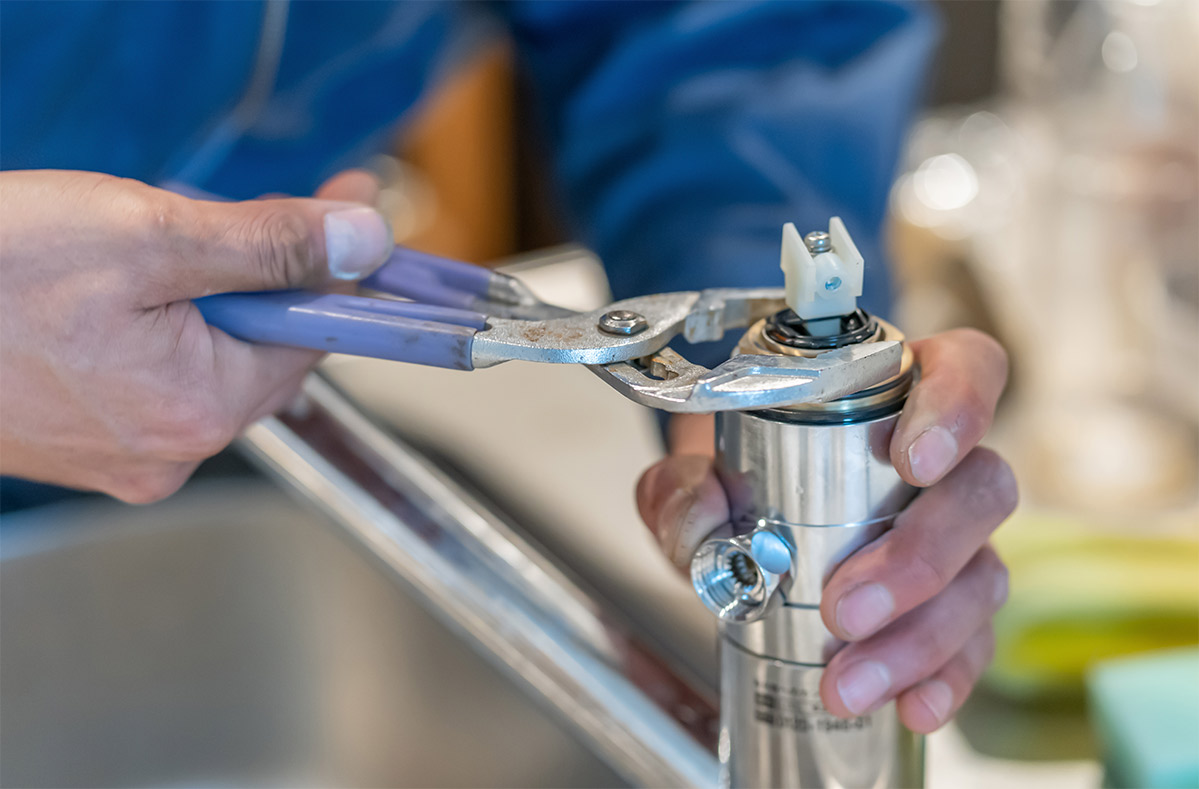
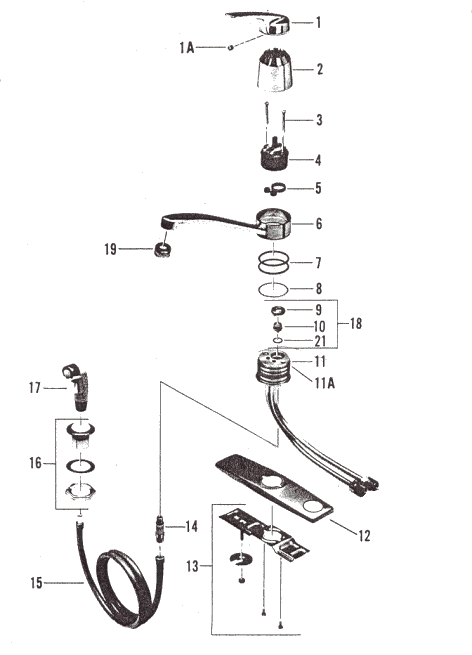
Using your tools, carefully disassemble the faucet handle to access the source of the leak. Be sure to keep track of the order in which you remove the parts, as you will need to reassemble them in the same order.5. Disassemble the Faucet Handle
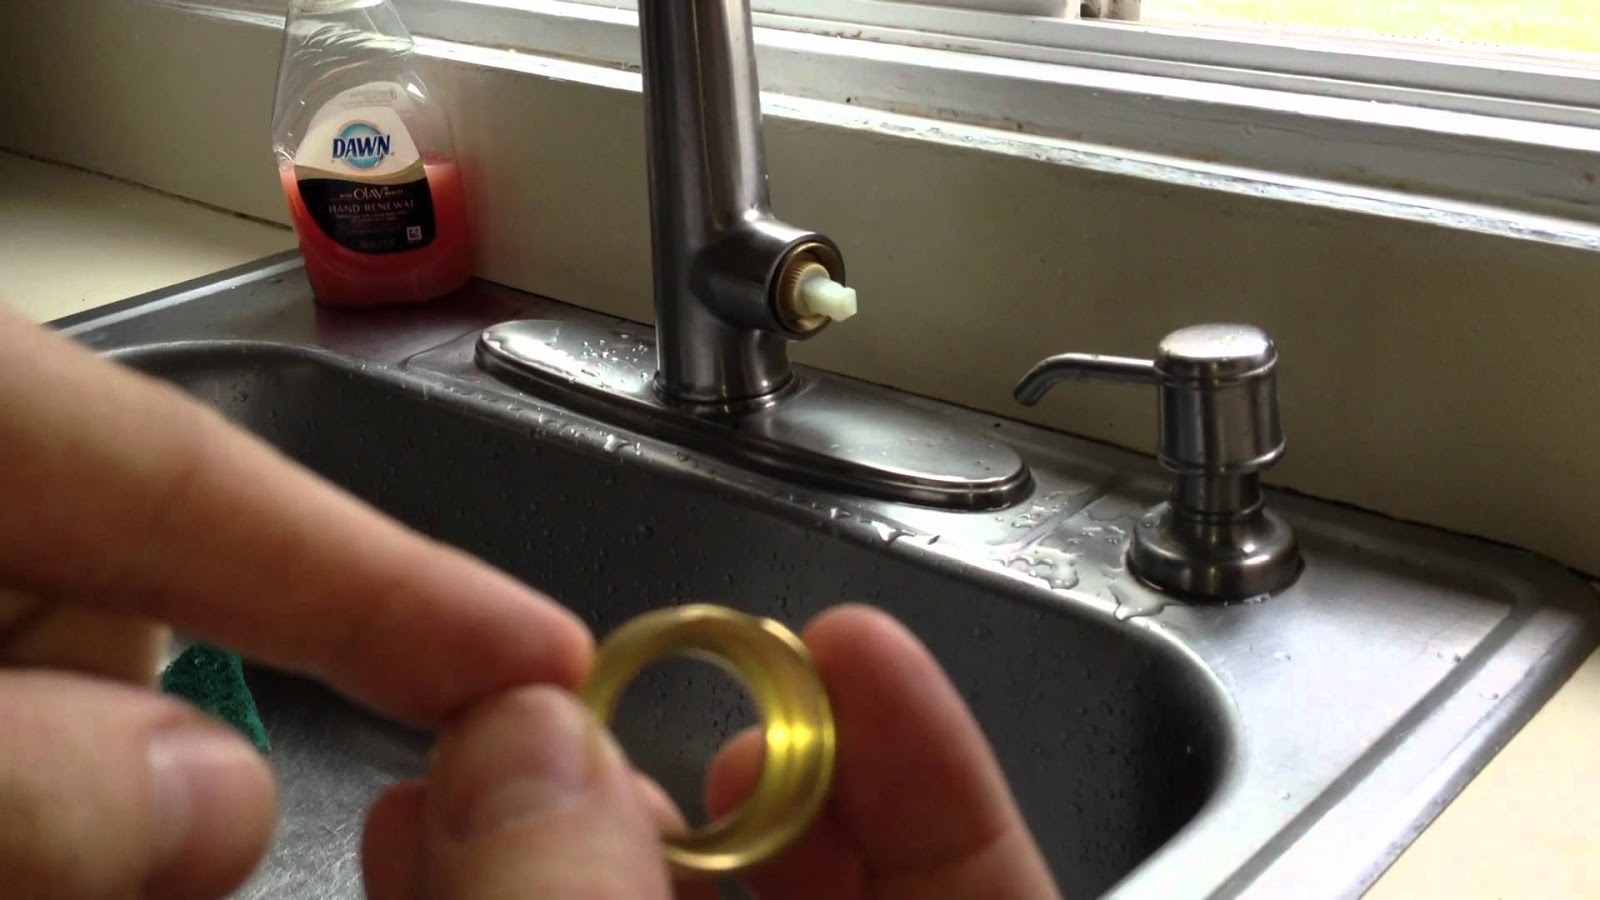
Once you have the faucet handle disassembled, inspect the parts for any signs of wear or damage. This is where you may need to use a replacement washer or O-ring to fix the leak. If the parts look fine, you may just need to clean them and reassemble the handle.6. Inspect the Parts
If the parts are not damaged, but just dirty or clogged, cleaning them can often solve the leak. Use a clean cloth or brush to remove any buildup or debris from the parts. You can also use a vinegar solution to soak the parts and remove any stubborn buildup.7. Clean the Parts
Once the parts are clean and any necessary replacements have been made, reassemble the faucet handle in the reverse order that you took it apart. Be sure to tighten any screws or fittings securely, but not too tight to avoid damaging the parts.8. Reassemble the Faucet Handle
With the faucet handle reassembled, turn the water supply back on and test the handle for any leaks. If the leak persists, you may need to repeat the process or consider calling a professional plumber for assistance.9. Turn the Water Supply Back On
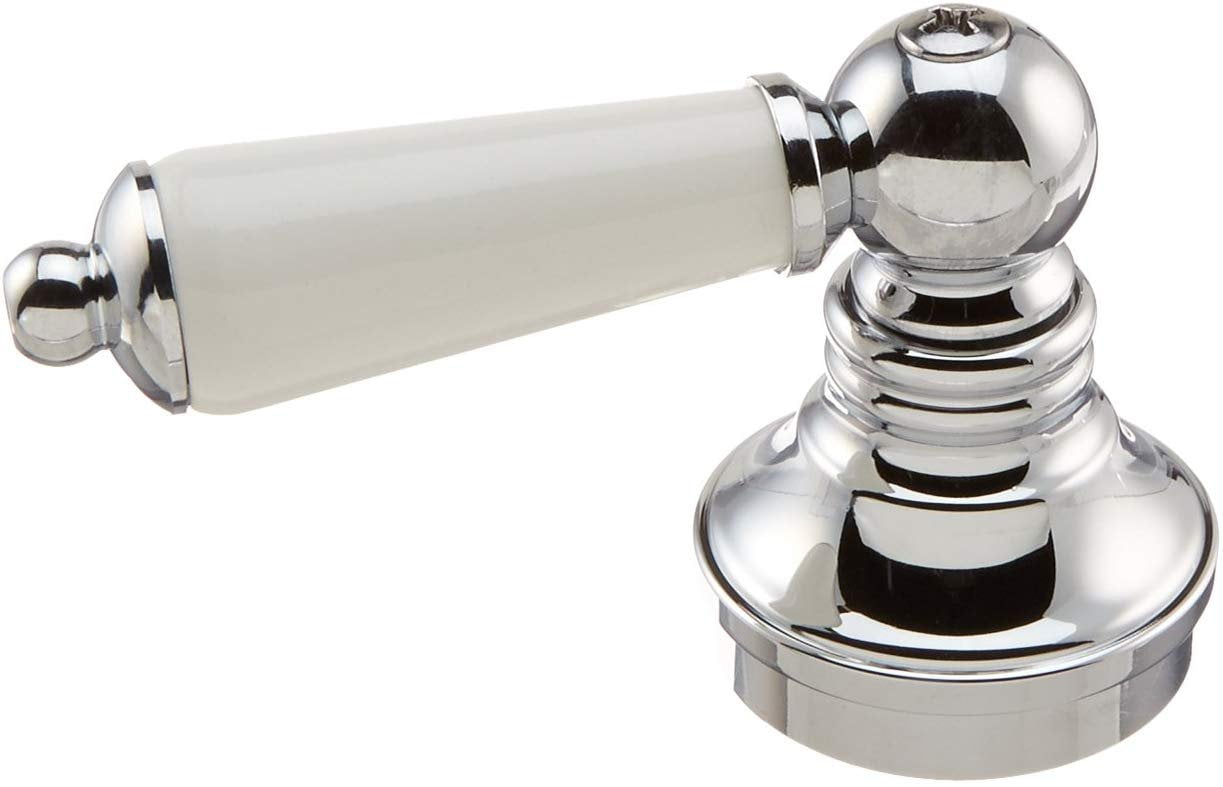
If your faucet handle is old or constantly giving you trouble, it may be time to upgrade to a new one. There are many stylish and efficient options available that can not only fix your leak but also update the look of your bathroom sink. Plus, a new faucet handle can often improve water flow and save you money on your water bill. In conclusion, a leaky faucet handle under the bathroom sink is not something to be ignored. With some basic tools and a little effort, you can fix the leak and prevent any further damage or wasted water. And if all else fails, consider upgrading to a new faucet handle for a fresh and functional addition to your bathroom. 10. Consider Upgrading to a New Faucet Handle
Don't Ignore That Dripping Faucet Handle
 A leaking
faucet handle under the bathroom sink
may seem like a minor annoyance, but it can actually have a significant impact on your house design. Not only does it waste water and drive up your utility bills, but it can also cause damage to your bathroom and even lead to mold growth. In this article, we'll discuss the importance of promptly fixing a leaking faucet handle and how it can benefit your house design.
Save Money on Water Bills
 One of the main reasons to fix a leaking
faucet handle
is to save money on your water bills. A single faucet that drips once per second can waste over 3,000 gallons of water per year. This adds up to a significant amount of money, especially if you have multiple leaking faucets in your house. By fixing the
leaking faucet handle under the bathroom sink
, you can save money and put it towards other aspects of your house design.
Protect Your Bathroom from Damage
 A leaking faucet handle can also cause damage to your bathroom over time. The constant dripping of water can lead to stains on your sink and countertops, as well as potentially damaging your cabinets and flooring. If left unfixed, the water can also seep into the walls and cause structural damage. By taking care of the
leaking faucet handle
, you can prevent these issues and keep your bathroom looking its best.
Prevent the Growth of Mold
 Another hidden danger of a leaking faucet handle is the potential growth of mold. The constant moisture from the dripping water can create the perfect environment for mold to thrive. Mold not only looks unsightly, but it can also cause health issues for you and your family. By fixing the
leaking faucet handle
, you can prevent the growth of mold and maintain a healthy and clean bathroom.
Don't Wait, Fix That Leaking Faucet Handle Today
 In conclusion, a leaking
faucet handle under the bathroom sink
may seem like a minor issue, but it can actually have a significant impact on your house design. By promptly fixing the issue, you can save money on water bills, protect your bathroom from damage, and prevent the growth of mold. Don't wait any longer, take care of that
leaking faucet handle
today and enjoy a well-functioning and beautiful bathroom.































/repairing-a-single-handle-disk-faucet-1824878-06-443e3063ba28420abd54f6e932c0fd6f.jpg)
:max_bytes(150000):strip_icc()/repairing-a-single-handle-disk-faucet-1824878-hero-b3daee9af5174d8f9b9cb4a2582e7140.jpg)


