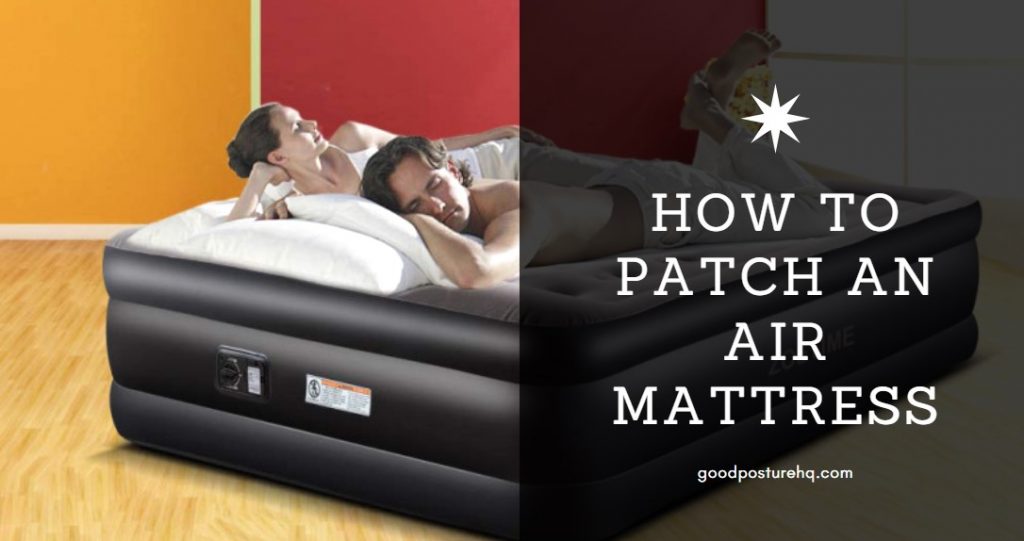
Having a comfortable air mattress can make all the difference when it comes to getting a good night's sleep. However, if your air mattress gets a hole or puncture, it can quickly turn into a nightmare. But fear not, because repairing an air mattress doesn't have to be a difficult or time-consuming task. In fact, with the right tools and techniques, you can easily fix your air mattress in no time. So, let's dive into the top 10 easy air mattress repair methods that will have you sleeping soundly once again.1. How to Repair an Air Mattress Easily


1. How to Repair an Air Mattress Easily


Before we get into the various methods for repairing your air mattress, there are a few simple tips you should keep in mind. First, make sure to clean the surface of your mattress before attempting any repairs. This will ensure that the patch sticks properly. Secondly, always have the right tools on hand, such as a patch kit, scissors, and a pump. And finally, try to locate the leak by filling the mattress with air and listening for the sound of escaping air.2. Quick and Easy Air Mattress Repair Tips


2. Quick and Easy Air Mattress Repair Tips


If you've located the leak and are ready to fix your air mattress, here are some simple steps to follow. First, deflate the mattress completely and clean the area around the leak with rubbing alcohol. Next, apply a generous amount of glue from your patch kit onto the leak and let it dry for a few minutes. Then, place the patch over the glued area and press down firmly. Lastly, let the patch dry for the recommended amount of time before inflating the mattress again.3. Simple Steps for Fixing an Air Mattress


3. Simple Steps for Fixing an Air Mattress


If you don't have a patch kit on hand, or just prefer a more DIY approach, there are a few household items you can use to fix your air mattress. One option is to use duct tape. Simply cut a piece of duct tape large enough to cover the leak and press it firmly onto the mattress. Another option is to use a bicycle tire patch kit. The steps are similar to using a regular patch kit, but make sure to clean the area thoroughly before applying the patch.4. DIY Air Mattress Repair Made Easy
4. DIY Air Mattress Repair Made Easy


While patching the leak is the most common method for repairing an air mattress, there are a few other techniques that can be just as effective. One option is to use a hot glue gun to seal the leak. This method is quick and easy, but keep in mind that the glue may not hold up over time. Another option is to use rubber cement to seal the leak. This is a stronger and more durable solution, but it can be a bit messier to apply.5. The Best Methods for Easy Air Mattress Repair


5. The Best Methods for Easy Air Mattress Repair
If you're in a rush and need to fix your air mattress quickly, there are a couple of techniques that can save you time. One option is to use a self-adhesive patch. These patches come with a sticky backing that can be applied directly onto the leak. Another option is to use a tire repair kit. These kits contain a plug and an adhesive that can be used to seal the leak and hold up well over time.6. Fast and Effective Air Mattress Repair Techniques

6. Fast and Effective Air Mattress Repair Techniques
There are a few common problems that can occur with air mattresses besides leaks. For example, the valve may become loose and cause air to escape. To fix this, simply tighten the valve with a pair of pliers. Another issue is when the seams of the mattress come apart. To fix this, you can use super glue to seal the seam or hand sew it back together using a heavy-duty needle and thread.7. Easy Solutions for Common Air Mattress Repair Problems


7. Easy Solutions for Common Air Mattress Repair Problems


If you have a large rip or tear in your air mattress, you may need to use a different approach to patch it. One method is to use a piece of fabric or an old t-shirt to create a patch. Cut the fabric to fit the size of the rip, apply a layer of glue to both the mattress and the fabric, and then press the fabric onto the rip. This can provide a stronger and more durable fix for larger damages.8. How to Patch an Air Mattress in a Few Simple Steps


8. How to Patch an Air Mattress in a Few Simple Steps


For smaller leaks, the easiest and quickest way to fix them is by using a tire sealant. This is a liquid solution that can be poured into the mattress through the valve. Simply inflate the mattress and rotate it to ensure the solution covers the entire inside. Once the leak is sealed, let the mattress sit for a few hours before using it to allow the solution to dry.9. The Easiest Way to Fix a Leak in an Air Mattress


9. The Easiest Way to Fix a Leak in an Air Mattress


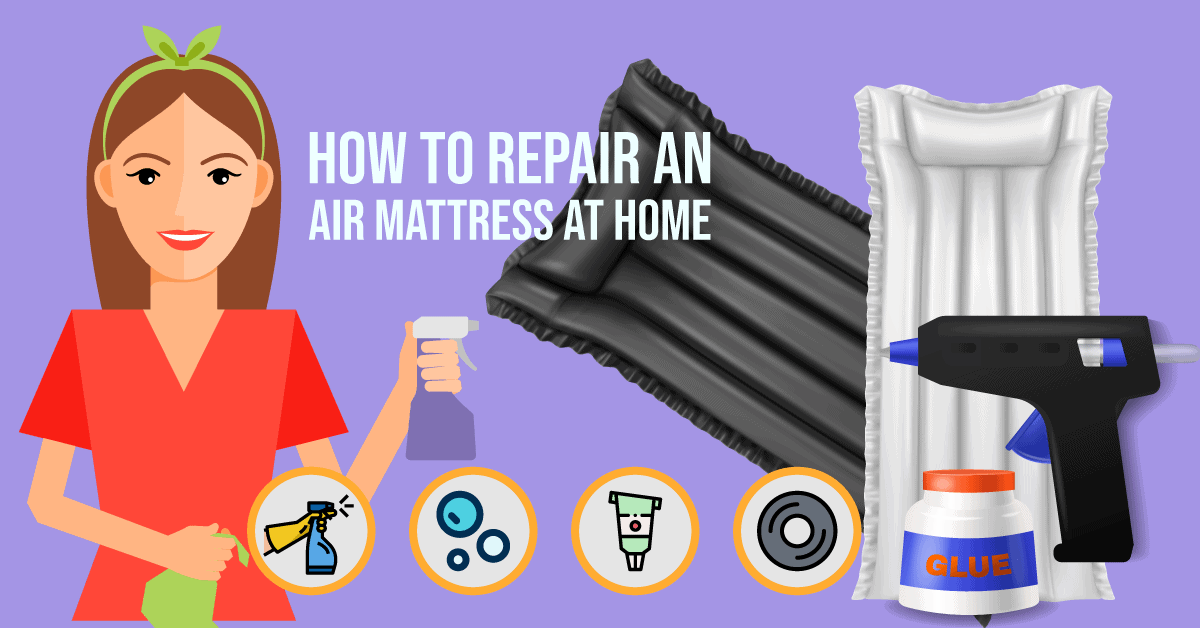
To make the repair process as smooth and easy as possible, there are a few essential tools that you should have on hand. These include a patch kit, scissors, rubbing alcohol, a pump, duct tape, a hot glue gun, rubber cement, a self-adhesive patch, a tire repair kit, super glue, a heavy-duty needle and thread, and a tire sealant. Having these tools readily available will ensure that you can quickly fix any issues that may arise with your air mattress. In conclusion, repairing an air mattress doesn't have to be a daunting task. With the right tools and techniques, you can easily fix any leaks, tears, or other damages that may occur. Just remember to clean the area thoroughly, use the right tools for the job, and let the patch or solution dry completely before using the mattress again. By following these easy air mattress repair methods, you can rest easy knowing that your air mattress will provide you with a comfortable and peaceful night's sleep once again.10. Essential Tools for Easy Air Mattress Repair at Home


10. Essential Tools for Easy Air Mattress Repair at Home

Tips for Easy Air Mattress Repair
Step 1: Identify the Source of the Leak
 The first step in repairing your air mattress is to find where the leak is coming from. It could be a small puncture or tear, or it could be a faulty valve.
Inspect the entire mattress carefully, paying close attention to the seams and valves.
If you can't find the source of the leak, try inflating the mattress and listening for any hissing or feeling for any escaping air.
The first step in repairing your air mattress is to find where the leak is coming from. It could be a small puncture or tear, or it could be a faulty valve.
Inspect the entire mattress carefully, paying close attention to the seams and valves.
If you can't find the source of the leak, try inflating the mattress and listening for any hissing or feeling for any escaping air.
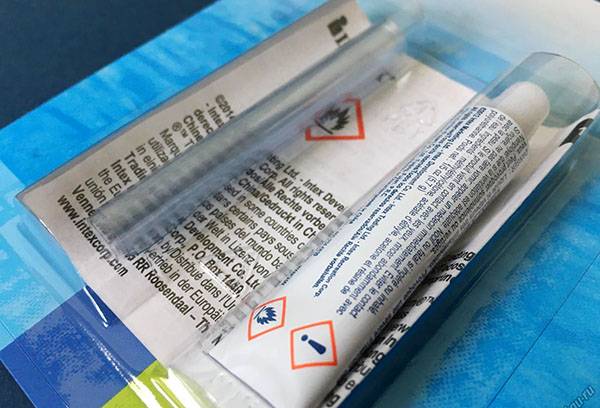
Step 2: Gather Your Materials
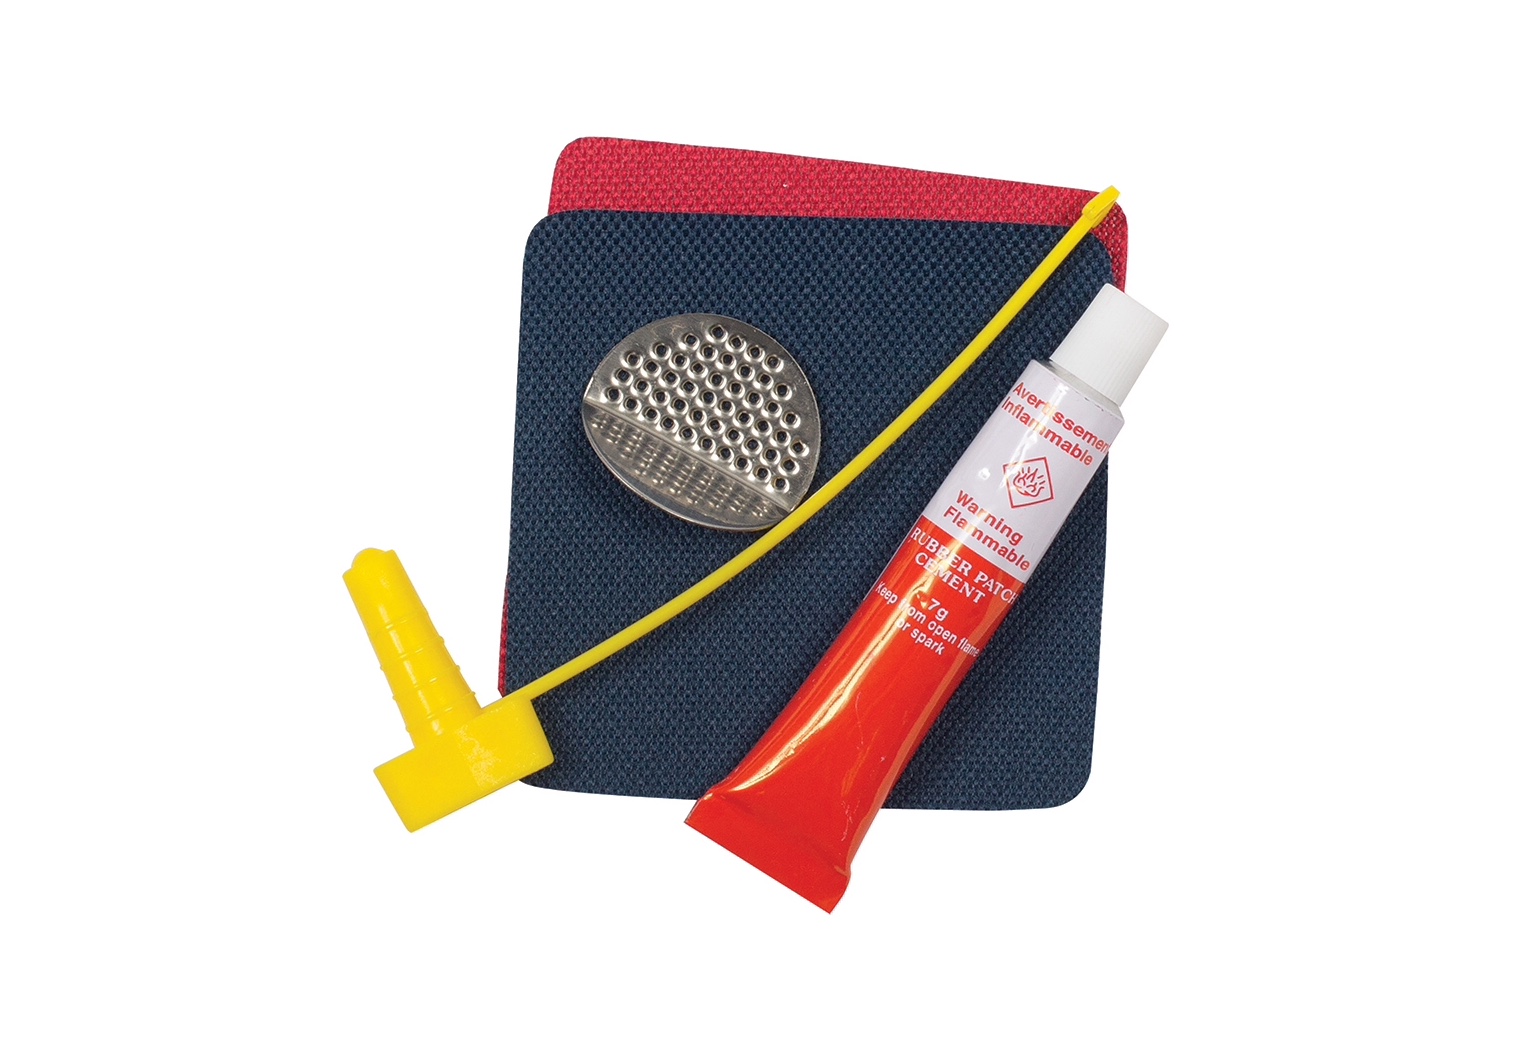
 Once you have identified the source of the leak, you will need to gather the necessary materials for the repair. These may include
patch kits, adhesive, and a repair patch
if the leak is a small puncture. If the problem is a faulty valve, you may need
a valve repair kit or a replacement valve.
It is important to have all the materials ready before starting the repair process.
Once you have identified the source of the leak, you will need to gather the necessary materials for the repair. These may include
patch kits, adhesive, and a repair patch
if the leak is a small puncture. If the problem is a faulty valve, you may need
a valve repair kit or a replacement valve.
It is important to have all the materials ready before starting the repair process.
Step 3: Clean and Prepare the Area
 Before beginning the repair, it is essential to clean and dry the area where the leak is located.
Use a damp cloth to remove any dirt or debris
that may prevent the patch or adhesive from adhering properly. If the leak is near a seam,
you may need to gently pull the seam apart to create a flat surface for the patch to adhere to.
Before beginning the repair, it is essential to clean and dry the area where the leak is located.
Use a damp cloth to remove any dirt or debris
that may prevent the patch or adhesive from adhering properly. If the leak is near a seam,
you may need to gently pull the seam apart to create a flat surface for the patch to adhere to.
Step 4: Patch or Replace the Defective Area
 If the leak is a small puncture, you can use a patch kit or adhesive to seal the hole.
Apply the adhesive to the patch and place it over the leak, firmly pressing down to ensure it is secure.
If the problem is a faulty valve, you may need to replace it with a new one.
Follow the instructions on the valve repair kit or replacement valve to properly install it.
If the leak is a small puncture, you can use a patch kit or adhesive to seal the hole.
Apply the adhesive to the patch and place it over the leak, firmly pressing down to ensure it is secure.
If the problem is a faulty valve, you may need to replace it with a new one.
Follow the instructions on the valve repair kit or replacement valve to properly install it.
Step 5: Test and Reinforce the Repair
 After completing the repair, it is crucial to test it before using the air mattress again.
Inflate the mattress and apply pressure to the repaired area to make sure there are no more leaks.
If the repair seems secure, you can reinforce it by adding an additional layer of adhesive or patch over the area.
By following these simple steps, you can easily repair your air mattress and extend its lifespan. Remember to always
take proper care of your air mattress
to prevent future damage and make sure to have the necessary materials on hand for any future repairs. With these tips, you can have your air mattress back in working condition in no time.
After completing the repair, it is crucial to test it before using the air mattress again.
Inflate the mattress and apply pressure to the repaired area to make sure there are no more leaks.
If the repair seems secure, you can reinforce it by adding an additional layer of adhesive or patch over the area.
By following these simple steps, you can easily repair your air mattress and extend its lifespan. Remember to always
take proper care of your air mattress
to prevent future damage and make sure to have the necessary materials on hand for any future repairs. With these tips, you can have your air mattress back in working condition in no time.

/orestudios_laurelhurst_tudor_03-1-652df94cec7445629a927eaf91991aad.jpg)


