If you're planning to upgrade your kitchen with an IKEA sink, you may be wondering how to go about the installation process. Installing a kitchen sink may seem like a daunting task, but with the right tools and knowledge, it can be a relatively simple project to tackle. In this guide, we'll walk you through the steps of installing an IKEA kitchen sink, from preparing the area to attaching the sink to the countertop.How to Install an IKEA Kitchen Sink


How to Install an IKEA Kitchen Sink


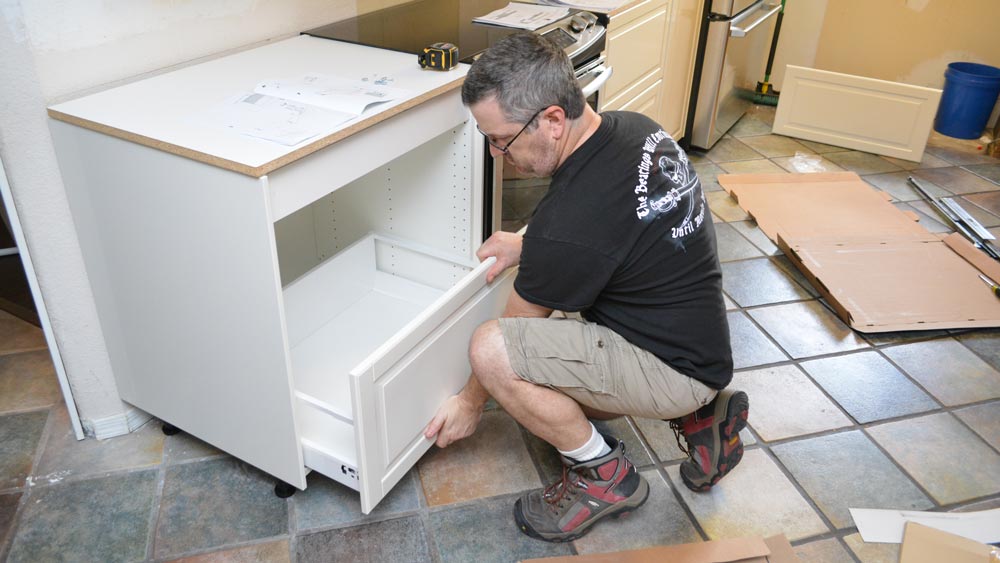

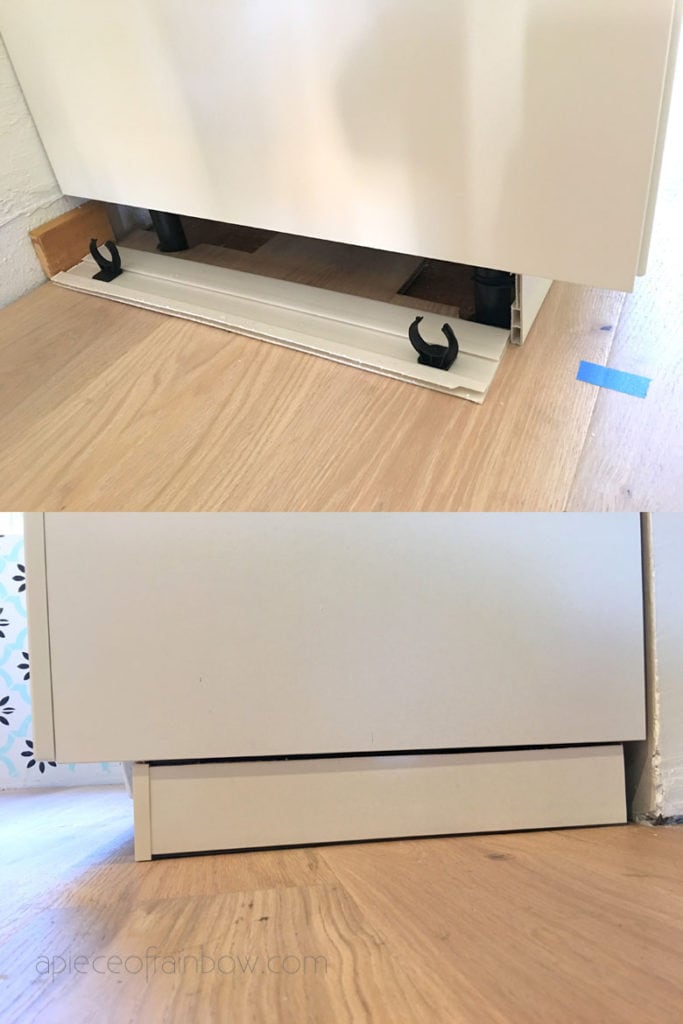
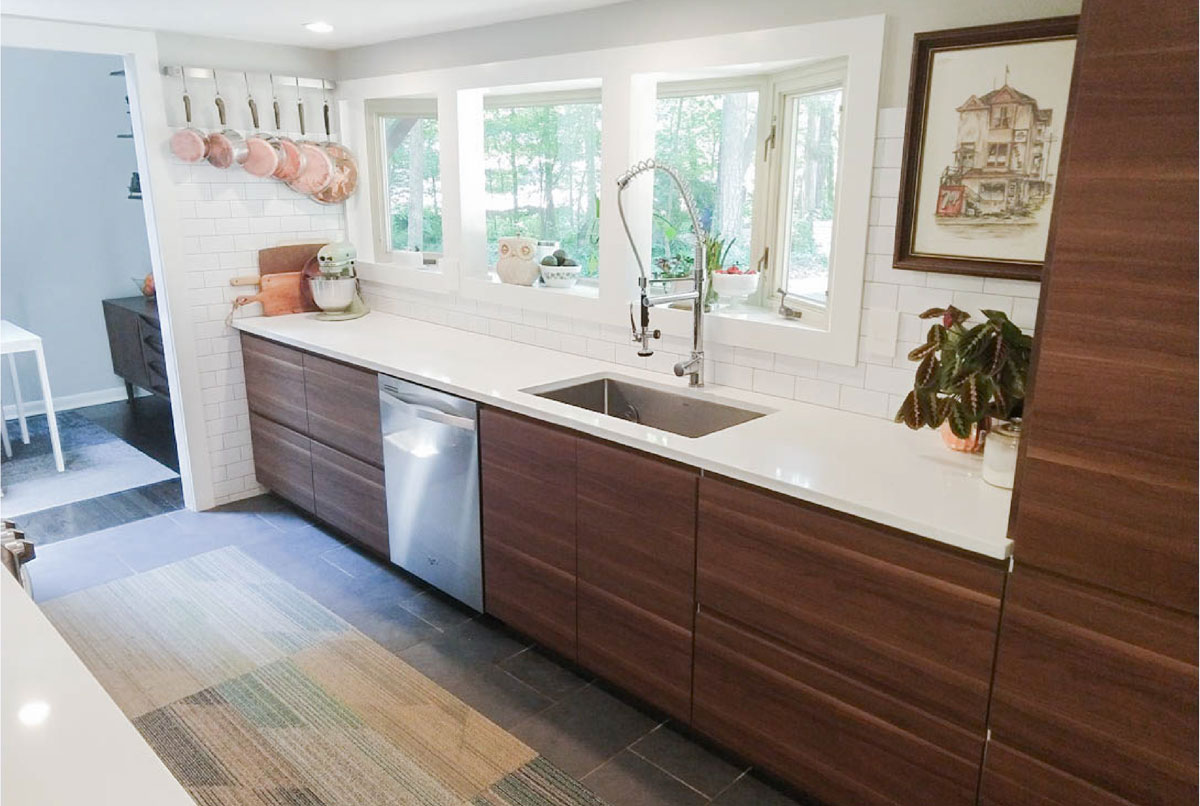
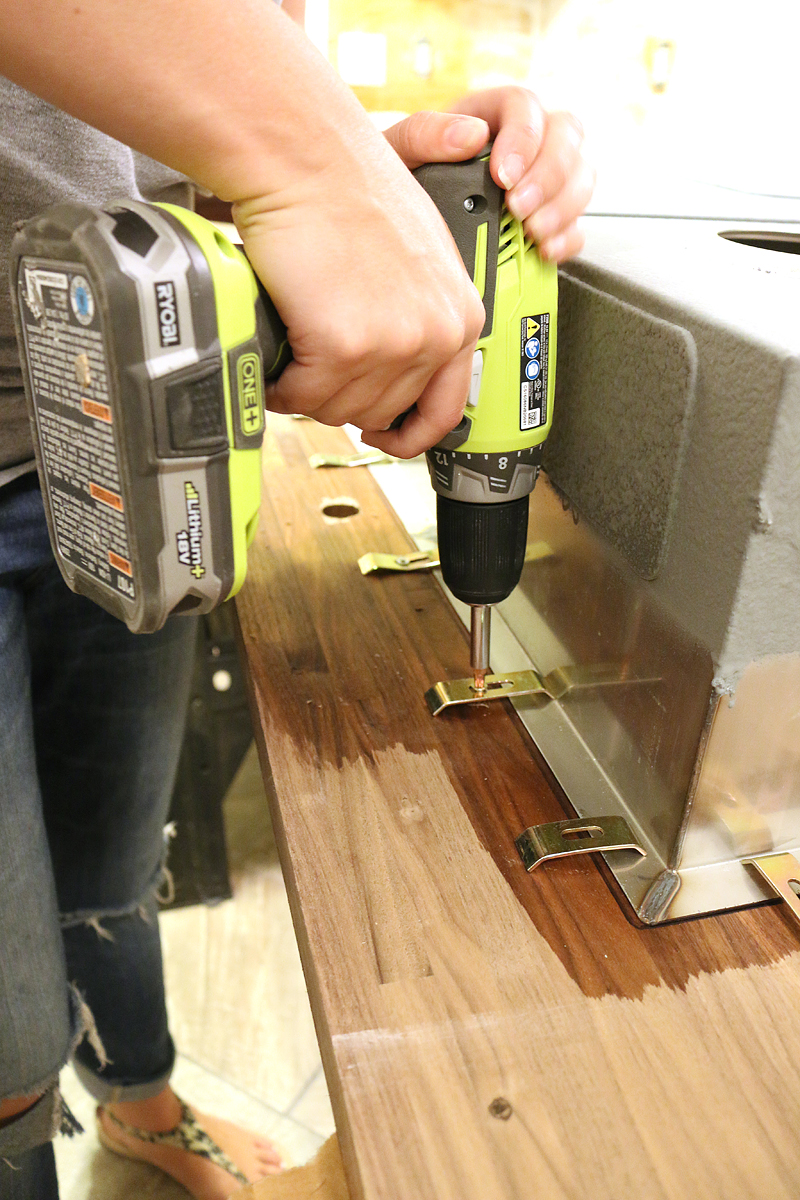
The first step in installing an IKEA kitchen sink is to install the sink cabinet. This is where your sink will sit and will provide support for the sink itself. Start by measuring the area where the cabinet will go and make sure it is level. Then, assemble the cabinet according to the IKEA instructions. Once the cabinet is assembled, place it in the designated area and secure it to the wall using screws.How to Install an IKEA Kitchen Sink Cabinet


How to Install an IKEA Kitchen Sink Cabinet


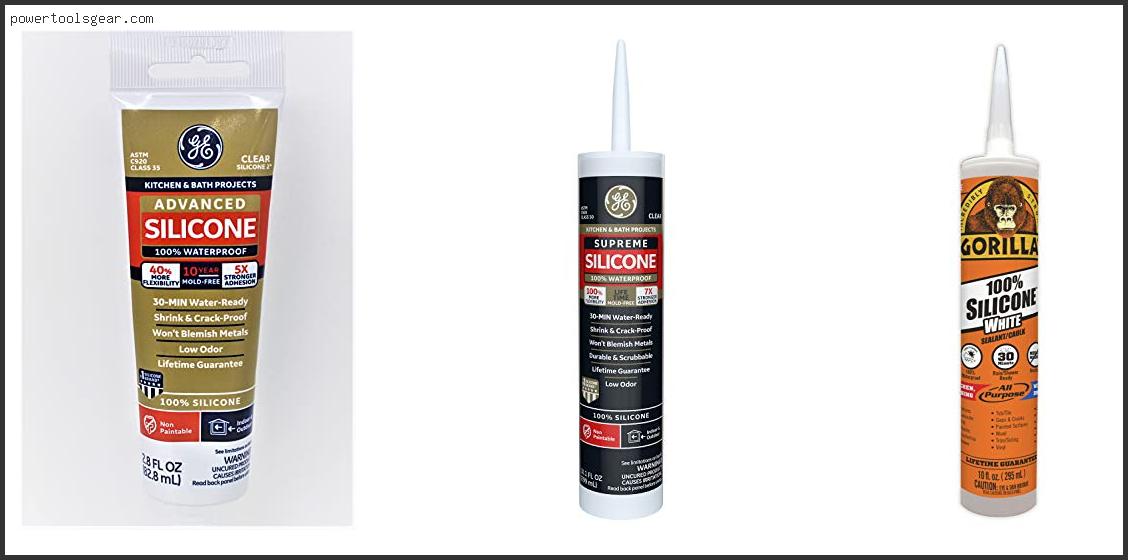
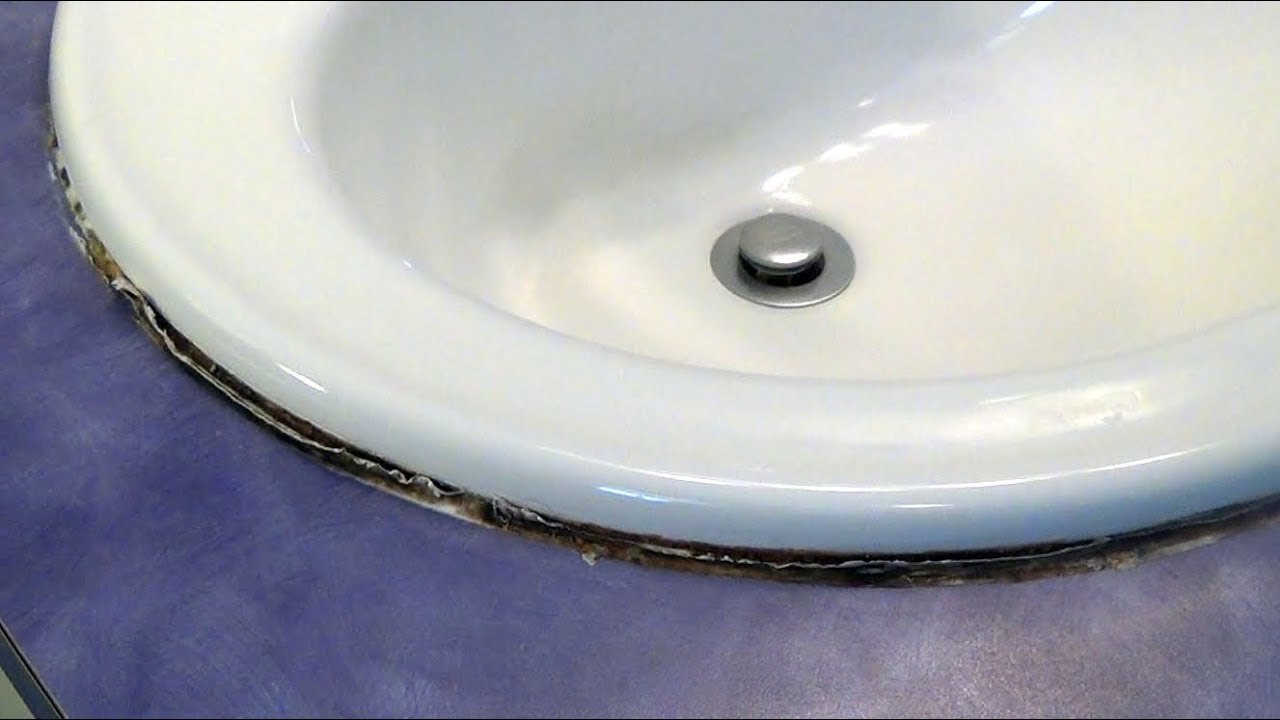
Before installing the sink, you'll need to seal the area where the sink will sit. This will prevent any water from getting underneath the sink and causing damage. To seal the sink, place a thin layer of silicone sealant around the edges of the sink cutout. This will ensure a tight seal between the sink and the countertop.How to Seal an IKEA Kitchen Sink


How to Seal an IKEA Kitchen Sink


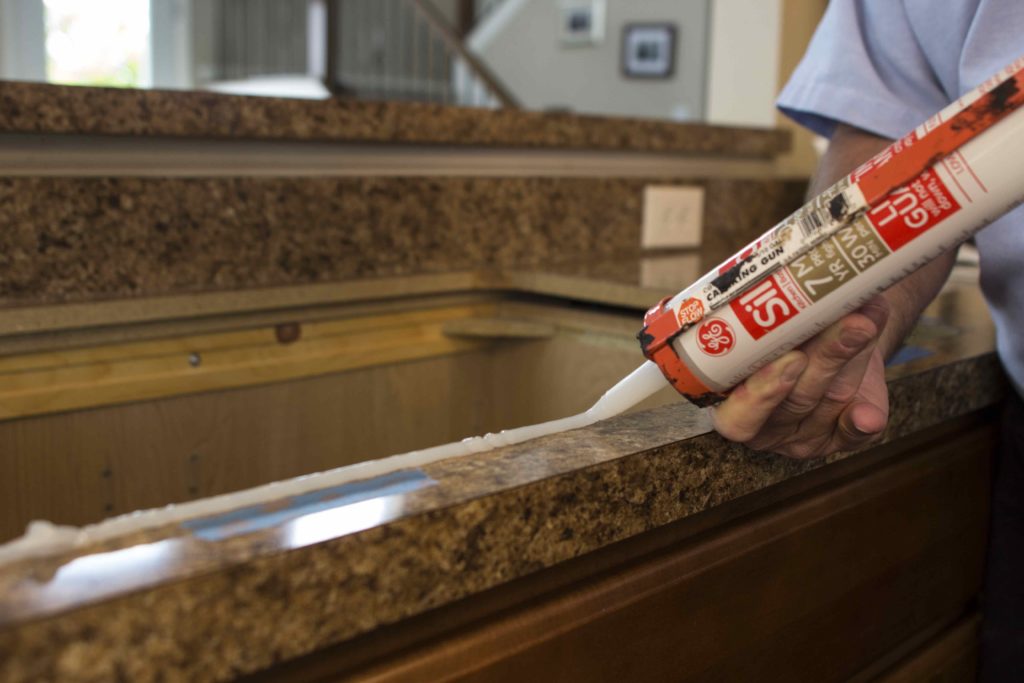
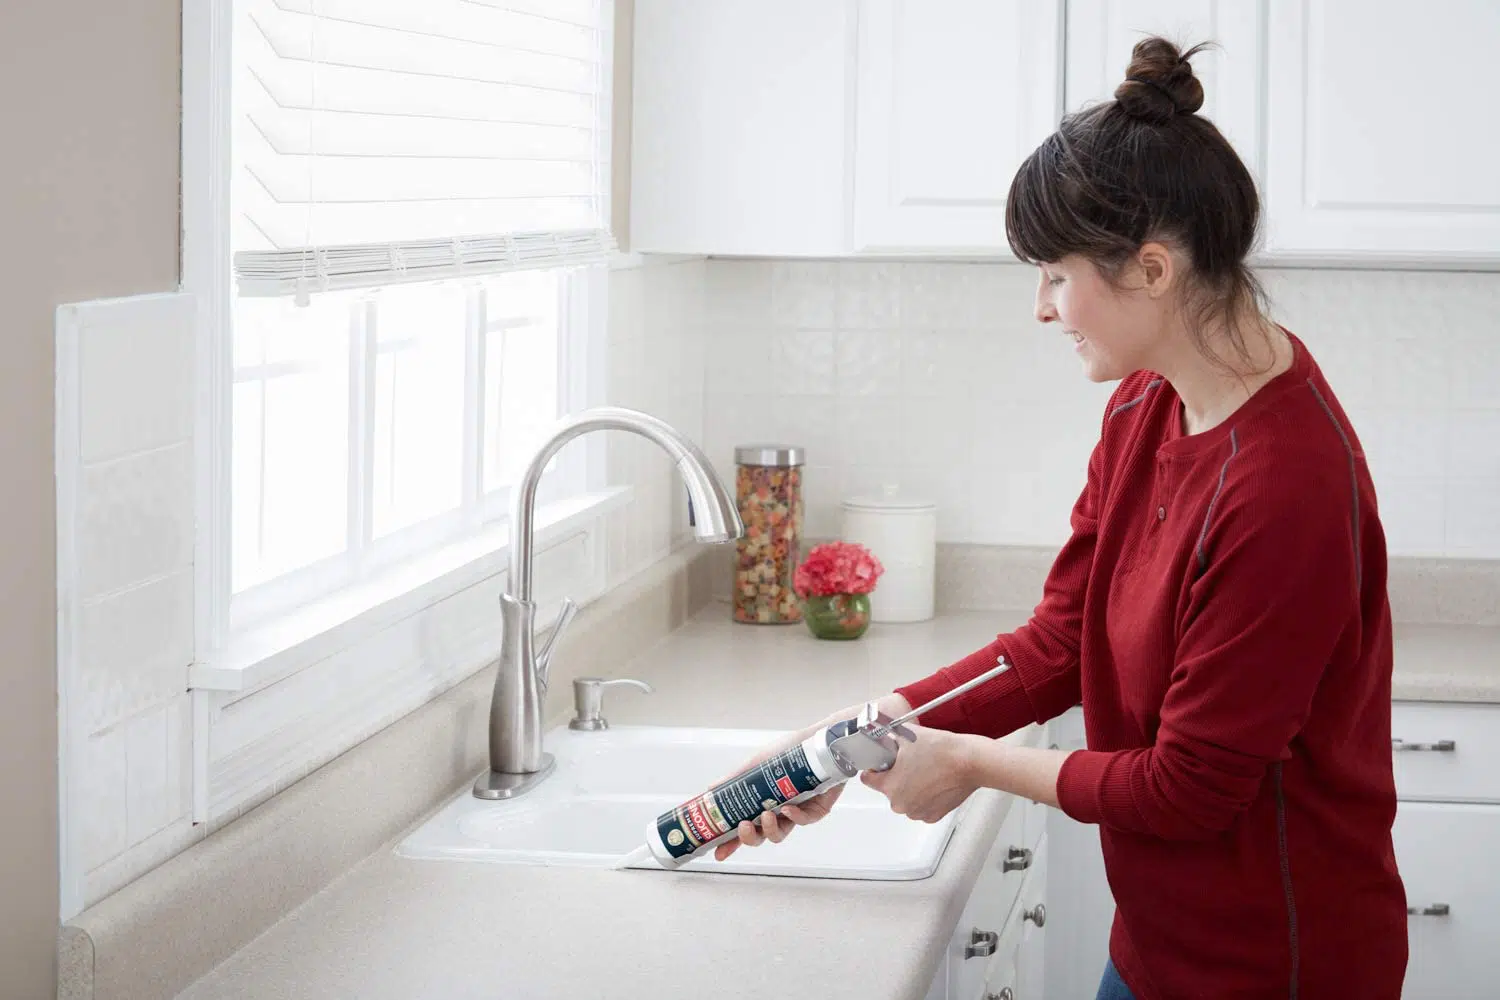
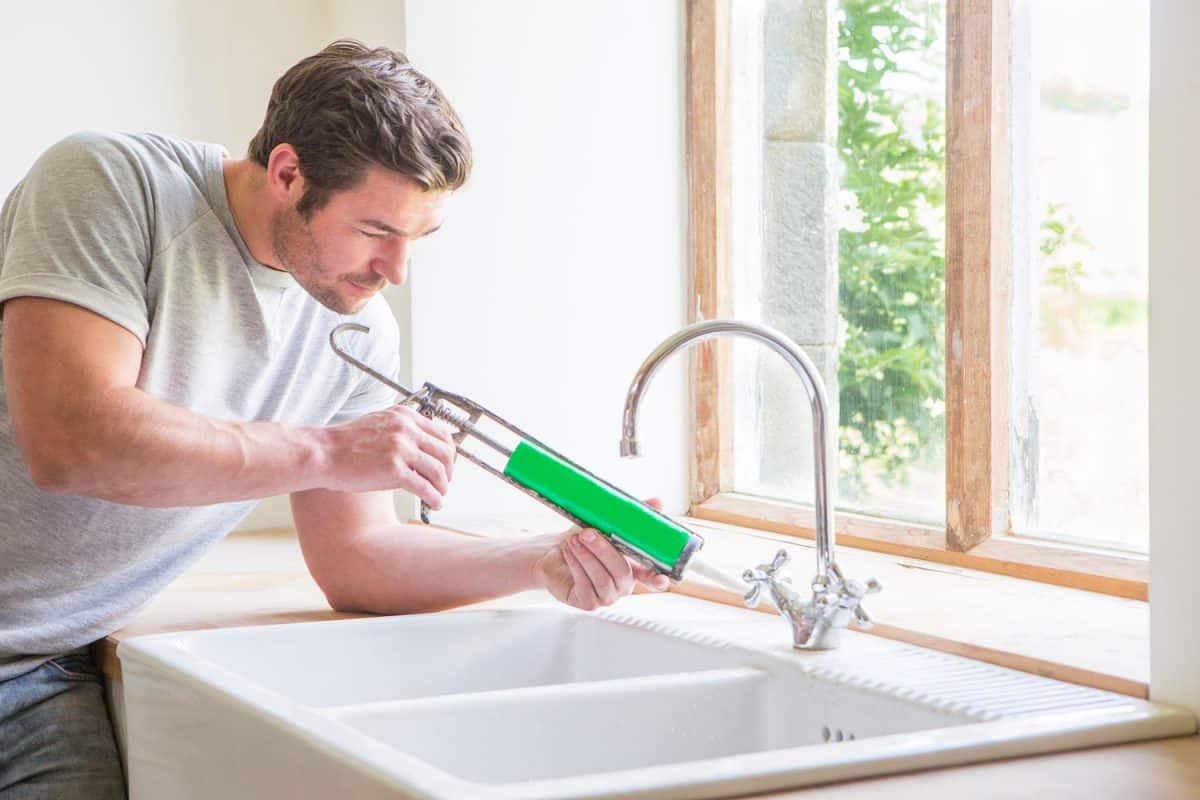
After sealing the sink, it's important to also caulk the edges of the sink. Caulking will provide an extra layer of protection against water and will also give your sink a finished look. To caulk, apply a thin layer of caulk around the edges of the sink, where it meets the countertop. Then, use a wet finger or a caulk smoothing tool to smooth out the caulk and create a clean, even line.How to Caulk an IKEA Kitchen Sink


How to Caulk an IKEA Kitchen Sink


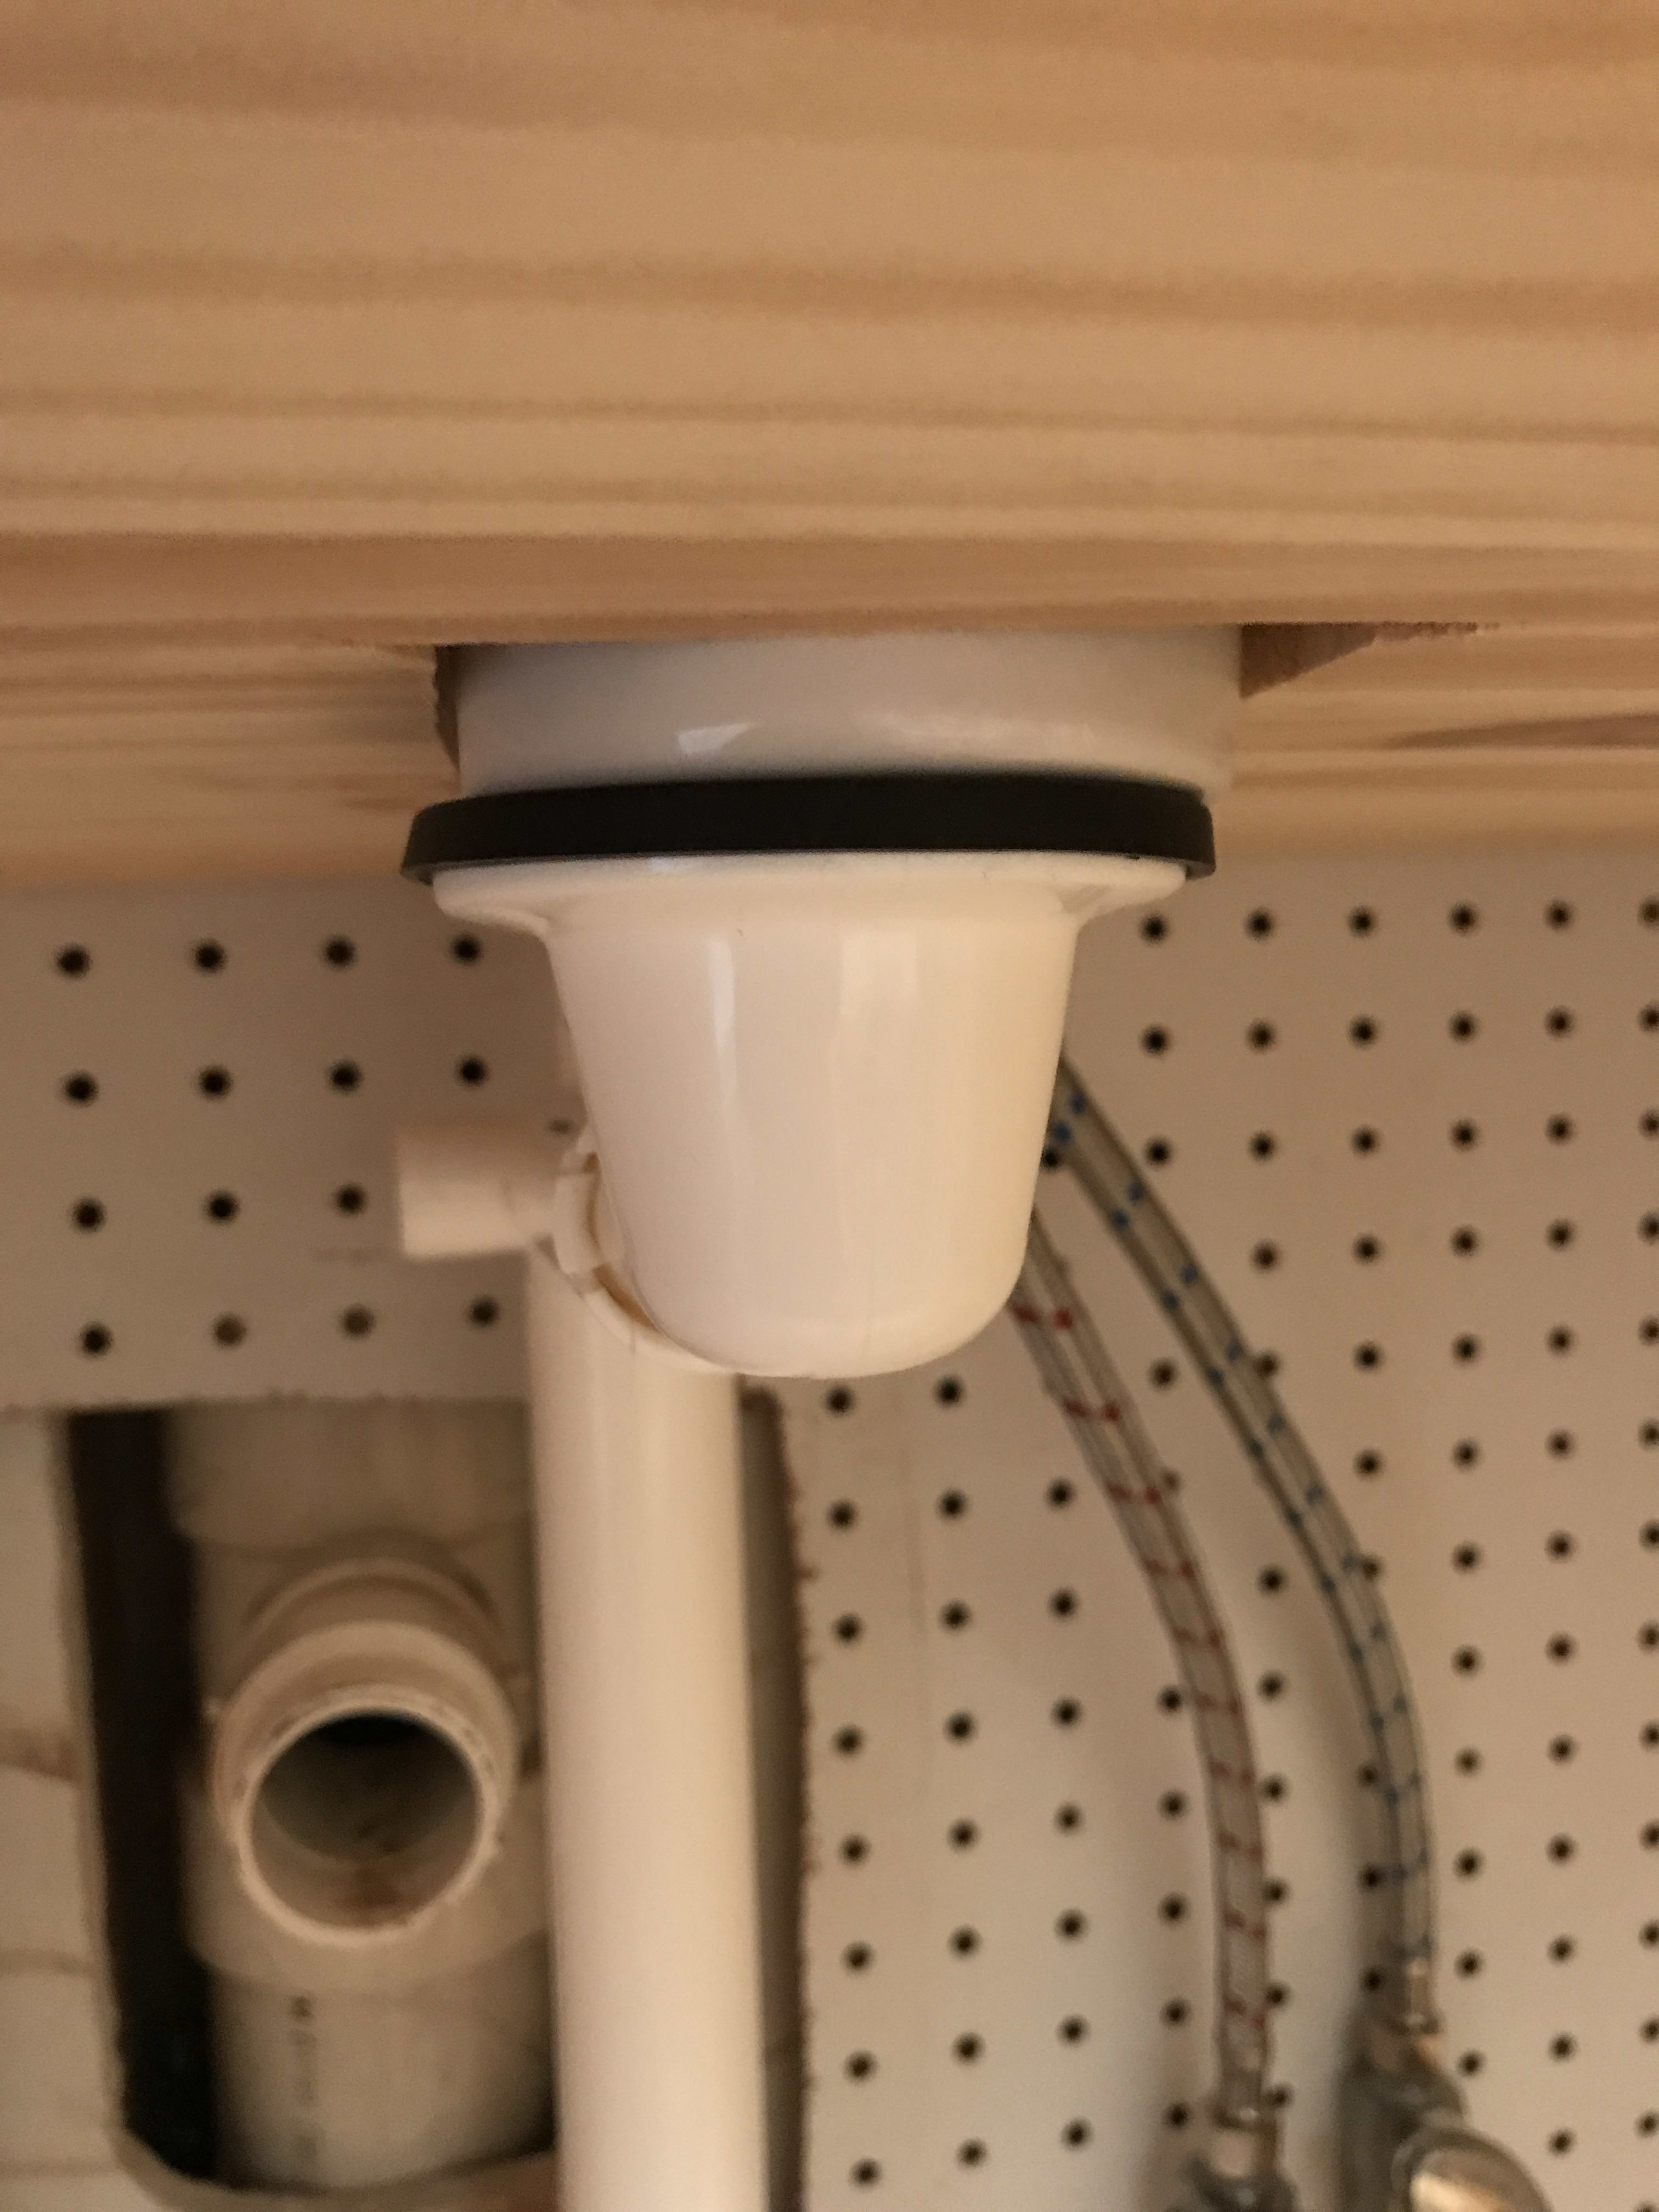
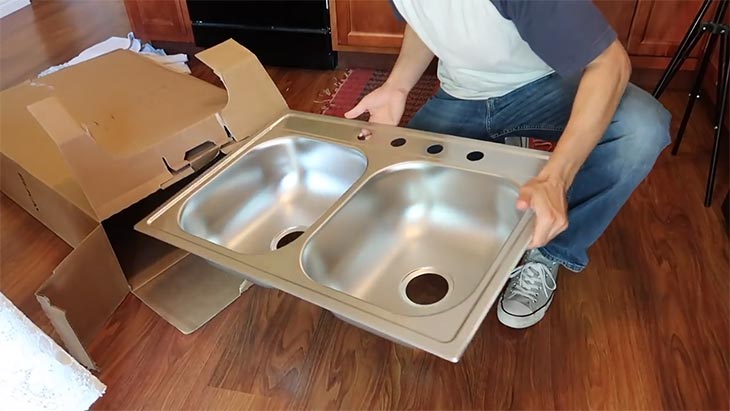
If you've chosen a silicone kitchen sink, the installation process will be slightly different. With a silicone sink, you'll need to attach the sink to the countertop using silicone adhesive. Start by placing a bead of silicone adhesive around the edge of the sink cutout. Then, carefully place the sink on top of the adhesive and press down firmly to create a seal.How to Install a Silicone Kitchen Sink


How to Install a Silicone Kitchen Sink


:no_upscale()/cdn.vox-cdn.com/uploads/chorus_asset/file/19495086/drain_0.jpg)


As with an IKEA sink, it's important to seal the area around the silicone sink to prevent water damage. To seal a silicone sink, apply a thin layer of silicone sealant around the edges of the sink cutout. Use a caulking tool or your finger to smooth out the sealant and create a clean, even line.How to Seal a Silicone Kitchen Sink


How to Seal a Silicone Kitchen Sink


After sealing the sink, you'll also need to caulk the edges to give your sink a finished look. To caulk a silicone sink, apply a thin layer of caulk around the edges of the sink, where it meets the countertop. Then, use a wet finger or a caulk smoothing tool to smooth out the caulk and create a clean, even line.How to Caulk a Silicone Kitchen Sink


How to Caulk a Silicone Kitchen Sink


If you're installing a kitchen sink using silicone, the process is similar to installing an IKEA sink. Start by applying a bead of silicone adhesive around the edge of the sink cutout. Then, carefully place the sink on top of the adhesive and press down firmly to create a seal. Make sure the sink is level and adjust as needed before the adhesive dries.How to Install a Kitchen Sink with Silicone

How to Install a Kitchen Sink with Silicone


To seal a kitchen sink with silicone, apply a thin layer of silicone sealant around the edges of the sink cutout. Use a caulking tool or your finger to smooth out the sealant and create a clean, even line. This will ensure a tight seal between the sink and the countertop and prevent any water from leaking through.How to Seal a Kitchen Sink with Silicone

How to Seal a Kitchen Sink with Silicone

Finally, to give your kitchen sink a finished look, you'll need to caulk the edges of the sink. Apply a thin layer of caulk around the edges of the sink, where it meets the countertop. Then, use a wet finger or a caulk smoothing tool to smooth out the caulk and create a clean, even line. Wipe away any excess caulk with a damp cloth. Installing a kitchen sink may seem like a daunting task, but with the right tools and knowledge, it can be a relatively simple project to tackle. By following these steps, you'll have your IKEA or silicone kitchen sink installed and sealed in no time, giving you a beautiful and functional addition to your kitchen.How to Caulk a Kitchen Sink with Silicone


How to Caulk a Kitchen Sink with Silicone


Why Silicone is Necessary for Your IKEA Kitchen Sink

Protect Your Investment
 When designing your dream kitchen, every detail matters. From the cabinets to the countertops, each element is carefully chosen to create a cohesive and functional space. The same applies to your kitchen sink. You want a sink that not only looks great but also stands the test of time. That's why, when installing an
IKEA kitchen sink
, it's important to use
silicone
to seal and protect it.
When designing your dream kitchen, every detail matters. From the cabinets to the countertops, each element is carefully chosen to create a cohesive and functional space. The same applies to your kitchen sink. You want a sink that not only looks great but also stands the test of time. That's why, when installing an
IKEA kitchen sink
, it's important to use
silicone
to seal and protect it.
Prevent Leaks and Water Damage
 One of the main reasons why silicone is necessary for your
IKEA kitchen sink
is to prevent leaks and water damage. When installing your sink, there will be small gaps between the sink and the countertop or cabinet. These gaps can allow water to seep through, causing damage to your cabinets or even the floor beneath. By using silicone to seal these gaps, you are creating a waterproof barrier that will prevent any potential leaks or water damage.
One of the main reasons why silicone is necessary for your
IKEA kitchen sink
is to prevent leaks and water damage. When installing your sink, there will be small gaps between the sink and the countertop or cabinet. These gaps can allow water to seep through, causing damage to your cabinets or even the floor beneath. By using silicone to seal these gaps, you are creating a waterproof barrier that will prevent any potential leaks or water damage.
Keep Your Sink Looking Brand New
 Another reason to use silicone on your
IKEA kitchen sink
is to keep it looking brand new. Over time, sinks can become stained or discolored due to constant use and exposure to water and cleaning products. By using silicone to seal your sink, you are creating a barrier that will protect it from these elements. This will not only keep your sink looking clean and new, but it will also make it easier to clean and maintain.
Another reason to use silicone on your
IKEA kitchen sink
is to keep it looking brand new. Over time, sinks can become stained or discolored due to constant use and exposure to water and cleaning products. By using silicone to seal your sink, you are creating a barrier that will protect it from these elements. This will not only keep your sink looking clean and new, but it will also make it easier to clean and maintain.
Ensure Proper Installation
 Proper installation is crucial for any kitchen sink, especially when it comes to an
IKEA
one. These sinks are designed to be installed with silicone to ensure a secure and stable fit. By skipping this step, you risk an improperly installed sink that may shift or become loose over time. This can cause damage to your countertops and cabinets, and may even result in the need for costly repairs.
Proper installation is crucial for any kitchen sink, especially when it comes to an
IKEA
one. These sinks are designed to be installed with silicone to ensure a secure and stable fit. By skipping this step, you risk an improperly installed sink that may shift or become loose over time. This can cause damage to your countertops and cabinets, and may even result in the need for costly repairs.
Conclusion
 In conclusion, using silicone on your
IKEA kitchen sink
is not just a matter of preference, but a necessary step for proper installation and long-term maintenance. It will protect your investment, prevent leaks and water damage, keep your sink looking new, and ensure a secure fit. So, the next time you're installing a new kitchen sink, don't forget to grab a tube of silicone and seal it properly. Your future self will thank you.
In conclusion, using silicone on your
IKEA kitchen sink
is not just a matter of preference, but a necessary step for proper installation and long-term maintenance. It will protect your investment, prevent leaks and water damage, keep your sink looking new, and ensure a secure fit. So, the next time you're installing a new kitchen sink, don't forget to grab a tube of silicone and seal it properly. Your future self will thank you.