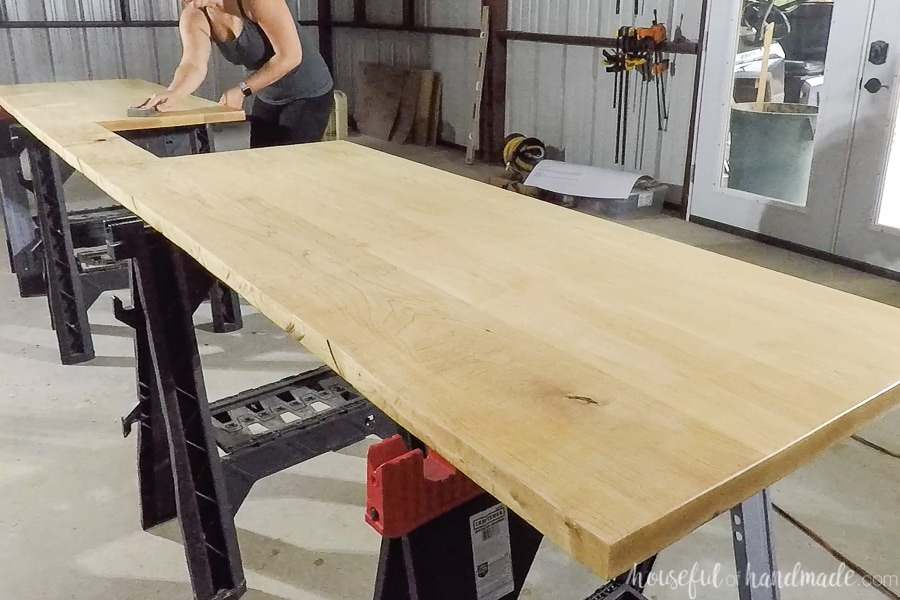
Are you tired of your old, boring kitchen countertop? Why not try building your own DIY wood kitchen countertop? Not only will it add a unique touch to your kitchen, but it's also a budget-friendly option compared to buying a new one. Plus, you can customize it to your liking and add a drop-in sink for added functionality. Start by measuring your existing countertop and determining the dimensions of your new wood countertop. You can use a variety of wood materials such as butcher block, reclaimed wood, or even plywood for a more affordable option. Cut the wood to the desired size and sand it down for a smooth finish. Next, you'll need to secure the wood pieces together using wood glue and clamps. Once the glue has dried, you can reinforce the seams with screws or dowels for added stability. Finally, seal the wood with a food-grade sealant to protect it from moisture and stains.1. How to Build a DIY Wood Kitchen Countertop
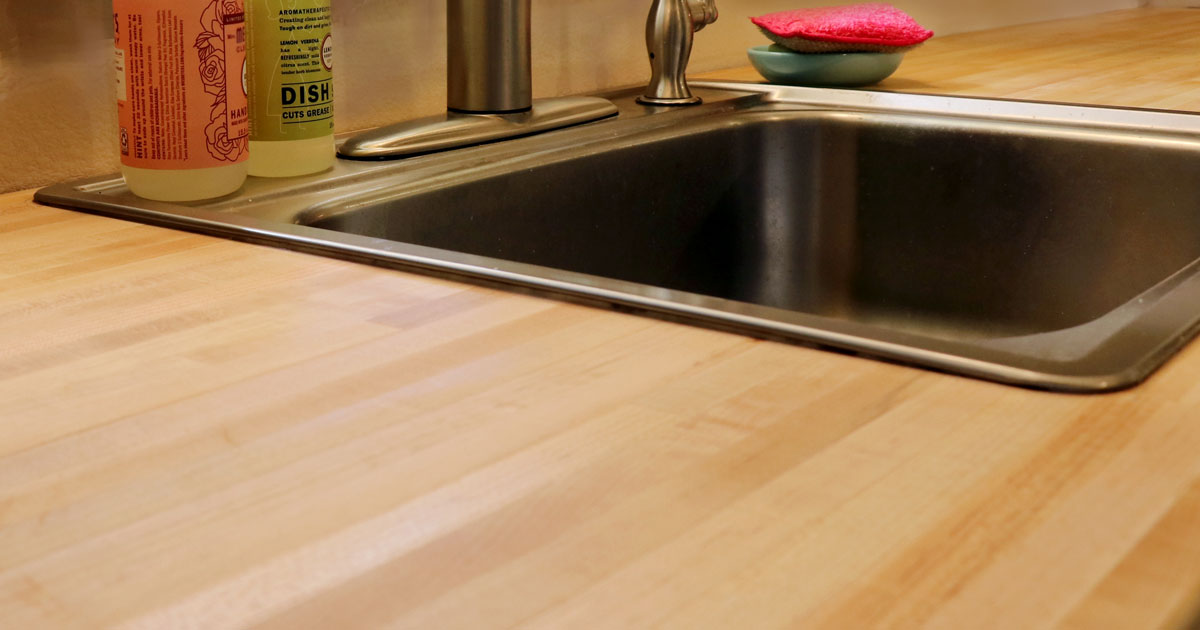
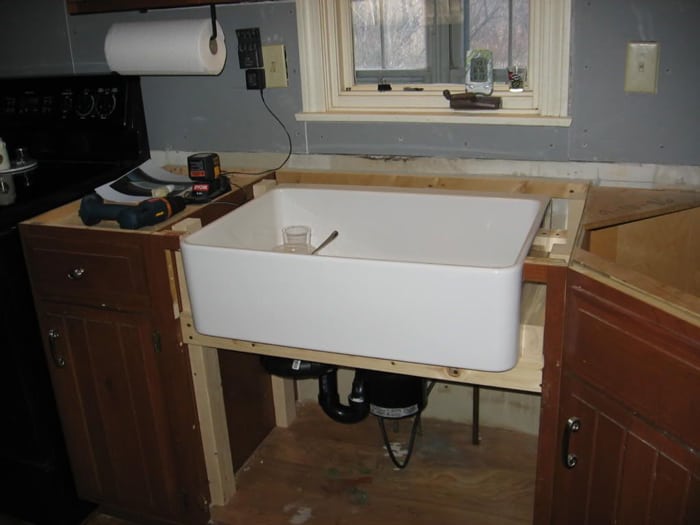
Installing a drop-in sink on a wood countertop may seem intimidating, but it's actually a straightforward process. Before you begin, make sure your wood countertop is thick enough to support the weight of the sink and has a cutout for the sink to fit into. Start by tracing the outline of the sink onto the wood countertop and using a jigsaw to carefully cut out the hole. Make sure to follow the manufacturer's instructions for the sink's depth and placement. Once the hole is cut, test fit the sink to ensure a snug fit. Next, apply a bead of silicone caulk around the edge of the sink and carefully place it into the hole. Wipe away any excess caulk and let it dry according to the manufacturer's instructions. Finally, attach the sink's mounting clips to secure it in place and connect the plumbing.2. Installing a Drop-In Sink on a Wood Countertop
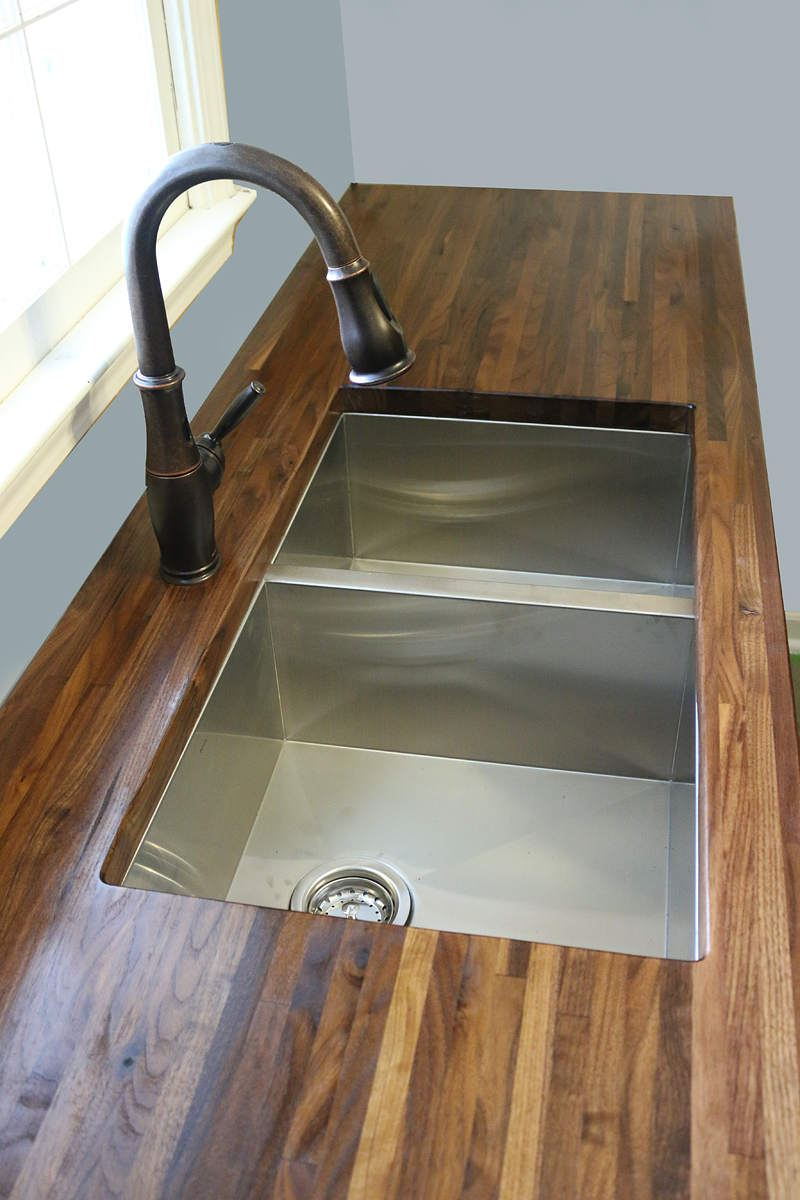
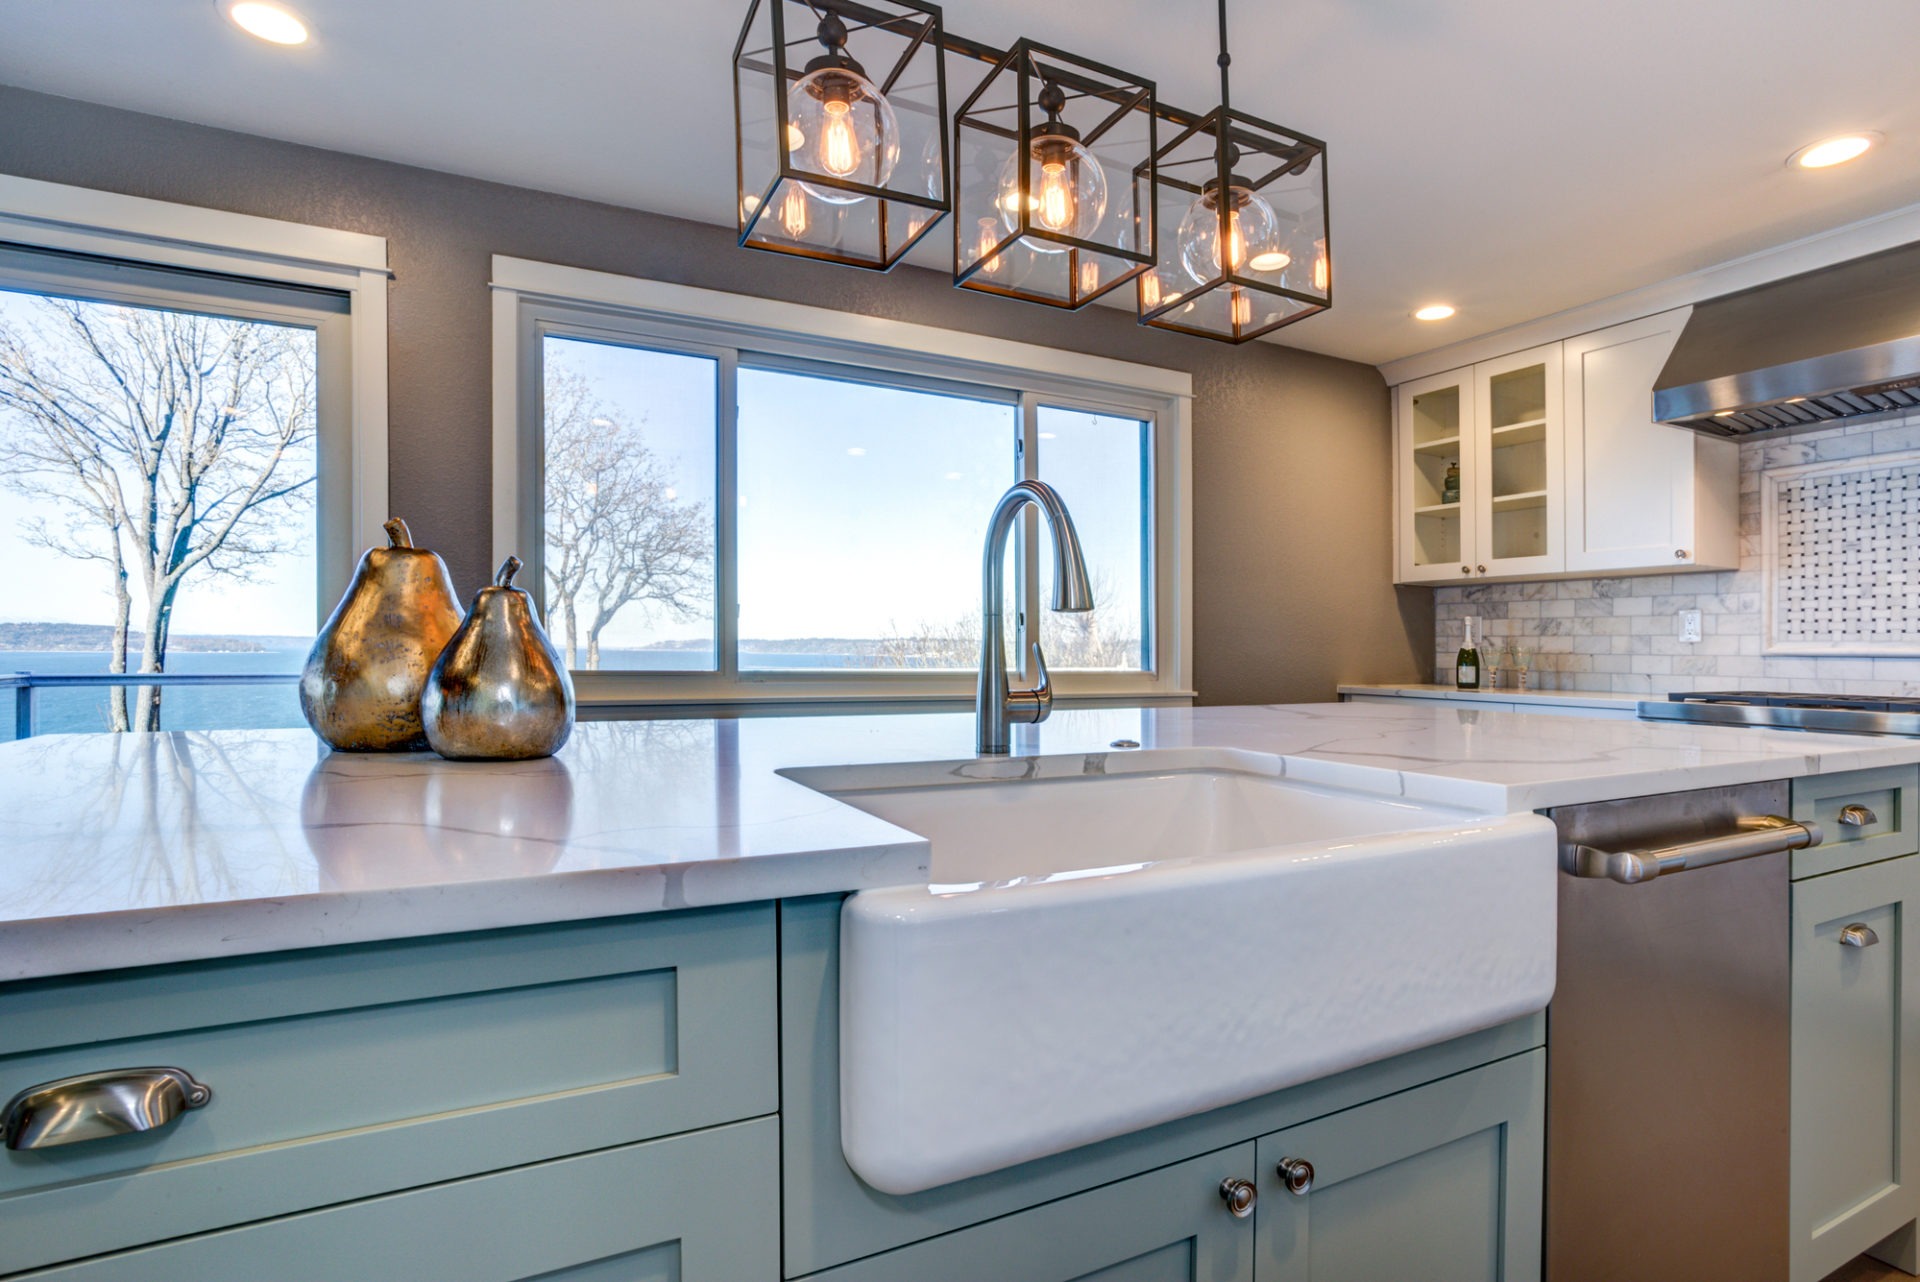
If you want to take your DIY wood countertop to the next level, consider incorporating a built-in sink. This not only adds a streamlined look to your kitchen but also makes cleaning a breeze. You can either purchase a sink with a built-in drainboard or create one yourself by cutting a channel in the wood countertop. To create a built-in sink, follow the same steps as installing a drop-in sink, but make the hole slightly larger to accommodate the drainboard. You can also add a faucet and soap dispenser to the countertop for added convenience. Just make sure to seal the wood around the sink and faucet to prevent water damage.3. DIY Wood Countertop with Built-In Sink
If you're a visual learner, you may prefer a step-by-step guide for creating a wood countertop for a drop-in sink. Start by gathering your materials and tools, including a saw, wood glue, clamps, screws, sandpaper, and sealant. Measure and cut the wood to the desired size for your countertop. Then, glue the pieces together and secure them with clamps. Once the glue has dried, reinforce the seams with screws. Sand the countertop for a smooth finish and seal it with a food-grade sealant. Finally, cut a hole for the sink and install it according to the manufacturer's instructions.4. Step-by-Step Guide to Making a Wood Countertop for a Drop-In Sink
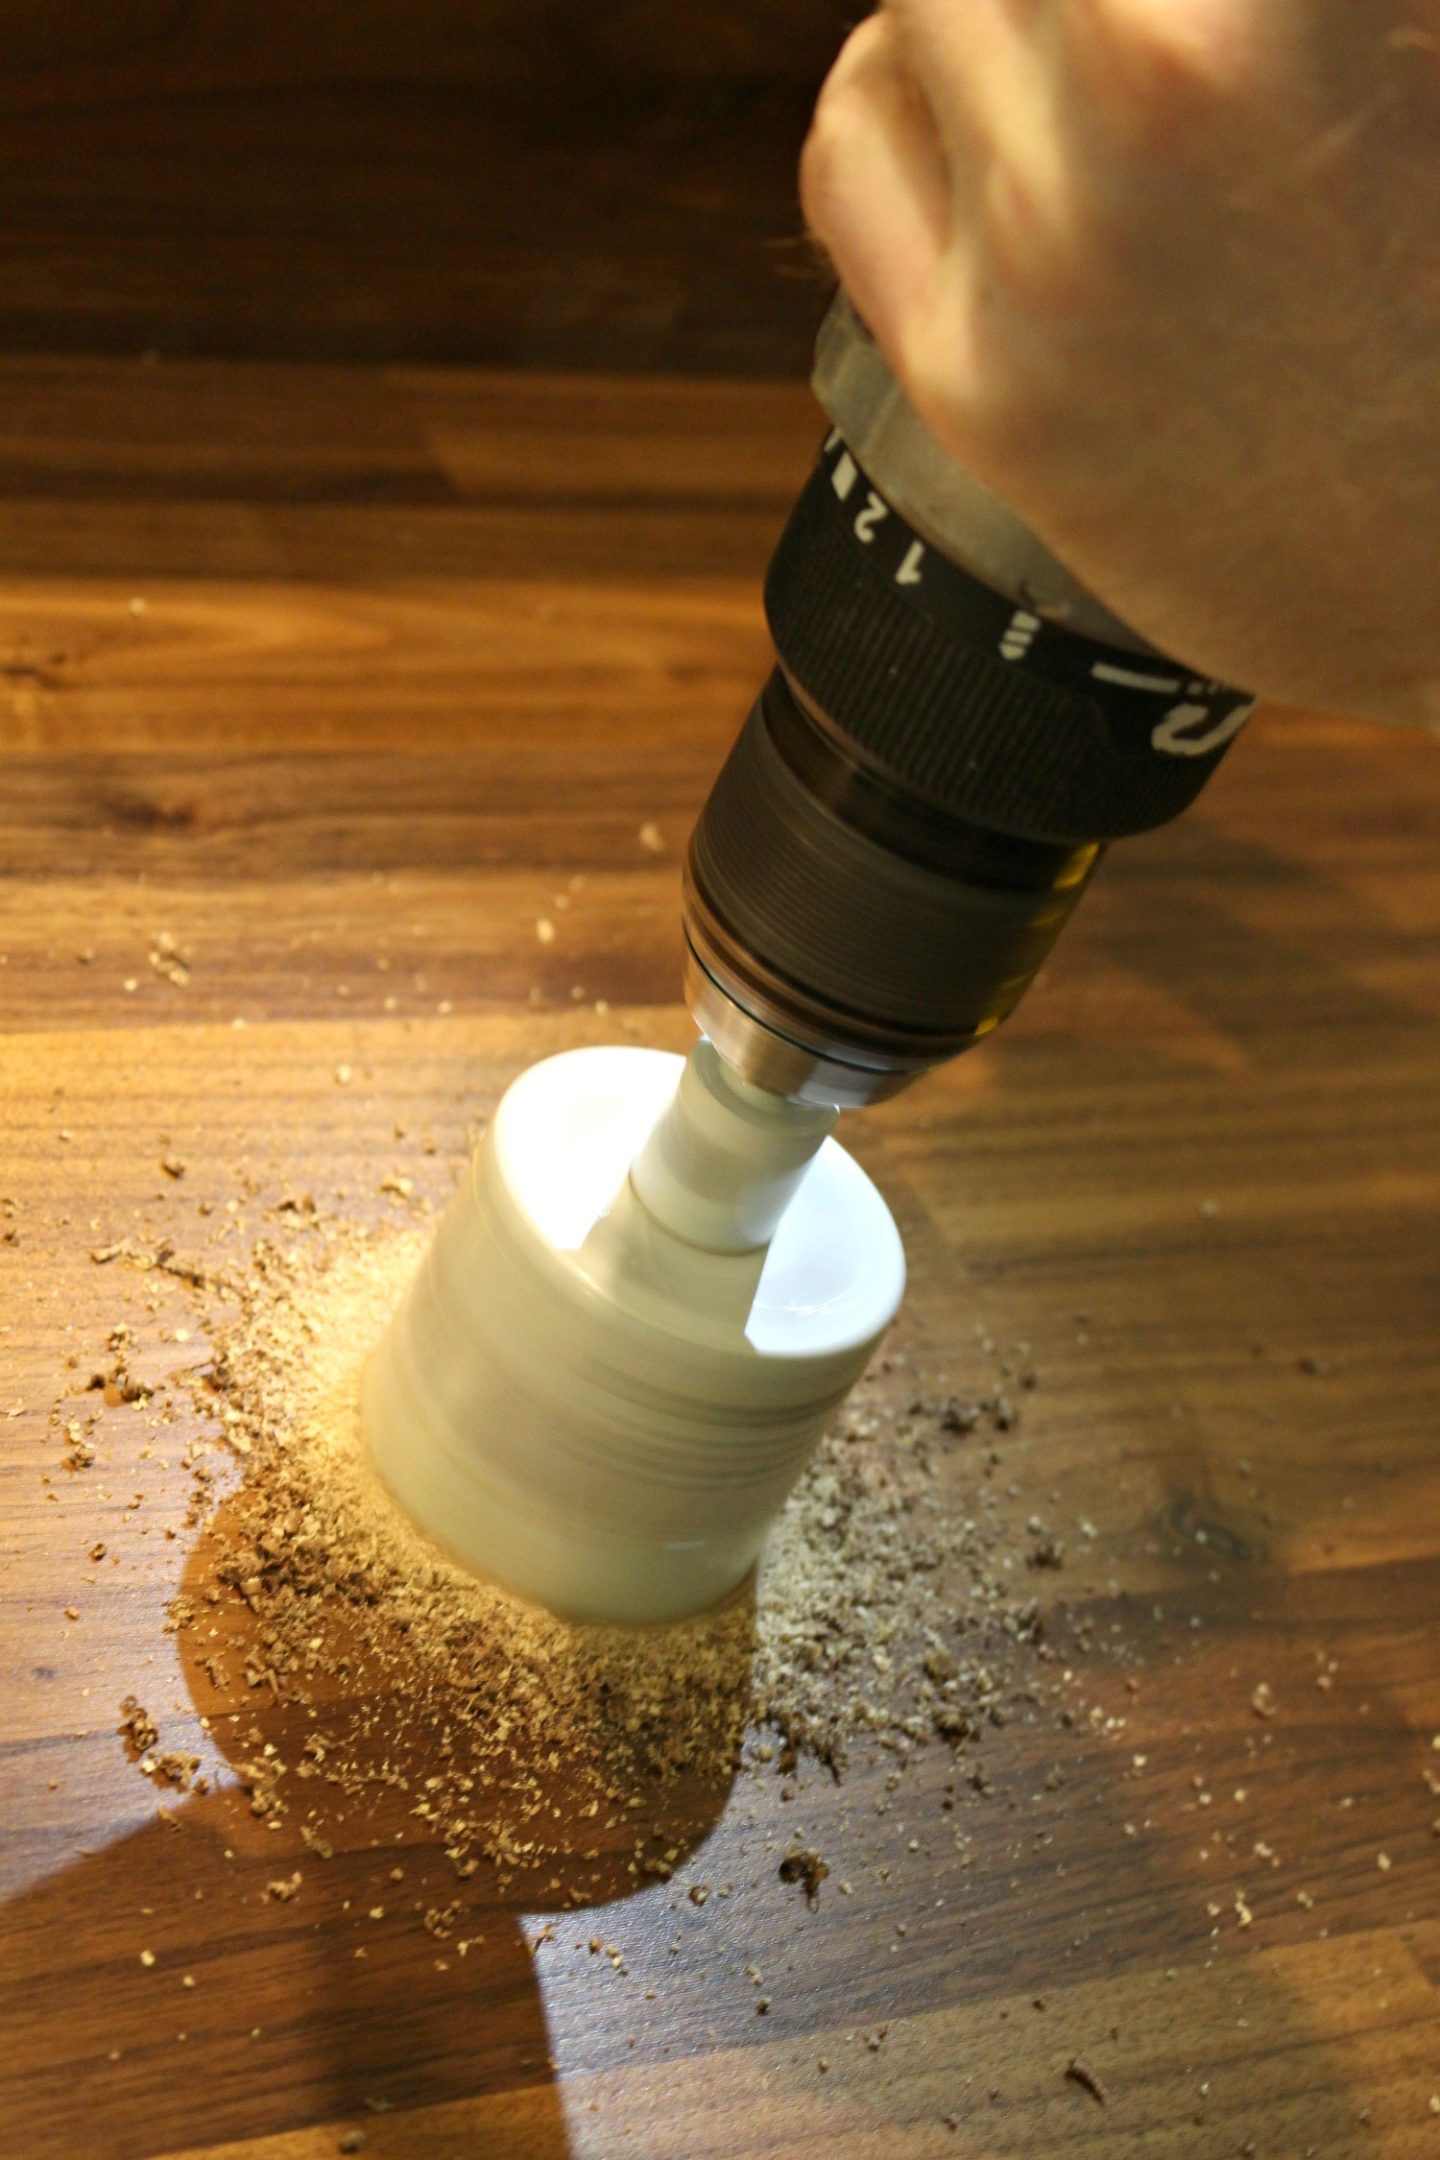
Cutting a hole in a wood countertop for a drop-in sink requires precision and caution. Before you begin, make sure your countertop is thick enough to support the weight of the sink and has enough space for the sink to fit into. Using a pencil, mark the outline of the sink onto the wood countertop. Then, use a jigsaw to carefully cut along the marked line. Take your time and cut slowly to avoid any mistakes. Once the hole is cut, test fit the sink to ensure a proper fit before sealing it in place.5. How to Cut a Hole in a Wood Countertop for a Drop-In Sink
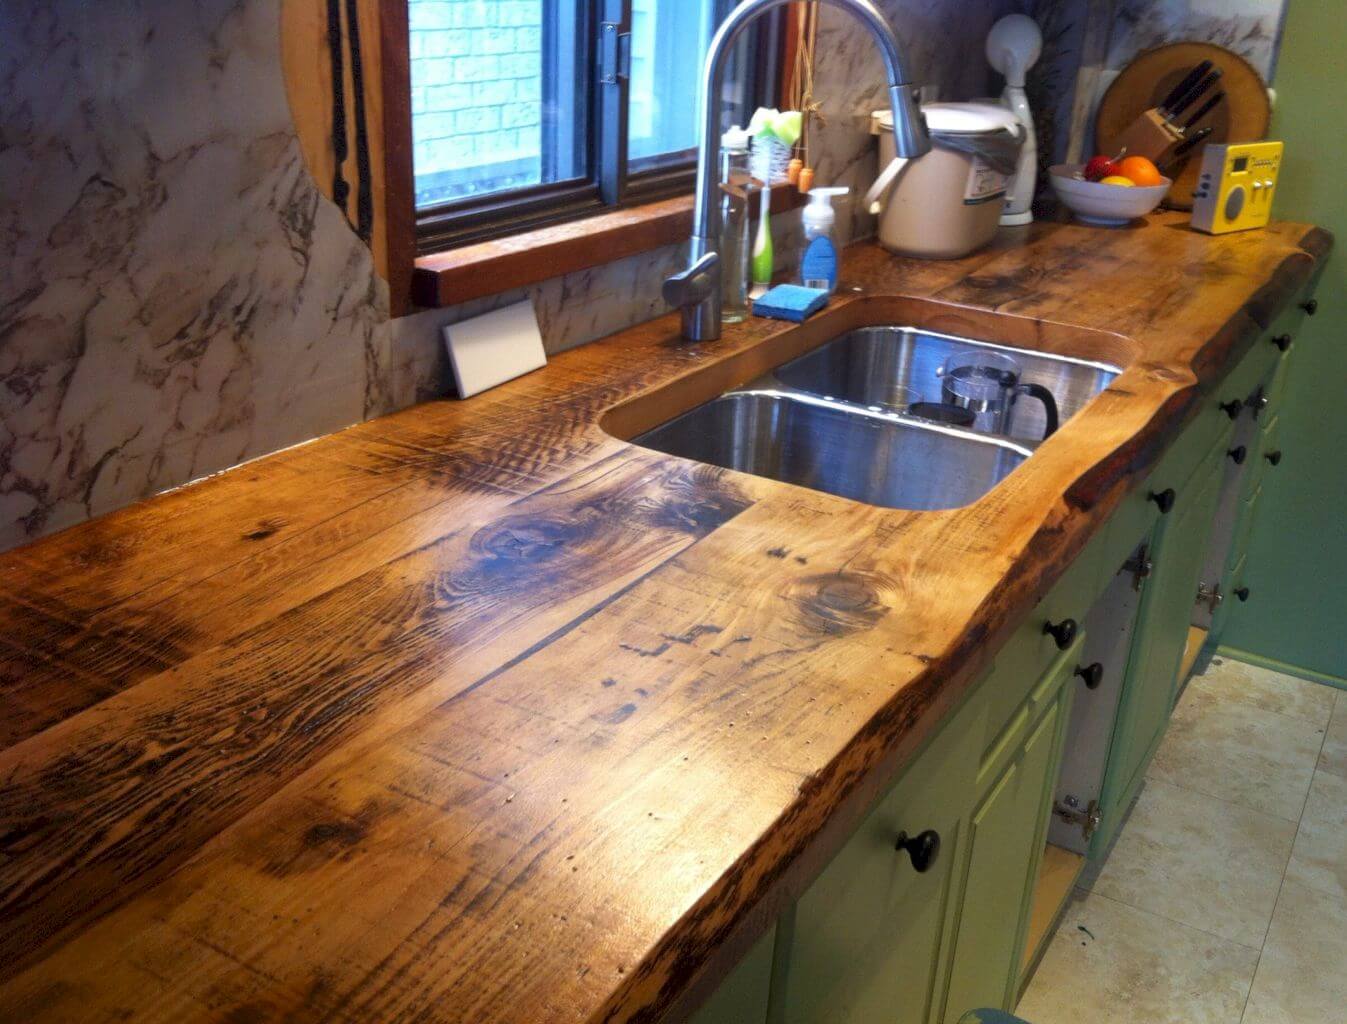
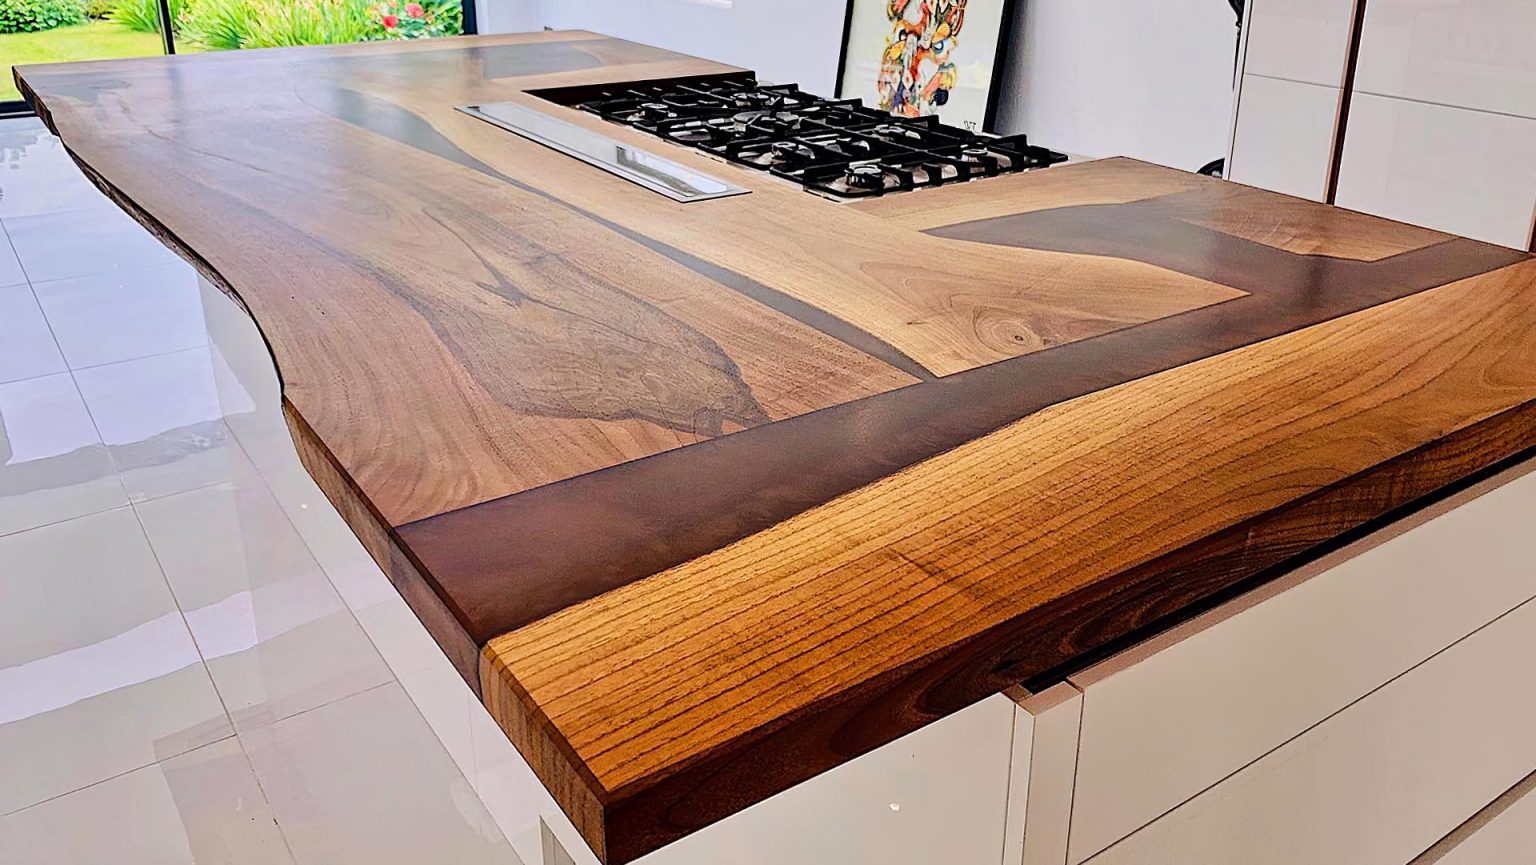
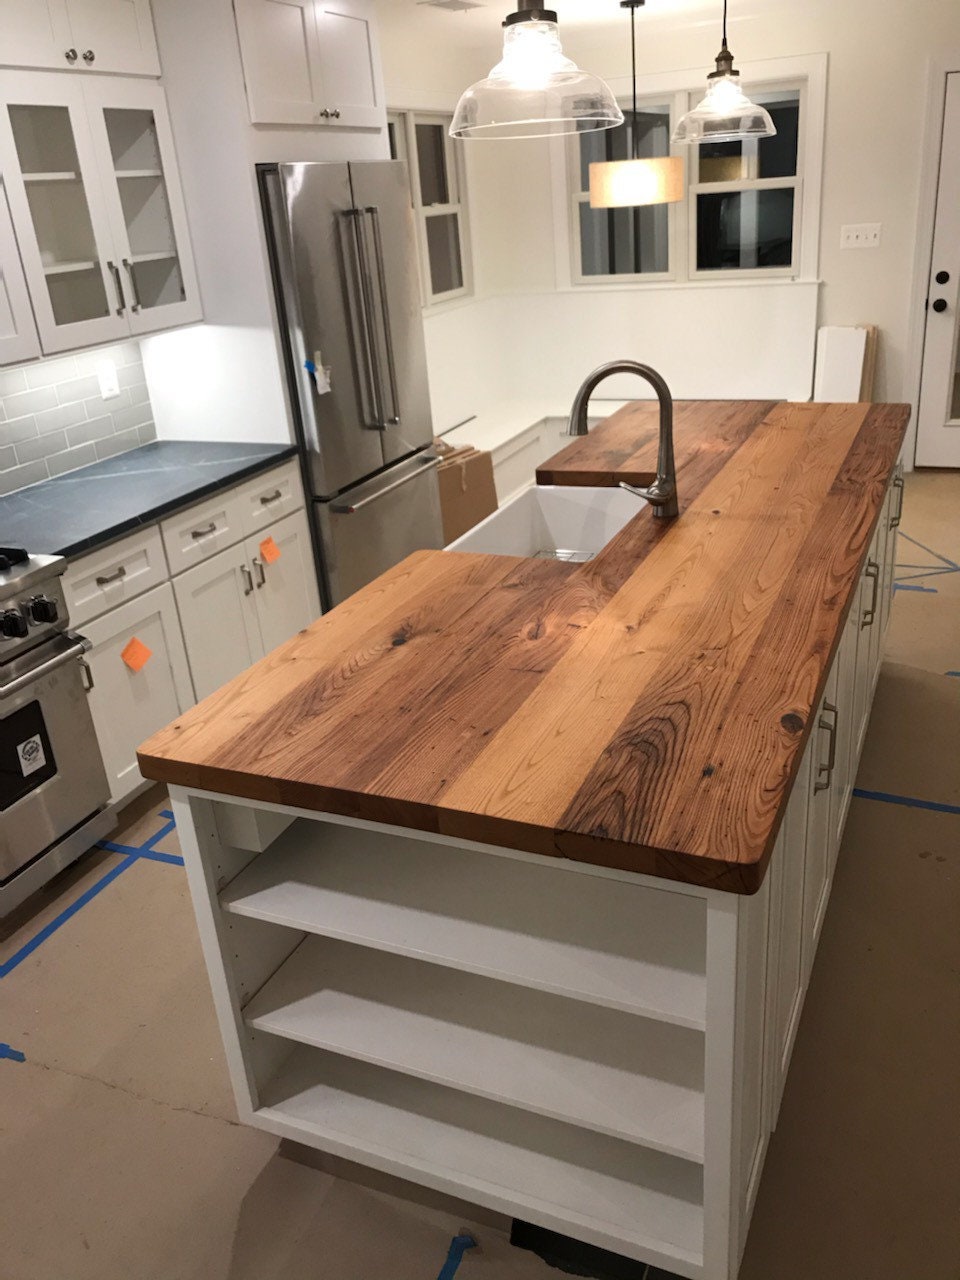
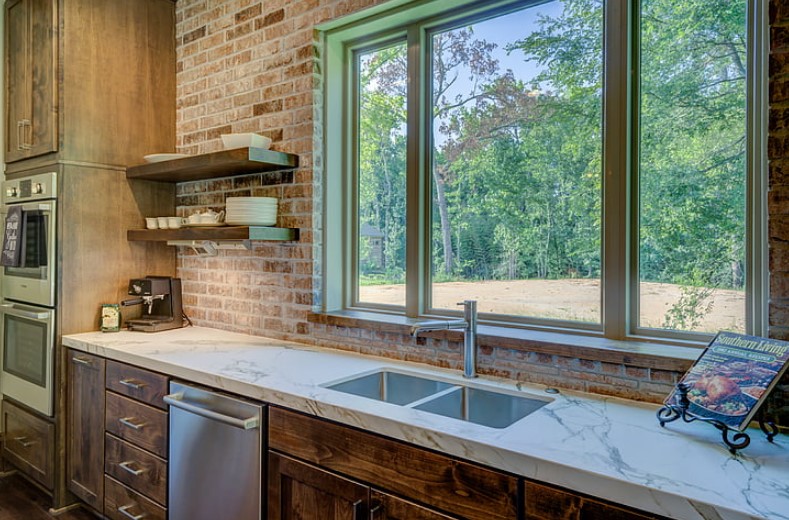
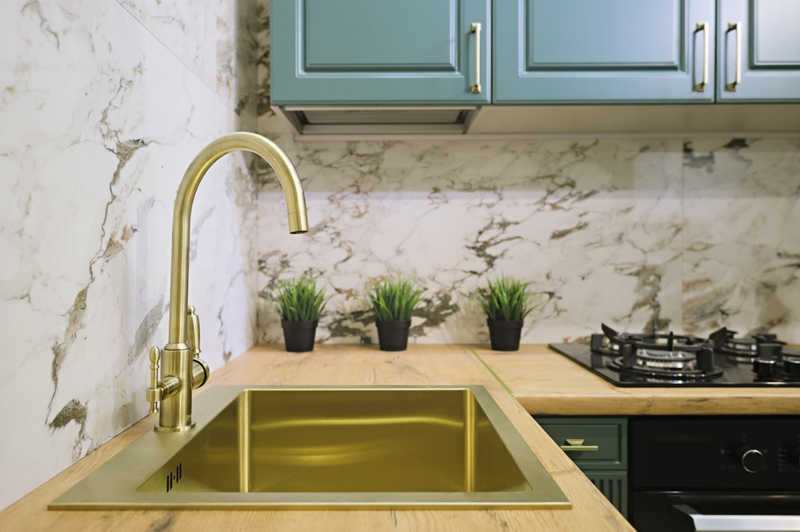
Looking for some inspiration for your DIY wood kitchen countertop with a drop-in sink? The possibilities are endless! You can choose from a variety of wood materials, colors, and finishes to create a unique and personalized countertop. You can also add decorative elements such as inlays or a built-in drainboard for added functionality. Another idea is to mix and match wood materials to create a unique pattern or design. For example, you can use butcher block for the main countertop and accent it with a reclaimed wood insert for the sink area. Get creative and have fun with your DIY wood kitchen countertop!6. DIY Wood Kitchen Countertop Ideas for a Drop-In Sink
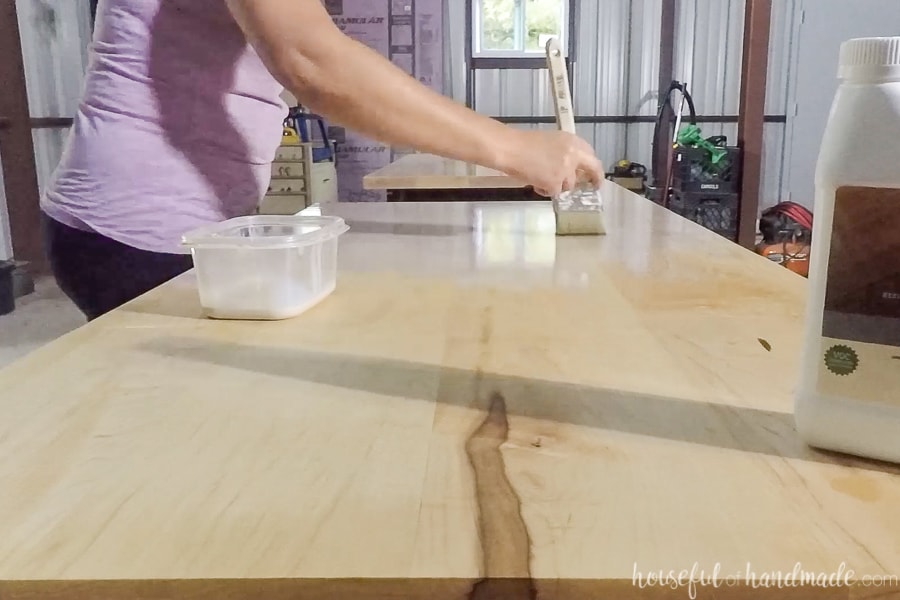
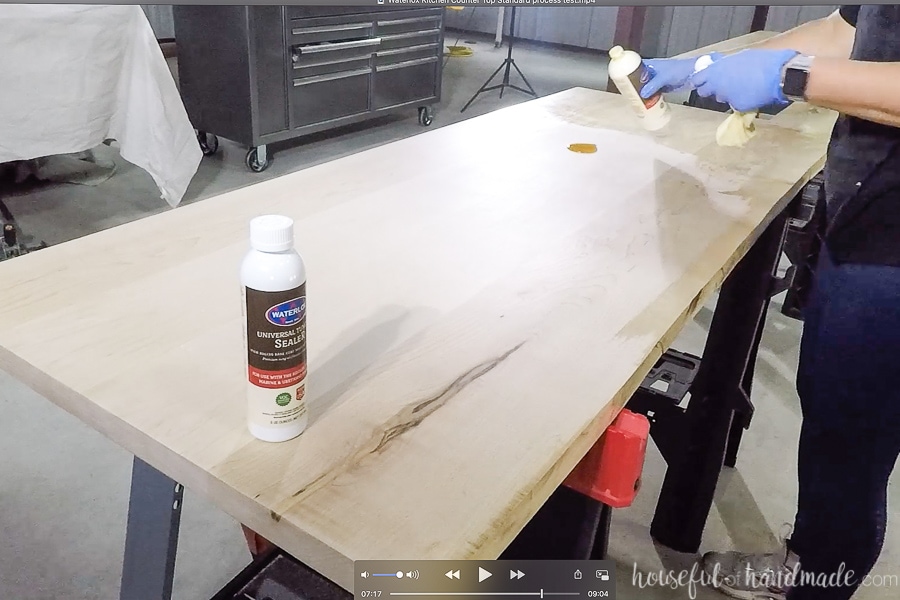
Sealing your wood countertop is crucial to protect it from moisture and stains, especially around the sink area. Start by sanding the wood to a smooth finish and removing any dust. Then, apply a food-grade sealant according to the manufacturer's instructions. Make sure to seal all edges and seams to prevent water from seeping in. You can also add multiple coats of sealant for added protection. Just make sure to let each coat dry completely before applying the next. Regularly resealing your wood countertop will help maintain its beauty and durability over time.7. How to Seal a Wood Countertop for a Drop-In Sink
When choosing the right wood for your kitchen countertop with a drop-in sink, there are a few things to keep in mind. First, make sure the wood is food-safe and won't release harmful chemicals into your food. Hardwoods such as maple, oak, and cherry are good options for kitchen countertops. You should also consider the durability and maintenance of the wood. For example, softer woods like pine may dent and scratch easily, while harder woods like oak are more resistant. Additionally, some woods require more maintenance, such as regular sealing, to prevent damage from water and stains.8. Tips for Choosing the Right Wood for a Kitchen Countertop with a Drop-In Sink
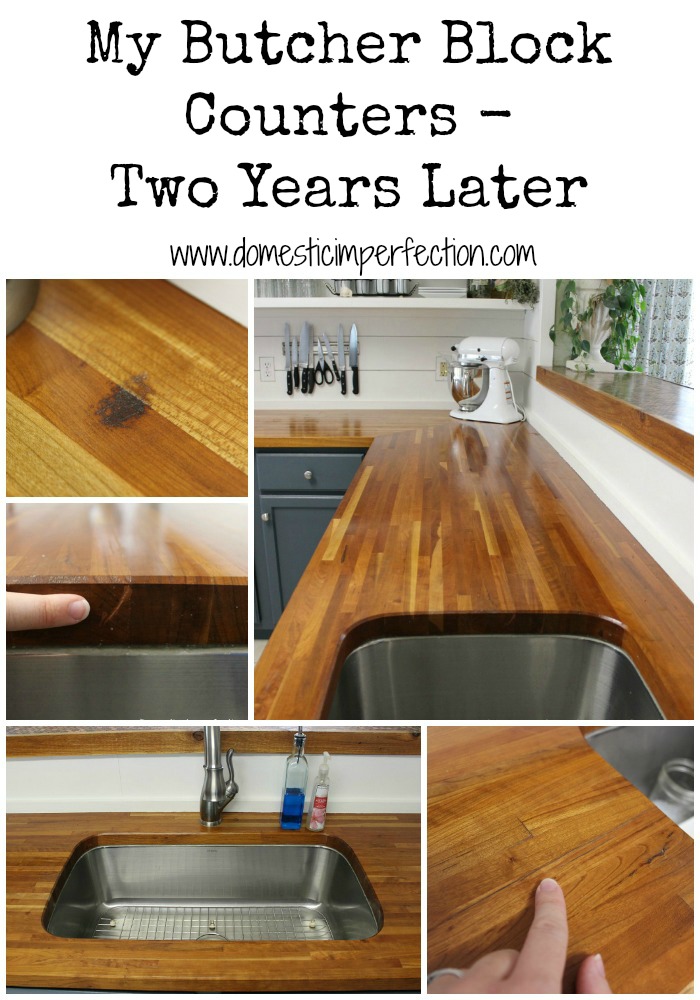
Maintaining your DIY wood countertop for a drop-in sink is essential to ensure its longevity. Regularly clean the countertop with a mild soap and water, avoiding harsh chemicals that can damage the wood. Wipe up any spills immediately to prevent stains, and avoid placing hot pots and pans directly on the wood surface. If you notice any scratches or dents, you can sand them down and reseal the area. Regularly resealing your countertop will also help protect it from wear and tear. With proper maintenance, your DIY wood countertop will continue to look beautiful for years to come.9. DIY Wood Countertop Maintenance for a Drop-In Sink
If you already have a wood kitchen countertop and want to add a drop-in sink, don't worry, it's possible! Start by measuring the sink's dimensions and determining where you want it to be placed on the countertop. Then, carefully cut out the hole using a jigsaw, following the manufacturer's instructions for depth and placement. Once the hole is cut, test fit the sink and make any necessary adjustments. Then, seal the area around the sink with silicone caulk and secure it in place with mounting clips. Finally, connect the plumbing and enjoy your new kitchen sink on your existing wood countertop!10. Adding a Drop-In Sink to an Existing Wood Kitchen Countertop
Why Choose a DIY Wood Kitchen Countertop with a Drop-In Sink?

The Beauty and Durability of Wood
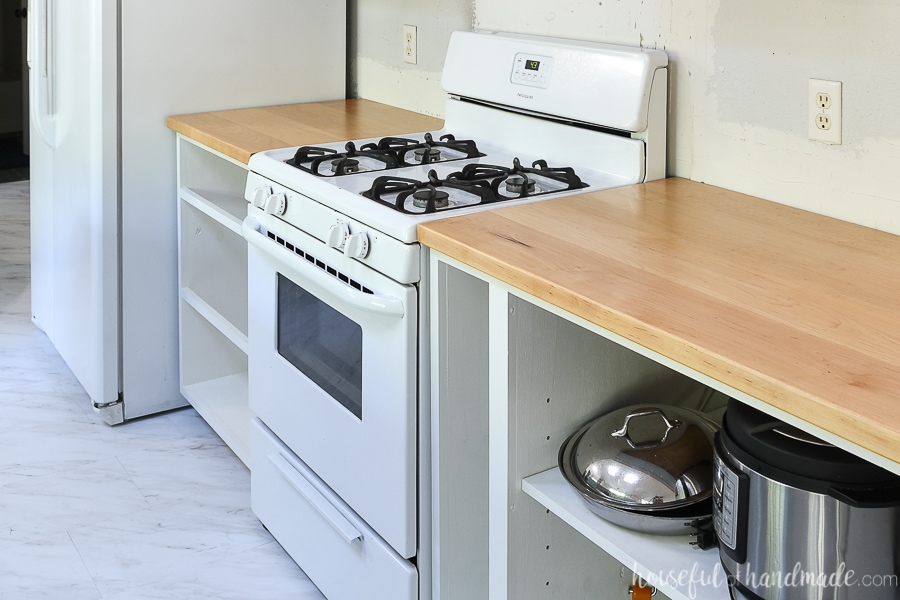
 Wood has long been a popular choice for kitchen countertops due to its natural beauty and warmth. It adds a touch of elegance and charm to any kitchen design, whether it's a modern or traditional style. Additionally, wood is a durable and long-lasting material, making it a practical choice for busy kitchens. With proper care and maintenance, a DIY wood kitchen countertop can last for years.
Easy to Customize and Install
 One of the biggest advantages of choosing a DIY wood kitchen countertop with a drop-in sink is the ability to customize it according to your specific needs and preferences. You can choose the type of wood, its size, shape, and finish to match your kitchen's overall design and your personal taste. Plus, installing a drop-in sink into a wood countertop is a relatively simple and straightforward process, making it an ideal choice for those who love DIY projects.
Cost-Effective Option
 Compared to other materials such as granite or quartz, wood is a more affordable option for kitchen countertops. By choosing to DIY your wood countertop, you can save even more money on labor costs. Plus, with proper care and maintenance, a wood countertop can last for decades, making it a cost-effective choice in the long run.
Seamless Design and Easy Maintenance
 A drop-in sink creates a seamless and smooth transition between the sink and the countertop, eliminating any gaps or edges where dirt and grime can accumulate. This makes cleaning and maintenance a breeze, as there are no hard-to-reach areas to scrub. Additionally, wood countertops are relatively easy to maintain, requiring only occasional resealing to keep them looking as good as new.
In conclusion, a DIY wood kitchen countertop with a drop-in sink is a practical, cost-effective, and beautiful choice for any kitchen design. Its customization options, durability, and easy maintenance make it a popular choice among homeowners. So, if you're looking to upgrade your kitchen, consider the timeless elegance and warmth of a wood countertop with a drop-in sink.






:max_bytes(150000):strip_icc()/Epoxy-DIY-Countertops-Via-Smallspaces.about.com-56d33a003df78cfb37d23f47.jpg)


